Hi, crafty friends! I’m sharing a fairly simple birthday card today with goodies from Kort & Godt, as well as a fun stencil set I bought at a craft fair last weekend.
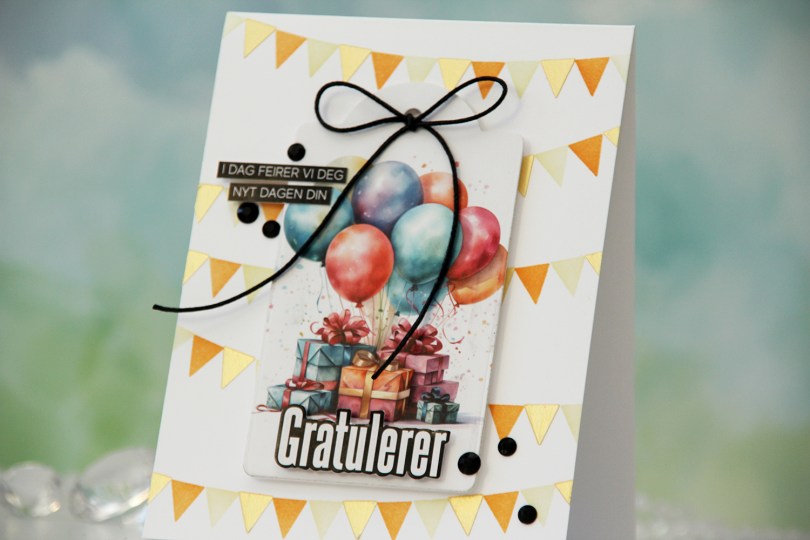
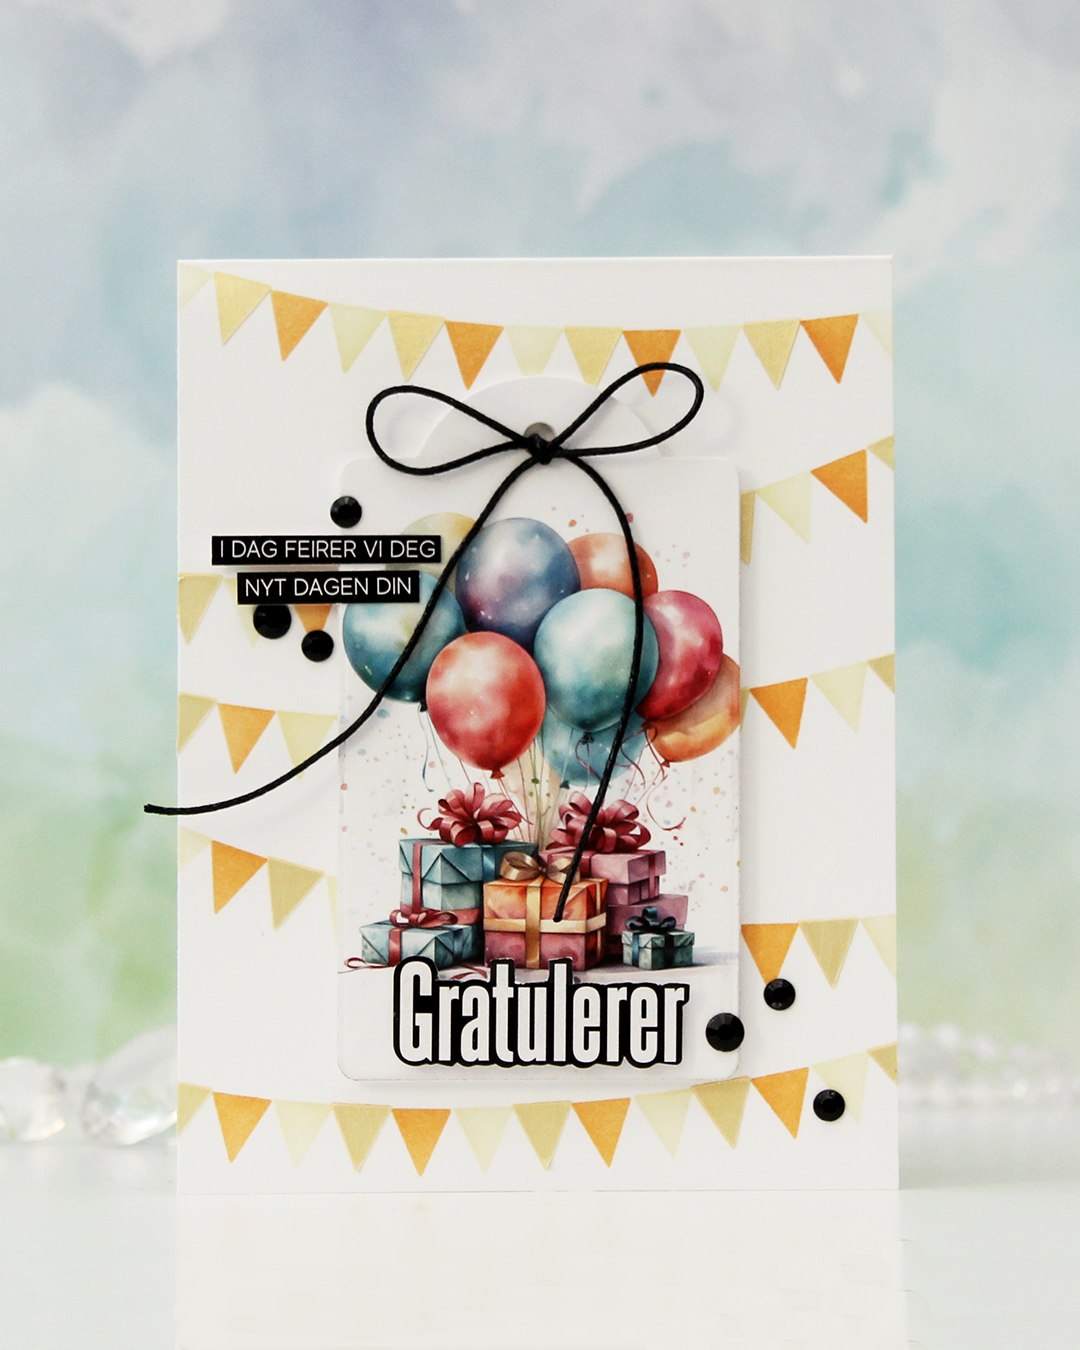 To start, I die cut this focal image with a tag die. I die cut another in white to put on the back for a little strength and put my tag aside while I worked on my card base.
 I used the Wimpelkette stencil set from Create a smile to create the pennants in the background. The set consists of 3 stencils that layer and create an easy pennant background. I used Peachy Glow and Amber Blaze inks from Altenew with two of the stencils, and through the third one, I added a layer of Solar Paste in the Golden Hour color. It creates a little bit of shine and some texture.
 I mounted the tag with foam tape in the center of the card, used 1/16″ foam squares on the back of the Gratulerer word sticker to make it stand out a little, then trimmed down the sentiment strips slightly and adhered them to the tag.
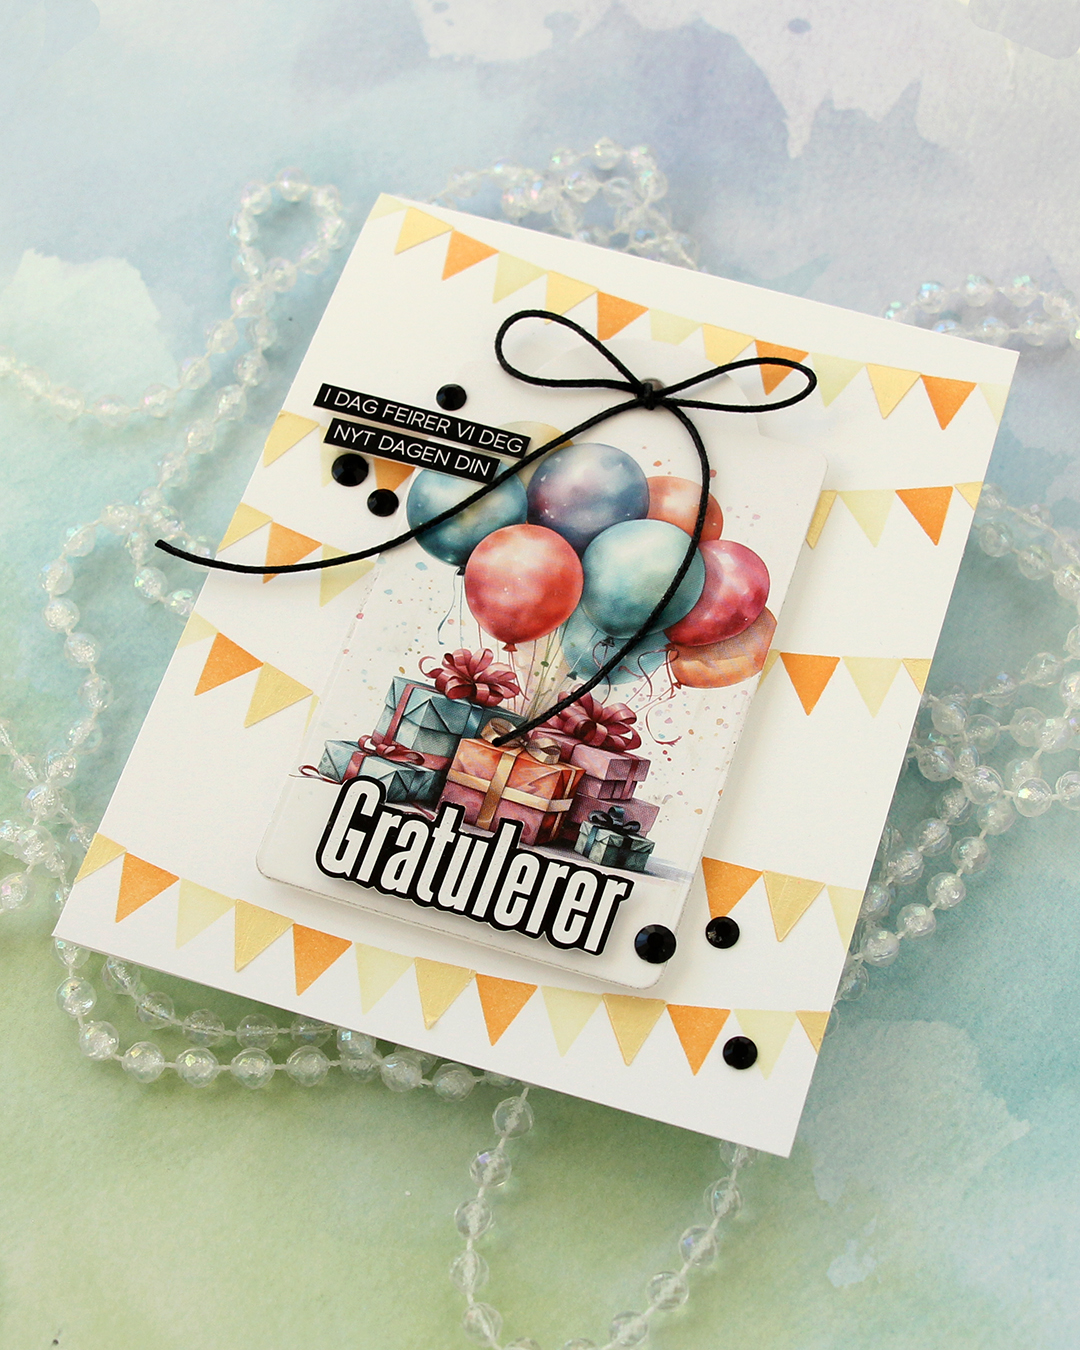 To finish off the card I added a few black gems and tied a bow using black cotton thread from Kort & Godt.
Kort & Godt products used:
MA1008 – image
BE107 – black gems (small size)
ST208 – black gems (larger size)
ST1002 – Word and sentiment sticker strips
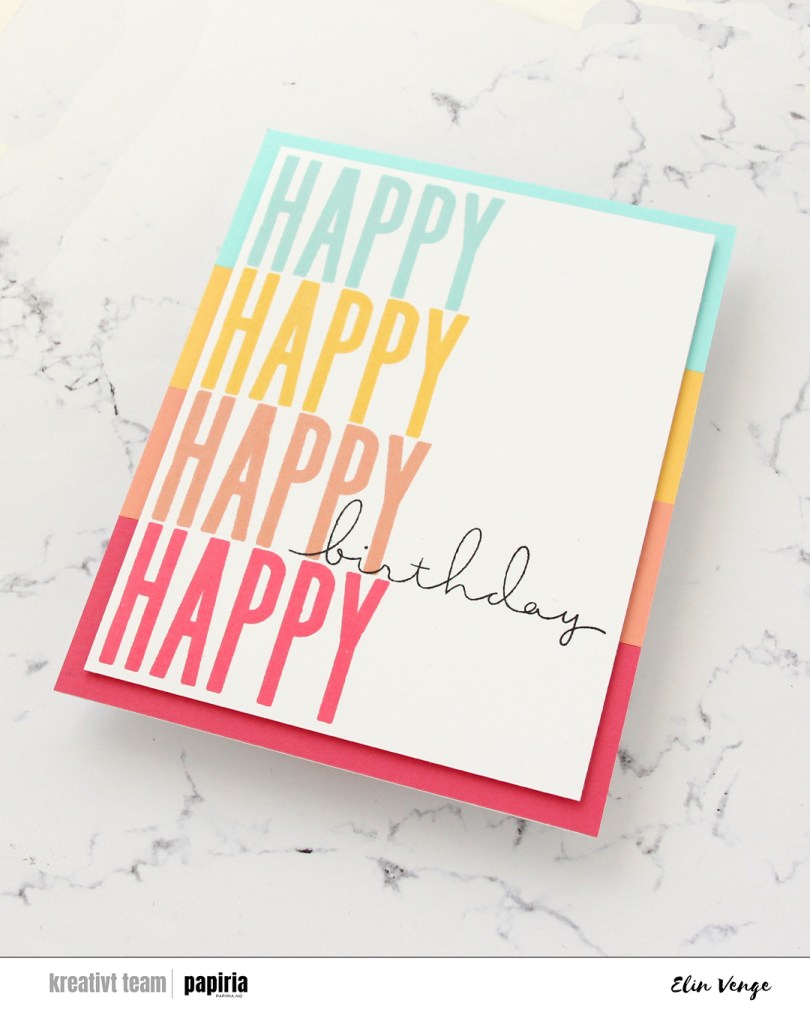
 First of all, this card is huge. It measures 5 1/2 x 7 1/4″. I started by stamping HAPPY from the All the birthdays stamp set from Concord & 9th onto half a sheet of Stamper’s Select White cardstock from Papertrey Ink. I used Aqua Sky, Buttercup, Grapefruit and Honeysuckle inks, all from Concord & 9th. It was easy to shift the cardstock up and down in my Misti to get them all lined up. I then stamped the scripty birthday word in the stamp set using Obsidian ink from Altenew, making sure that the bottom part of the letters matched up with the Grapefruit stamping.
 I trimmed down the panel, added a few more panels behind it for dimension and adhered it to my card front that I had covered with strips of cardstock colors in the same colors as my inking. I decided not to add any embellishments to this, sometimes you just need a simple card. This one would be super easy to create in a lot of different color combos. I’m longing for proper spring and summer, so mine’s with happy colors.
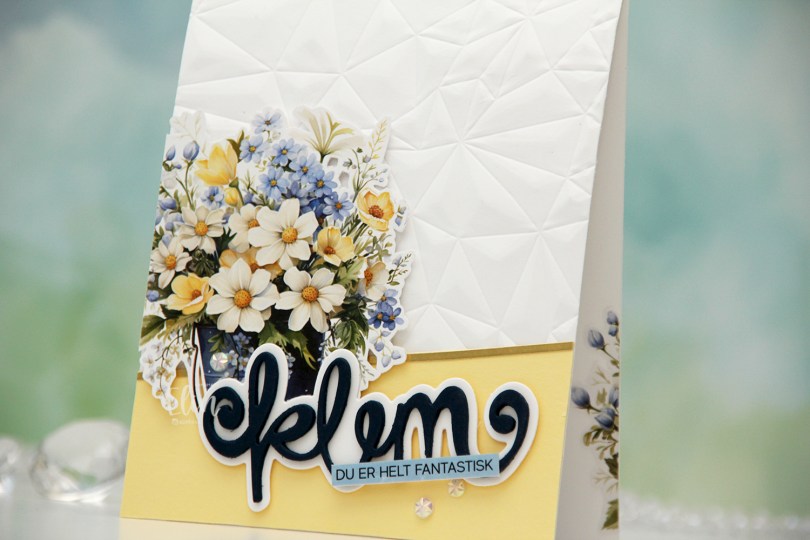
 I started by fussy cutting this floral image, leaving a white border around it. I then used the Crystal Distortion embossing folder from Simon Says Stamp on my card base to create some interest to it.
 I added a piece of Lemon Tart cardstock from Papertrey Ink at a bit of an angle at the bottom of my card front, and glued a small strip of Gold Shine cardstock from My Favorite Things at the top for a defined edge between the white and yellow. I put foam squares on the back of my flowers and adhered the image on the left hand side of the front, chopping off the overhanging bit and adhering it to the inside so it didn’t go to waste.
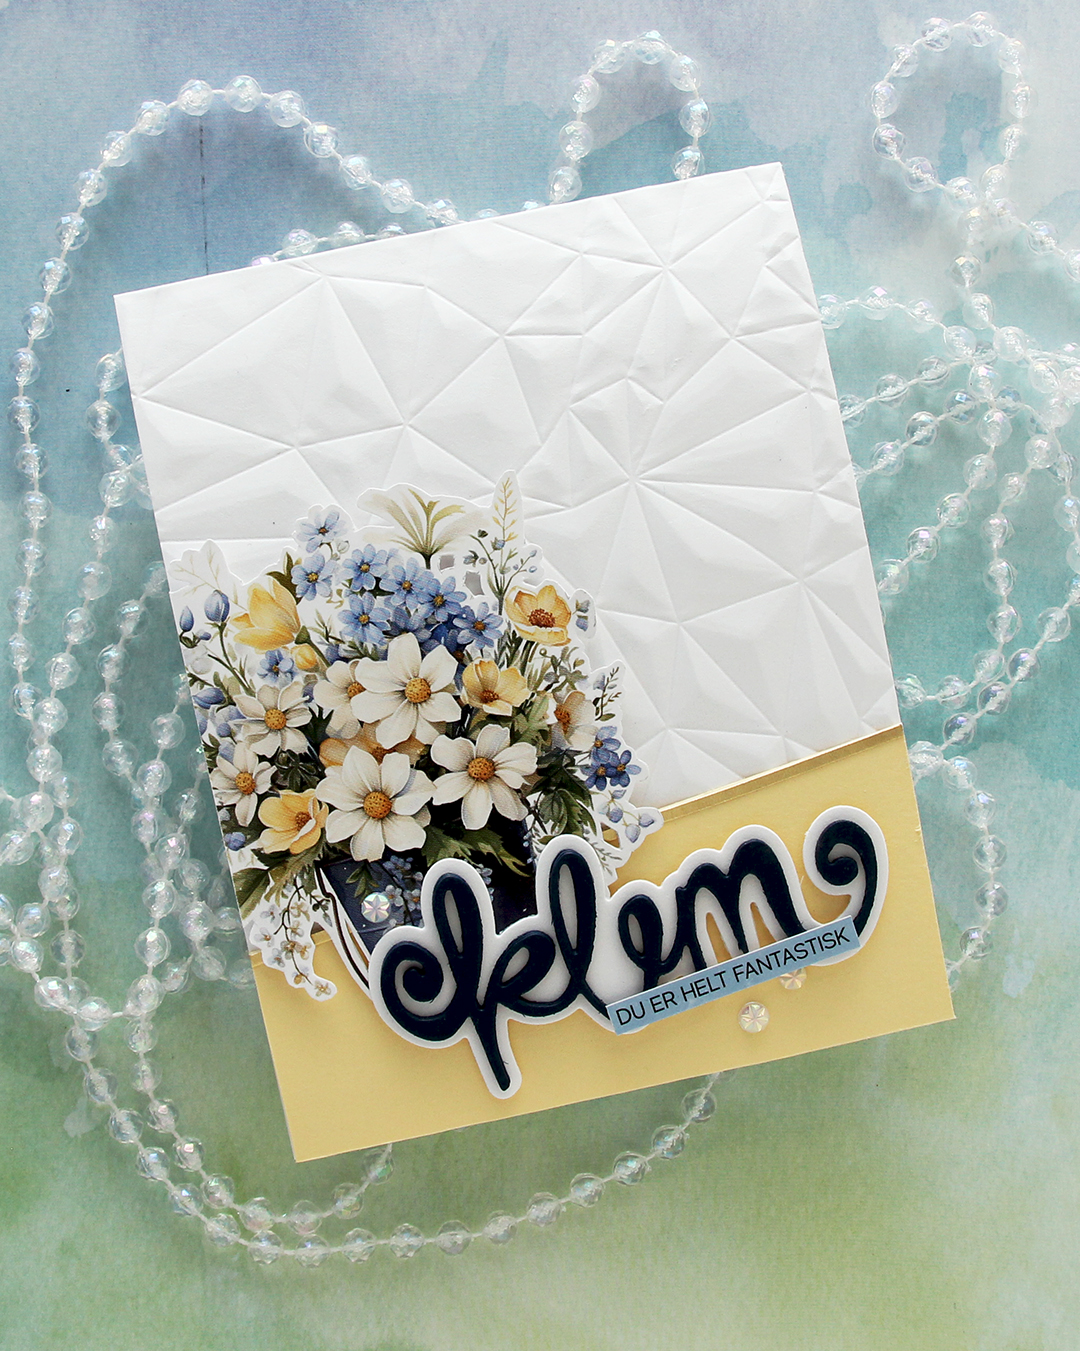 Using Die360 from Kort & Godt, I die cut klem four times from Nautical cardstock from Hero Arts and stacked them for a dimensional look. I die cut the shadow from Stamper’s Select White cardstock from Papertrey Ink (the same cardstock that I used for the card base) and adhered the stacked word to it, before putting foam squares on the back of the right half, adhering it directly to the image on the left.
 I used one of the sentiment sticker strips from Kort & Godt to finish my sentiment. I trimmed it down slightly to make it more narrow and ink blended it with Winter Lake fresh dye ink from Altenew to make it match the blue in the flowers. I adhered the strip on top of the die cut and finished off the card with a few faceted pearls.
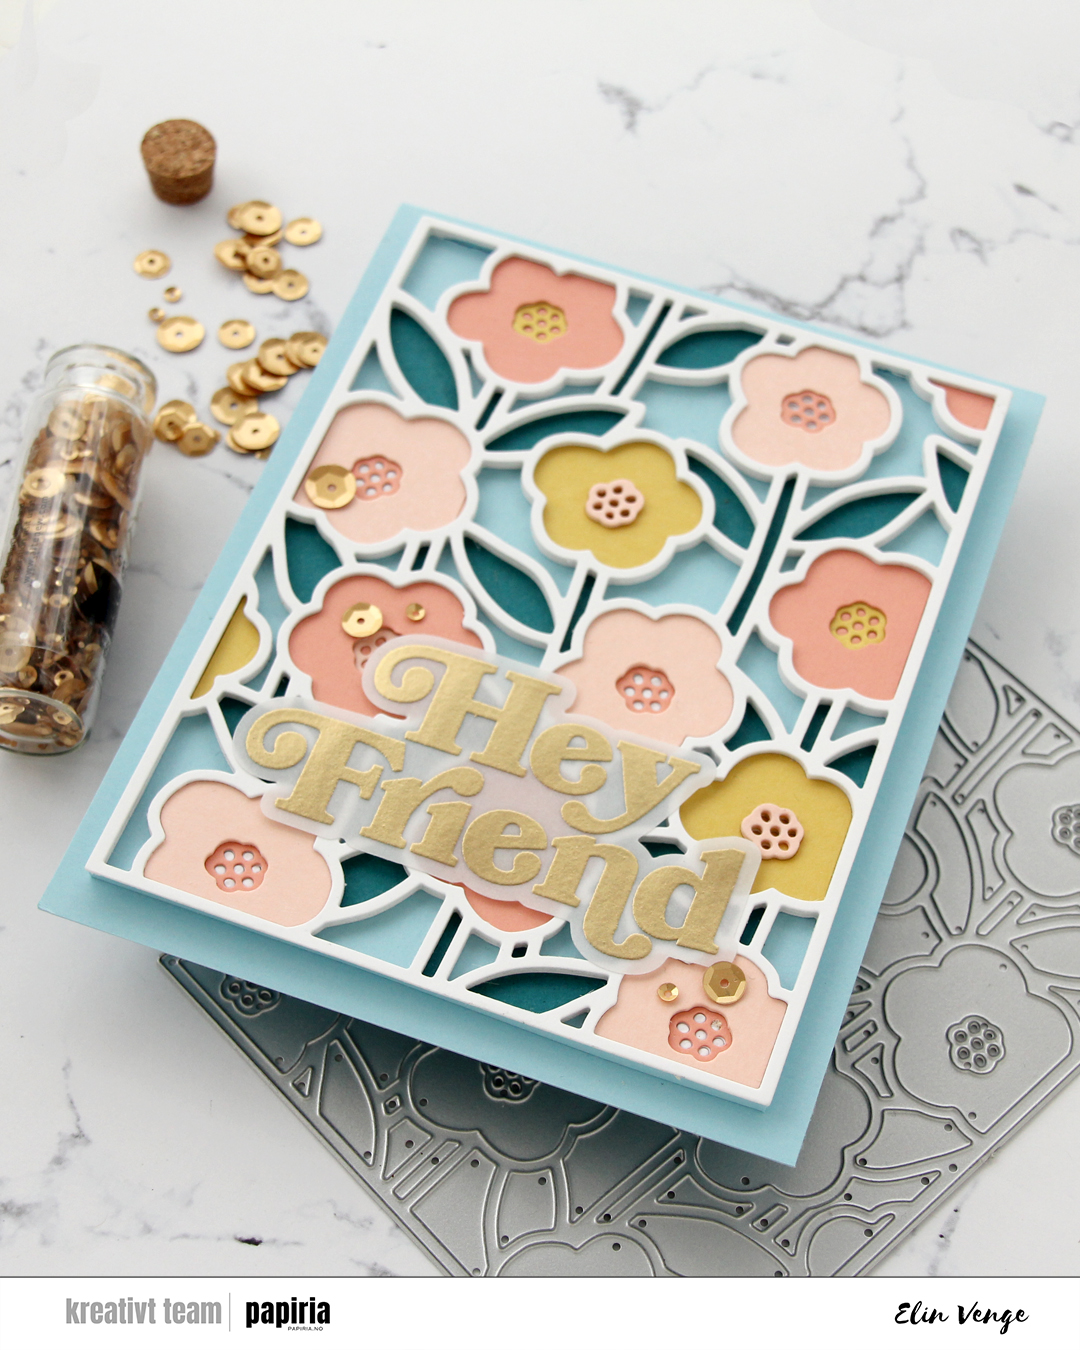
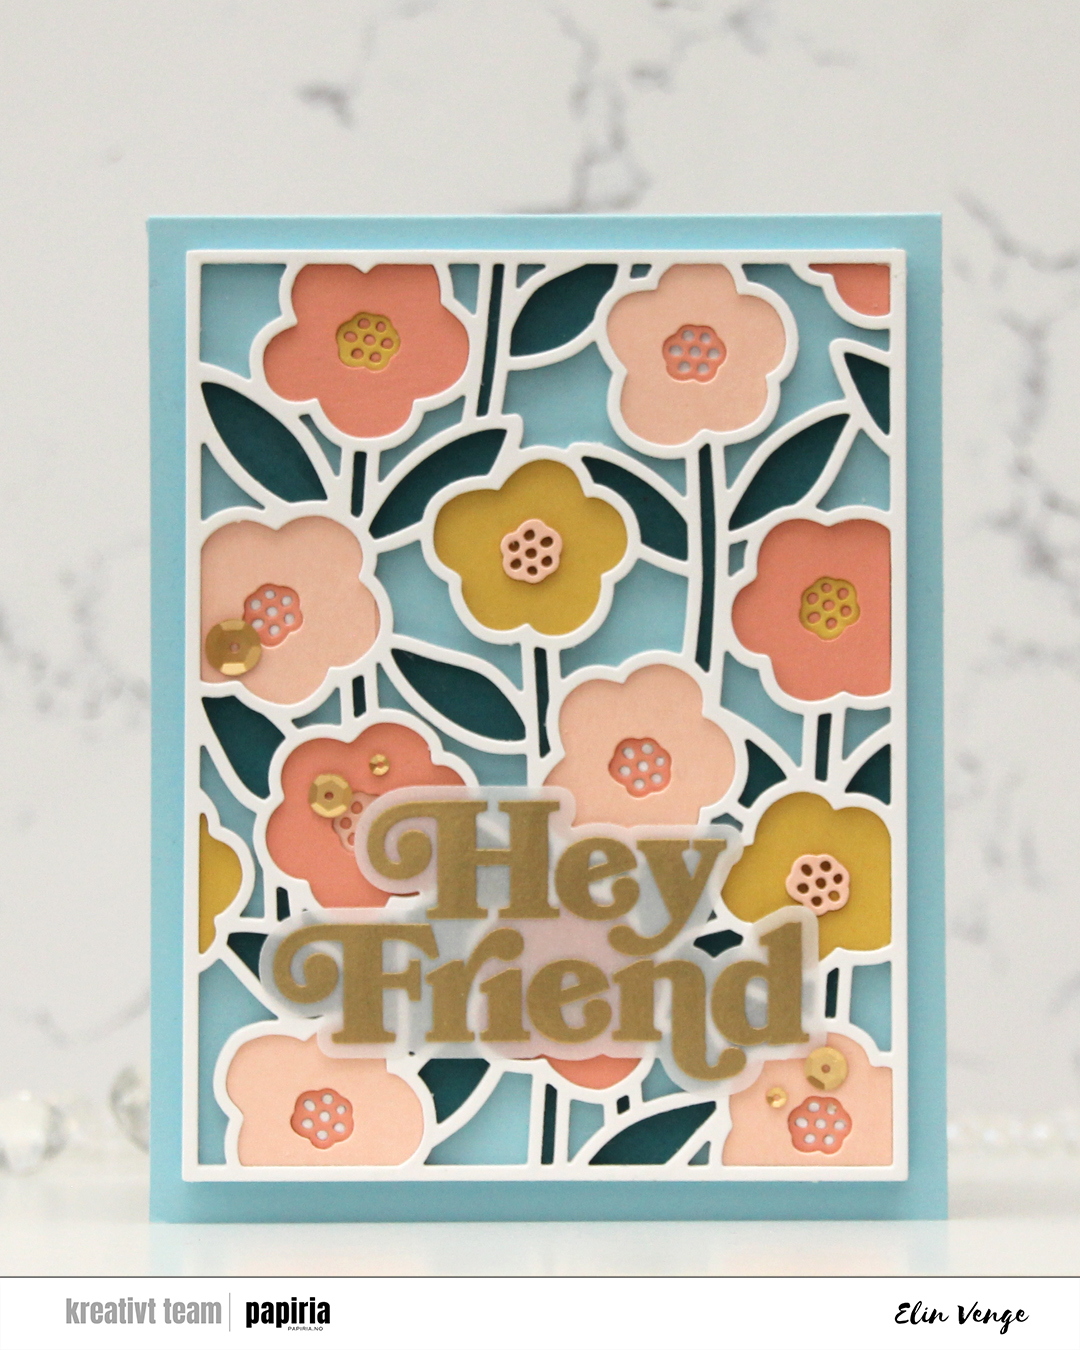 I love this Sweet Stems die set from Concord & 9th. It was part of their February release, and it’s so versatile. It has a separate coordinating stencil set (which I didn’t use for this card), which is great if you want lots of color, but not spend 512 hours on a card. The die set consists of a cover die, which is what I used here, and seven smaller dies. One of them cuts the outline for Hey Friend, which is a sentiment in the coordinating stamp set. I love when you can mix and match products like this.
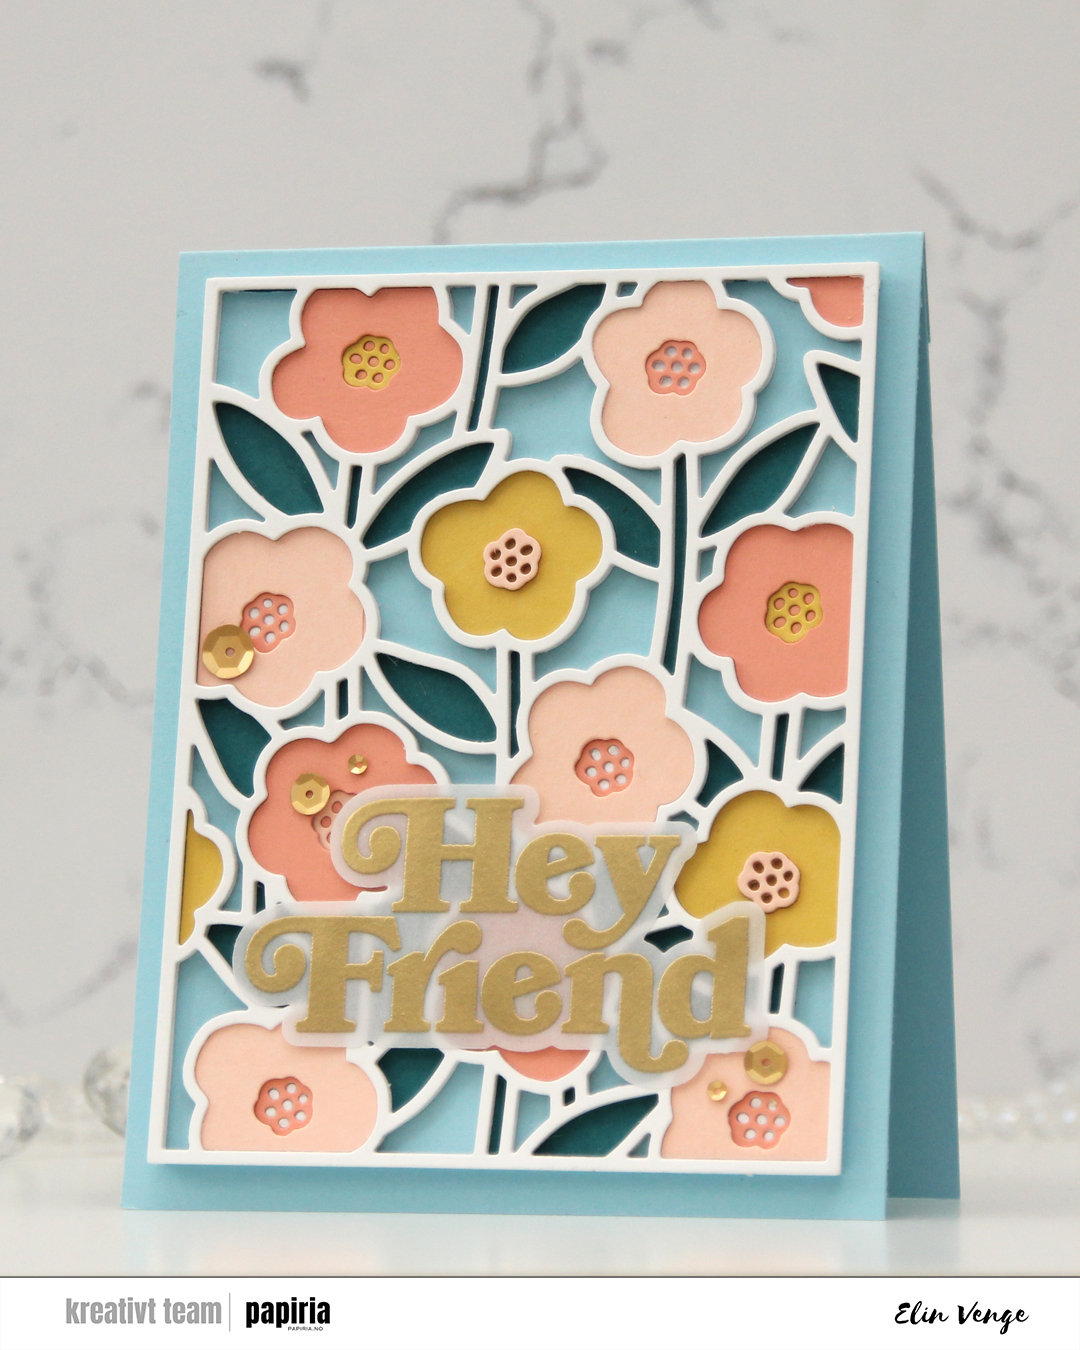 I used the cover die to cut a bajillion pieces from white cardstock (Stamper’s Select White from Papertrey Ink), then cut one panel each from Peacock, Honeycomb, Nectar and Grapefruit cardstock, all Concord & 9th colors. I started with one of the white outlines adhered to a piece of Harbor cardstock (also a C9 color), and puzzle pieced the stems and leaves into it with the Peacock color.
 In total, I stacked 6 white outlines and added the flowers and the flower centers at varying depths. The flowers are all slightly different shapes, but the centers are all the same, making them easy to stack.