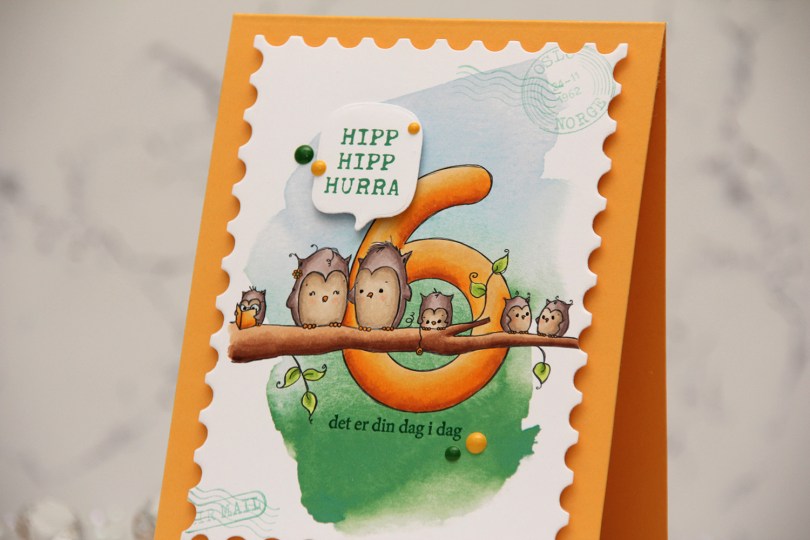
Hi, crafty friends! I’m sharing a fun birthday card today, featuring the Animal Number: Six Owls digital stamp from Rachelle Anne Miller. The image is also included in a full set of animal numbers from 1 to 10, which you can find here.
 I printed the image onto a piece of X-Press It blending card, adding a digital watercolor background behind the image before printing. I colored the image with Copics and opted for a warm yellow for the actual number and the book, an analogous color palette always works well.
 I die cut the panel using the Postage Stamps infinity die set from Hero Arts, then stamped the sentiments from the Bursdagsbillett stamp set from by.cino (hipp hipp hurra) and the A06 stamp set from Norsk Stempelblad AS (det er din dag i dag) using Clover ink from Concord & 9th. I also used second generation stamping of a couple of the images from the CS0879 stamp set from Marianne Design in the corners of my large postage stamp. I mounted my postage panel onto a card base I created from Summer Sunrise cardstock from Papertrey Ink, then die cut and mounted the Hipp hipp hurra sentiment using the MSTN Say Anything die set from My Favorite Things, before finishing off the card with Clover and Honeycomb enamel dots from Concord & 9th, as well as a dot of a black Sakura Glaze pen to each eye for a little bit of shine and dimension.
![]() Simple color palette for this one.
Simple color palette for this one.

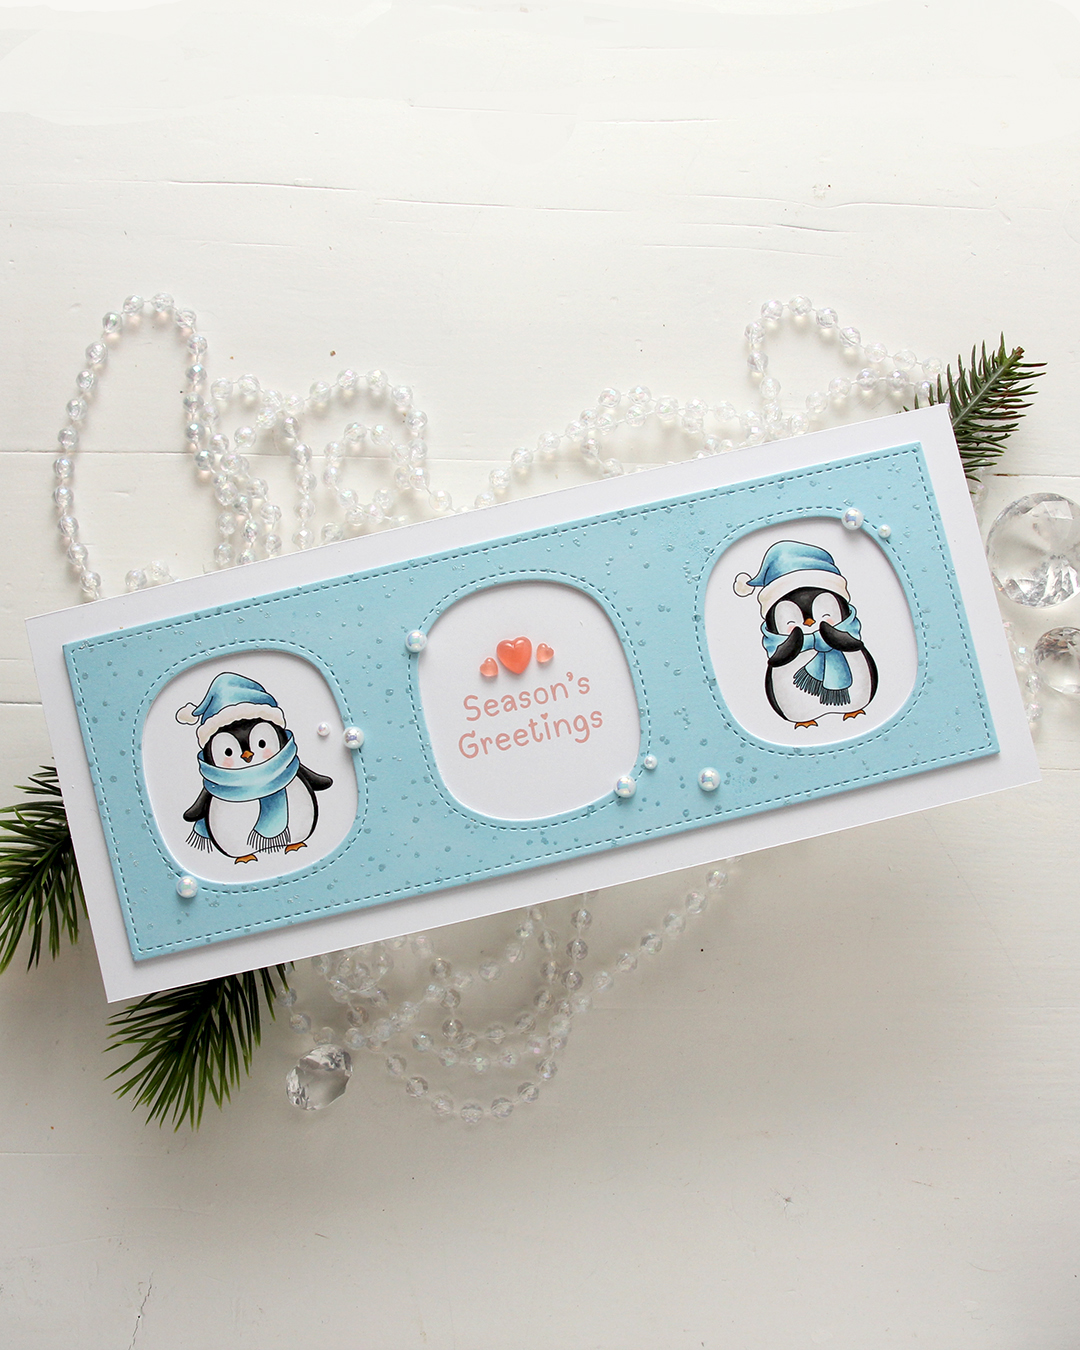 I colored the penguins with my Copics, making sure to add blue for their hats and scarves. Nothing beats blue for Christmas, right? I left plenty of space between the penguins for a greeting, which is from the
  I used a die in the Slim card basics die set from Mama Elephant to die cut the frame with openings from Harbor cardstock from Concord & 9th. I also cut two from white to add behind it for dimension. I stamped the Paint Splatter background stamp from My Favorite Things onto the blue using VersaMark ink, then sprinkled on White Satin Pearl embossing powder from Hero Arts and heat set.
 I added pearls from the Glossy Porcelain mix from Little Things from Lucy’s Cards here and there around the openings and also three Coral Heart Droplets, also from Little Things from Lucy’s Cards.
 Limited color palette for these two penguins.
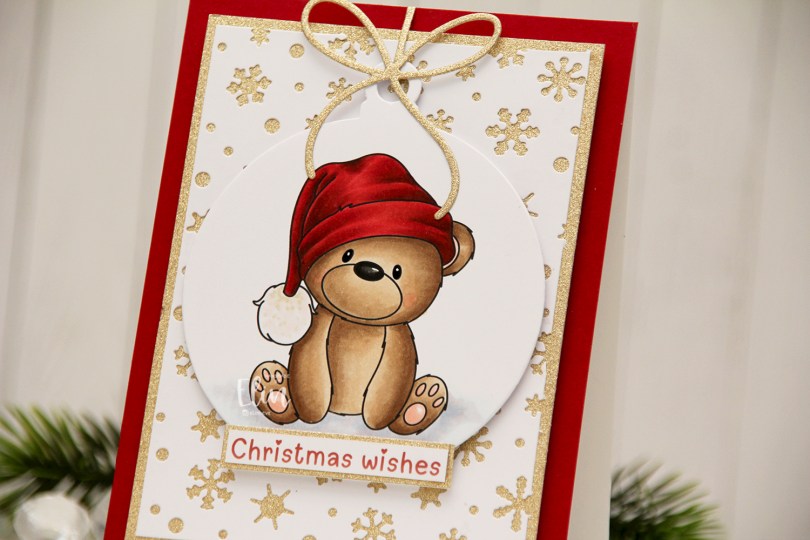
 I colored the bear with Copics and used the Snowflakes and Ornament die set from Hero Arts to turn him into a Christmas ornament. Isn’t he adorable with his head tilted to the side? I covered the card base with a piece of Cranberry cardstock from Concord & 9th. This is the perfect Christmas red, and it goes really well with the colors on his hat, as well as the color I chose for the
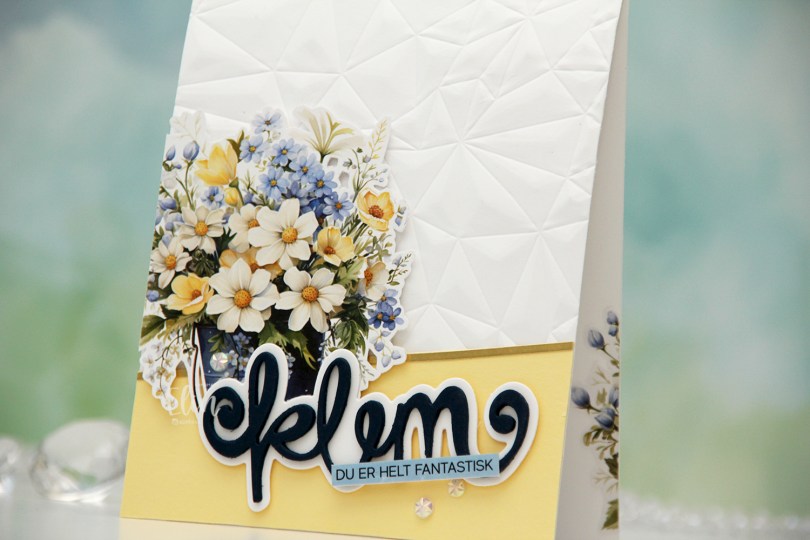
 I started by fussy cutting this floral image, leaving a white border around it. I then used the Crystal Distortion embossing folder from Simon Says Stamp on my card base to create some interest to it.
 I added a piece of Lemon Tart cardstock from Papertrey Ink at a bit of an angle at the bottom of my card front, and glued a small strip of Gold Shine cardstock from My Favorite Things at the top for a defined edge between the white and yellow. I put foam squares on the back of my flowers and adhered the image on the left hand side of the front, chopping off the overhanging bit and adhering it to the inside so it didn’t go to waste.
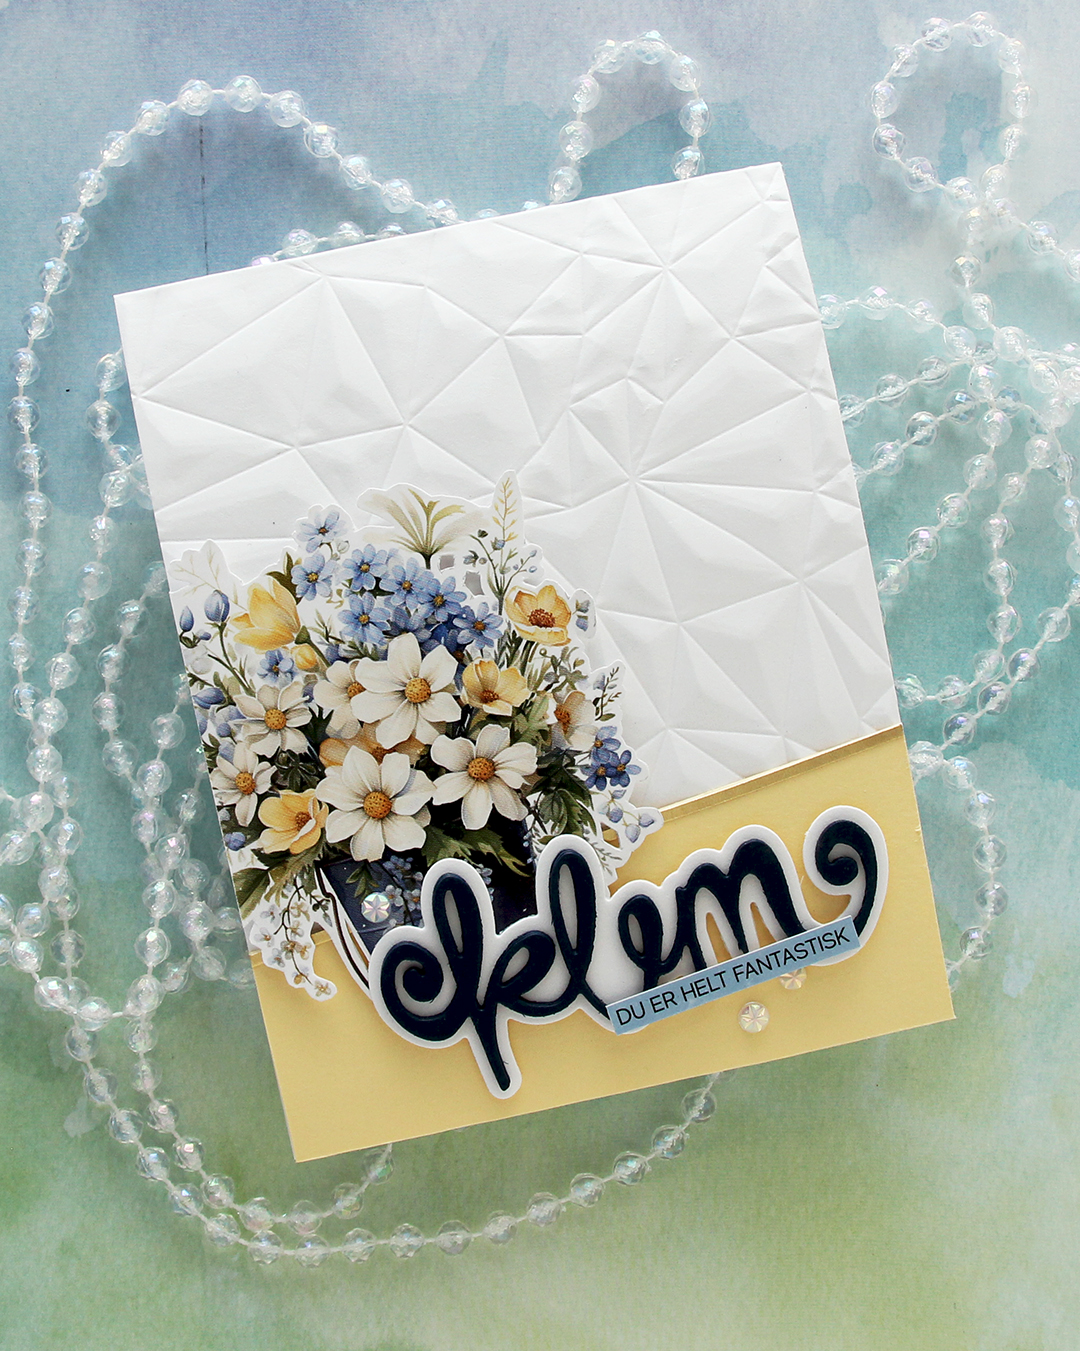 Using Die360 from Kort & Godt, I die cut klem four times from Nautical cardstock from Hero Arts and stacked them for a dimensional look. I die cut the shadow from Stamper’s Select White cardstock from Papertrey Ink (the same cardstock that I used for the card base) and adhered the stacked word to it, before putting foam squares on the back of the right half, adhering it directly to the image on the left.
 I used one of the sentiment sticker strips from Kort & Godt to finish my sentiment. I trimmed it down slightly to make it more narrow and ink blended it with Winter Lake fresh dye ink from Altenew to make it match the blue in the flowers. I adhered the strip on top of the die cut and finished off the card with a few faceted pearls.
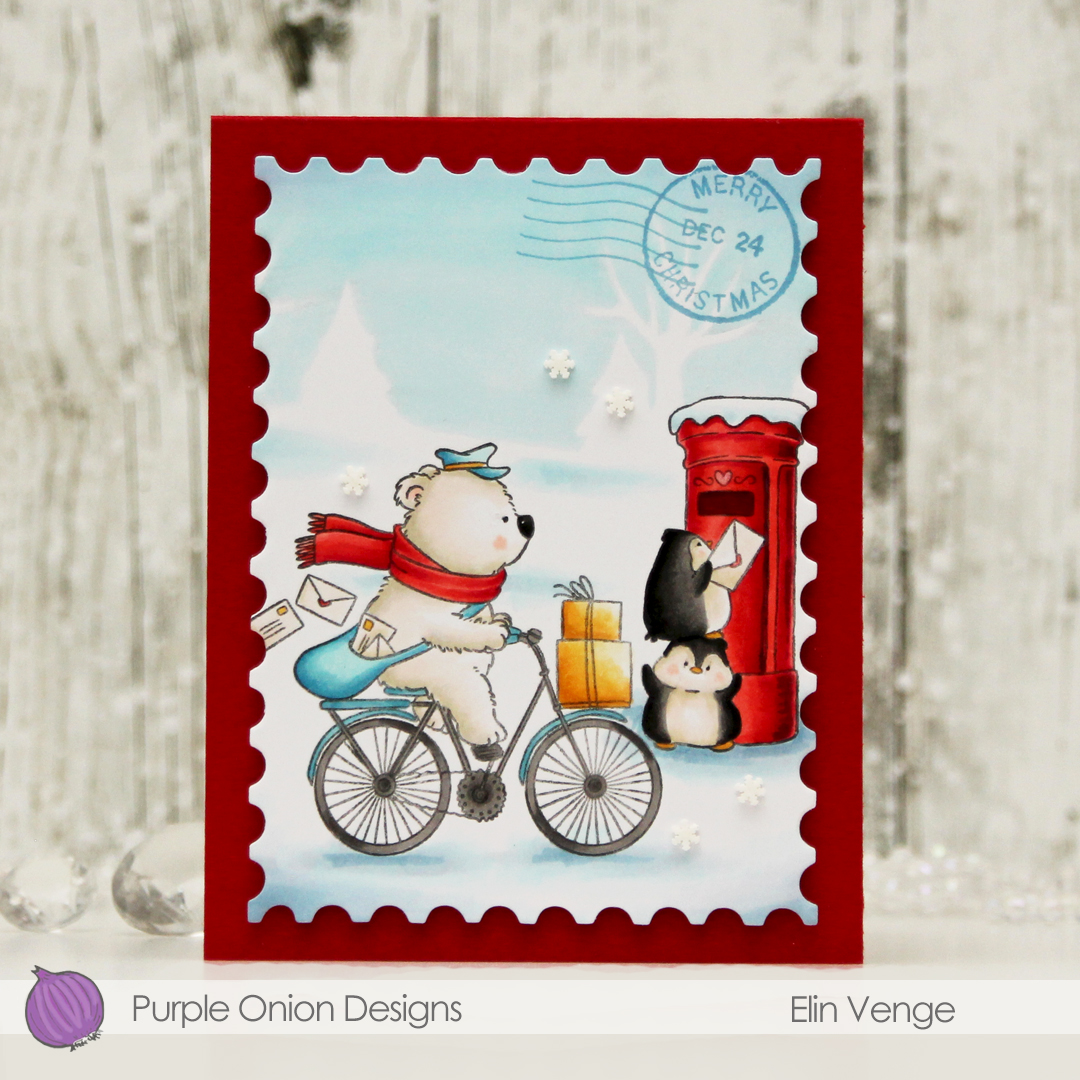 I suggest you put this image in your cart, it’s so awesome. I colored it with my Copics, adding an actual no line horizon behind my critters to complete the wintry scene, before using a die from the Nesting Postage Stamps infinity die set from Hero Arts to turn it into a huge postage stamp. I then used the
  I created a top fold card base from Pure Poppy cardstock from Papertrey Ink, mounted my large postage stamp using lots of foam tape and adhered a few Snowdrift sprinkles from Little Things from Lucy’s Cards to finish.
 I actually used red markers for red this time, with a little bit of B14 where I wanted it to be darker than R29 can create on its own. I usually use earth tones for red, this was a fun change.
 I colored my cutie with Copics and made sure to color enough on the sky and the ground beneath him so I could die cut my panel with a circle die. I used a black glaze pen to get some shine into his eyes, and once the black was dry, I added a dot of white Gelly Roll 05. I die cut a white ornament using the Snowflakes and Ornament die set from Hero Arts, and glued my colored panel on top, before working on the rest of the card.
 For my background, I used the Magic Snow Cover die from Mama Elephant to die cut from Powder cardstock from Concord & 9th. I adhered that to a top fold white card base and glued my ornament in the center with a couple of layers of cardstock behind it for a little bit of dimension. I die cut a sentiment from white cardstock using the Jolly Holiday Greetings die set from Concord & 9th. I die cut the back from Champagne cardstock, also from Concord & 9th and added the complete sentiment to my card with a little dimension behind it, before finishing off with a die cut bow in the same cardstock color, die cut using the Gift Bows die set from Kristina Werner.
 Simple palette for this one.
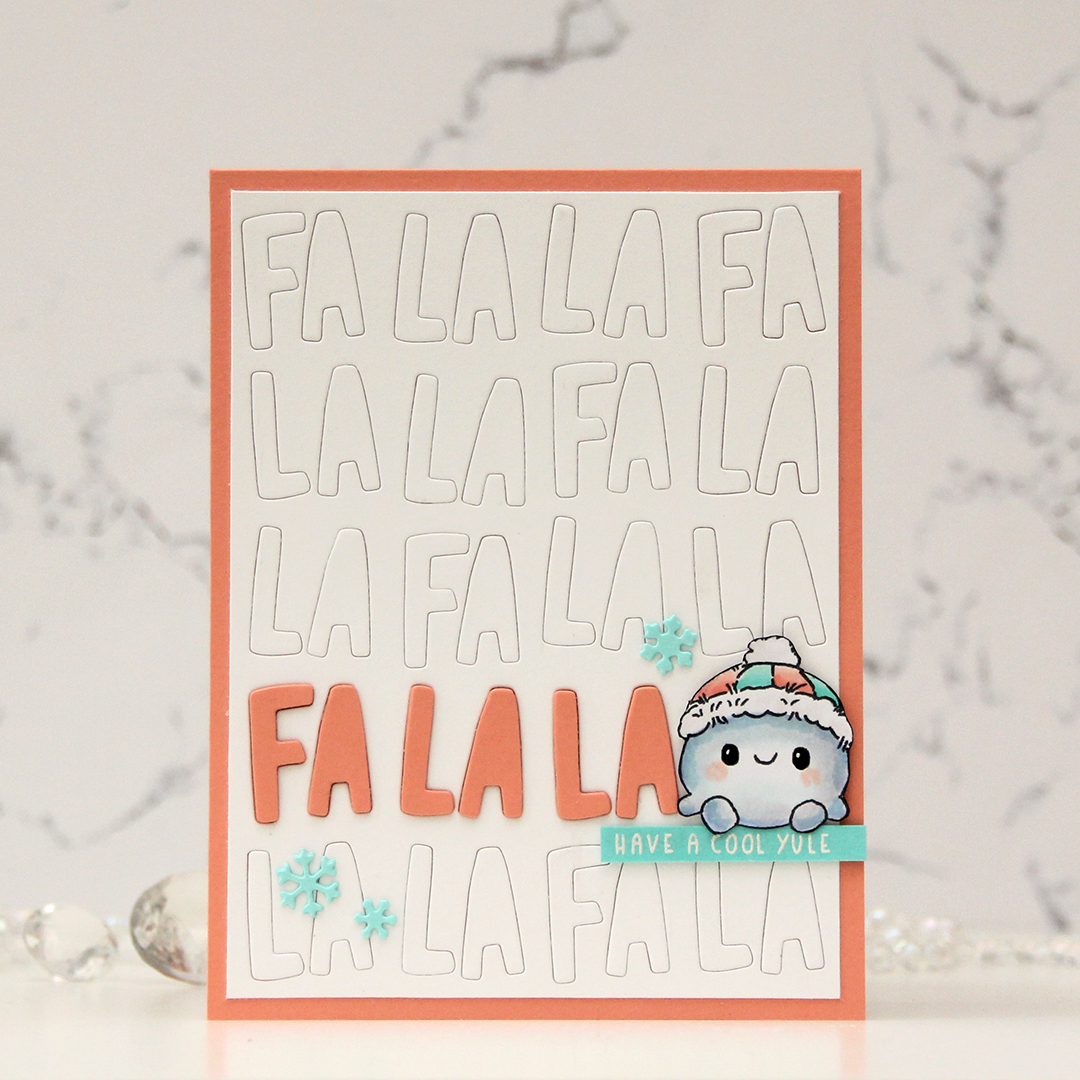 I colored the little snowball with Copics and fussy cut him, adding a touch of black glaze pen to his eyes to make them shiny, and then a tiny white dot of Gelly Roll 05 once the black was dry. I used the Fa la la inlay die from Concord & 9th and die cut a white panel. I trimmed off a little on each side and glued it to a card base I created from Grapefruit cardstock from Concord & 9th, inlaying the white letters back into place. I cut a few in the grapefruit color, stacked them and emphasized one line in the background using this color, which left just enough room on the right for the snowman to sit on some foam tape.
 I stamped and white heat embossed a sentiment from the older Christmas Greetings stamp set from Lili of the Valley onto a piece of Aqua Sky cardstock from Concord & 9th. The cardstock color was a little bit light for the white letters, so I ink blended on top using Aqua Sky ink to make the sentiment more visible. The exposure in the photo makes it lighter than it is in real life, it’s actually very easy to read it in person. I used the Snowflake Confetti Fancy die from Hero Arts to die cut small snowflakes from Aqua Sky cardstock. I stacked two of each for a tiny bit of dimension and used them as embellishments on the card.
 Very limited color palette for this one.
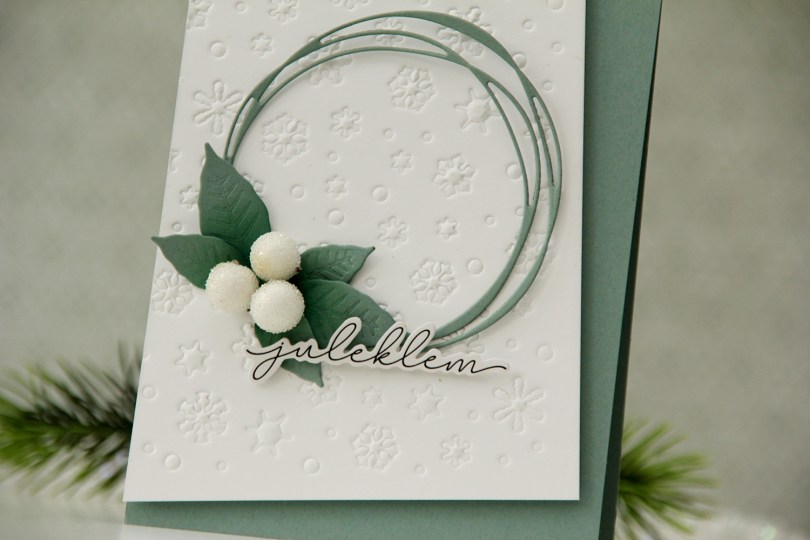
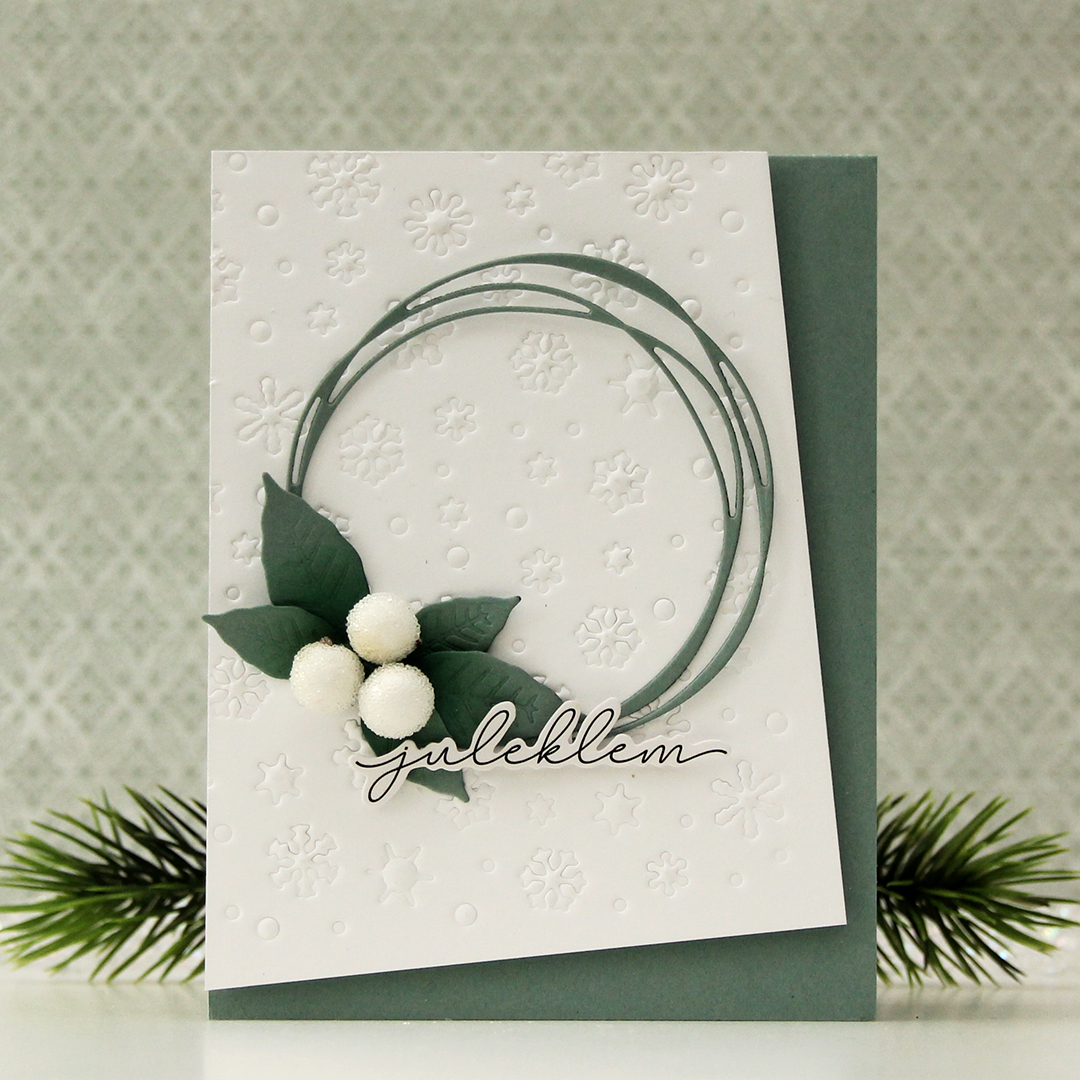 I had a dry embossed white panel in my stash I thought I’d put to good use (I used the Snowflake Confetti fancy die from Hero Arts with an embossing mat to create this texture).
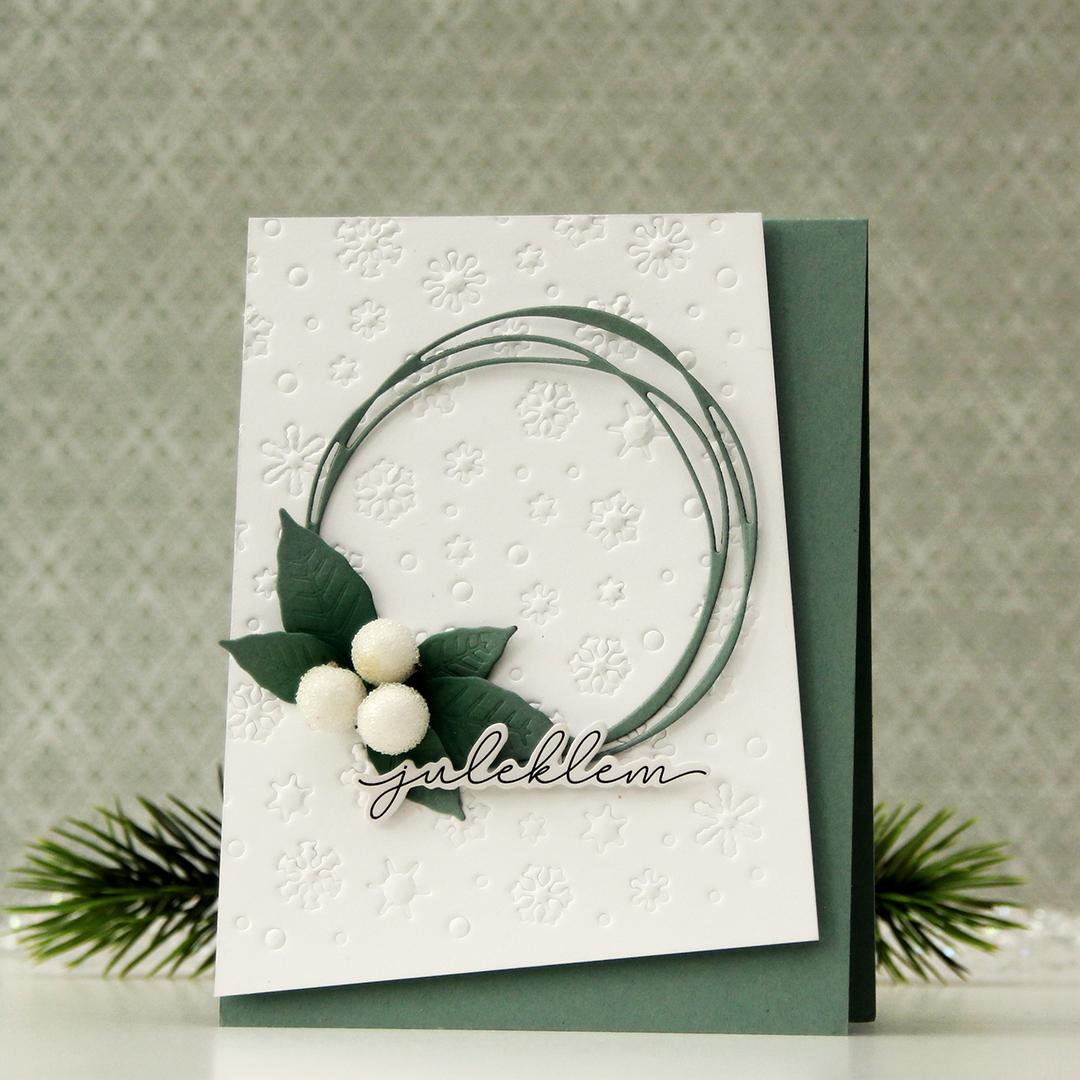 I die cut a scribbled circle and a couple of layers of a poinsettia from Ocean Tides cardstock from Papertrey Ink. I used the same color cardstock to create my card base and mounted my white panel at an angle to create a dynamic design.
 I adhered the circle with a tiny bit of glue where my leaves would cover it, making the rest of the circle float above the rest.
 I cut apart the poinsettia petals to use as leaves and inked over them with Eucalyptus and Rainforest inks from Concord & 9th. I adhered the large ones with a bit of foam behind each leaf for dimension, but glued the smaller ones straight down at the base of the leaves.
 Using liquid glue, I added three large berries to the center of my leaf arrangement before finishing off with a sticker, which I put slivers of foam on the back of for even more lift. I like that it kind of floats above the rest.
 I die cut the image into a circle and put lots of foam tape on the back. I created a card base from Periwinkle cardstock from Hero Arts, and used the Angled Mosaic 3D embossing folder from Altenew to create some fun texture.
 I added the circle to the top center, die cut the word klem (hug) three times from Something Blue cardstock from My Favorite Things, stacked the three for dimension and adhered the top of the letters to the bottom of the circle. This creates a shadow on the bottom half of the letters that I wouldn’t get if I had created additional layers and adhered the die cut directly on the card base. Because the die cut is three layers thick, it won’t get squished in the mail even though it’s floating. I added a sentiment sticker strip on top of the die cut and finished off with a couple of faceted pearls.
 I colored the image with Copics, then used a die from the Blueprints 27 die set from My Favorite Things to give the panel a nice border around the edge. I added a few layers of cardstock scraps behind the panel for strength and dimension. I created a top fold card base from Lavender Moon cardstock from Papertrey Ink and ink blended from the bottom using Autumn Rose ink, also from Papertrey Ink. This gave my card base a nice ombre effect.
 I used the Big Happy Holidays die from Mama Elephant to die cut four layers from Lavender Moon cardstock. I used the same ink blending trick for the top layer that I used for the card base, ink blending it before I die cut and stacked all four together for a nice, dimensional sentiment. To finish off the card I added a few die cut snowflakes. I used the Snowflake Confetti Fancy die from Hero Arts and CR1335 from Marianne Design to create my snowflakes, and my card was complete.
 I always go overboard when I color snow, even though there was very little of it this time.