Hi, crafty friends. I have a fun birthday card to share today, featuring the Happy Birthday Creator – Numbers stamp set from Rachelle Anne Miller. 
The set includes the numbers from 0 to 9, as well as accent images. I created a background from the numbers, and added flowers, a bird and a few other things.
 I chose a very limited amount of Copic markers and colored the number in. I didn’t do any blending, this is all flat color. I added a little bit of shadow to the numbers and colored the flowers and small critters in the same colors, which is why the bird is light green and the bee is red and pink instead of the traditional yellow and black.
 I adhered my panel directly to a card base. I also stamped and white heat embossed a sentiment from the Bitty Birthday Wishes stamp set from My Favorite Things onto True Black cardstock from Papertrey Ink. I added some dimension behind the sentiment strip, adhered it to the card and finished off with sequins from the Starry Night mix from Little Things from Lucy’s Cards.
 The little bit of lift behind the sentiment makes it stand out even more. It also helps that it’s black. I paired the card with an envelope from Altenew. The Pink Diamond color matches the light pink in my coloring.
 Very very simple color palette for this one.


 I printed the image fairly small, I wanted it to fit the width of a portrait style A2 sized card. I colored the image with my Copics, going in somewhat of a rainbow order.
 I covered the front of a card base with a piece of pink patterned paper with hearts. I don’t know where this patterned paper is from, it came in a mystery box from Simon Says Stamp a few years ago. I think it might be Doodlebug, based on some of the other patterns in the pack, but I’m not sure.
 Above and below my colored piece, I added thin strips of Gold Shine cardstock from My Favorite Things, before mounting it all on foam tape near the top of the card.
 I used the Sweet Sentiments die set from Altenew to die cut the word celebrate. I die cut four out of white cardstock and one from the gold shine cardstock I used for the strips. I stacked them all together for dimension, and adhered the sentiment onto the balloon strings, before finishing off the card with a few sequins from the Heaven Sent mix from Little Things from Lucy’s Cards.
 Happy color palette.
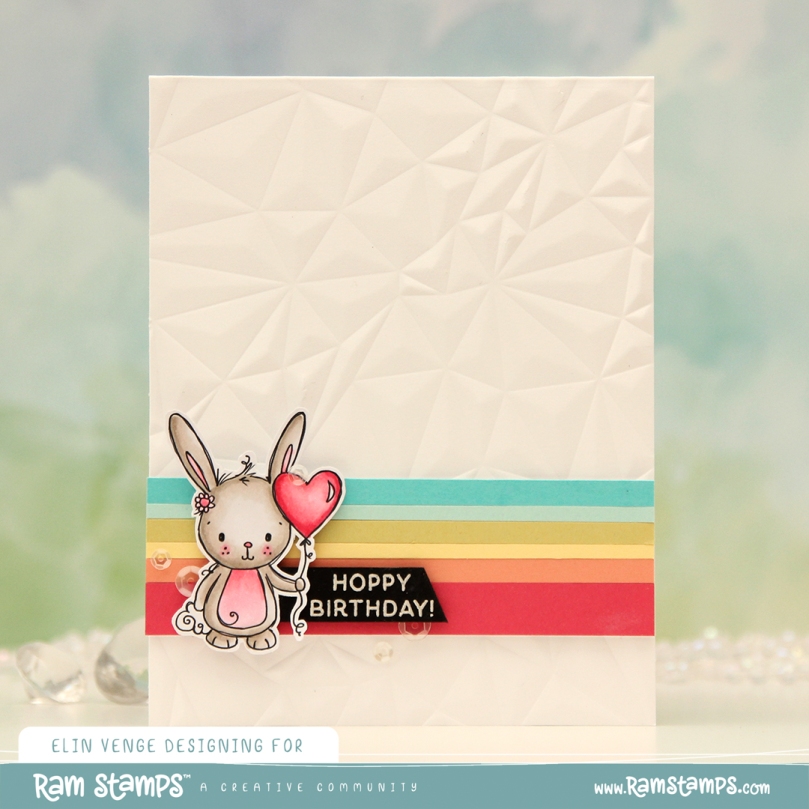 I colored the bunny with my Copics (I actually only used 6 Copics for this card) and fussy cut around it, leaving a white trim to prefer the whispy lines and squiggles that are so characteristic of Rachelle’s images. I created a card base from Stamper’s Select White cardstock from Papertrey Ink and ran it through my die cutting machine with the Crystal Distortion embossing folder from Simon Says Stamp to create some texture.
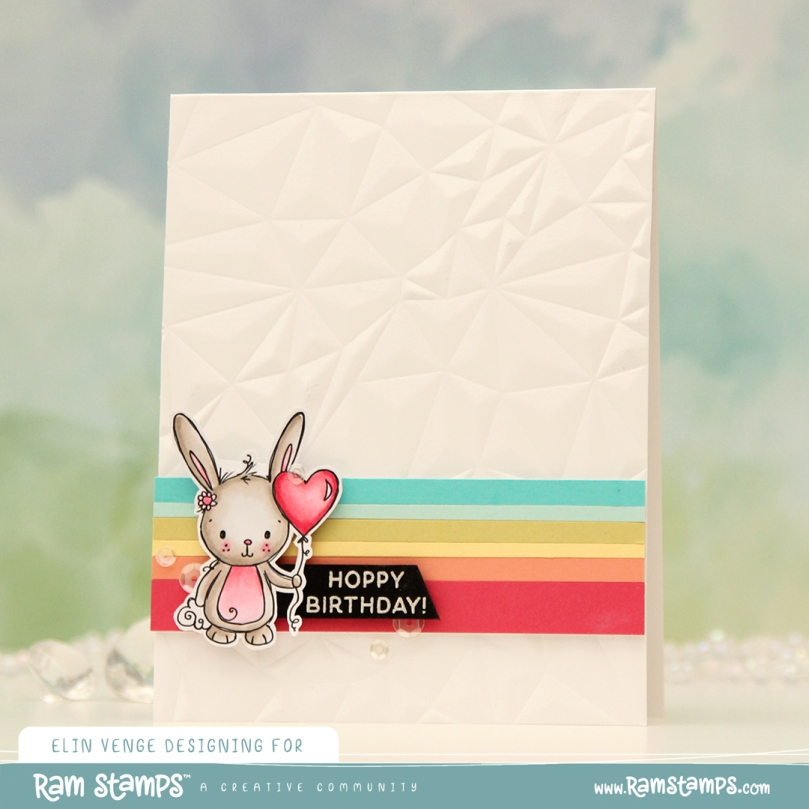 Onto a piece of scrap paper, I adhered strips of solid colored cardstock. I didn’t measure, they’re all different widths for a playful look. The colors are (bottom to top) Honeysuckle and Grapefruit, both from Concord & 9th, and then Lemon Tart, Spring Moss, Aqua Mist and Hawaiian Shores, all from Papertrey Ink. I put a few layers of cardstock behind my strips and adhered them near the bottom of the card. I stamped and white heat embossed a sentiment from the Easter bunnies stamp set from Simon Hurley onto a piece of True Black cardstock from Papertrey Ink, cut it down to a strip and used a craft knife (I don’t trust scissors) to create the angle at the end. I glued the piece left of the sentiment to the back of the bunny, put 2mm foam squares behind everything and adhered it on top of the colored strips, before finishing off with a few sequins from the White Orchid Sequin mix from Little Things from Lucy’s Cards.
 Color palettes don’t get much simpler than this.
 I colored the image with my Copics, then used the second largest die in the A2 Stitched Rectangles STAX 2 set from My Favorite Things to turn it into a nice panel with a faux stitch edge. I put a few additional layers of cardstock behind my colored piece for dimension and adhered it to a card base that I had covered in the patterned paper in this release. I used the blossoms, I thought the pattern went well with the blooms in the image and colored my dragon to be a good color match.
 Using the Waterbrush Hello Die from Altenew, I die cut three layers from white cardstock and one from the patterned paper, adhered them together for a stacked look and placed the die cut so it nestles in with the image, before finishing off with a few pearls. These Panduro pearls are very pale pink and they’re at least ten years old, but they worked really well for this card. I also used a black Glaze pen from Sakura to add shine to the eyes, and on the dragon, I added a white dot to each eye once the black was dry.
 Simple color palette this time, one that really makes me think of (and long for) spring. Even though spring technically starts today in the Northern Hemisphere, it doesn’t feel like it yet. I’m getting impatient, I’m 100 % over the cold weather.
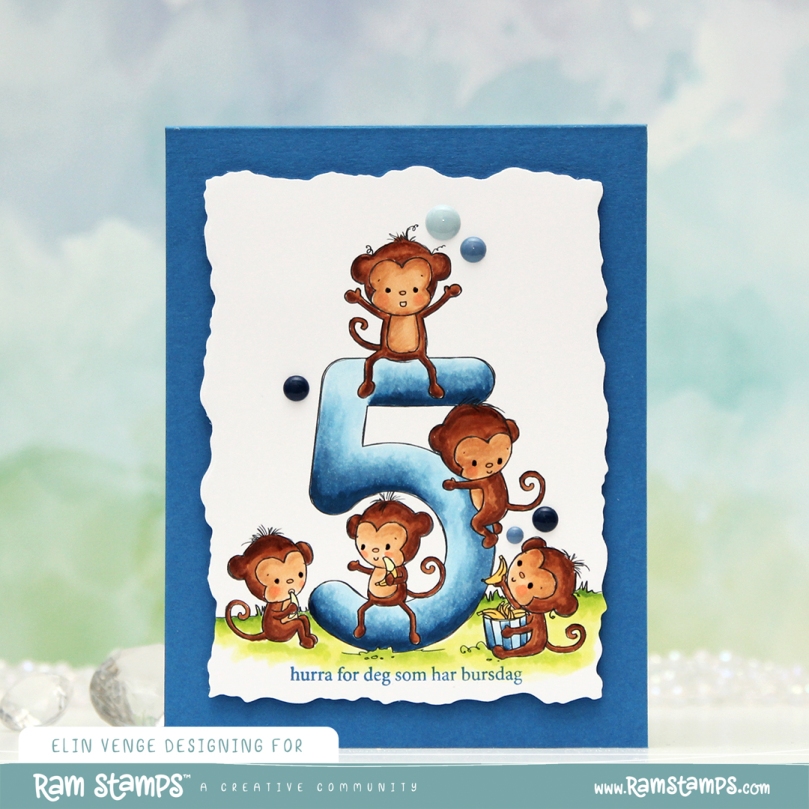 I did a lot of coloring the day I colored these monkeys. As you can probably tell by their fur, my markers needed to be reinked at this point. I could have chosen a different brown combo. I could have taken the time to refill my markers, but I had colored so much the day I colored this that I just wanted to keep coloring. I probably should have stopped and taken the time to refill or chosen a different combo that didn’t need reinking. This is a good reminder to reink your markers. You can be an amazing colorist, but if you don’t take care of your markers, your coloring will look uneven. I went with it anyway. The 5 year old getting this card is not going to notice that my coloring’s not perfect, and it doesn’t always have to be. I’m trying to let go of my perfectionist tendencies, and this was a good exercise. I will refill these markers before I use them again, though, don’t you worry.
 The card itself is very simple. I stamped a sentiment from the A06 stamp set from Norsk Stempelblad AS below the image, using Cornflower ink from My Favorite Things. I then used the second largest die in the Watercolor Rectangle STAX die set from My Favorite Things to turn it into a panel with a fun edge, before I added dimension behind it and adhered it to a top fold card base I created from Cornflower cardstock from My Favorite Things. I finished off the card with some enamel dots from Papirdesign.
 Simple color palette. And I really do need to refill those browns. Even E23 was giving me trouble.
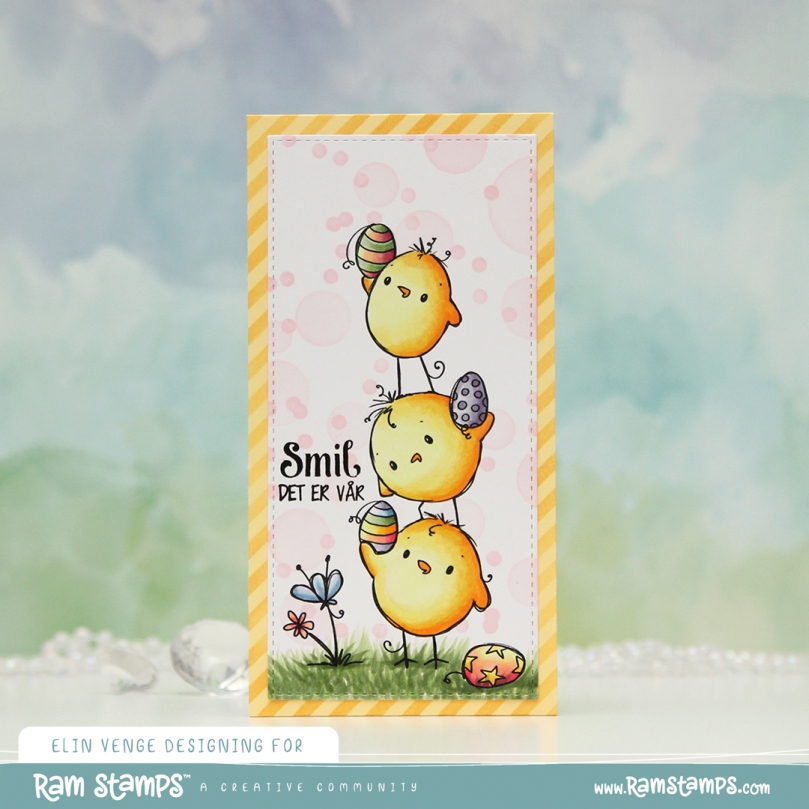 I created a mini slimline card this time. I figured it would go well with the tall, skinny image. This particular mini slimline measures 3 1/8 x 6 1/8″. I colored the image with Copics and used a die from the Stitched Mini Slimline STAX die set from My Favorite Things before I went over it with the Bokeh Elements Stencil Duo set from Waffle Flower and Rose Quartz ink from Altenew to create a soft background behind the chicks. I didn’t even bother masking them off, the pink ink was so light. I then trimmed down a piece of Lemon Tart cardstock from Papertrey Ink and used the Diagonal Stripe stencil from Simon Says Stamp with Scattered Straw Distress Ink to create some interest to the base as well. I stamped a sentiment from an Easter stamp set from Papirdesign (PD18390 Påske) using Obsidian ink from Altenew, and the card was complete.
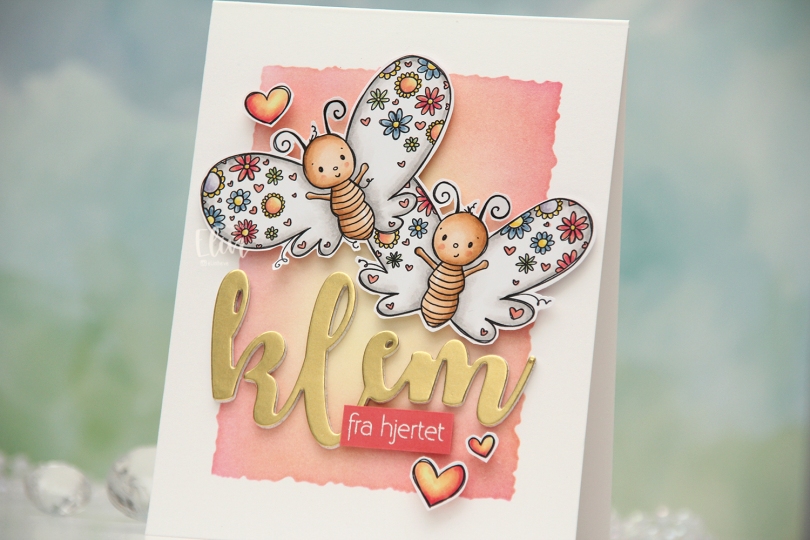
 I colored the butterflies (and the three hearts that are part of the image) with Copics and fussy cut them, leaving a thin white trim around the edge. Onto a top fold card base I created from Stamper’s Select White cardstock from Papertrey Ink, I ink blended the center of the card, using the Watercolor Rectangle stencil from My Favorite Things and various inks (Distress Ink Picked Raspberry, Distress Ink Worn Lipstick, Altenew Pink Pearl, Distress Ink Scattered Straw). I went with pink on the edge and yellow in the center to mimic the colors in the hearts.
 I die cut the word klem (hug) four times from white cardstock and once from Gold Shine cardstock from My Favorite Things, and stacked them for a layered look. I added foam tape to the back of my butterflies, adhered them top center on the card and put the stacked klem below them. I also added a sub sentiment from Norsk Stempelblad AS that I white heat embossed on a piece of Berry Sorbet cardstock from Papertrey Ink. I put a few layers of cardstock behind it for dimension and added it to the card, partly on top of the die cut, before embellishing with the colored hearts to finish.
 I colored my image with (a lot of) Copics, before using the second largest die in the Watercolor Rectangle STAX die set from My Favorite Things to cut it out. Onto a top fold white card base, I adhered a piece of patterned paper from the Rainbow Love paper pad from My Favorite Things. I added some dimension behind my colored panel and adhered it in the center of the card.
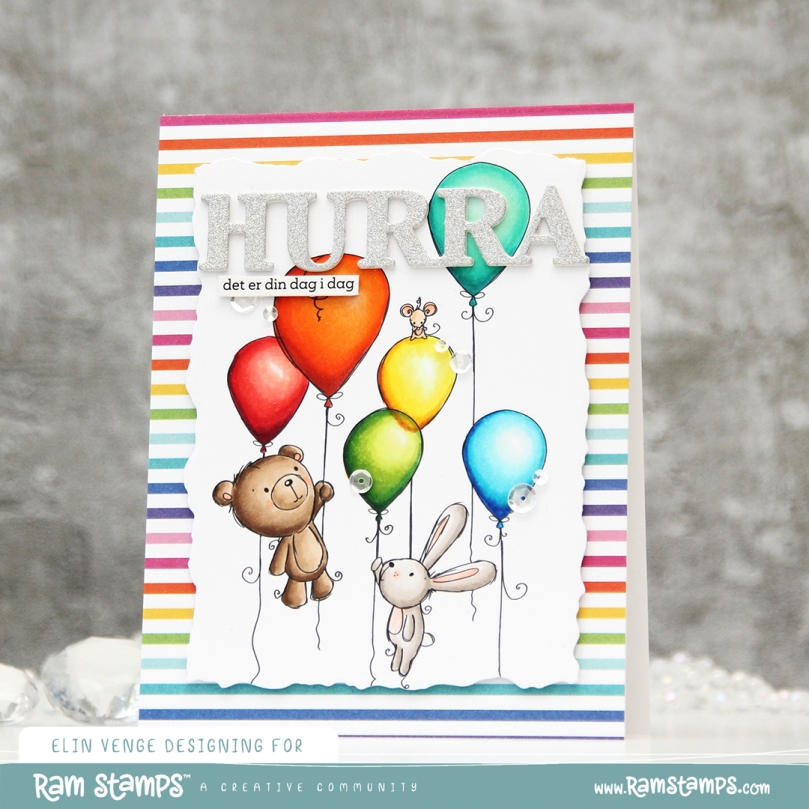 Using a die from Kort & Godt, I die cut three layers of the word HURRA; twice from white cardstock, and once from silver glitter cardstock from Kort & Godt. I stacked the three and adhered my layered die cut near the top of the card. I added a sentiment sticker strip, which I also popped up, before finishing off the card with sequins from the Seaglass mix from Simon Says Stamp.
 I used way more colors than normal for this card, and probably a few more than I technically needed. I probably could have skipped a couple of colors on the orange balloon, as well as on the teal balloon.
 I’ve used this image a few times in the past, but I’ve never colored the penguins blue, which kind of blew my mind when I realized. I decided to remedy that and created soft blue penguins and a corally pink scarf. I cut my panel down to a square, die cut a heart in the center using a die from Papirdesign and mounted the negative onto a square card base I created from Berry Sorbet cardstock from Papertrey Ink.
 Onto my colored heart, I stamped a sentiment from the Mini Messages stamp set from Mama Elephant using Berry Sorbet ink from Papertrey Ink. I adhered the heart to the card front and added a few sequins from the Starry Night mix from Little Things from Lucy’s Cards to finish my card.
 Oh, and before I forget, I used a super simple color palette for this one.
 As usual, I colored the image with Copics, cut my panel down a little on the sides and added Glossy Accents to all the ornaments. This time, I decided to use the
  My signature clean and simple cluster cards have been few and far between this year, and I thought a mini cluster would work well for this card. I started with a scrap of a mini paper doily from Doodlebug Design that I adhered to my colored panel with liquid glue. I die cut a couple of additional pieces using the Happy Days Ticket Stubs die from XCut. This is one die that cuts nine different tickets, and it’s one I use a lot. I cut one from the light blue gingham patterned paper, and the other one from a scrap piece of patterned paper from Kaisercraft. I put them both on foam squares for dimension. The sentiment is from the Itty Bitty Holiday stamp set from My Favorite Things, stamped and white heat embossed on a piece of Autumn Rose cardstock from Papertrey Ink, which I then die cut into a strip with flag ends using a die from the Itty Bitty Strips die set from My Favorite Things. I finished off with a few sequins from the Ice Water mix from Little Things from Lucy’s Cards.
 A very simple color palette for this card. I started out with blue ornaments, but once I printed the patterned paper, I realized they needed to have a green tinge and went over the blue with BG32 and G00.