Hi, crafty friends! Is it too early to think about Christmas cards? I know there are lots of people who don’t like creating holiday cards this time of year, and I totally get it. I, myself, am an all year Christmas card maker. My problem for the past couple of years hasn’t been creating the cards, but getting them in the mail. I’ll try to be better this year, we could all use the extra joy that fun mail brings, right? If I want to send cards, I also need to create some, and this Peeking Reindeer from Mo Manning was so cute, I couldn’t resist. It was the November 2025 freebie over on her Patreon.
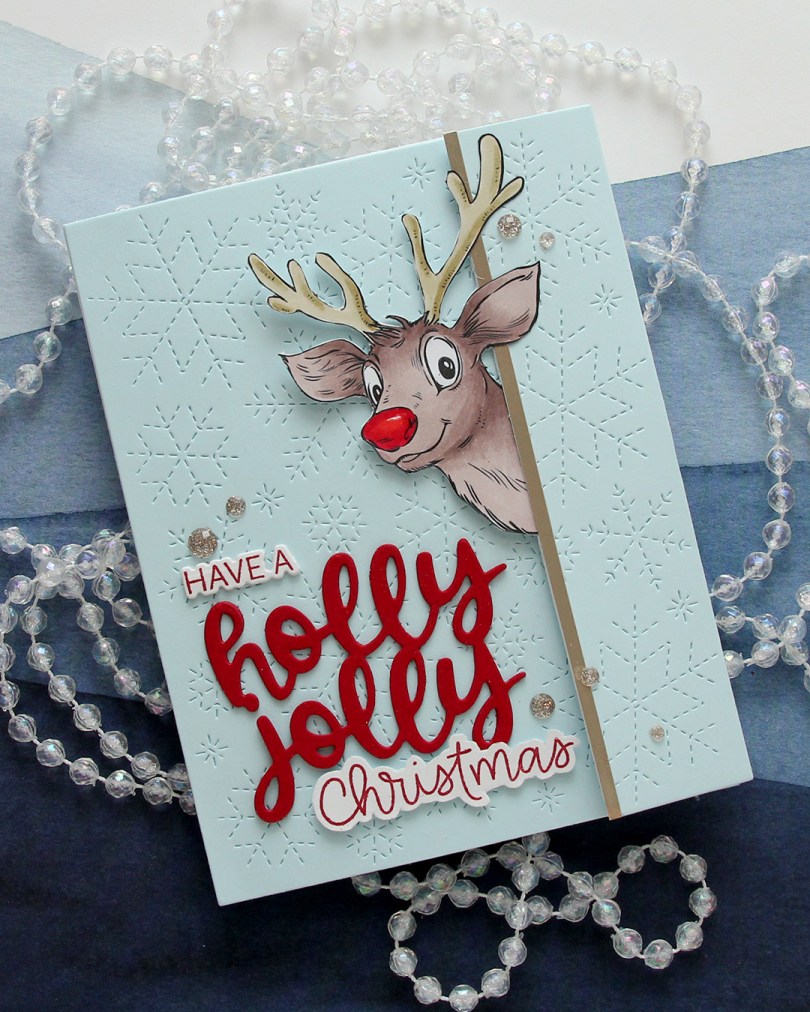
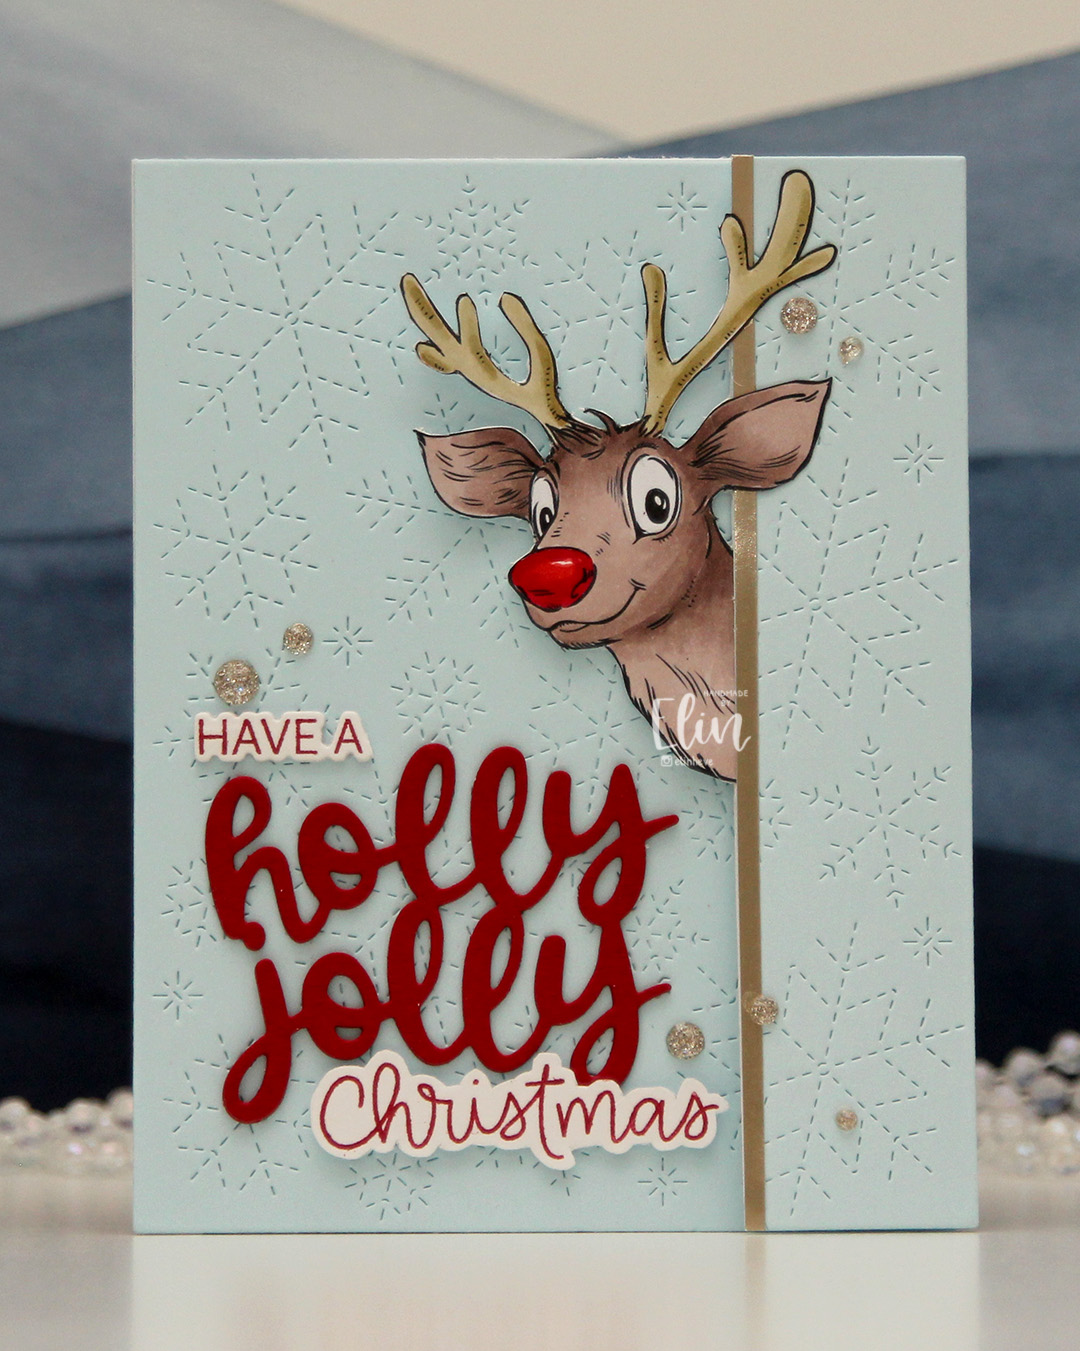 I created a tri fold card this time, with the reindeer peeking out from one of the folds. I couldn’t resist a red Rudolph nose, even if that makes my card inaccurate in its reindeer portrayal. Only female reindeer have antlers in the winter, so this is technically a female reindeer. It’s not like a red nosed reindeer is all that believable to begin with, so I guess it doesn’t really matter, it’s just a fun little tidbit.
 For the blue background, I used Powder cardstock from Concord & 9th. I used the Stitched Snowflake Backdrop die from Lawn Fawn to create some interest in the background. I die cut the a sentiment from the Jolly Holiday Greetings die set from Concord & 9th using Cranberry cardstock, also from C9. I stacked three layers, stamped part of a sentiment (have a) from the Christmas Wishes stamp set from My Favorite Things and the word Christmas from the Scripty Xmas stamp set from Mama Elephant, both in Cranberry ink. I die cut the have a with the coordinating die and fussy cut around the Christmas (there’s no coordinating die for this set), and put the three parts together to form a complete sentiment.
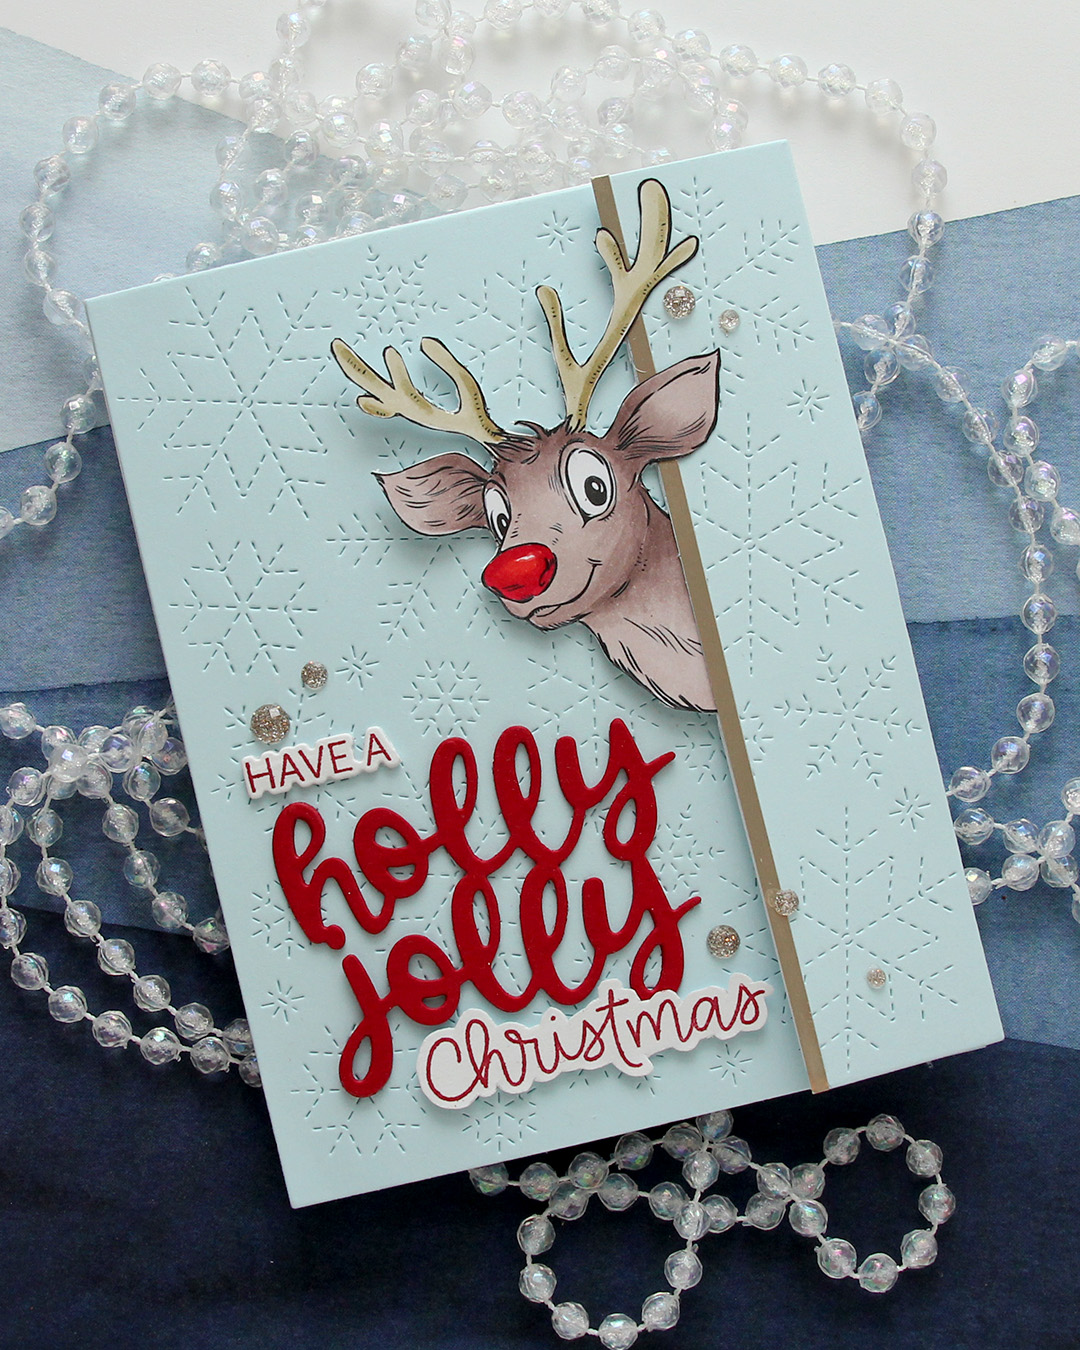
 I added a strip of Champagne cardstock from C9 to the edge where Rudolph (not really Rudolph) is peeking out, to emphasize the edge of the panel that opens. I scattered a few Champagne glitter drops from Pinkfresh Studio for a little bit of embellishment.
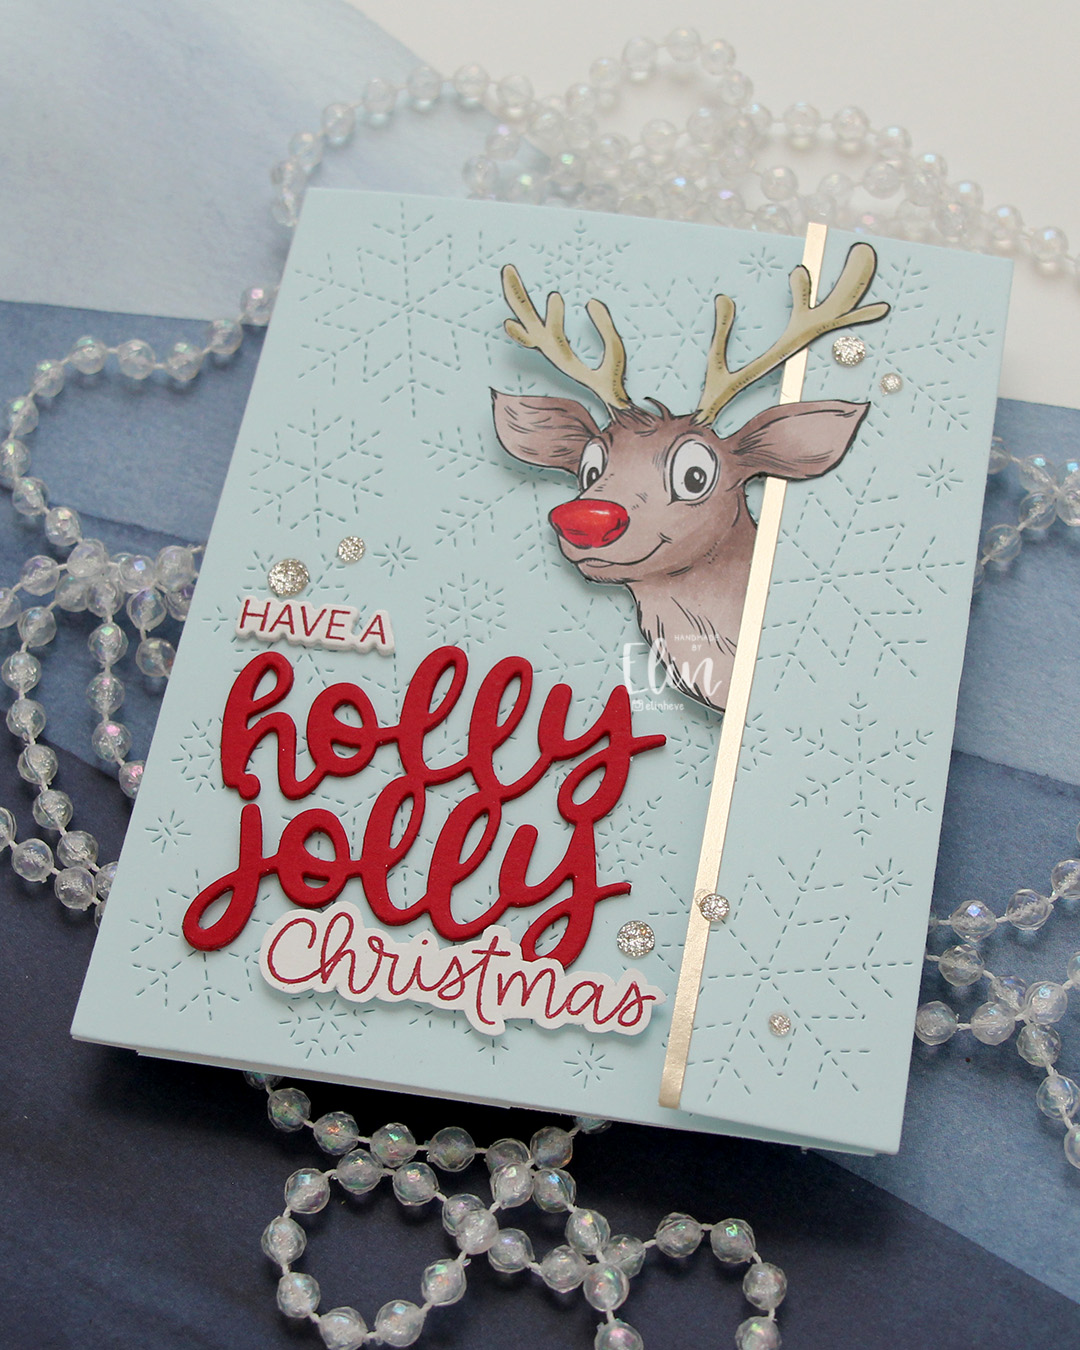
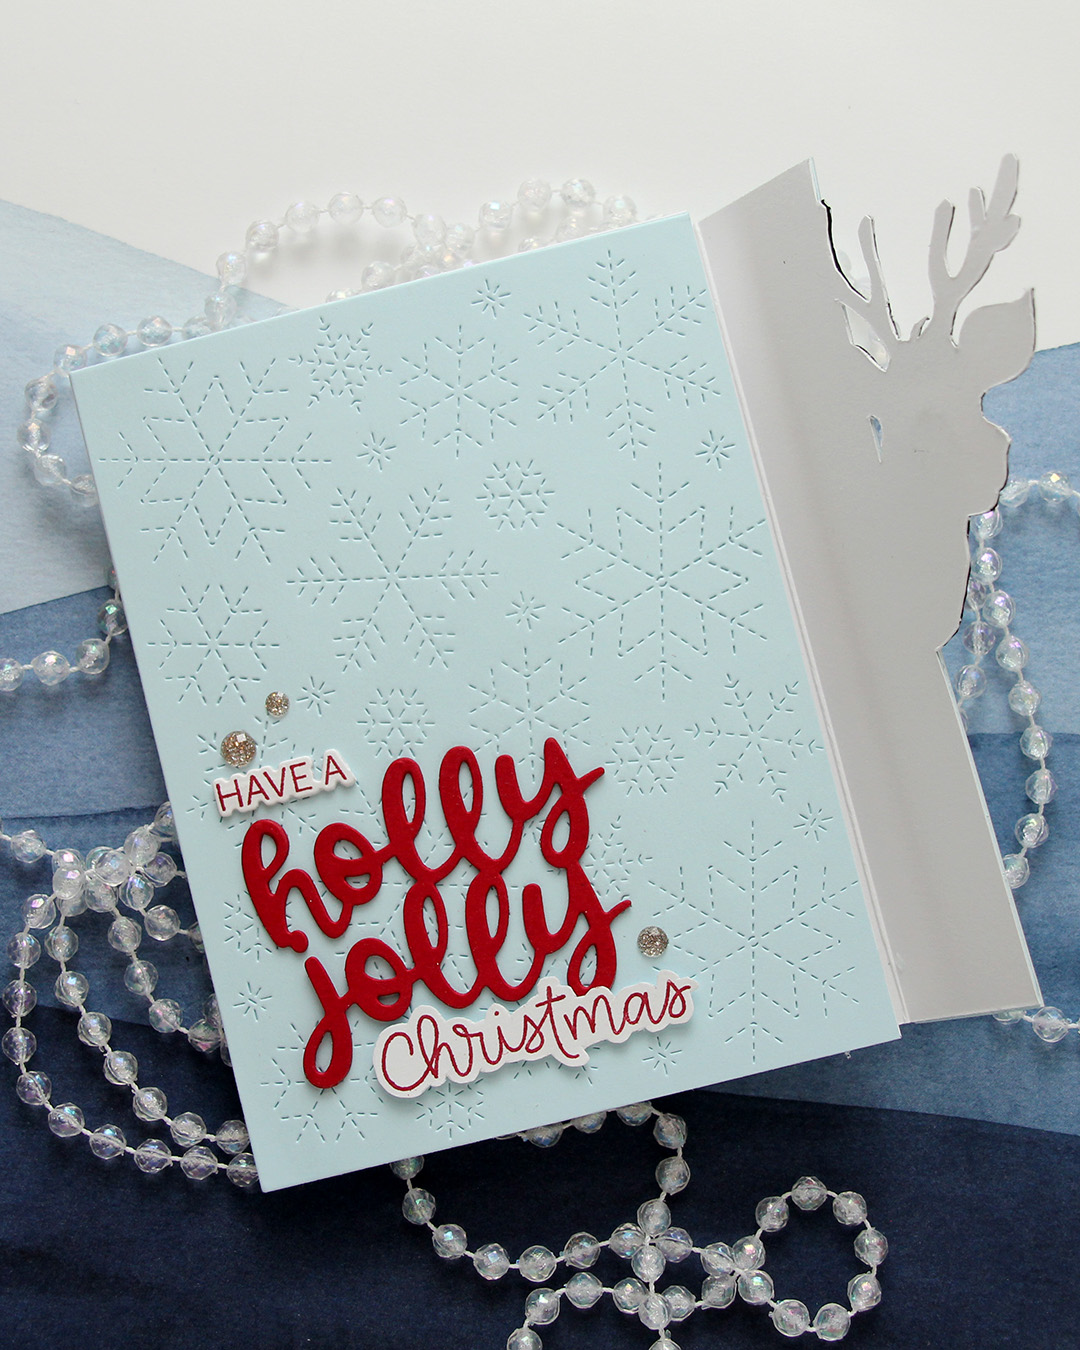 When you lift the flap with Rudolph (not Rudolph), you’re left with a regular side folding card. I’ve hidden magnets so Rudolph (not Rudolph) keeps the flap closed until it’s time to open the card.
 This one has a super simple color combo, there’s was very little coloring to do on Rudolph (not Rudolph).

 I stamped the pig, masked him, then stamped the Congrats from the
  Once I had the pig and the letters colored in with my Copics, I used the Bunch of balloons stencil from Concord & 9th to add a bunch of balloons to my background. I used Harbor, Lemongrass and Oceanside inks, all C9 colors and a light touch with my blender brushes.
 I created a 4 1/2 x 4 1/2″ top fold card base from Soft Stone cardstock from Papertrey Ink. This is a very soft grey and it’s great as a subtle neutral color. I created strips of varying widths from Oceanside, Lemongrass and Harbor cardstock from C9 and adhered them horizontally near the bottom of the card base, before mounting the panel with the pig in the center of the card using foam tape.
 I stamped a sentiment from the
  I didn’t use a ton of colors for this one.
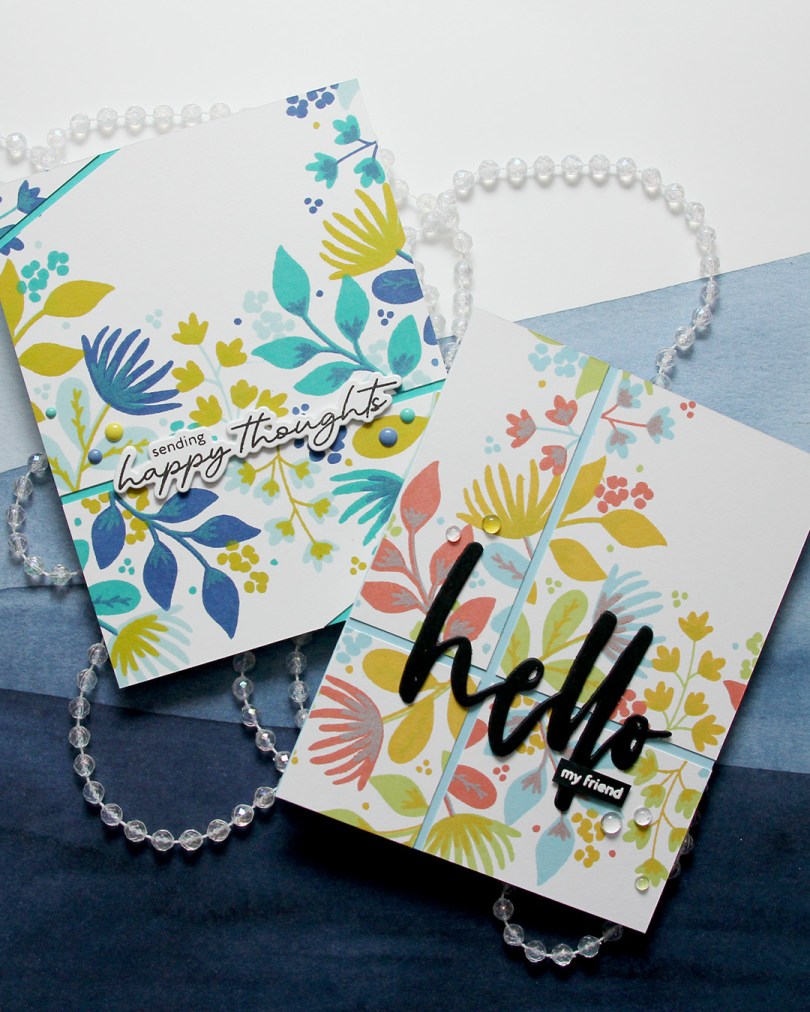
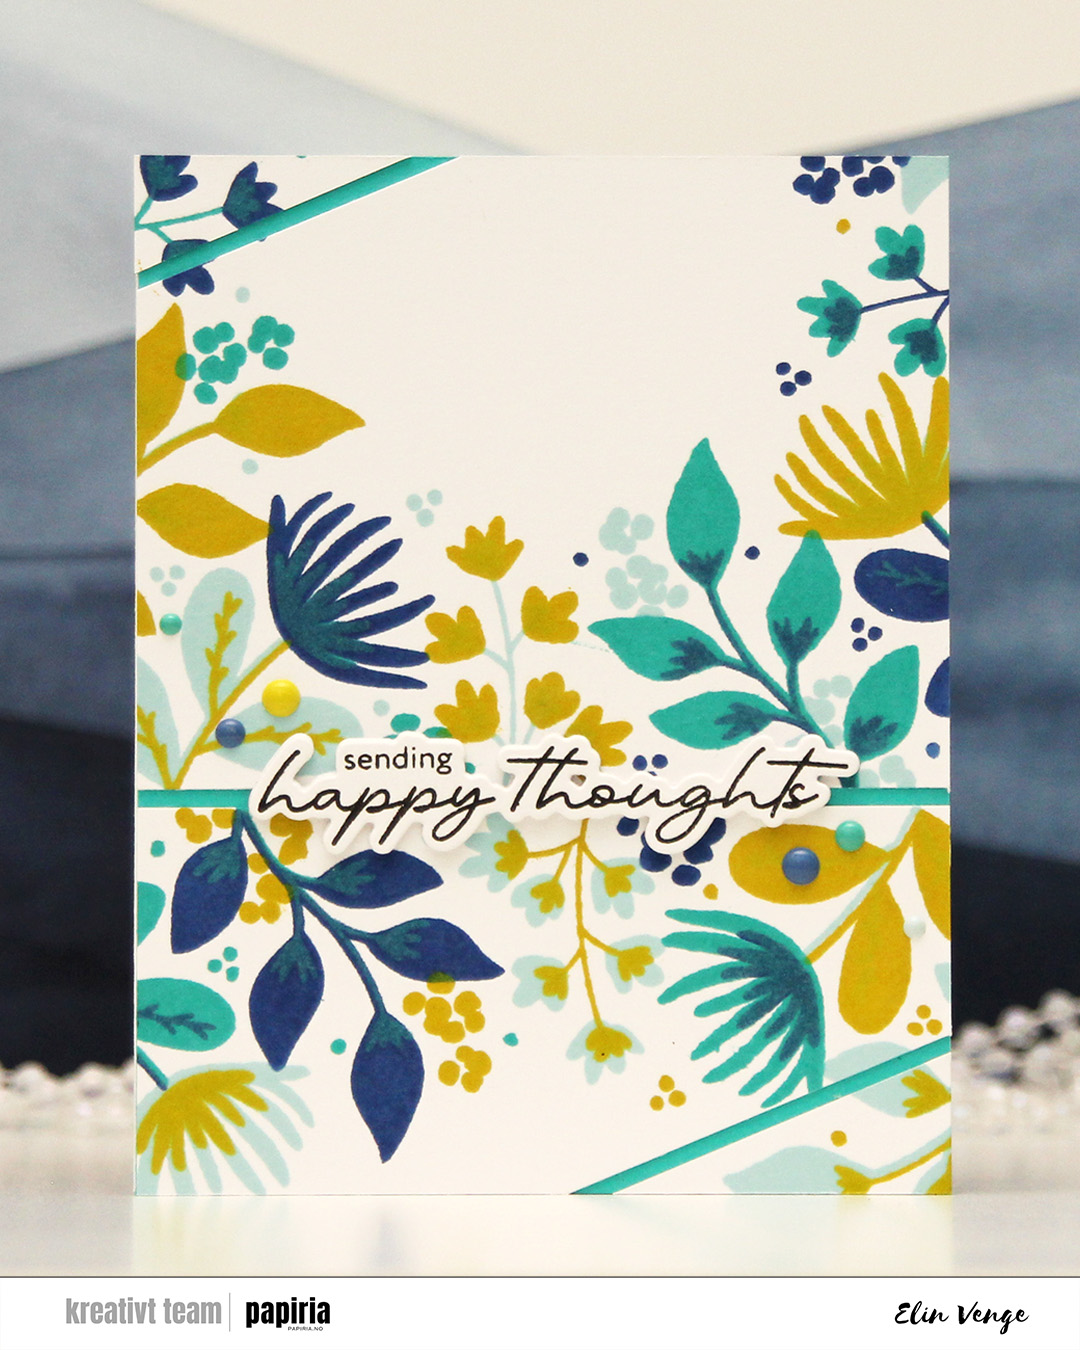 First up is this one. I chose an analogous color combo of Powder, Blueberry and Oceanside inks from C9, and a pop of Lemongrass for a somewhat contrasting color as my fourth. I cut the stamped panel in two, and then cut diagonal lines on each of my two pieces.
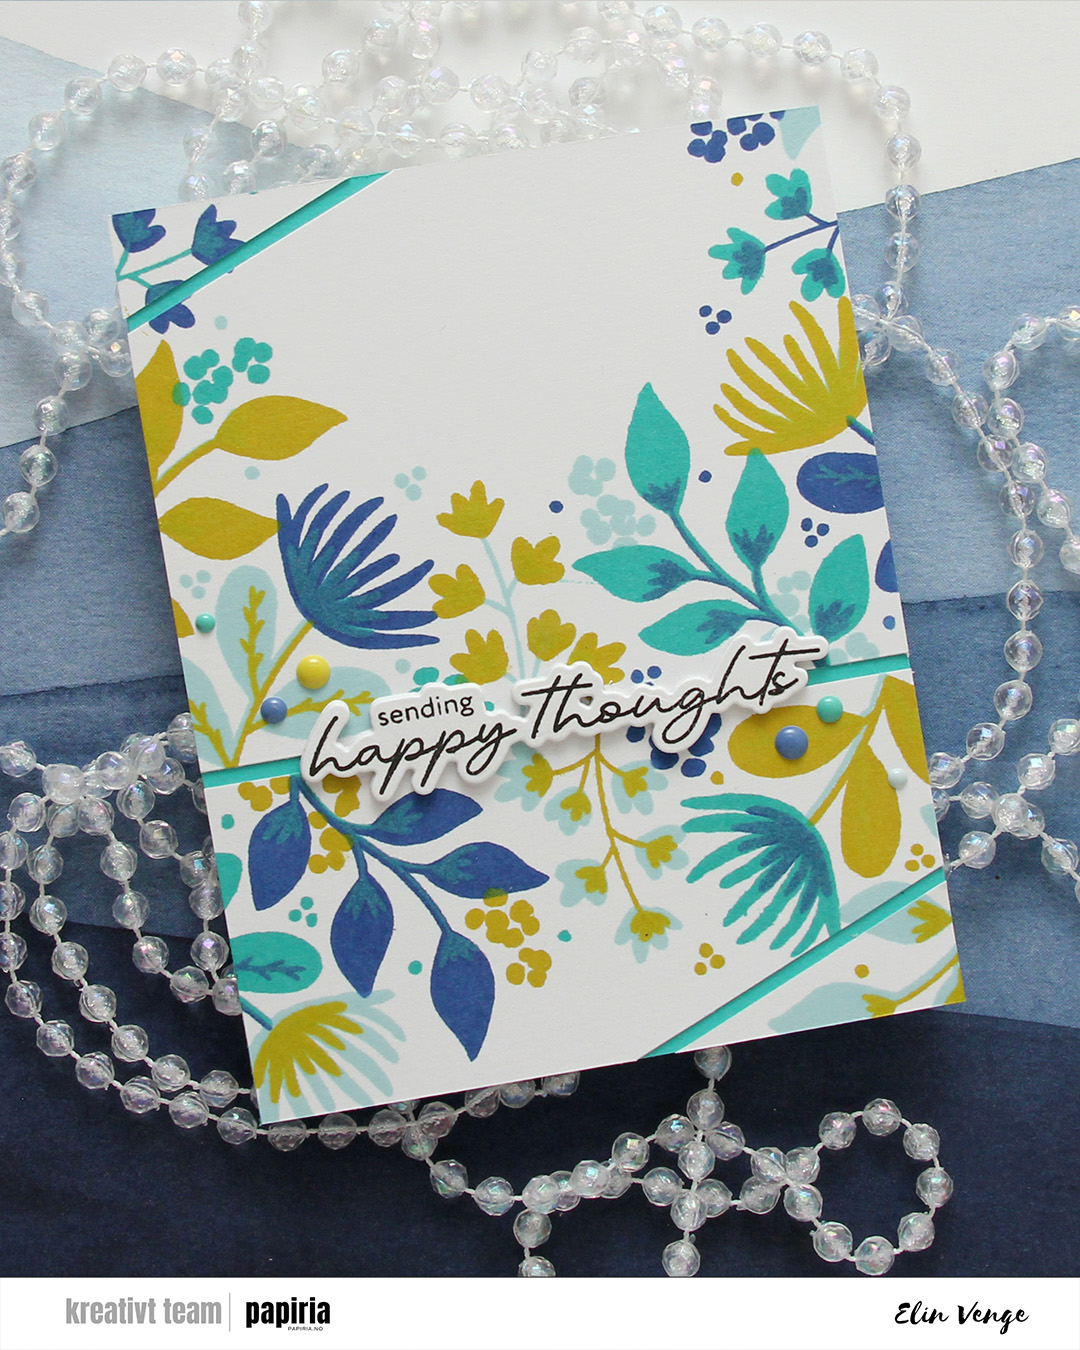 I covered a card base with Oceanside cardstock and adhered my panel pieces on top, leaving a gap between them so the Oceanside cardstock would show through.
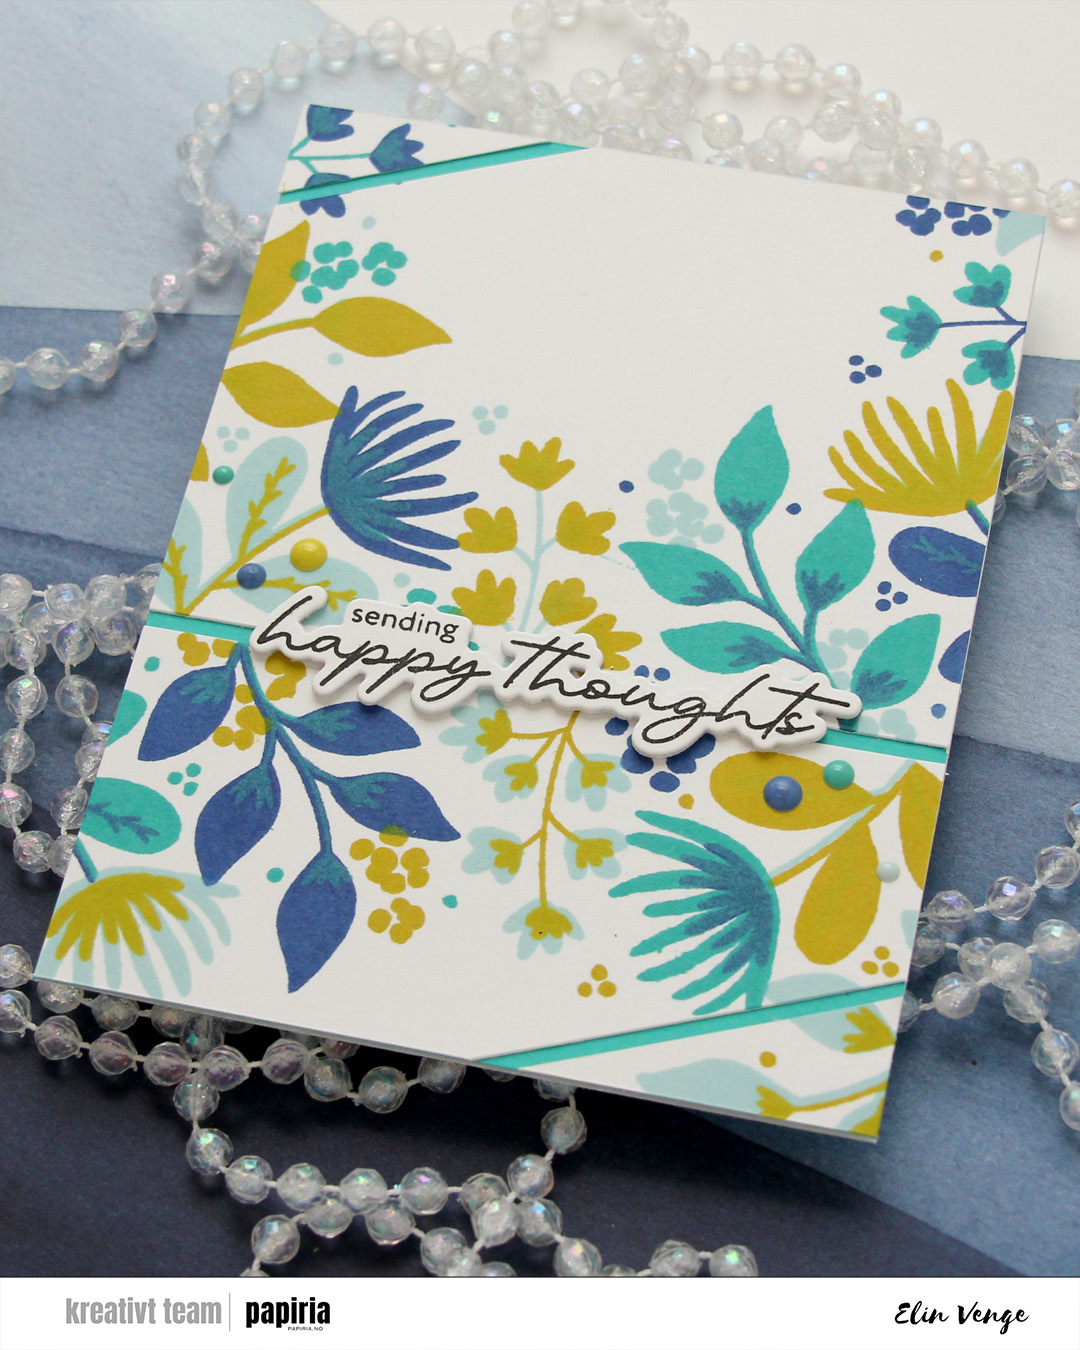 I stamped a sentiment from the Serene Blooms stamp set from Altenew using Obsidian ink from Altenew, and die cut it using the coordinating die. I stacked another three die cuts behind the sentiment for some dimension, and adhered my stack on top of the opening between the two largest pieces of the stamped background, before finishing off with enamel dots from C9 in the same colors that I used for the stamping.
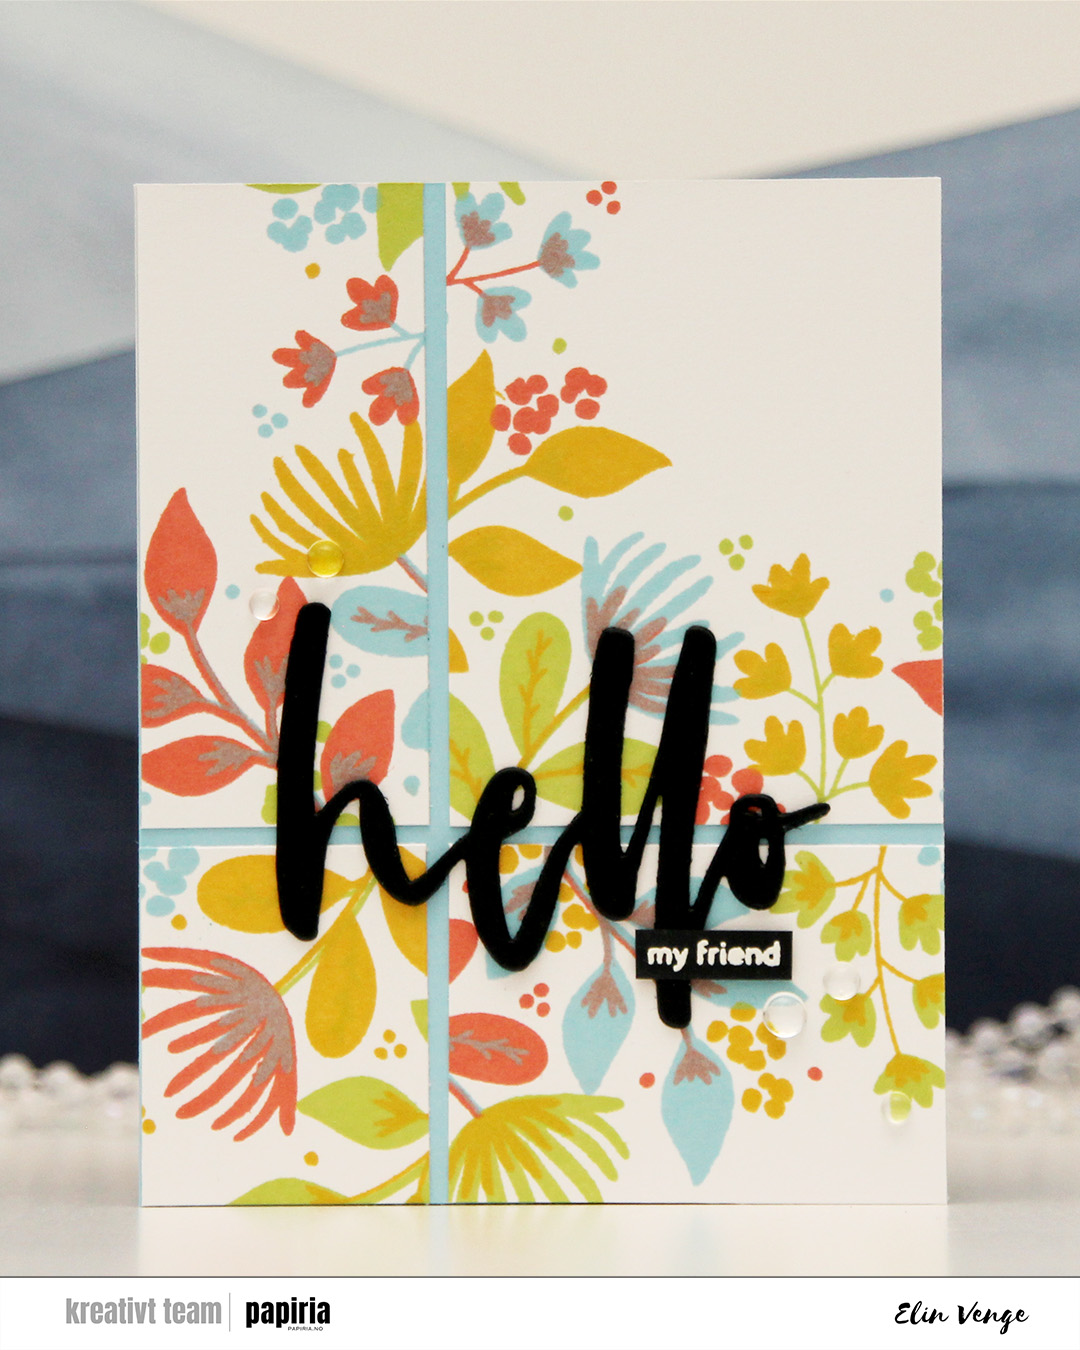 My second card features the same technique of cutting up the finished piece into smaller bits. Here, I used Sprout, Sunflower, Sorbet and Harbor inks, which makes for a way more colorful background (it’s basically a green, a yellow, a red and a blue).
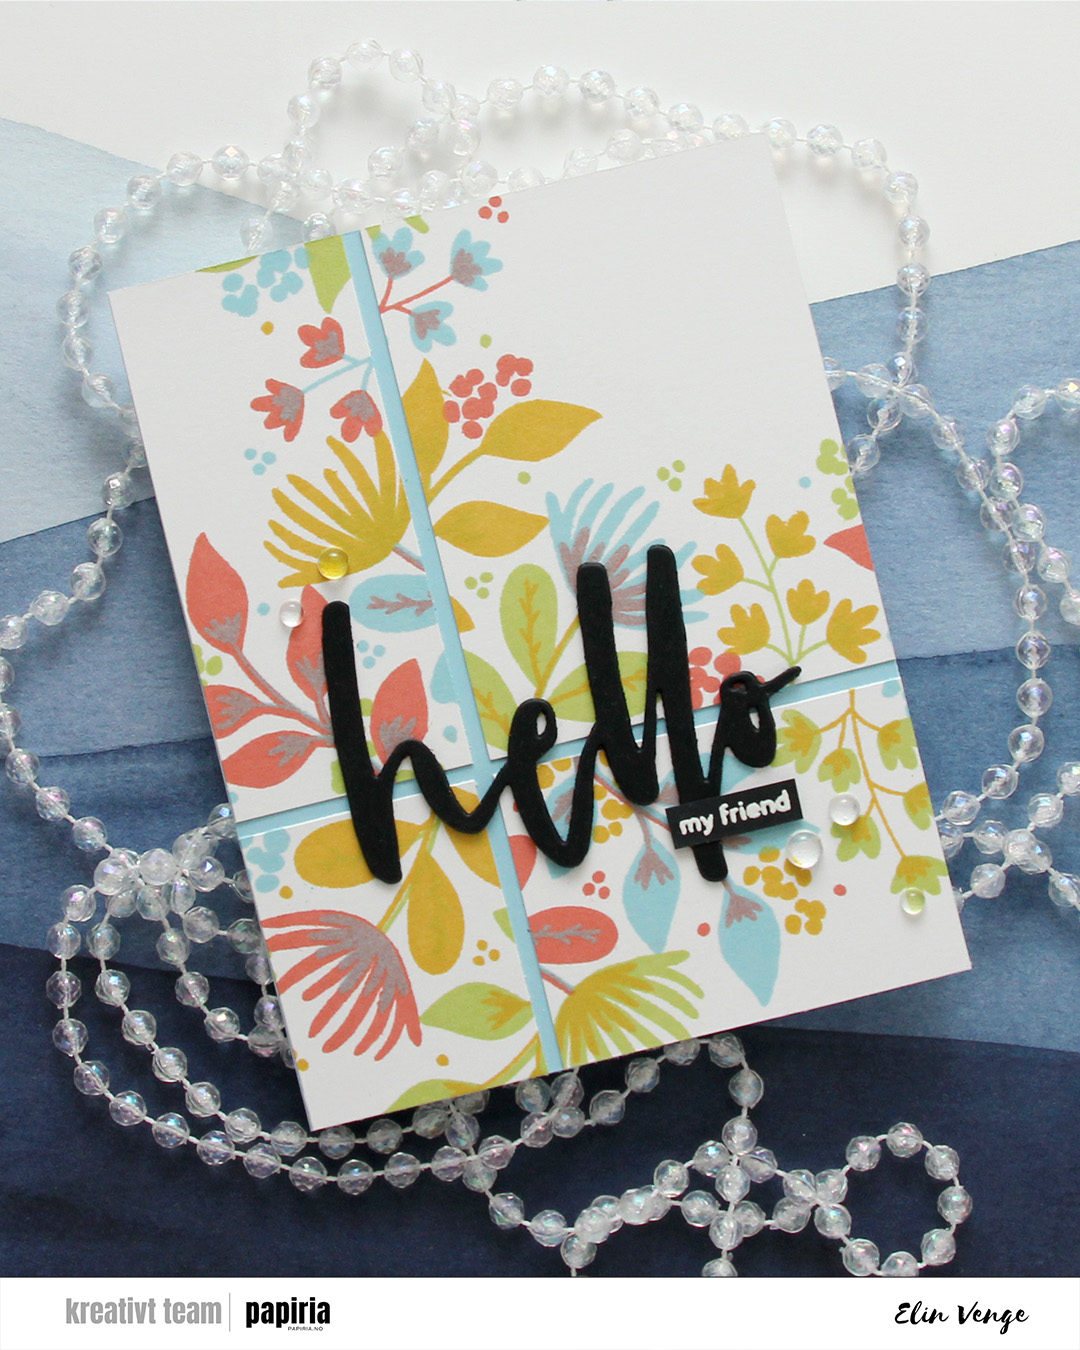
 I used the Waterbrush Hello die from Altenew to create my sentiment for this card. I stacked three black die cuts for a bit of dimension and stamped and white heat embossed the sub sentiment from the Serene Blooms stamp set from Altenew. I’ve just replaced my VersaMark pad, so the letters are a bit thicker than I’d like, but i really did need a new pad. I finished off with a few dew drops from C9. There was a lot going on with the background already, and the dew drops are a bit more subtle.
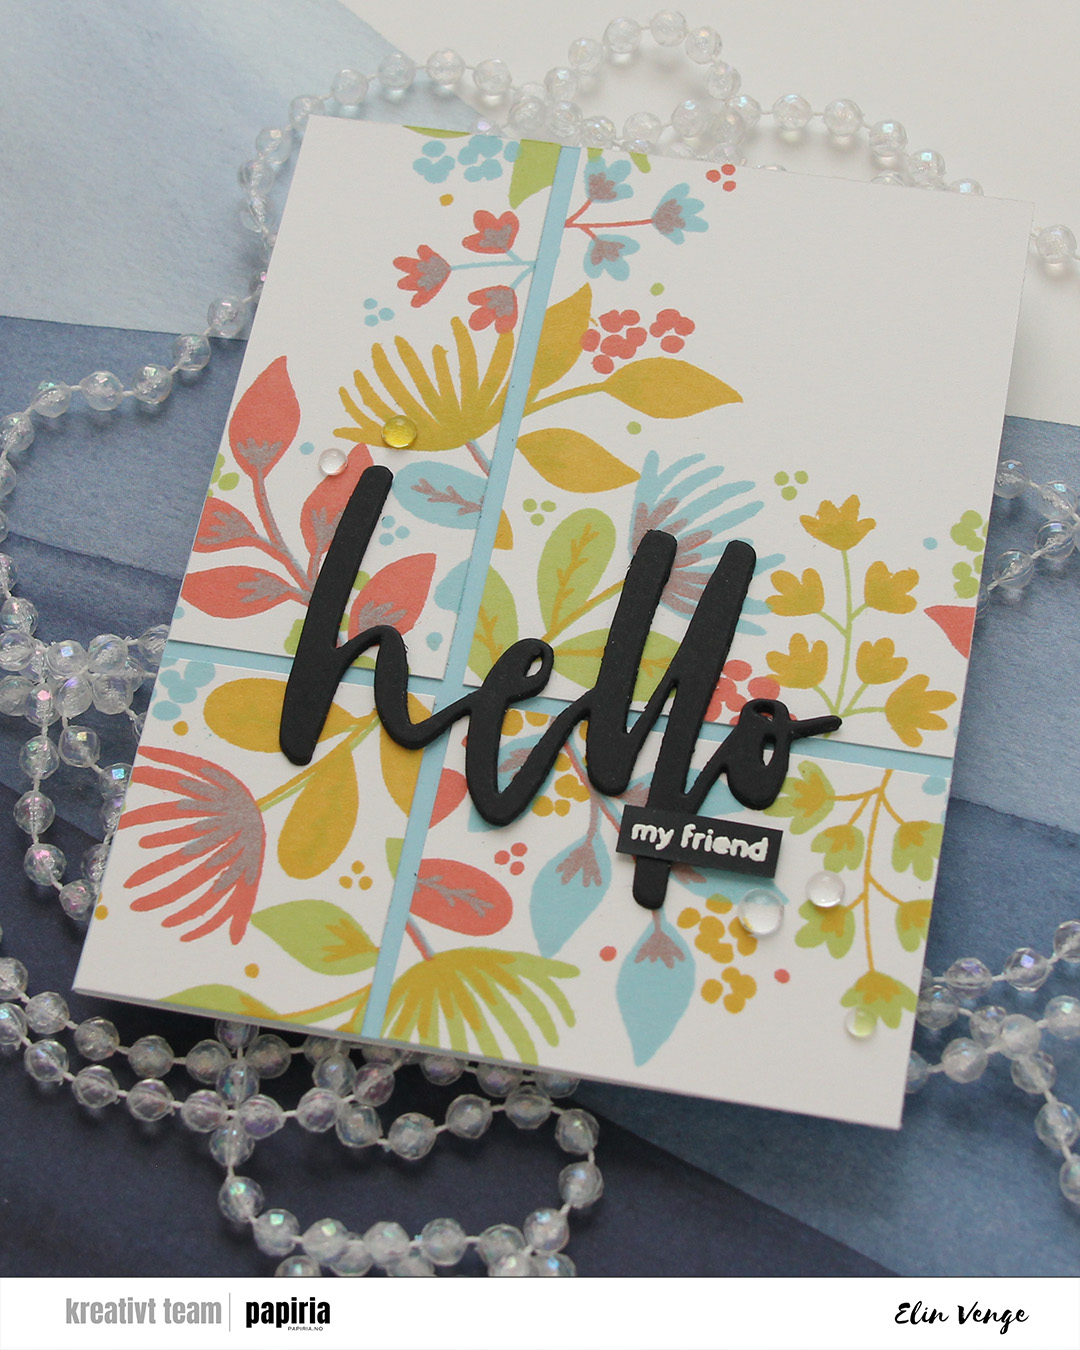
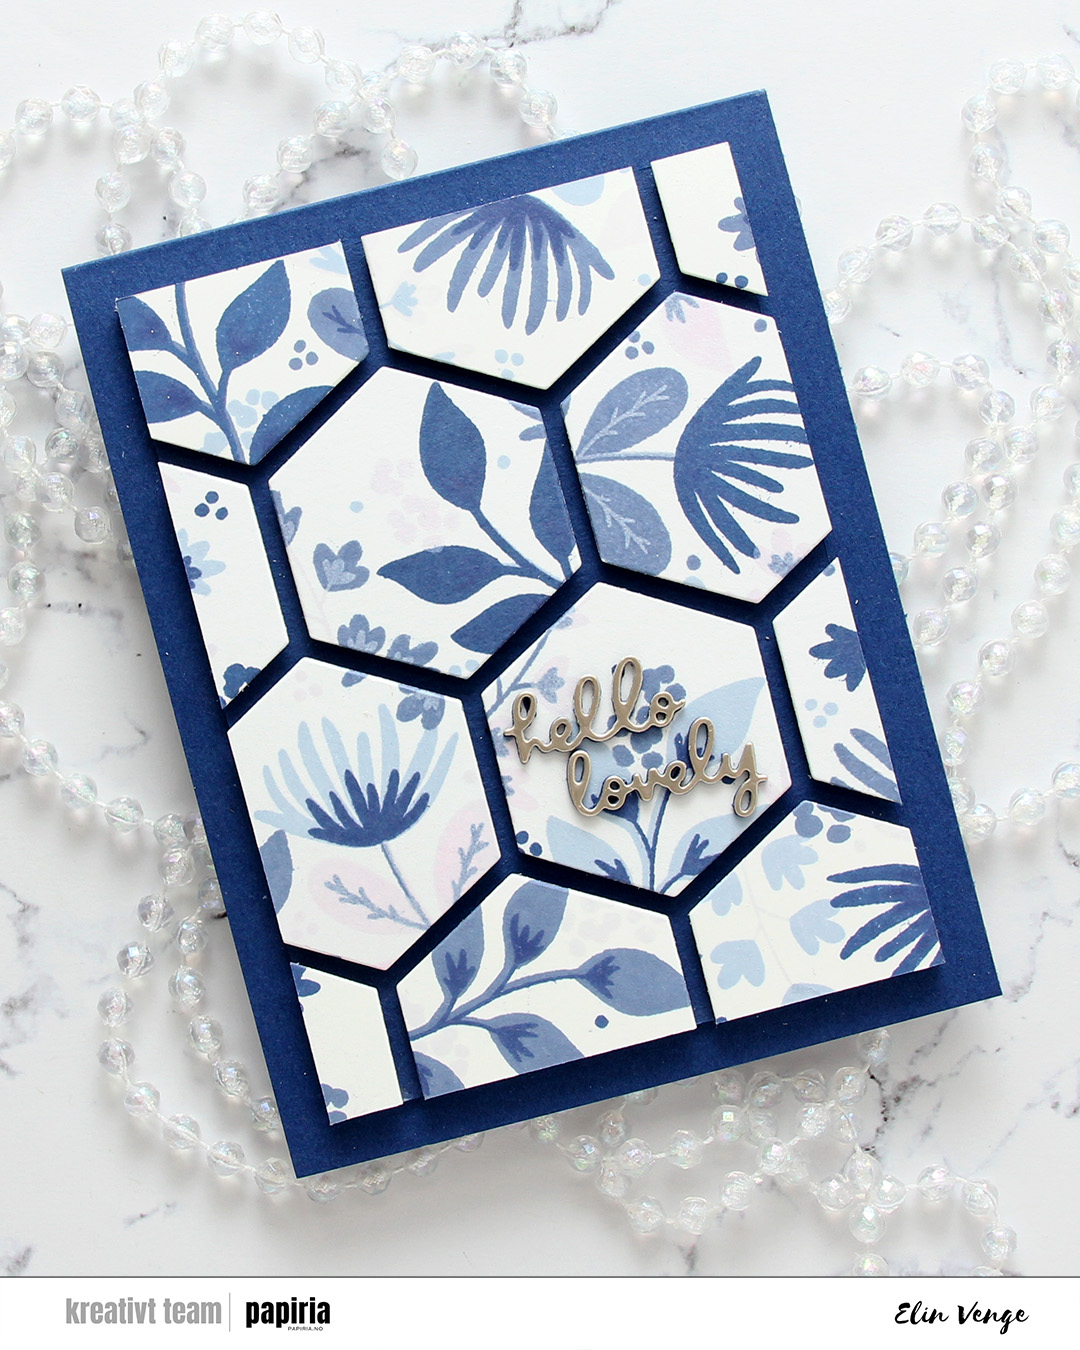 The final card is very different. For this one I had two full panels that I’d stamped with the Northern Shore bundle of fresh dye inks from Altenew (Polar Bear, Icy Water, Winter Lake and Arctic Mountain). I used the hexagon die in the Wild Meadow die set from C9 to cut as many hexagons as I could from the two panels and mounted them on foam tape to a piece of Blue Beyond cardstock from My Favorite Things. I then chopped off a bunch on all four sides for a nice border and adhered it to a card base I created from the same color.
 The die cut sentiment is from the Just picked die set from C9. I die cut two layers from blue cardstock and the top layer from Champagne cardstock from C9, adhered my sentiment in the center of one of the hexagons and decided to skip embellishments for this card. There’s a lot going on already with all the hexagons and dimension, I felt like the card really didn’t need more.