Hi, everyone! I have a few cards to share today, all of them using just a few products. The Happy Birthday collection from P13 has some great images that are perfect for quick, easy birthday cards.
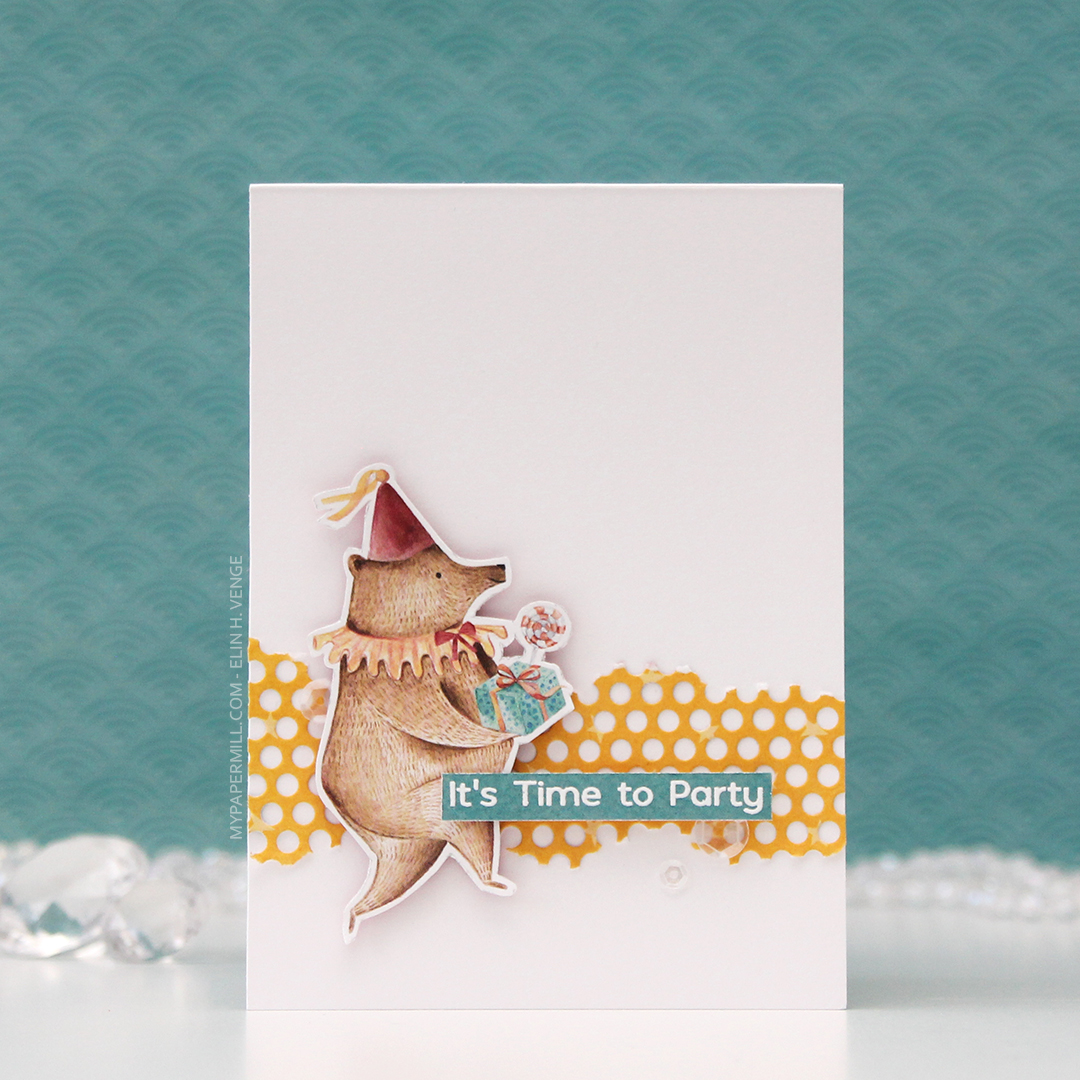 I’m starting with this bear, ready for a party! The papers in the P13 collections don’t have individual names, they just have numbers, and I fussy cut this bear from 05. I die cut a piece of 01 using a die from Papirdesign, tearing the edges for an uneven look and glued it straight onto my 4 bar top fold card base, before adding the bear with foam tape for dimension.
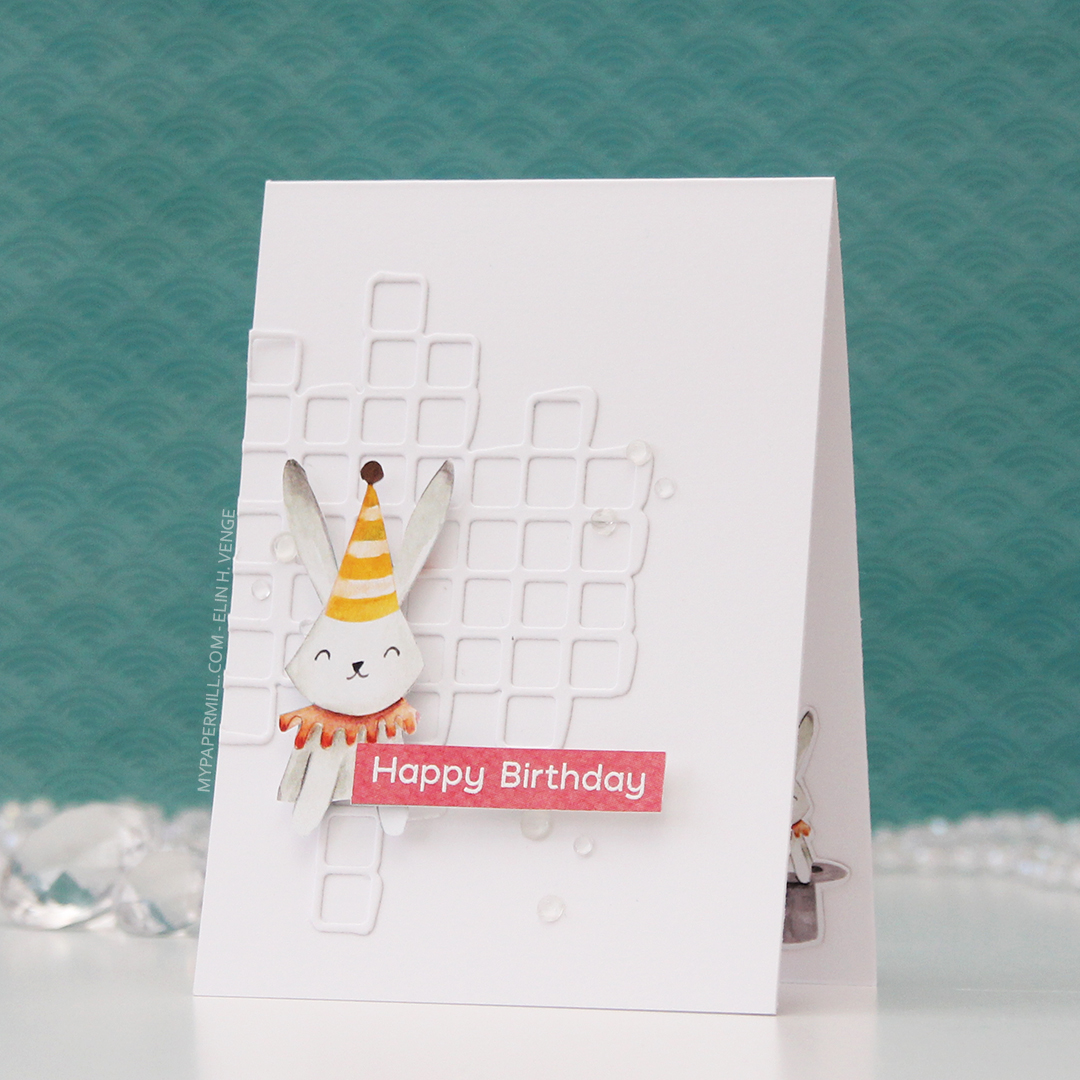
 03 in this collection from P13 has wide, diagonal stripes in different colors. I cut it down to strips, and used them to emboss my sentiments to get the perfect color matches. The sentiment on this card is from the Bitty Bears stamp set from My Favorite Things. I added the sentiment strip using foam tape, and finished off the card with some sequins from the White Orchid Sequin mix from Little Things from Lucy’s Cards.
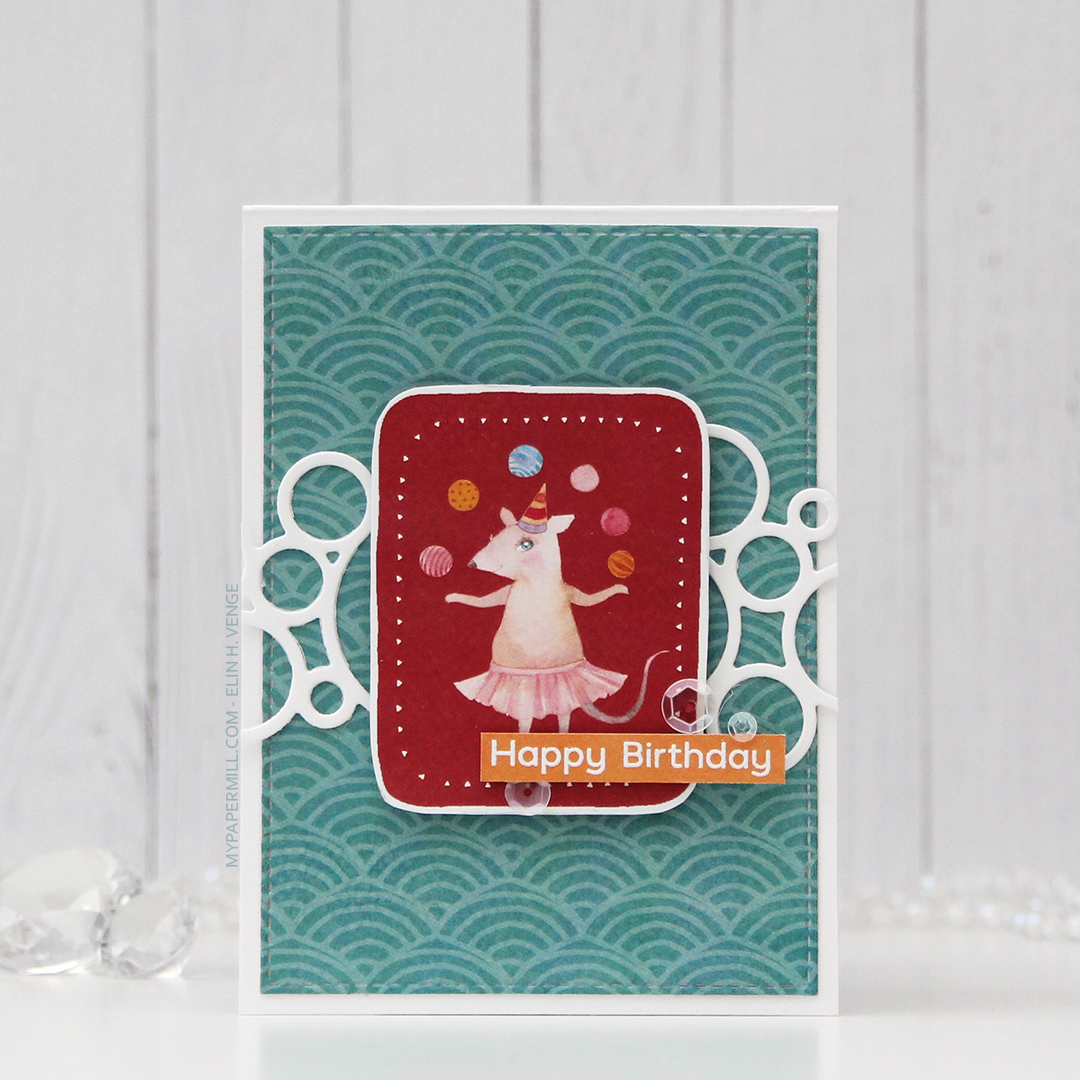
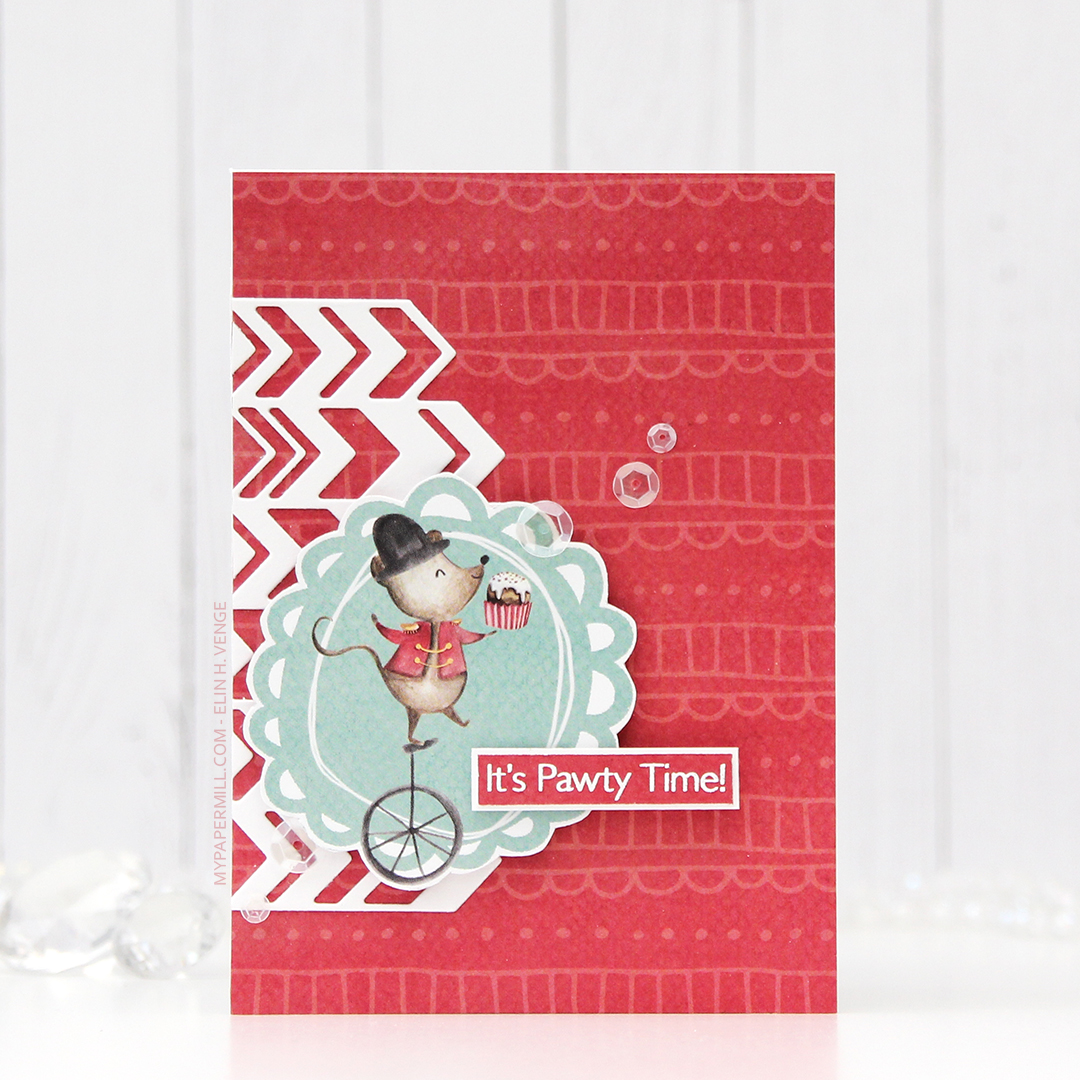 For my second card I covered the entire card front with the back of the 05 sheet. Most of the papers in this collection have lots of images on the front, and are more plain on the back, of course with colors that coordinate. The little mouse on a unicycle is from the 02 sheet, and again I used 03 to stamp my sentiment on. This sentiment is also from My Favorite Things, it’s from the Pawty Time stamp set.
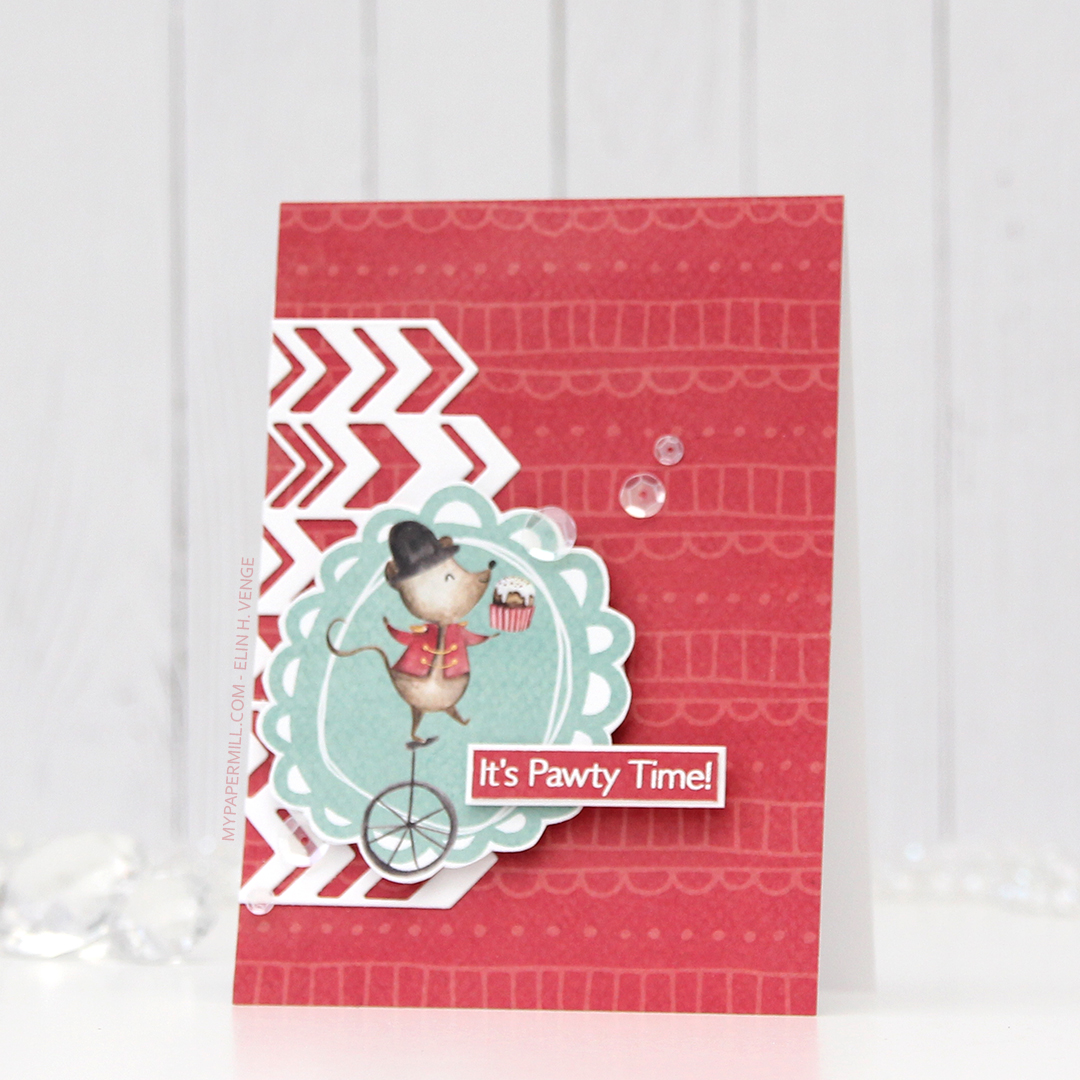 I die cut a chevron pattern from white card stock using a die from Papirdesign and adhered it directly to my patterned paper card front, before popping up the image on foam tape, and the sentiment on even more foam tape. Again I added sequins from the White Orchid Sequin mix to finish the card.
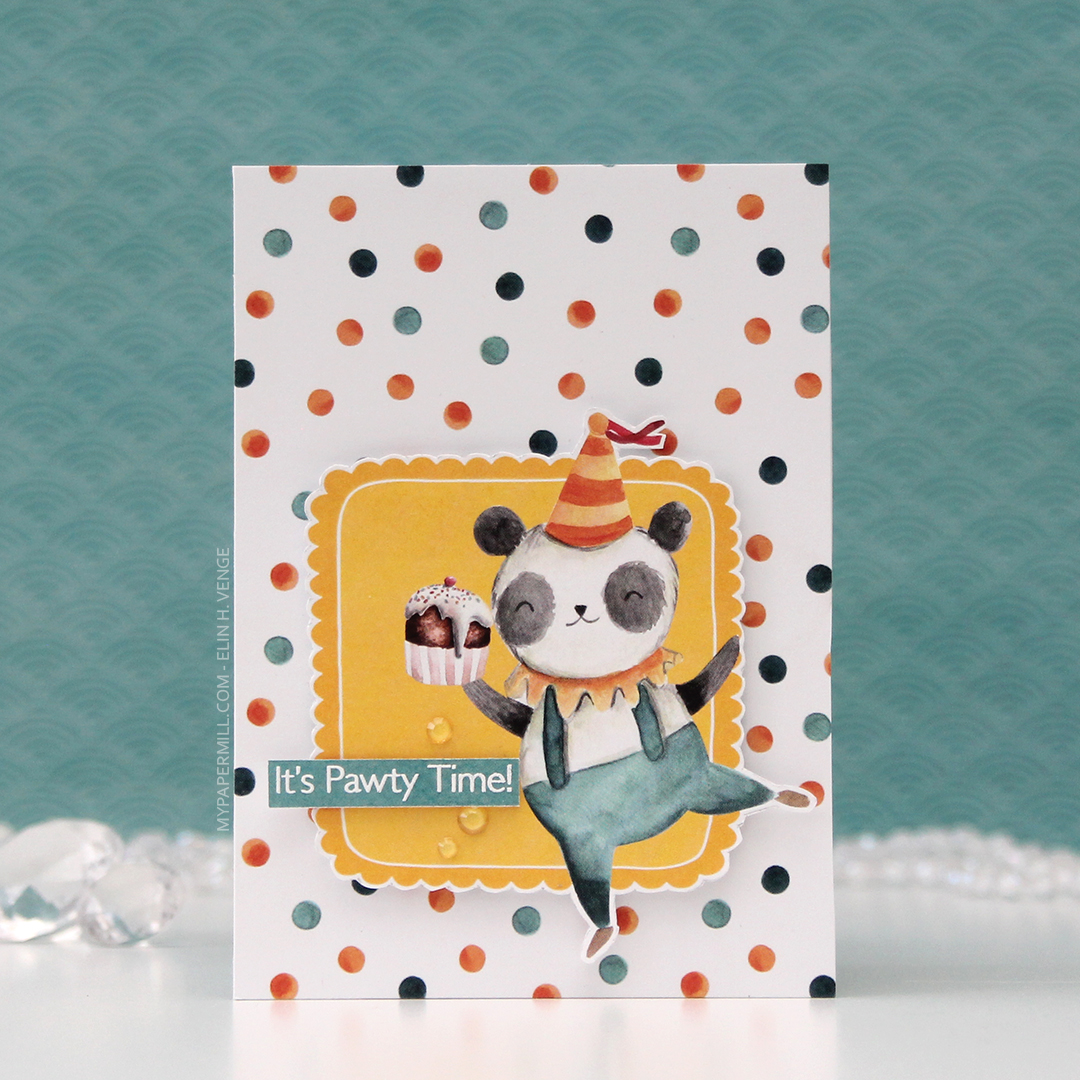
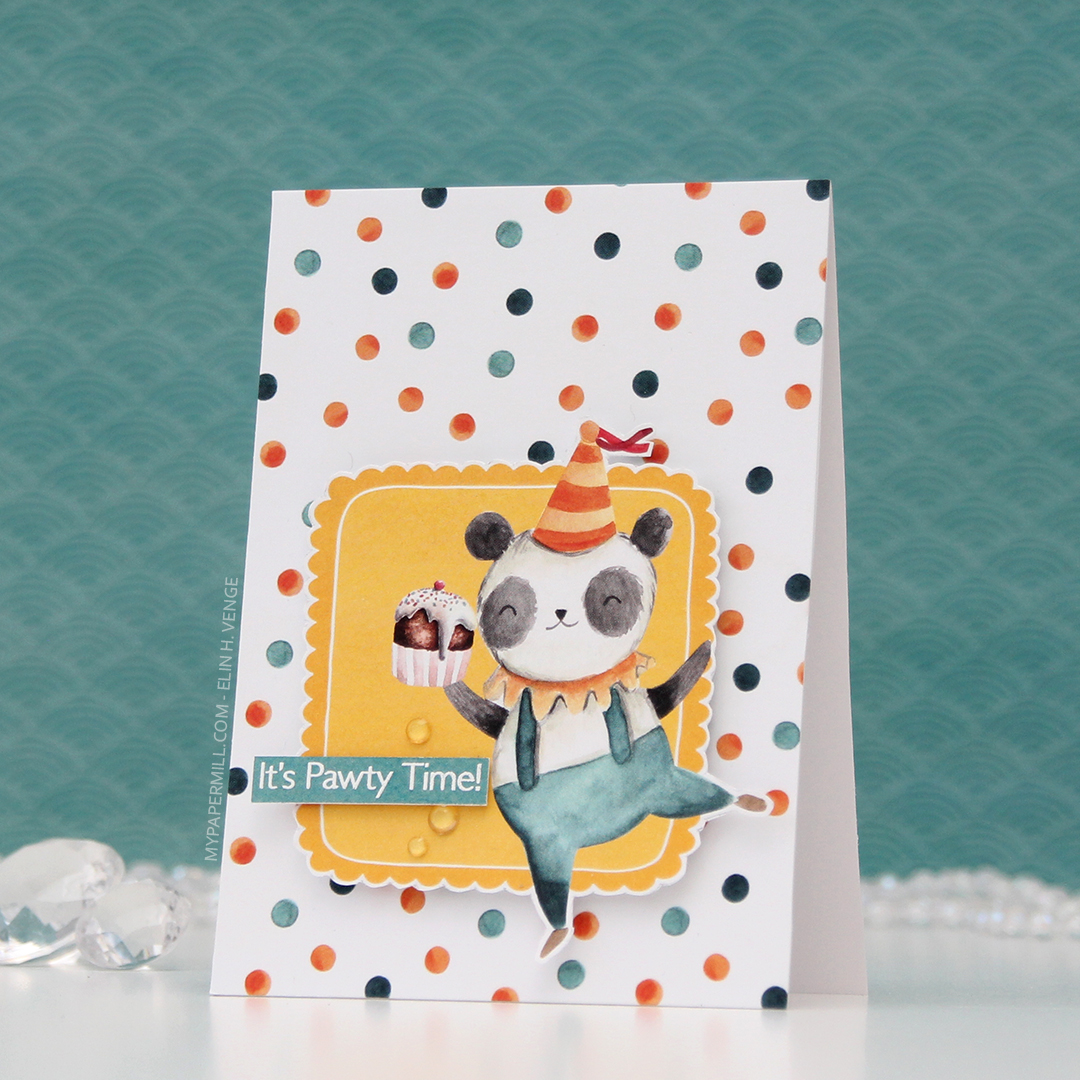
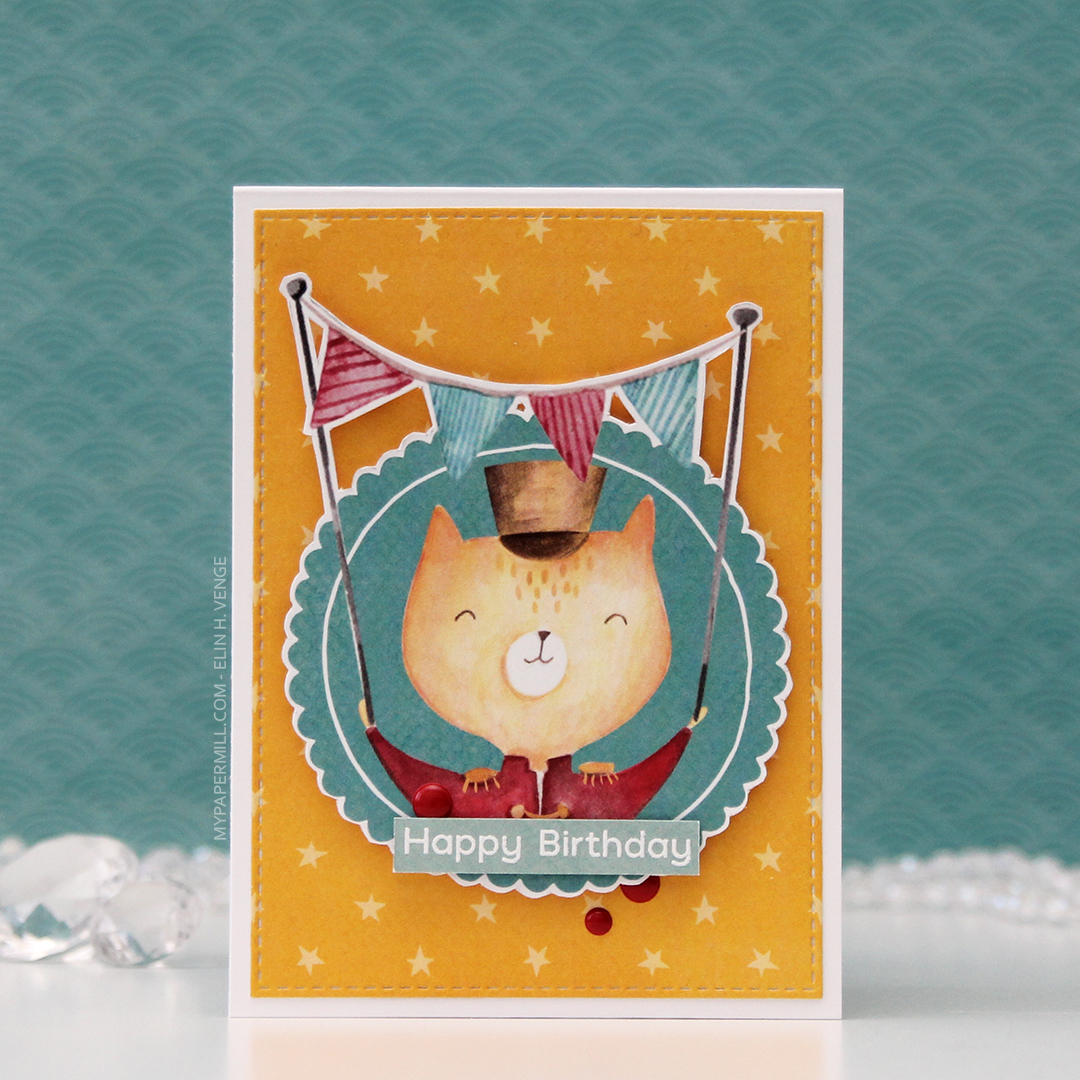
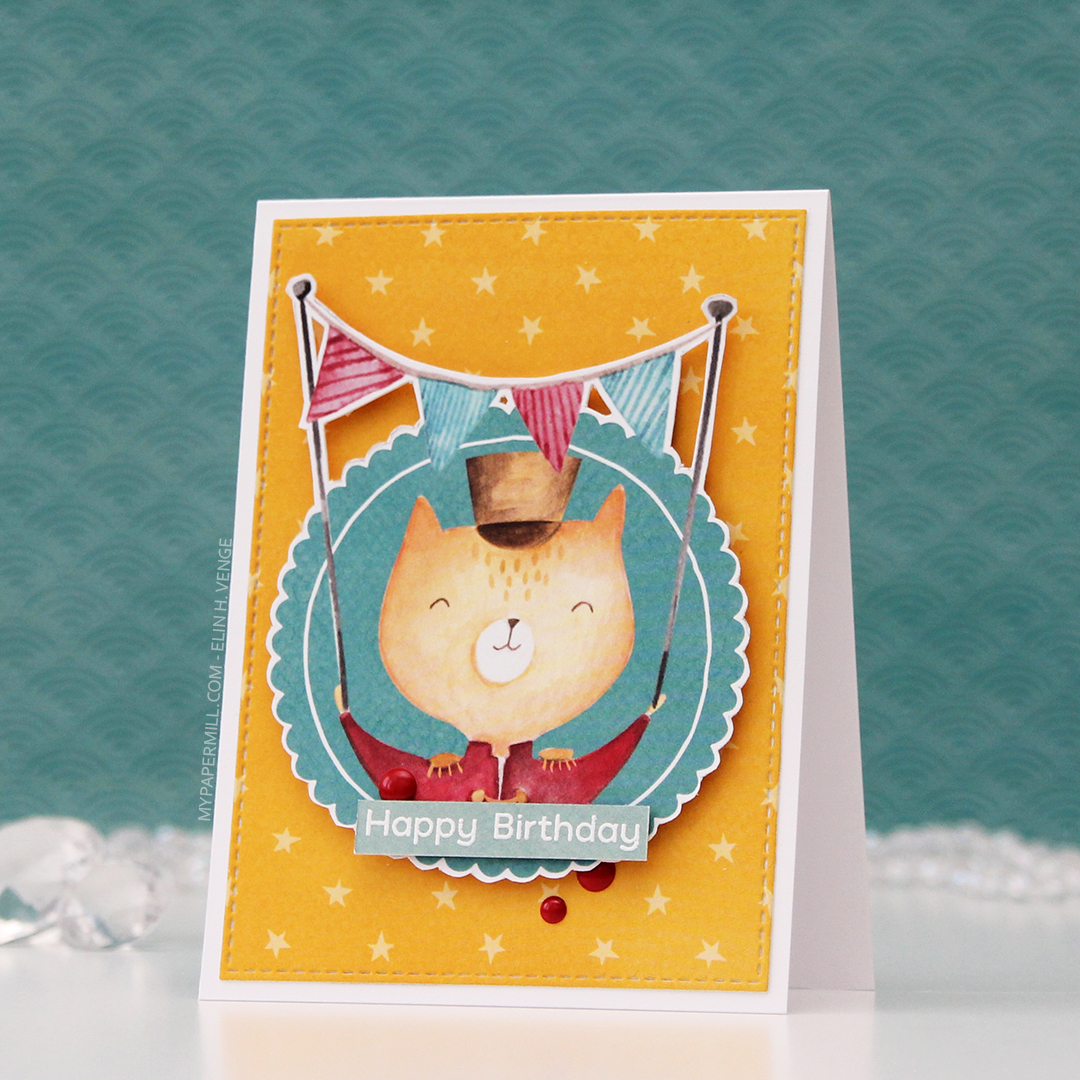
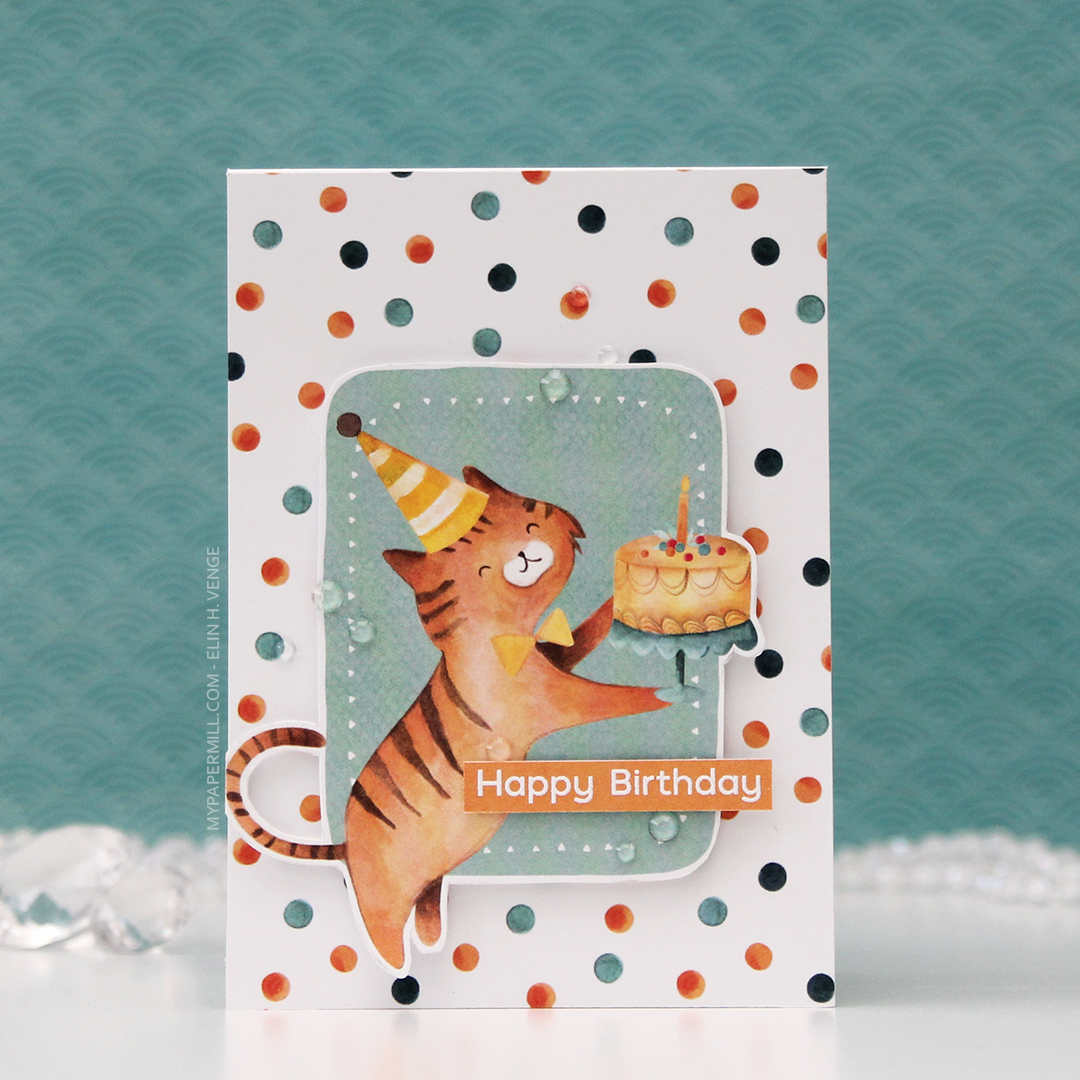 Card number 3. Now, I’m not sure whether this is a cat or a tiger, but whatever he is, he’s definitely ready to party. I fussy cut him from the 02 sheet, and I used the back of the same sheet to cover the card front. Once again, I popped the image on foam tape for dimension.
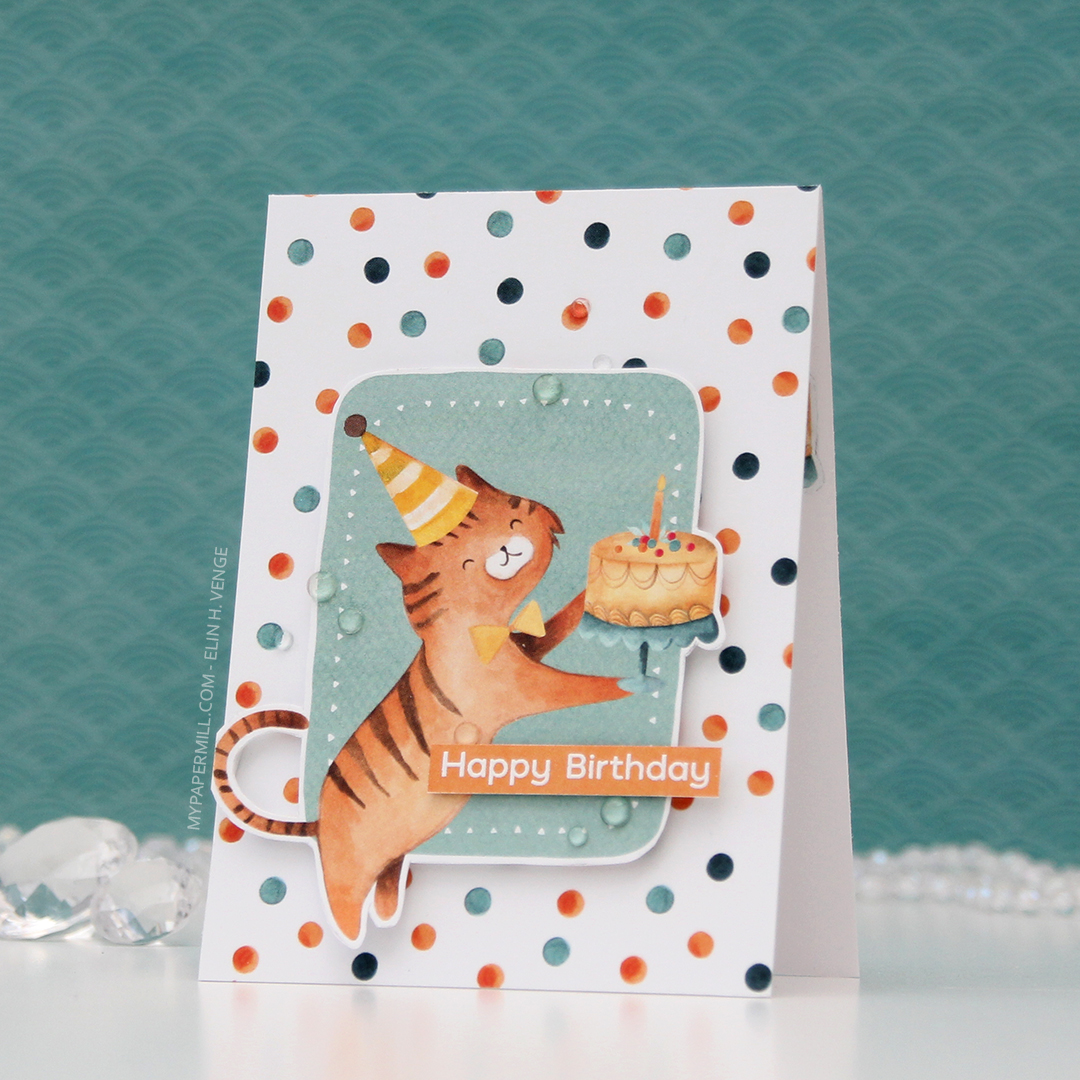 I used the Happy Birthday sentiment from the Bitty Bears stamp set again, and this time I used some clear gems from the Crystal Glass collection from Little Things from Lucy’s Cards to embellish.
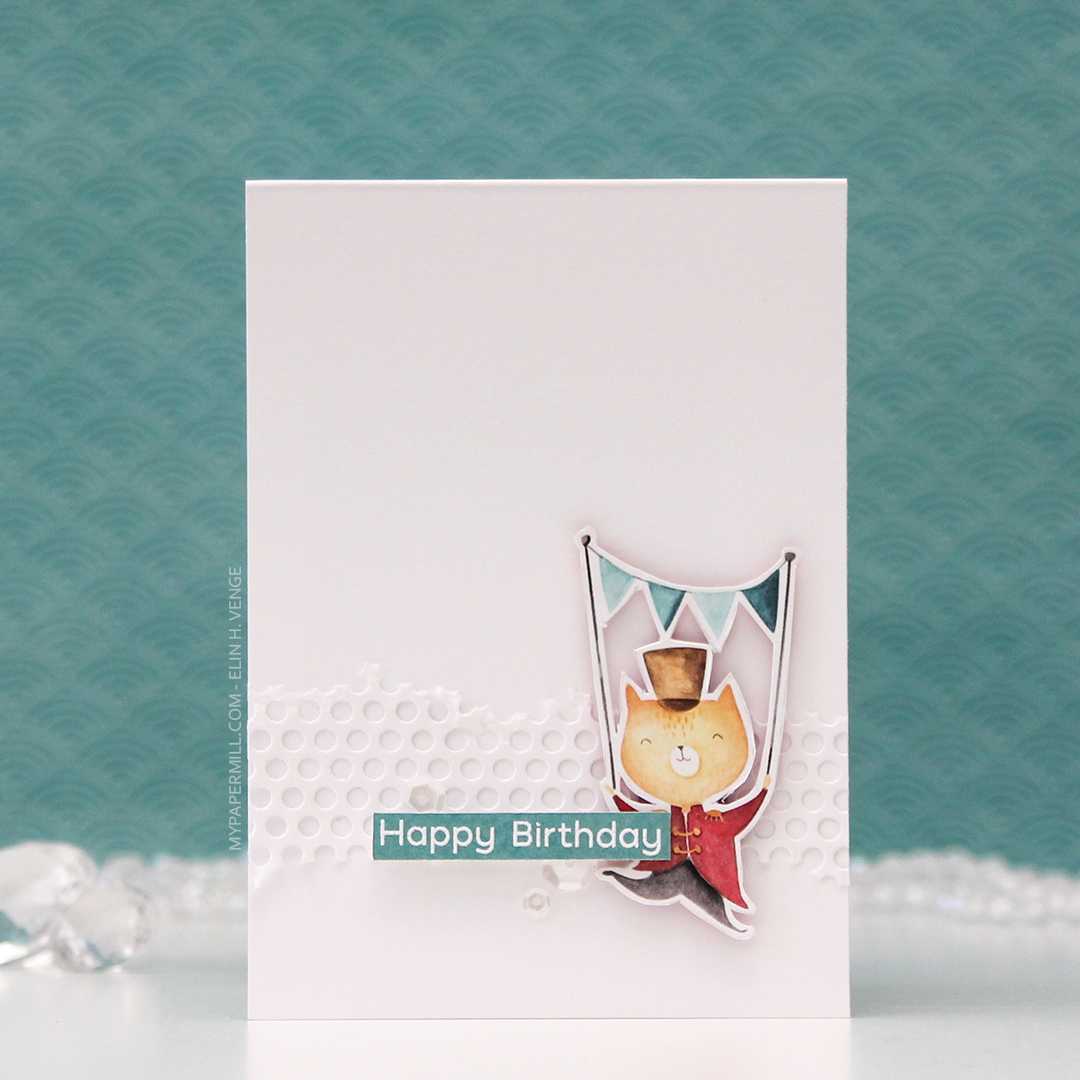 I made the last card for today very simple. I die cut the same hole pattern as I used for the first card, only this time in white card stock for a bit of textured interest in the background. The cat is from the 05 sheet, which I used a lot of for these cards.
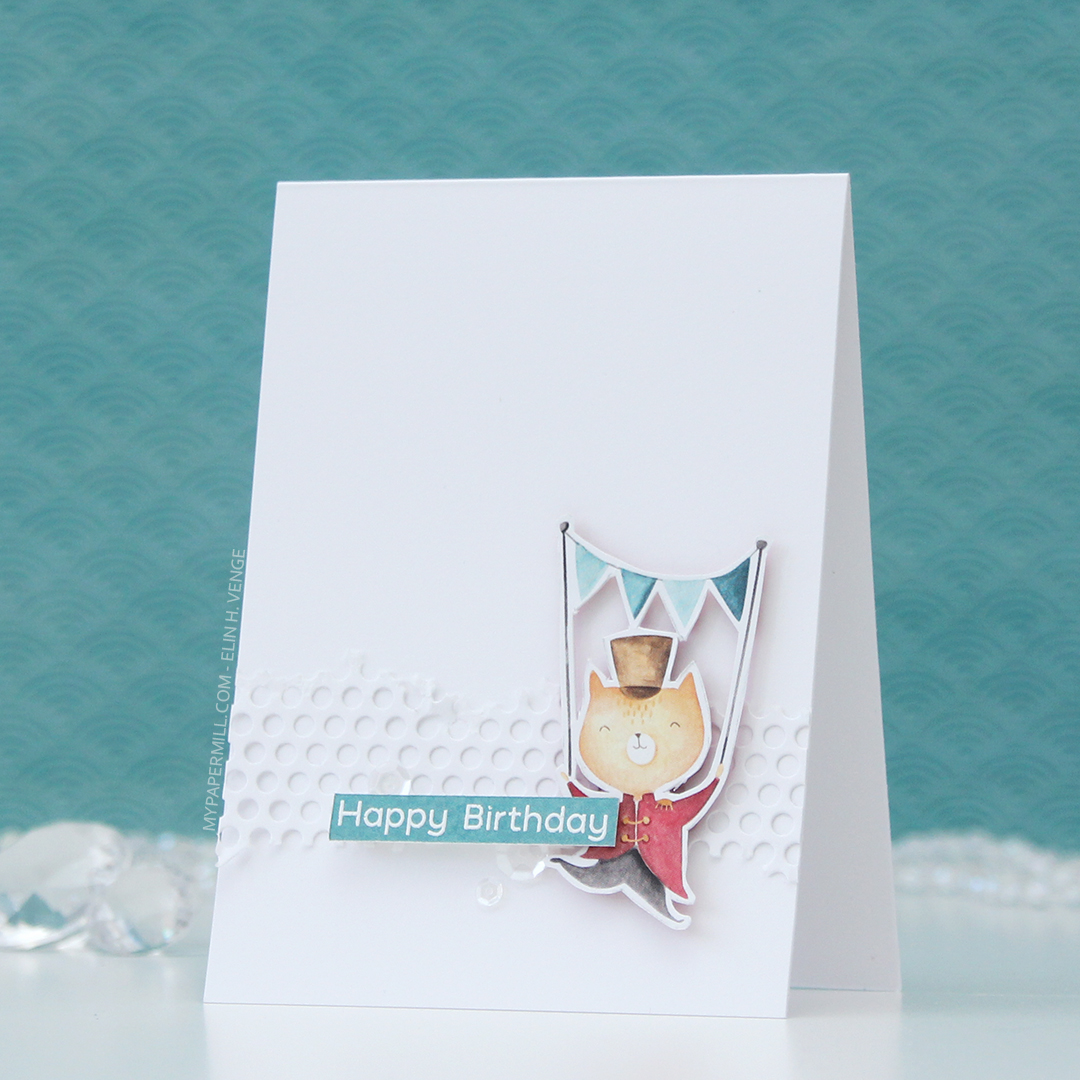 I added the cat using foam tape, the sentiment using more foam tape and those white sequins once again. These cards were so much fun to create, and I’ve got more in upcoming posts.

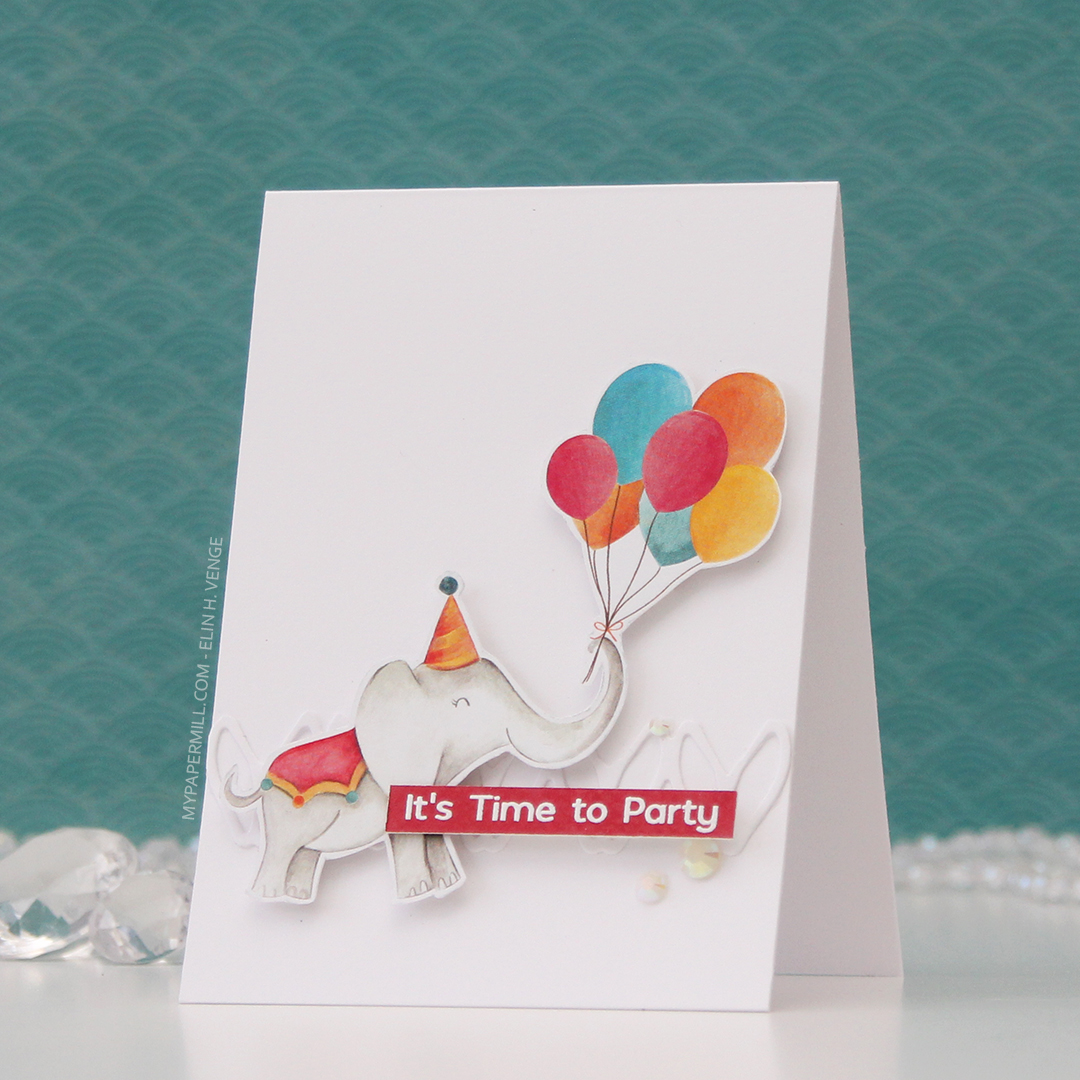
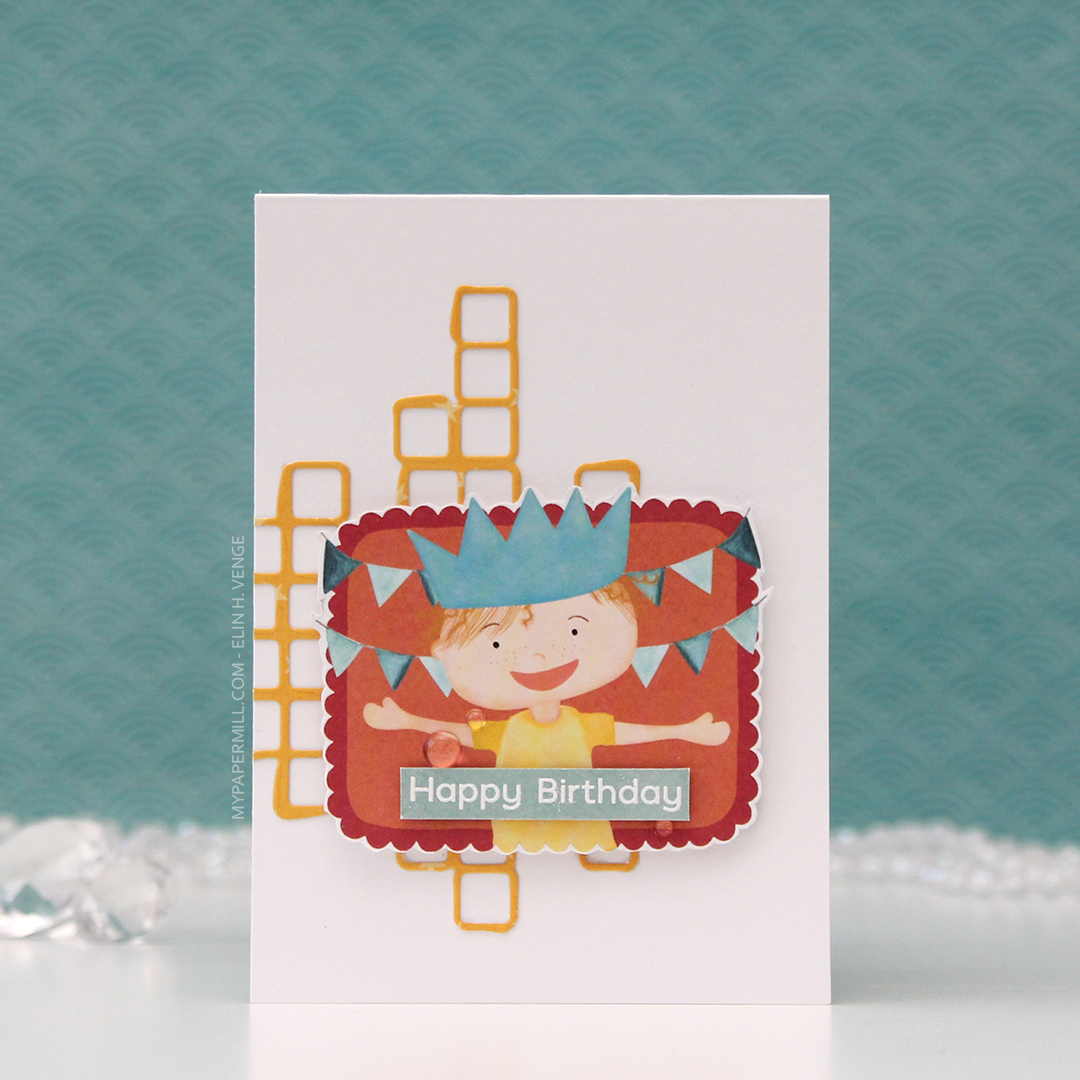
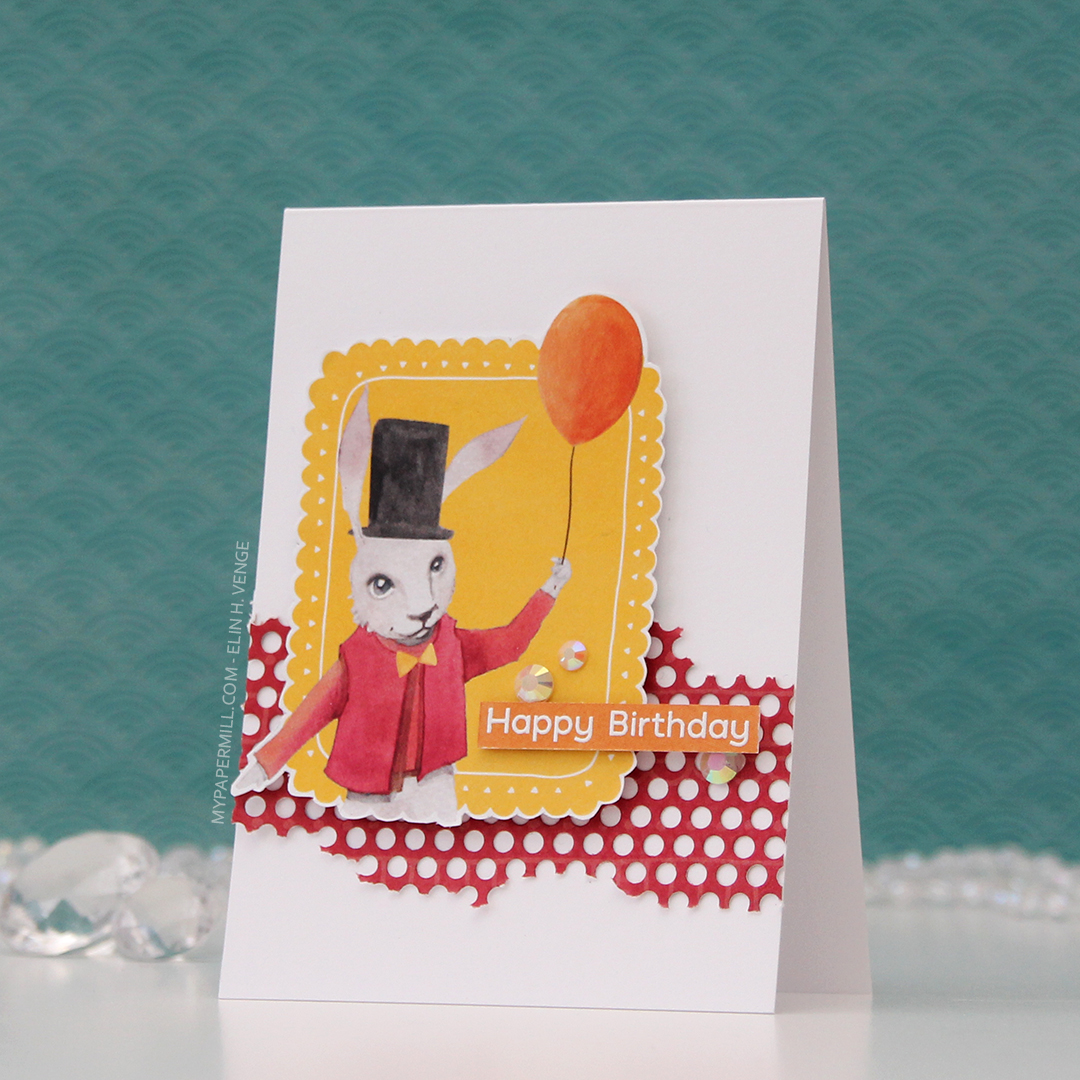
 It’s kind of weird that I, as an avid colorist, really enjoy using images like this, where all the work is done for you and you just have to cut it apart from the other images on the same sheet. I created a 4 bar card this time, so even though the image itself isn’t THAT big, it still takes center stage on this smaller card. I added a thin strip of copper glitter cardstock above and below the image. It gives more definition and it also works really well with the orange balloons in the image.
 I used the Terrazzo press plate from Altenew to create some fun texture in the background. I inked up the press plate with Caribbean Sea ink from My Favorite Things and pressed it onto Caribbean Sea cardstock, also from MFT. I mounted my image on foam tape, added a sticker sentiment that I also popped up and finished off the card with a few faceted pearls. I love these!!
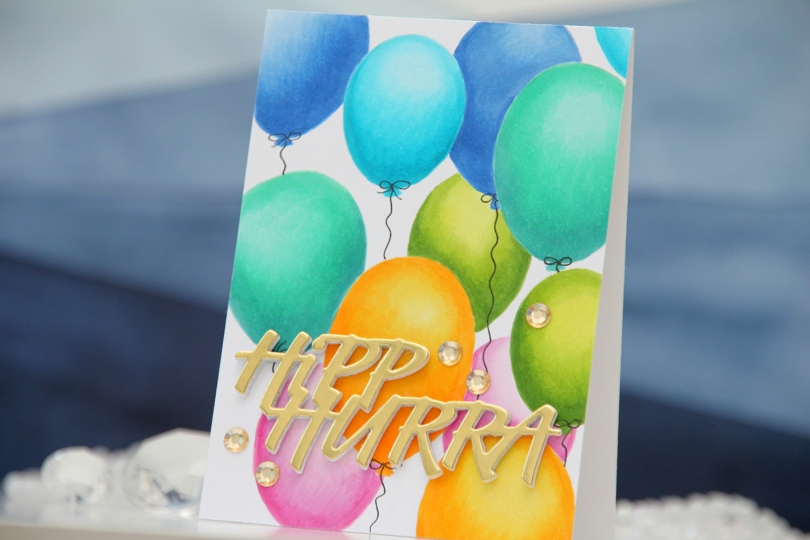
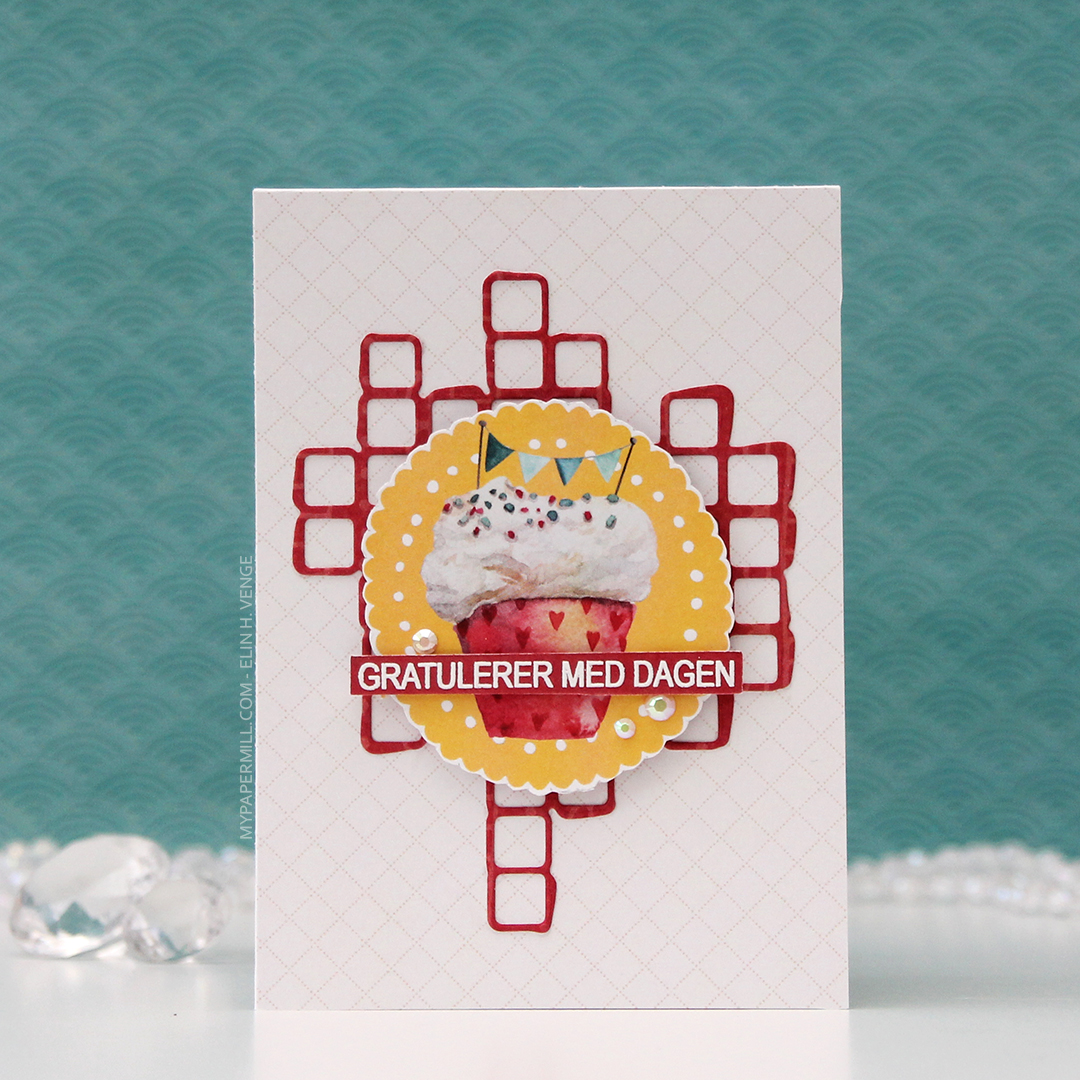
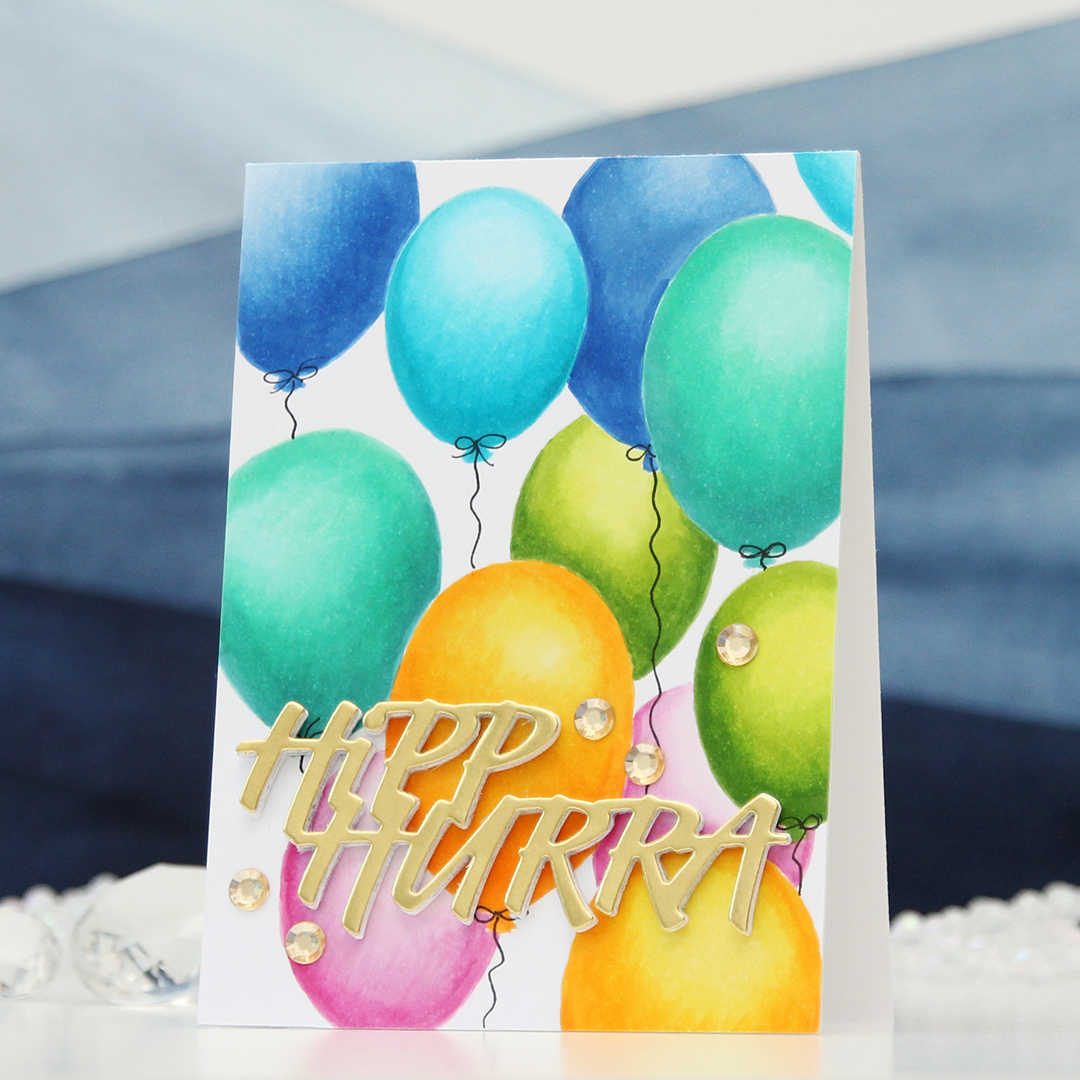 I started by drawing the balloons for my background with a 0.3 mm mechanical pencil. I erased most of the pencil lines before coloring, as Copic will trap pencil, making it impossible to erase after coloring. I wanted a no line look for these, and the half erased lines were enough for me to see where to add my Copics. Balloons are actually pretty easy to draw, it’s basically an upside down egg. If you don’t want to draw yourself, there are lots of balloon stencils on the market that you can use as a guide, or even a die cut balloon that you trace. I colored in my balloons, two of each color, added the panel to a top fold 4 bar card base I created from white cardstock and drew in balloon strings using a 0.35 Copic multiliner.
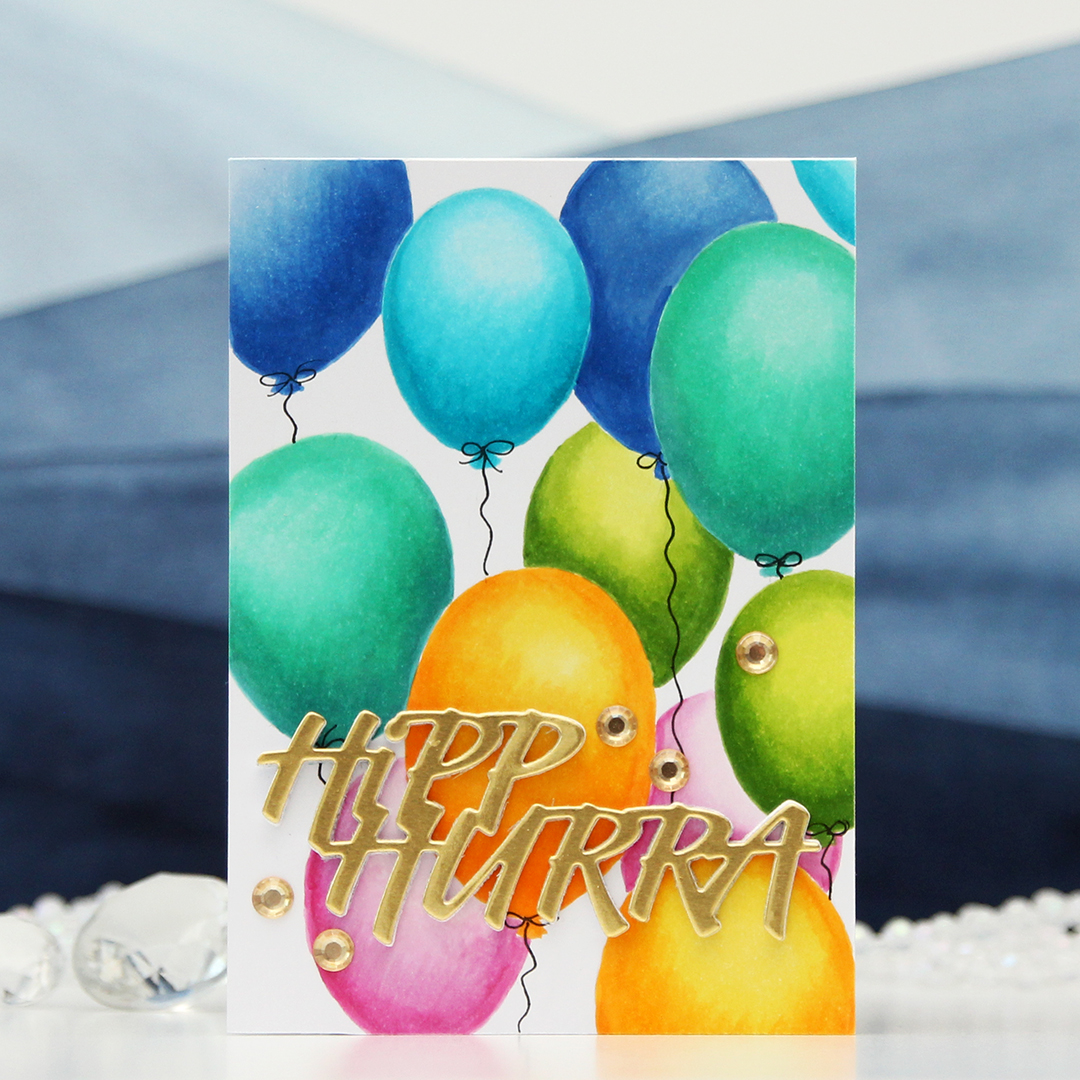 For a sentiment, I die cut the Hipp hurra die from Kort & Godt five times and stacked them for a dimensional look. I cut four from white cardstock and one from gold shine cardstock and topped the stack with that. I added some gems from the ST210 pack of gems to finish.
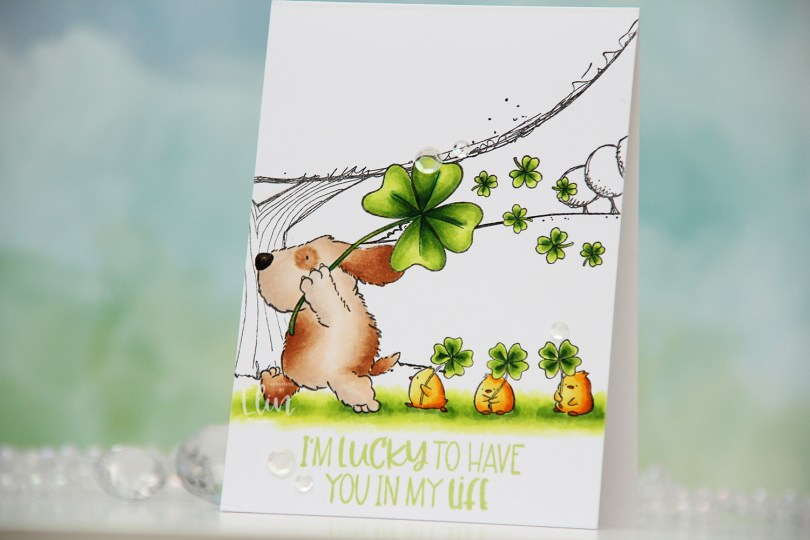
 I didn’t want to use Flappy and his little friends on their own, so I decided to create a mask and stamp
  Once my coloring was complete, I stamped a sentiment from the coordinating
  I used a mixture of brown and gray for Flappy’s fur, and an obscene amount of colors for the green.
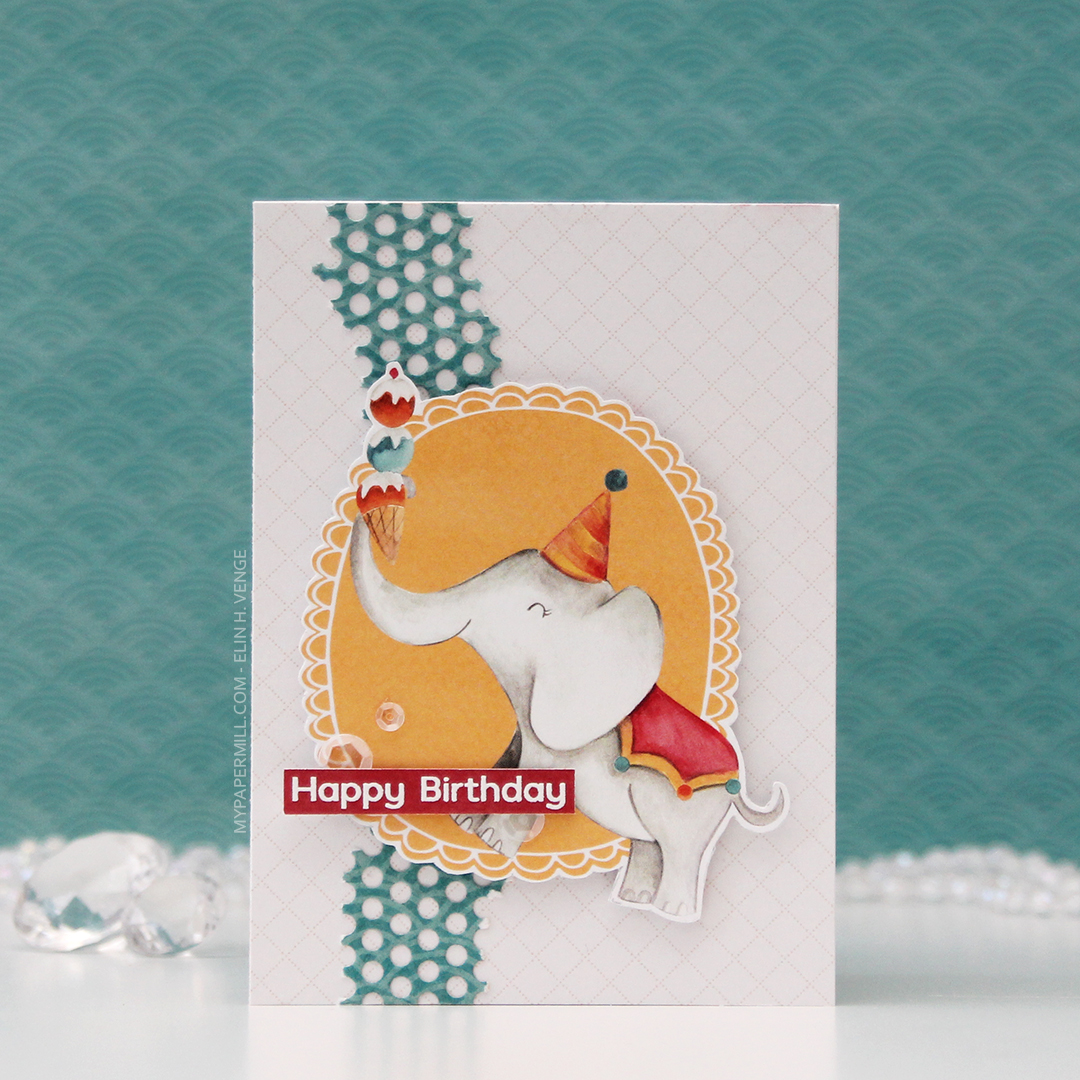
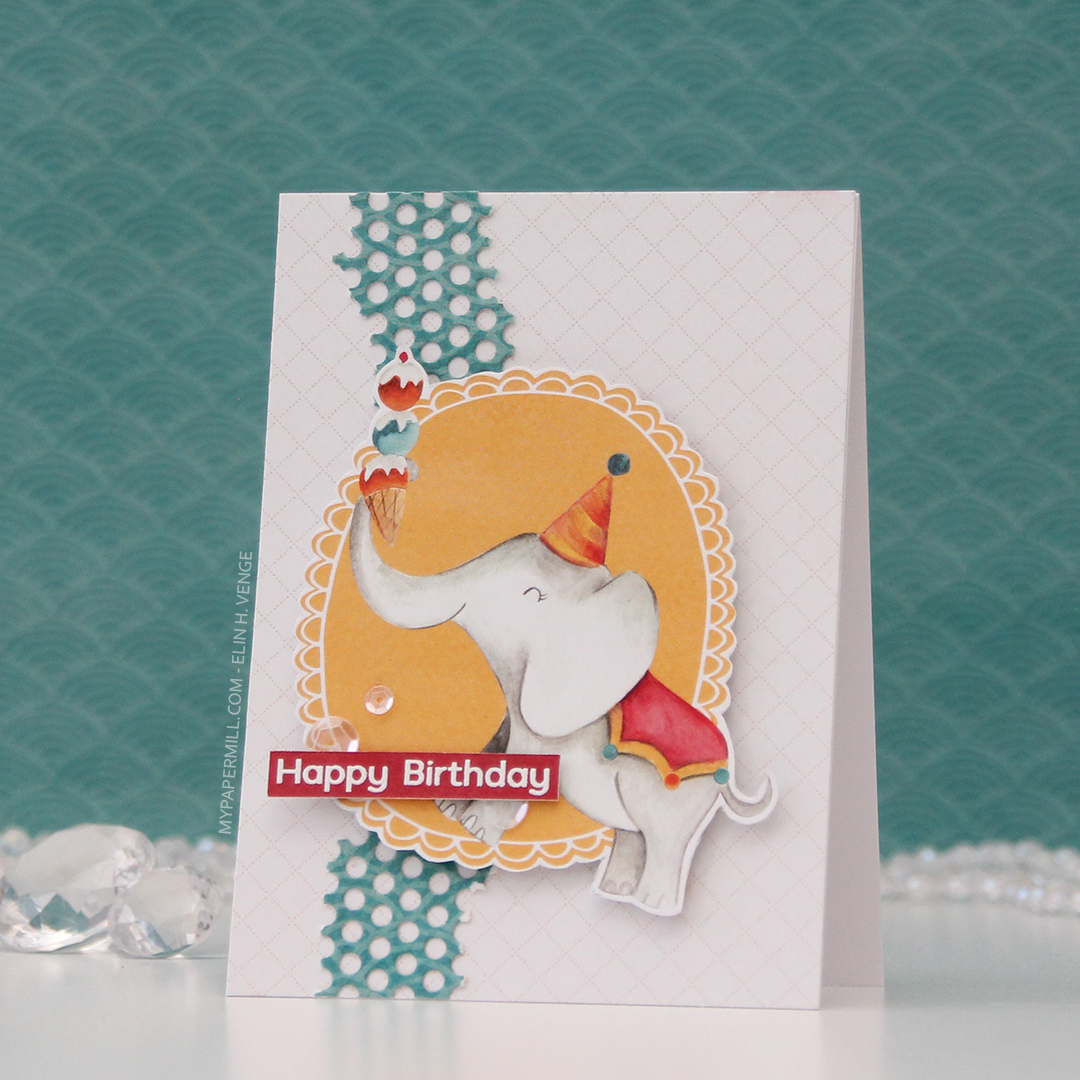
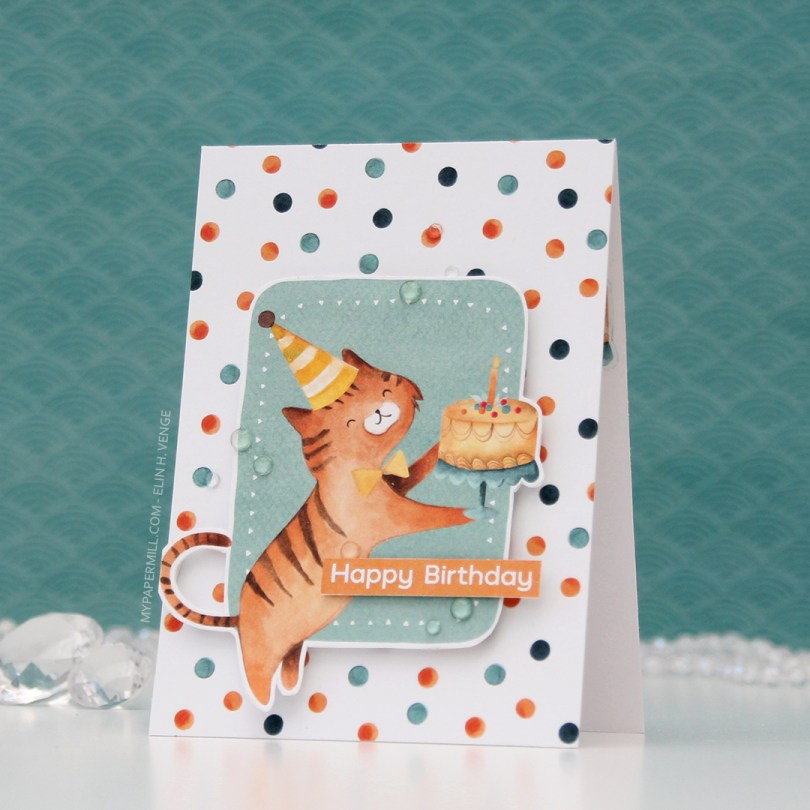
 I actually made a 4 Bar card this time, which is a smaller size than my regular A2 cards. It’s 3 1/2 x 4 7/8″ and it’s basically a one layer card. I admit I added my panel to a card base, but I don’t like working directly on my card base, and Copics bleed through most cardstocks. I don’t want my coloring to be visible from the inside of the card, and adhering the full size panel to the card keeps that from happening.
 I colored the image with Copics and added a watercolor circle around it to fill in some of the white space on the card. There’s still plenty of white space left. I added a sentiment from the stamp set and finished off with a couple of sequins from the Seaglass mix of sequins from Simon Says Stamp.
 Super simple color palette to go with this super simple card.
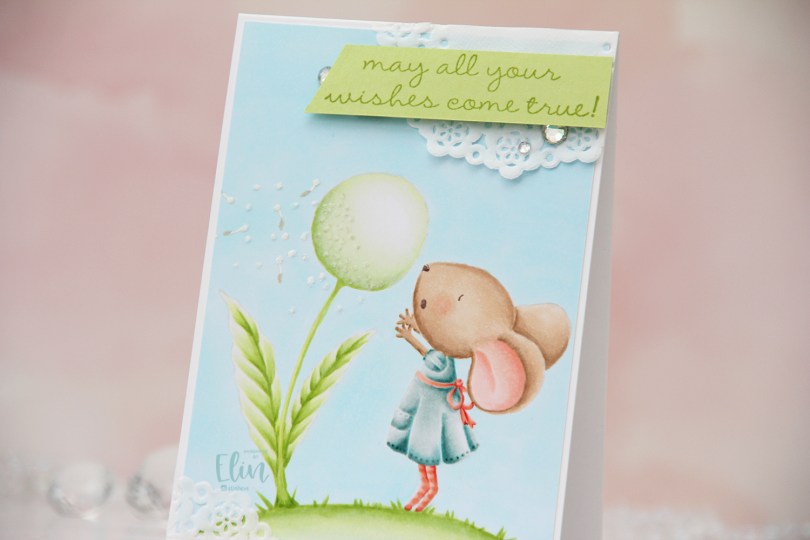
 This is
  I love no line coloring, and no line is perfect for an image like this, which has just enough detail to make it interesting, but it’s still large enough to get soft gradient in colors and not too fiddly.
 Once I finished my coloring, I added my panel to a 4 bar card base I created from Stamper’s Select White cardstock from Papertrey Ink. I created some texture to the dandelion fluff by using my Quickie glue pen and sprinkling on Rock Candy Distress glitter.
 I adhered scraps of a Doodlebug mini paper doily to opposite corners of the card to add to the soft, delicate look I was aiming for. Using Sour Apple ink from My Favorite Things, I stamped a sentiment from the
  Very soft color palette.


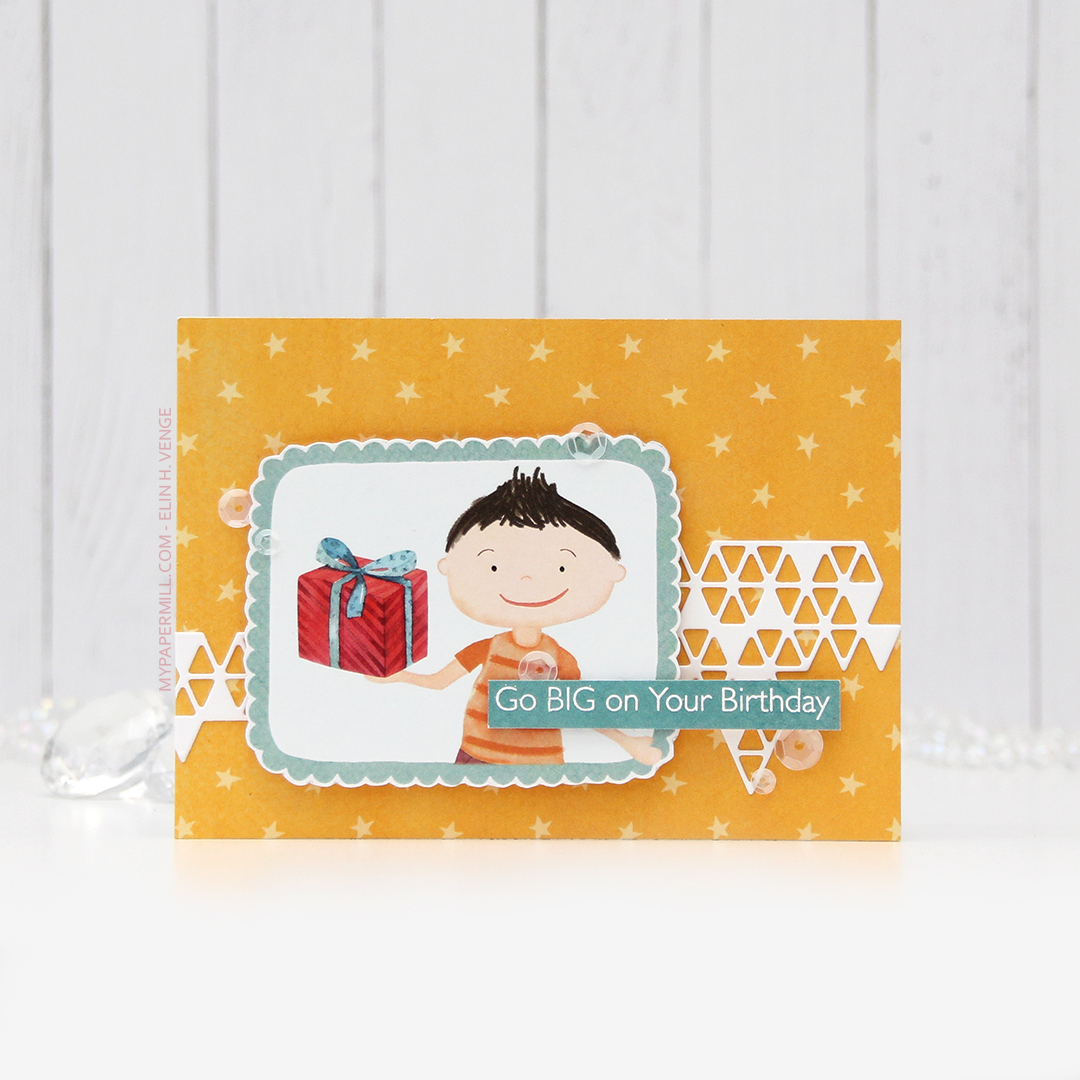


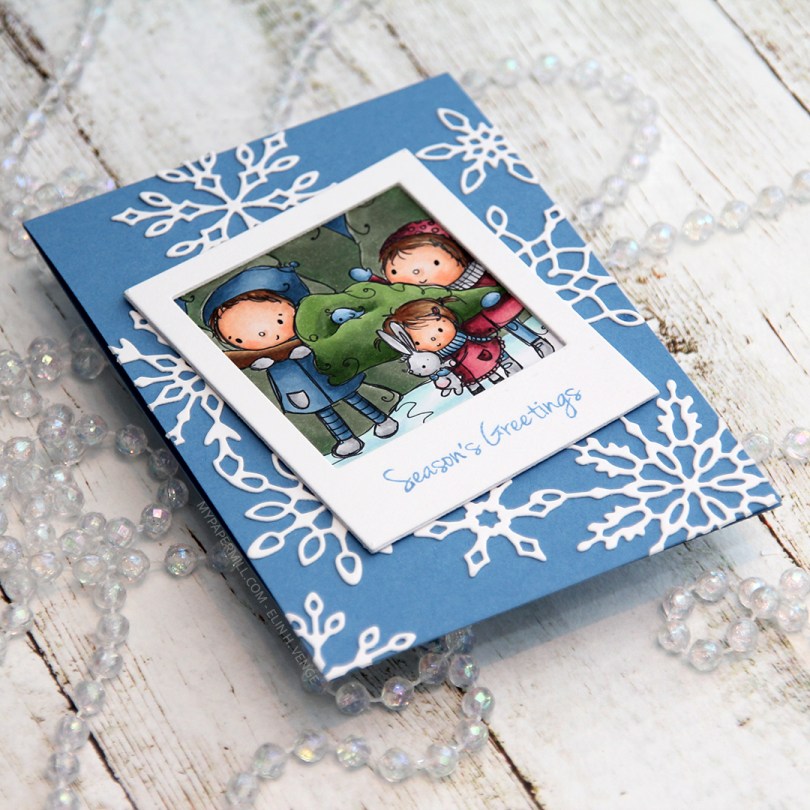
 I colored up just a portion of the image and made it into a polaroid by using a polaroid frame die from My Favorite Things that I love. I die cut the frame three times from white cardstock and glued them together for a stacked look.
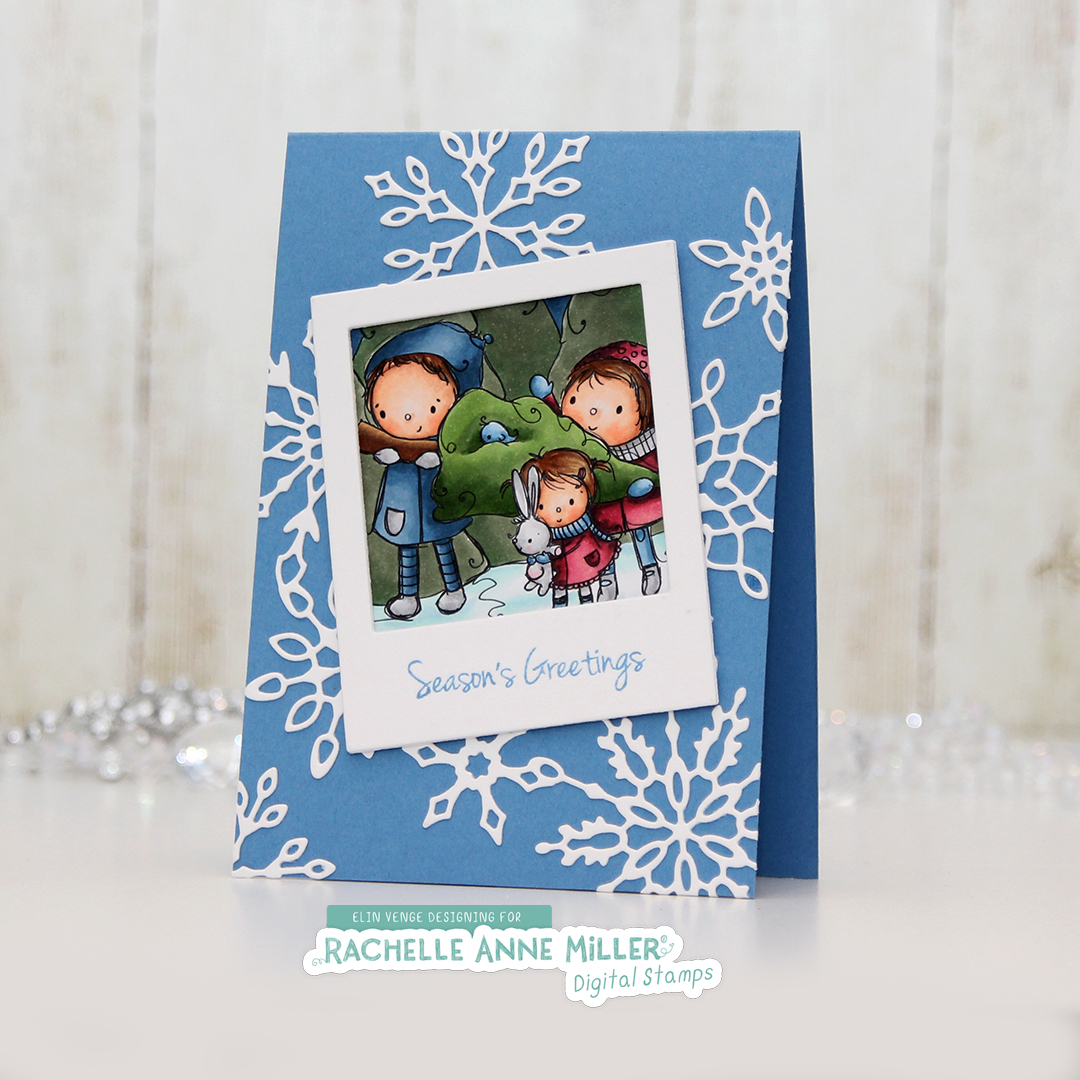 I decided to stamp a sentiment onto the polaroid frame using Blueberry Sky ink from Papertrey Ink. The sentiment is from a stamp set from Inky Wings.
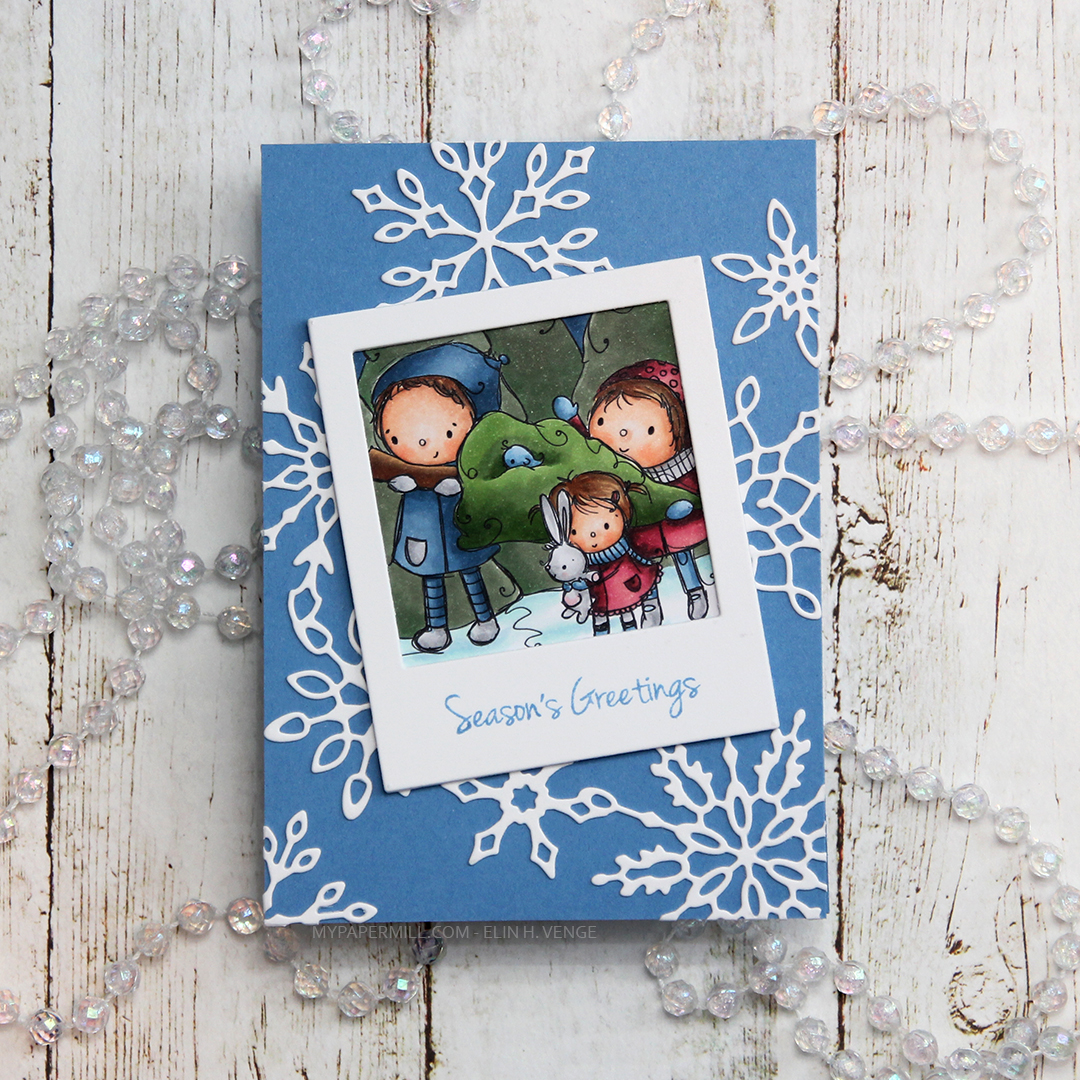 I decided to put my polaroid frame on a blue card base. This blue cardstock is Blueberry Sky from Papertrey Ink, the same color as the stamped sentiment. I used an old snowflake frame die from Memory Box that I diecut from white cardstock.
 I cut down my card base to make a 4 bar card. I like the smaller size, but don’t make too many cards this size, so I thought I’d change things up a bit. Once again, I have no graphic to show what Copics I used, but hopefully I’ll have my template remade in a few days.