
Hi, crafty friends. It’s been a while since I’ve posted. I have no excuse. I always start the year a little slow crafting wise. It takes me a while to wind down after the hustle and bustle before Christmas. I think I just need time to start fresh. Last year my post holiday slump lasted until March, I was just making cards on autopilot until an event weekend away, which helped. This year, I’m hoping to get my mojo back sooner. I’ll clean up the mess on my desk left from creating this card, and then we’ll go from there.
 Speaking of the card, I tend to go for spring/summer themed card and color palettes when we’re in the dead of winter. I want summer so badly, it’s not even funny. Last summer was cold and dreary, the summer before that all rained away. Can we get a proper summer this year? Please? Anyway, I used a floral image from a cut out sheet and paired it with a new die from Kort & Godt. New products help with mojo! This die cuts a circle sentiment, and what I didn’t realize before I actually used it was that it cuts an inside circle, too. It makes the die more versatile than if this were one large sentiment circular panel, but I wanted to use the flowers, so I puzzle pieced the two back together, added another circle panel on the back for a little bit of strength and a place to adhere the thin frame to.
 I ran a quarter sheet of Ballet Slipper cardstock from Concord & 9th through my die cutting machine using an embossing folder, which gave this fun dimensional background. I mounted the die cut image in the center, cut down a couple of sentiment sticker strips and mounted those as well, before finishing off the card with a few faceted pearls.
Kort & Godt products used:
MA1012 (image)
ST1001 (sentiment sticker strips)
Die 365 (circle sentiment die)
ST178 (faceted pearls)

 I love Stacey’s images, they all work so well together to tell stories. I colored my scene with Copics and cut my panel down ever so slightly.
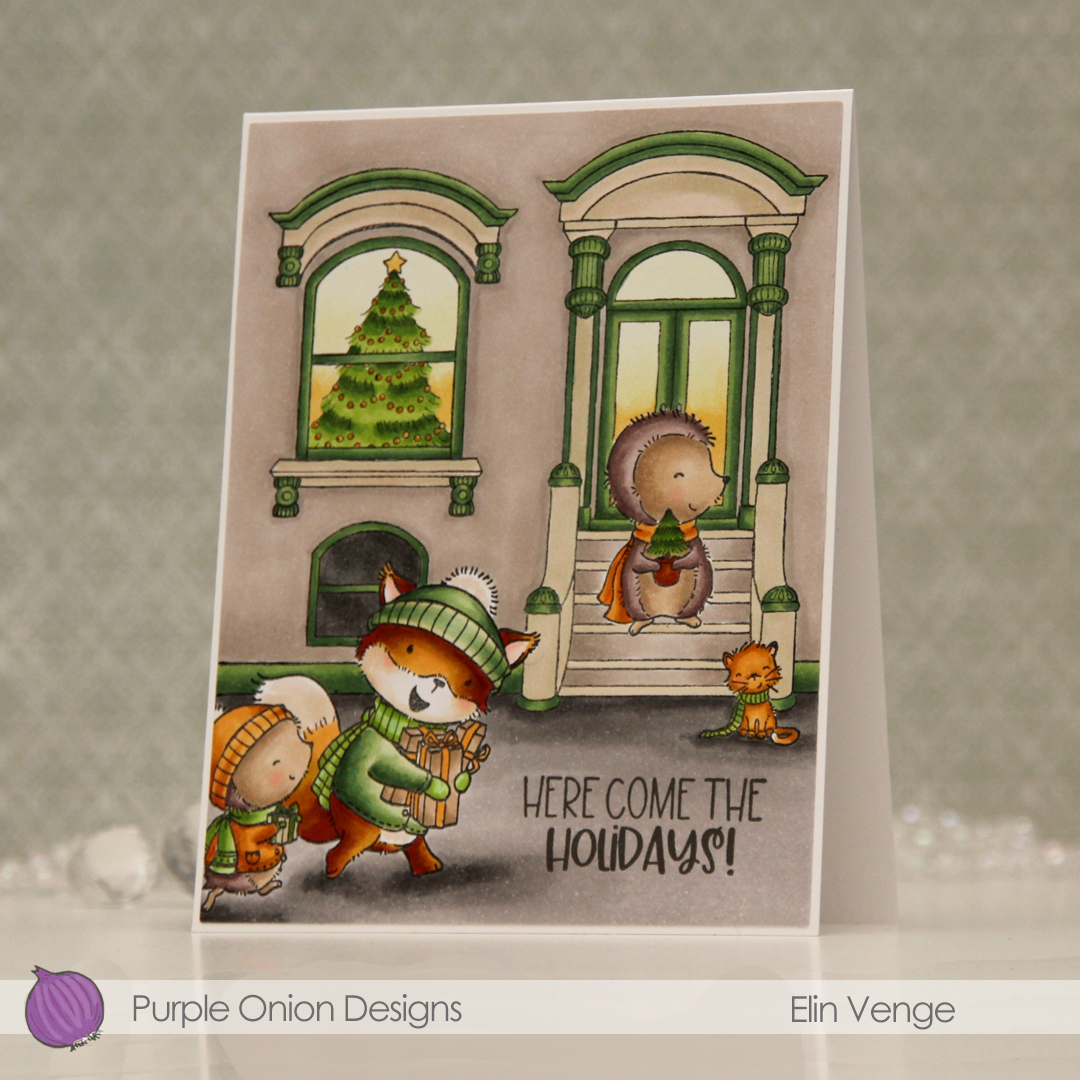 I stamped a sentiment from the
  Even with a fairly limited color palette on the card, I used quite a few Copics.
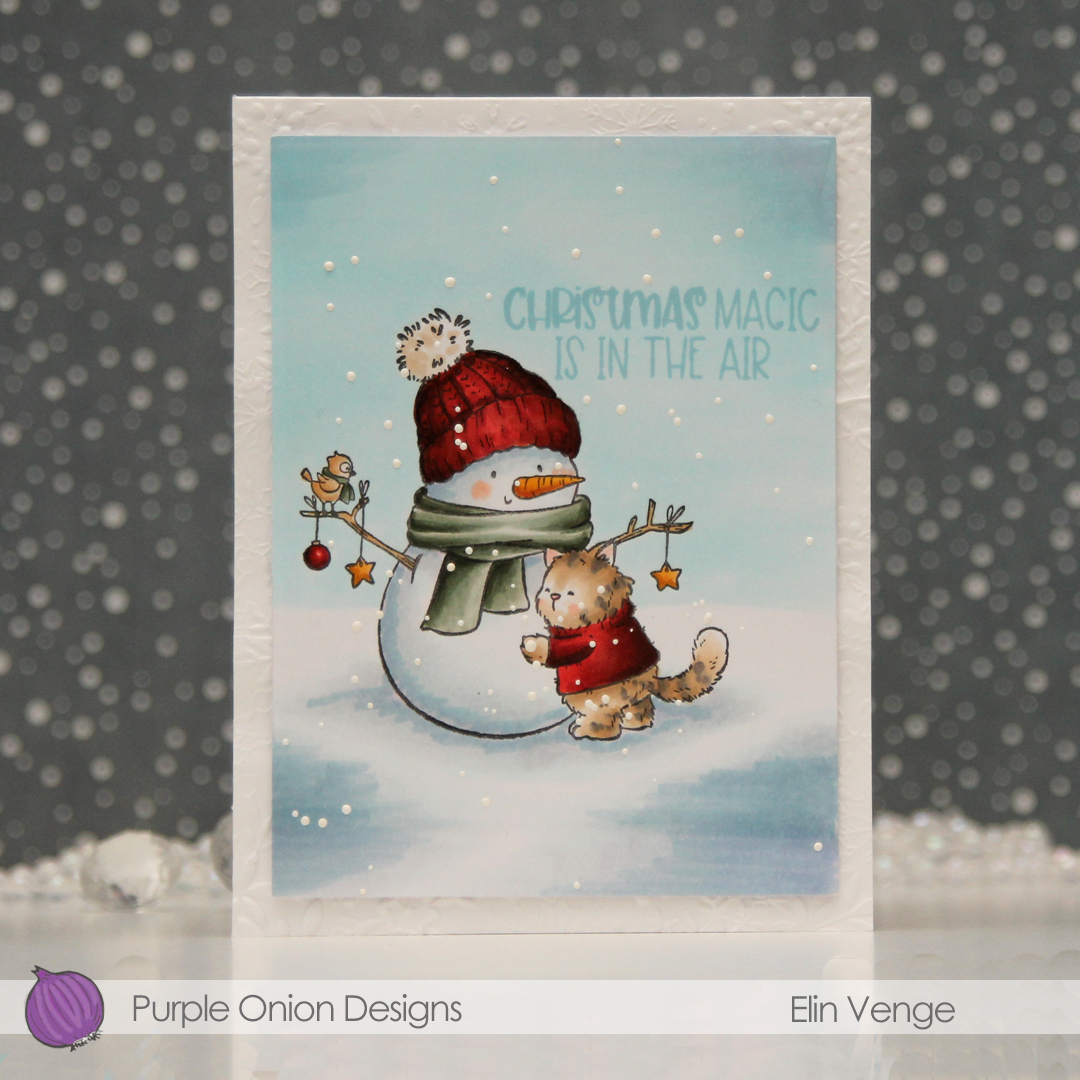 i colored the scene with Copics, before using a die in the Additional A2 Layers die set from Waffle Flower to trim down my panel. I stamped a sentiment from the
 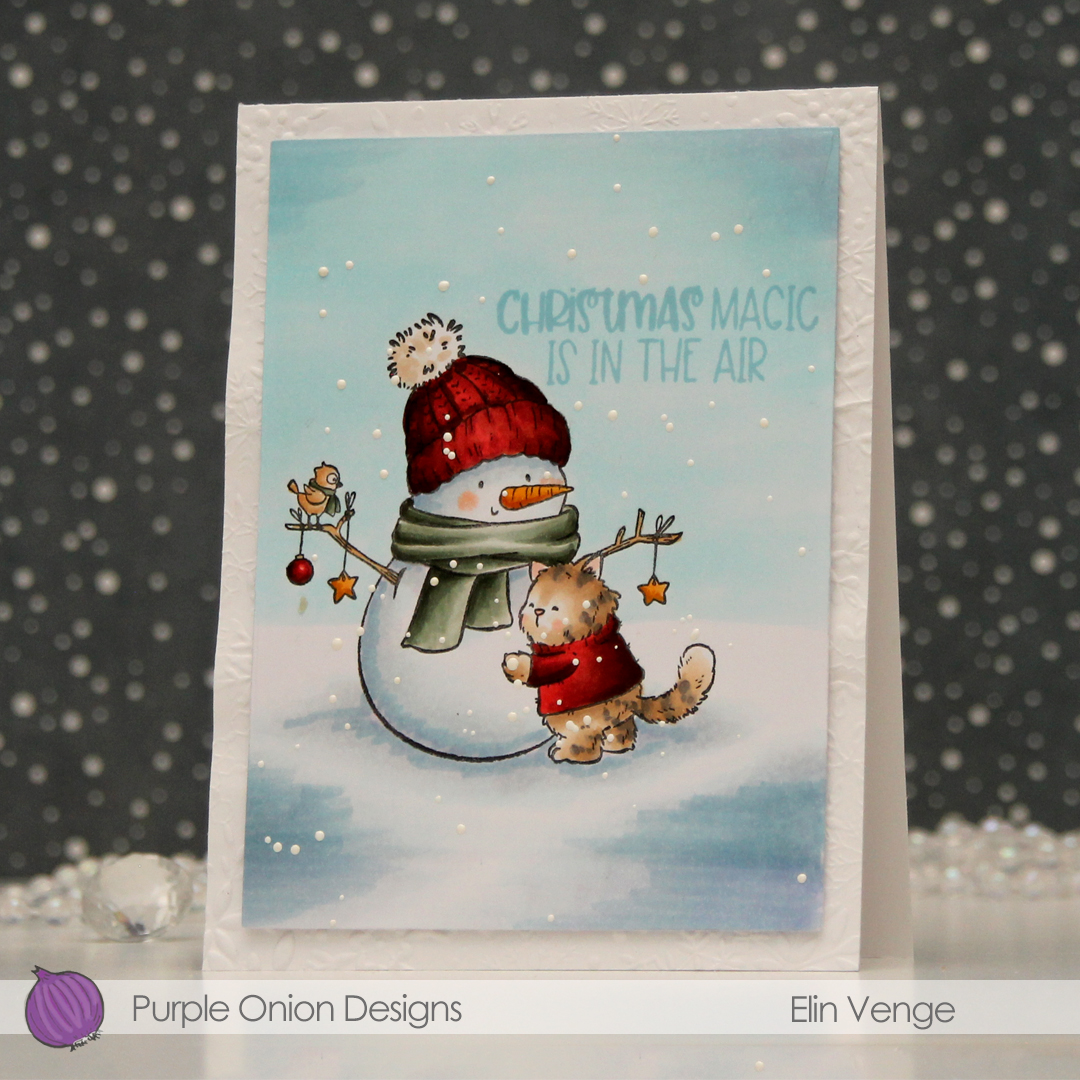 I used the Snowflake Oval Frame embossing folder from Simon Says Stamp to create some texture on a panel of white cardstock which I adhered directly to a top fold card base, before mounting the panel on foam tape to finish the card. Super simple, right?
 A lot of Copics for this one.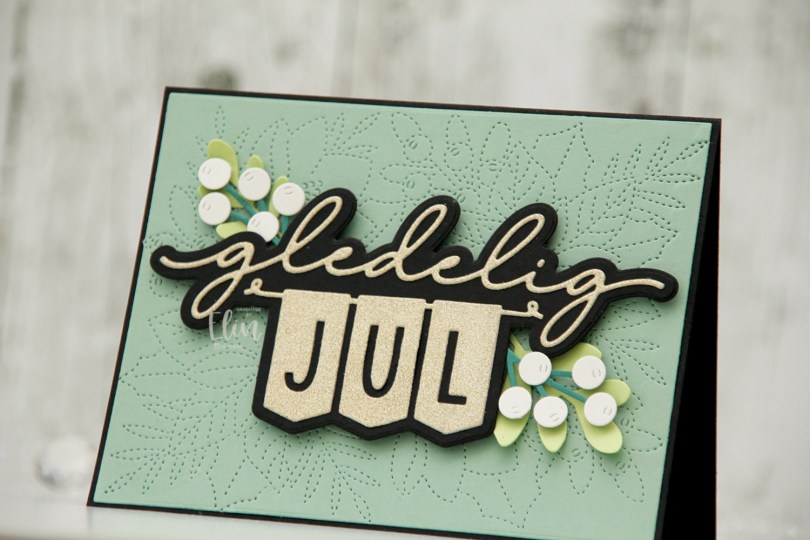
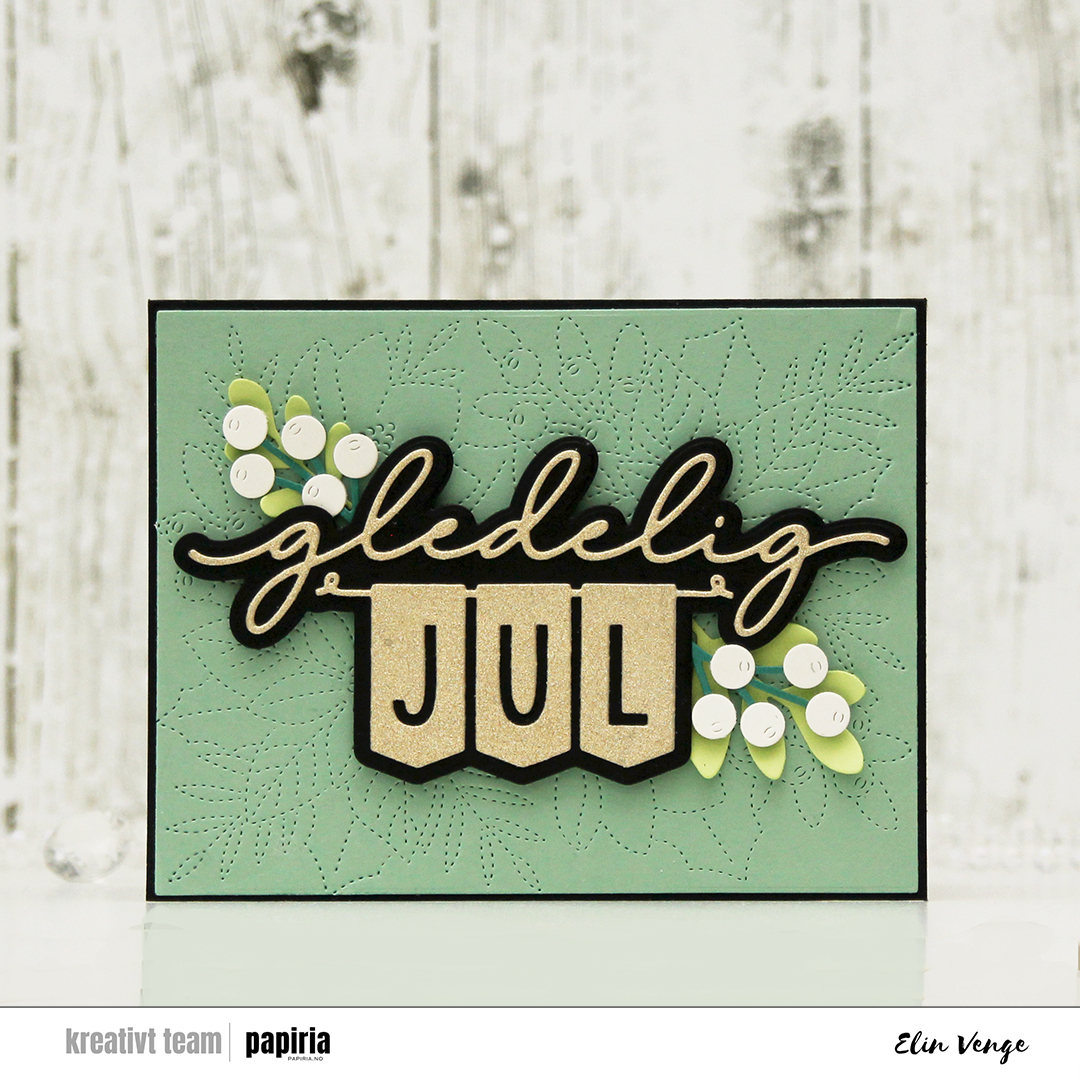 I started by die cutting the sentiment. I cut the shadow layer from True Black cardstock from Papertrey Ink and the top layer from gold glitter cardstock from Kort & Godt. I love their glitter cardstock, it’s so smooth and nothing rubs off. I used the largest die in the Additional A2 Layers die set from Waffle Flower on a piece of Eucalyptus cardstock from Concord & 9th, before using the faux stitch die in the Festive Blooms die set from Concord & 9th to dry emboss the panel, which I then adhered to my black card base. I love that there’s a tiny little black border.
 I die cut leaves and sprigs from the Festive Blooms die set and the Joyful Season die set (also from Concord & 9th) to frame my sentiment. I used Sprout and Juniper cardstocks from Concord & 9th for the leaves and sprigs, and a little bit of Rustic White cardstock from Papertrey Ink for the berries. I curled up the ends of the leaves, added foam tape on the back of the berries and adhered it all to flank my popped up sentiment. There you have it, a Christmas card with what I believe to be a very modern palette.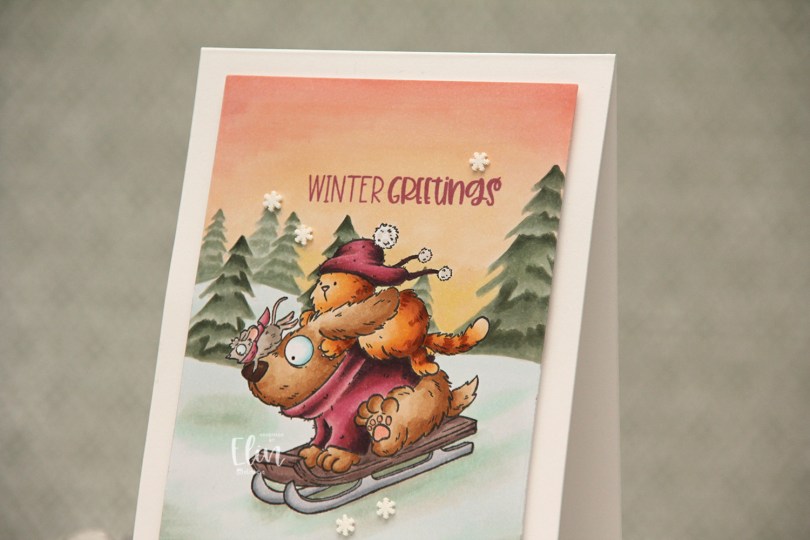
 This is one of those super simple cards. I stamped the image using Extreme Black ink from My Favorite Things and masked it before stamping the
 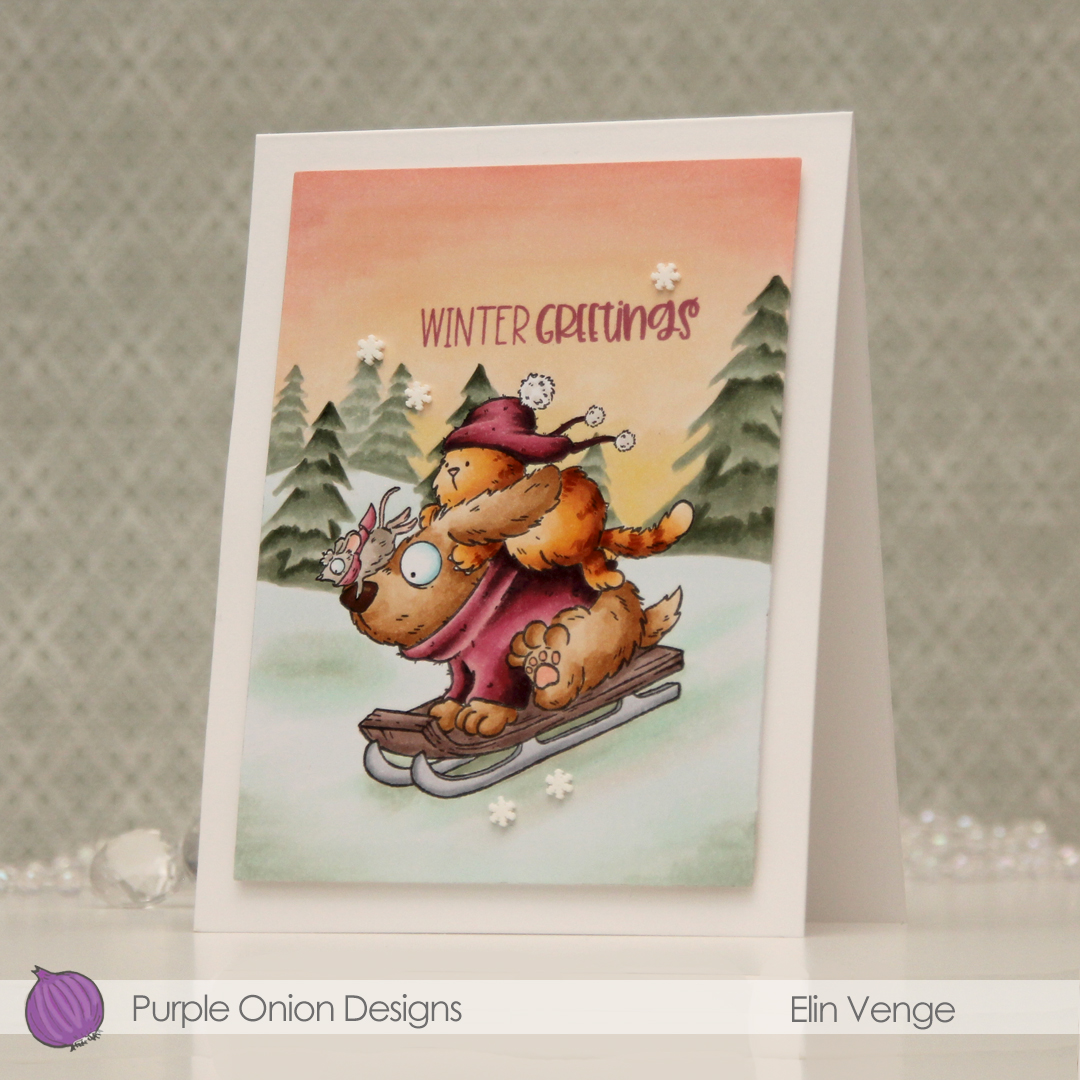 I stamped a sentiment from the
  I stuck to a pretty limited color palette, I feel, but there’s still a lot of markers.
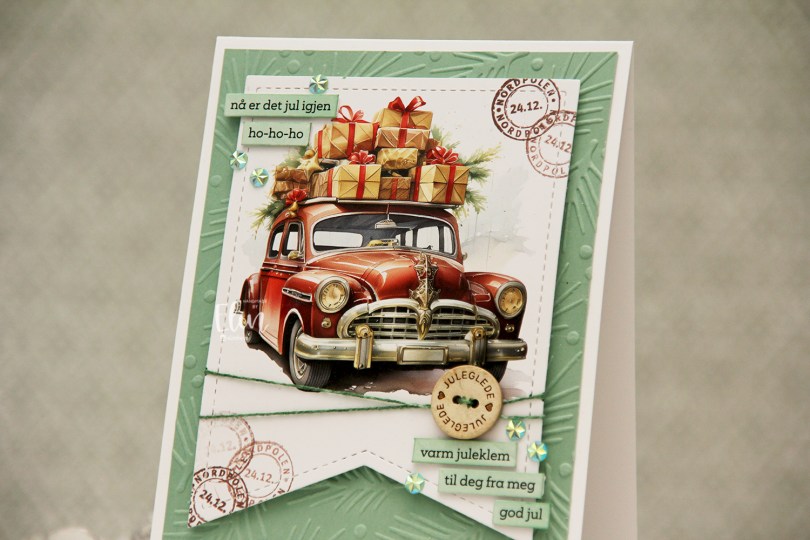
 I used a large pennant die (
 I took some white cotton thread (
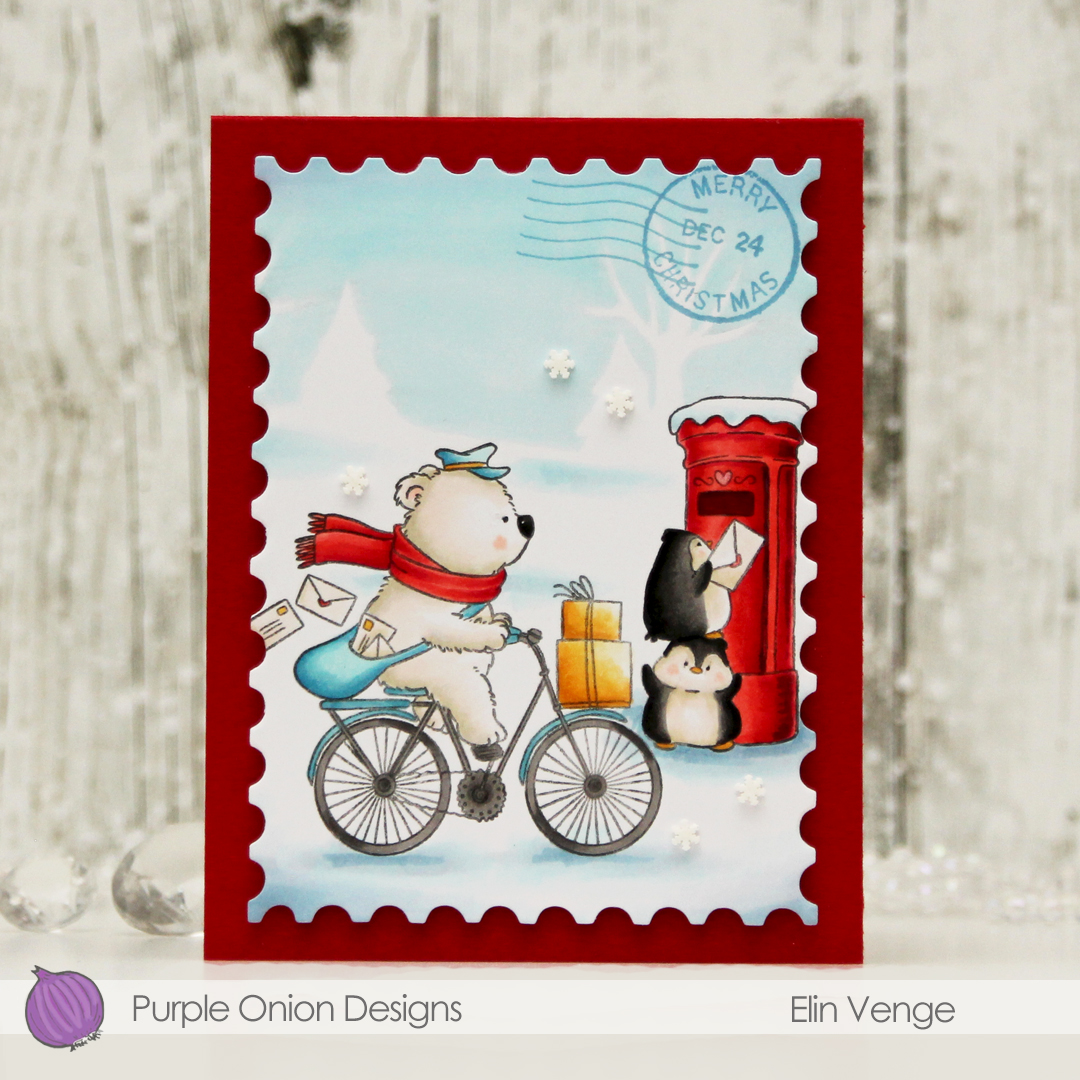 I suggest you put this image in your cart, it’s so awesome. I colored it with my Copics, adding an actual no line horizon behind my critters to complete the wintry scene, before using a die from the Nesting Postage Stamps infinity die set from Hero Arts to turn it into a huge postage stamp. I then used the
  I created a top fold card base from Pure Poppy cardstock from Papertrey Ink, mounted my large postage stamp using lots of foam tape and adhered a few Snowdrift sprinkles from Little Things from Lucy’s Cards to finish.
 I actually used red markers for red this time, with a little bit of B14 where I wanted it to be darker than R29 can create on its own. I usually use earth tones for red, this was a fun change.
 I took a quick look at the colors I’ve focused on recently to try to choose something different and opted for this blue green combo. I colored the image with Copics and added a horizon in the distance with a few trees scattered about.
 I made sure not to add to many trees so there would be room for the sentiment, which I stamped in Oceanside ink from Concord & 9th. The sentiment itself is from the Snøstorm stamp set from byCino. I die cut my panel using the lartest die in the A2 Stitched Rectangle STAX 1 set from My Favorite Things, before I sprinkled on chunky white embossing enamel from Stampendous. I made sure that none of the granules covered the sentiment or the eyes of the polar bears before melting the powder from the back.
 I adhered my panel to a card base I’d covered with a quarter sheet of Oceanside cardstock from Concord & 9th. This is actually a side fold card. I usually make top fold cards, but I didn’t have any landscape oriented card bases on hand and didn’t feel like breaking open a new pack of cardstock. Long live lazy crafting, right?
 Very cool color palette for this one.
 I started with a panel of white cardstock (Stamper’s Select White from Papertrey Ink) that I cut down slightly from a quarter sheet. I used a couple of dies from Papirdesign to do a dry emboss on my cardstock. I covered a white top fold card base with a quarter sheet of Harbor cardstock from Concord & 9th and layered my white dry embossed panel on top.
 I die cut the banner pieces in the Joyful Season die set from Concord & 9th from Harbor and Powder cardstock, before stamping a sentiment from the Merry Greetings builder stamp set from Kristina Werner onto the banner pieces using Harbor ink. I assembled the banner and added a few layers of cardstock behind it for dimension. I die cut a tree and a snowflake from the same dies that I used for my dry emboss background, both from Powder cardstock. I stacked two of each and glued them on top of its actual position in the embossed background, before finishing off with Opal gems from Spellbinders. Very simple.
 I printed the image onto X-Press It blending card and colored it with my Copics, going for a couple of different purple combos – one dark for the snowman’s hat and scarf, another for the cute little bird. I chose a deep pink combo for the present and the bird’s accessories to bring in another color. I die cut my panel using a rectangle die from Waffle Flower, then went in with a snowflake stencil from Ciao Bella and some Lilac ink from Concord & 9th. I then added VersaMark on top and sprinkled on Iridescent Sparkle embossing powder from JudiKins to turn the snowflakes sparkly once the powder melted.
 I stamped a sentiment from the Julehilsen stamp set from byCino using Autumn Rose ink from Papertrey Ink. The sentiment translates to “Express delivery from the North Pole” and was the perfect size for my chosen placement. I adhered a quarter sheet of Autumn Rose cardstock from Papertrey Ink onto a white card base and mounted the colored panel in the center, before finishing off with sequins and raindrops from the She’s So Lovely mix from Little Things from Lucy’s Cards.
 Lots of purple. I can do hard things (using purple is HARD).
 Papirmølla