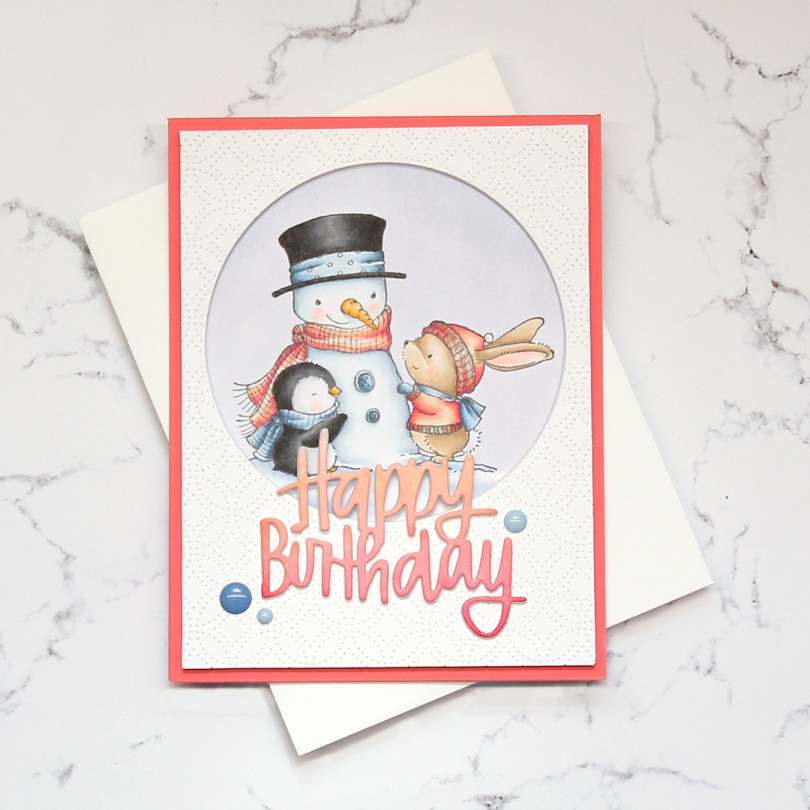
Hi, everyone! I’ve got a birthday card to share today, featuring Sweet Snow Friends from The Sweetest Little Town collection illustrated by Stacey Yacula for Purple Onion Designs. You don’t necessarily need to limit your holiday images to holiday cards. As long as the image is free of ornaments and Christmas trees, I definitely think they can work for the rest of the winter season, too.
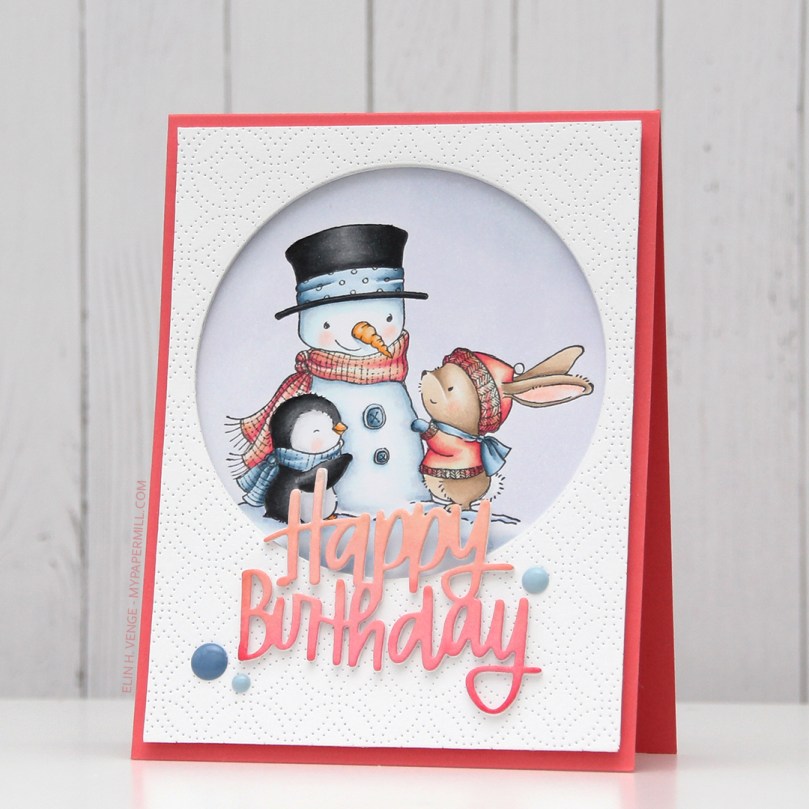 I started by coloring my image. I had a rough idea of what I wanted to do when I started, so I lightly traced a circle and colored everything inside. Using a peachy pink combo with the fairly light blue helps sell the idea of this not being a holiday card.
 Once the image was all colored up, I took the same die that I’d used to trace my coloring area to die cut circle windows in four panels of white card stock, before adhering them together for a dimensional look, making sure the window was in the same spot on each of them. I used the Detail Ringlet Plate from Simon Says Stamp to die cut from another piece of white card stock. Lining up the circle once more, I die cut a window from this layer, trimmed 1/8″ off from each side and added it to the stack of die cuts I already had. I glued the colored piece behind the window, and adhered everything onto a card base made out of Berry Sorbet card stock from Papertrey Ink.
 Using the Happy Birthday Brush Script die from Simon Says Stamp, I die cut three pieces from white card stock and one from a piece of X-Press It that I’d colored with the same peachy pink Copic combo that I used on my image. I glued all four pieces together for a dimensional look, and used a shimmer spray on top for some sparkle, before adhering the stacked die cut to the front of the card, before adding a few blue enamel dots from Papirdesign as a finishing touch. I didn’t have a colored envelope to match, so I used a white one from My Favorite Things instead.
 Not a whole lot of colors for this one. I have, however, used quite a few colors to color in the snow. B41 was used for the sky, but the rest of those light blues, the BV20 and the BG0000 were all used for the snow, as well as the blender. For the sky I also used B40, which is a color I’ve made myself.
 I have a great crafty friend who suggested I
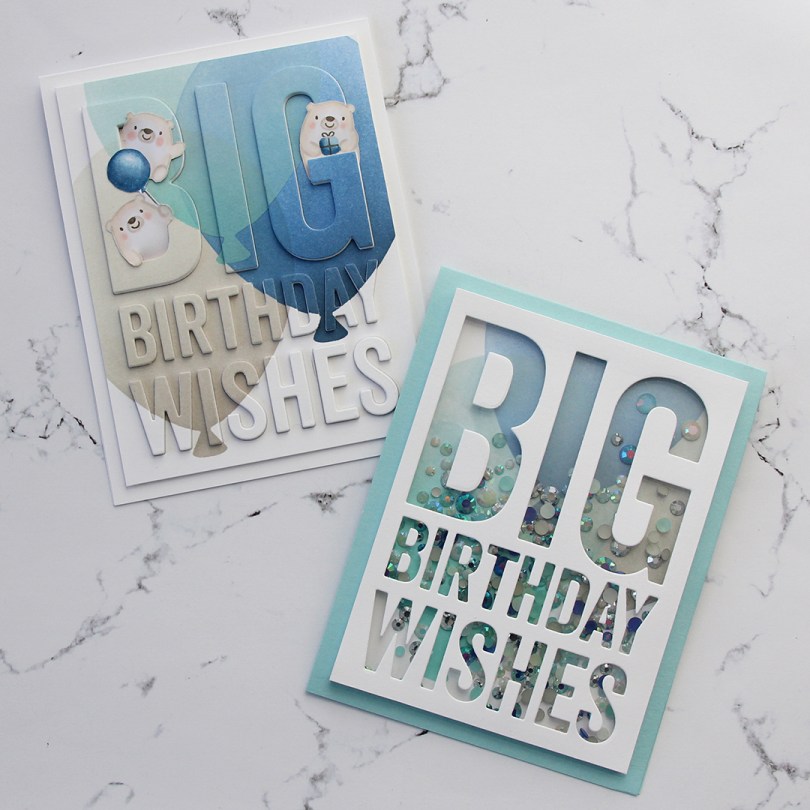
  Starting with the raised die cut inlay card, I did some serious ink blending. I love the look of ink blending, but I have a shoulder that protests every time I do it, meaning it doesn’t happen every day. I don’t have colored inks from MFT, so I used the brands I have and made it work. I used Hero Arts Wet Cement and Papertrey Ink Soft Stone inks for the gray balloon, Papertrey Ink Hawaiian Shores and Distress Ink Speckled Egg for the teal balloon, and Altenew Dark Night, Azurite, Ultramarine and Eastern Sky for the blue balloon.
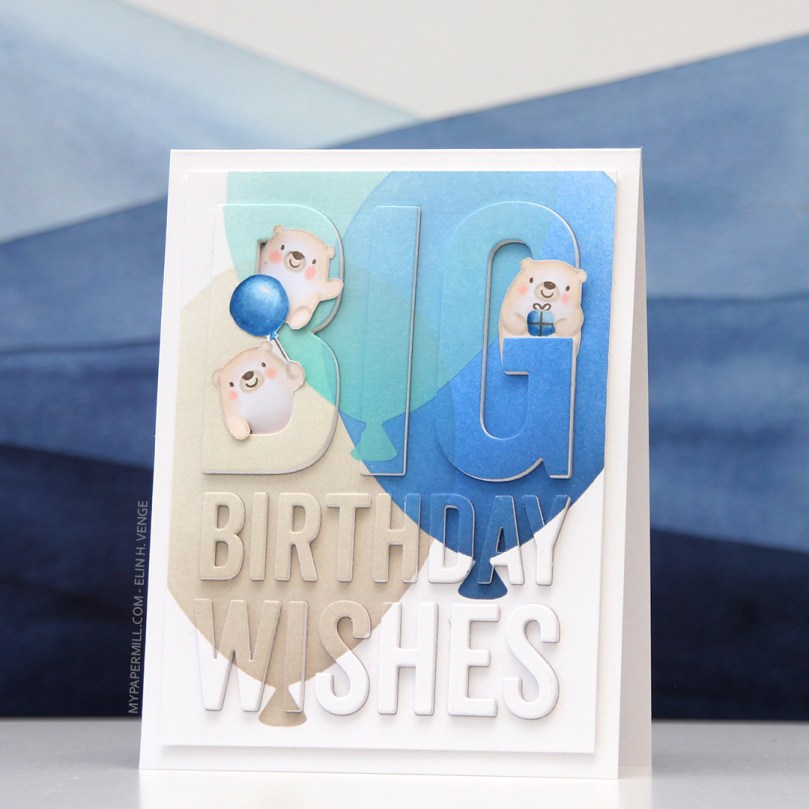 Once the panel was inked, I used the Big Birthday Wishes die to die cut the panel, making sure to keep all the little pieces for the stacked inlay technique. I die cut five more pieces from white card stock and stacked all the individual letters, putting the inked piece on top, giving me a total of six layers for each letter. I no line colored a few of the bears from the Bitty Bears stamp set to look like polar bears, and added them to the big letters at the top.
 For the second card I used the same color inks to ink blend the balloons, cut off the edges to make it a smaller panel and used the negative of a die cut for the shaker window. I built up the walls of the shaker using thin strips of white card stock. I’m not a fan of foam tape for shaker windows, I prefer to take the extra time and effort to build dimension with cardstock. It’s fiddly and time consuming, but I love it!
 I glued the negative die cut onto a piece of acetate, and filled the shaker with the Starry Sky Mix of jewels from Pretty Pink Posh before adding the piece of acetate and negative die cut on top, sealing in the jewels. The colors of the jewels are perfect for the color palette I was going for. I glued the finished shaker piece onto a top fold card base I made from Berrylicious card stock, and my card was finished.
 I had so much fun creating these two cards, but will admit that I struggled with which bears to use, I’d colored all but one bear from the stamp set. Indecisive is my middle name. So is procrastinator, perfectionist and a whole bunch of other descriptors.
 All the bears (except for the one that couldn’t fit on this panel) all colored up like polar bears. While the stamps were still in my Misti, I used a Memento Rich Cocoa dual marker on the eyes, noses and mouths and stamped them on top of the fadeout ink from Inkon3 I’d already used. This is a trick I like to use, and it saves me from having to draw eyes and mouths in after my coloring and risk ruining my images.
 Last, but not least, the colors I used. Not a lot, but enough to make these cute bears look like polar bears and for them to match the color palette for the MFT color challenge.
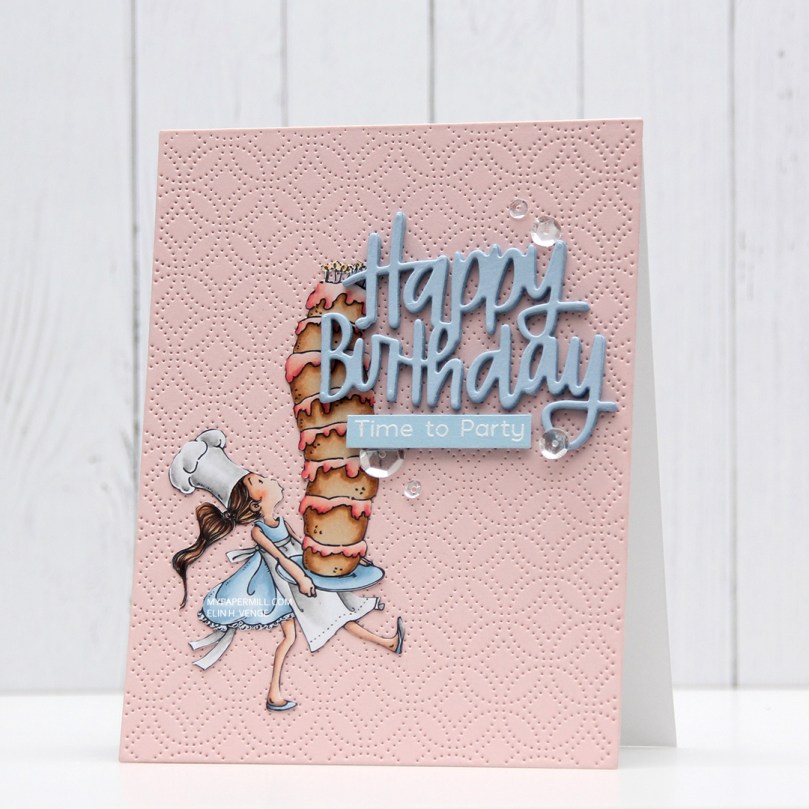 I colored the image with Copics before fussy cutting right up to the black lines. I contemplated leaving a white border, but opted for this look in the end. I feel it’s cleaner, somehow.
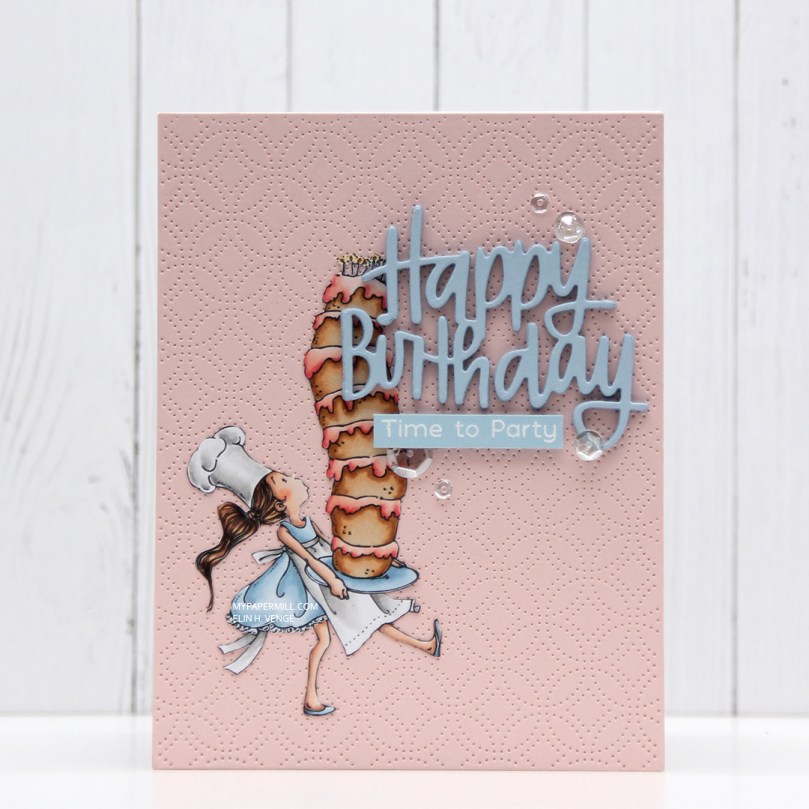 For the background I used the Detail Ringlet Plate from Simon Says Stamp on a piece of Sweet Blush card stock from Papertrey Ink, and glued it onto a cardbase made from Stamper’s Select White card stock, also from Papertrey Ink. It’s my favorite white cardstock, and whiter than anything else I’ve tried, which ticks of a huge box for me! I used Gina K. Connect liquid glue on the back of my image to adhere it to the textured background.
 I die cut the Happy Birthday Brush Script die from Simon Says Stamp five times from Spring Rain card stock from Papertrey Ink, glued them together for a stacked look and adhered the layered die cut directly on top of the cake and the textured pink background. I stamped and white heat embossed part of a sentiment from the Bitty Bears stamp set from My Favorite Things onto a scrap piece of Spring Rain cardstock, cut it down to a strip and added four more behind it, making it flush with the die cut above. I finished the card by adding a few Sparkling Clear sequins from Pretty Pink Posh.
 Those stacked die cuts add a lot of dimension to an otherwise very simple card. I pulled out an envelope from My Favorite Things in the color Blue Breeze to match the card, it’s uncanny how well the Blue Breeze color from MFT matches the Spring Rain color from PTI.
 Simple images don’t require a lot of colors. However, in addition to these, I did use B90, which is a color I’ve made myself.
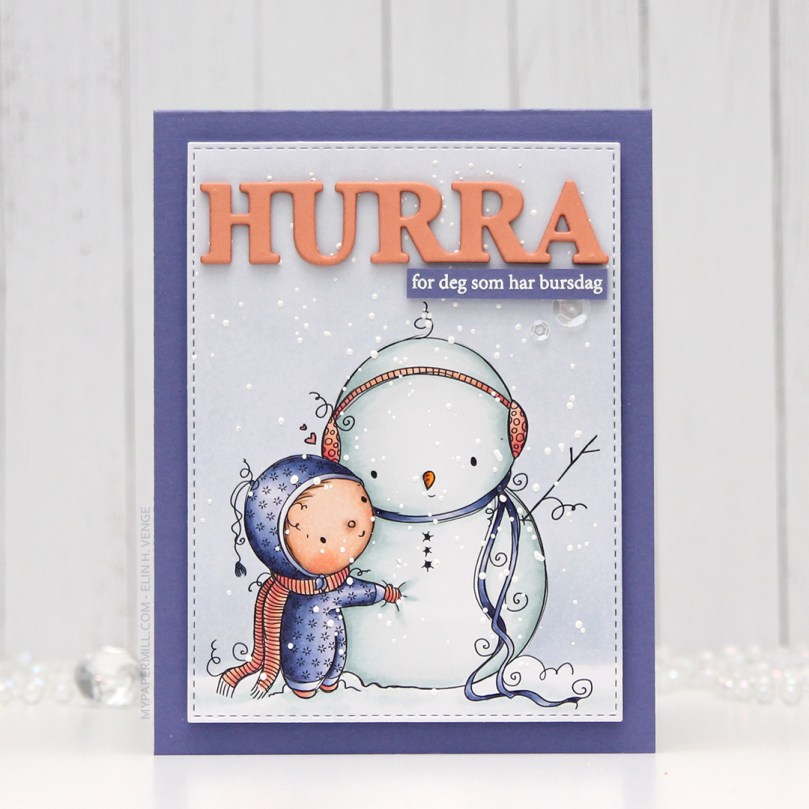 I started by coloring my little snowman and his friend using my Copics. I went with a bit of a split complementary color scheme on this one. I’m no fan of complementary colors, but split complementary are infinitely better, and blue green (which I used for the snow on the snowman), purple and orange are split complementary colors. I didn’t want a bright orange, though, so I went more coral, and I love how it turned out.
 I used a faux stitch rectangle die from My Favorite Things to turn my colored piece into a nice panel. I love these dies, they add such a finished look. I sprinkled on a moderate amount of chunky white embossing enamel from Stampendous and melted the powder. I love the snowy look this gives.
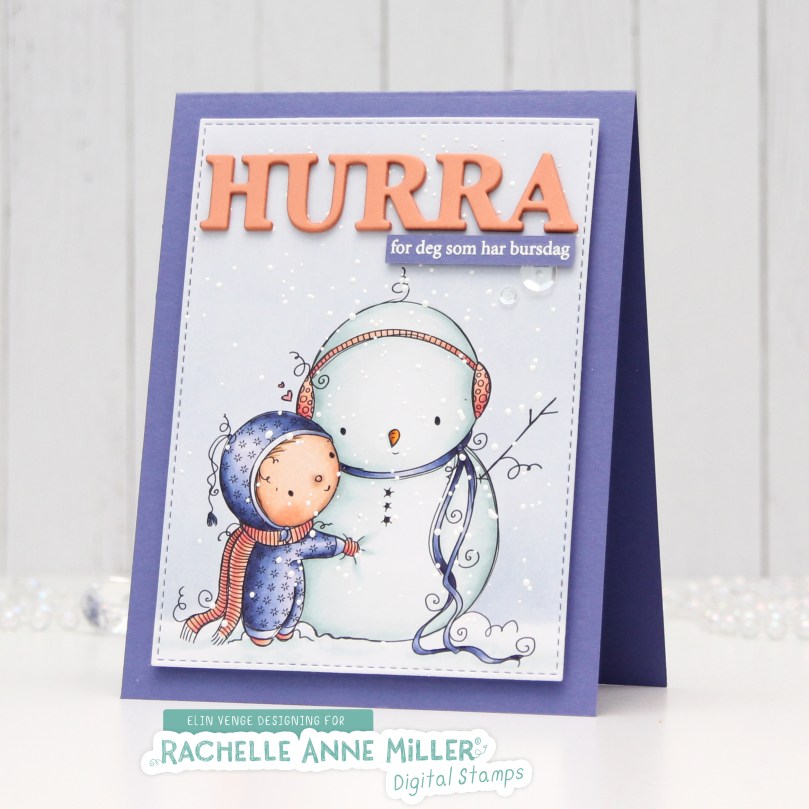 I mounted my die cut piece onto a card base made from Lavender Fields cardstock from My Favorite Things using plenty of foam tape. This color perfectly matched the purple in my image, something I always try to accomplish in my cards for a nice, cohesive design. I die cut and stacked four Hurra from Melon Berry cardstock from Papertrey Ink using a Kort & Godt die. I love stacking die cuts, it adds a super nice look of dimension. I also white heat embossed a sub sentiment from Norsk Stempelblad AS onto more of that Lavender Fields cardstock, and stacked that, as well, making it flush with the die cut word.
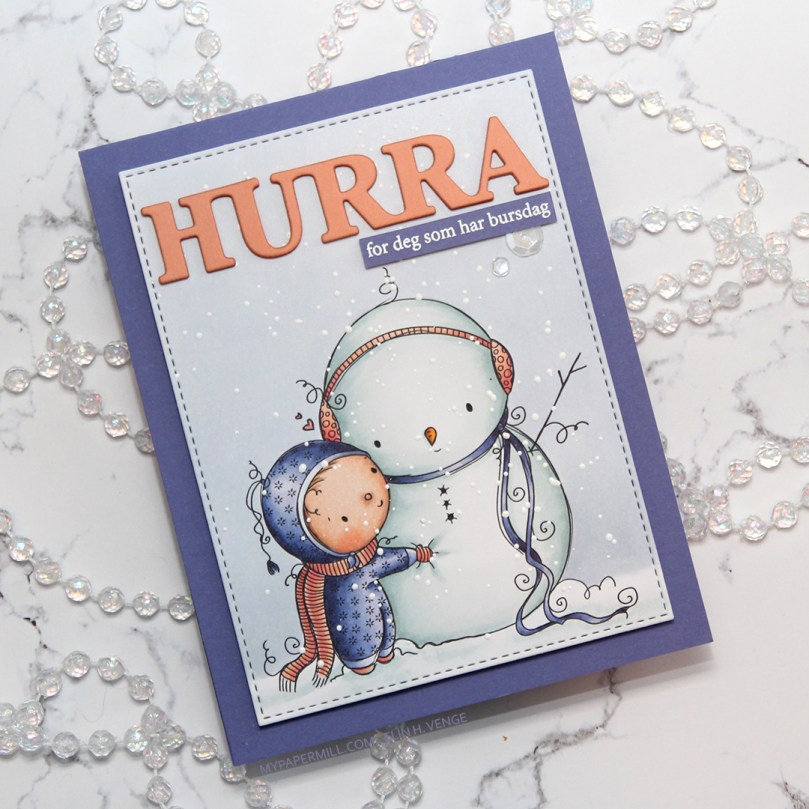 I added a couple of sparkling clear sequins from Pretty Pink Posh and my card was complete. I cut a little bit off the largest one with my scissors to make it look like it’s tucked behind that sentiment strip.
 Last, but not least, the Copic markers I used to color my image. I also used B40 and BG71, which are colors I’ve made myself.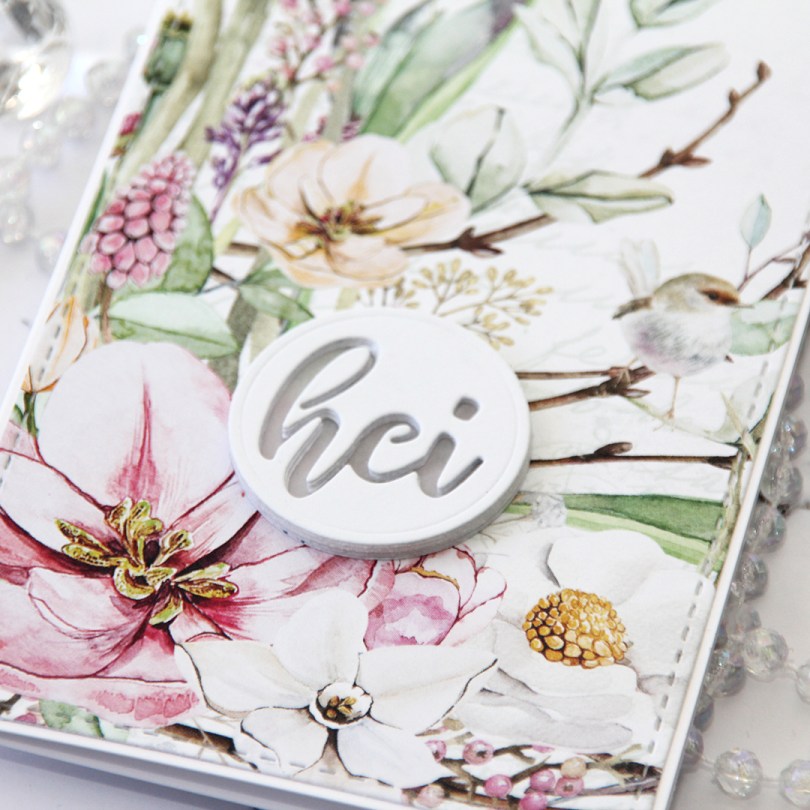
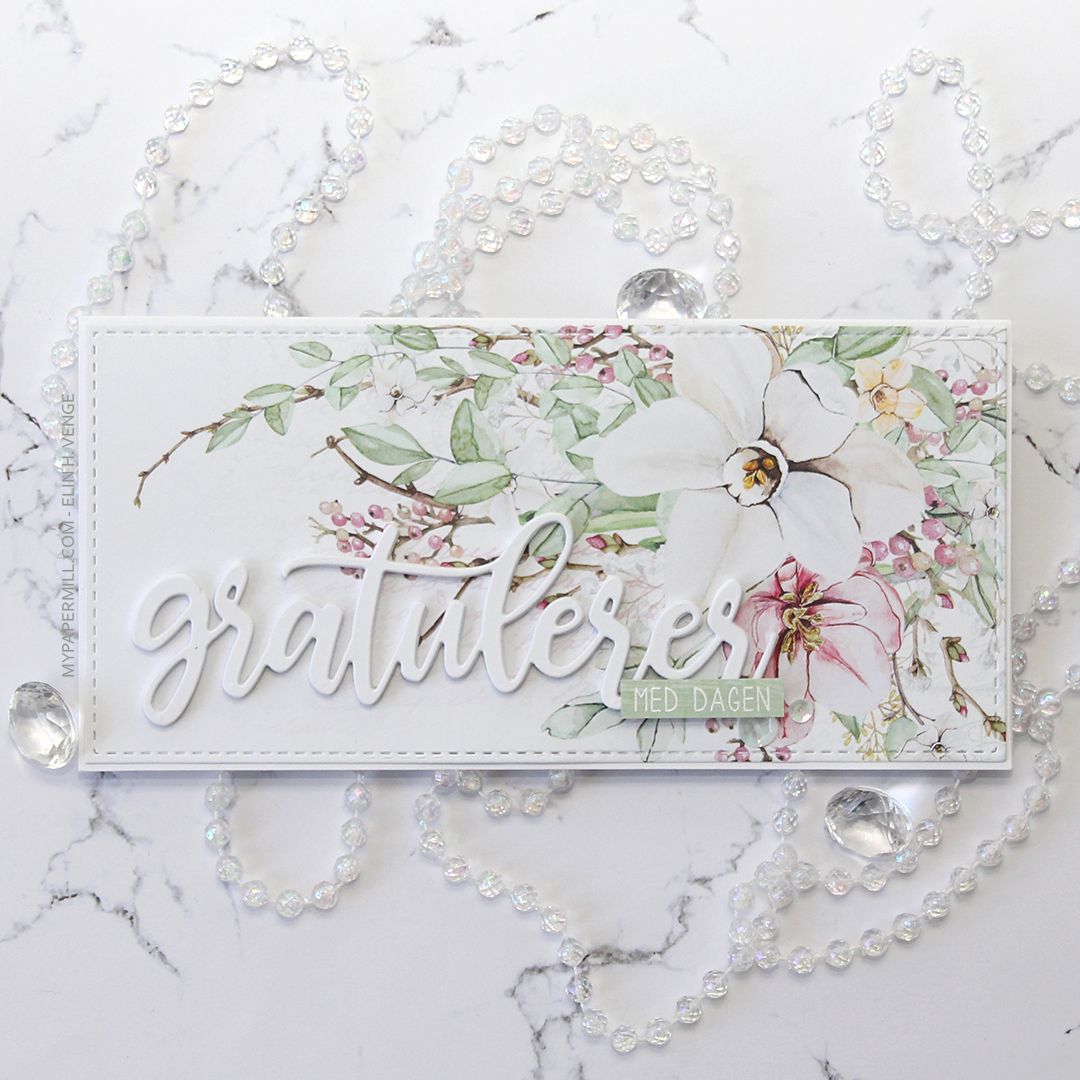 This first one might not even technically be a proper slimline card. It’s about 7-3/4 x 3-3/4″. I’ve used beautiful patterned paper from P13 for both my cards. I wanted the paper to be the hero, so I didn’t do too much to it. The sheet I used for this card is
  I used a
 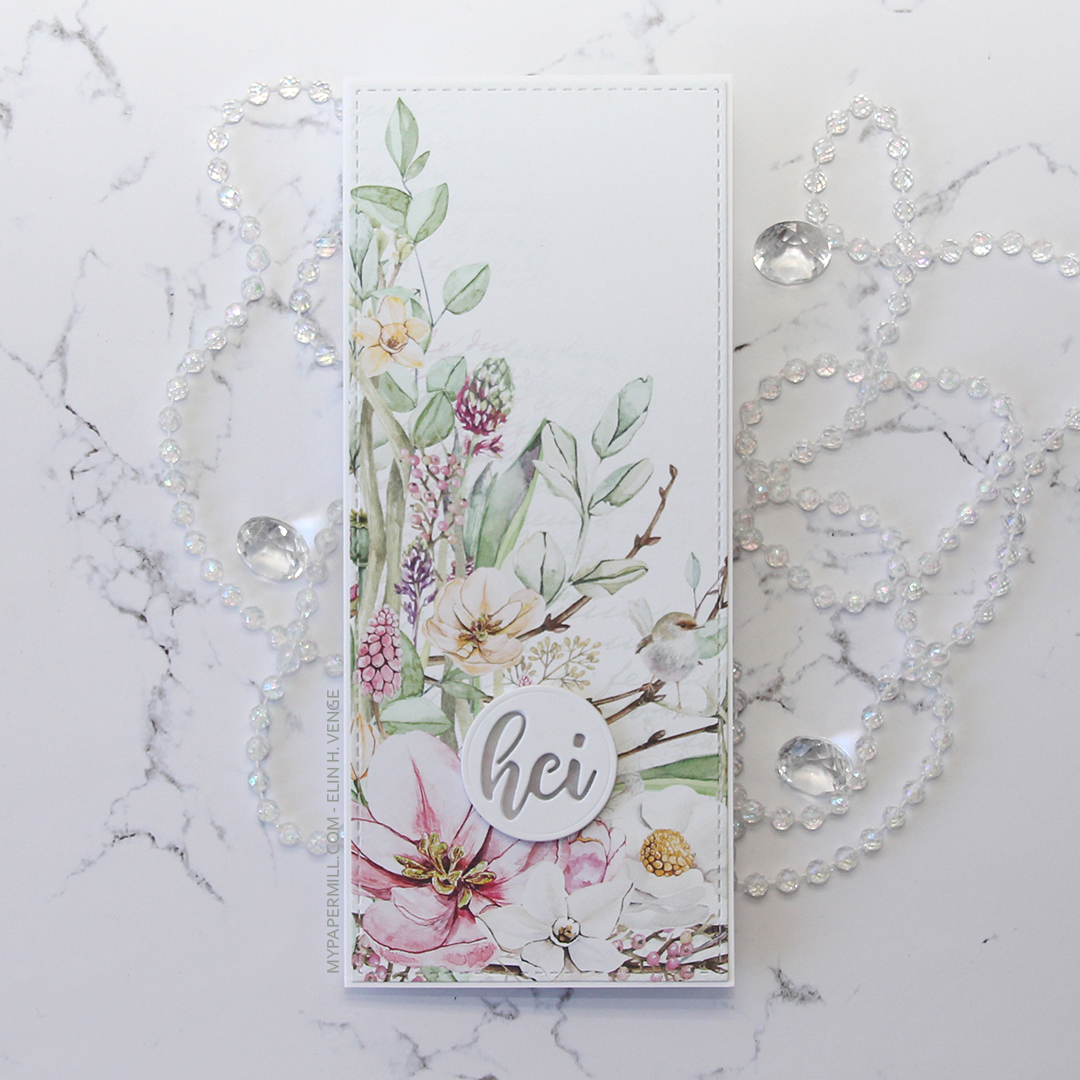 My second card uses a different part of that same sheet of patterned paper, as well as the same slimline die from Pinkfresh Studio. The sentiment is even die cut using a die from the same set as the sentiment on my first card.
 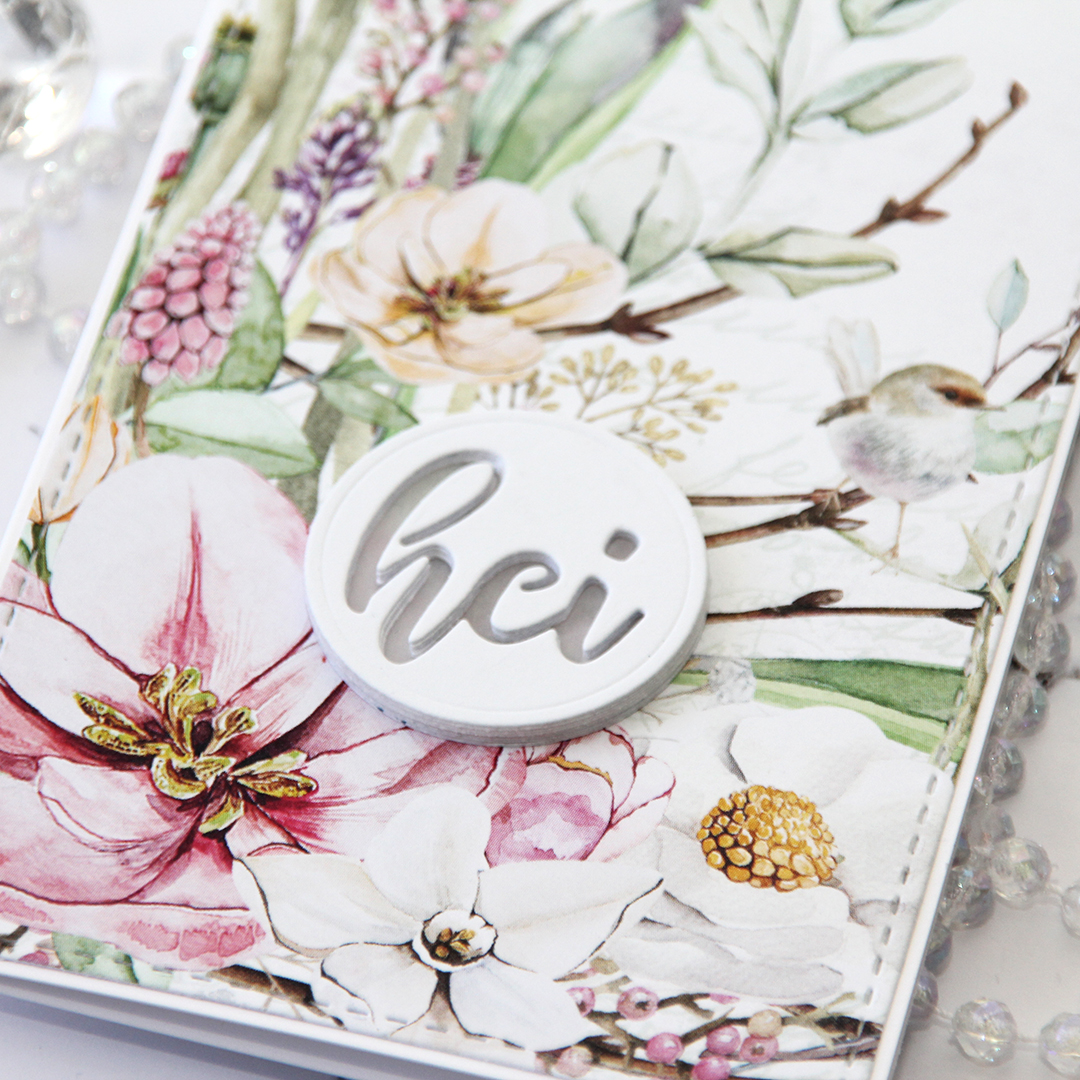 On this one I have four layers stacked on top of each other, then a vellum circle, then another four layers of the negative word die, making this sentiment really stand out as a statement on my card.
 I colored in my little scene using more Copics, die cut that using the same die, then fussy cut around the trees, snow and house. I added a sprinkling of snow by heat embossing chunky white embossing enamel on both panels. I glued my blue background to a cardbase I made from Pure Poppy cardstock from Papertrey Ink and added the rest of the scene on top using 1 mm foam squares – lots of them! I added a stacked die cut sentiment using a die from the So Many Snowmen die set from Mama Elephant and my card was done.
 I didn’t use too many colors on this, and most of these were actually used on the sky and the snow.
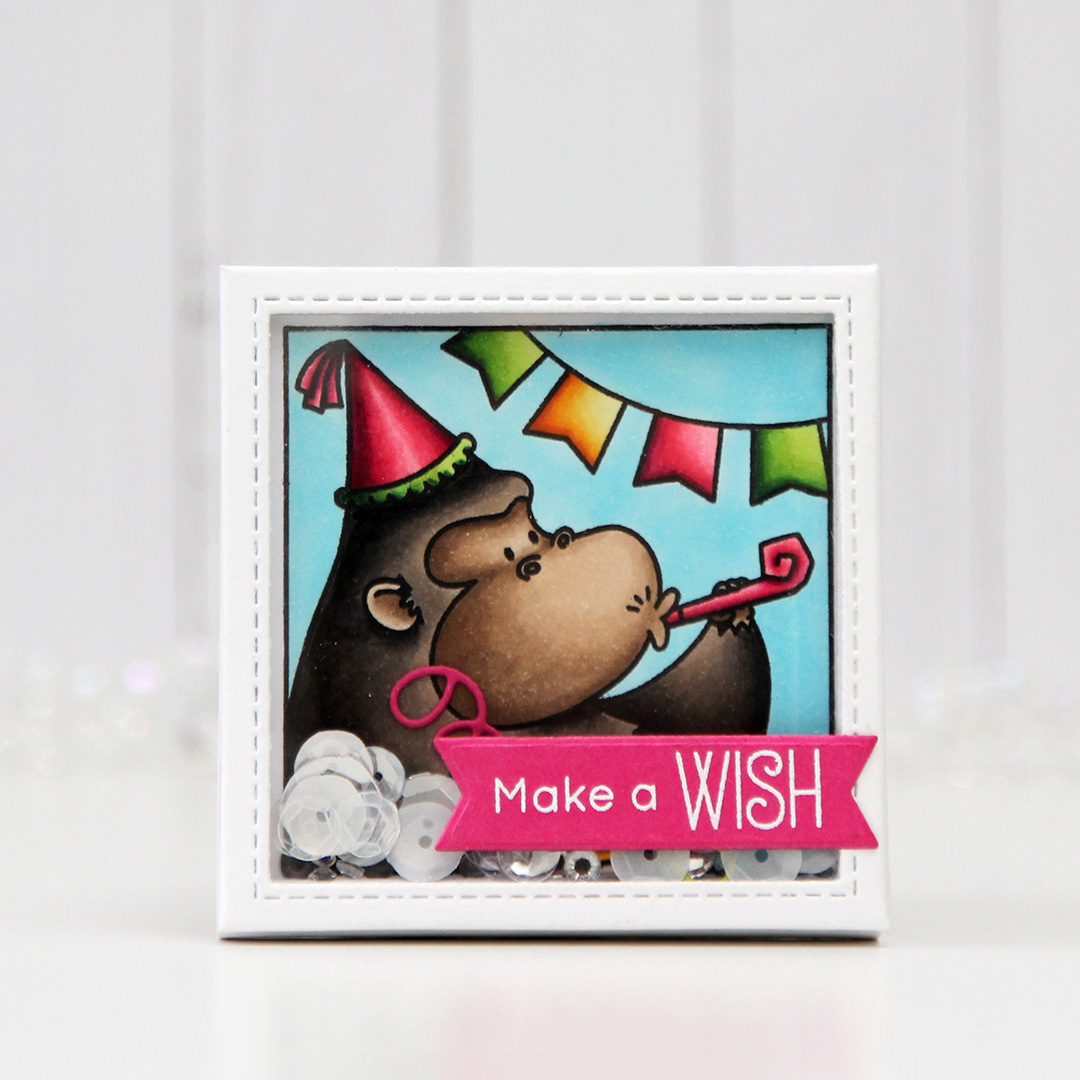 This is a small, but mighty one. It may look very unassuming as a 2-3/4″ square shaker card, but there’s a secret. It opens up to be quite big in the end. The shaker itself is filled with sequins, gems and a few die cuts in colored cardstock die cut using one of the dies in the Tag Builder Blueprint 5 set. I cut them down a little with my scissors and cut the ends off so they wouldn’t get tangled inside the shaker.
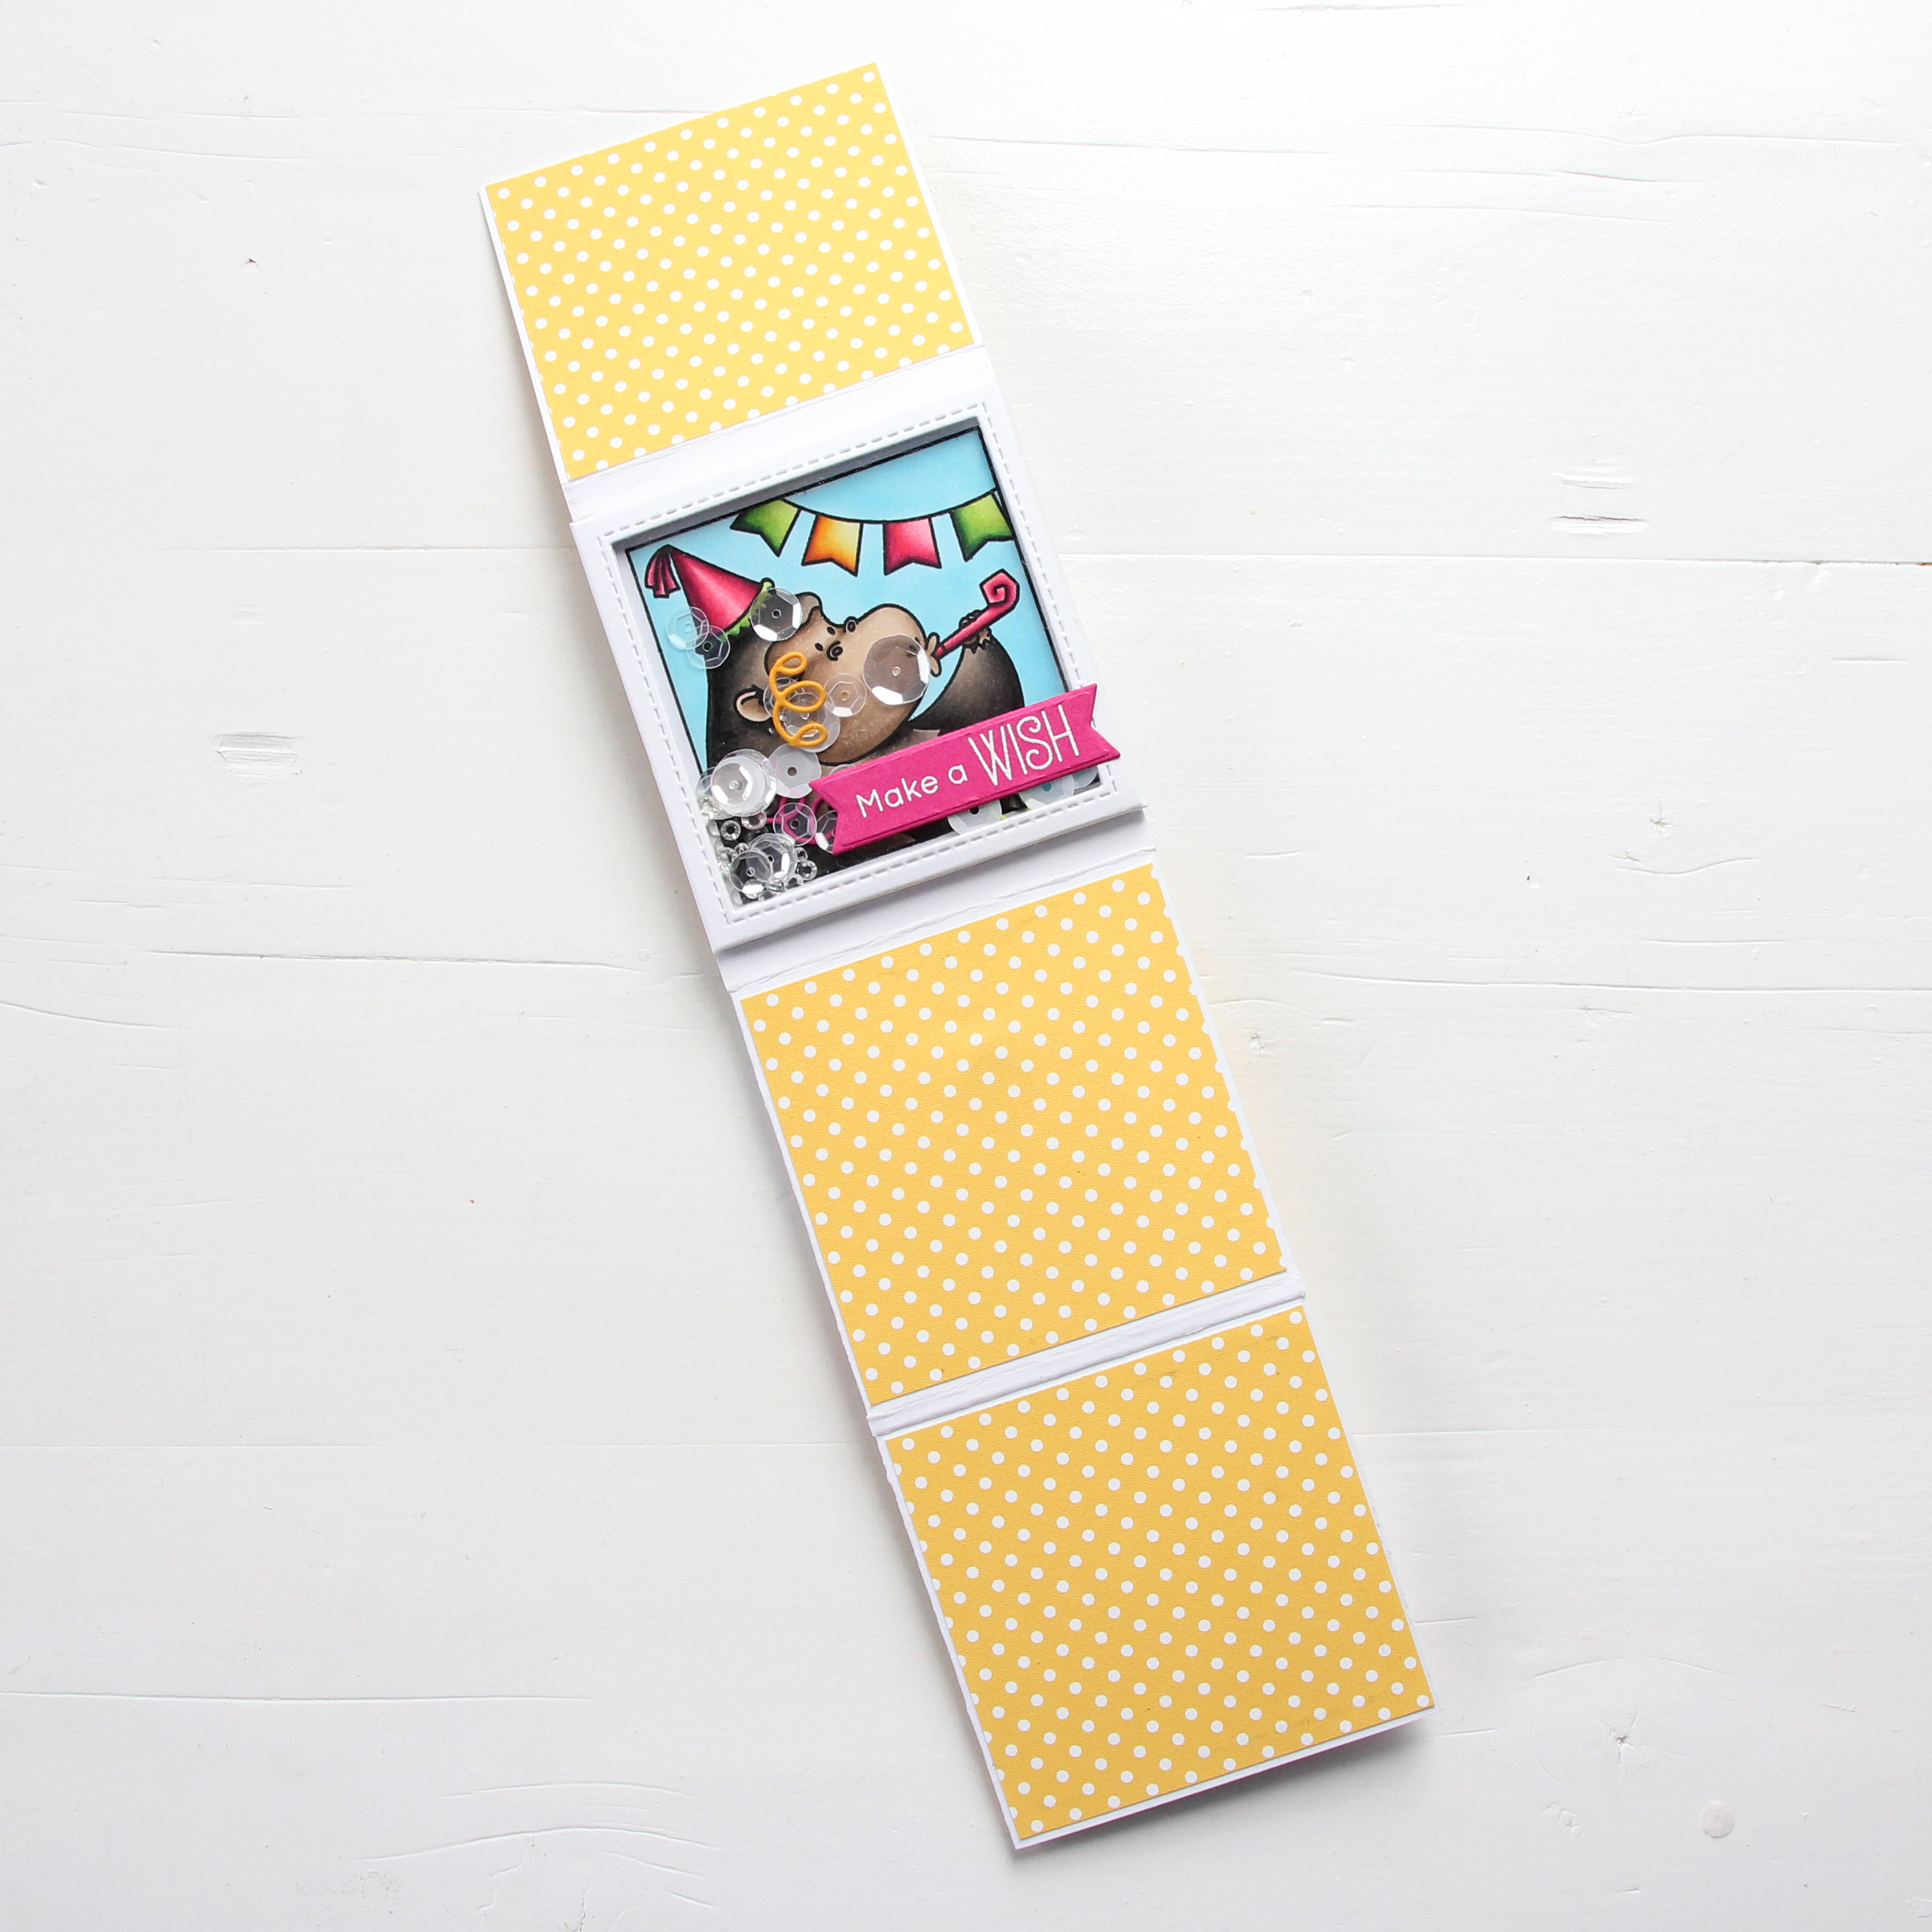 The gorilla from the Picture Perfect Party Animals stamp set covers the entire front, but there’s a magnetic flap on the back, and once you undo that, more is revealed.
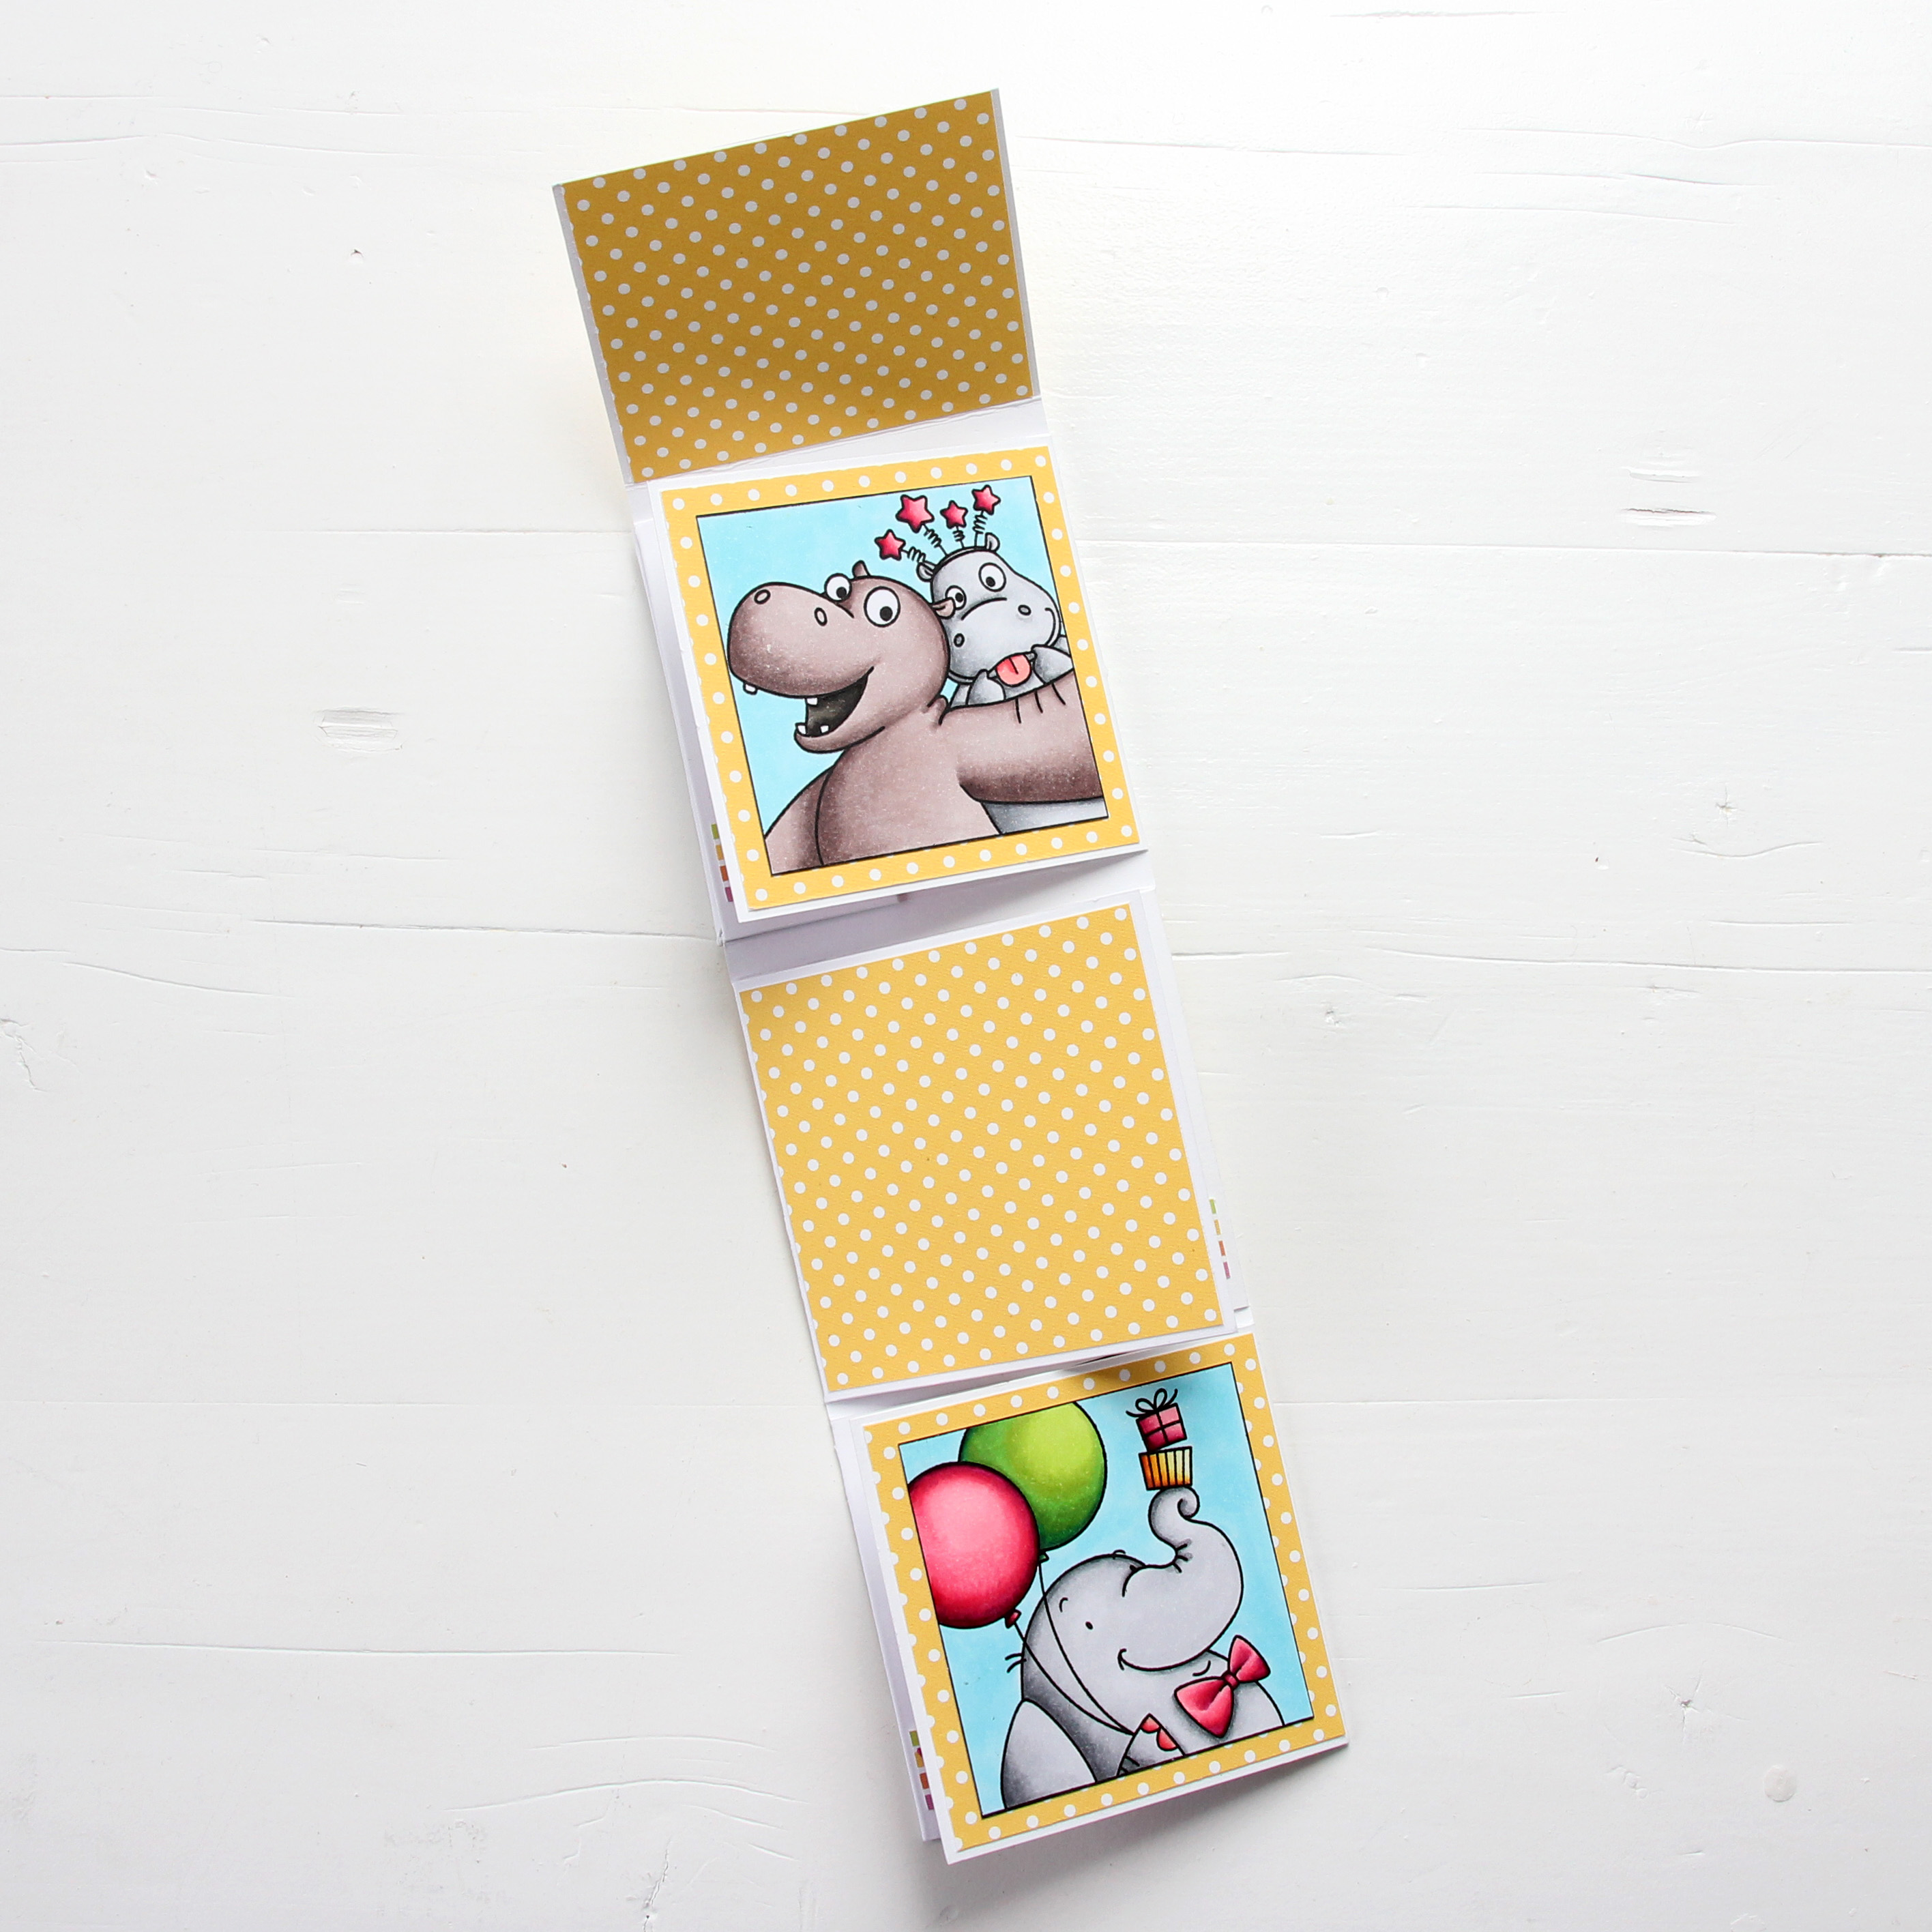 Flip the gorilla over, and you’ve got more animals ready to join the party. I used the yellow polka dot pattern from the Party Patterns paper pad for even more fun and a way to get even more happy color into my card. These three panels are flaps that open to the sides (two to the right and one to the left) to reveal even more…
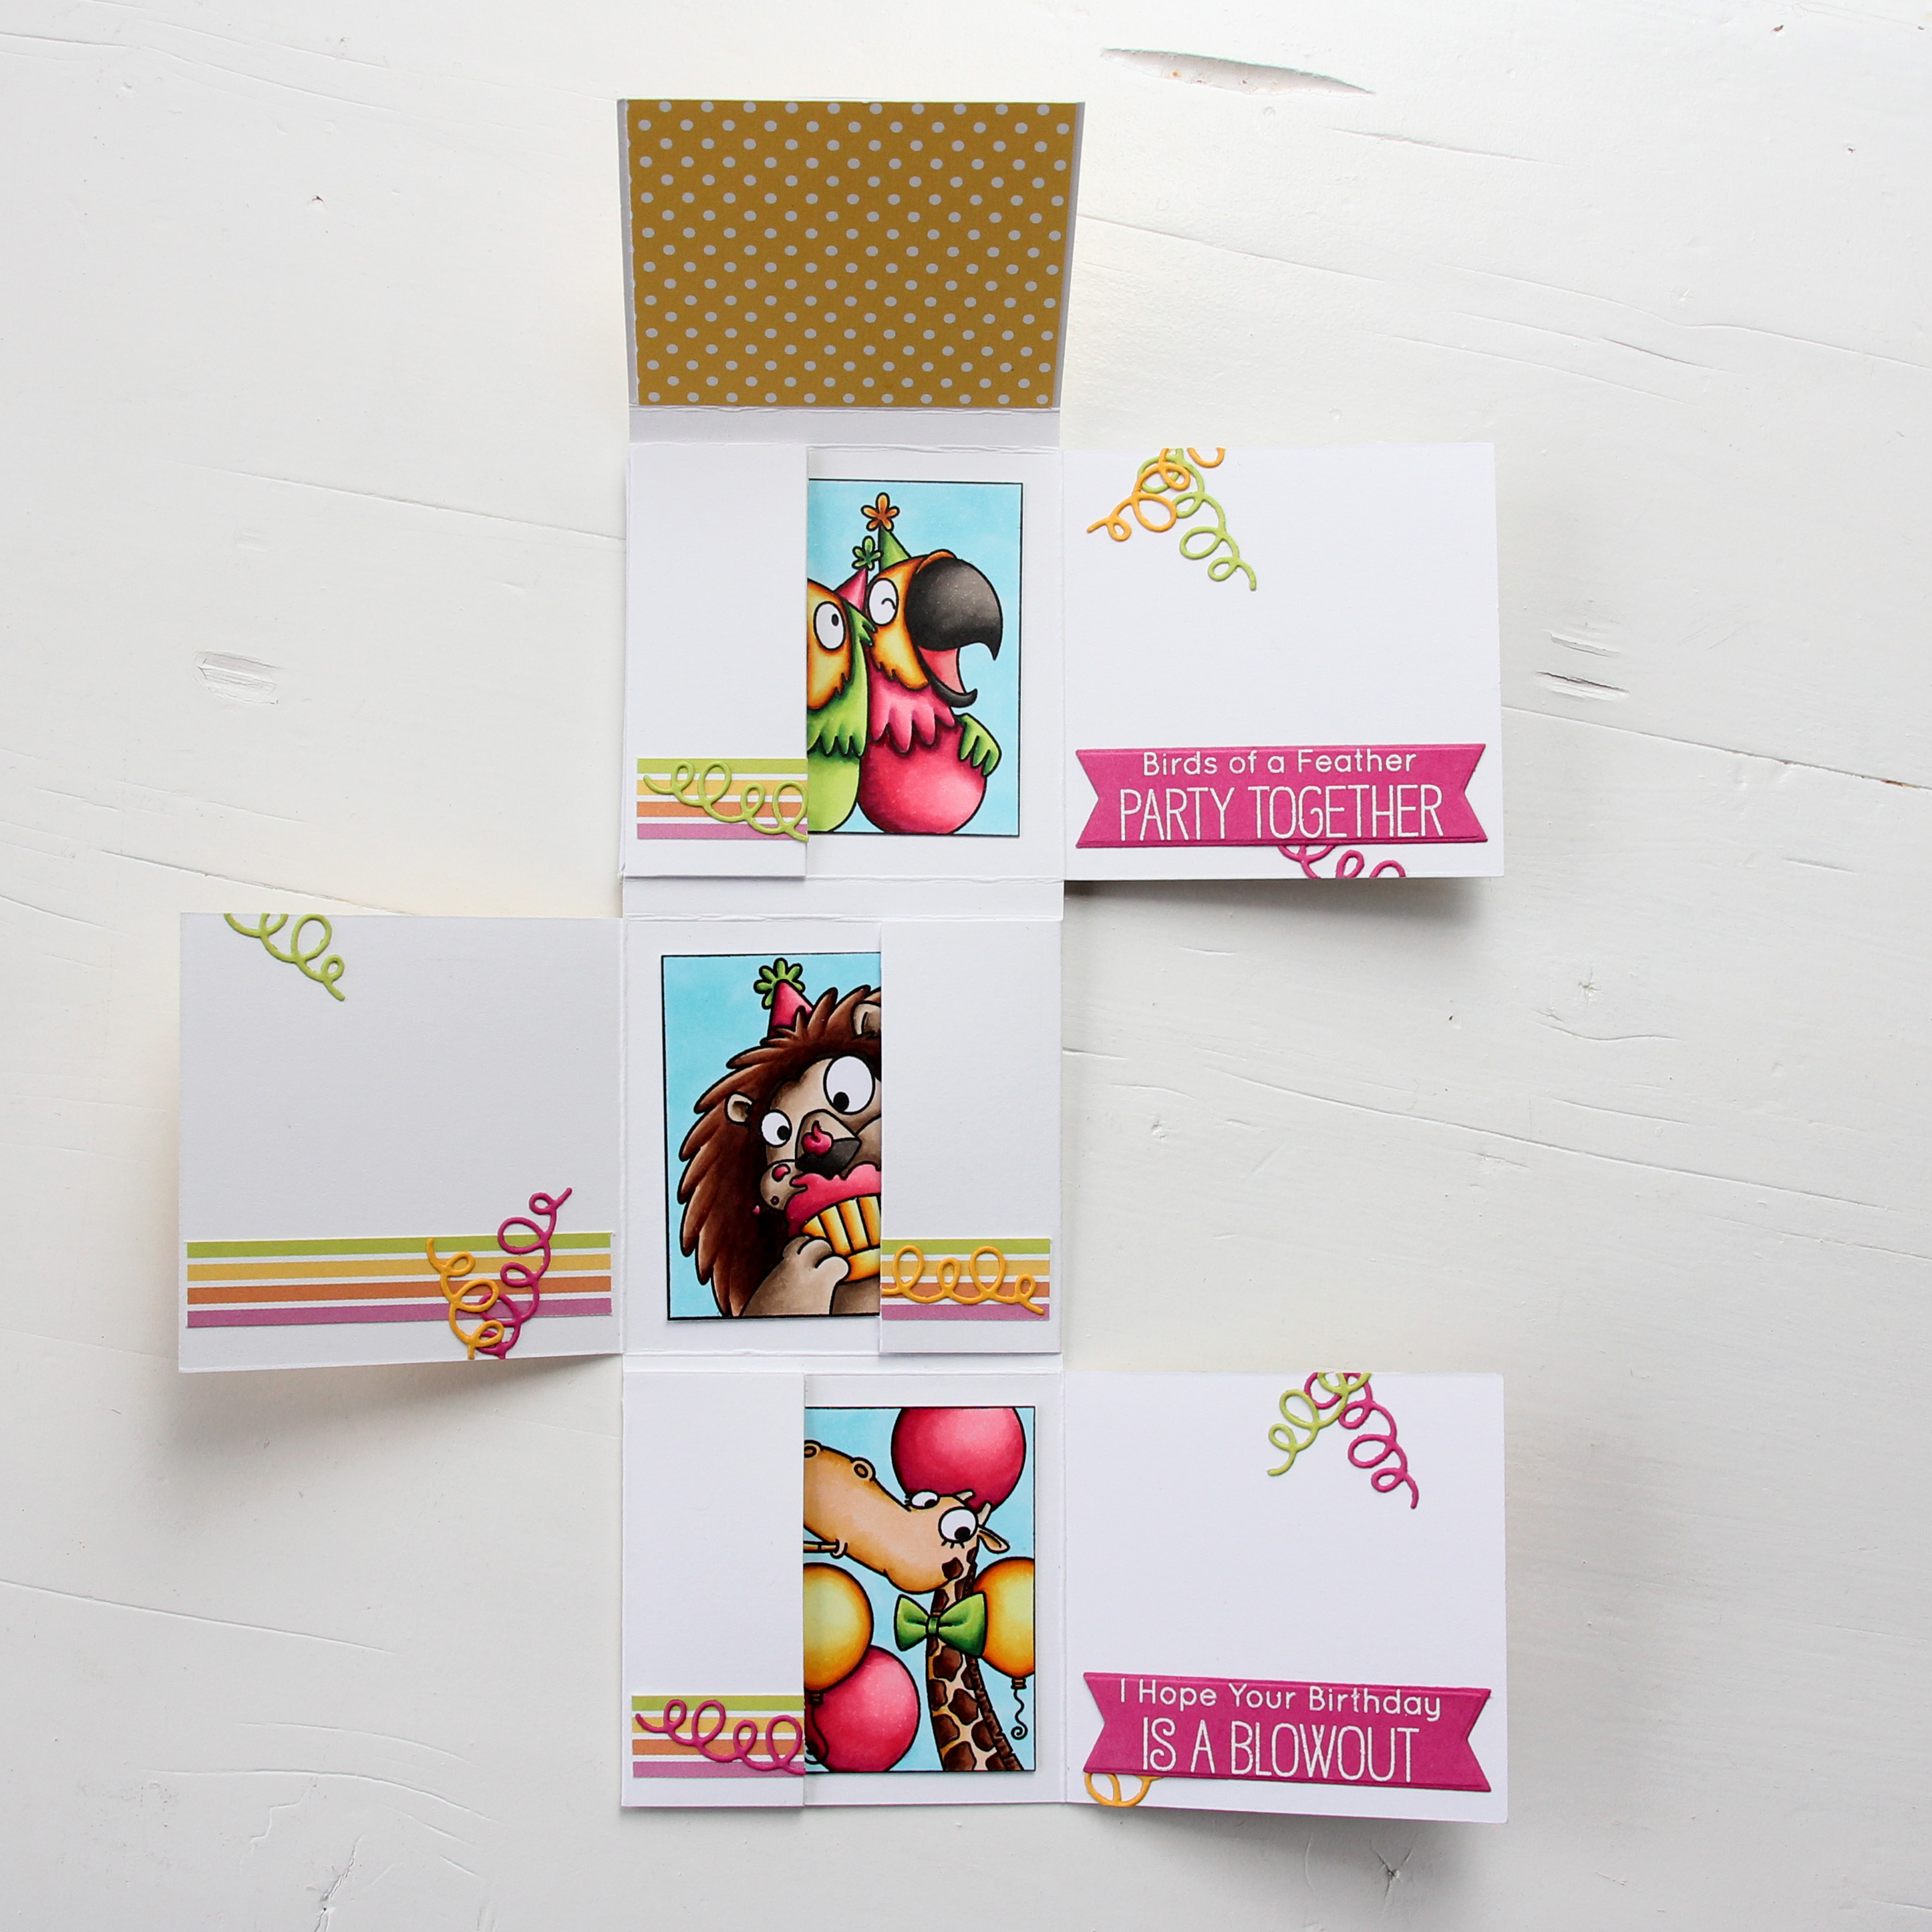 The last three (technically four, since there are two parrots in that one selfie) animals are ready to party. They’re tucked inside pockets, and I’ve stamped a couple of the sentiments that come with the stamp set onto Razzle Berry heavyweight cardstock from MFT and heat embossed them. That pink really packs a punch. I die cut my sentiments using the largest of the Fishtail Flag Frames dies, and cut down another patterned paper from the Party Patterns paper pad to strips that included the yellow, green and pink colors that I have throughout my card. I also added some die cut streamers from the Tag Builder Blueprint 5 die set using Razzle Berry, Pineapple and Limelight cardstock, all from MFT.
 You can pull the selfies out of their pockets, and there’s room to write a personal message to the birthday boy or girl on the back of the selfies. The best thing about this card is that no specialty dies are required, this is all done with a paper trimmer, score board, bone folder, craft knife and a steel ruler. I prefer the craft knife and steel ruler over the paper trimmer, but that goes way back to my days of creating architectural models. Those knives are handy!
 There you have it, my entry for the Innovation Master category for MFT’s annual superstar contest.
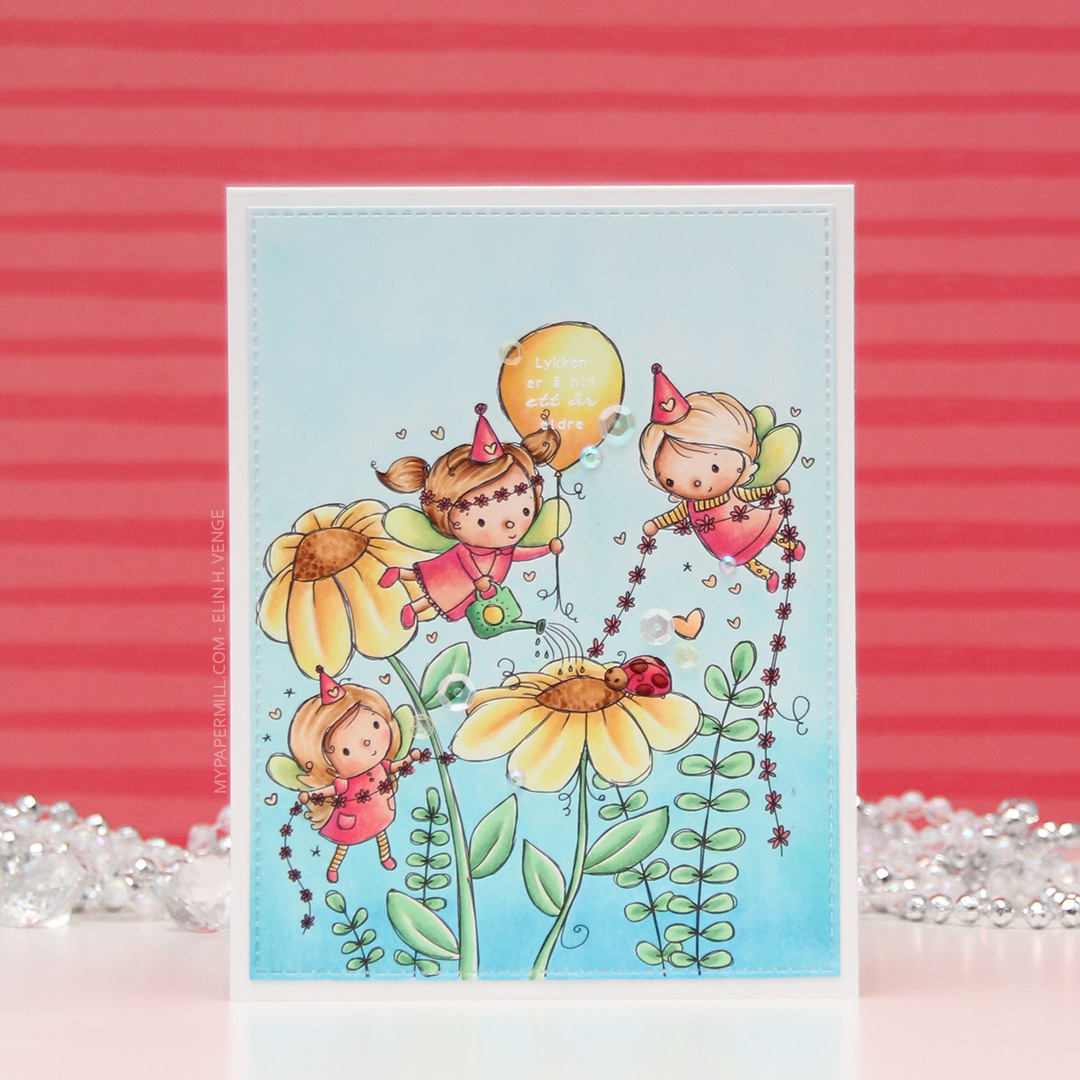 I wanted a soft color palette for my card, so I have no colors that are really dark in this image. The darkest marker I used is E57, and it’s contained to the hair on one of the fairies, the flower centers and the ladybug.
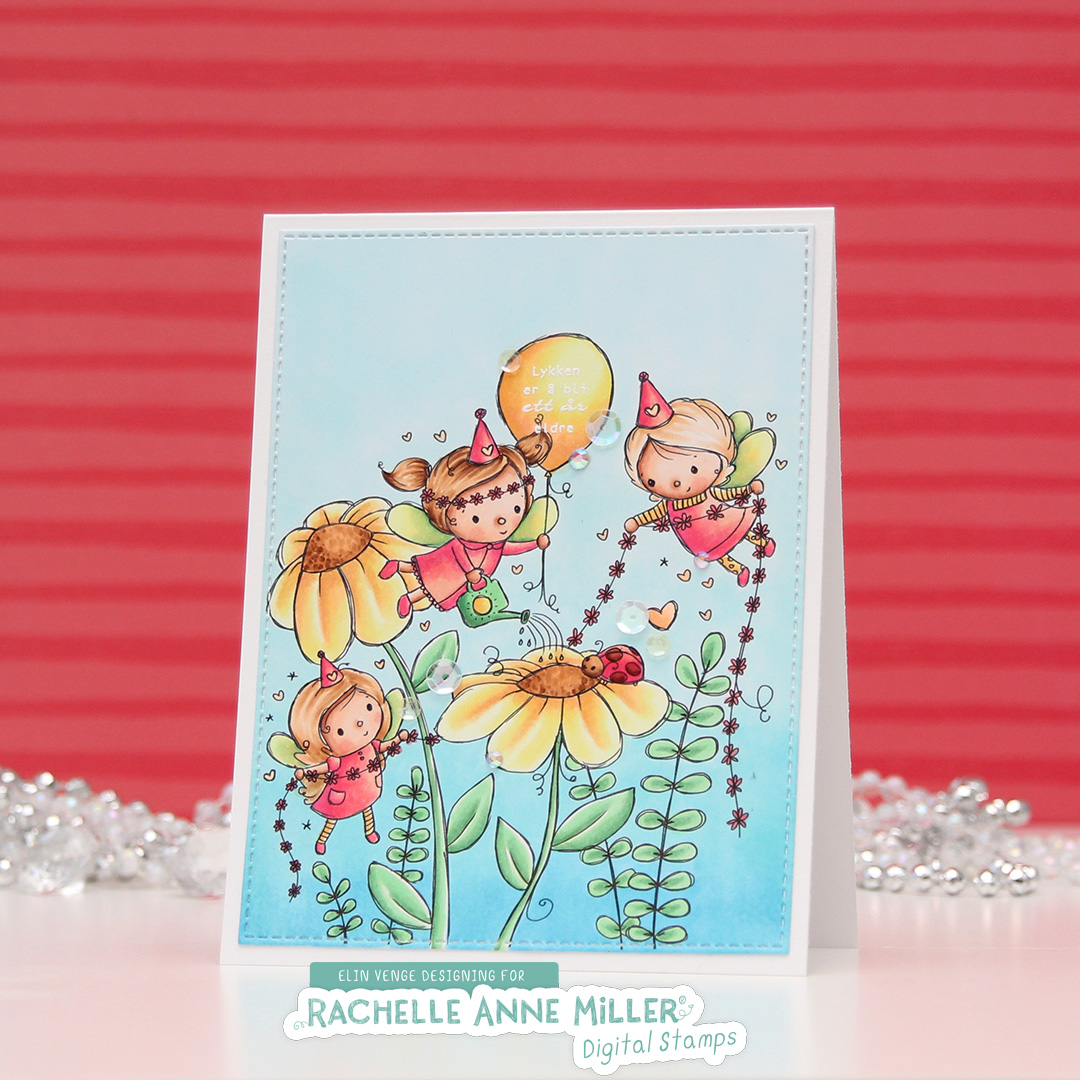 Once I’d colored the entire panel, I took the largest of the dies from the Stitched Rectangles STAX 1 set from My Favorite Things to turn it into a panel and create a nice border on the front of my card. I knew from the start that I wanted my sentiment inside the balloon, but I couldn’t decide on white or black. I thought the white might not pop enough against the yellow balloon, but I also knew that the end of the pigtail on the fairy would mess with any black stamping, making the letter illegible. In the end, I went with the white, but you can hardly see it in the photos against that lightest yellow. I might go in with a water brush and the refill for the darkest color I used on the balloon to darken it up later. I don’t want to ruin the nibs of my markers by touching the embossing, but refill and water brush with a little bit of blender solution will work without ruining anything.
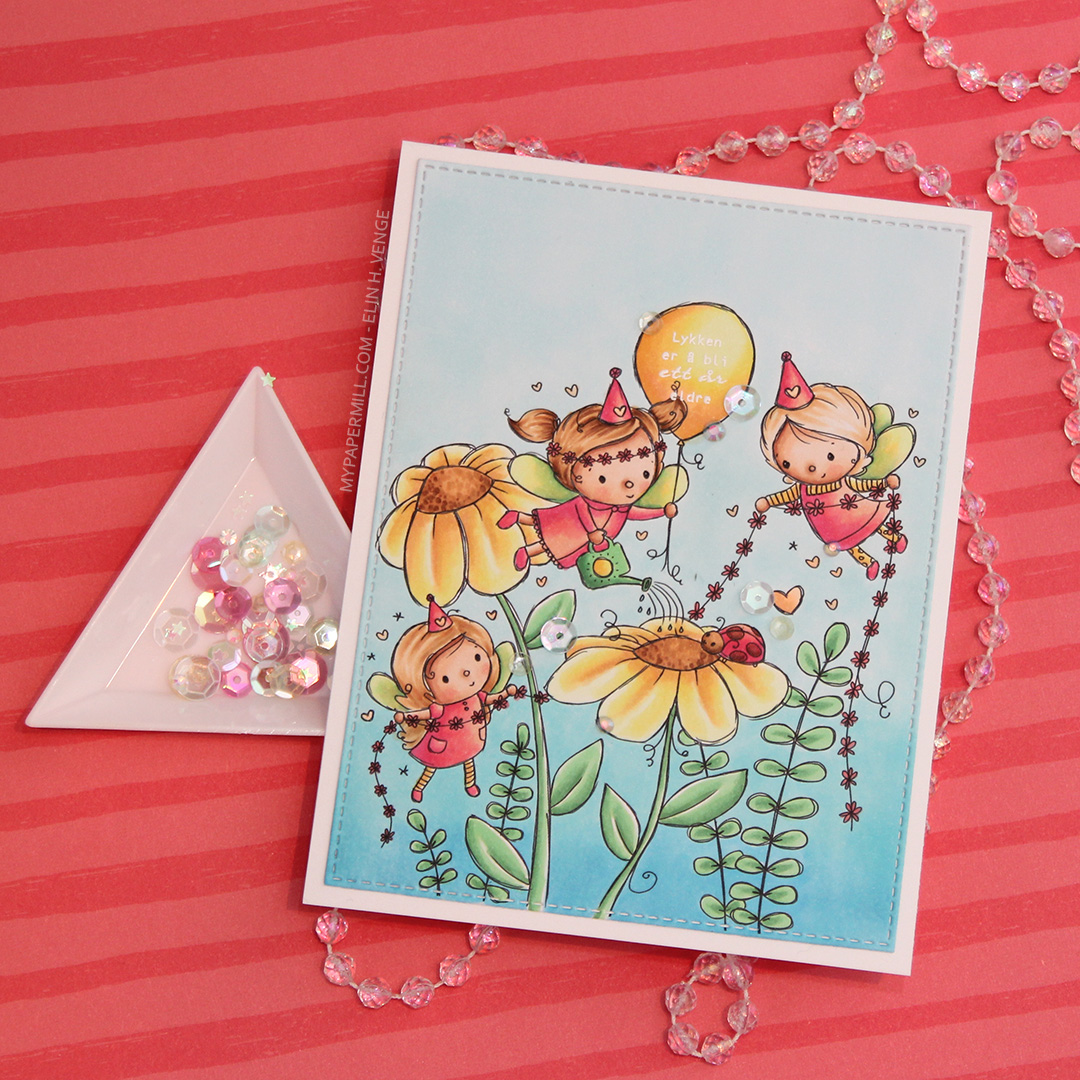 I finished my card by adding some groupings of sequins and Jewels from Little Things from Lucy’s Cards. I used the Iced Sherbet mix for this card.
 Last, but certainly not least, are the colors I used for my image.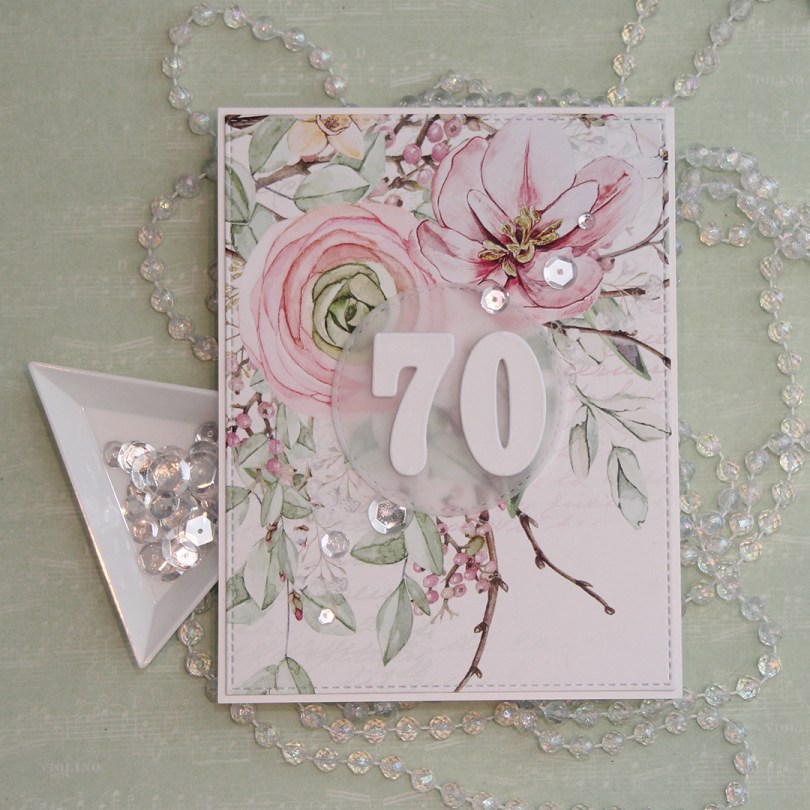
 For this card, I used the largest die in the Stitched Rectangles STAX 2 set from My Favorite Things. You can find set 1
 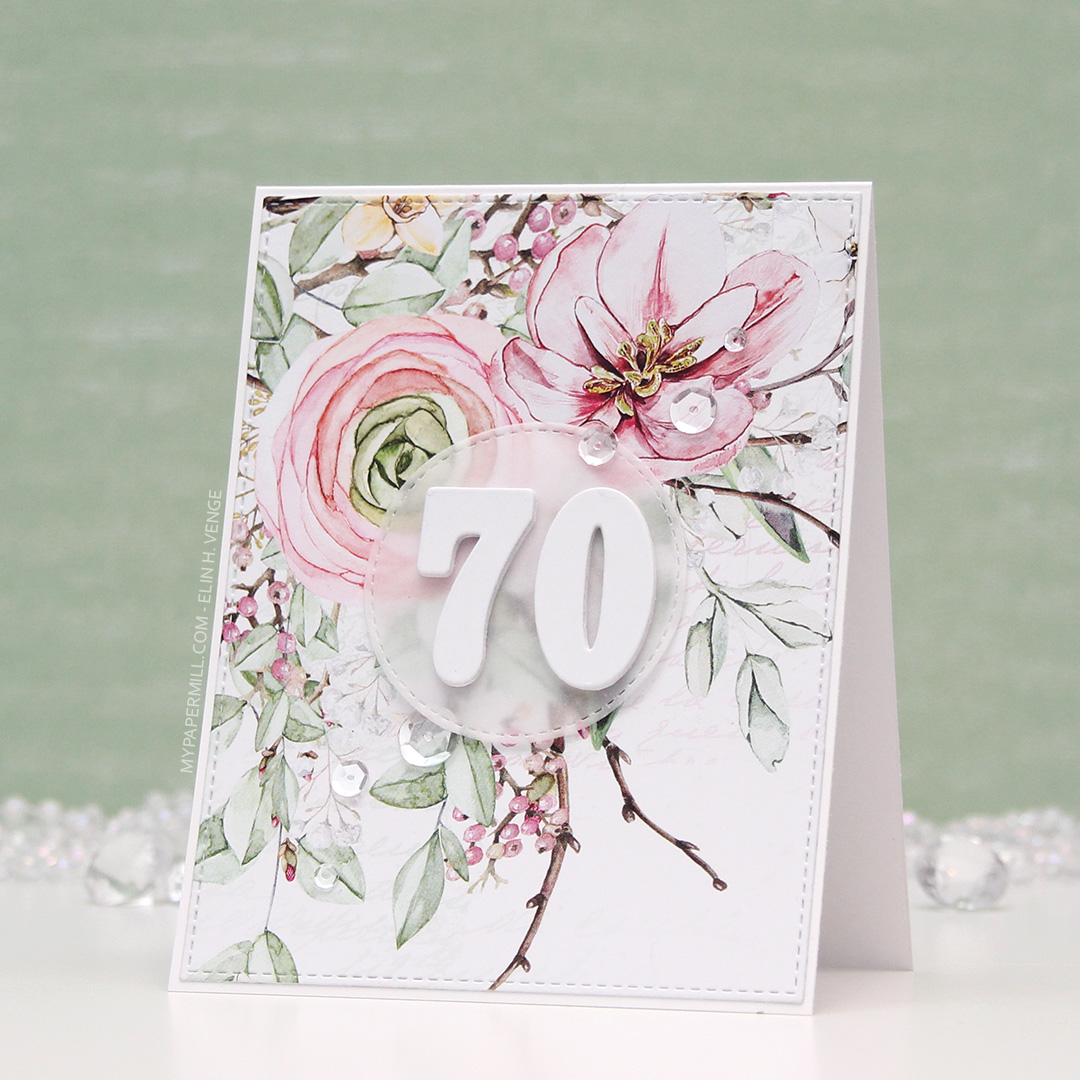 I glued my die cut panel onto a cardbase made from Stamper’s Select White cardstock from Papertrey Ink. I die cut a circle from vellum using a circle die from the Stitched Circle STAX set, also from My Favorite Things. It matches nicely with the stitching around the edge of my floral panel.
 I also die cut a bunch of numbers using a die set from Papirdesign. I made most of them from white card stock, but the top numbers from a piece of that same patterned paper. It might not look like patterned paper, but there’s a lot of white space on this sheet, and I used some of that for my numbers. It makes the whites match, which I really love. I put a 3 layers of my numbers underneath the vellum, and the remaining four layers on top. It makes the vellum stand out a bit from the background, which makes the number show up a little better and not get lost in that busy background.
 I finished off the card by gluing on some sparkling clear sequins from Pretty Pink Posh.
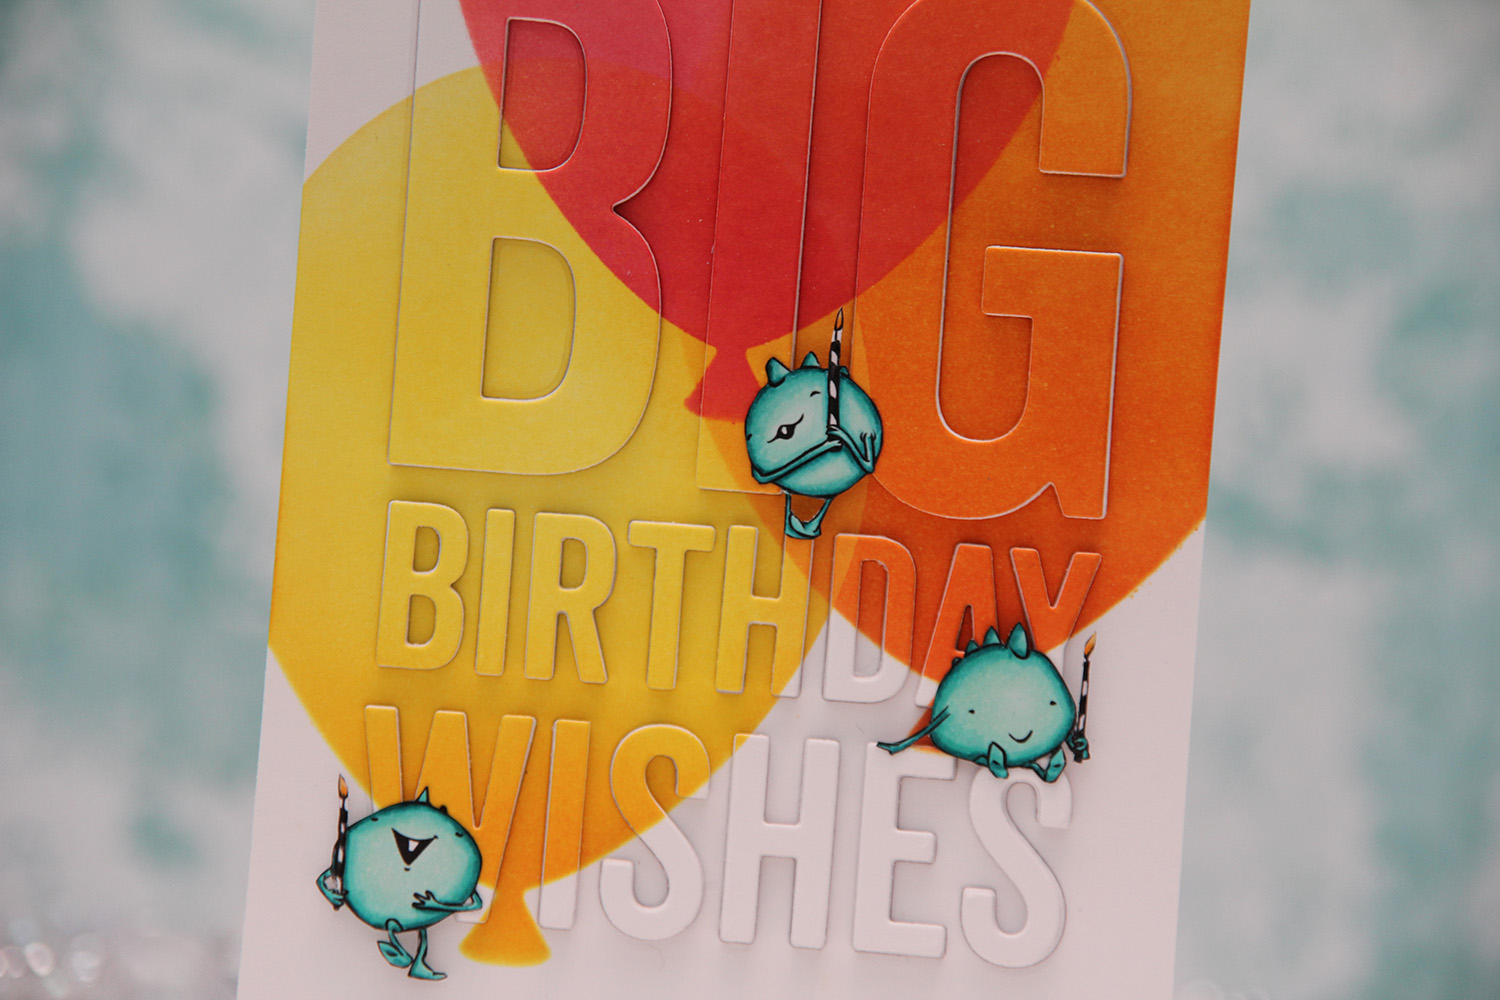
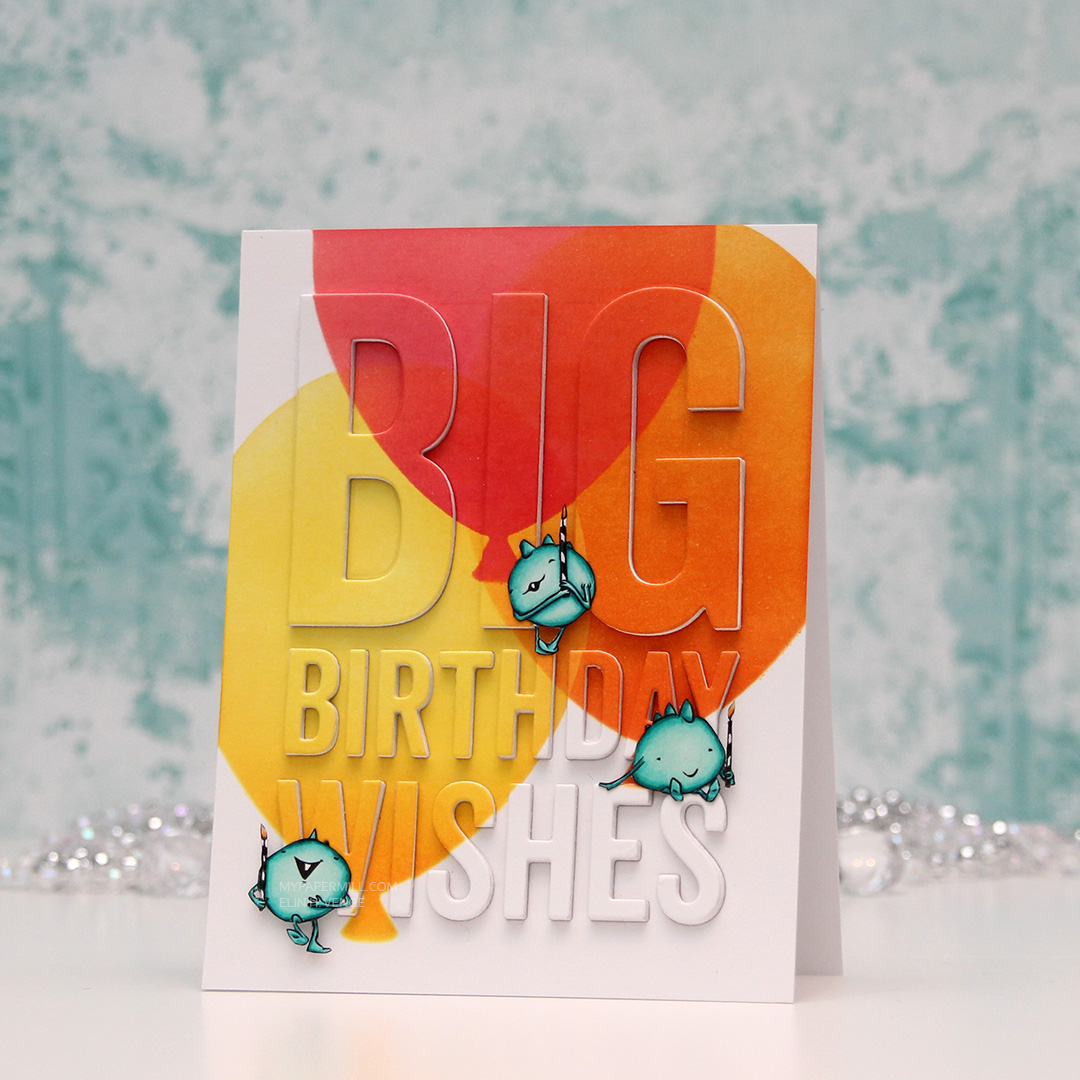 I needed to make a quick card last night, and decided to color up three of the small monsters from the Cupcake Monster set from Mo Manning (I have
 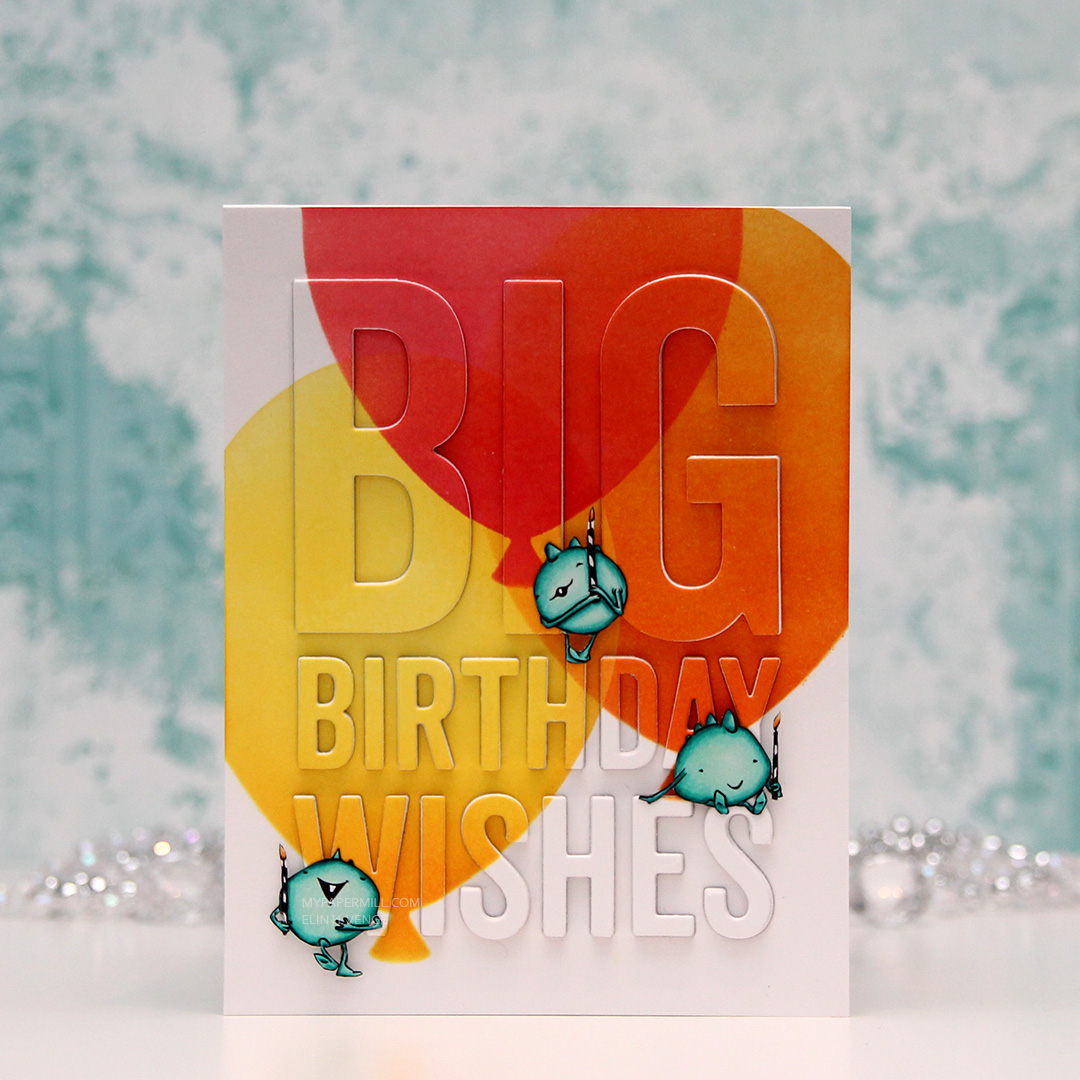 When my little monsters were all colored in with my Copics, I pulled out the Big Balloon stencil from My Favorite Things along with four different colors of distress ink. I created three balloons that overlap. All the balloons are ink blended using two colors. The yellow one is Squeezed Lemonade with Spiced Marmalade toward the base of the balloon, the orange one is Spiced Marmalade with Worn Lipstick at the base, and the top one is Worn Lipstick with Picked Raspberry at the base.
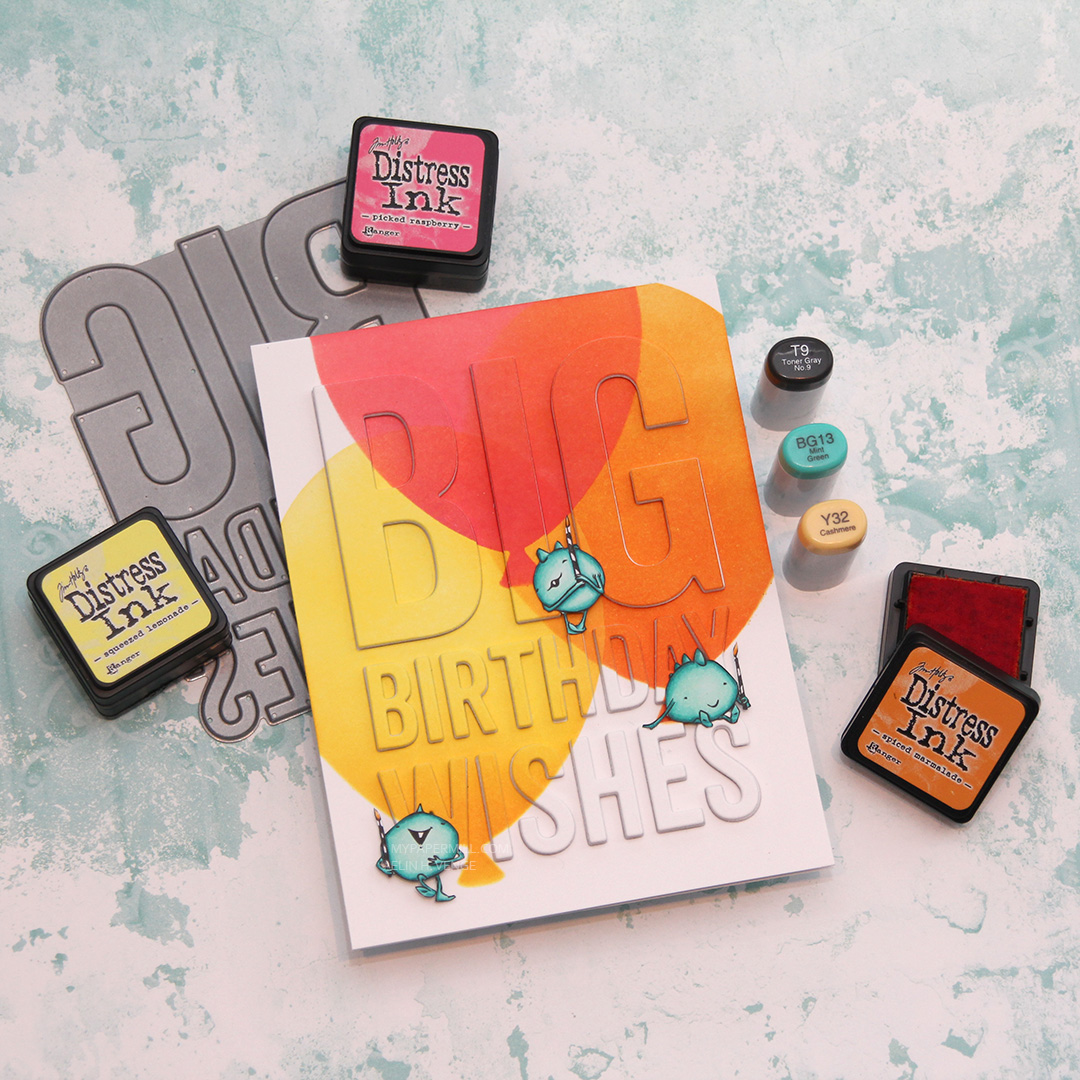 I die cut the Big Birthday Wishes die from My Favorite Things five times from Stamper’s Select White card stock from Papertrey Ink, as well as from the blended piece, which is also Stamper’s Select White. It’s my favorite white card stock, I haven’t found one that’s more white than this, and it’s also wonderfully sturdy at 110 lb. I did a layered inlay, then fussy cut my monsters and placed them strategically on my card. I love that the top one looks like he’s balancing on the top of the H, and the one on the right is leaning on the E while dangling his feet from the top of the S.

