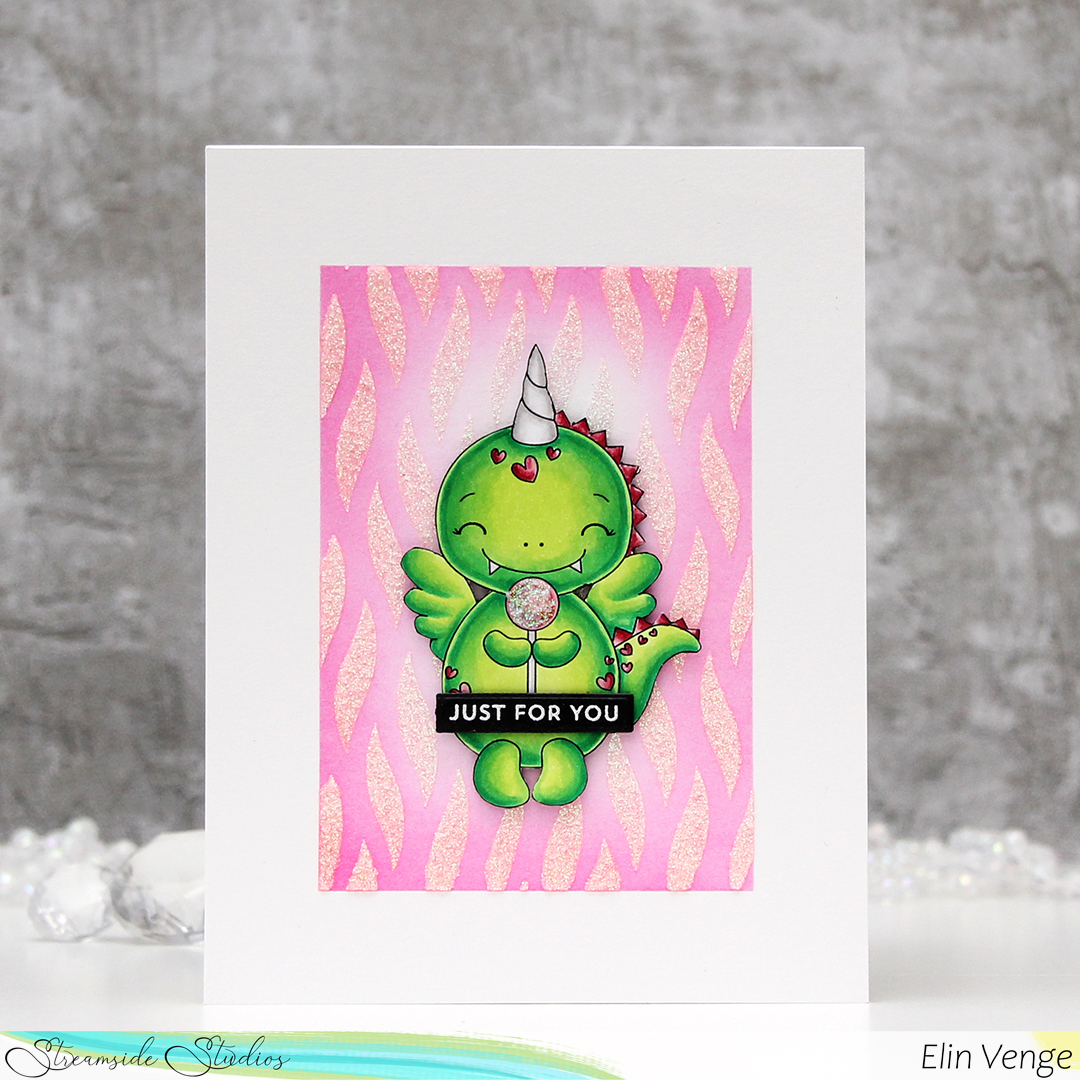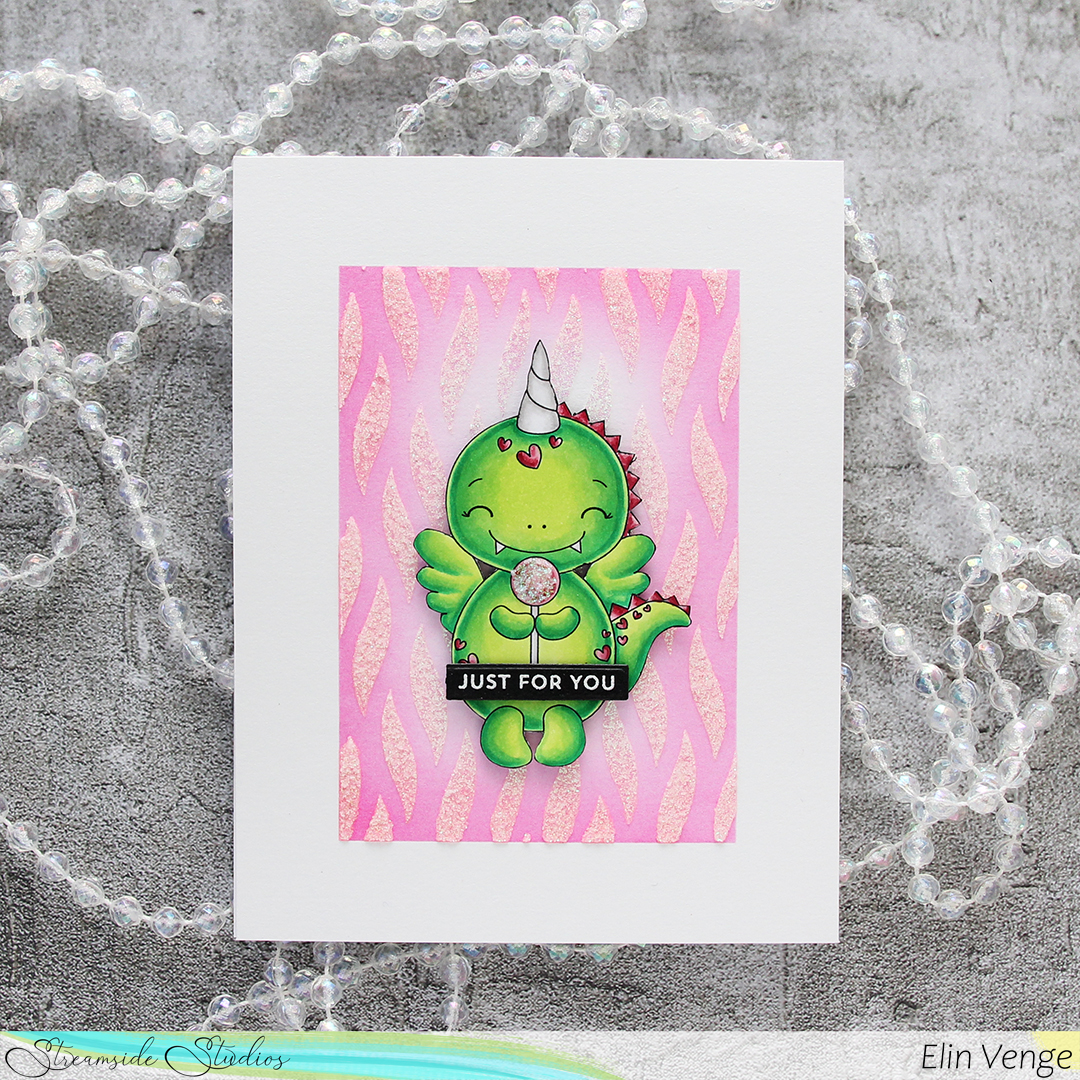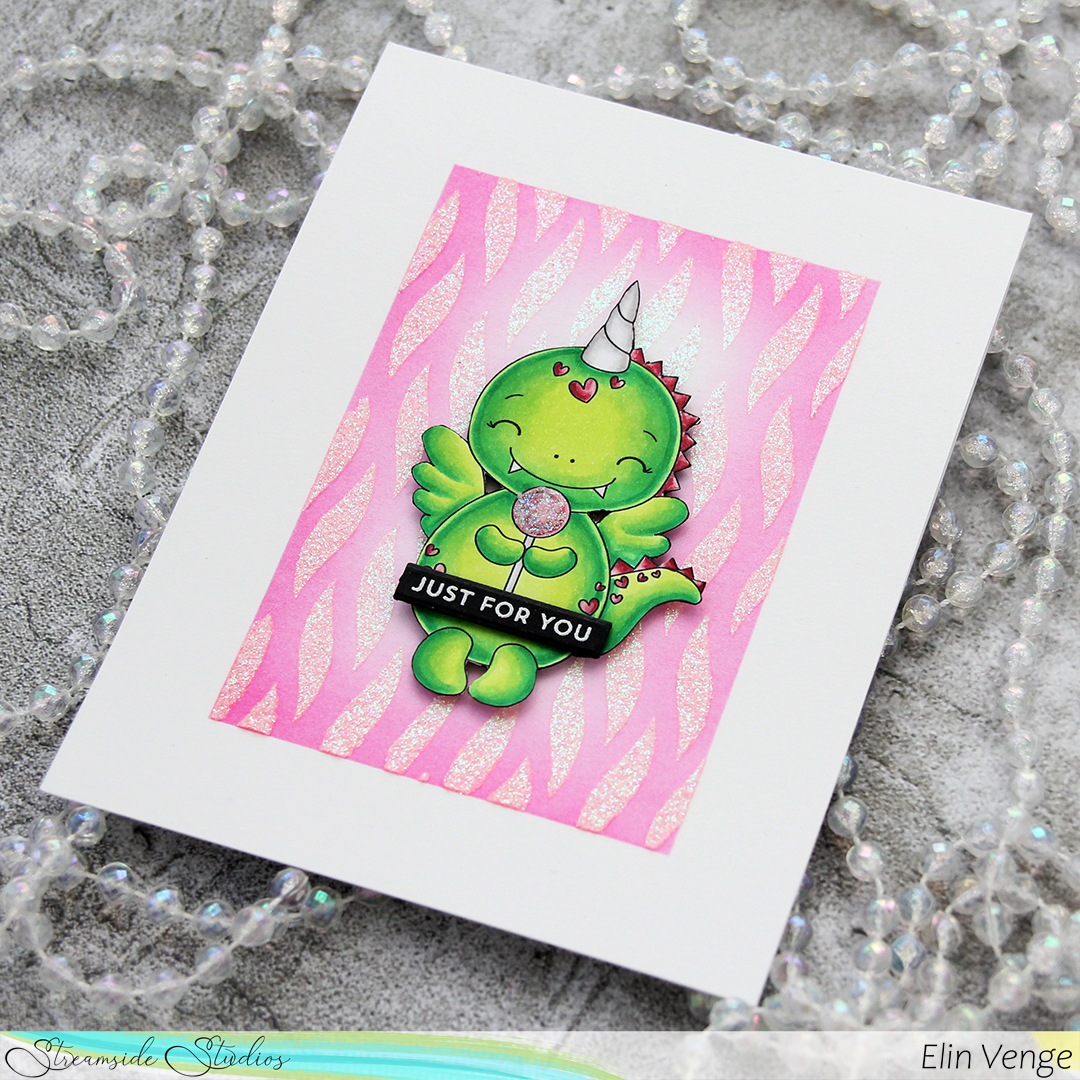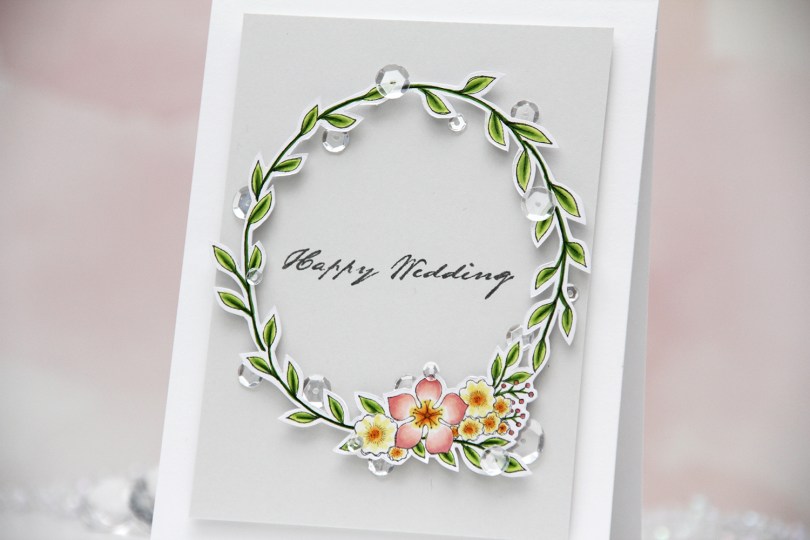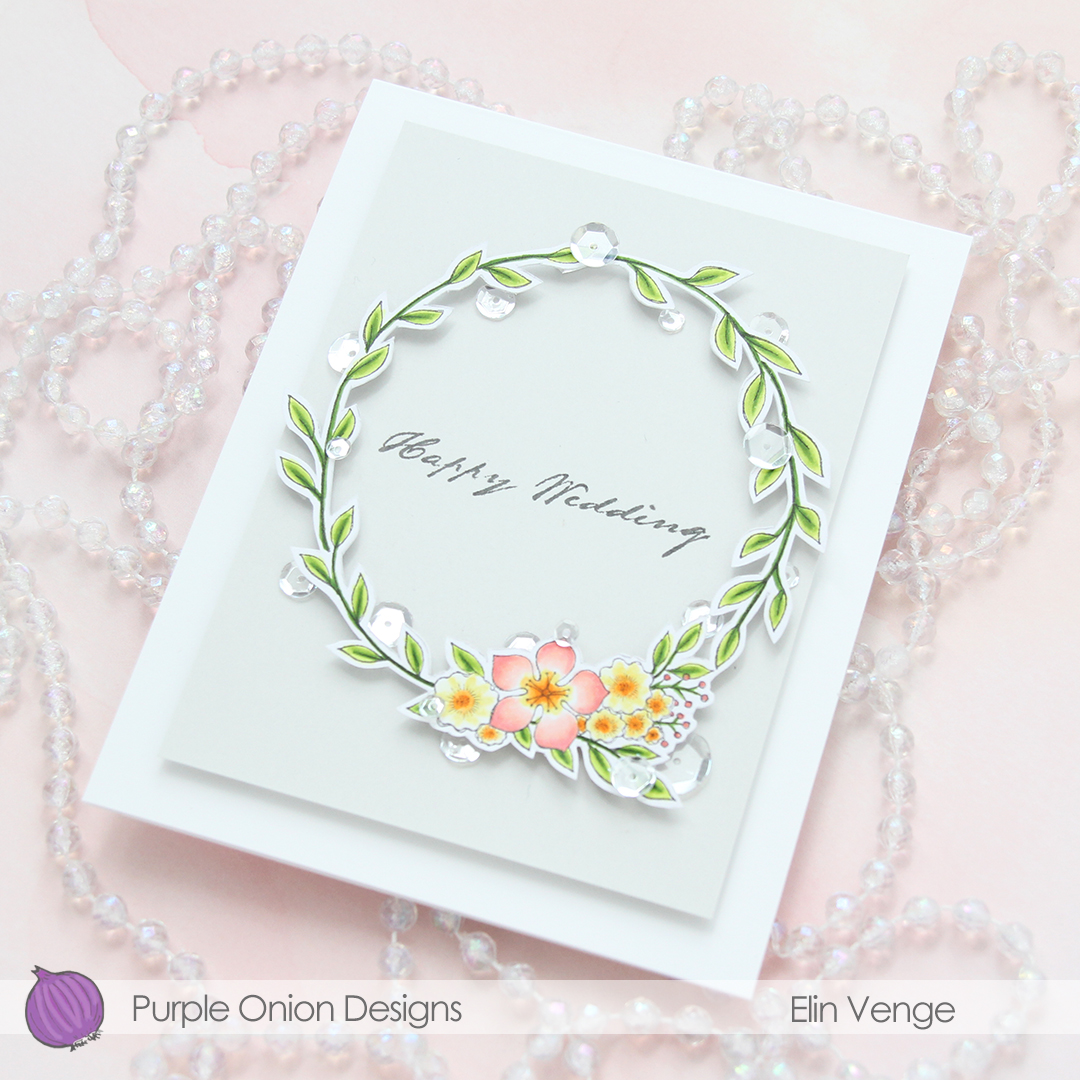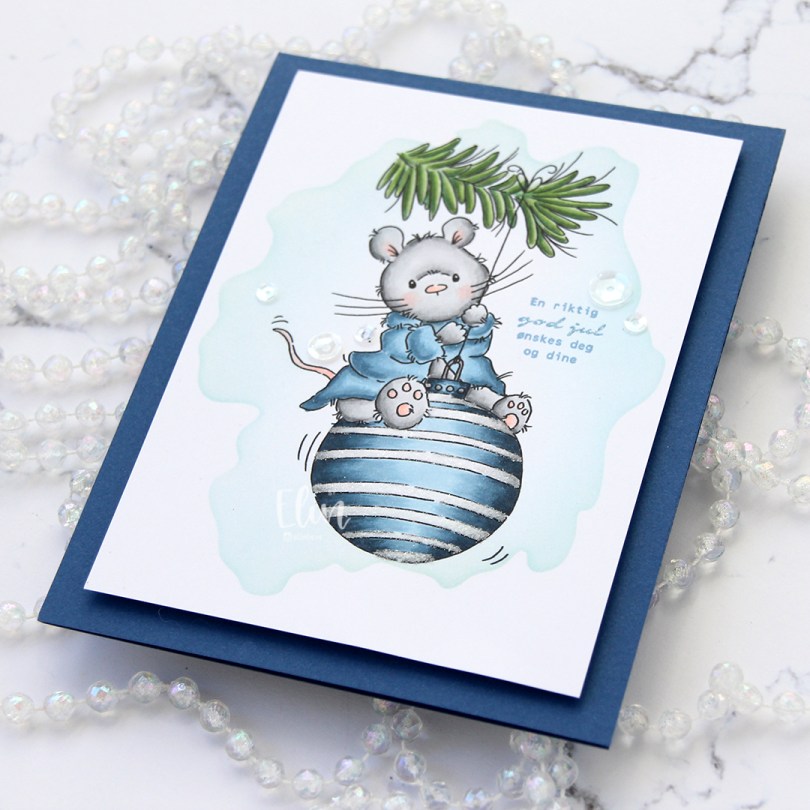
Hi! I have a fun Christmas card to share today, featuring one of the brand new images from Lili of the Valley. It’s called Mouse with Bauble, and the best thing is that you can choose to purchase the digital stamp (which is what I’ve used) OR the photopolymer stamp. That’s right, Lili of the Valley is reintroducing physical stamps. Some of my oldest and most cherished rubber stamps are from Lili of the Valley, and I think it’s awesome that they’re going back to having physical product.
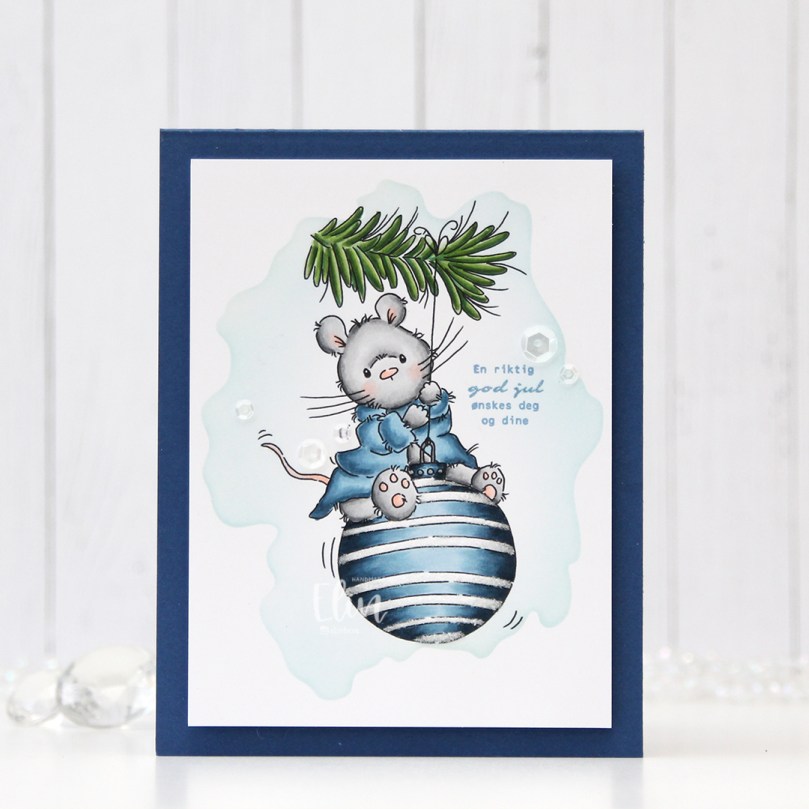 Enough blabbing. I printed the cute mouse onto a 1/4 sheet of X-Press It blending card, which is my favorite for Copic coloring. Using a stencil from My Favorite Things and Iceberg ink from Altenew, I did some very light ink blending around the image for a little bit of added interest before I started coloring.
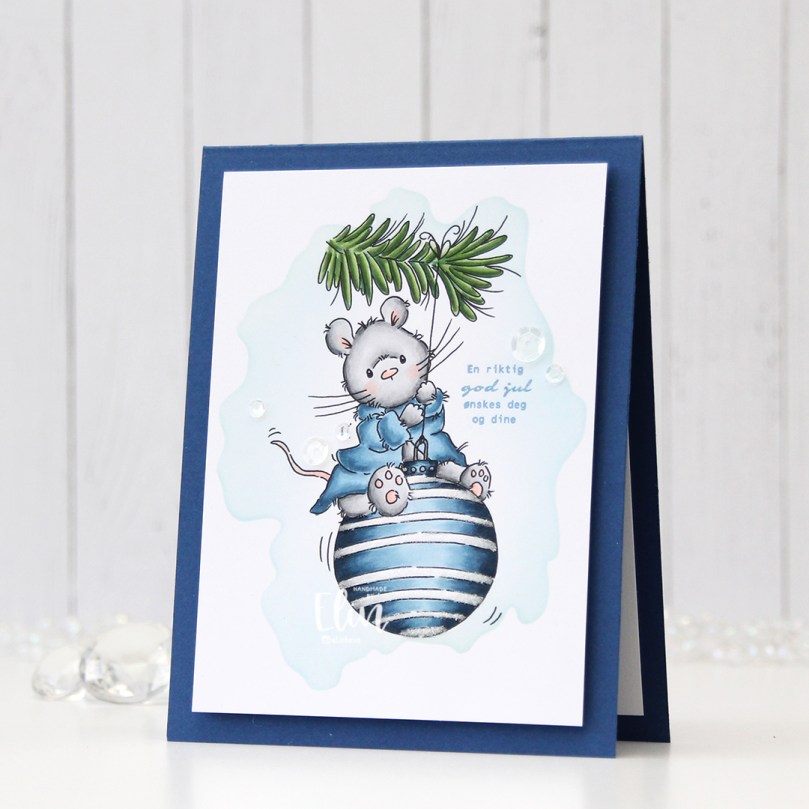 Onto the “white” stripes on the bauble, I used my quickie glue pen from Sakura and sprinkled on Rock Candy Distress Glitter for a little bit of sparkle. You can kind of see it in this photo, but it’s more noticeable in real life.
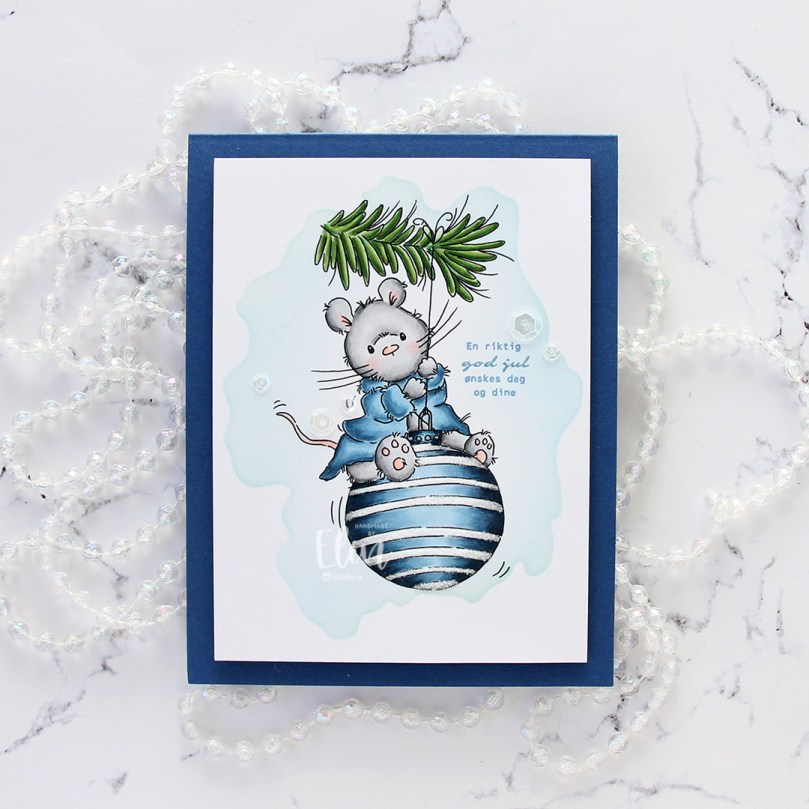 I cut my panel down, added lots of foam tape to the back and added it to a top fold A2 note card that I created from Blueberry cardstock from My Favorite Things. Sadly, this is one of their discontinued colors, but I have a pack of this cardstock that I absolutely love, and this color is just beautiful. It’s dark blue, but not too dark, and it’s just the right tone of blue.
 I stamped a sentiment from Norsk Stempelblad AS using Blue Yonder ink from My Favorite Things. I don’t have ink in the discontinued Blueberry color, and I didn’t want to use too dark of a blue ink, so I triple stamped using the Blue Yonder instead. It matches the robe pretty well.
 I added a few sequins from the White Orchid sequin mix from Little Things from Lucy’s Cards, and the card was done. Super simple.
 Super simple color palette, too.
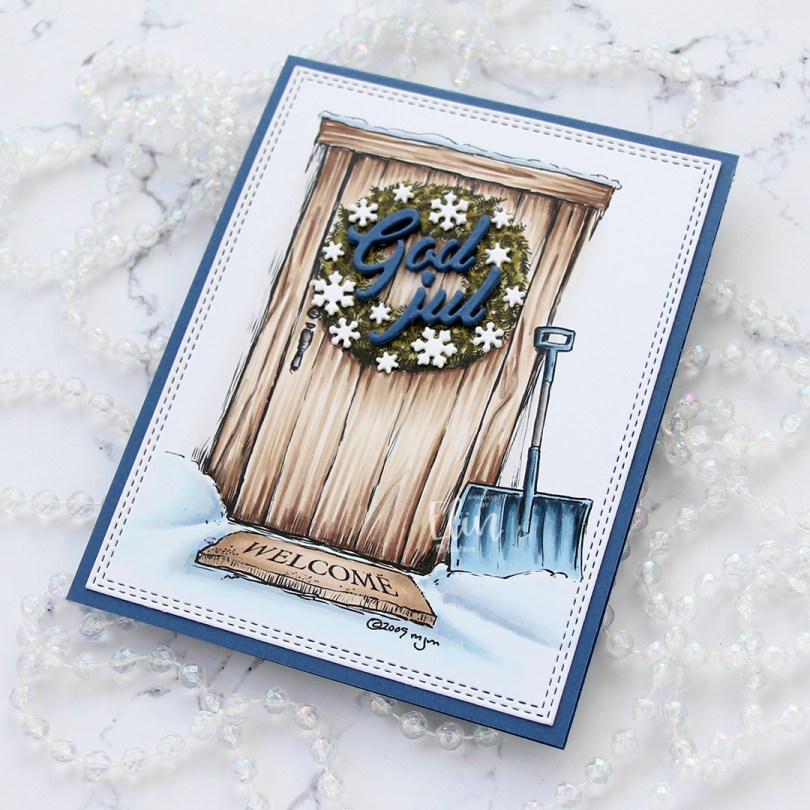
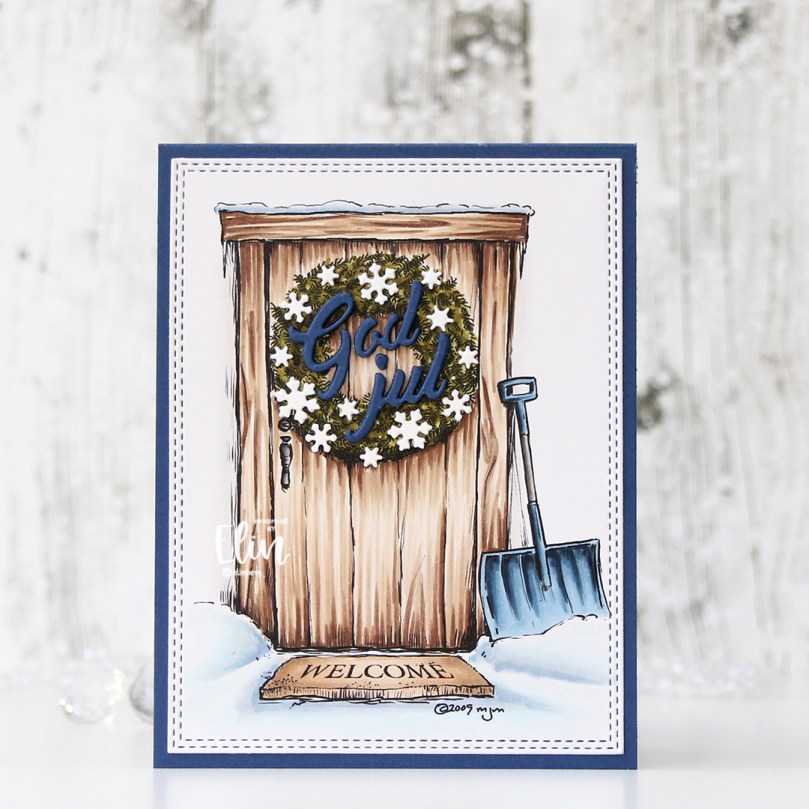 This card took me an hour and a half to make from start to finish, including coloring and the stacked die cuts. That’s so fast for me, I don’t know what happened.
 I printed the image center on a 1/4 sheet of X-Press It blending card before coloring with Copics. I didn’t use many colors, and it was pretty quick to come together.
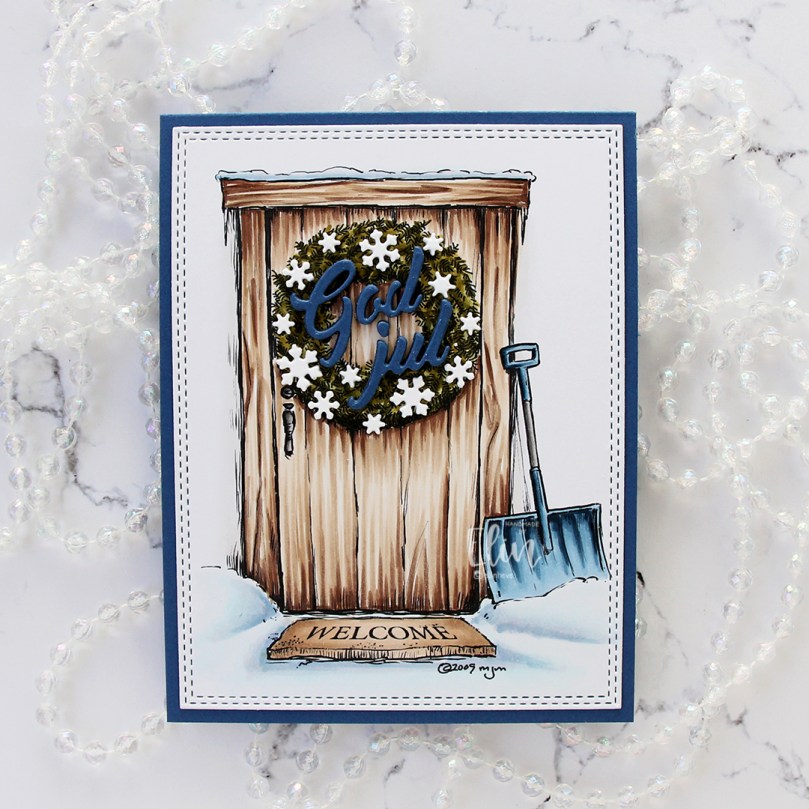 Using the largest of the dies in the A2 Double Stitched Rectangle STAX die set from My Favorite Things, I turned my colored piece into a panel with a nice faux stitch edge and adhered it to a cardbase I created from Blueberry cardstock from My Favorite Things.
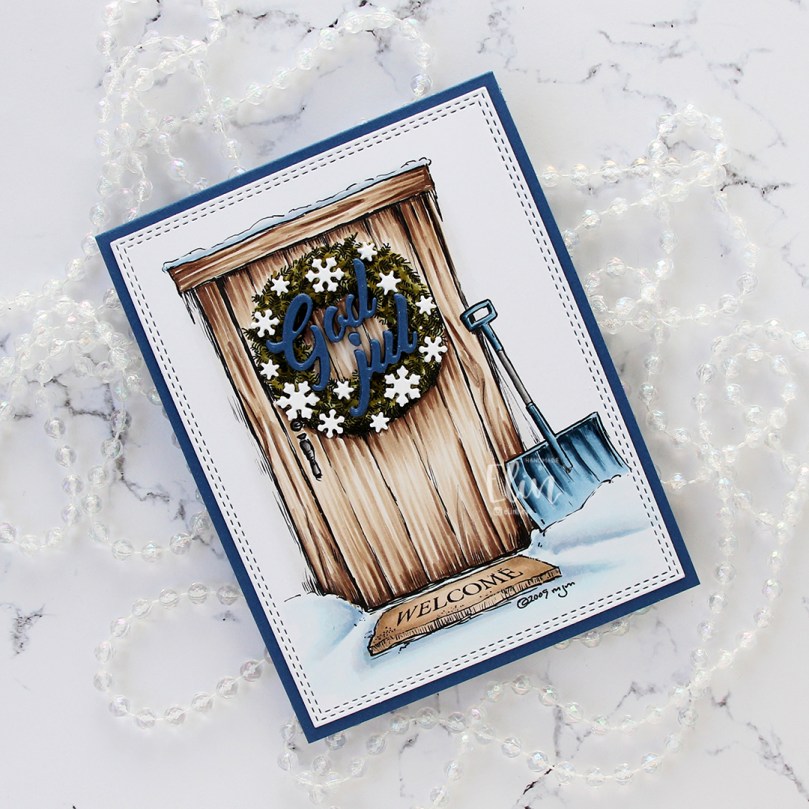 I stacked five God jul die cuts and adhered the layered die cuts to the wreath. The die I used is from Papirdesign. It’s actually a heart with the letters inside, I just skipped the heart and used the letters by themselves. I adhered tiny white snowflakes on the wreath, and I used a die from Hero Arts to die cut those. I stacked these too, but only two layers. And that’s the whole card, super simple.
 Not a lot of Copics for this one either. It really was super simple.
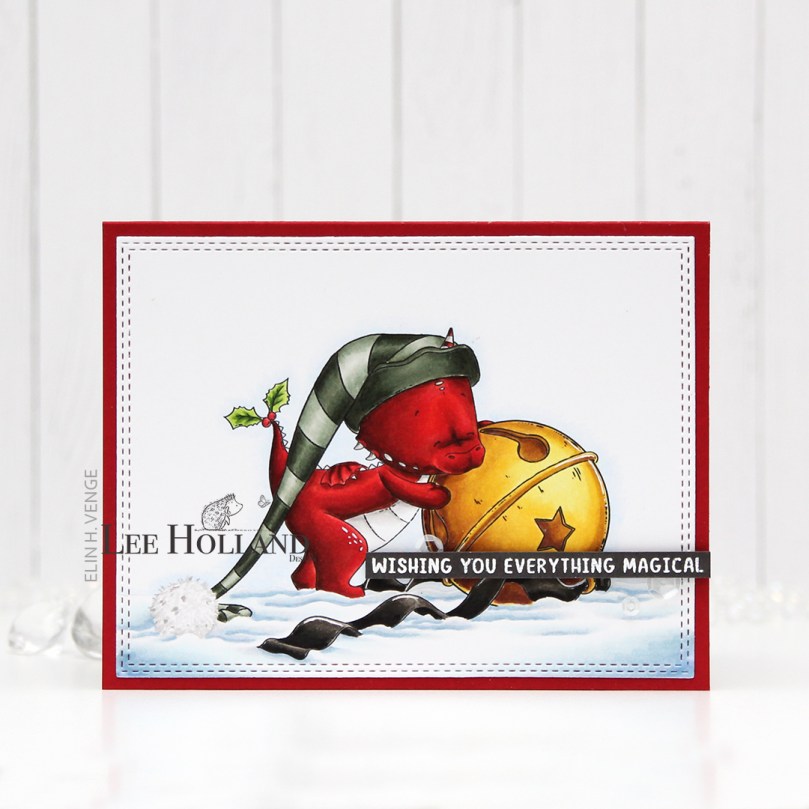 I played around in Photoshop before printing the image, making the lines in the snow and on the pompom very faint for a no line look, but kept the lines black for the rest of the image. I prefer no line when coloring snow or furry pompoms, but didn’t feel like coloring the entire image in no line. I’ve colored plenty of Lee’s dragons in the past, but this is the first time I’ve opted for a red one. I don’t use reds very often, and I’m super picky with my reds, but this Copic combo (which only includes one red marker) is one that works for me.
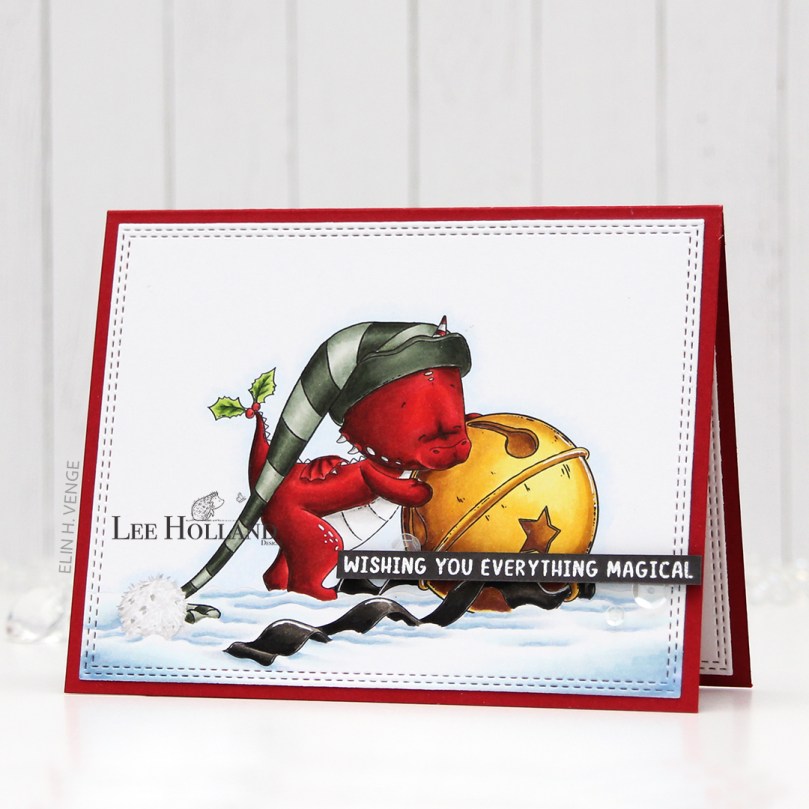 I die cut my finished piece with a double stitch rectangle die from My Favorite Things and adhered it onto a top fold landscape cardbase made out of Amarena Cherry cardstock, also from My Favorite Things. I stamped and white heat embossed a sentiment from Mama Elephant onto Smokey Shadow cardstock from Papertrey Ink, added a few more cardstock strips behind it for dimension and adhered it to my card, finishing off with a few white sequins from Little Things from Lucy’s Cards.
 Plenty of colors for this image. I even used B20, which I’ve made myself. Lots of colors for the snow, lots of colors for the bell, and lots of colors for the red. Even lots of colors for the black ribbon.
 I colored the image using a very soft color palette with my Copics. I didn’t write the colors down, so unfortunately, I have no fancy graphic to show you at the end of this post. I wish I did, though, because I really like the colors I used for this.
 I used the largest of the A2 Stitched Rectangles STAX 2 dies to turn my colored piece into a nice panel with the faux stitch edge I love so much. I decided to adhere it directly to my top fold card base, that I made from Berry Sorbet cardstock from Papertrey Ink. The color matches the darkest parts of her dress very well.
 Onto a separate piece of Berry Sorbet, I stamped and white heat embossed part of a sentiment in the
  I die cut part the word wish using a die from Mama Elephant. The die actually die cuts the word wishes, but I cut off the tail end of the word so I was left with just wish. I die cut four more from Grapefruit cardstock from Concord & 9th, and added them behind the top die cut for dimension. This makes the word lighter (and it makes it match the lighter parts of the dress) from the sides. I did the same with the sentiment strips above, making the strip and the stacked die cut flush.
 I finished off the card by adding a few sparkling clear sequins from Pretty Pink Posh. I used my scissors to cut the largest sequin in half to tuck it behind the sentiment strip.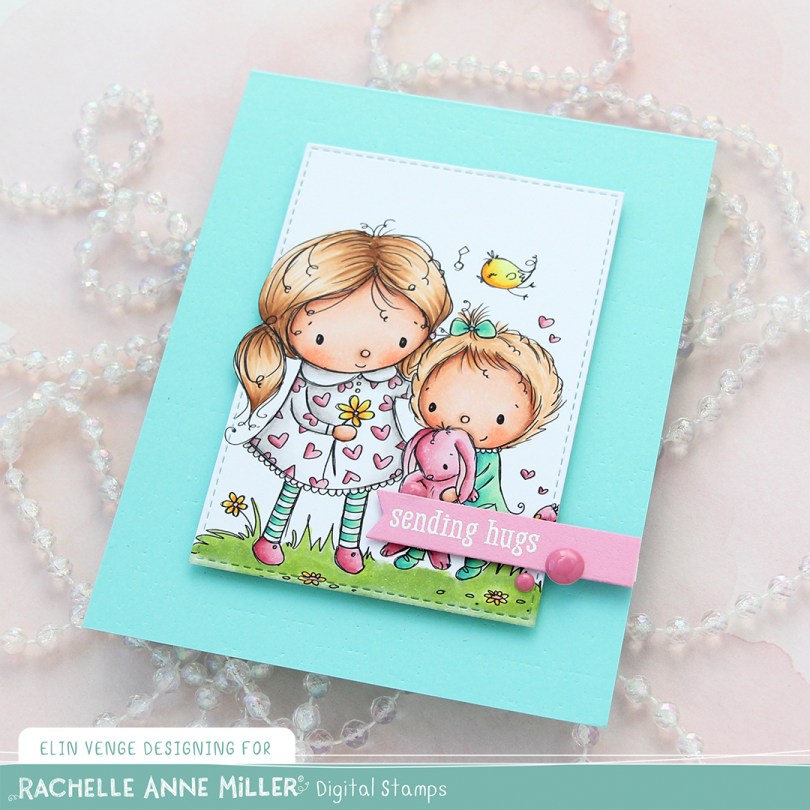
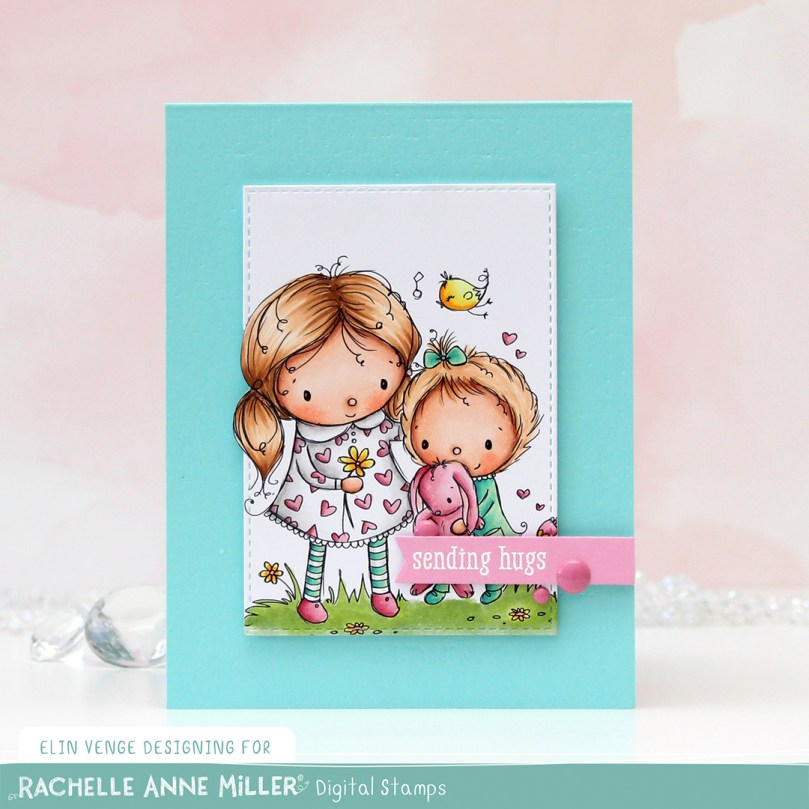 I printed the image onto X-Press It blending card, which is my go to paper for Copic coloring. It’s bright white and can handle a lot of layers without bleeding.
 Once my image was colored, I used a die in the A2 Stitched Rectangles STAX 1 set from My Favorite Things to turn it into a finished panel of 2 7/8 x 4 1/8″. I’d printed the image a little too big for my die, so I did some fussy cutting on the side of the big sister’s head before die cutting.
 I created a card base from Summer Splash Prestige cardstock from My Favorite Things and used an impression plate from Papertrey Ink to create some subtle texture in the background. I mounted my colored, die cut panel to the center of the card front using lots of foam tape.
 Onto a piece of Cotton Candy Heavyweight cardstock from My Favorite Things, I stamped and white heat embossed a sentiment from the Monster Hugs stamp set from Simon Says Stamp and Concord & 9th, which is a collaboration set from 2018. It has a cute monster image and lots of great sentiments. I die cut my sentiment using the smallest of the dies in the Fishtail Flag Frames set from My Favorite Things and added it to the card using foam tape and 1 mm foam squares, to make it pop up slightly from the image.
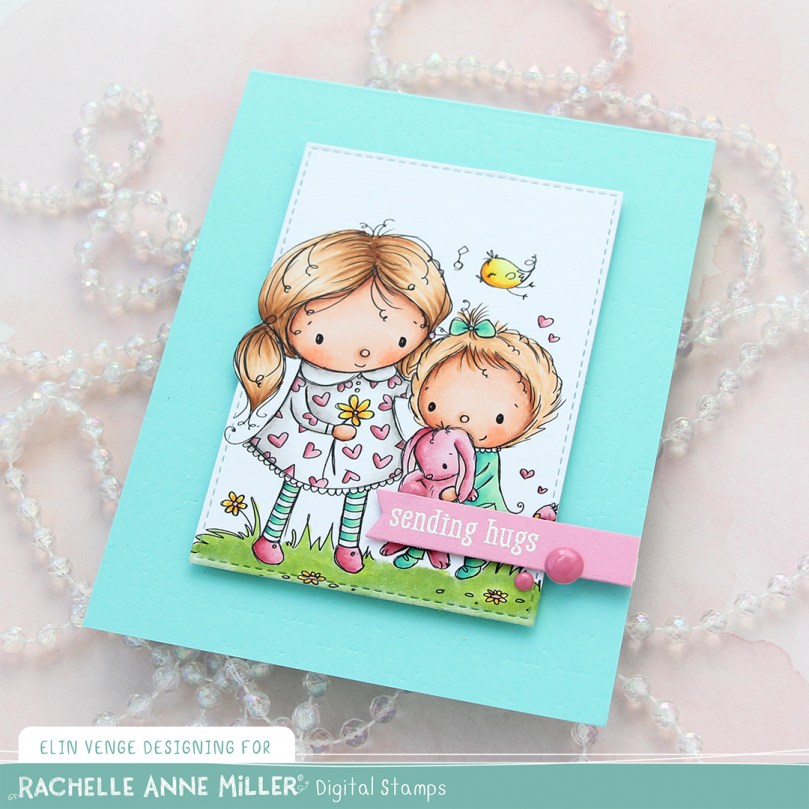 I finished off the card by adding three pink enamel dots from Papirdesign.
 Fairly simple color palette. I even experimented a little with a new teal/green combo on the little sister, and I kind of like the color combination, so I might use it again one day soon!