Hi, everyone!
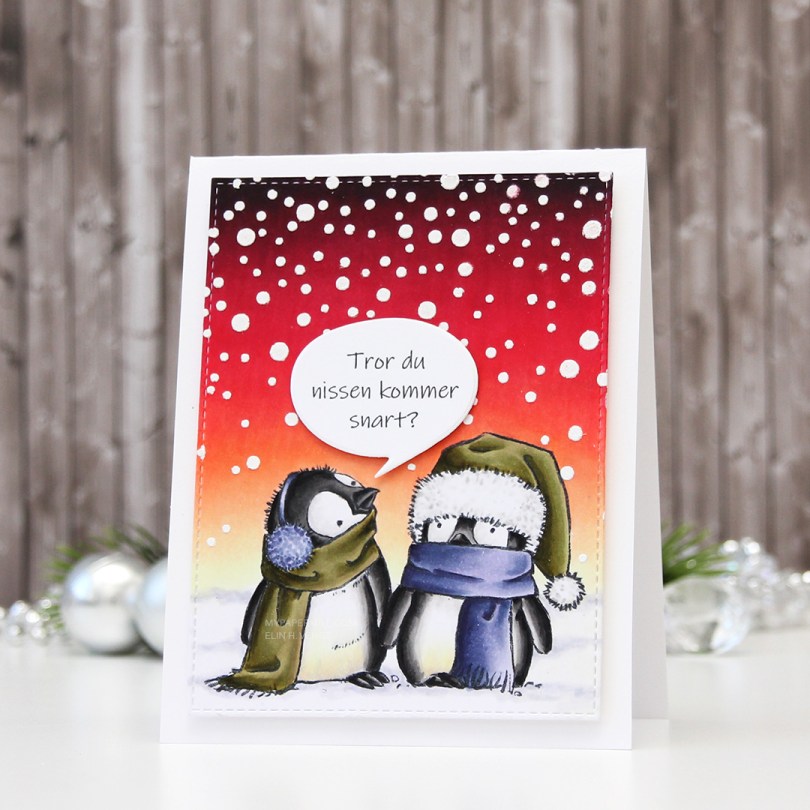
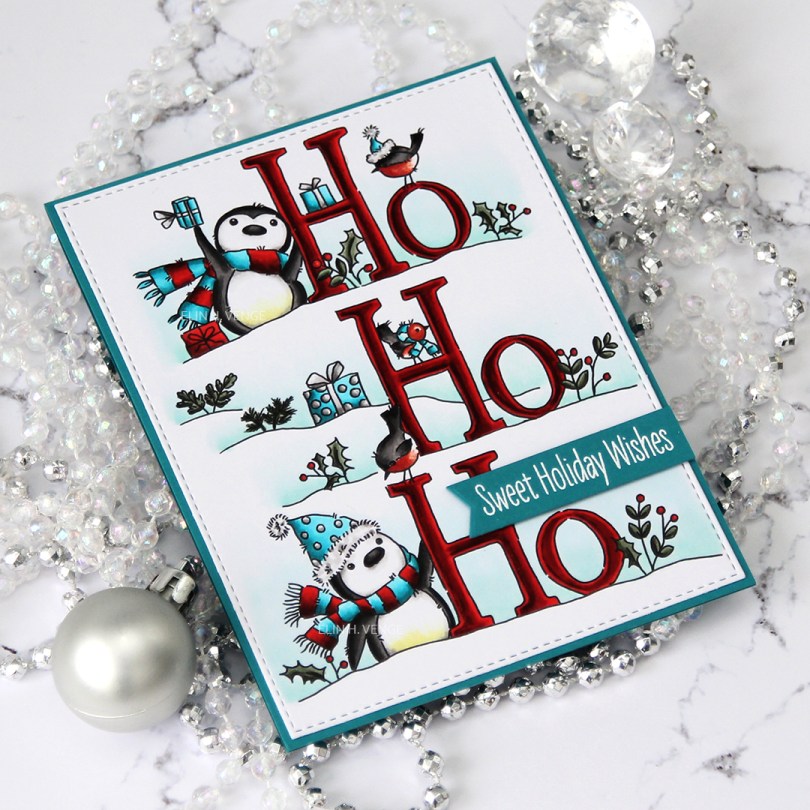
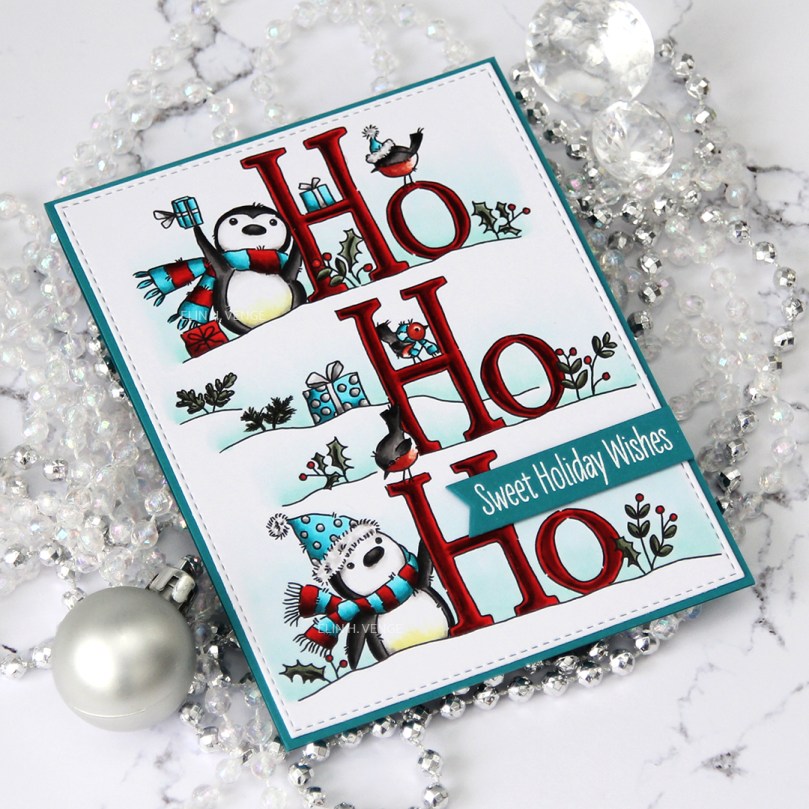
Mo has drawn up some really cute penguins, and once again, I simply couldn’t resist. This time, I went for 2 Penguin Chicks and had a great time coloring them in, as always.
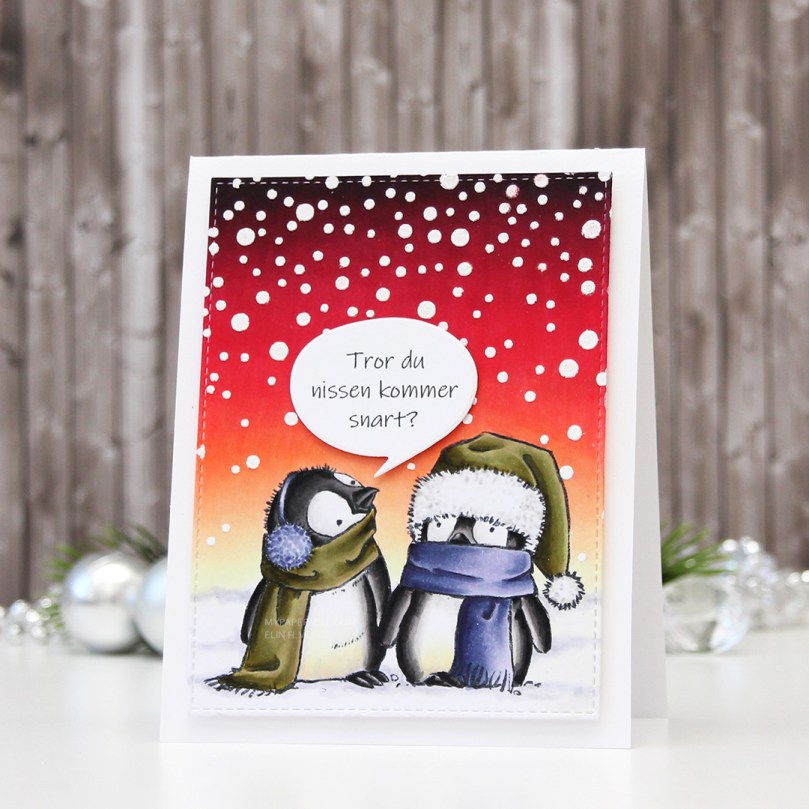
This was a bit of an experiment for me. I usually start with my background, I find that the easiest. For the background of this, I went way out of my comfort zone. I had planned on using these purples, pinks, oranges and yellows for no line coloring of some florals, but by the time I knew what exact marker colors I wanted, it was too late at night to start no line coloring, so I took the same markers and started on this sky instead.

Once the sky and ground were done, I colored my penguins. My last penguin coloring had very textured, fluffy penguins, and I wanted a different look on these and kept the coloring more flat and added white bellies with a little hint of yellow, and even some purple added in. I used the second largest die from the Stitched Rectangles STAX Set 2 from My Favorite Things to create a panel, before going in with a texture paste from Kreul and a stencil from Simon Says Stamp to create snow.
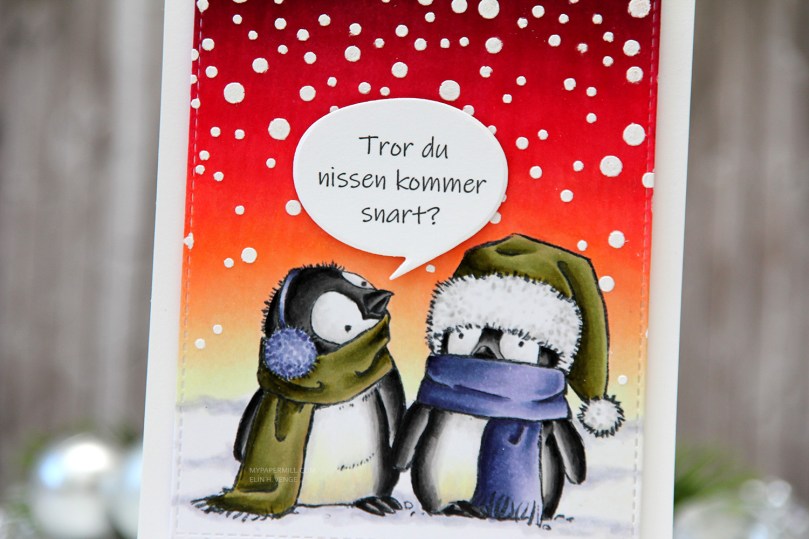
I mounted my panel onto my card base using lots of foam tape, and decided to diecut a speech bubble for my playful sentiment using a speech bubble die from Altenew. I mounted that on some 1 mm foam squares for a tiny bit of extra dimension, and my card was complete. I love the playful, cartoon-like look I ended up with.

I used quite a few Copics for this. The first 10 colors in this graphic were used on the sky, so maybe it’s not that weird.

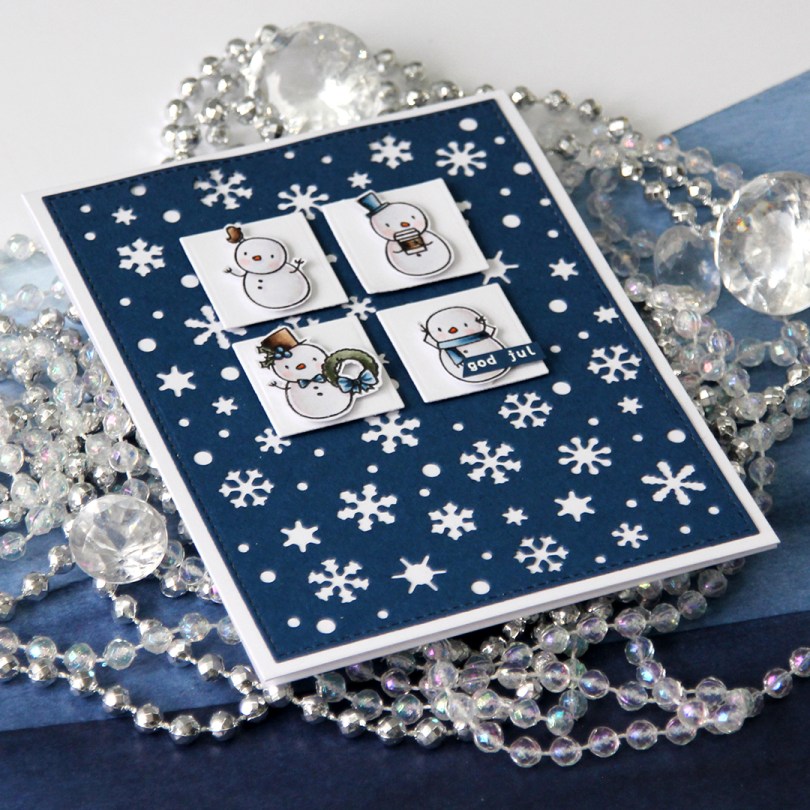
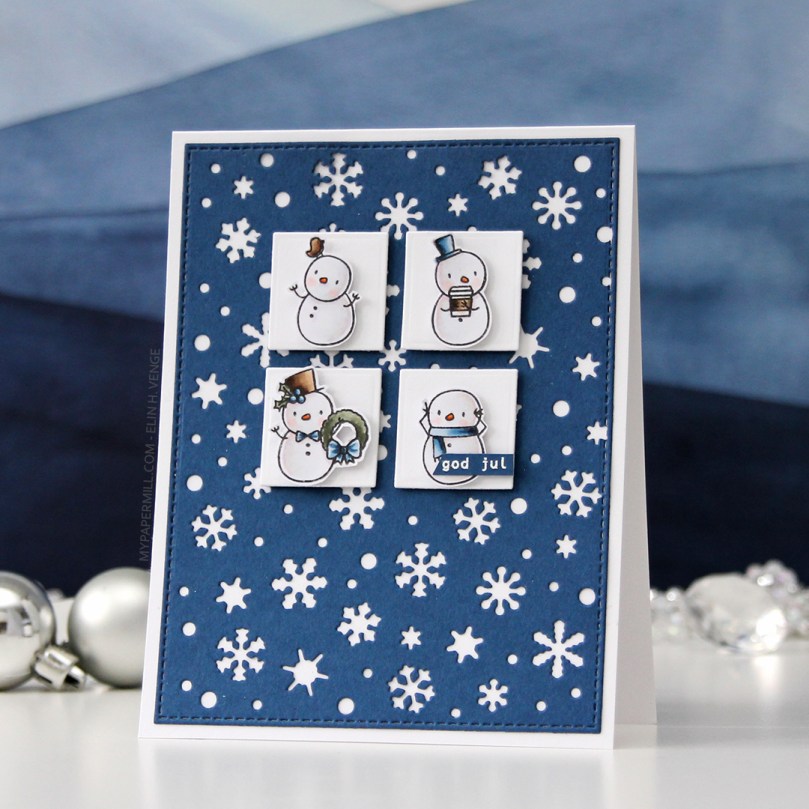
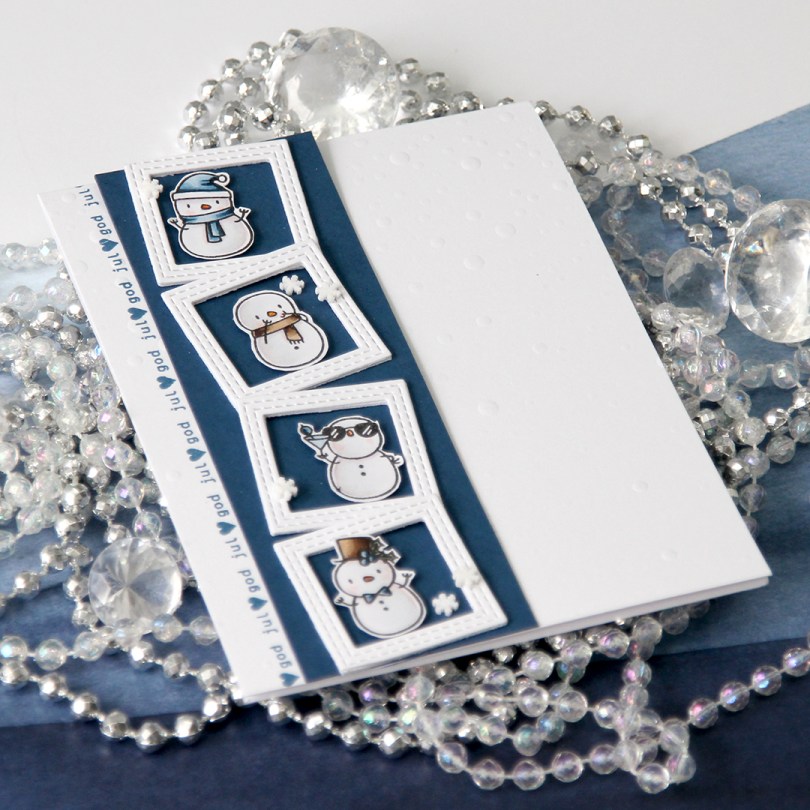
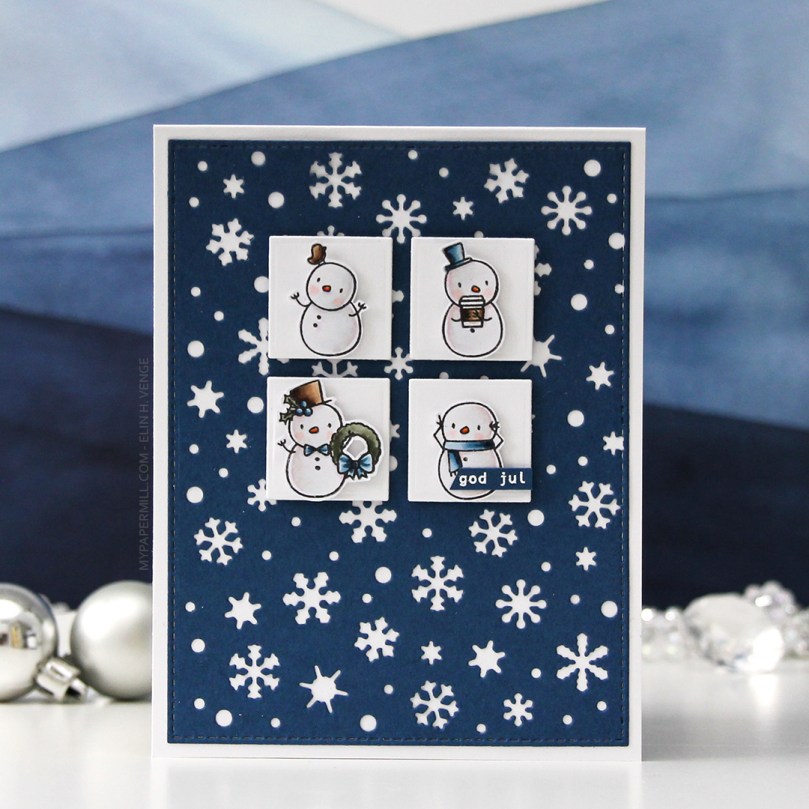 I had loads of diecut squares left over from my previous card, they were the interior pieces of the stacked frames I used. Instead of letting them go to waste, I thought I’d put them to good use. I took four squares and mounted them to my blue snowflake panel using 1 mm foam squares. Believe it or not, but this was the part that took the longest. Getting them centered perfectly near the top with equal spacing between them all and equal distances to both sides and the top of the panel took…. well, it felt like forever. With this kind of design, though, you have to get it just right, or it’ll throw off the balance of the entire card. They’re equally distanced down to 1/32″, that’s about as good as it gets.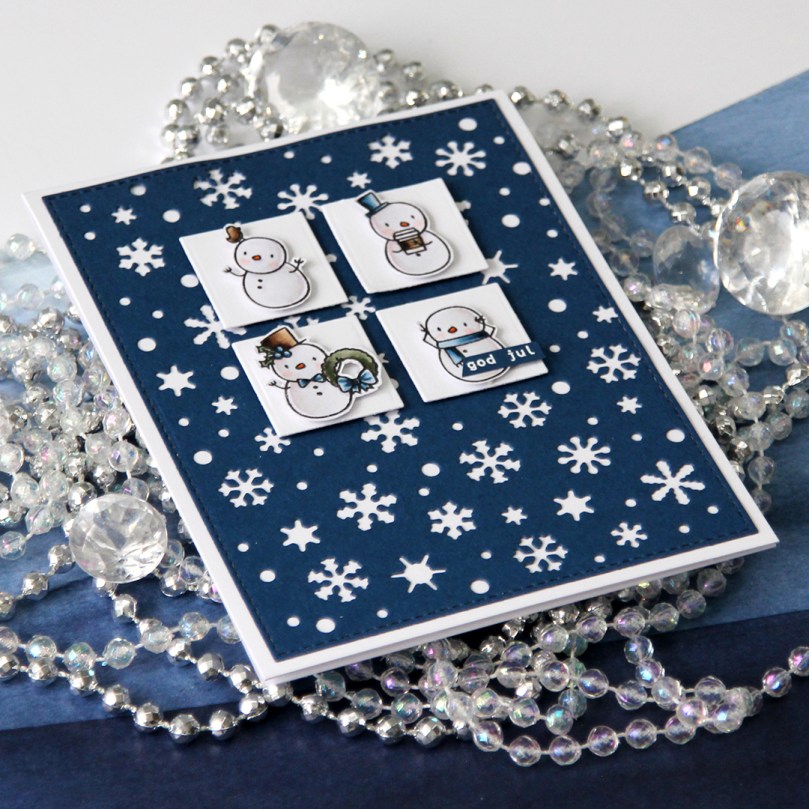


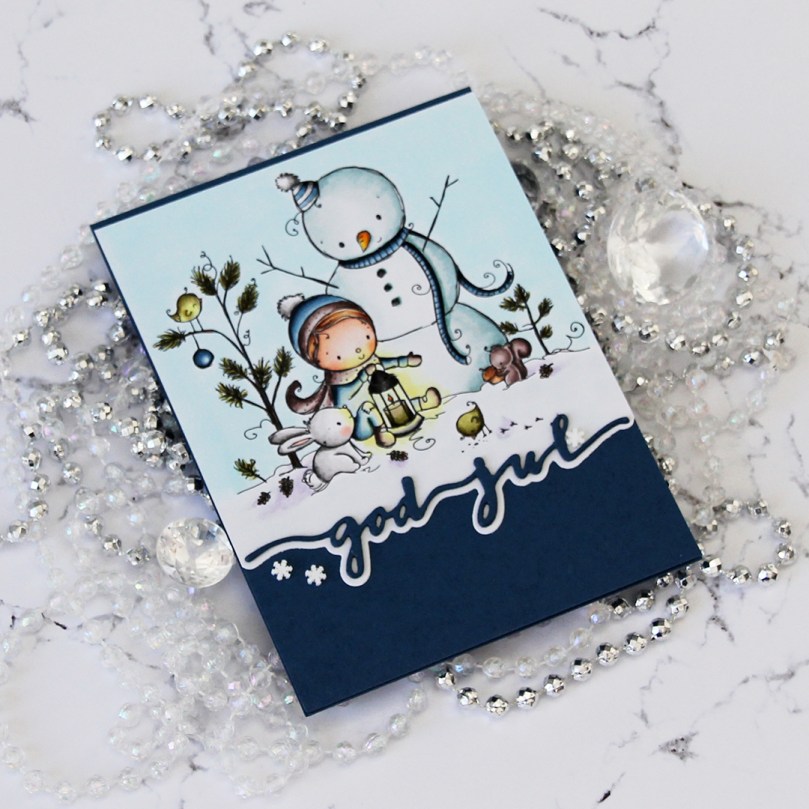

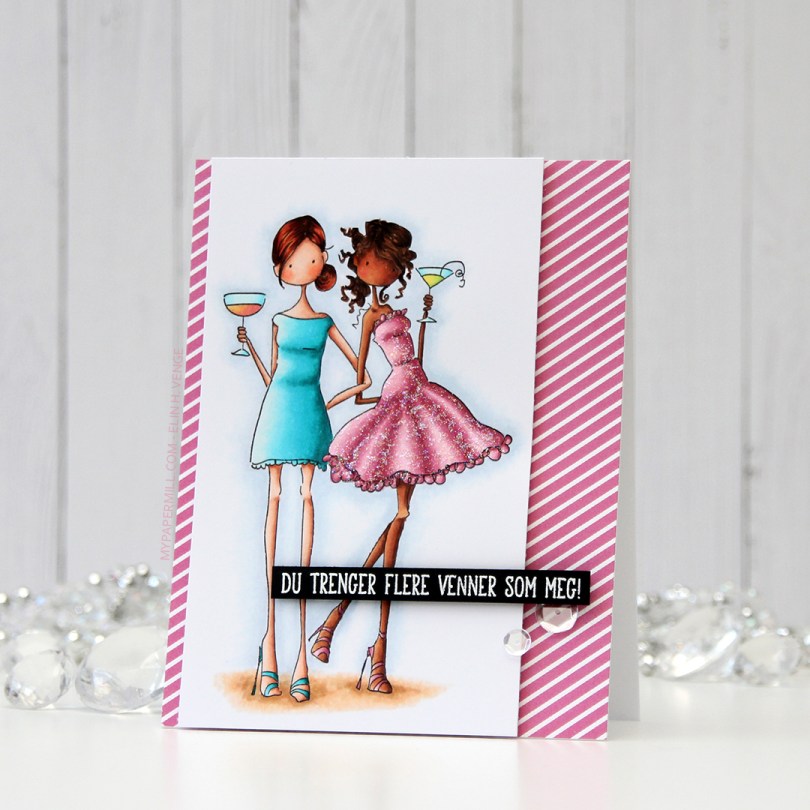
 I colored my image with Copics on X-Press It blending card and added
 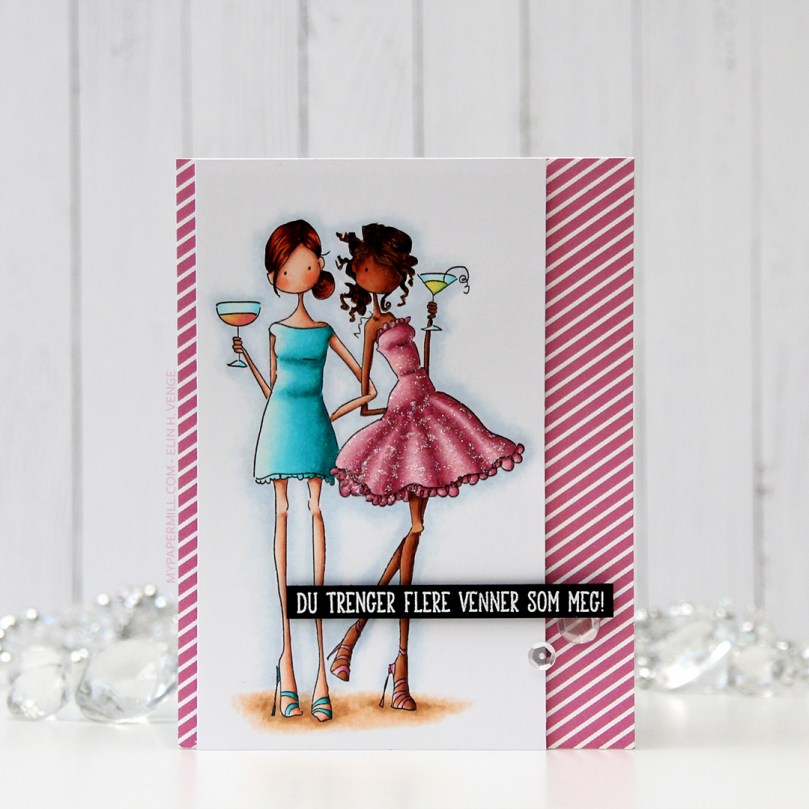 I put a piece of patterned paper from the Party Patterns paper pad from My Favorite Things on the card front, and mounted the image on foam tape. Lots of foam tape, I was not shy!
 I stamped and white heat embossed a


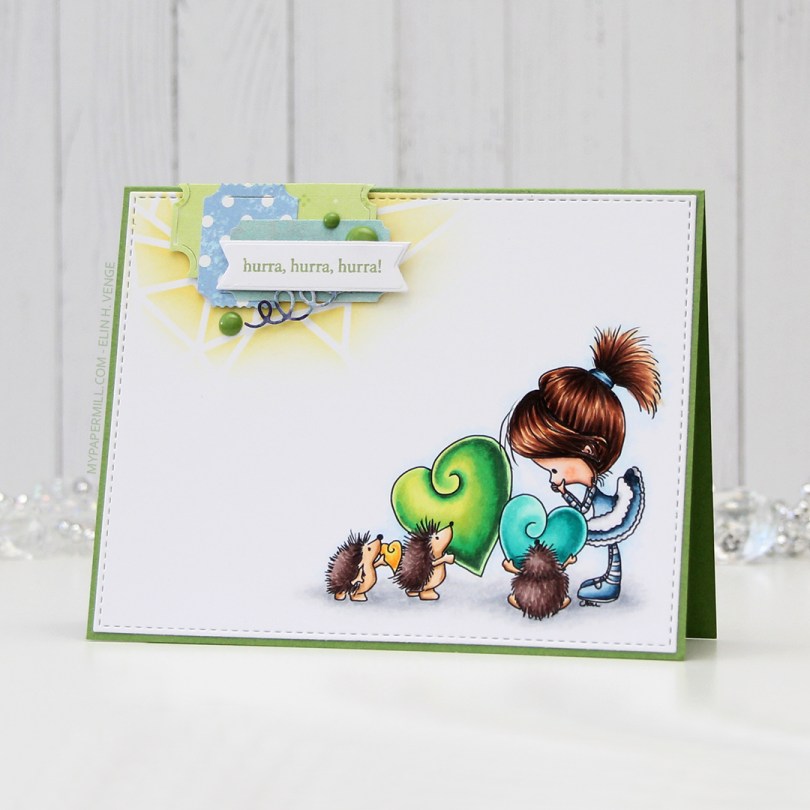







 “Elin goes overboard with coloring” is a common theme around here, and I used 50 Copic colors to create this little scene. I wanted to keep the focus on the colorful image, so I used a stitched rectangle die from My Favorite Things to diecut my panel and mounted it on Smokey Shadow cardstock from Papertrey Ink. I added a couple of pieces of a mini doily from Doodlebug to opposite corners to soften the look a little bit, before popping up a sentiment from the stamp set onto black foam tape from Gina K.
 All I did for embellishments was add a couple of sparkling clear sequins from Pretty Pink Posh, and my card was complete.
 These are 49 of the 50 Copics I used to color my image. I also used BG71, which is a color I’ve made myself.
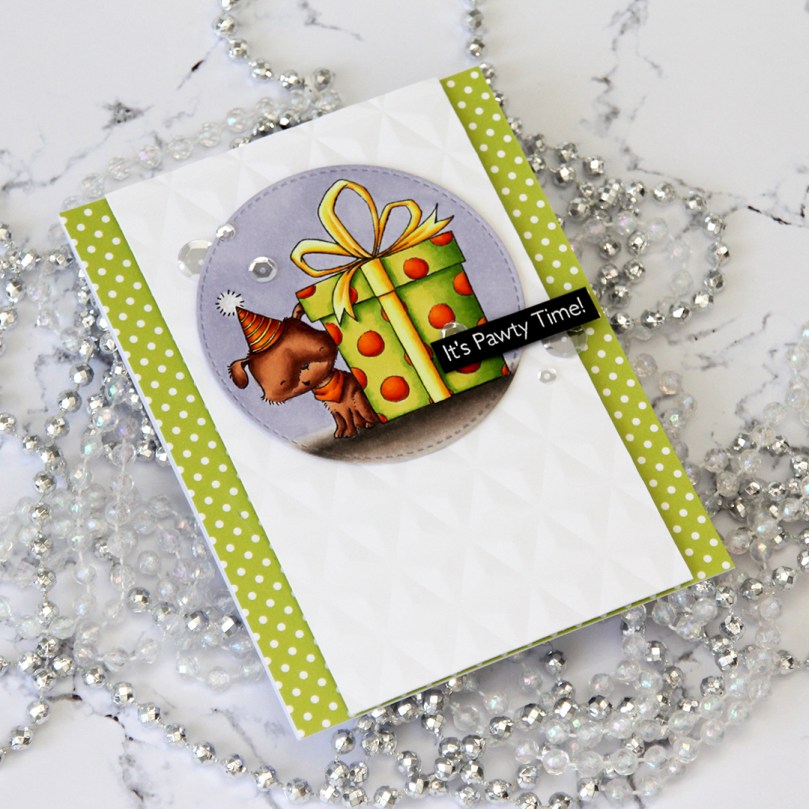 I colored up this
  I ran a white cardstock panel through my Gemini Jr with an embossing folder from We R Memory Keepers to create some texture in the background. I mounted it on foam tape and centered it on my card front, before adding my colored image with some 1 mm foam squares for even more dimension.
 I white heat embossed a sentiment from the same stamp set onto True Black cardstock from Papertrey Ink, mounted that on more foam tape and added some sparkling clear sequins from Pretty Pink Posh for a finishing touch.
