Hi, crafty friends. You might think it’s early to be sharing the first Christmas card of the year already, but with the amounts of snow we’ve currently got, this Winter is coming image from Mo’s Digital Pencil was the perfect one to use. It’s been snowing, it’s been windy, it’s been chaos. I spent longer getting home from work than I spent AT work today. All the buses in the city were cancelled, trains across the entire eastern part of the country weren’t running, I tried the metro, but that didn’t work either, and they even had to shut down the main airport because the snow and wind combo was too much for the plows to handle, they couldn’t clear the runways before they filled back up with snow. This has only happened three times in the last 12 years, so it was kind of crazy. Evidently, the trams were running, but they’re mostly downtown and nowhere near me, so this card? Very fitting today.
 I really don’t want the sentiment to come true right now, I don’t remember there ever coming this much snow in the city in such a short time, and I’d very much like to not have to walk to work tomorrow. I saw plenty of people out with their shovels today when I walked home, their cars were snowed in, their driveways were full of snow and they could barely open their front doors. It’s winter, we get it, but it’s enough now, we don’t need more snow.
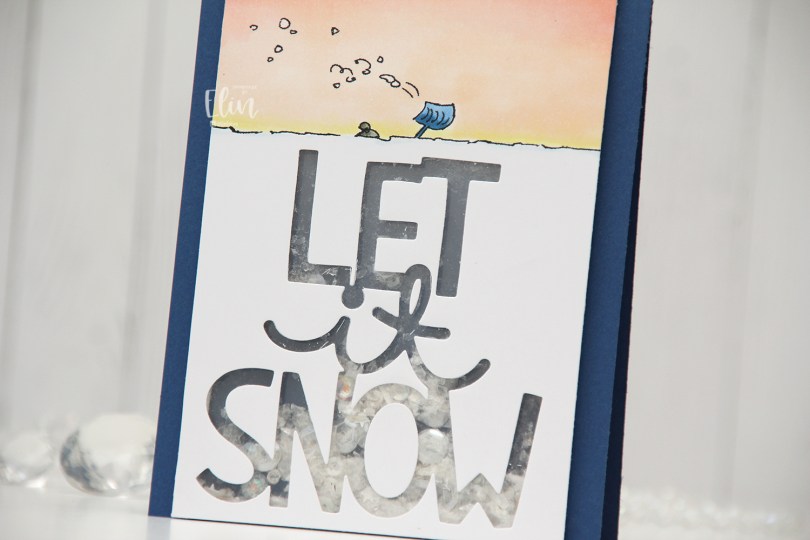
 I’m done venting. I think. I was originally planning on adding a stacked die cut where all the snow is, but then I came up with the idea of a shaker card instead. It’s kind of like the little person under the beanie is trapped inside the shaker with all the shaker bits, which I thought was a fun concept.
 I used the Giant Let It Snow die from Lawn Fawn, covered my window with acetate and filled my shaker well with Distress Mica Flakes, a little bit of Rock Candy Distress Glitter and a small pile of embellishments from the Starry Night mix from Little Things from Lucy’s Cards.
 I added my shaker panel to a top fold card base I created from Blueberry cardstock from My Favorite Things and decided not to add anything else.
 Very simple color palette for this one.

 I colored up
  I stamped a sentiment from InkyWings using Pink Pearl ink from Altenew. The stamp actually has the word hugs in it too, but I opted for a die cut hugs, using the Sweet Sentiments die set from Altenew. I die cut four from Grapefruit cardstock and stacked them together for a dimensional look.
 I finished off with a couple of heart droplets from Little Things from Lucy’s Cards.
 Fairly simple color palette for this one.
 I used the Big Balloons stencil from My Favorite Things and did a rainbow of balloons going across the card. Each balloon is a gradient color, from dark at the bottom right, to a lot lighter at the top left. I used sooooo many ink colors to achieve this look.
 I die cut the word bursdag from Gold Shine cardstock from My Favorite Things. This is a very dainty die cut, so I chose to put double sided adhesive (I used a sheet from Altenew) on the back of the cardstock before die cutting, which made everything easy once it came to assembly. I die cut the shadow layer from True Black cardstock from Papertrey Ink and used black foam tape to pop it up in the center of my card. I used some sticker strips to fill out my sentiment, and added those using foam tape as well, before finishing off with a little gold bling.
 I’ve used this image a few times in the past, but I’ve never colored the penguins blue, which kind of blew my mind when I realized. I decided to remedy that and created soft blue penguins and a corally pink scarf. I cut my panel down to a square, die cut a heart in the center using a die from Papirdesign and mounted the negative onto a square card base I created from Berry Sorbet cardstock from Papertrey Ink.
 Onto my colored heart, I stamped a sentiment from the Mini Messages stamp set from Mama Elephant using Berry Sorbet ink from Papertrey Ink. I adhered the heart to the card front and added a few sequins from the Starry Night mix from Little Things from Lucy’s Cards to finish my card.
 Oh, and before I forget, I used a super simple color palette for this one.


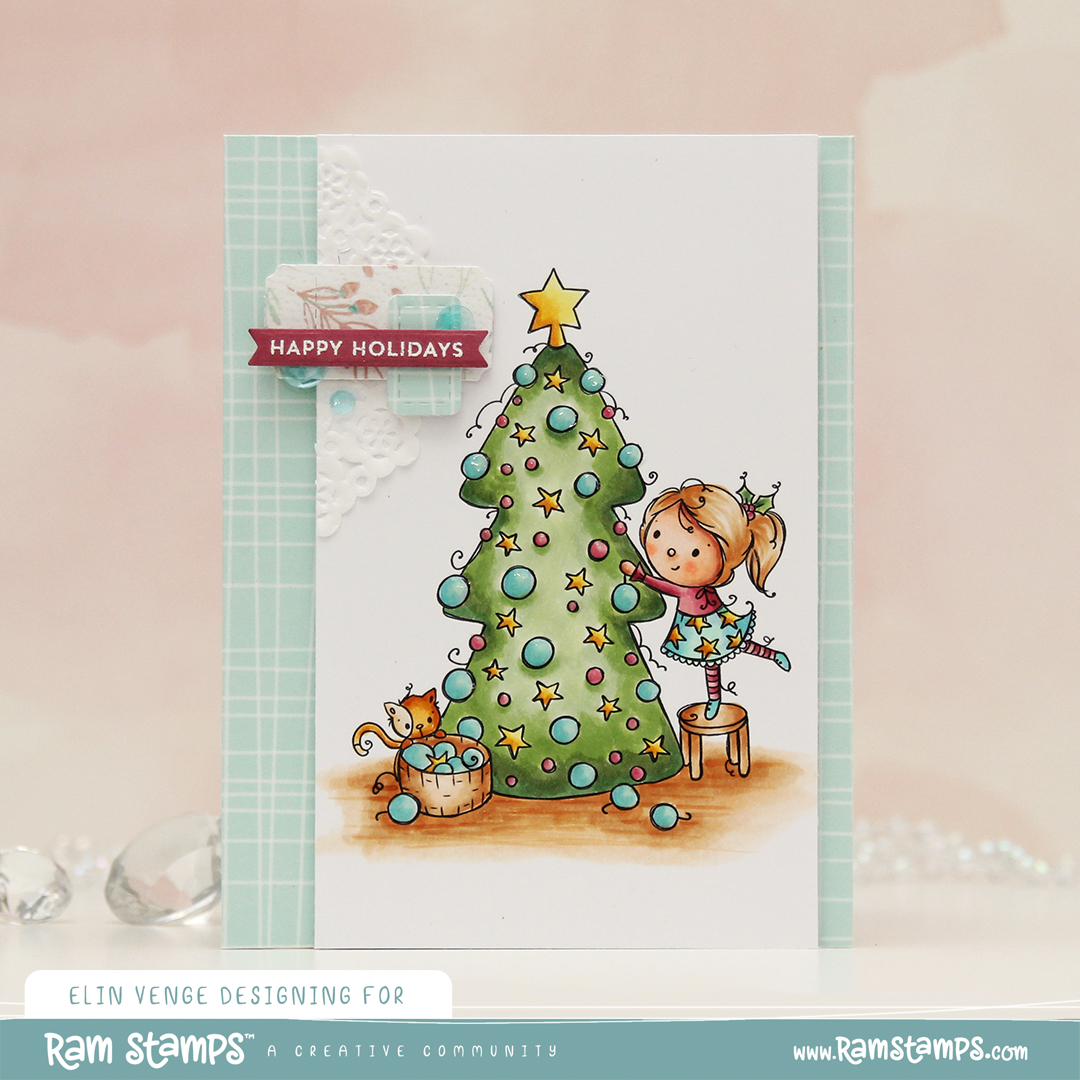 As usual, I colored the image with Copics, cut my panel down a little on the sides and added Glossy Accents to all the ornaments. This time, I decided to use the
  My signature clean and simple cluster cards have been few and far between this year, and I thought a mini cluster would work well for this card. I started with a scrap of a mini paper doily from Doodlebug Design that I adhered to my colored panel with liquid glue. I die cut a couple of additional pieces using the Happy Days Ticket Stubs die from XCut. This is one die that cuts nine different tickets, and it’s one I use a lot. I cut one from the light blue gingham patterned paper, and the other one from a scrap piece of patterned paper from Kaisercraft. I put them both on foam squares for dimension. The sentiment is from the Itty Bitty Holiday stamp set from My Favorite Things, stamped and white heat embossed on a piece of Autumn Rose cardstock from Papertrey Ink, which I then die cut into a strip with flag ends using a die from the Itty Bitty Strips die set from My Favorite Things. I finished off with a few sequins from the Ice Water mix from Little Things from Lucy’s Cards.
 A very simple color palette for this card. I started out with blue ornaments, but once I printed the patterned paper, I realized they needed to have a green tinge and went over the blue with BG32 and G00.
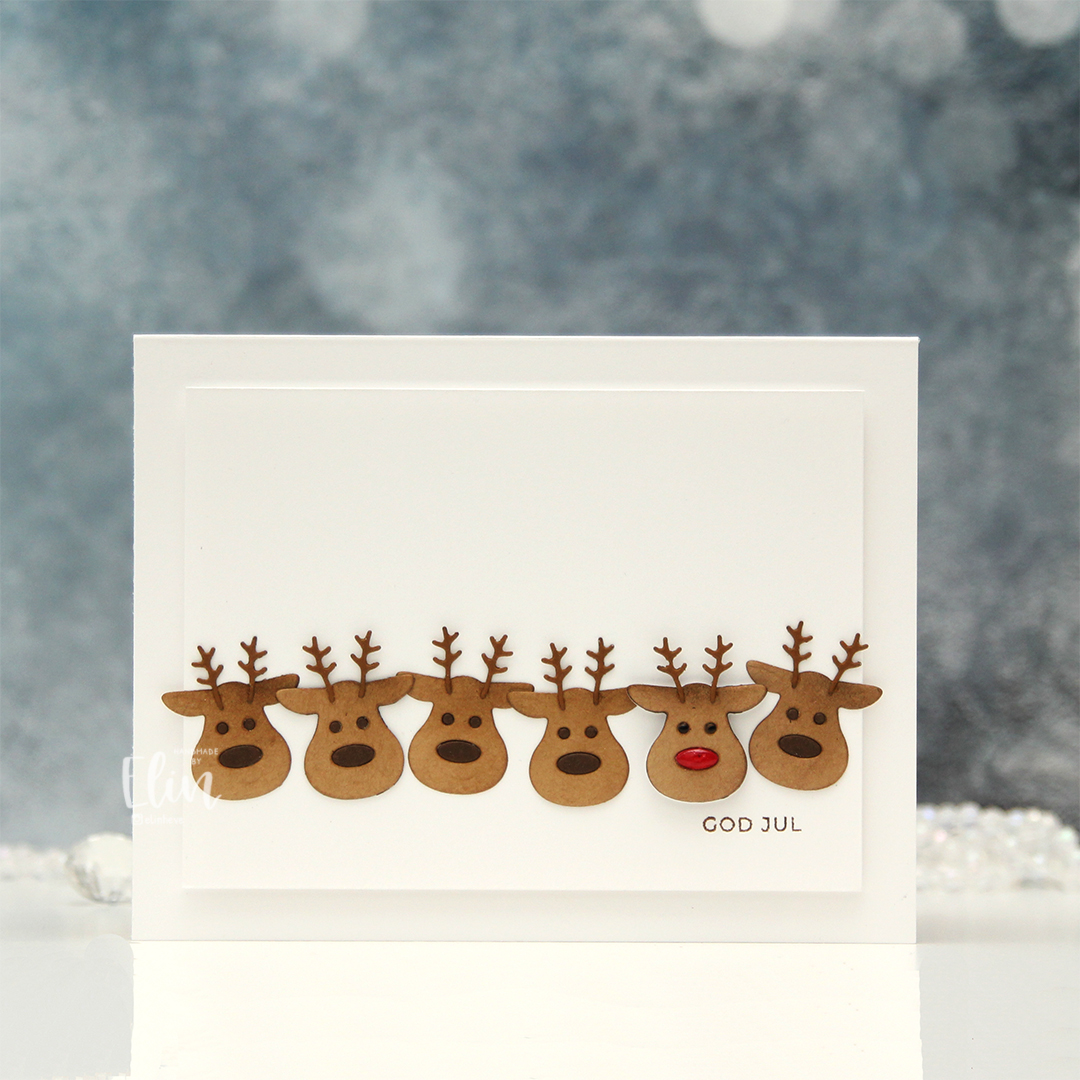 I die cut the reindeer from several colors of colored cardstock. I used Cocoa Nibs from Papertrey Ink for the antlers, Amarena Cherry from My Favorite Things for the red nose, Milk Chocolate from My Favorite Things for eyes and the remaining noses, as well as Kraft from Bazzill. I would have preferred Classic Kraft from Papertrey Ink, as it’s a heavier weight cardstock, but I’ve run out, and the Bazzill kraft worked just fine.
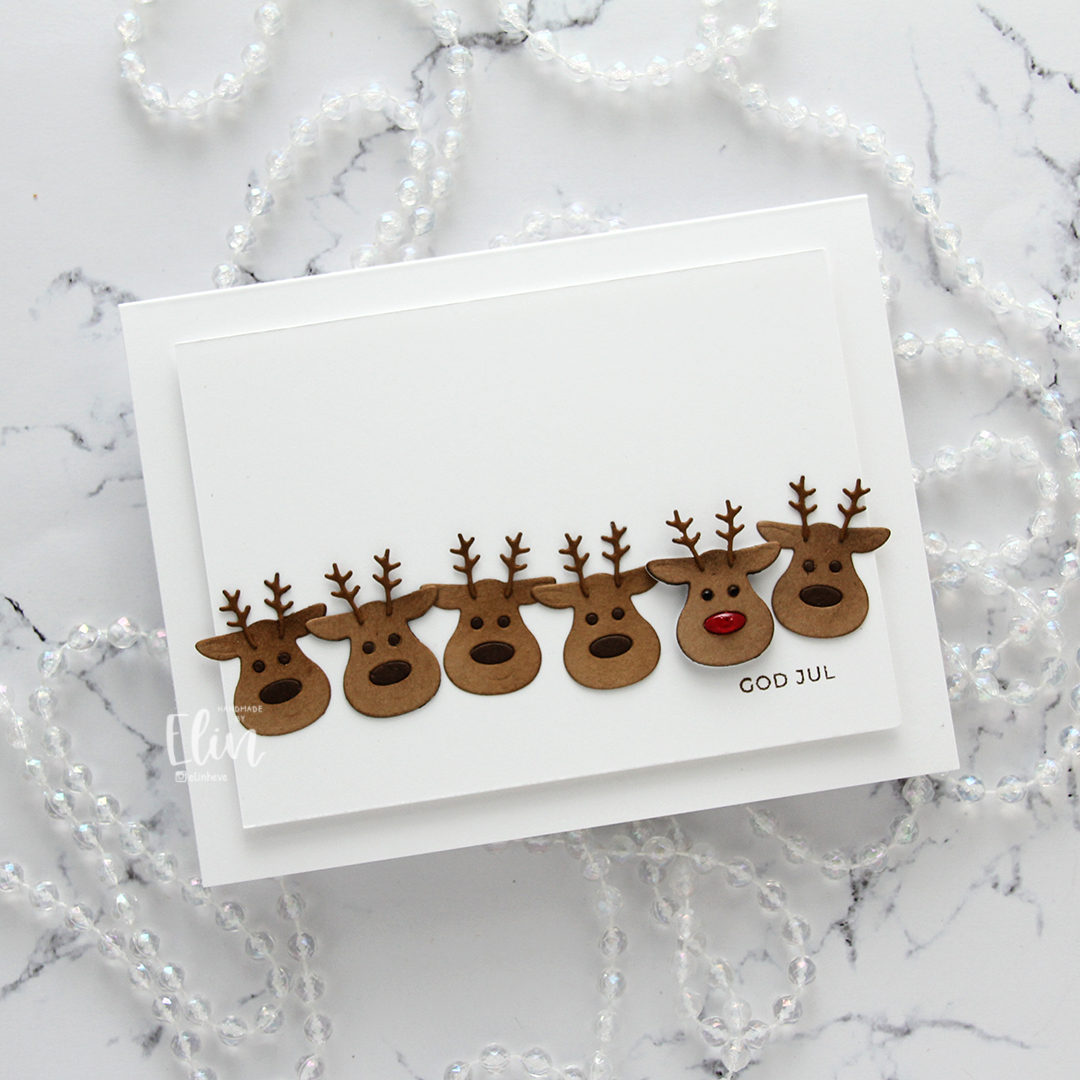 I mounted a white panel onto my top fold landscape card base and adhered the reindeer in a line. A couple of them have additional layers of cardstock behind them for a tiny bit of dimension, Rudolf has lots of layers behind him, as well as shine to his nose. I added a very thick coat of Glossy Accents, and I also added black Glaze to his eyes for shine and dimension. I stamped GOD JUL using Milk Chocolate ink from My Favorite Things.
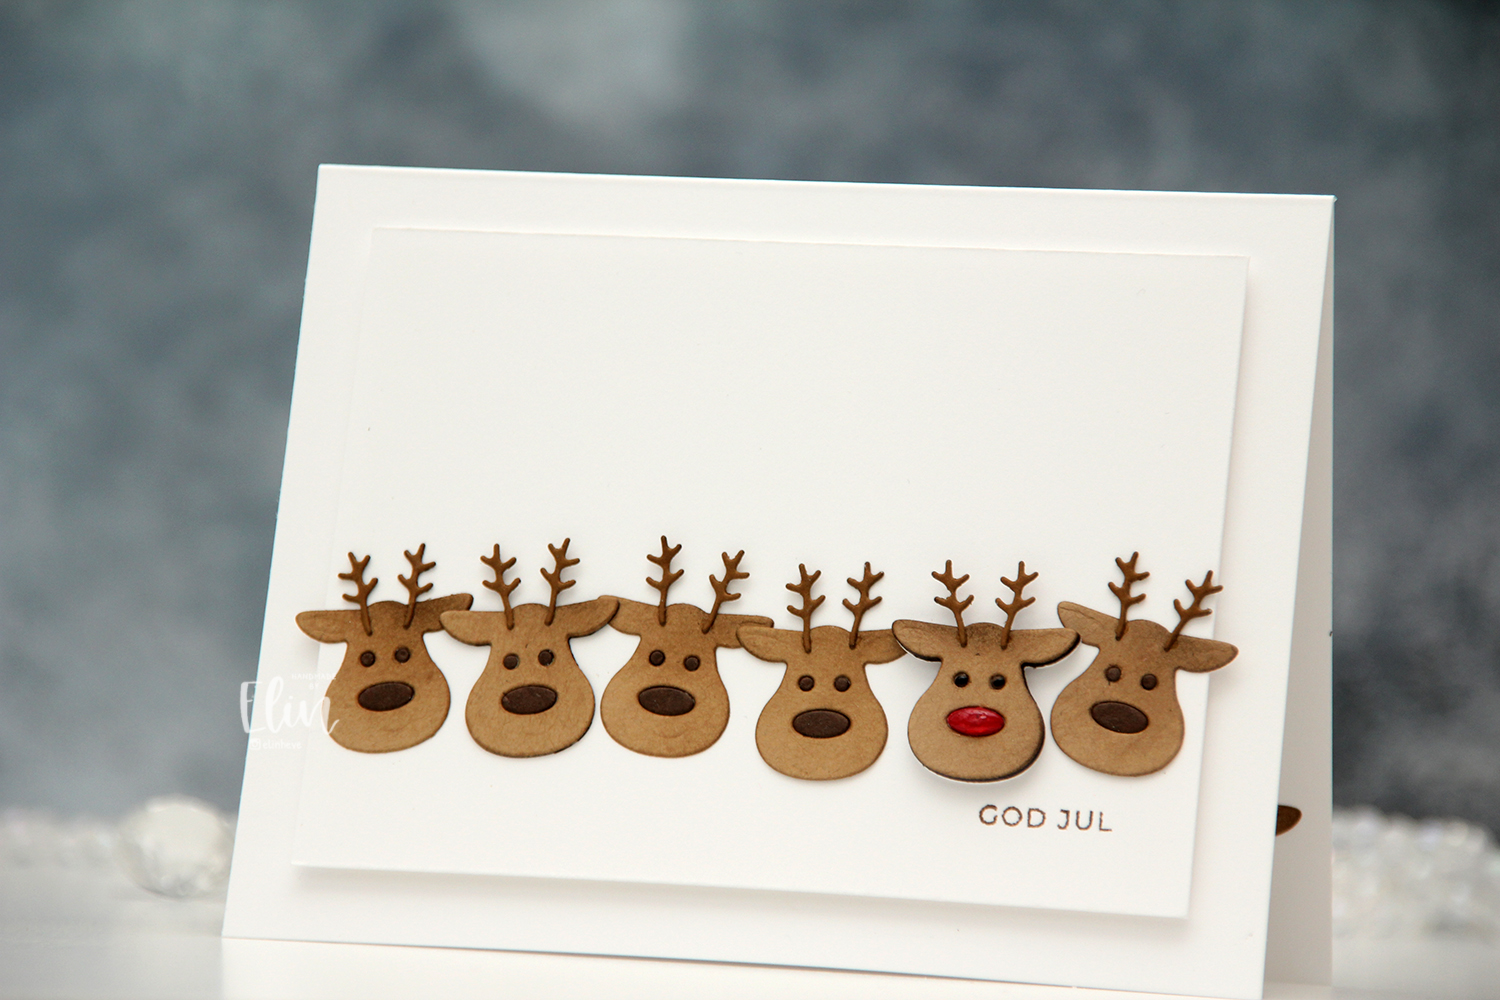 I had an extra reindeer that I decided to add to the inside of the card, you can see his ear peeking out in this photo.
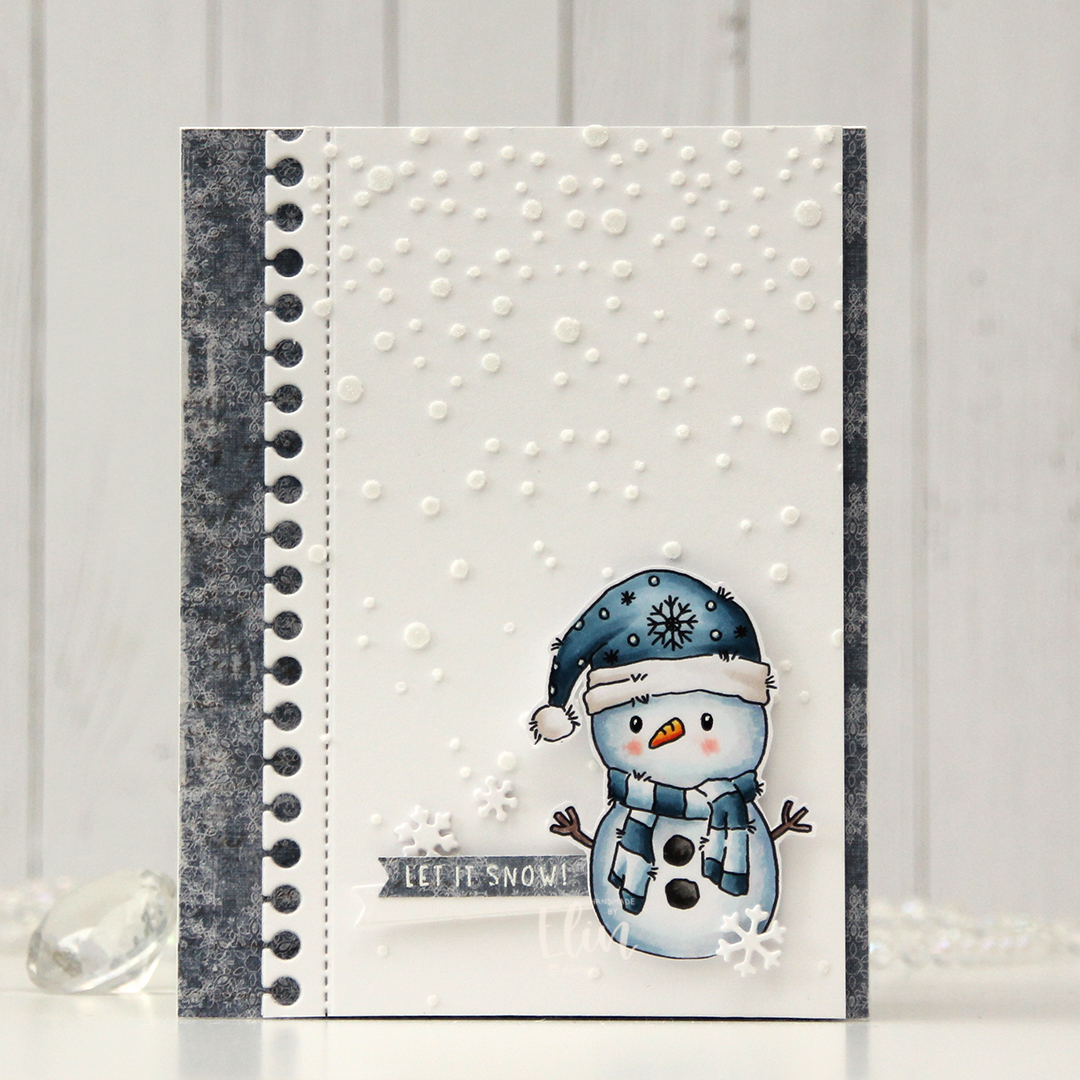 I colored my snowman with Copics, added black Glaze to his eyes, then a white dot using a Gelly Roll 05 once the black was dry. I also used the white to add the white dots to his hat. I fussy cut my snowman, leaving a thin white trim around him, before putting him to the side to work on the rest of my card. I covered my card base with patterned paper from Maja Design. This frosty blue paper is from the Vintage Frost Basics collection from 2013, the sheet’s called 13th of December. I used the Notebook Edge die from My Favorite Things to create a fun border on a piece of Stamper’s Select White cardstock from Papertrey Ink. I used Light & Fluffy Modeling Paste from The Crafter’s Workshop to create snow through the Falling Snow stencil from Simon Says Stamp. While the paste was still wet, I sprinkled on Rock Candy distress glitter for an even frostier effect, and mounted my white panel with foam tape to my card front.
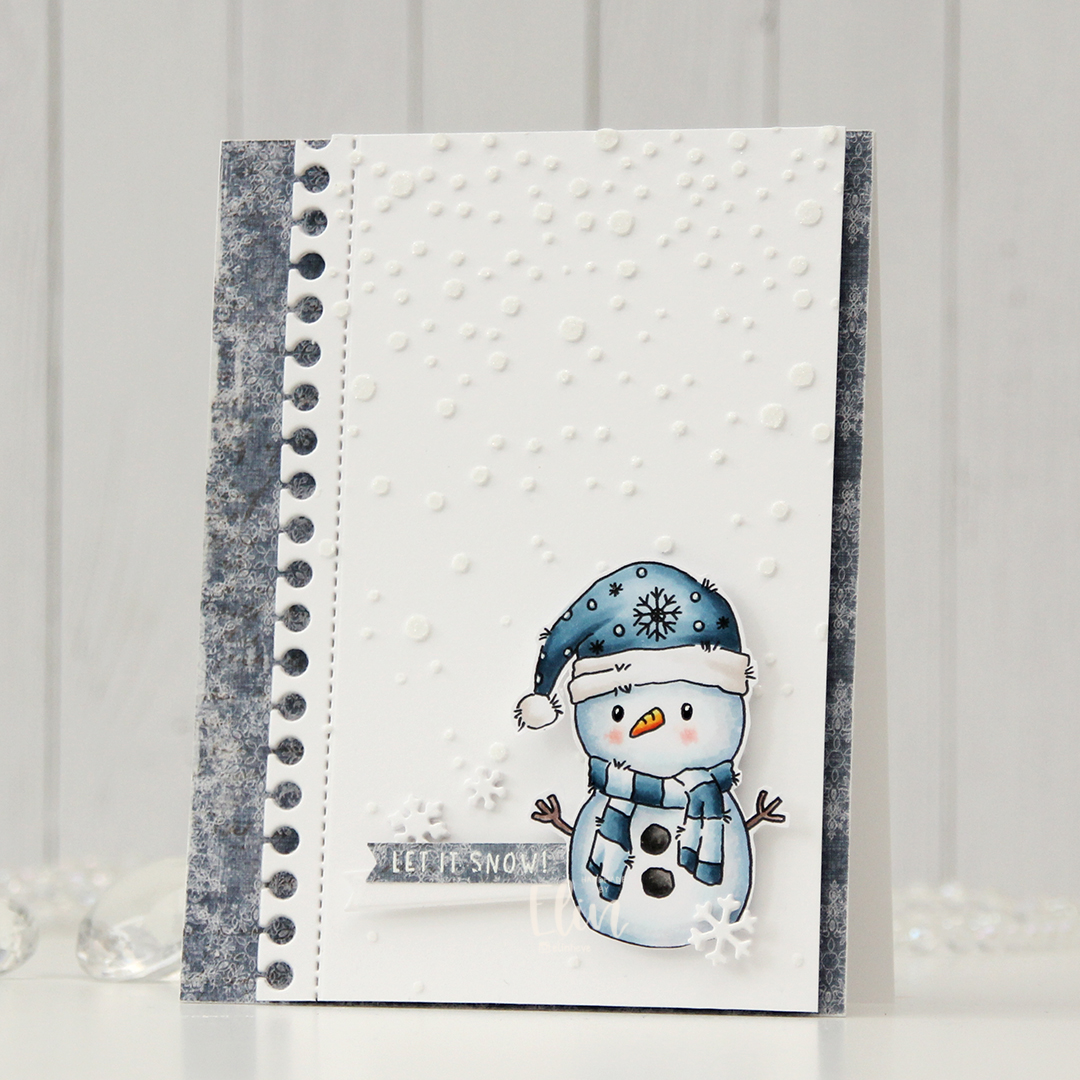 I stamped and white heat embossed a sentiment from the
  Simple color palette for this one. Lots of blues.
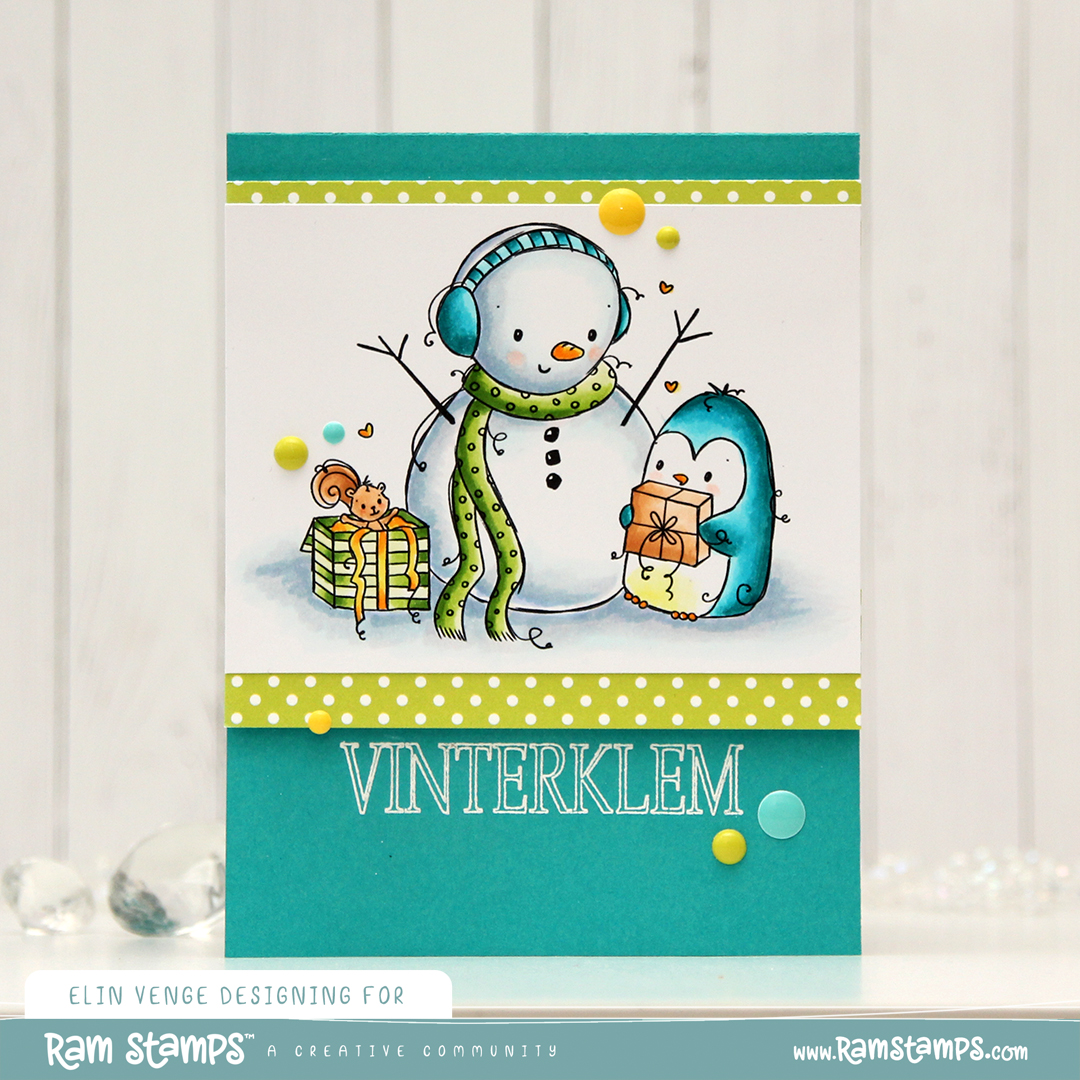 I colored the image with Copics, and after a couple of cards recently with very muted, vintage colors, I went super bright with this one. I love penguins done with BGs instead of grays, it’s like they’re happier, somehow.
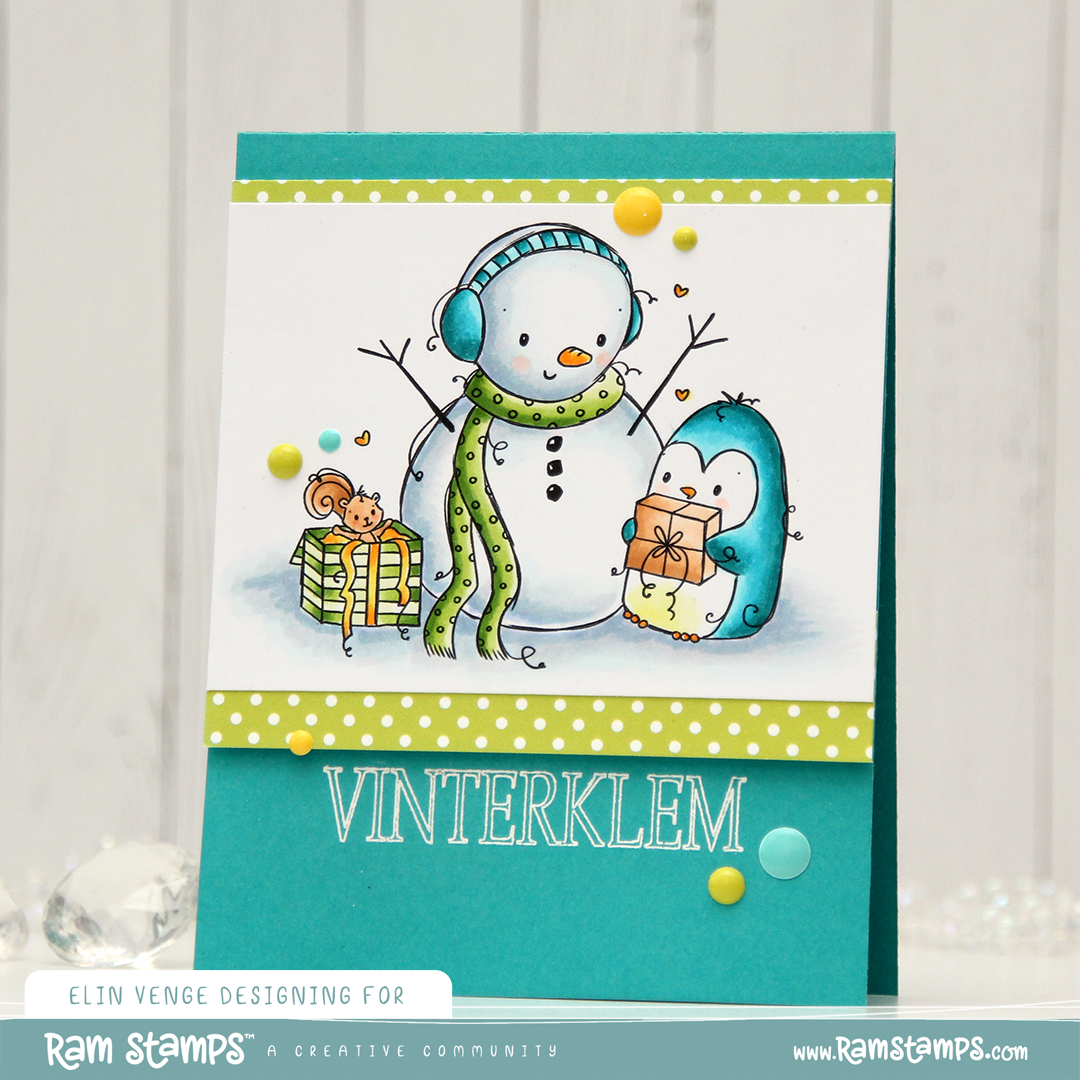 I stamped and white heat embossed a sentiment from Huldra Designstudio directly onto my card base, which I made from Oceanside cardstock from Concord and 9th.
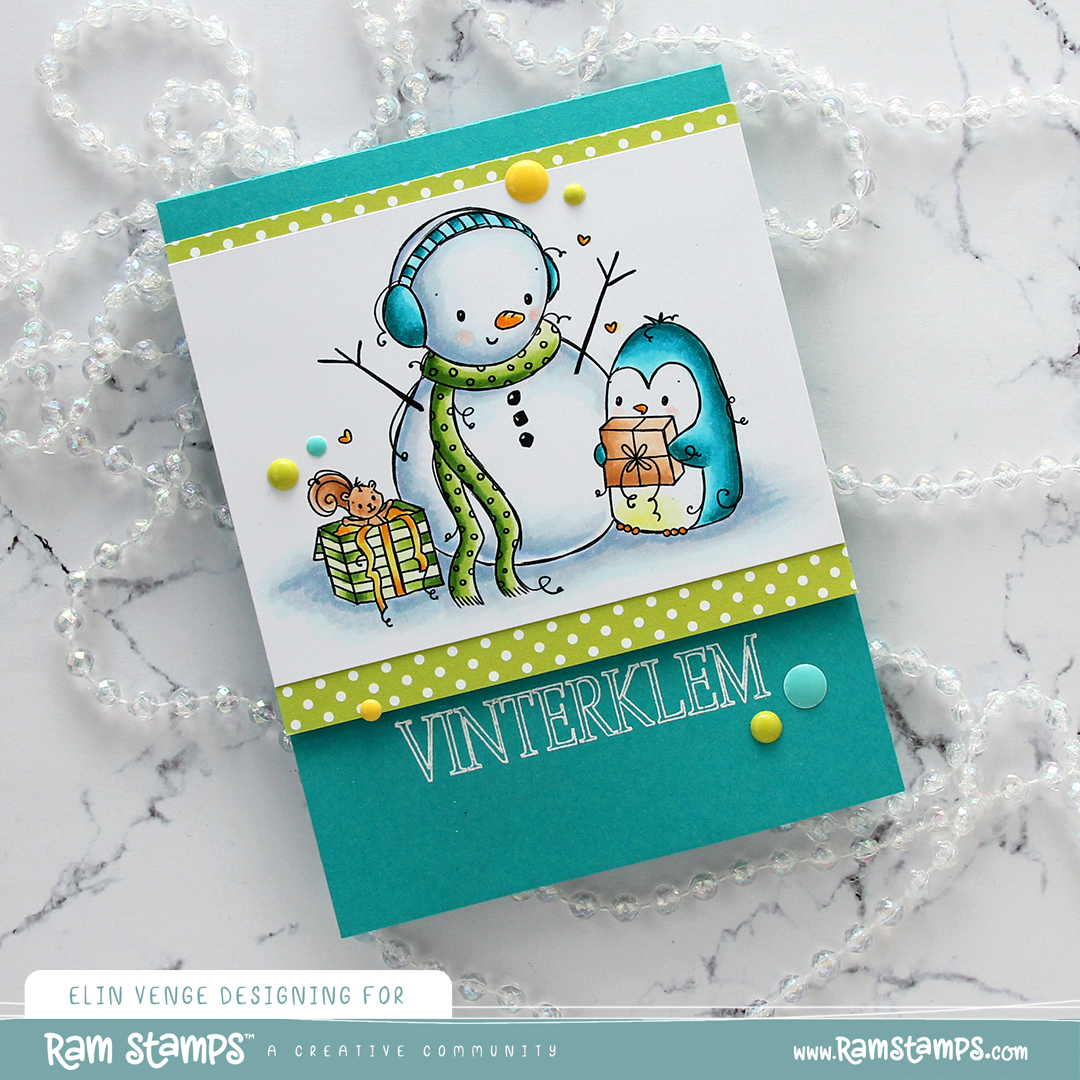 Above and below the colored panel, I added strips of patterned paper from the Party Patterns paper pad from My Favorite Things, before mounting it all on foam tape for dimension. I finished off the card with enamel dots. The bright green ones are from Papirdesign, the teal and yellow ones from the Cool Summer Nights and Pocketful of Sunshine packs from Altenew. The Papirdesign ones have more dimension to them than the ones from Altenew, which creates a little more variety.
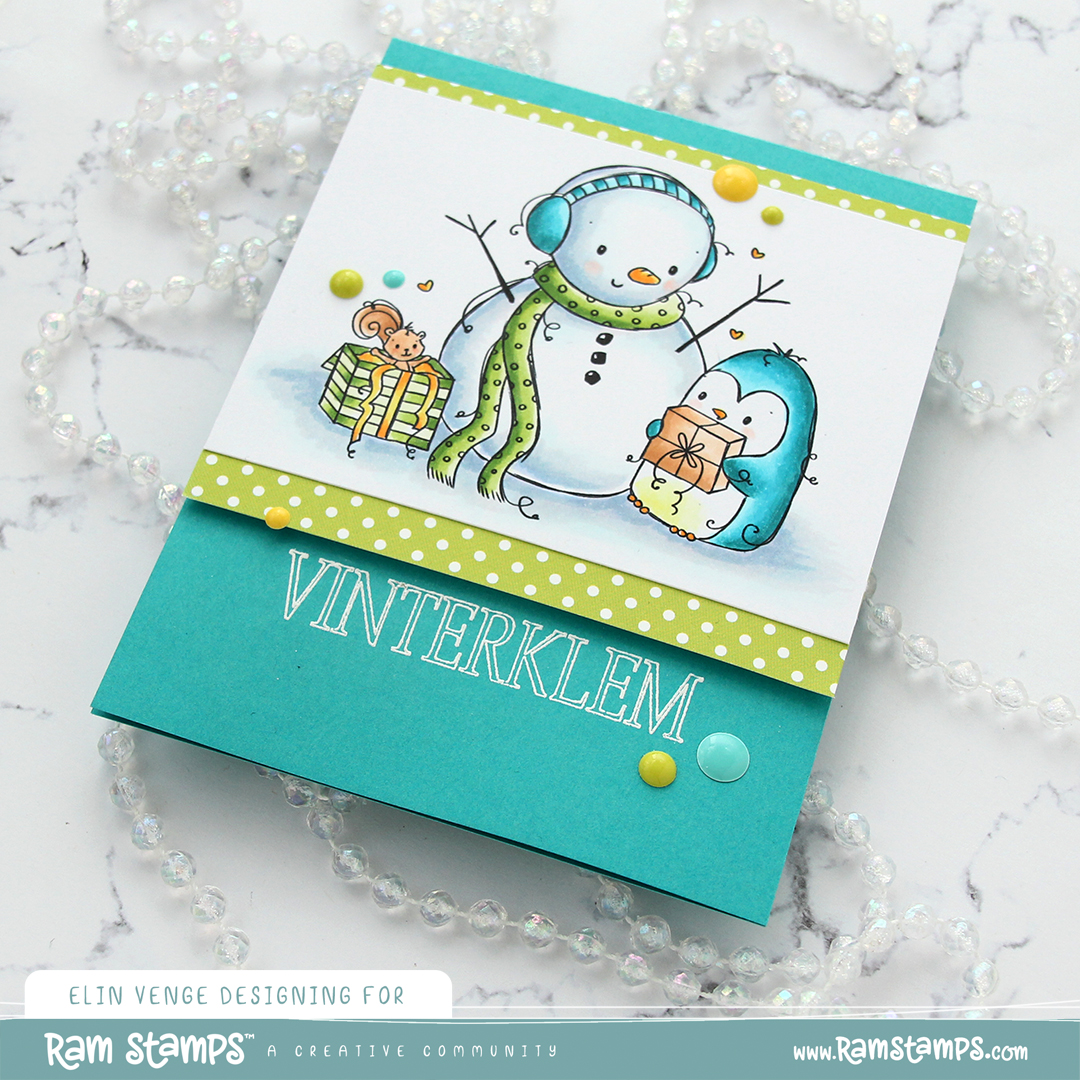 By using an untraditional color palette and a non holiday sentiment (winter hug), this image can be used for more than just Christmas. I’m thinking this would make a great wintery birthday card.
 Fun colors used for this one!
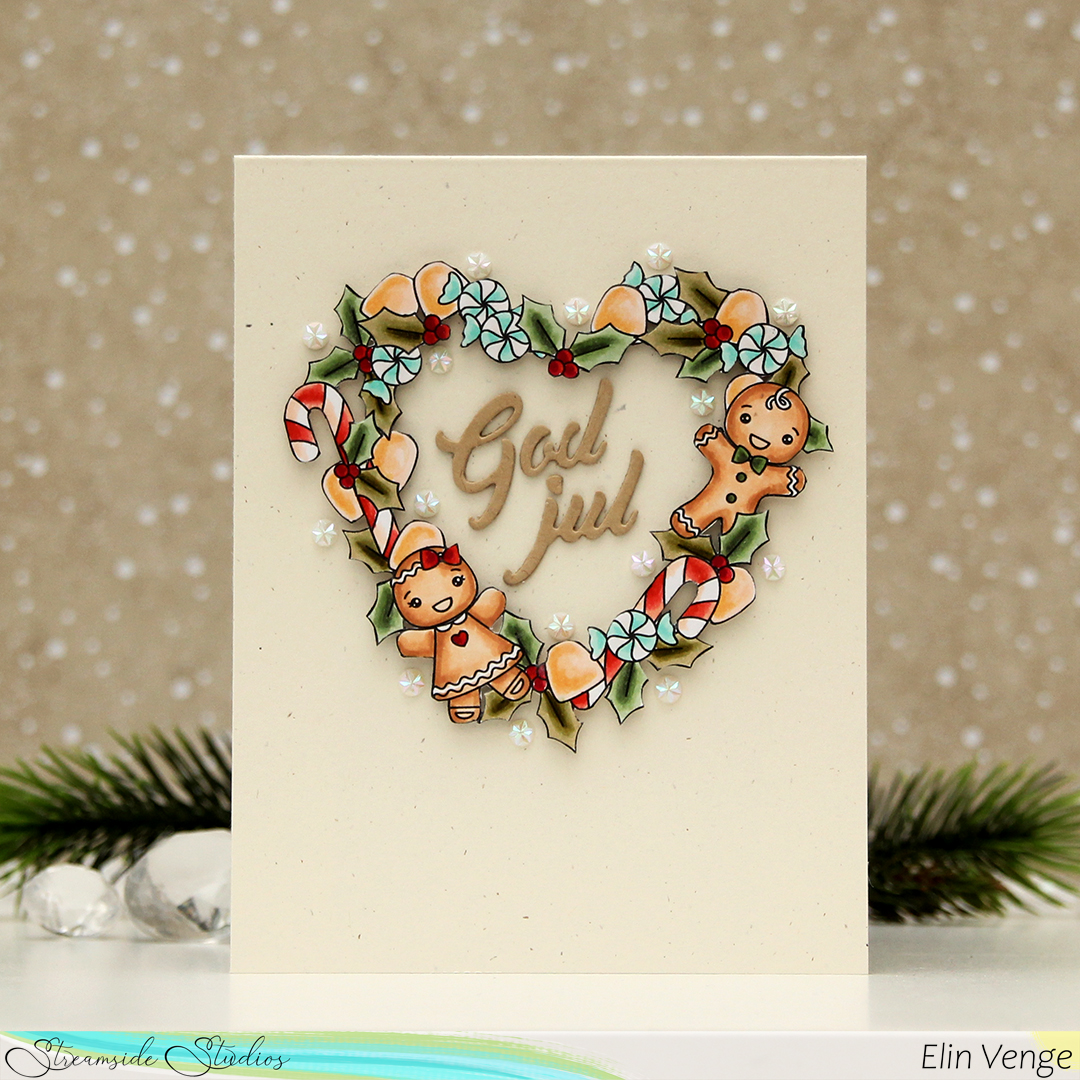 I tend to choose fairly bright color combos, but this time, I wanted to shake things up with a more vintage vibe and used a very different color palette.
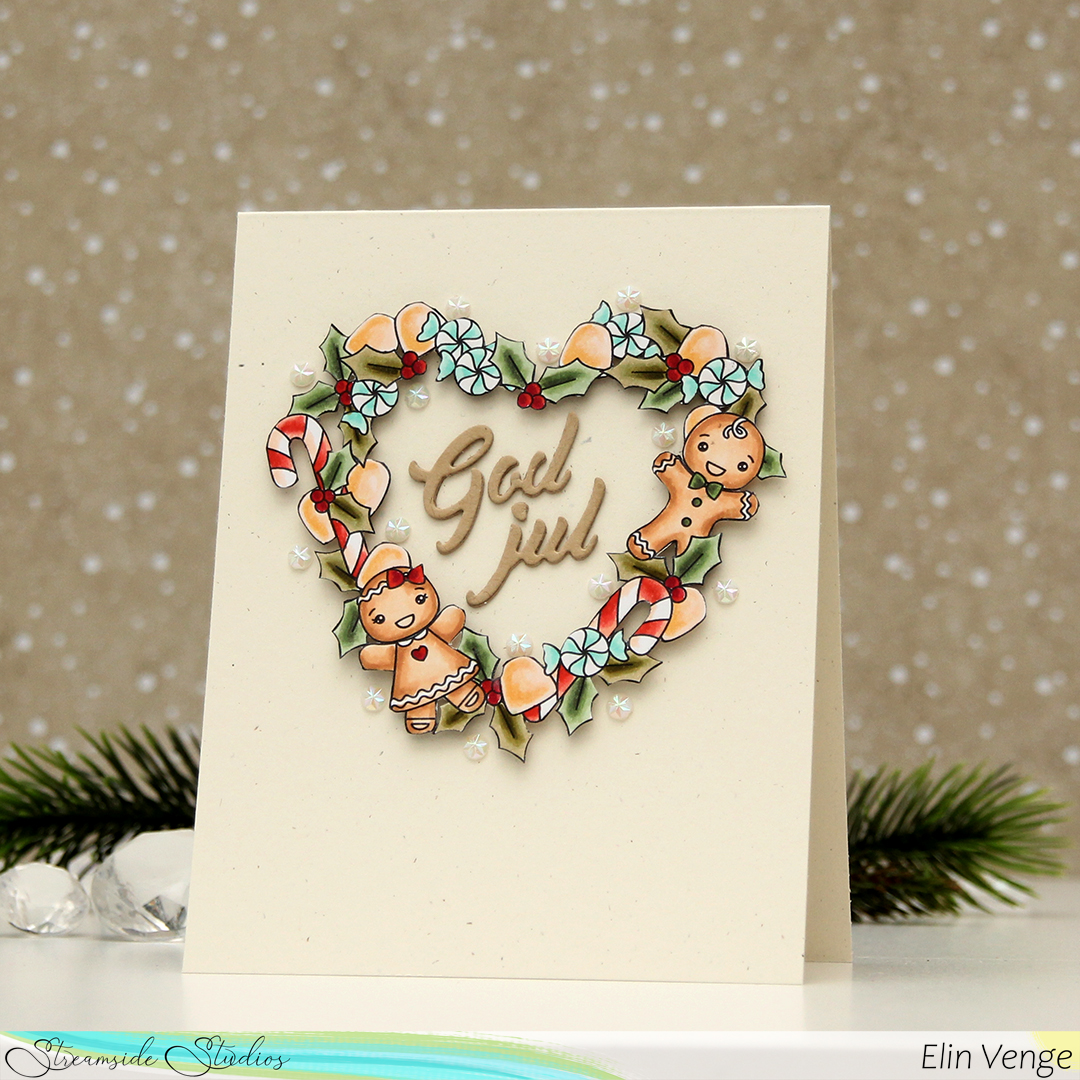 I colored the wreath, then fussy cut right up against the black stamped lines in the image. I added foam tape to the back and mounted it to a top fold A2 card base i created from Rustic Cream cardstock from Papertrey Ink.
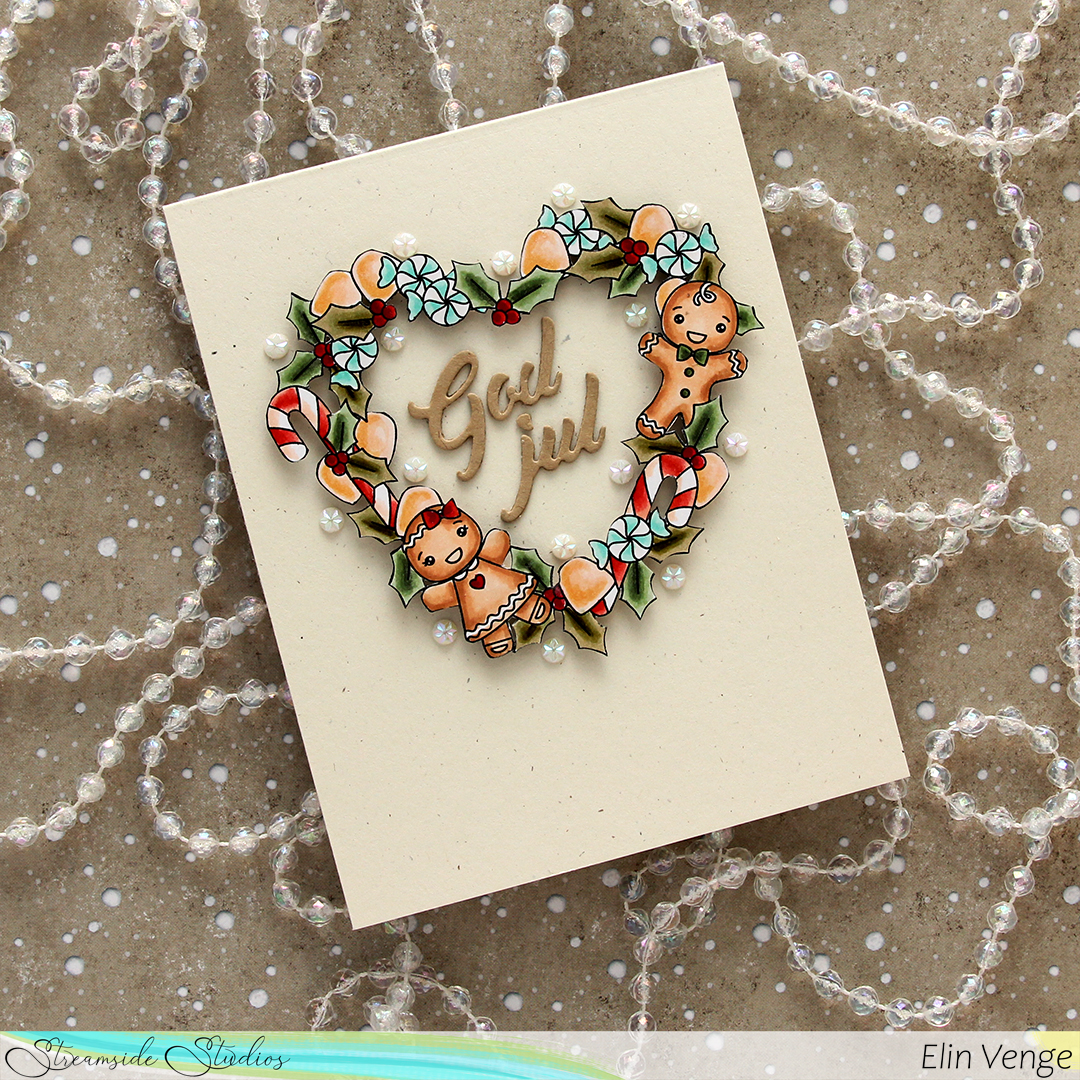 I die cut the sentiment from Classic Kraft cardstock from Papertrey Ink using a die from Papirdesign. I stacked three die cuts for a little dimension and adhered the letters at a bit of an angle inside the heart wreath, before finishing off with a few faceted pearls from Kort & Godt.
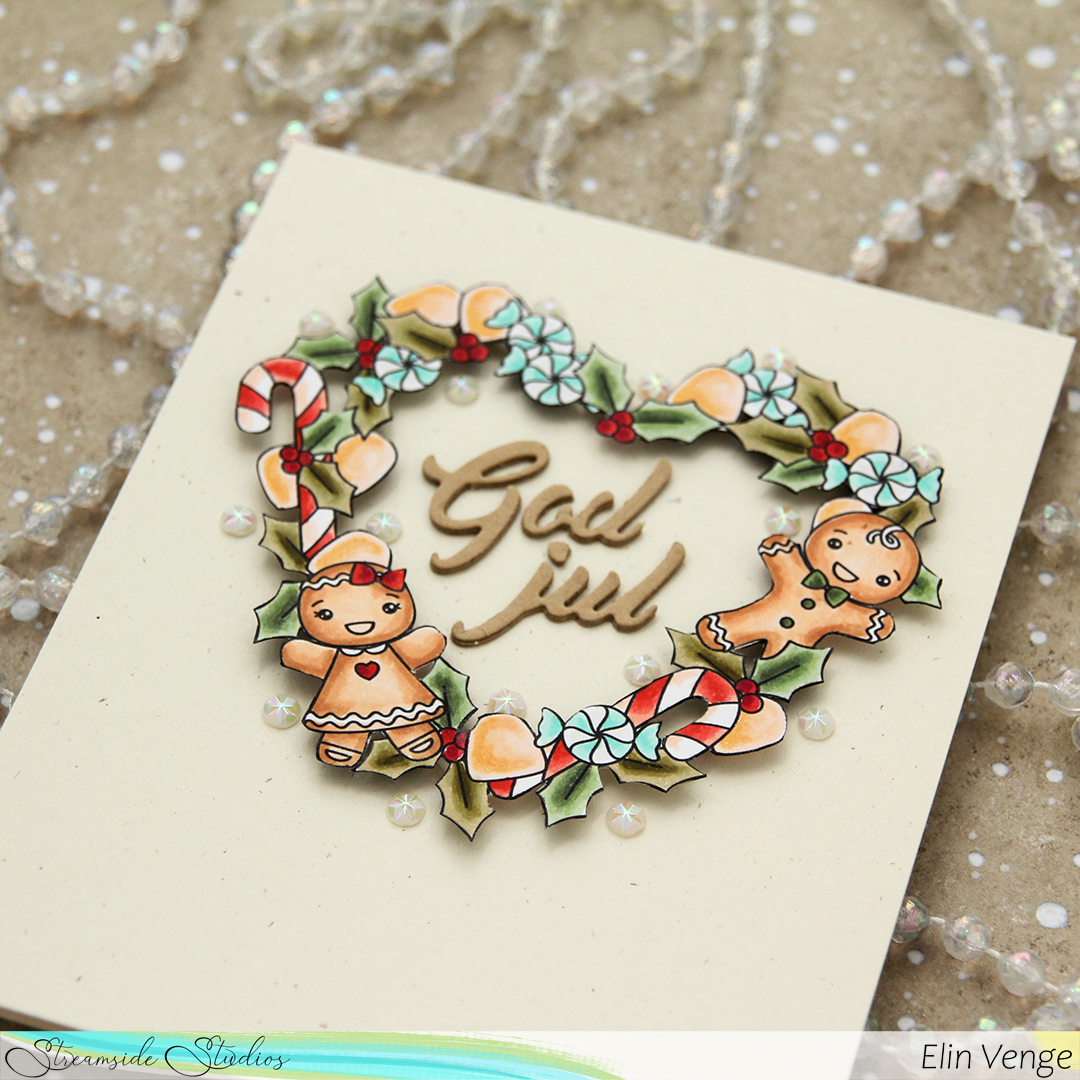 The foam tape on the back of the wreath makes it look like it’s floating above the card front.
 Vintage color scheme!