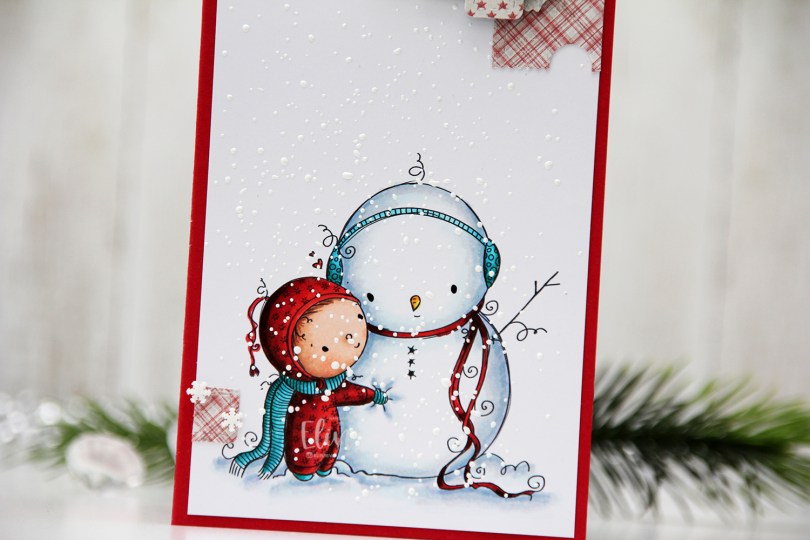
Hi. Sharing a simple mini slimline today with a cute image from Rachelle Anne Miller. I love this Snowman Hug image, and I’ve used it previously for a wintery birthday card, but today, I’ve got a red and tealy blue Christmas card to share. If you use the code ELINVENGE in Rachelle’s store, you get a 10 % discount on your purchase.

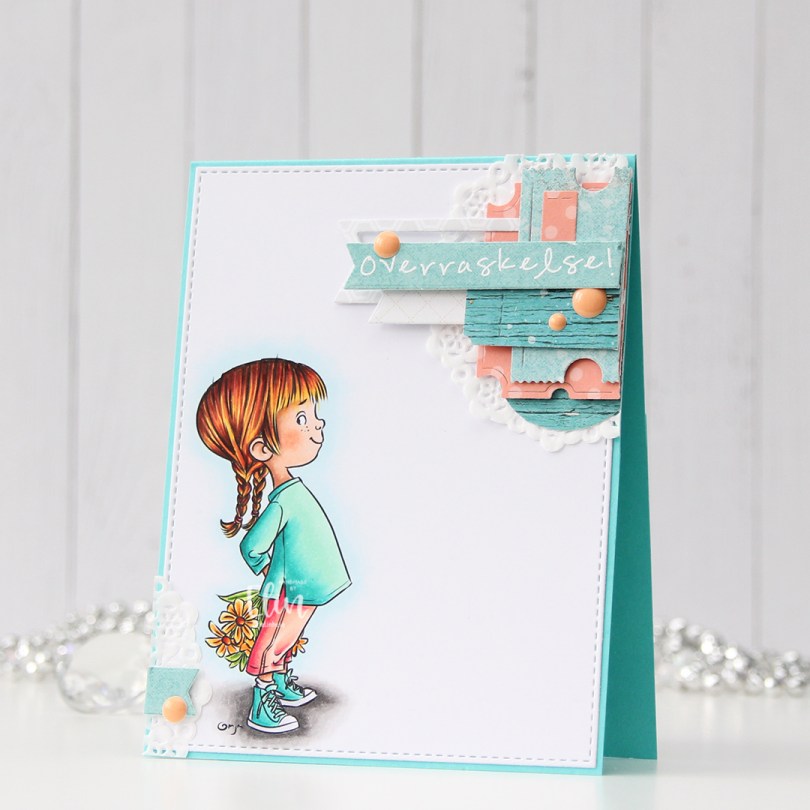
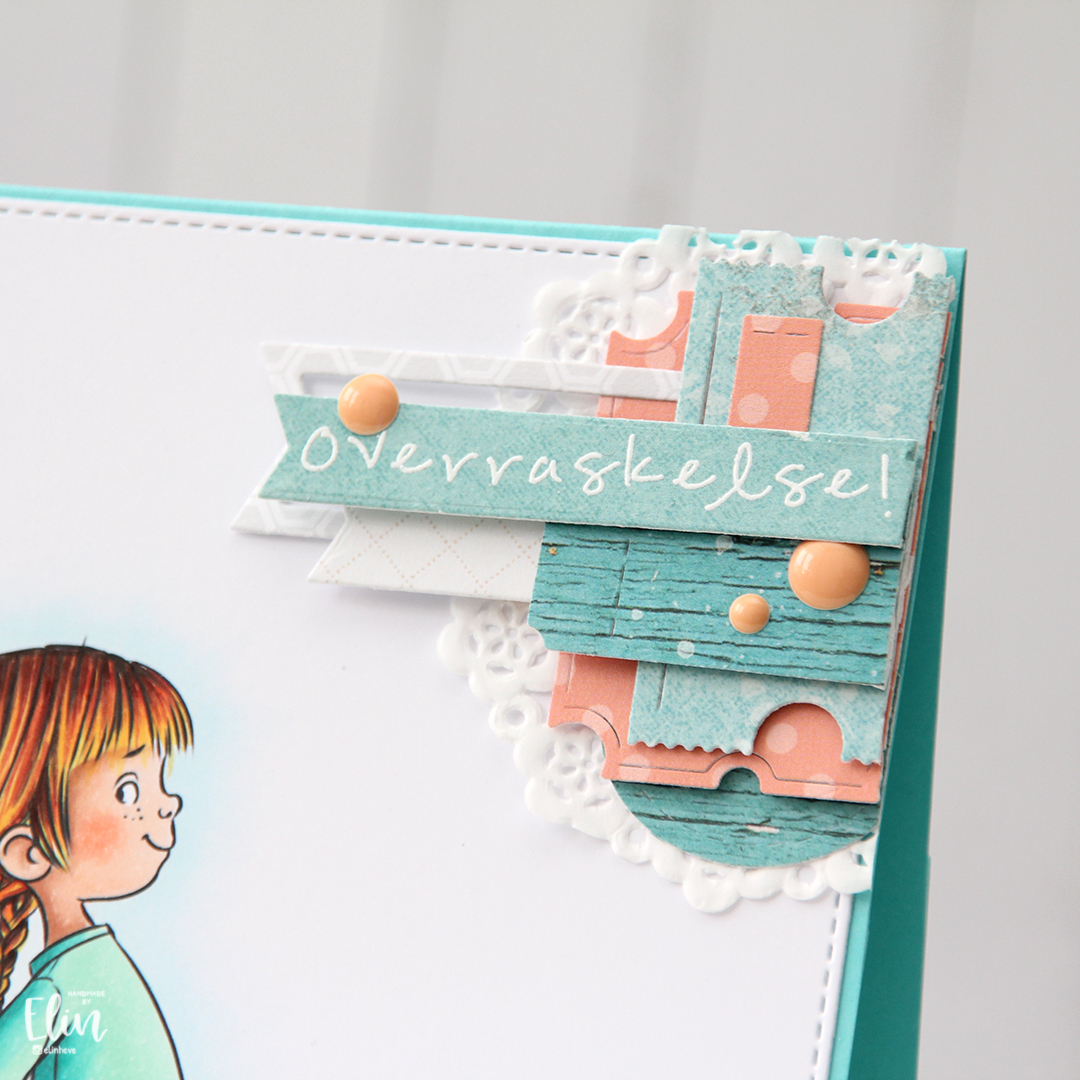
I feel like I haven’t made my signature cluster cards in a while, so I decided to pull out patterned paper scraps and my Happy Days Ticket Stubs die from XCut, an amazing die that cut nine different tickets in one pass, I love it. It’s an older die, but I always use it for my clusters.
 I don’t often create red Christmas cards, but when I can pair that red with a tealy blue, a light blue or a gray, I can make red work. I printed and colored the image onto a 3 1/4 x 6 1/4″ panel of X-Press It blending card, before sprinkling on lots of chunky white embossing enamel from Stampendous to make my scene extra snowy.
 The patterned papers are all die cut from the 6×6″ Home for the Holidays paper stack from Maja Design. I love their patterns and their colors, and the colors in this stack are SO good, I couldn’t resist.
 Mini slimline cards are fun to make. I really should make my envelopes as I go, but I’m not very consistent with that, I’m afraid, and will have lots of envelopes to create once we get a little closer to Christmas (we’ve got less than 100 days to go, by the way).
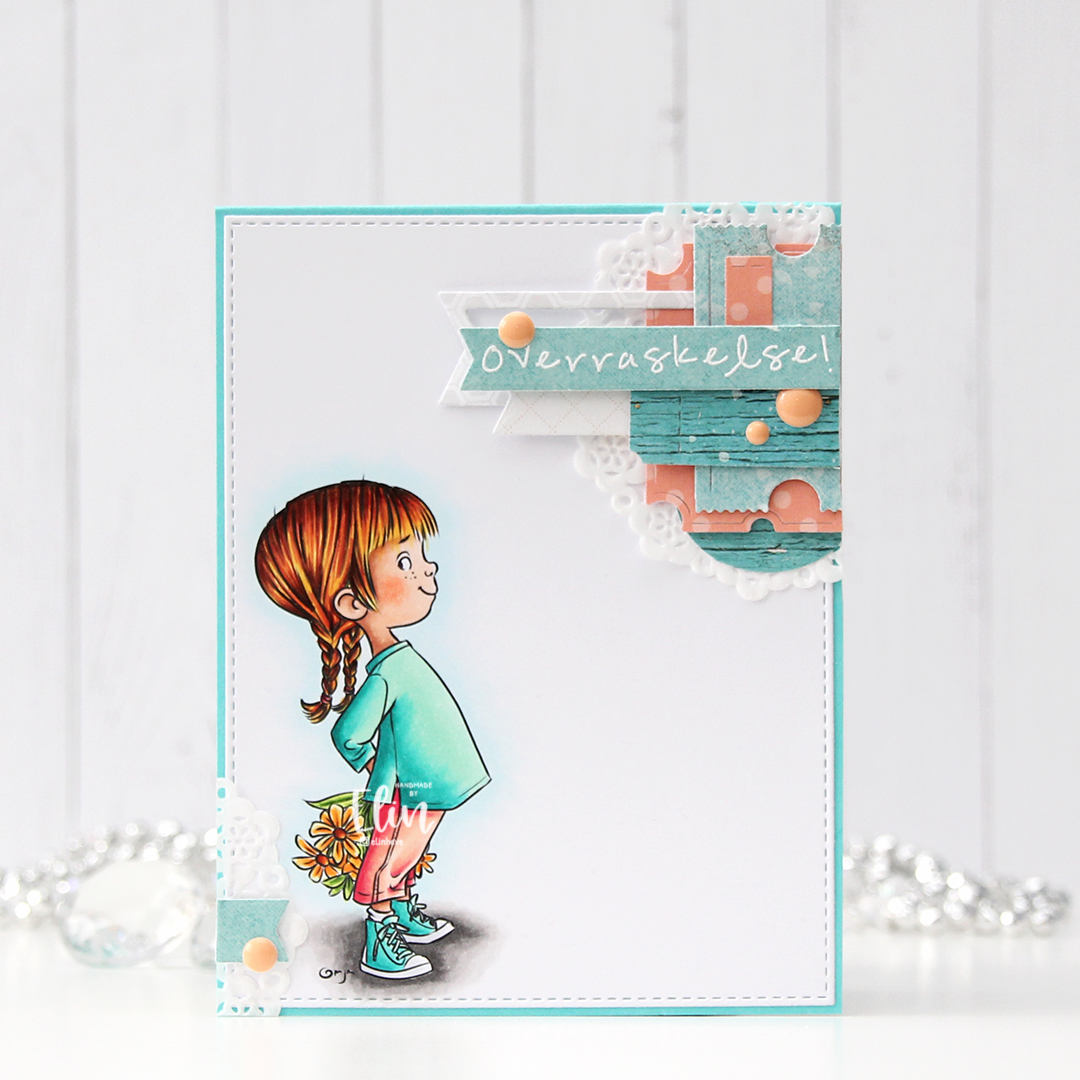
 I stamped and white heat embossed a sentiment from the Itty Bitty Holiday stamp set from My Favorite Things onto a scrap piece of patterned paper from that stack from Maja Design, and die cut that with the coordinating Itty Bitty Strips die.
 I added a few snowdrift sprinkles from Little Things from Lucy’s Cards, and the entire panel is adhered onto a card base I made from Wild Cherry cardstock from My Favorite Things. I love their cardstock!
 As usual, I finish with my colors. Not a whole lot for this image.

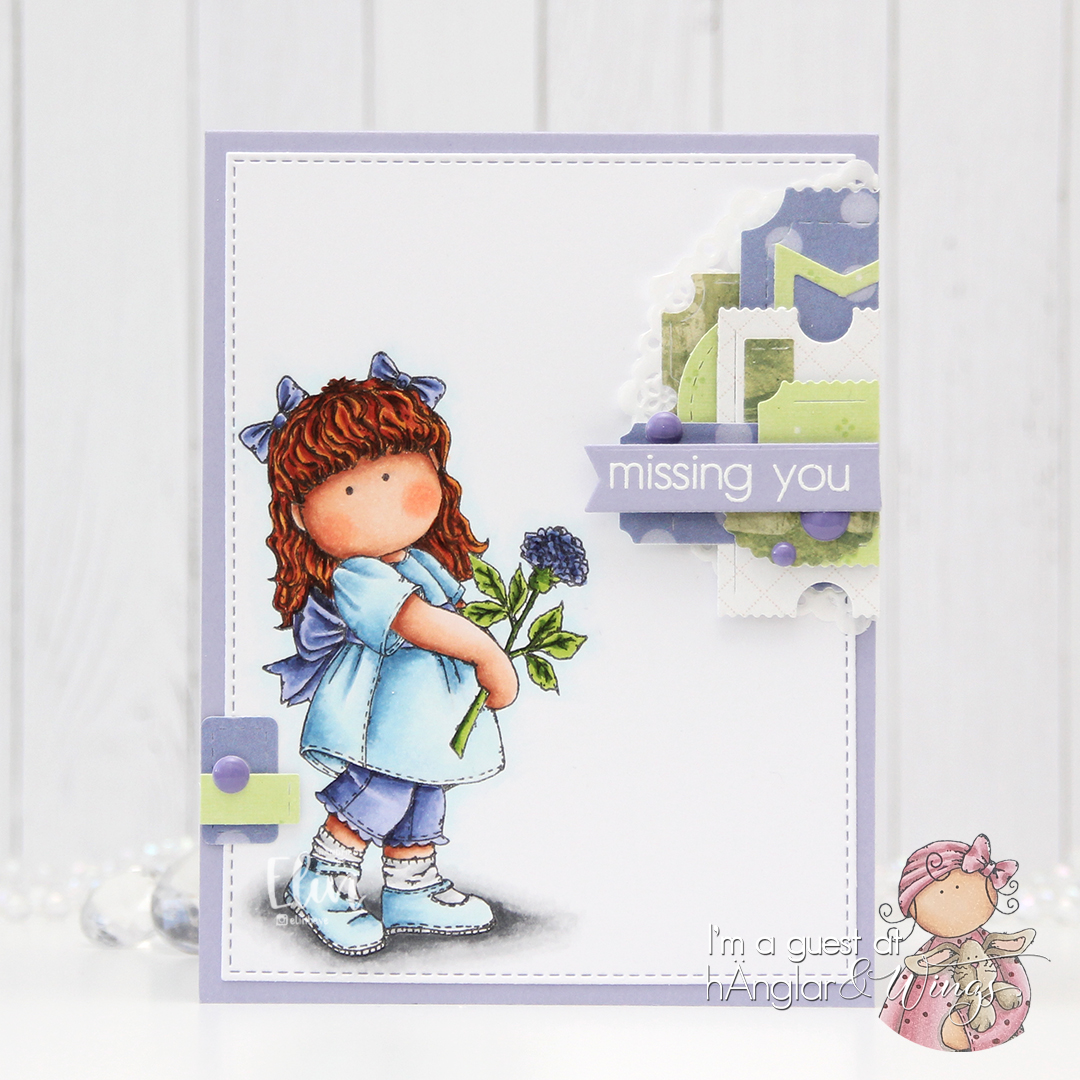
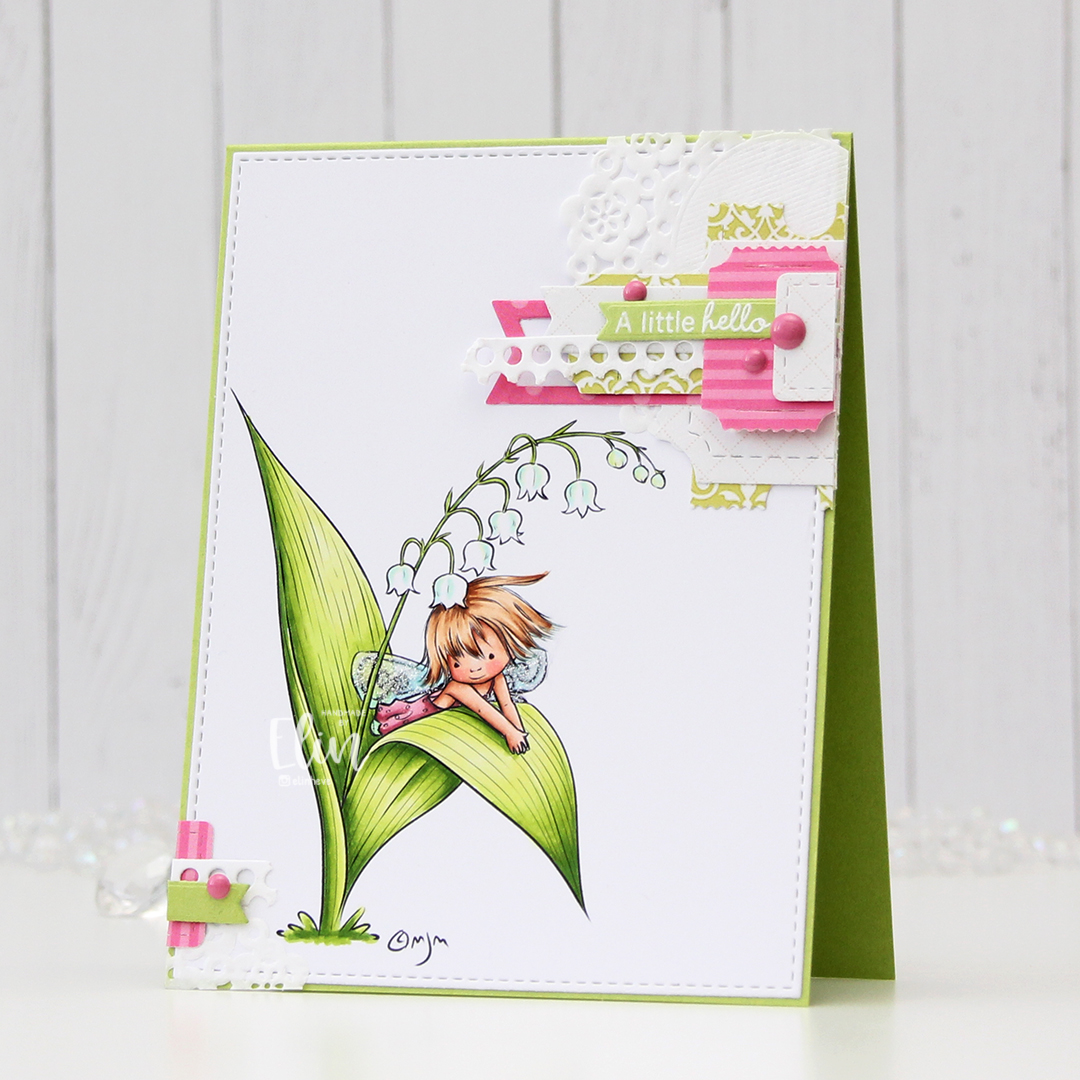
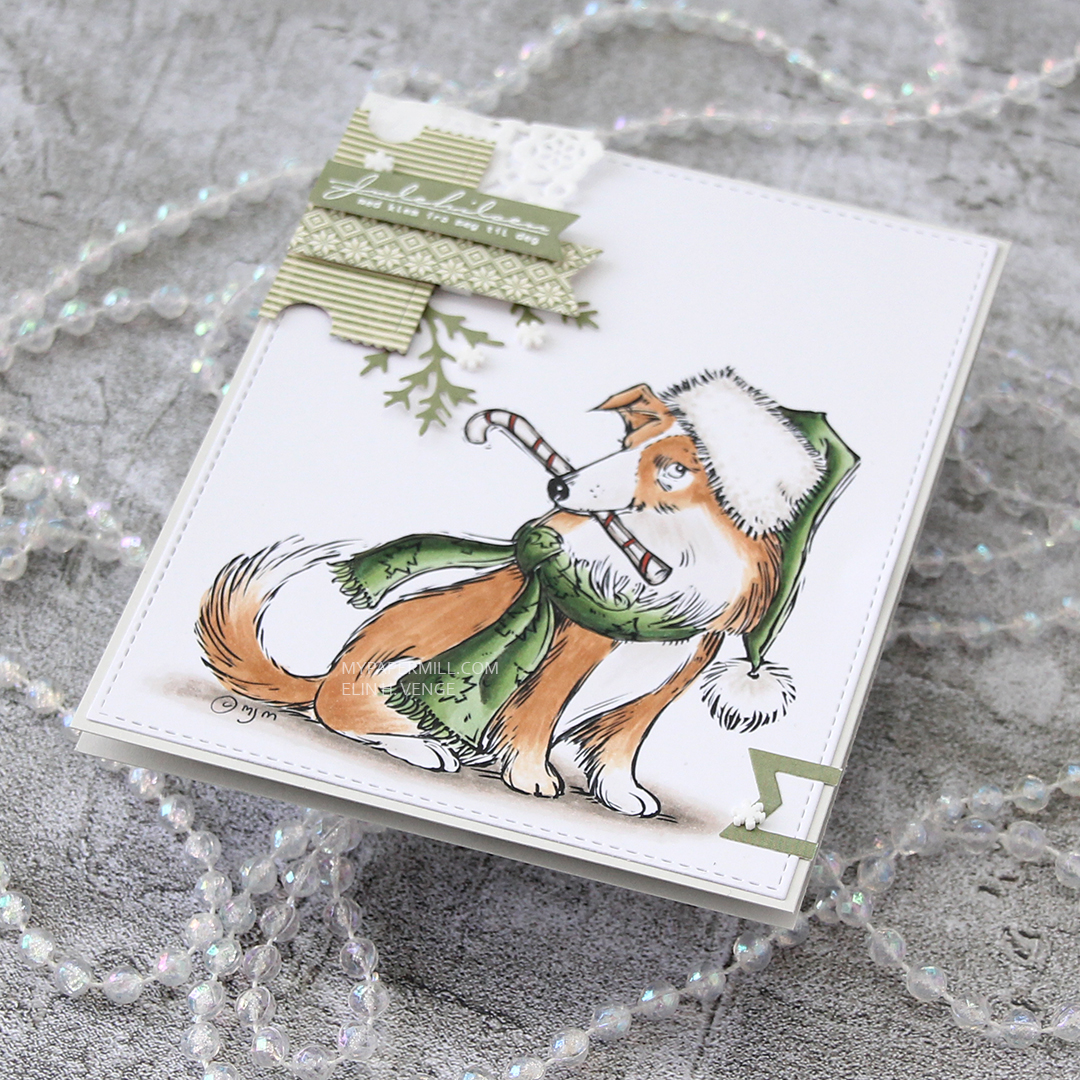
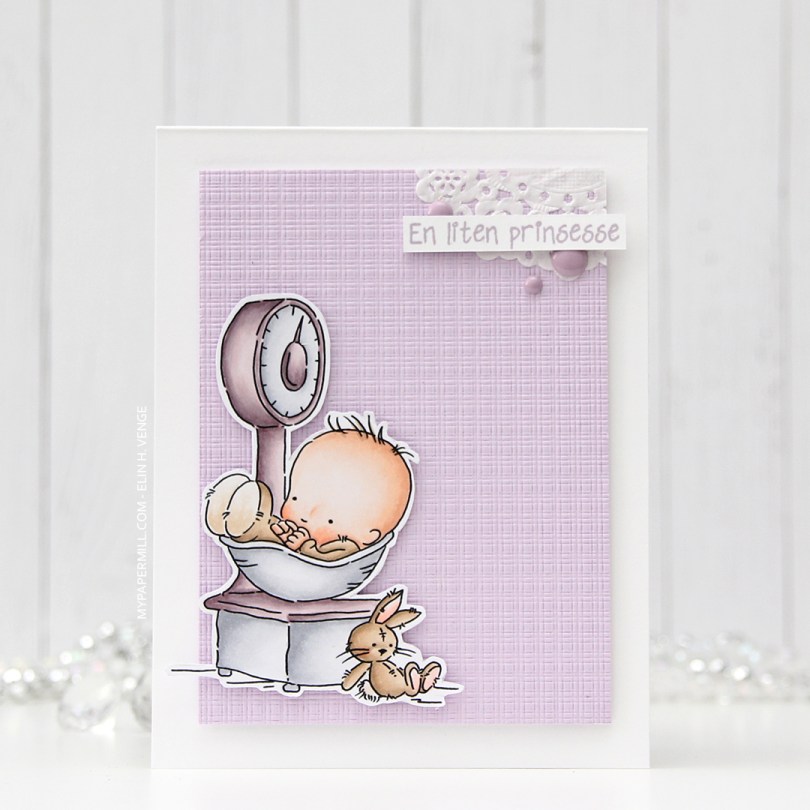
 I colored in my image using the no line technique. Before printing, I made all the lines in the image light gray except for the eyes and eyebrows, which I kept black. This is a great trick to color no line without having to worry about drawing things back in with a black pen and potentially getting things wonky and weird. I’ve done that once, starting over isn’t fun, so I’ve learned to get around it.
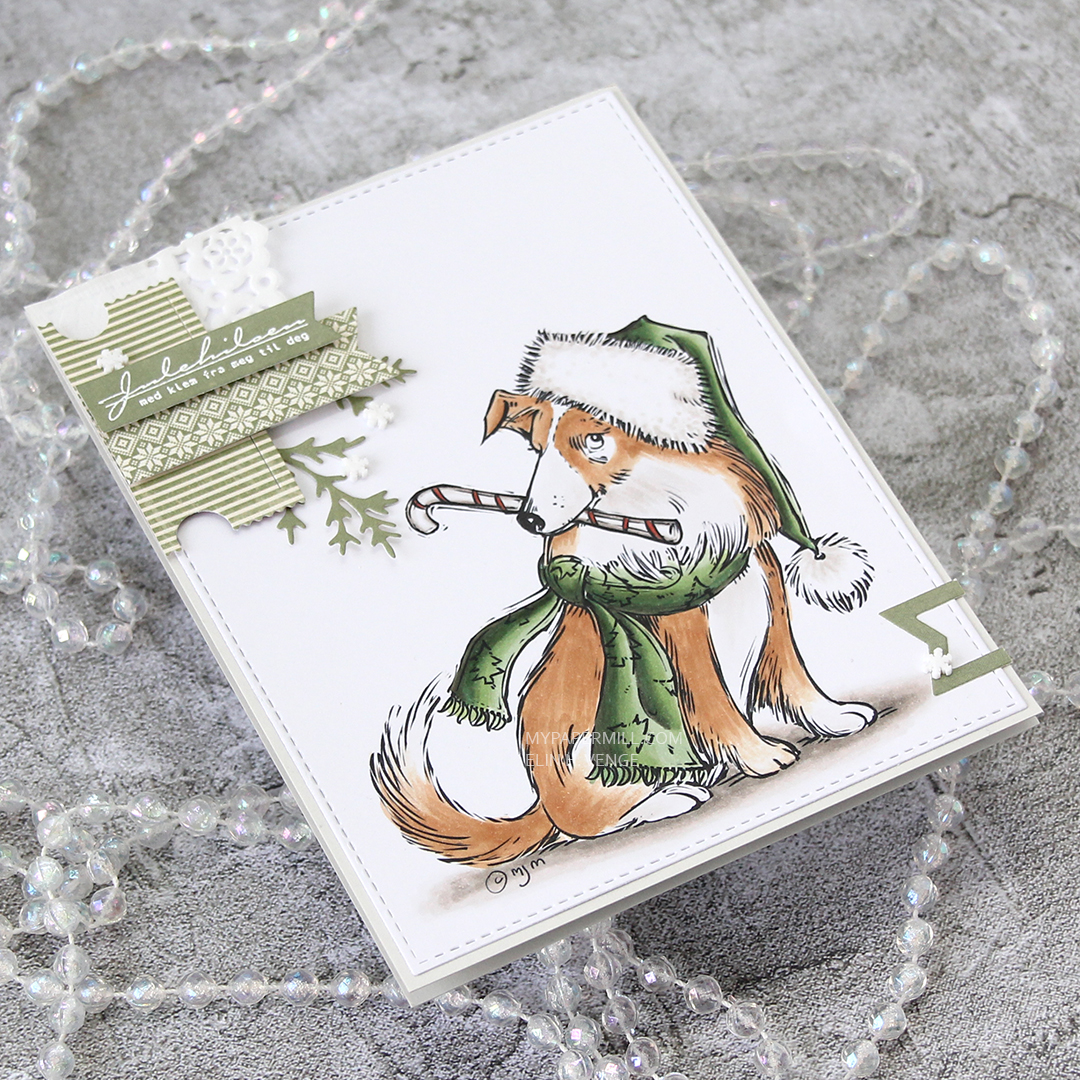
 I cut my colored piece down using a stitched rectangle die from My Favorite Things. I covered the card base with patterned paper from the Forever Green collection paper pack from ModaScrap and mounted my colored panel onto that using lots of foam tape.
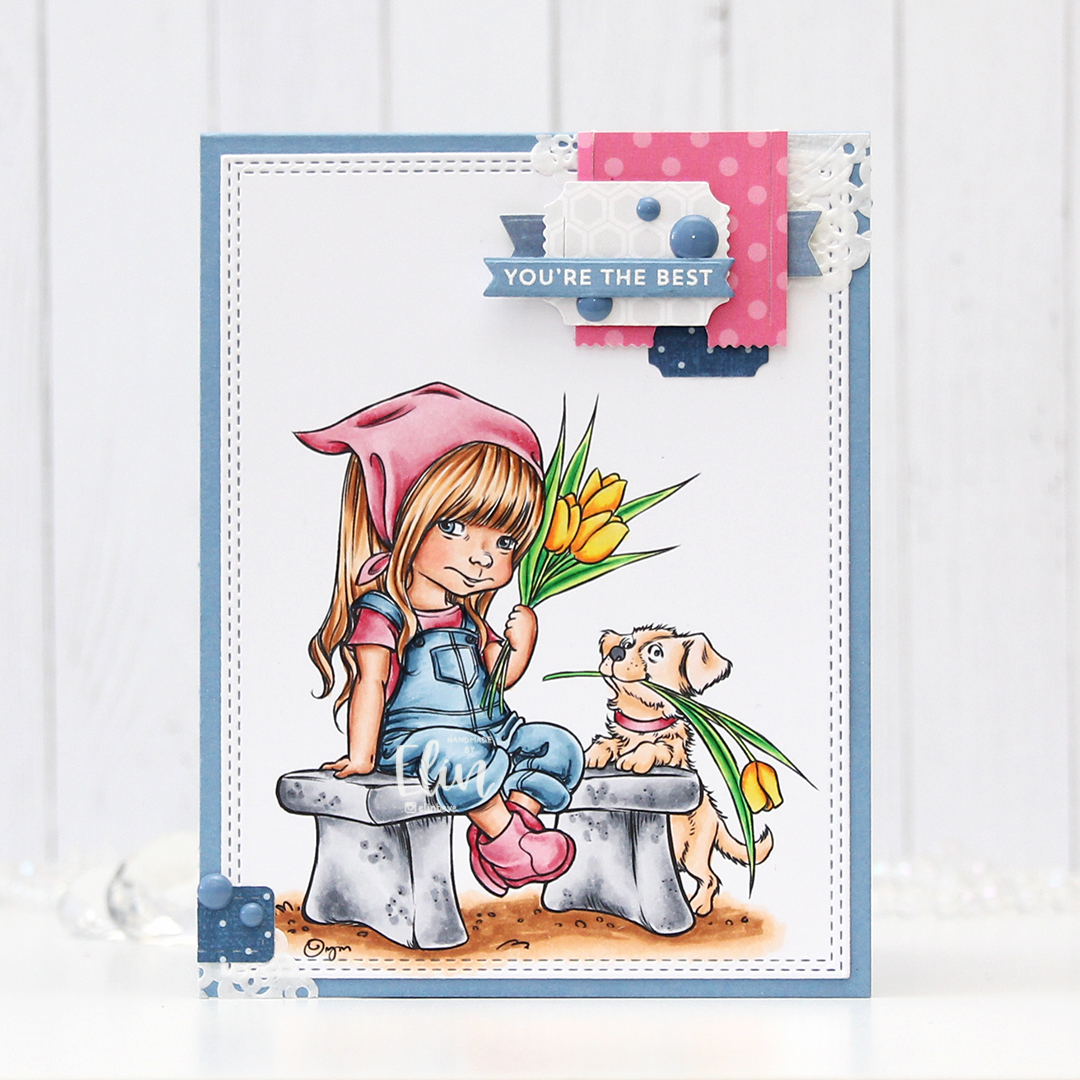
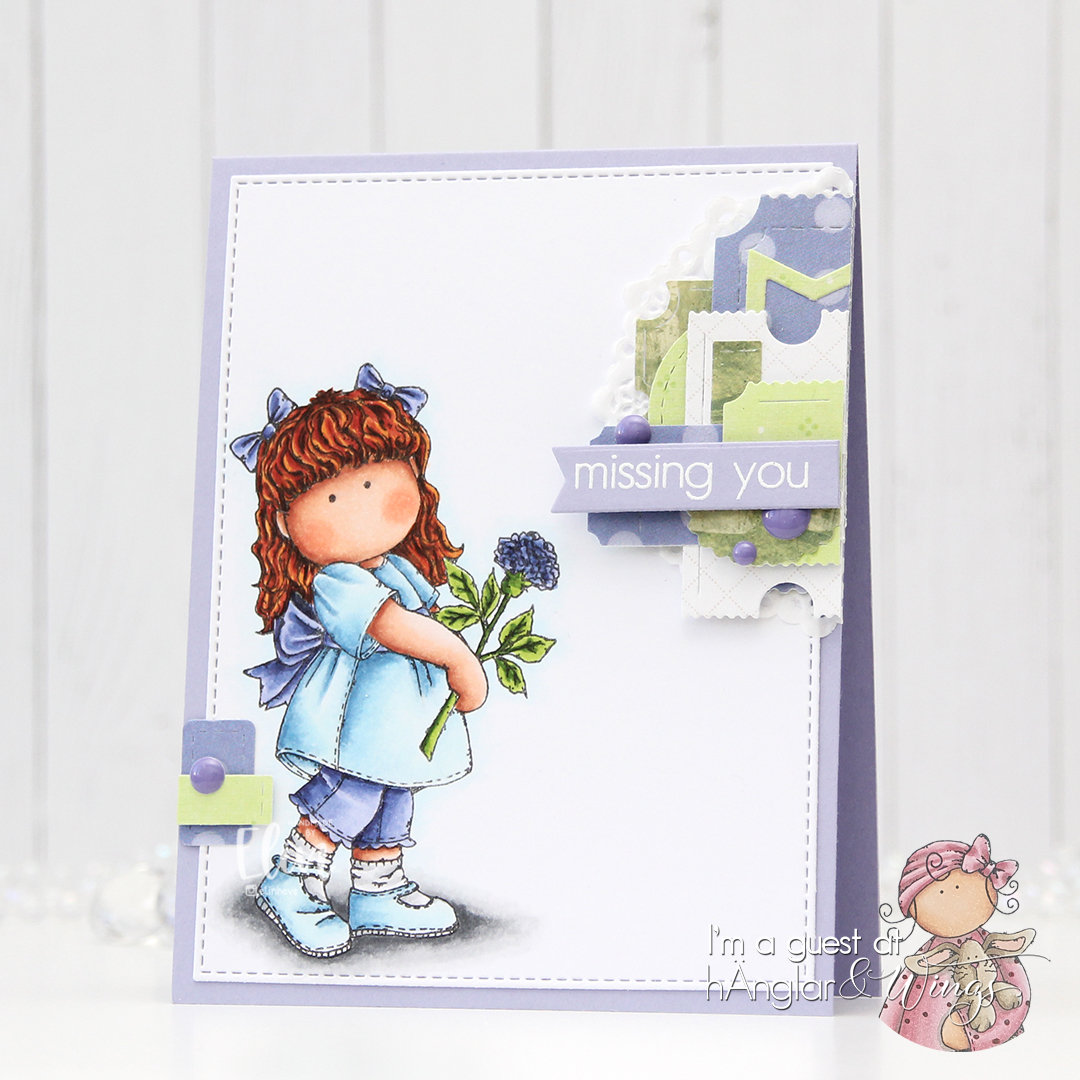
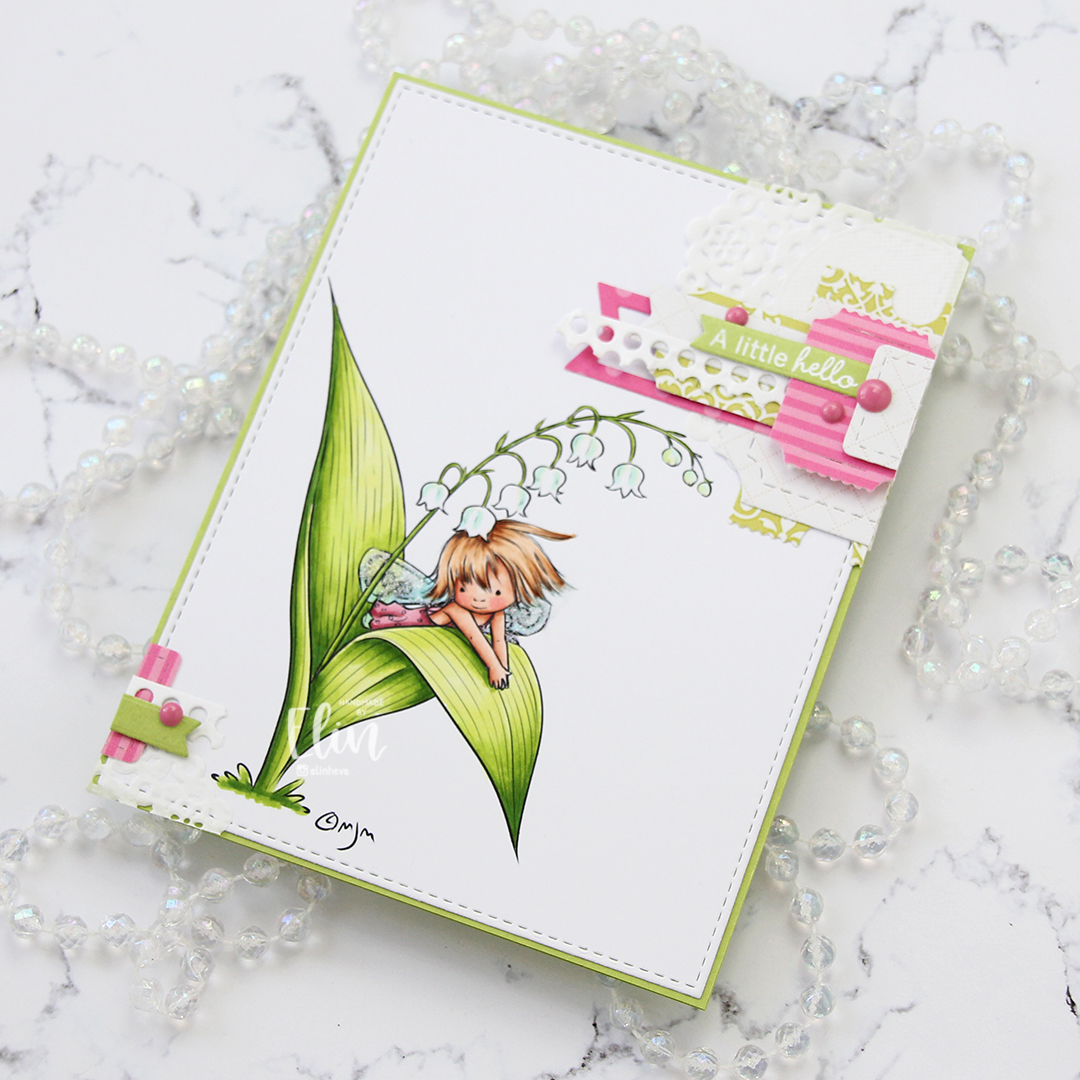
 I cut a couple of strips of patterned paper from that same paper pack from ModaScrap and added them onto my colored panel. Using a green marker, I created a green colored cardstock piece to match my dragon, stamped my Norsk Stempelblad AS sentiment onto it, heat embossed it and used a circle punch to get it to a perfect 1″ circle, before adding an epoxy sticker on top for a little shine and dimension.
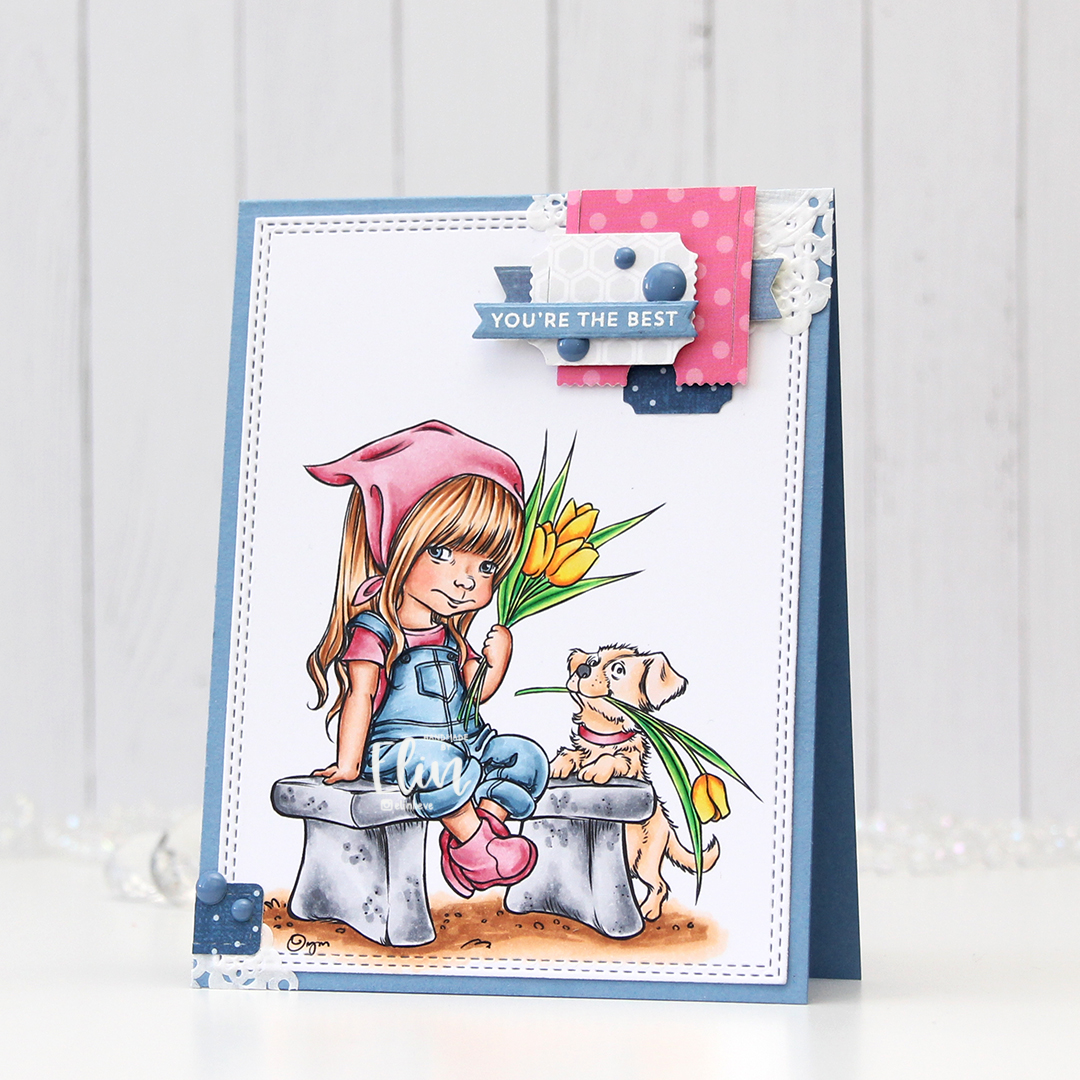
 To finish off my card I added a few enamel dots. The brown ones and the white are from Papirdesign, the green ones from Altenew.
 Not a whole heap of colors for this one.
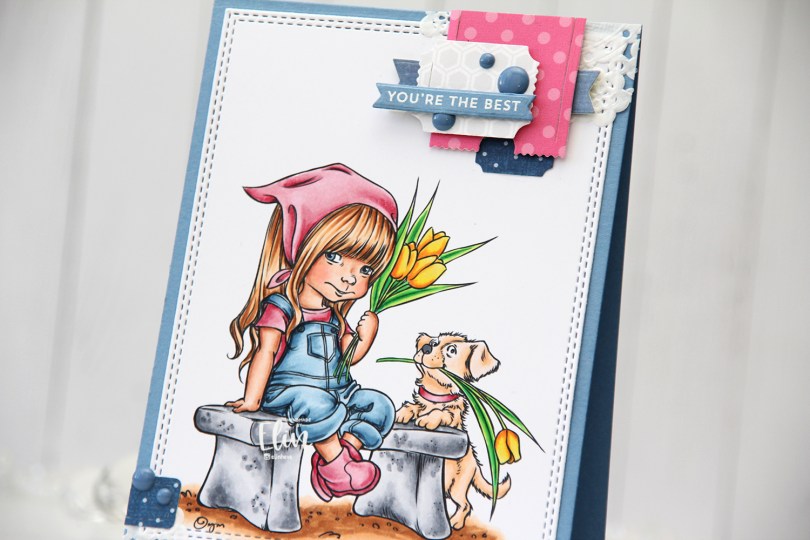


 Not a whole lot of Copics used for this image, it IS simple, after all. I also used V97, which is a color I’ve made myself.