Hi, crafty friends! I have a card to share today featuring this adorable Penguin Hug image from Rachelle Anne Miller. I’ve used this image on a card before, I colored teal penguins for that card, which you’ll find here. For today’s card, however, I chose to create black penguins and keep the colors soft for the rest of the card.
 I printed my image onto X-Press It blending card and colored the penguins with Copics, before sprinkling on chunky white embossing powder from Stampendous for a snowy look. I then die cut the Mega Snowflake Cover die from Mama Elephant three times; twice from white cardstock, once from Sno Cone cardstock from My Favorite Things. I glued them together and added my penguins to the back, before adhering everything onto a top fold A2 cardbase I created from Stamper’s Select White cardstock from Papertrey Ink.
 To keep the rest of the colors soft, I diecut the letters for HUGS three times from white cardstock using the Sending You Hugs die from MFT. I glued them to the bottom center of my card, and added a secondary sentiment that I stamped and white heat embossed on a strip of Cotton Candy cardstock, also from My Favorite Things. I added two more strips of cardstock behind for dimension and stability, before finishing off the card with a few Sparkling Clear Sequins from Pretty Pink Posh.
 I used probably way more gray markers than I needed to to create these penguins, but sometimes, that’s what I do.
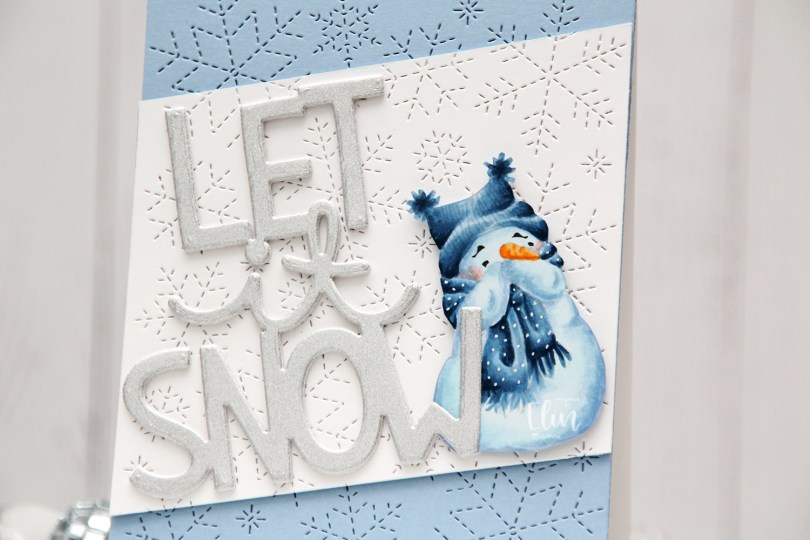
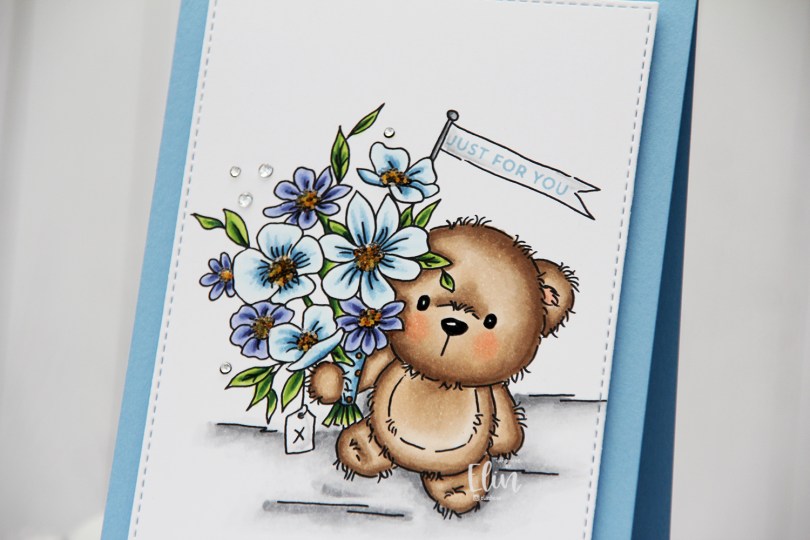
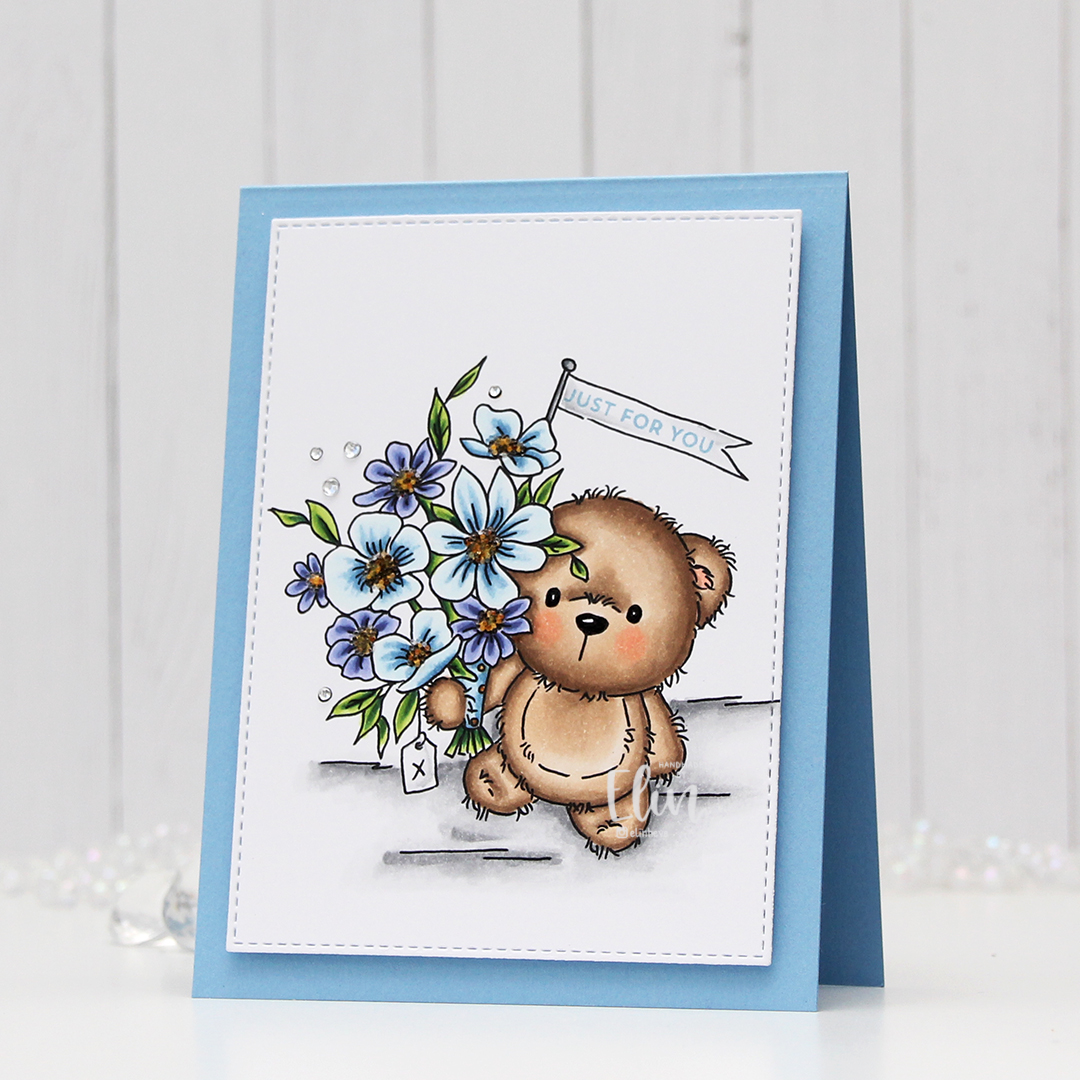
 I no line colored my snowman, but kept his eyes and eyebrows dark before I printed the image. It’s a great way to get them perfect and not have to worry about drawing the details back in when the rest of the image is colored up. I fussy cut the snowman and put him aside while I worked on the rest of my card.
 I die cut the Stitched Snowflake Backdrop die from Lawn Fawn from a piece of Blue Breeze cardstock from My Favorite Things, and adhered it directly to my card base, which I created from Stamper’s Select White cardstock from Papertrey Ink. I also cut a panel of white cardstock using the same die, cut it at an angle and glued a couple of additional layers of cardstock behind my white piece for dimension. I love the look of the continuous background across the two colors. I die cut the Giant Let It Snow die from Lawn Fawn three times from white cardstock and once from silver glitter cardstock and stacked them for dimension. I made sure not to put glue behind half of the silver glitter W, because I needed it to cover part of my snowman, or he wouldn’t fit on the card. I put foam tape behind most of him and tucked him between the white and silver of the let it snow die cut, then added glue behind the half of the W that covered my snowman, and the card was complete.
 Super simple color palette for this card.
 Meet
Meet  I’ve probably mentioned this in a previous post, but I love the quality of rubber stamps and their ability to include very thin, detailed linework. The lines in these images are all very thin, and they stamp so beautifully in a way only rubber can. I love it.
 I colored my scene with Copics, then stamped a sentiment from the
  I wanted some sparkle to my ice, and added Stickles. I didn’t like the look of the Stickles, so I scraped most of it off and switched to liquid glue with a sprinkling of Distress Glitter Rock Candy instead. I made sure not to spread it perfectly, but to create streaks to emphasize the streaky look of the ice I created with my markers.
 I added a dot of a black glaze pen to their eyes to make them pop, and I love that this card is versatile enough to work as a general card in the winter months or even a birthday card. It’s a bit of an odd size, about 5 7/8 x 4 1/2″, but I made the size of the card fit my scene, not the other way around. I’ll create a custom envelope for this, and it’ll be good to go in the mail.
 Lots of Copics used for this one!
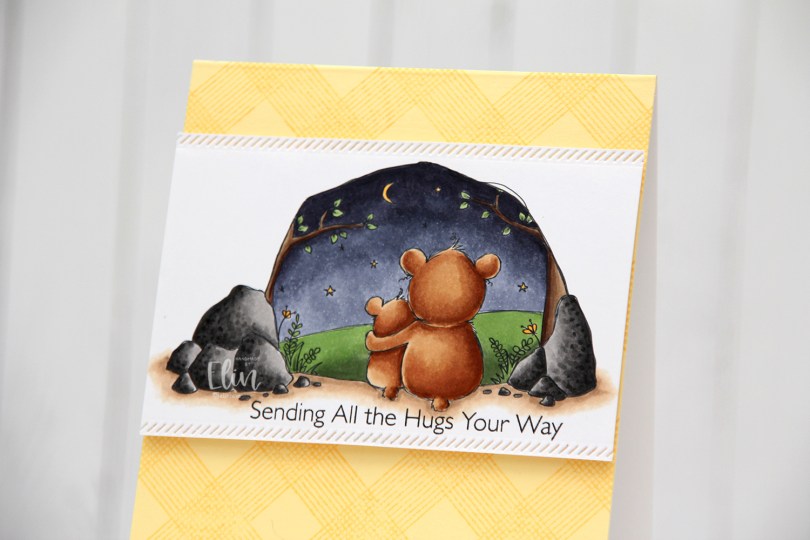
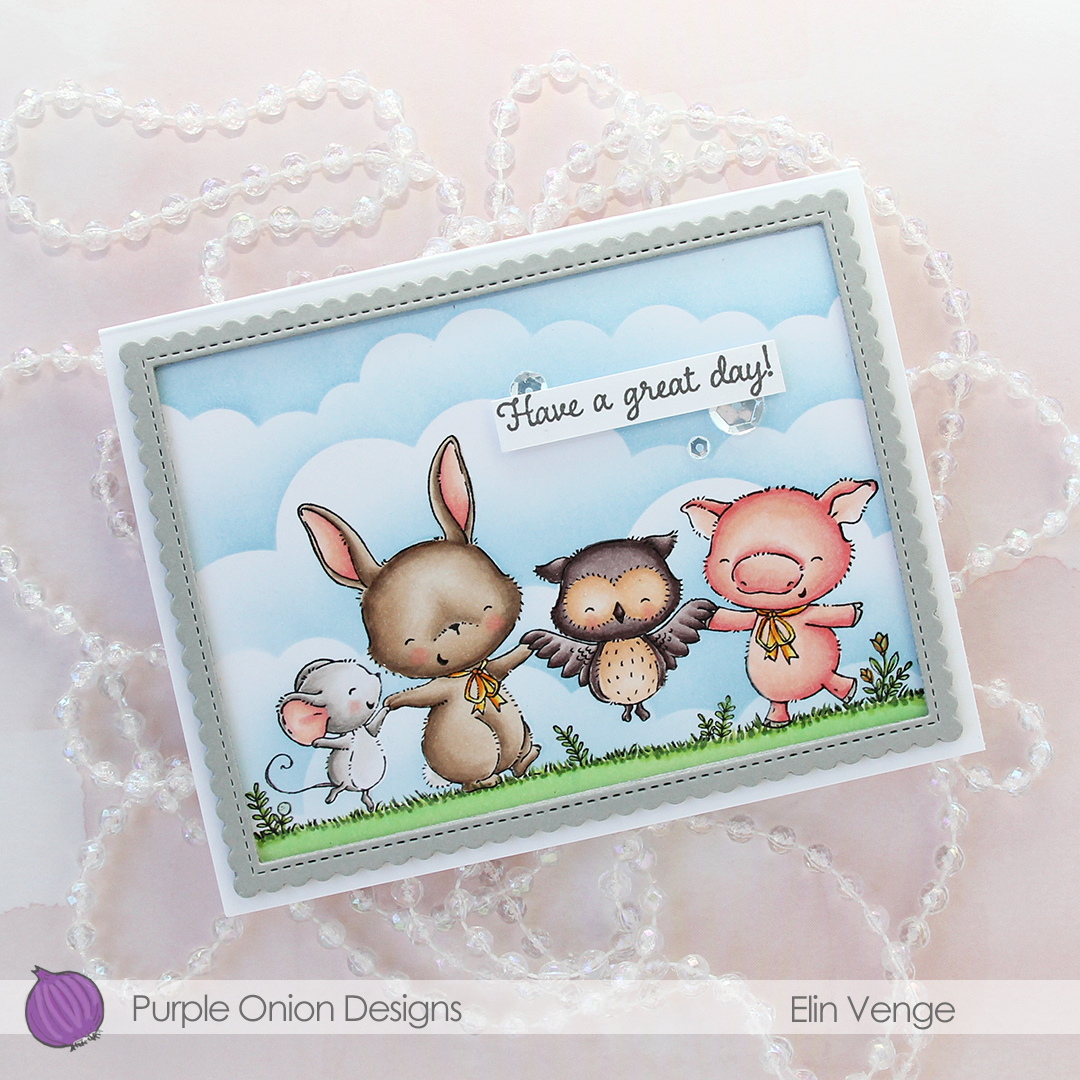
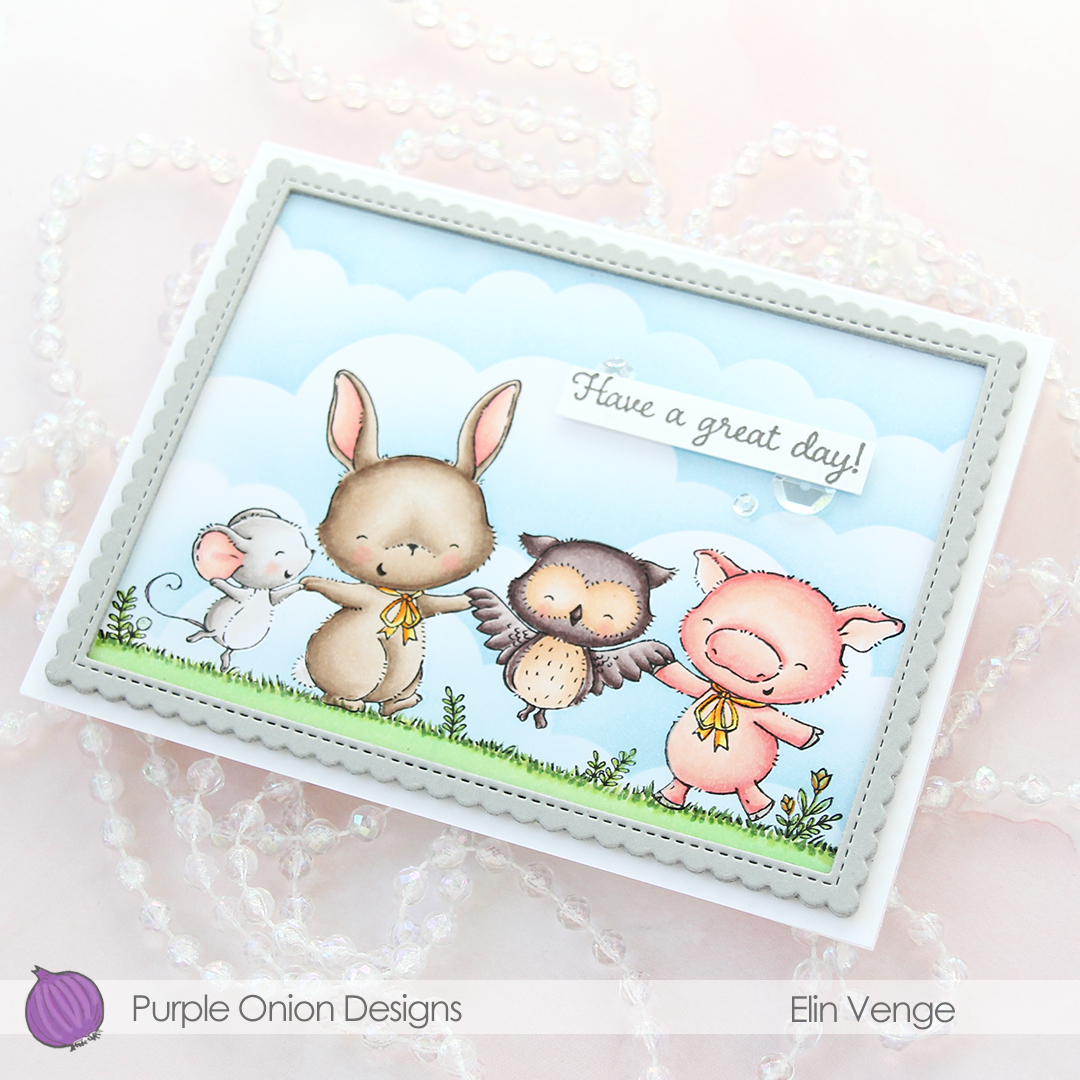
 I wanted the focus to be on the image and kept the rest of the card pretty simple. I stamped a sentiment from the Hugs Make Everything Better stamp set from My Favorite Things directly below my image using Smokey Shadow ink from Papertrey Ink. I wanted something a little bit softer than black, but I did stamp it twice, so maybe I should have used black after all. Close to the sentiment and close to the top of the scene I used one of the Stitched Borders dies from Lawn Fawn to create a decorative edge. I love faux stitching details on my cards, and this diagonal one is a fun change from the ones I normally use.
 Onto a panel of Lemon Tart cardstock from Papertrey Ink, I stamped the All Lined Up Diagonally Background stamp from My Favorite Things using Harvest Gold ink from Papertrey Ink, which is a tiny bit darker than the Lemon Tart. It adds subtle tone on tone interest to the background without distracting from the focal point of the image. I adhered the panel directly to a white top fold card base I created from Stamper’s Select White cardstock from Papertrey Ink and added my image towards the top of the card using foam tape for dimension.
 Simple color palette today. I also used BV27 for the sky, which is a color I’ve made myself.
 I colored the image using a very soft color palette with my Copics. I didn’t write the colors down, so unfortunately, I have no fancy graphic to show you at the end of this post. I wish I did, though, because I really like the colors I used for this.
 I used the largest of the A2 Stitched Rectangles STAX 2 dies to turn my colored piece into a nice panel with the faux stitch edge I love so much. I decided to adhere it directly to my top fold card base, that I made from Berry Sorbet cardstock from Papertrey Ink. The color matches the darkest parts of her dress very well.
 Onto a separate piece of Berry Sorbet, I stamped and white heat embossed part of a sentiment in the
  I die cut part the word wish using a die from Mama Elephant. The die actually die cuts the word wishes, but I cut off the tail end of the word so I was left with just wish. I die cut four more from Grapefruit cardstock from Concord & 9th, and added them behind the top die cut for dimension. This makes the word lighter (and it makes it match the lighter parts of the dress) from the sides. I did the same with the sentiment strips above, making the strip and the stacked die cut flush.
 I finished off the card by adding a few sparkling clear sequins from Pretty Pink Posh. I used my scissors to cut the largest sequin in half to tuck it behind the sentiment strip.
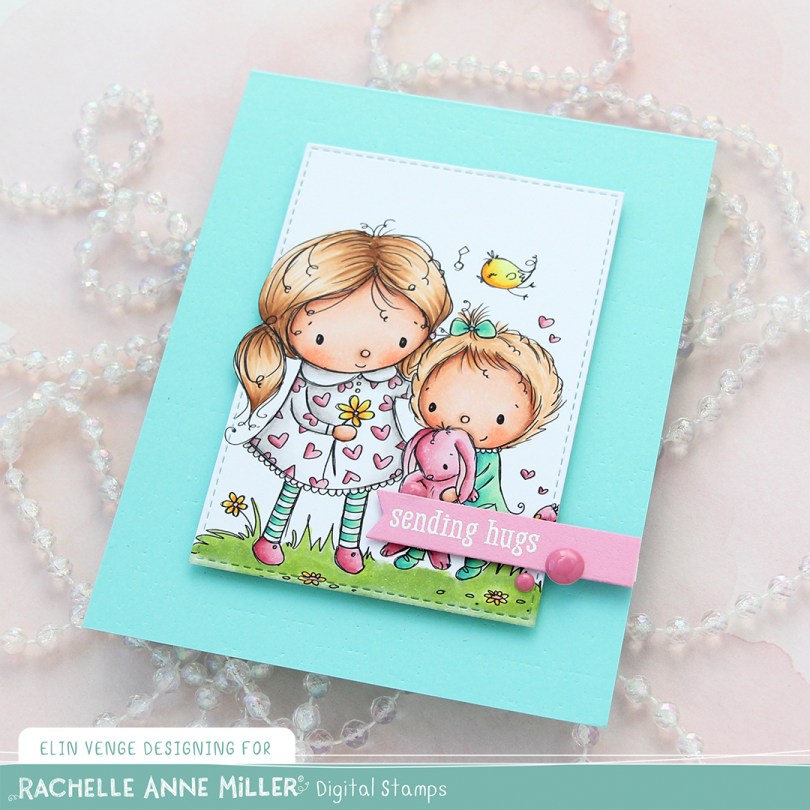
 I printed the image onto X-Press It blending card, which is my go to paper for Copic coloring. It’s bright white and can handle a lot of layers without bleeding.
 Once my image was colored, I used a die in the A2 Stitched Rectangles STAX 1 set from My Favorite Things to turn it into a finished panel of 2 7/8 x 4 1/8″. I’d printed the image a little too big for my die, so I did some fussy cutting on the side of the big sister’s head before die cutting.
 I created a card base from Summer Splash Prestige cardstock from My Favorite Things and used an impression plate from Papertrey Ink to create some subtle texture in the background. I mounted my colored, die cut panel to the center of the card front using lots of foam tape.
 Onto a piece of Cotton Candy Heavyweight cardstock from My Favorite Things, I stamped and white heat embossed a sentiment from the Monster Hugs stamp set from Simon Says Stamp and Concord & 9th, which is a collaboration set from 2018. It has a cute monster image and lots of great sentiments. I die cut my sentiment using the smallest of the dies in the Fishtail Flag Frames set from My Favorite Things and added it to the card using foam tape and 1 mm foam squares, to make it pop up slightly from the image.
 I finished off the card by adding three pink enamel dots from Papirdesign.
 Fairly simple color palette. I even experimented a little with a new teal/green combo on the little sister, and I kind of like the color combination, so I might use it again one day soon!
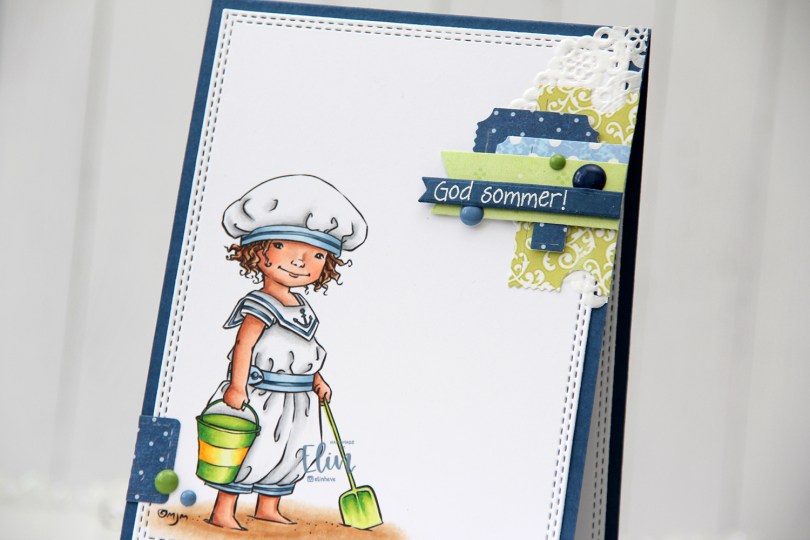
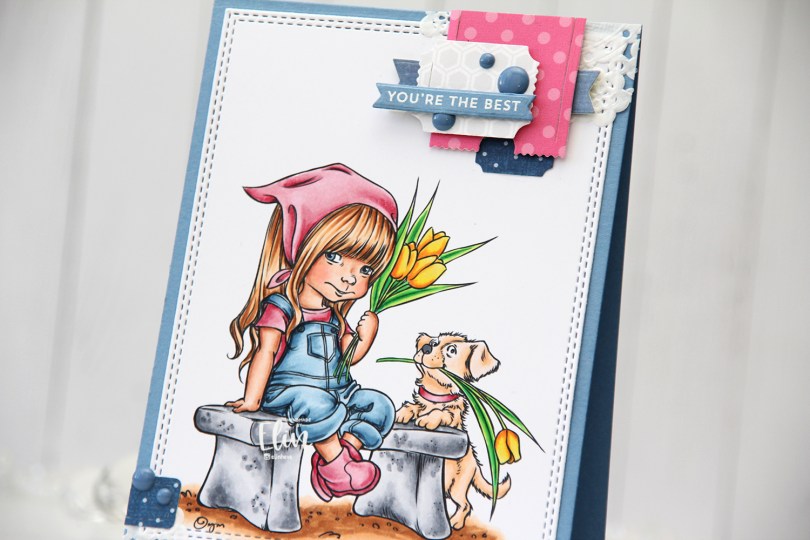
 Technically, I should have made this card at the beginning of the summer, but it’s a recent image from Mo and I couldn’t NOT make a summer card using it. The air is definitely getting cooler here, and I’m very well aware of the fact that summer officially ends in two weeks. I kind of want to go back to June and warmer temps, I don’t like the cold.
 Onto the card. I colored the image with Copics and used a double stitch rectangle die from My Favorite Things to turn it into a nice panel, before adhering it to a top fold card base I made out of Enchanted Evening cardstock from Papertrey Ink. I love their cardstocks.
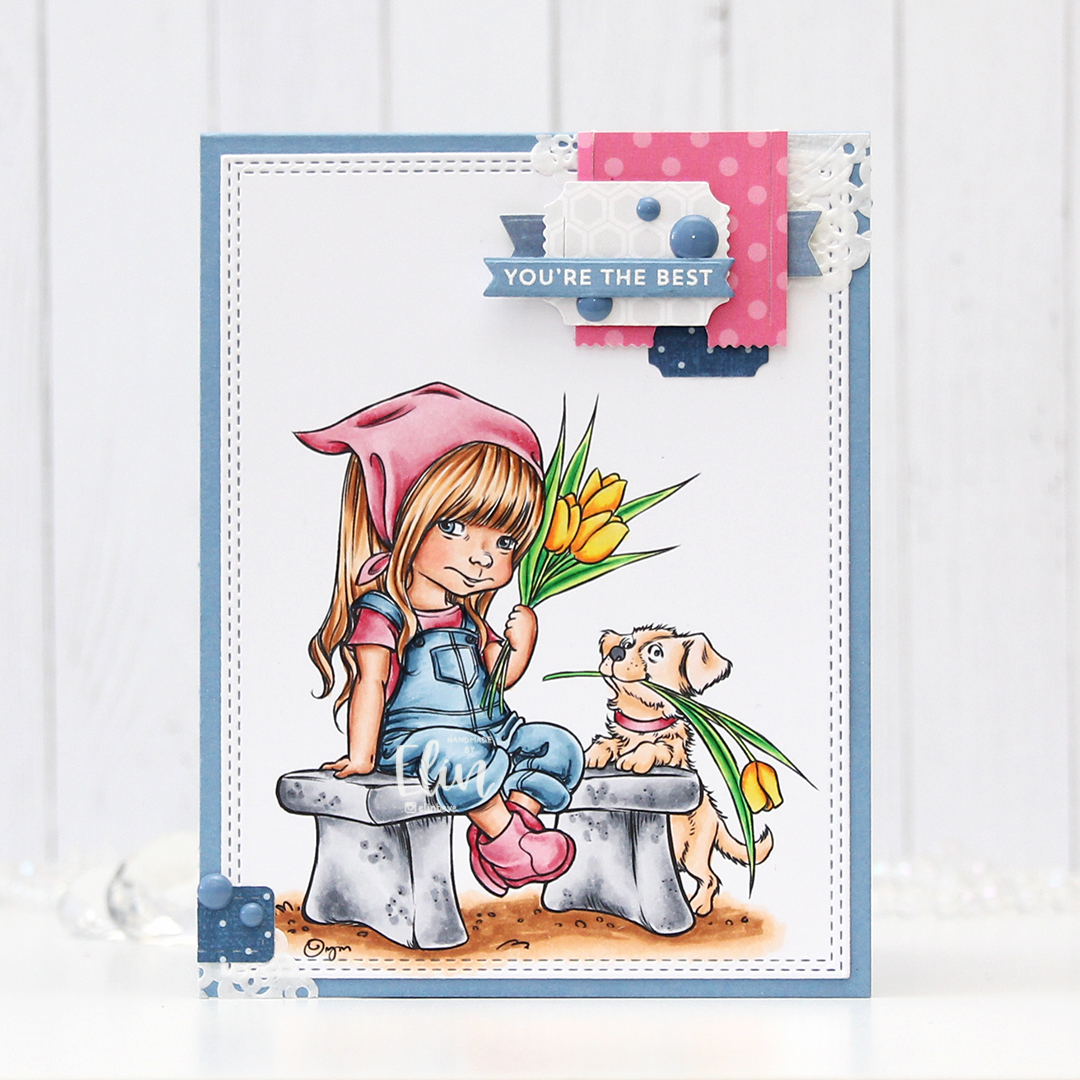
 When I don’t have a clear idea for a card, I turn to embellishment clusters of patterned paper scraps. These are so easy to put together and a great way to add SOMETHING when I’m out of ideas and my mojo’s low.
 I’ve sorted my die cut patterned paper scraps by color, so I pull out colors that will match my card and just start playing. I used patterned paper from 3ndypapir, Papirdesign, Kaisercraft and Imaginisce for this card, and the dies I used to cut them out are from XCut and My Favorite Things.
 I white heat embossed a sentiment from Norsk Stempelblad AS onto a scrap piece of Enchanted Evening cardstock and used one of the Itty Bitty Strips dies from My Favorite Things to diecut it, before using 1 mm foam squares to mount it onto my cluster. I added a few enamel dots from Papirdesign to finish my card.
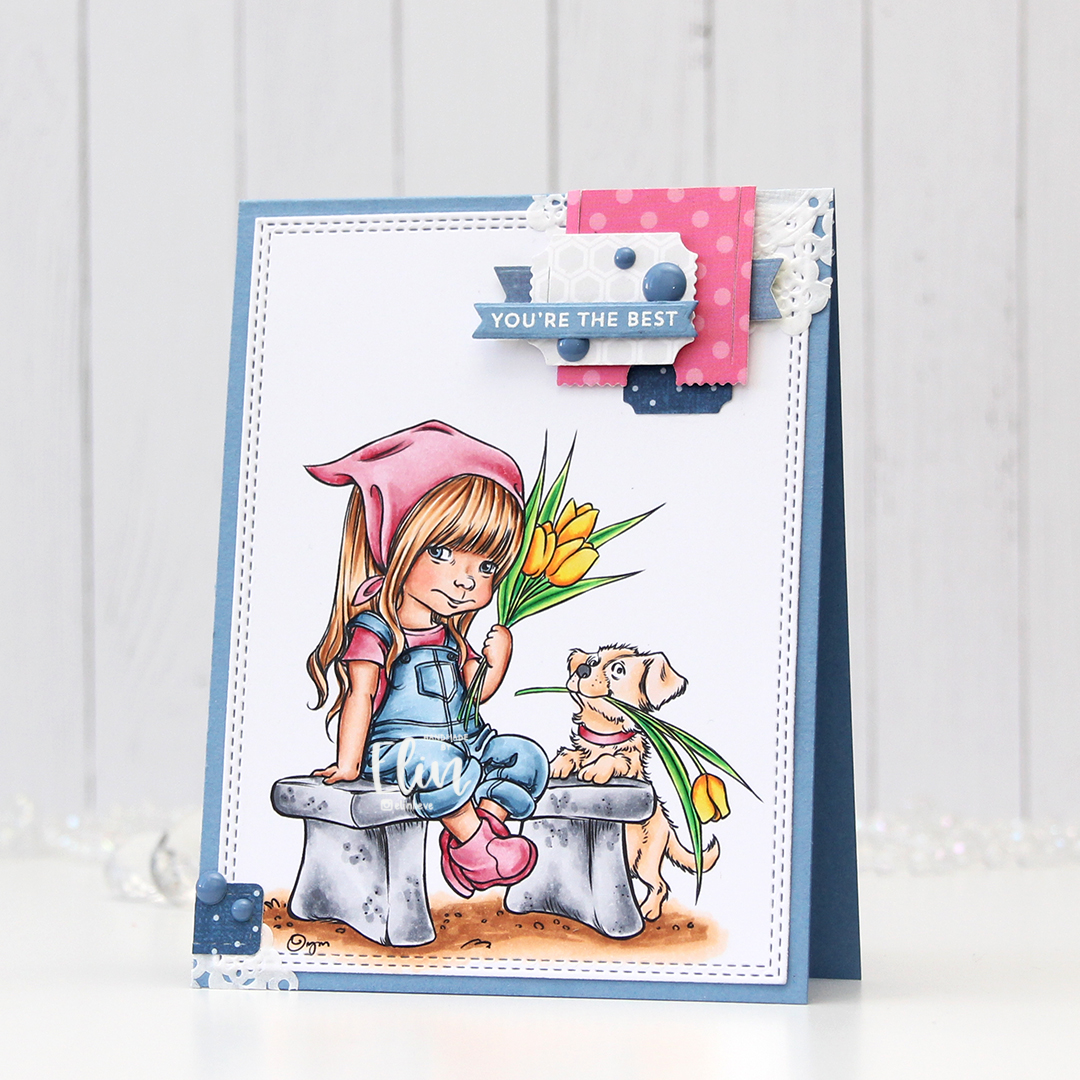
 Fairly limited color palette for this one.
 You can actually get the image I used for FREE if you spend $20 or more during Mo’s summer sale, which ends today, so you’d better be quick.