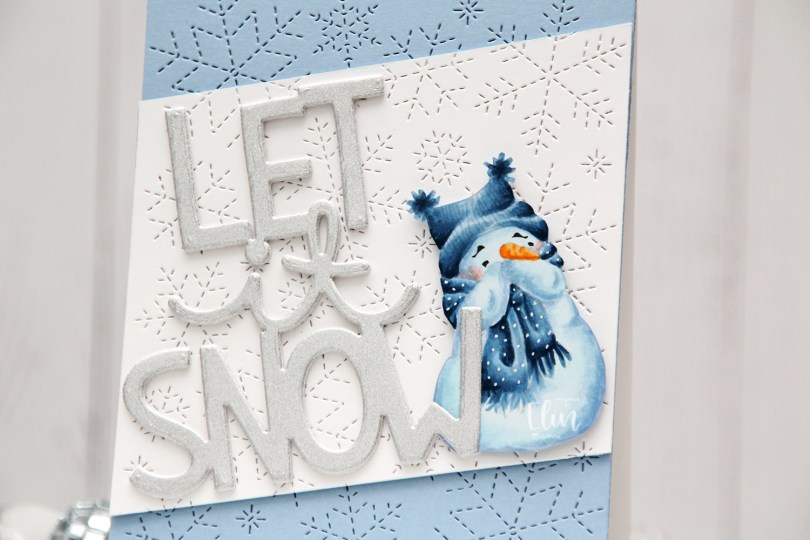
Hi, crafty friends! I’m sharing a wintery snowman card today, featuring the adorable Giggling Snowman from Mo Manning. He’s probably my most used image, I love him so much. World Snowman Day was actually yesterday. It’s too cold here right now to build a snowman, but as long as I can create snowmen in the comfort of a warm craft room, I’m good with that.
 I no line colored my snowman, but kept his eyes and eyebrows dark before I printed the image. It’s a great way to get them perfect and not have to worry about drawing the details back in when the rest of the image is colored up. I fussy cut the snowman and put him aside while I worked on the rest of my card.
 I die cut the Stitched Snowflake Backdrop die from Lawn Fawn from a piece of Blue Breeze cardstock from My Favorite Things, and adhered it directly to my card base, which I created from Stamper’s Select White cardstock from Papertrey Ink. I also cut a panel of white cardstock using the same die, cut it at an angle and glued a couple of additional layers of cardstock behind my white piece for dimension. I love the look of the continuous background across the two colors. I die cut the Giant Let It Snow die from Lawn Fawn three times from white cardstock and once from silver glitter cardstock and stacked them for dimension. I made sure not to put glue behind half of the silver glitter W, because I needed it to cover part of my snowman, or he wouldn’t fit on the card. I put foam tape behind most of him and tucked him between the white and silver of the let it snow die cut, then added glue behind the half of the W that covered my snowman, and the card was complete.
 Super simple color palette for this card.
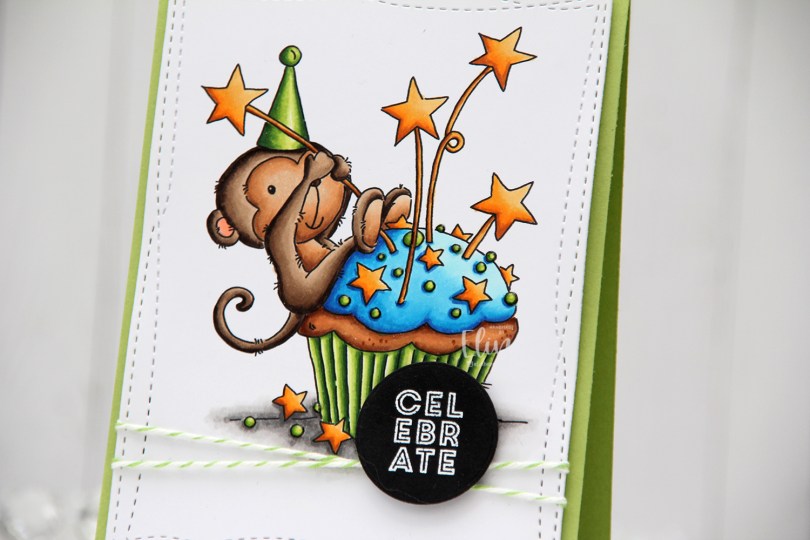
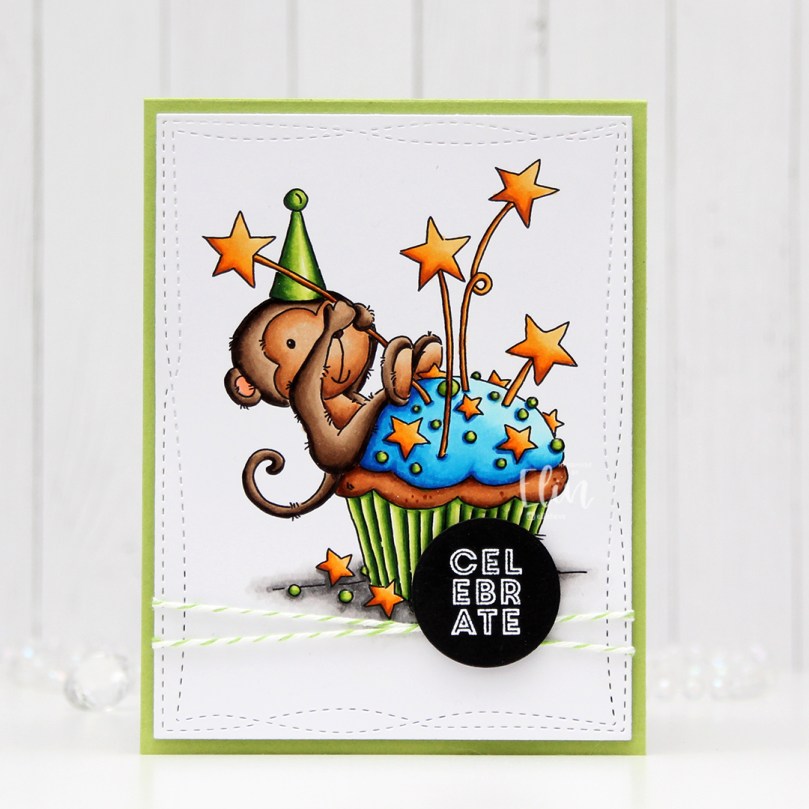 I love this image, and I went with bright, bold colors for my Copic coloring, before using the largest of the Wonky Stitched Rectangle STAX dies from My Favorite Things to create some interest to the edges of the panel.
 I wrapped some Green Apple twine around my panel twice and tied a knot, and adhered the panel to a card base I created from Sour Apple cardstock from My Favorite Things. The twine adds a little bit of dimension behind the panel, so I put some extra layers of cardstock and some foam tape behind it to make the layer even.
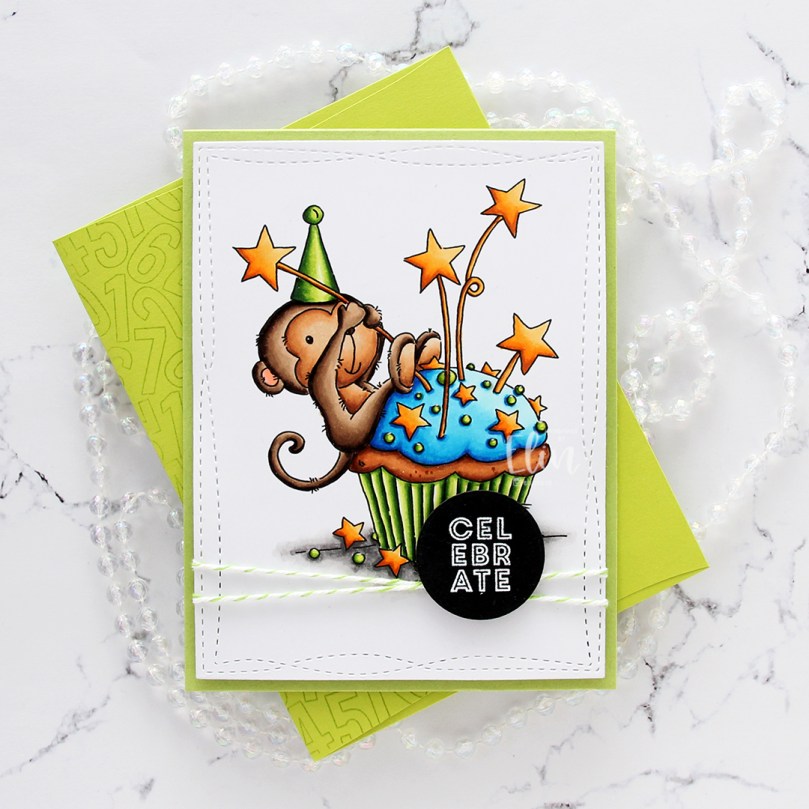 I stamped and white heat embossed a sentiment from the Mini messages stamp set from Mama Elephant on a scrap of black cardstock from Papertrey Ink and die cut it with a circle die from Lifestyle Crafts. I adhered the circle on top of the knot of my twine and put a double layer of foam tape behind it for extra dimension.
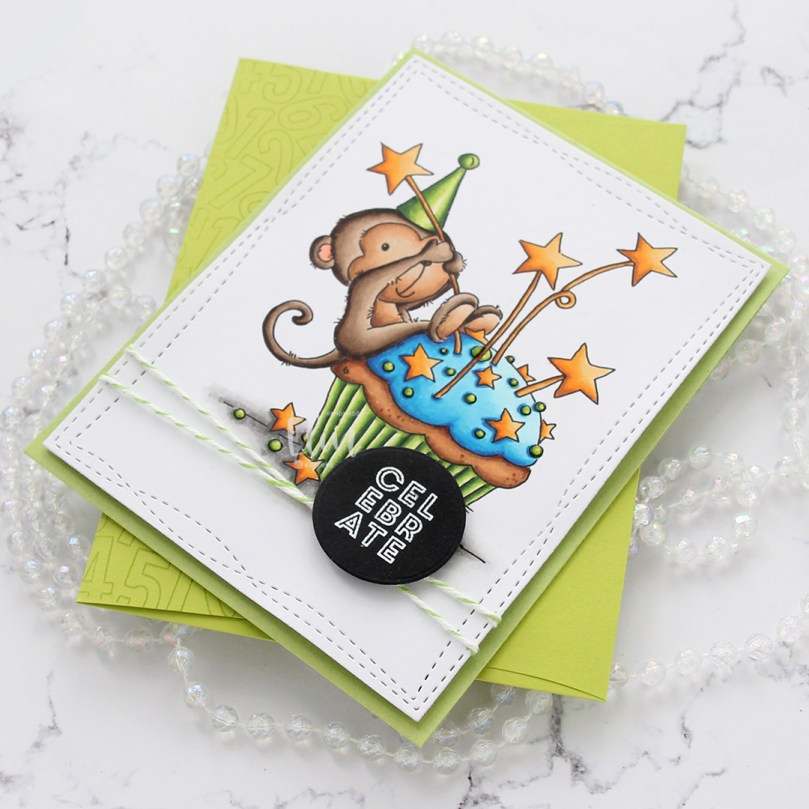 I added Nuvo Jewel Drops in the color Key Lime to the green sprinkles. It doesn’t show up very well in the photos, but it adds a little bit of shine and dimension in real life. Using Sour Apple ink from My Favorite Things, I stamped the Number Jumble background stamp from My Favorite Things to the flap of the envelope, which is a Limelight envelope from My Favorite Things.
 Bright, happy colors for this one. I hope you have a great weekend!
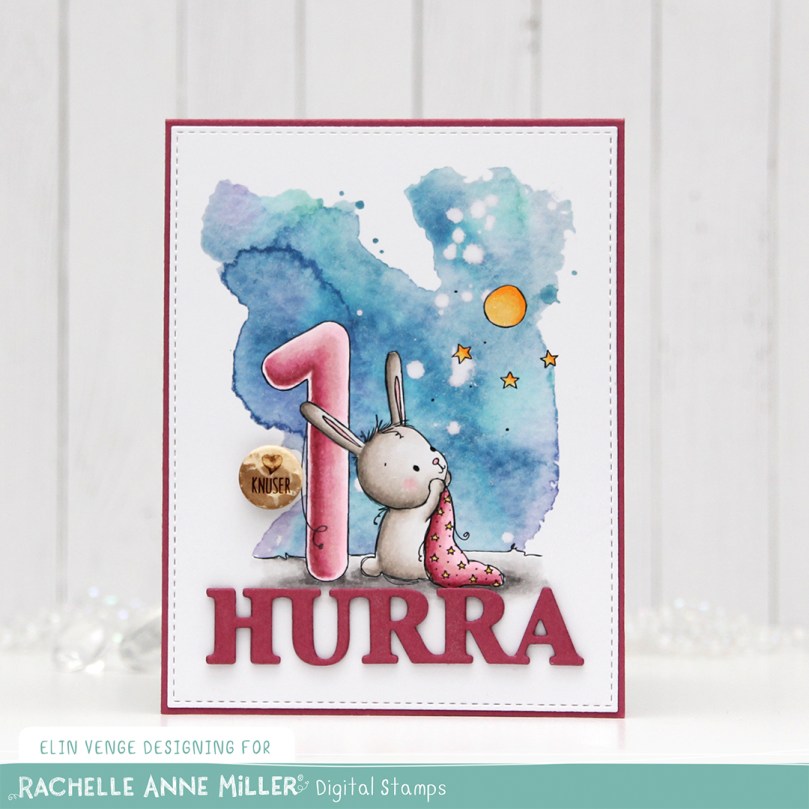 Isn’t this bunny looking up at the moon and the stars so adorable??? I decided to create a birthday card, and made it very simple with a digital watercolor background, a couple of die cuts and a button. You really don’t need much with images as great as this.
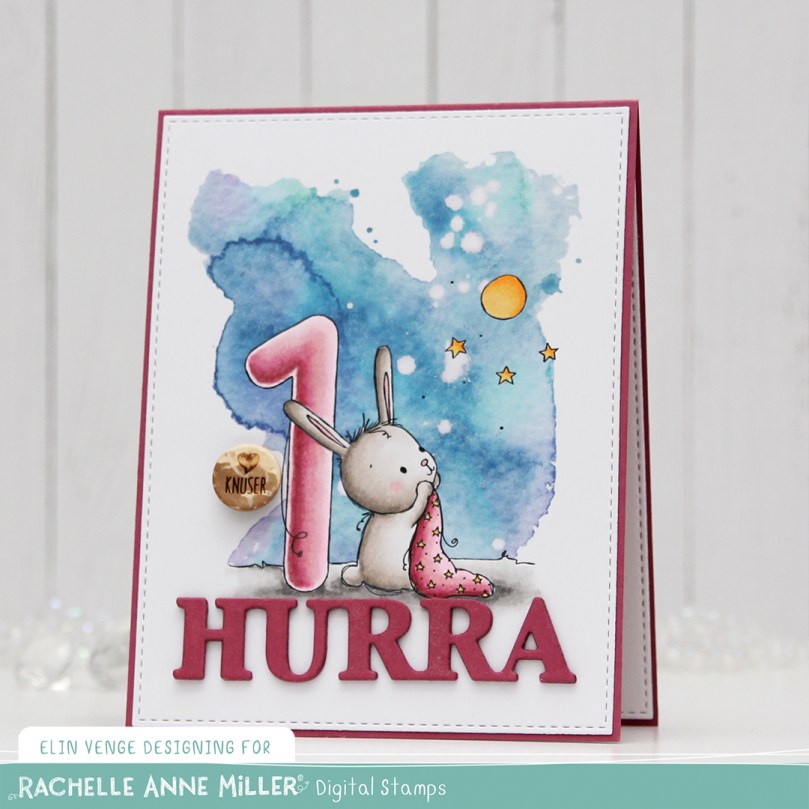 I colored the bunny and the number with my Copics, before using the largest of the A2 Stitched Rectangles STAX dies from My Favorite Things to create a faux stitch around the edge. From Autumn Rose cardstock from Papertrey Ink, I die cut the word HURRA four times using a die from Kort & Godt. I added my panel to a card base I created from Papertrey Ink Autumn Rose cardstock, added my stacked die cut below the image and used a paint brush with sheer sparkle shimmer spray to add some sparkle to the die cut letters, as well as the moon and the number itself. It doesn’t show up in photos very well, but is very sparkly in real life. I also added a Kort & Godt button that I had in my stash, and my card was finished.
 Not a lot of Copics for this one, it’s a simple image.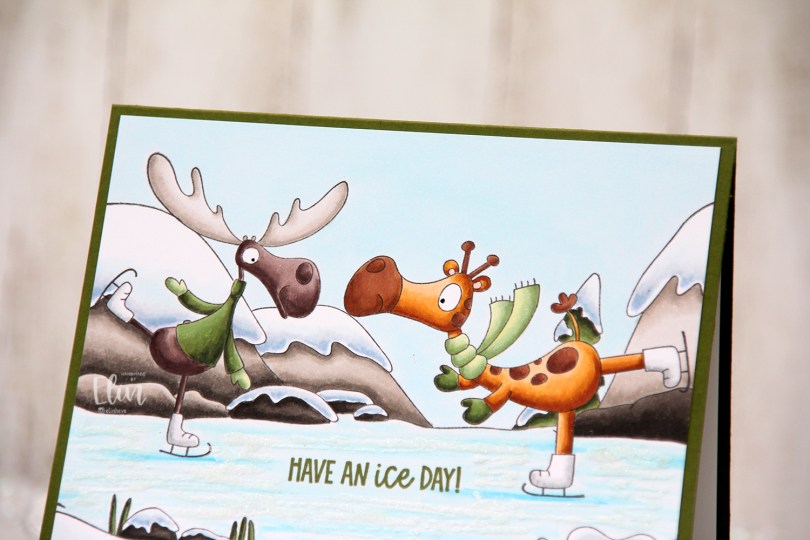
 Meet
Meet 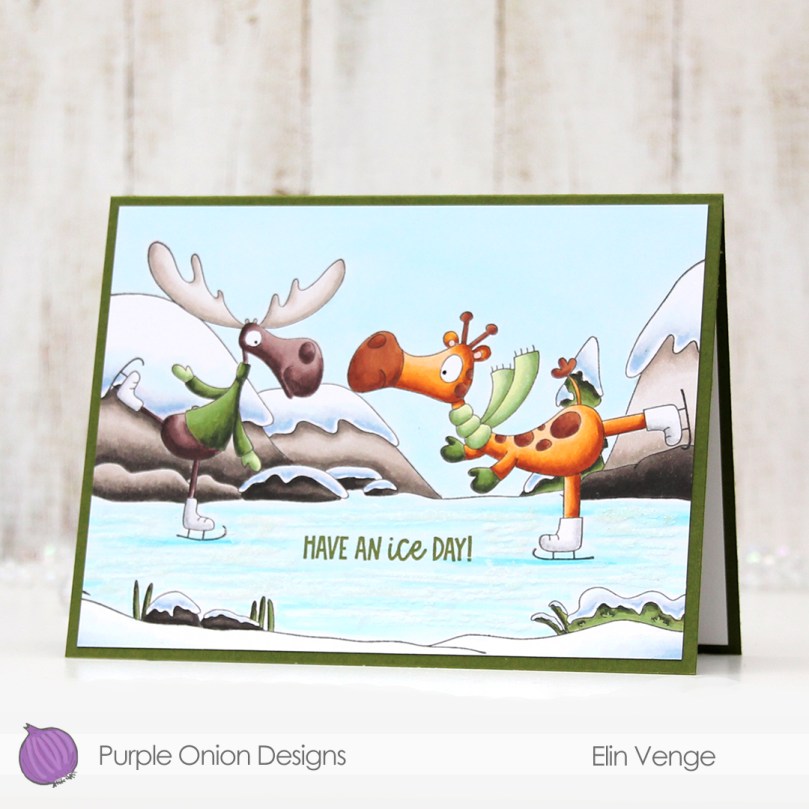 I’ve probably mentioned this in a previous post, but I love the quality of rubber stamps and their ability to include very thin, detailed linework. The lines in these images are all very thin, and they stamp so beautifully in a way only rubber can. I love it.
 I colored my scene with Copics, then stamped a sentiment from the
  I wanted some sparkle to my ice, and added Stickles. I didn’t like the look of the Stickles, so I scraped most of it off and switched to liquid glue with a sprinkling of Distress Glitter Rock Candy instead. I made sure not to spread it perfectly, but to create streaks to emphasize the streaky look of the ice I created with my markers.
 I added a dot of a black glaze pen to their eyes to make them pop, and I love that this card is versatile enough to work as a general card in the winter months or even a birthday card. It’s a bit of an odd size, about 5 7/8 x 4 1/2″, but I made the size of the card fit my scene, not the other way around. I’ll create a custom envelope for this, and it’ll be good to go in the mail.
 Lots of Copics used for this one!
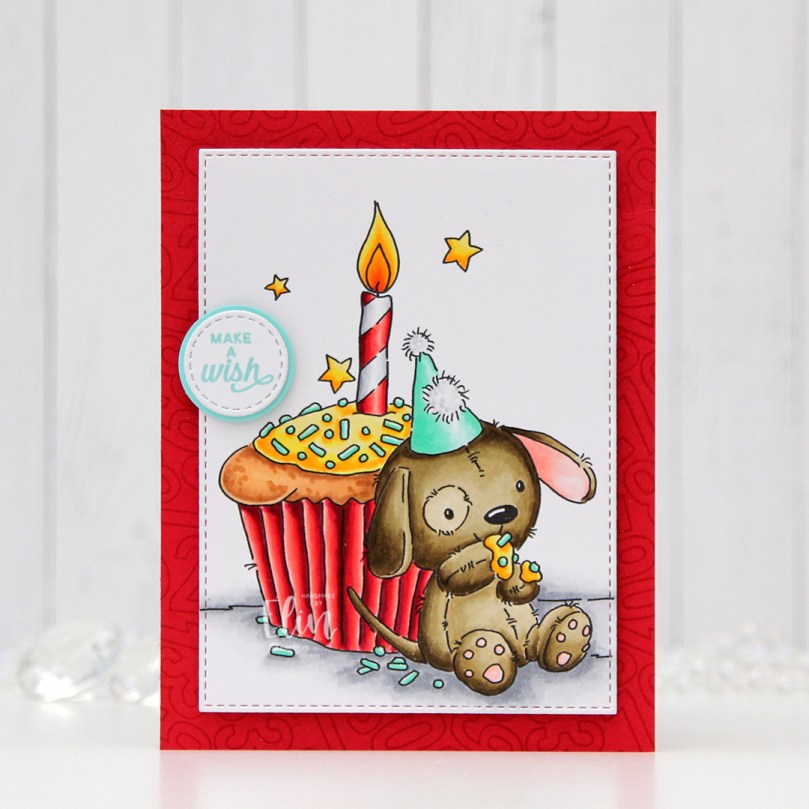 I colored the image with my Copics and used a die from the A2 Stitched Rectangles STAX 2 set from My Favorite Things to turn my colored piece into a panel with the nice faux stitching I love so much.
 Onto a piece of Pure Poppy cardstock from Papertrey Ink, I stamped the Number Jumble background stamp from MFT with Pure Poppy ink from Papertrey Ink for a tone on tone look. It just adds a little interest to the background without being too distracting. I mounted my colored piece on top using foam tape.
 I stamped a sentiment from the Mini Messages stamp set from Mama Elephant using Summer Splash ink from MFT and diecut that using a circle die with faux stitching, also from MFT. I adhered it to a 1″ circle I created from Summer Splash cardstock from My Favorite Things and adhered the circle to the card using a thin foam tape to finish my card.
 I created an envelope to match from some really old patterned paper from My Mind’s Eye that I had in my stash.
 This
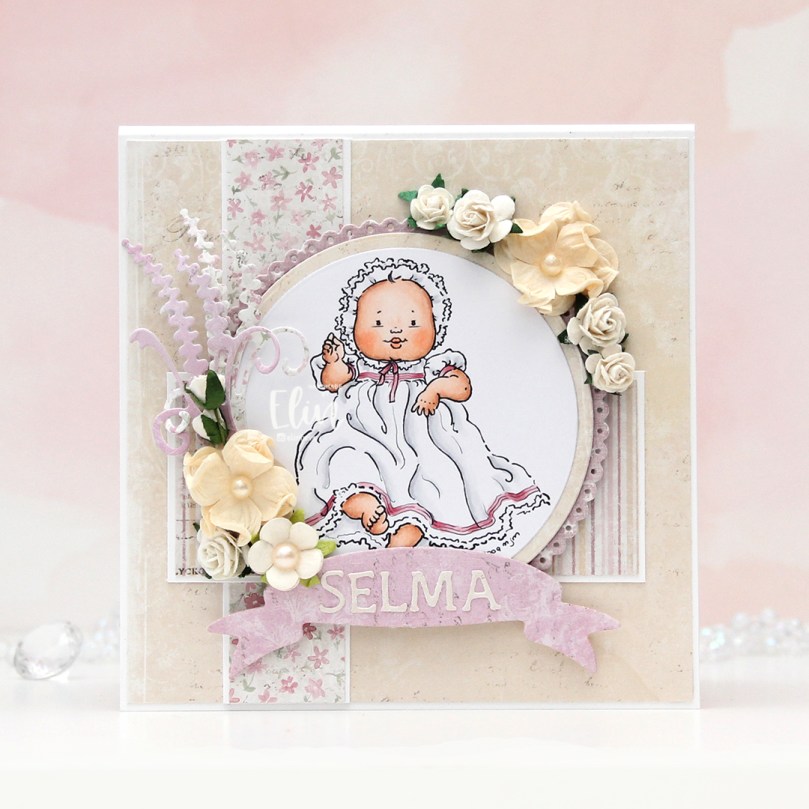
This  I used 3 different collections of patterned paper from Maja Design for this card. One of the benefits of using their papers is that their collections usually match pretty well. Vintage Basics Summer, Vintage Baby and Sofiero are the collections I used for this card, and they all match. I used older dies from Lifestyle Crafts, Cottage Cutz, Scrapmagasinet, Marianne Design and Spellbinders, as well as flowers from Wild Orchid Crafts and Papirdesign.
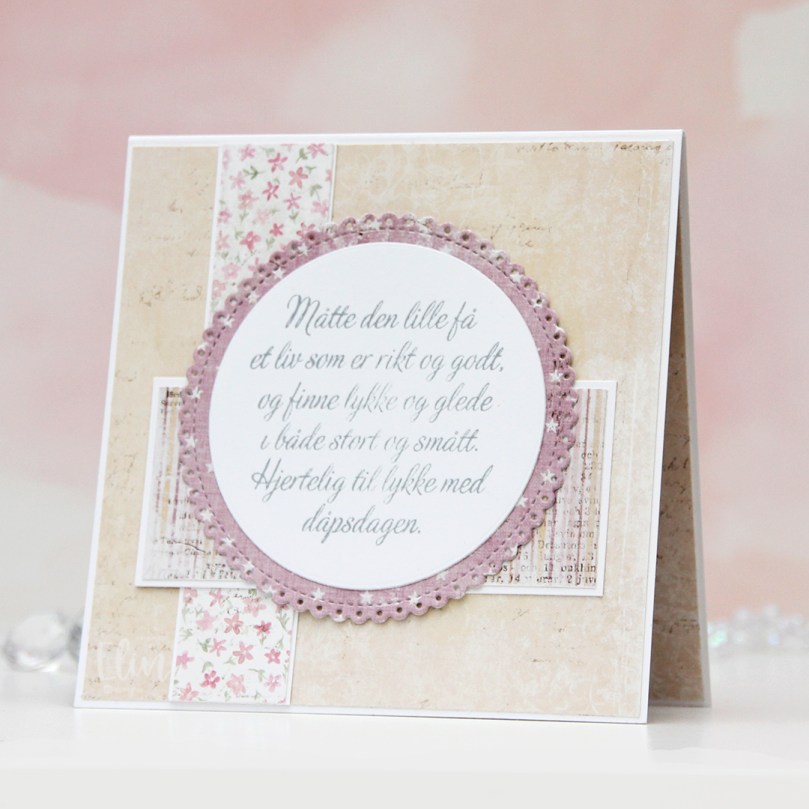 The insides of the card have a very similar layout, and so does the back. Onto a white circular panel, I stamped a christening stamp from North Star Design using Soft Granite ink from Hero Arts.
 The card was too thick to fit inside a regular envelope, so I created a box envelope using a punch board from We R Memory Keepers. Onto a diecut eyelet circle I stamped a Norsk Stempelblad AS sentiment and adhered it to the box envelope.
 This image is so quick to color and doesn’t require a ton of markers. Easy peasy!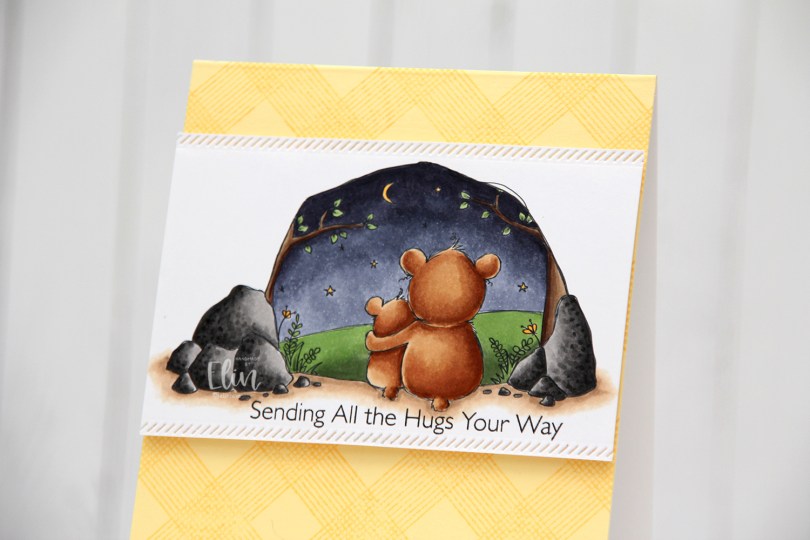
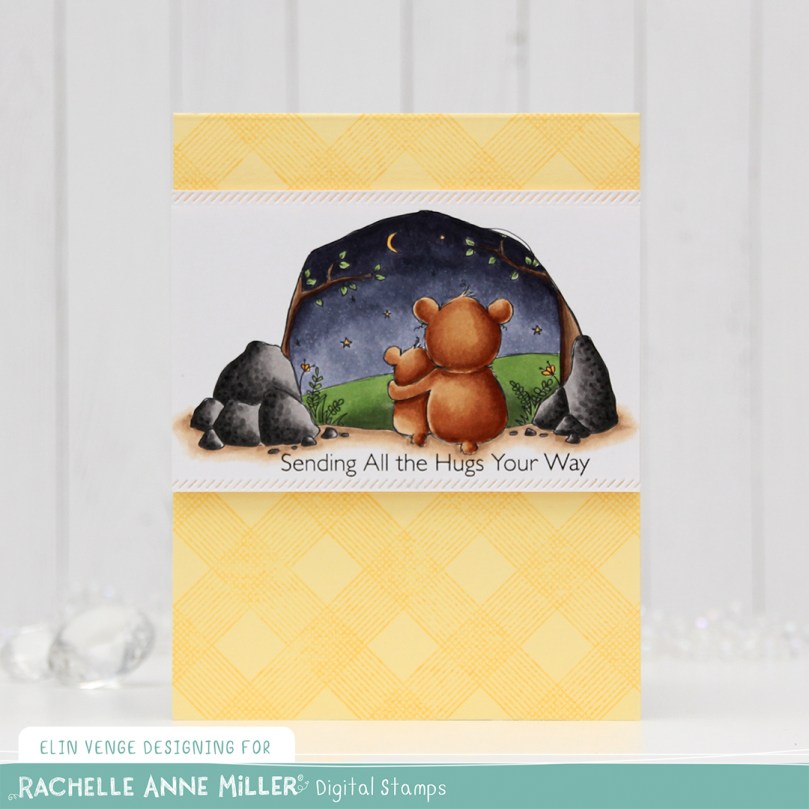 I wanted the focus to be on the image and kept the rest of the card pretty simple. I stamped a sentiment from the Hugs Make Everything Better stamp set from My Favorite Things directly below my image using Smokey Shadow ink from Papertrey Ink. I wanted something a little bit softer than black, but I did stamp it twice, so maybe I should have used black after all. Close to the sentiment and close to the top of the scene I used one of the Stitched Borders dies from Lawn Fawn to create a decorative edge. I love faux stitching details on my cards, and this diagonal one is a fun change from the ones I normally use.
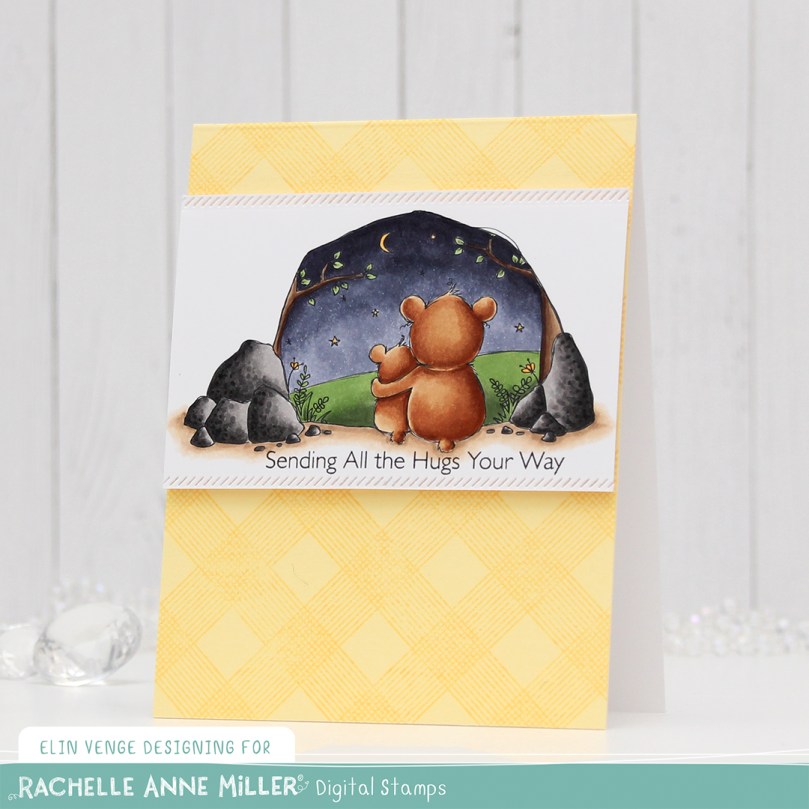 Onto a panel of Lemon Tart cardstock from Papertrey Ink, I stamped the All Lined Up Diagonally Background stamp from My Favorite Things using Harvest Gold ink from Papertrey Ink, which is a tiny bit darker than the Lemon Tart. It adds subtle tone on tone interest to the background without distracting from the focal point of the image. I adhered the panel directly to a white top fold card base I created from Stamper’s Select White cardstock from Papertrey Ink and added my image towards the top of the card using foam tape for dimension.
 Simple color palette today. I also used BV27 for the sky, which is a color I’ve made myself.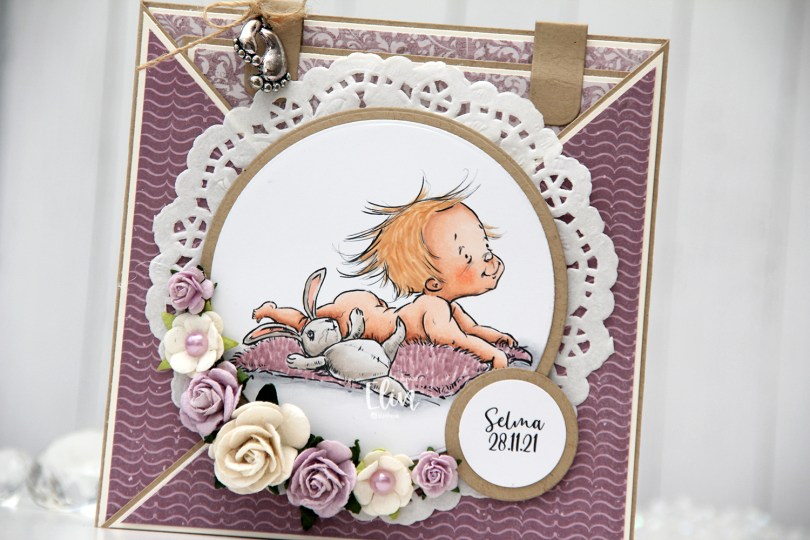
 This card was created for a little girl whose christening was this past Sunday. I think the
  I die cut the image using a circle die from Lifestyle Crafts and matted it with kraft cardstock. I also printed the name and date on a piece of white cardstock that I also matted with kraft. I put a doily from Helz Cuppelditch behind my image and added flowers using a hot glue gun. I took out the yellow centers of two of the flowers and replaced them with Lavender pearls from Kaisercraft.
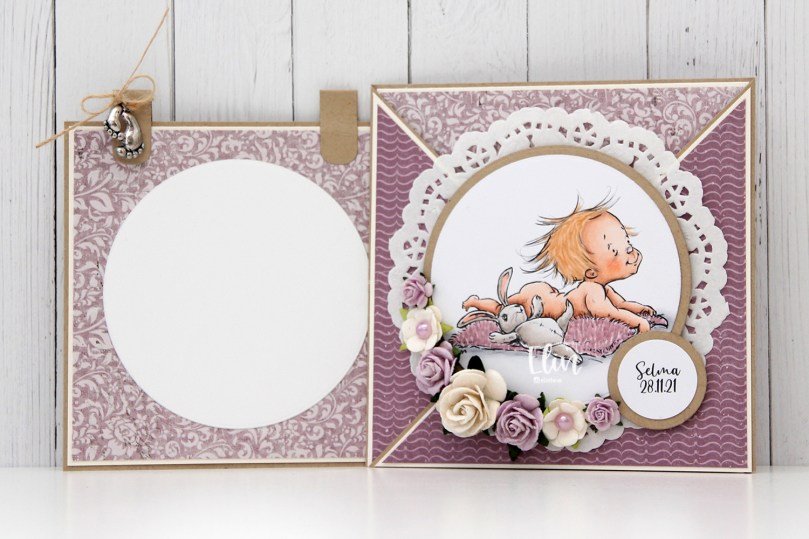 On the inside tag I added a circle diecut made from white cardstock for a space to write a personal message. I used the Labels Trio die set from Spellbinders to create two “handles” from kraft cardstock. I tied a bow and attached a charm to one of them for a little added interest.
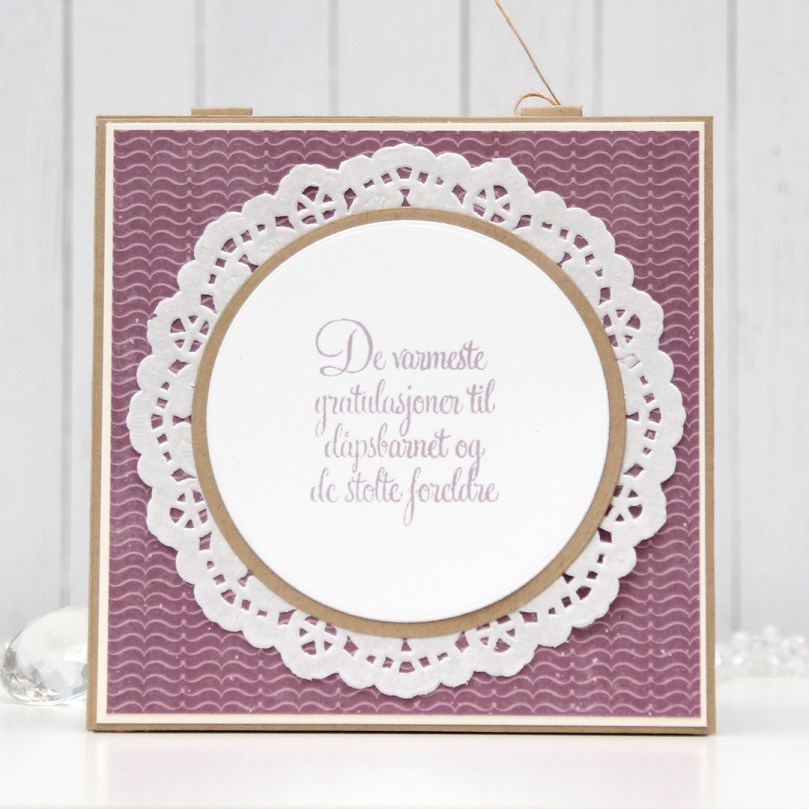 On the back of the card I stamped a sentiment from North Star Design using Amethyst ink from Altenew.
 The card isn’t very big, it only measures 5×5″, but it’s quite dimensional and doesn’t fit in a regular envelope, so I decided it was best to create a box envelope.
 I rummaged through my 12×12″ cardstock and found a color that matched pretty well, and used my Envelope Punch Board from We R Memory Keepers to create the box. I added another Helz Cuppelditch doily for cohesion, as well as more of the patterned paper that I die cut using the Impact alphabet die set from My Favorite Things.
 Not a whole lot of Copics used for this.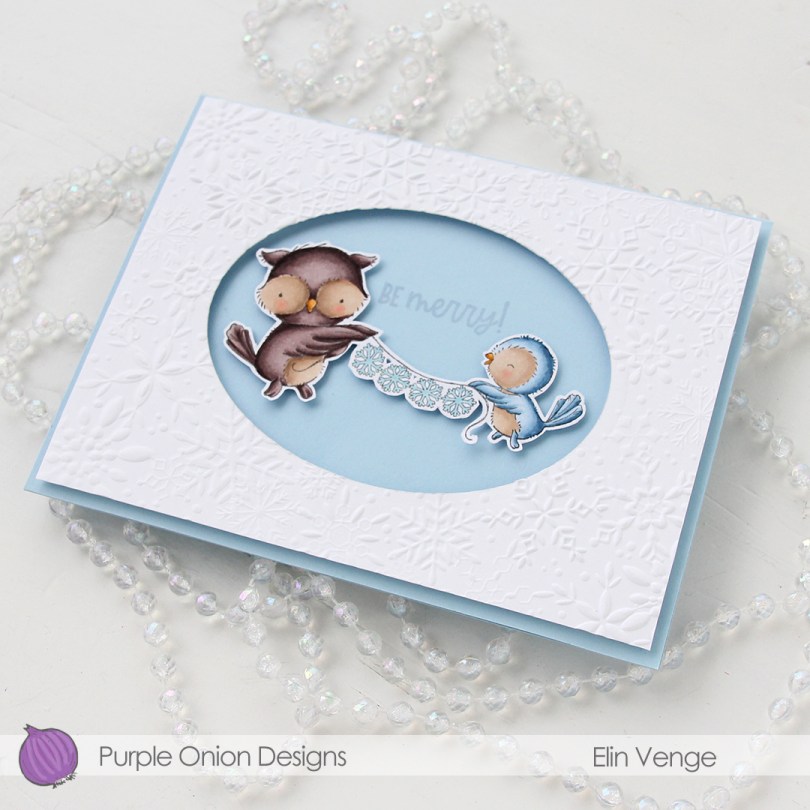
 Today I’m sharing a simple one, featuring
  I stamped the image with Extreme Black ink from My Favorite Things onto X-Press It blending card, colored the image with Copics and fussy cut, leaving a thin, white border. I prefer cutting right up against the stamped lines when I fussy cut, but with the snowflake garland, that just wasn’t an option.
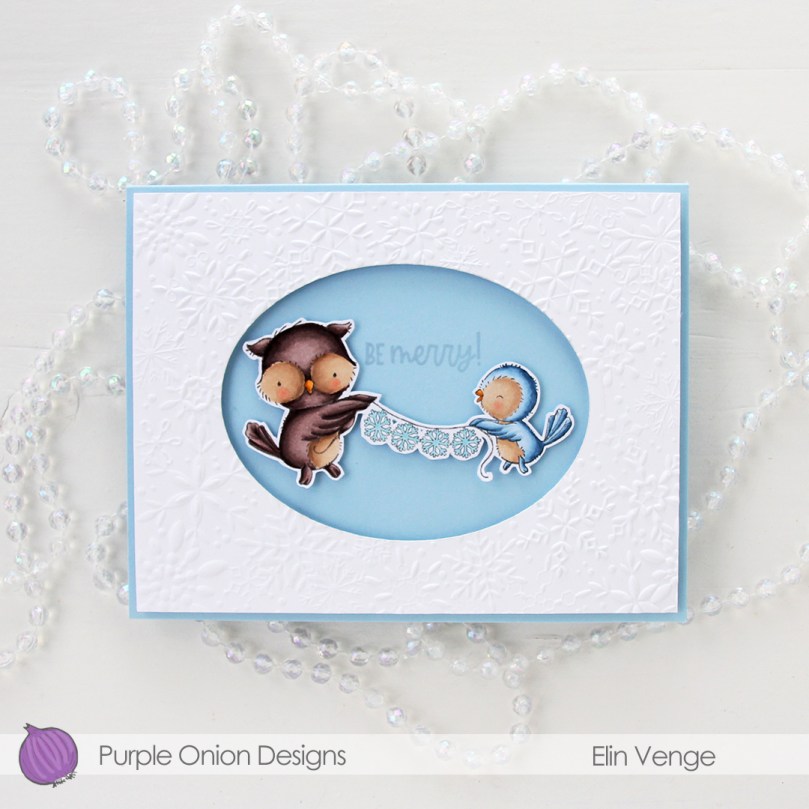 I used an oval die from Spellbinders to cut a window into a white cardstock panel. I then used the Snowflake Oval Frame embossing folder from Simon Says Stamp to create a little bit of texture to my plain white cardstock. This embossing folder has an oval in the center that doesn’t emboss (where you can stamp a sentiment), but I wanted a window for my card and cut out an oval before using the embossing folder.
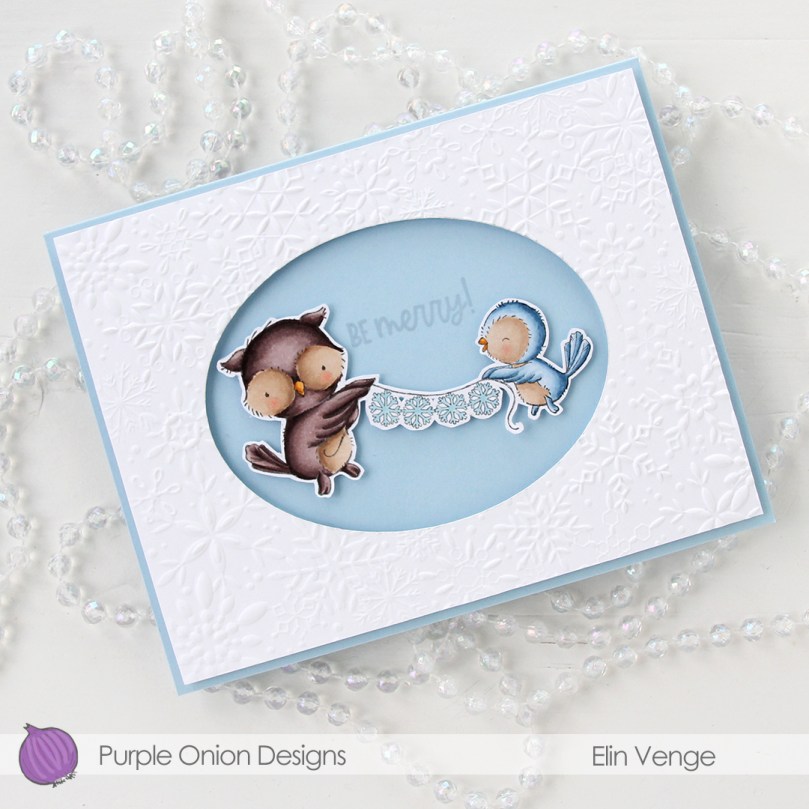 I created a card base from Spring Rain cardstock from Papertrey Ink and stamped part of a sentiment from the
 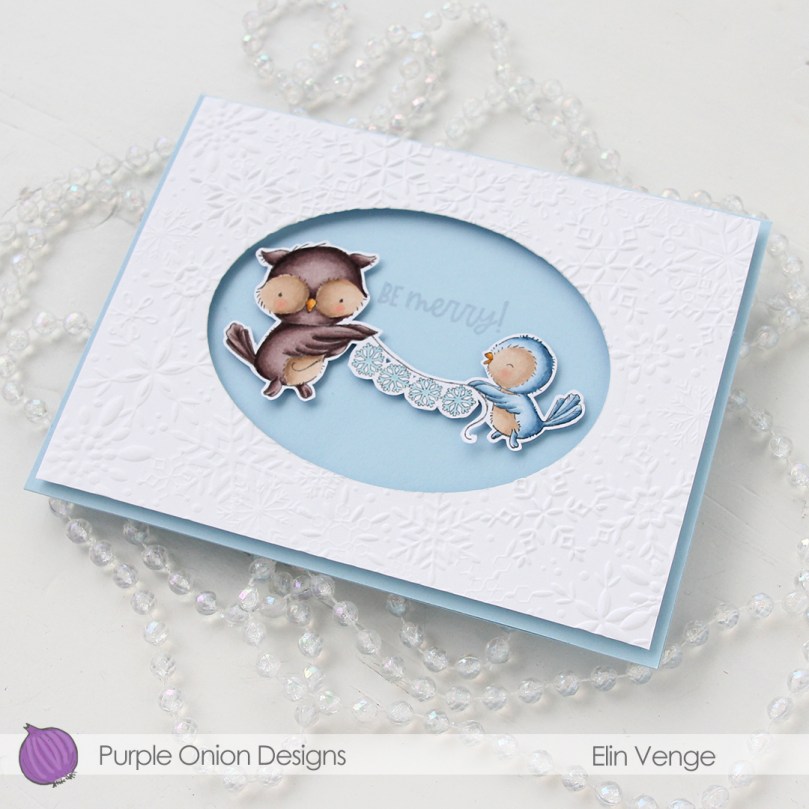 I put lots of foam tape on the back of the white cardstock with the dry embossed snowflakes and adhered that to my card, and then added foam tape behind my colored image and placed it in the center of the card.
 Simple color palette for this card.
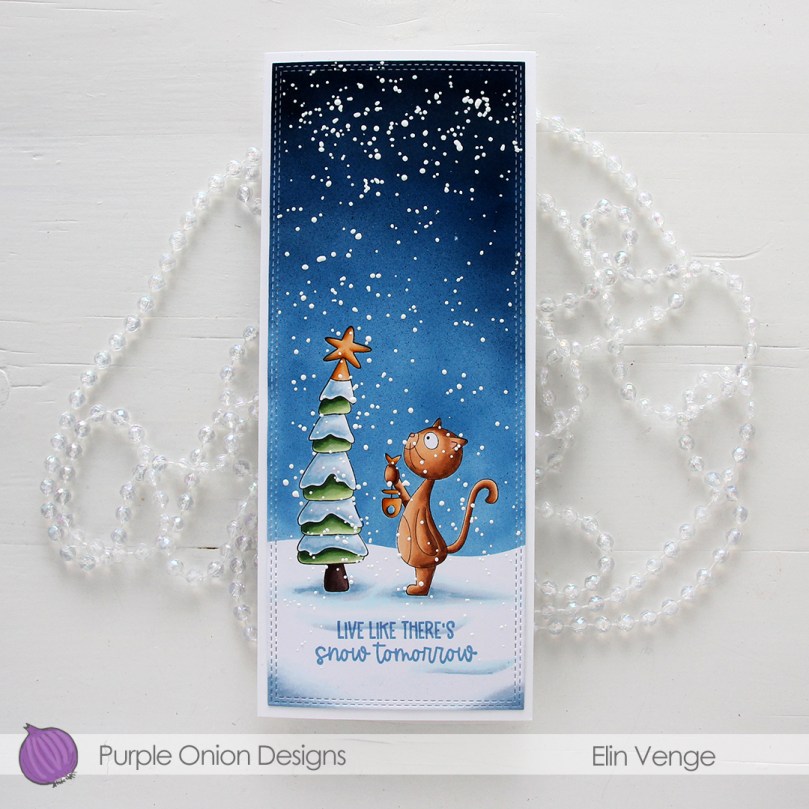 I colored the cat, tree and ground with my Copics, before deciding that I really wanted a dark, intense night sky. I stamped and fussy cut masks for both images, then did some free hand cutting of a snowbank at the back, before I went in with my Copic airbrush system and some dark blue colors to quickly create the sky.
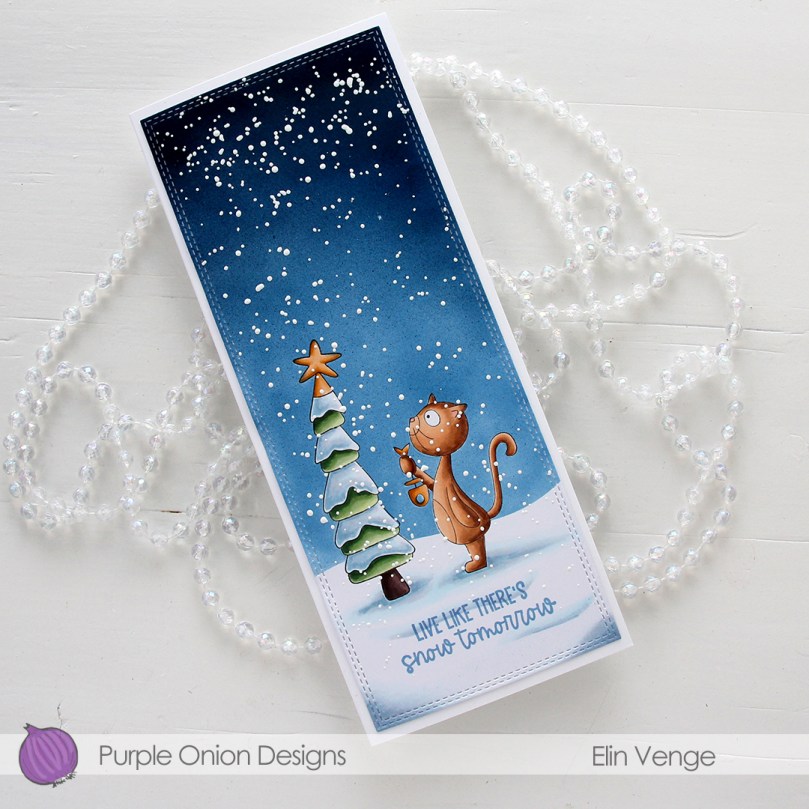 I used the largest of the dies from the Slimline Double Stitched Rectangle STAX set from My Favorite Things to cut down the panel to fit on the front of my card, and stamped a sentiment from the
 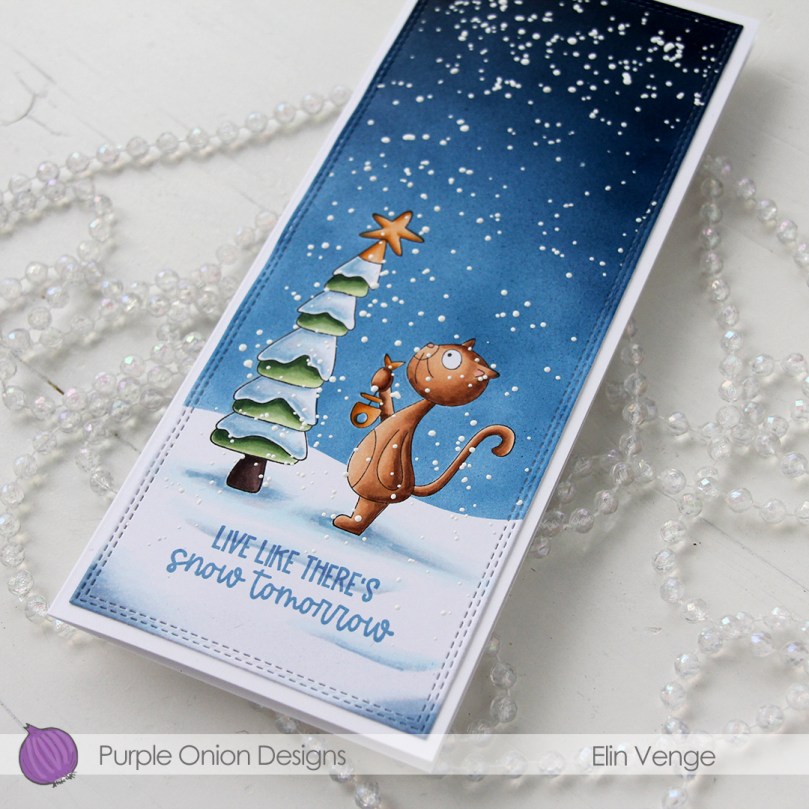 I sprinkled on chunky white embossing enamel from Stampendous, making sure no granules covered the sentiment or Hazel’s eye before melting the granules from the back of the panel. I adhered my snowy scene to a card base I created from Stamper’s Select White cardstock from Papertrey Ink, and my card was complete. I didn’t want to add anything else to it.
 For such a simple scene I sure used quite a few colors. The ones that come after the jump in this graphic are the ones I used to airbrush the sky.
