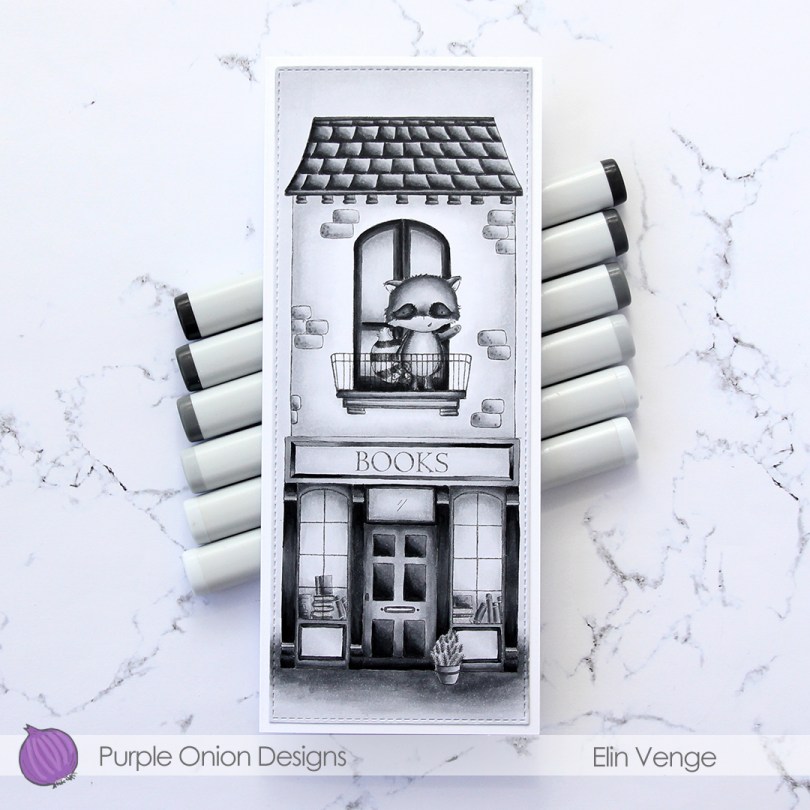
Hi, everyone! I have another card to share featuring the new spring release from Purple Onion Designs. This card is very different. First of all, it’s a slimline card, which I don’t make too many of (on account of them being difficult to photograph). Secondly, I only used 6 Copic markers for the entire card. I’ve dabbled with grayscale images in the past, but always with a pop of color somewhere. This one is all about those grays. Oh, and those fabulous new images, of course.
I stamped and masked George the raccoon on a piece of X-Press It blending card that I’d already die cut using the slimline starter die set from My Favorite Things. I stamped Room with a view so George is standing firmly on the balcony, then stamped the book store (minus the roof of the book store) below it and then the balcony railing directly over top of the raccoon once I’d removed the mask.
I colored the entire panel with my 6 chosen Copics, adhered the panel onto a card base I made from Stamper’s Select White card stock from Papertrey Ink.

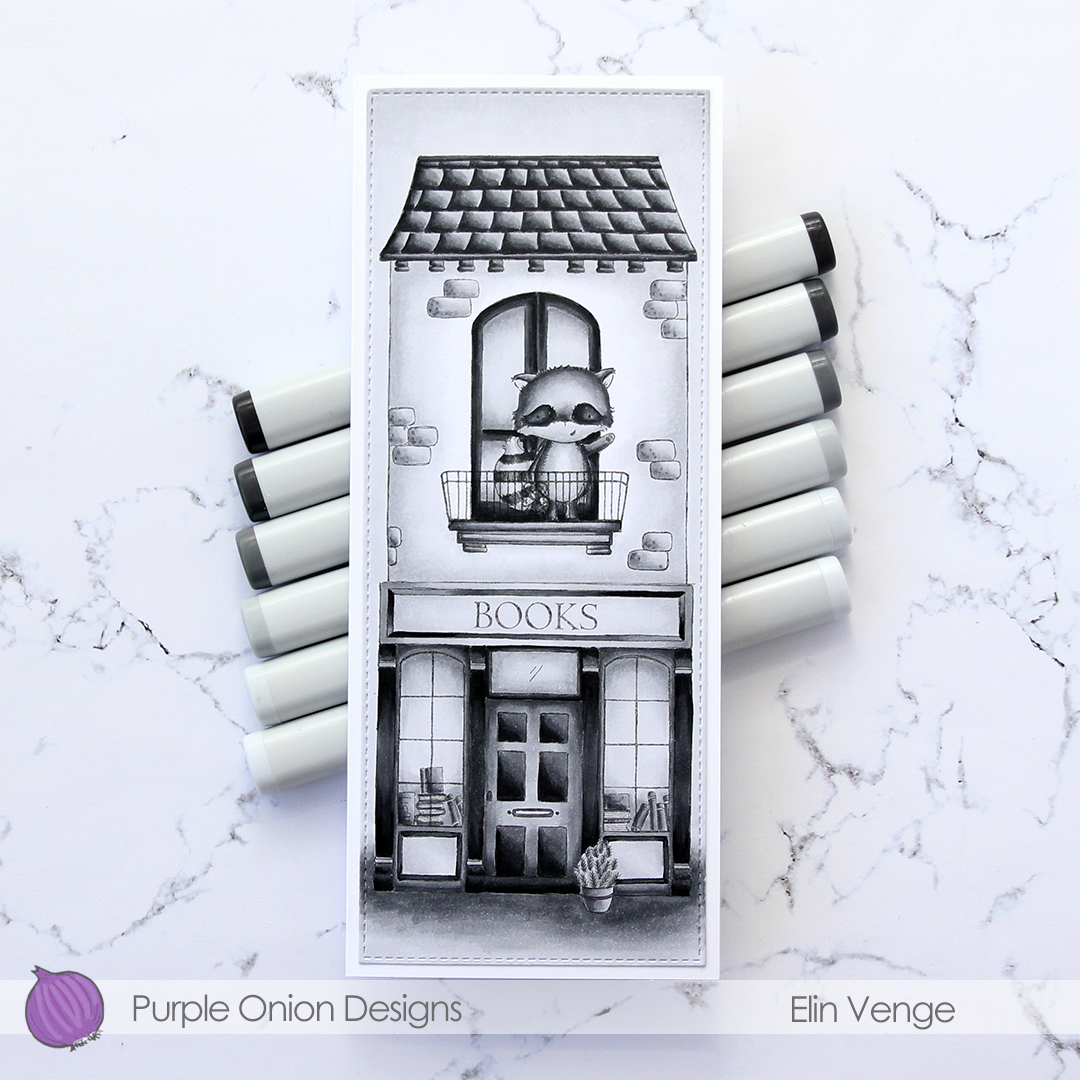
Deciding to keep the grayscale going on the inside of the card, I stamped one of the sentiments in the “Around the Town” sentiment set using VersaMark ink on a piece of Steel Gray card stock from My Favorite Things, and heat embossed it in white, before adhering the sentiment to the inside of the card. Super simple.

The Ns and Ts are my favorite Copic grays. For this card, I went with the Ns.

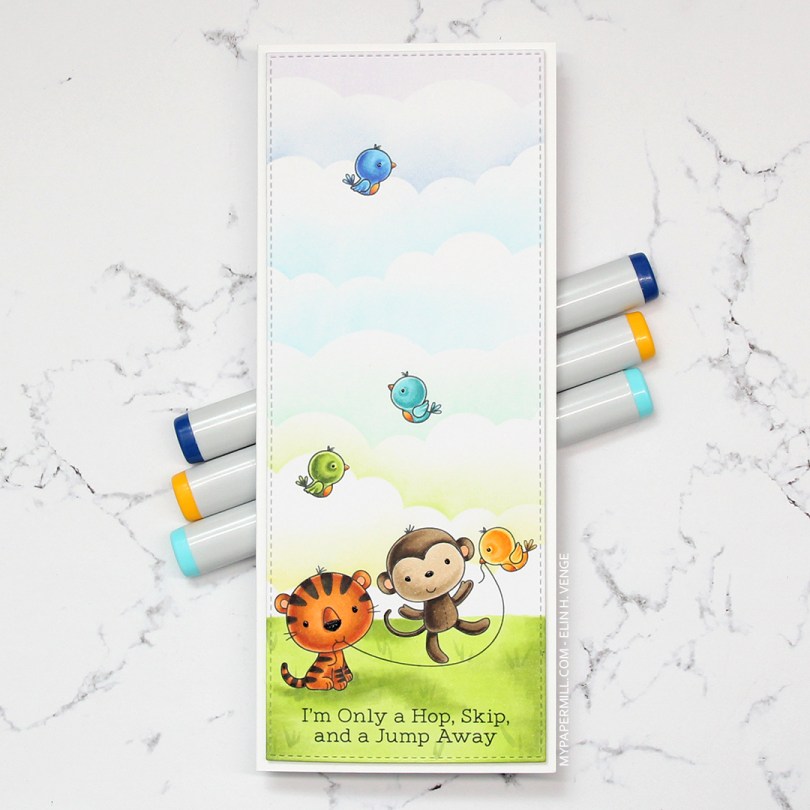
 I colored in all the critters using Copics, before masking them off and creating clouds behind them using a
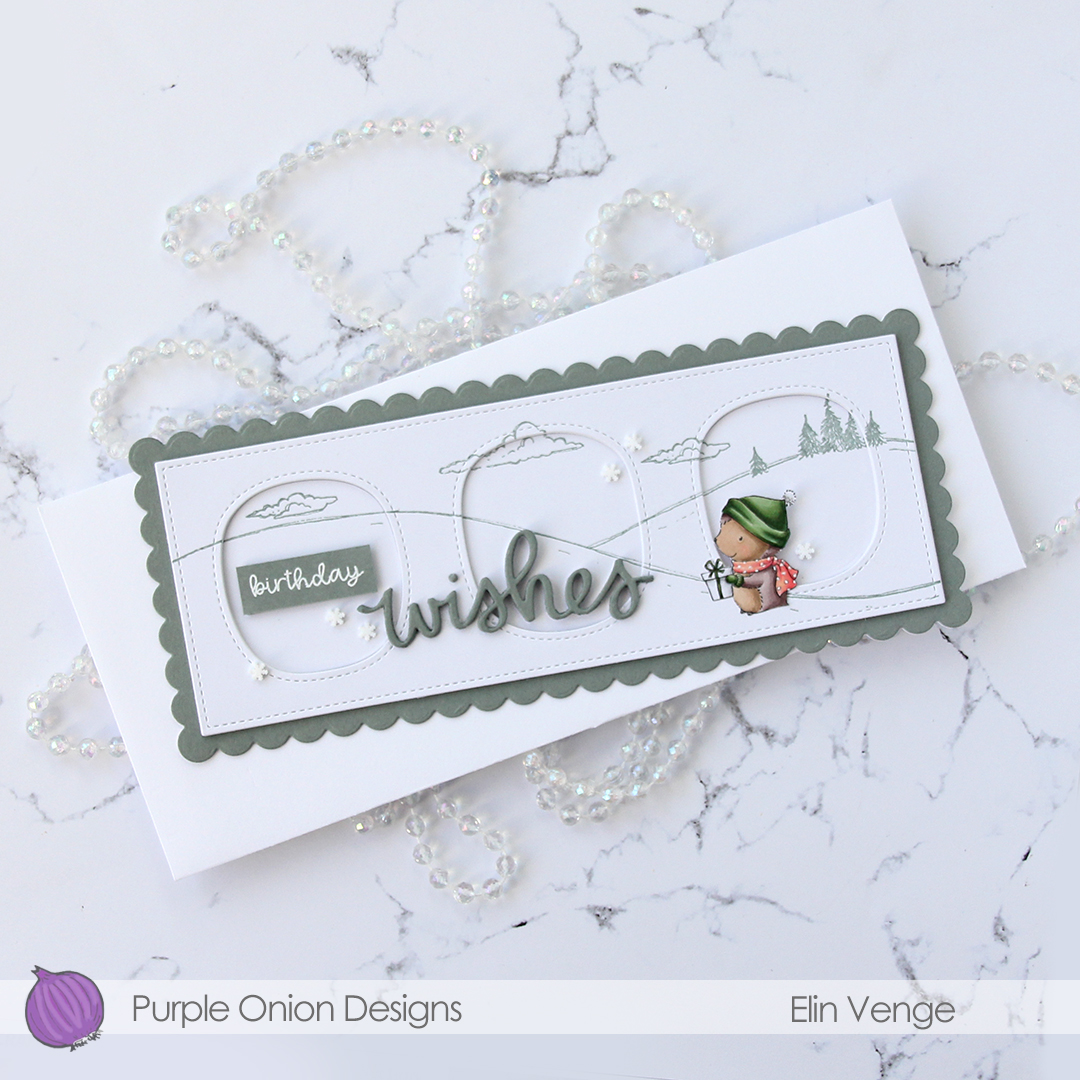
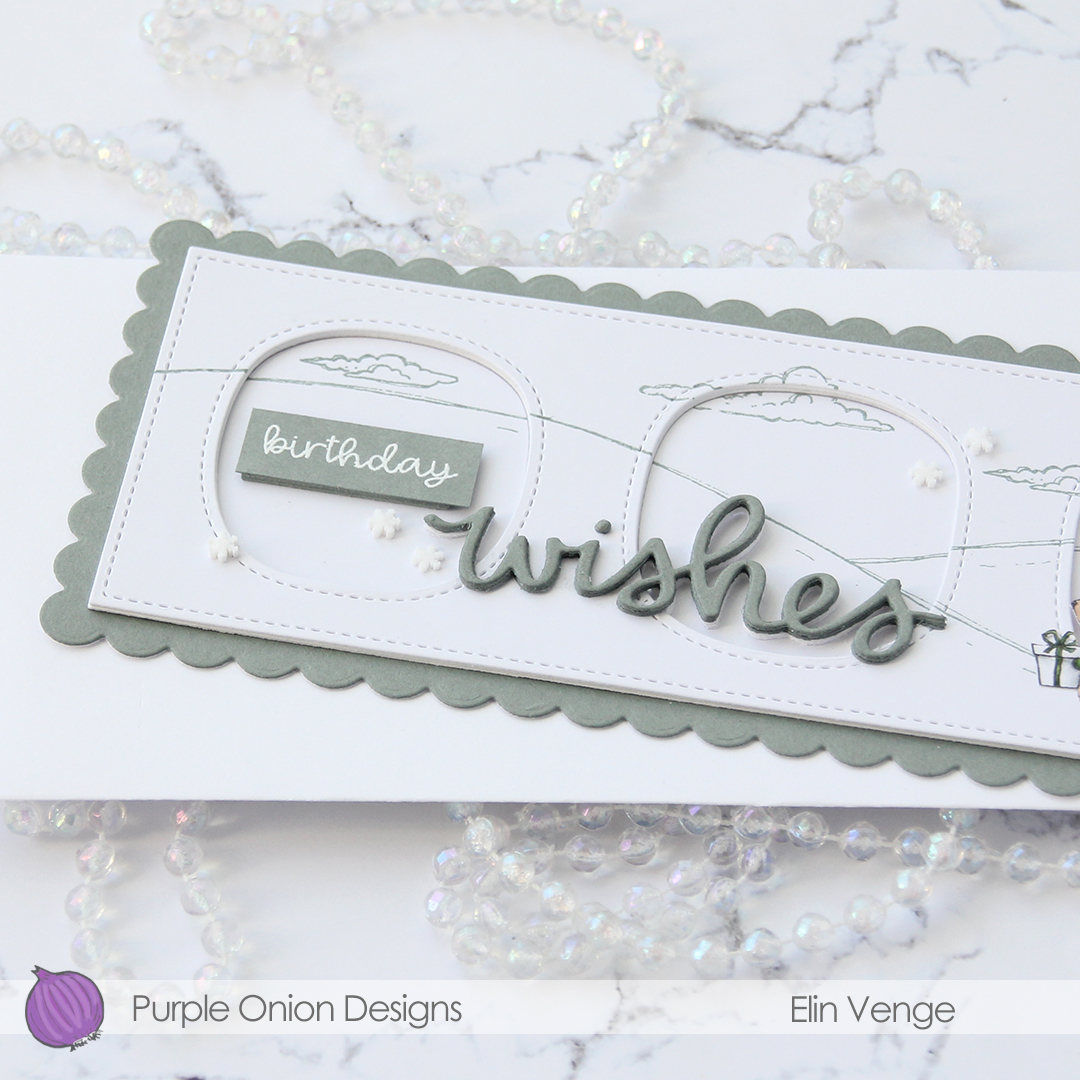
 I didn’t have any birthday sentiment dies that fit my slimline plan, but this Stacked Merry die from My Favorite Things was perfect. I die cut four from white card stock and stacked them for a dimensional look, before adding embossing powder on top and heat embossing for a shine that matches the embossed snow in the background. I stamped “& bright” from the
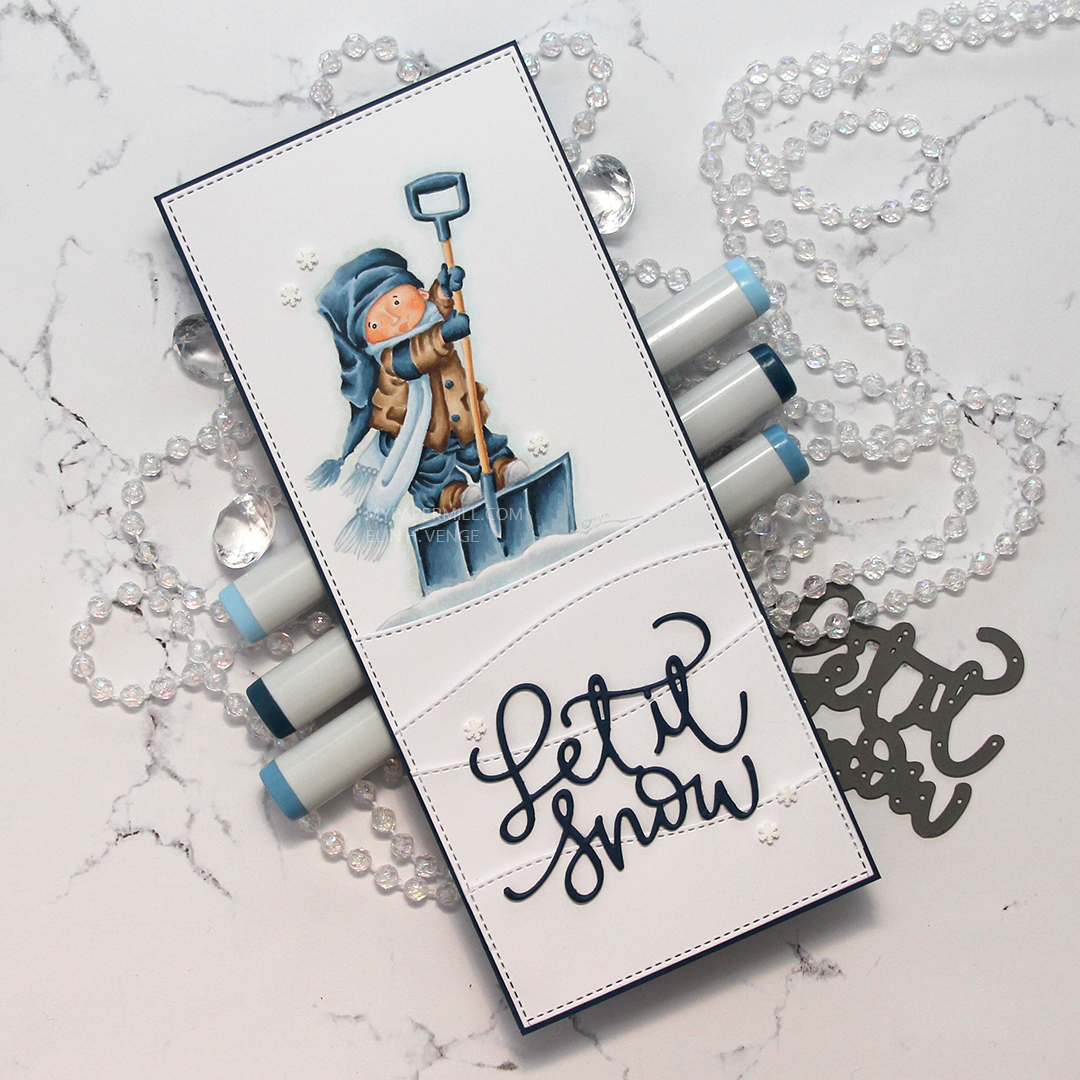
  I used quite a few colors for this very simple image. Building color to create contrast is key when doing no line coloring, and the first 7 markers in this graphic were all used for the snow. It might be difficult to tell from the photo, but the orange combo I used for carrot is different than the combo I used for the scarf and pocket, which isn’t as bright a combo in real life.
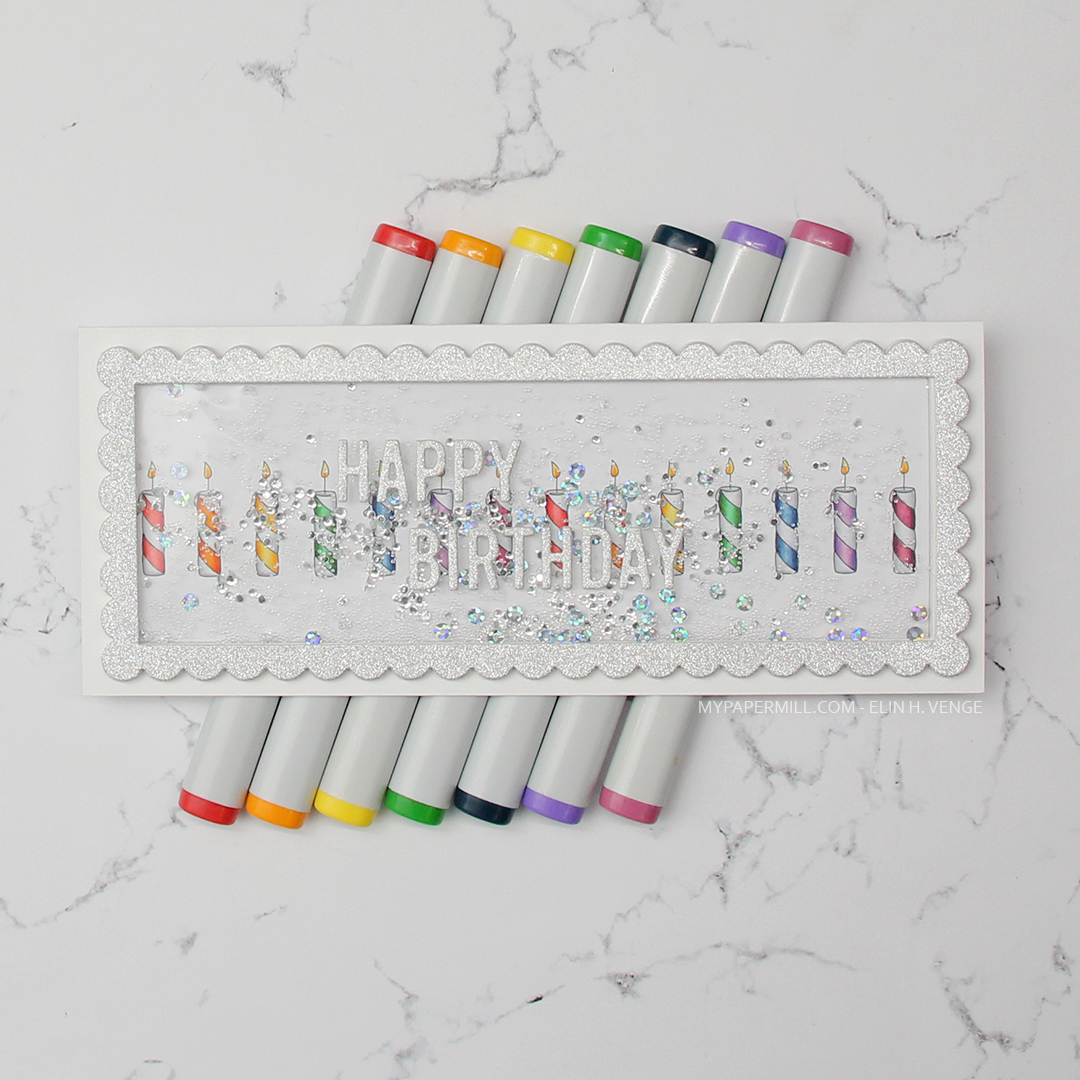 I colored in the candles using a rainbow color palette. Using the largest die in the Slimline Scallop Frame die set from Simon Says Stamp, I die cut six frames from white card stock and glued them together in a stack to form the walls for my shaker card. Into the shaker, I put some micro beads, some flat, iridescent sequins and quite a few “diamonds” from Kort & Godt, before adding a piece of acetate to seal the shaker. I die cut one last scallop frame to put on top, this time from a super glittery silver card stock from Kort & Godt. It’s very sparkly, and the glitter doesn’t rub off, I love it. I die cut Happy birthday from the same cardstock and adhered the letters onto the acetate to finish the card.
 Lots of colors for this one. That happens with rainbows 🙂
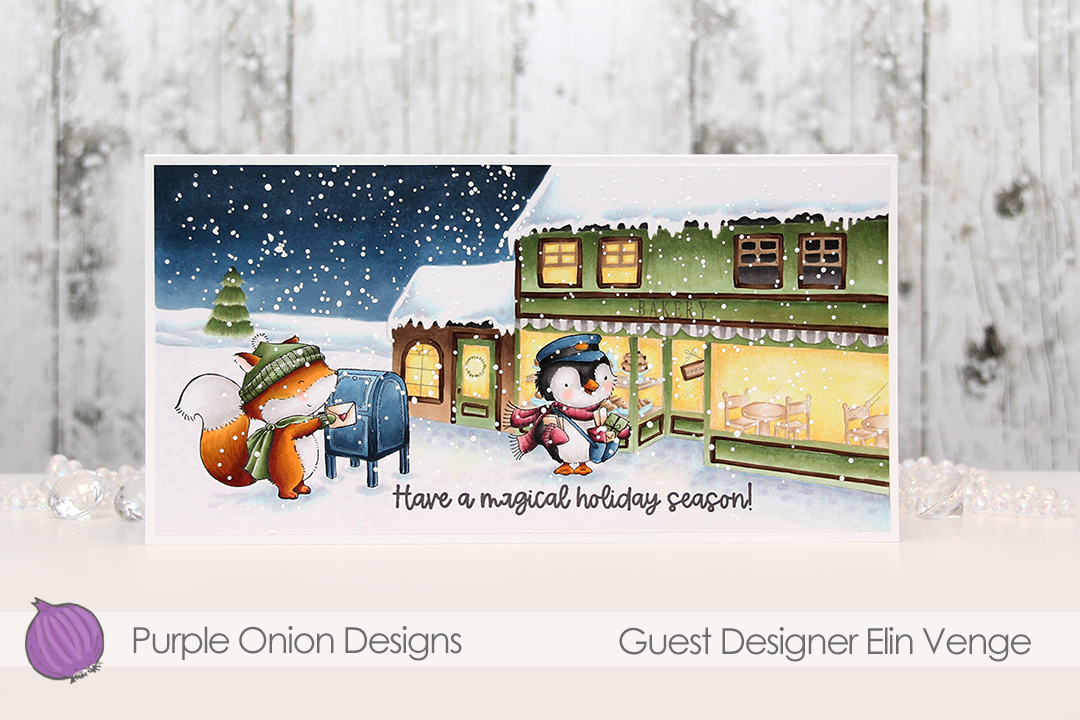
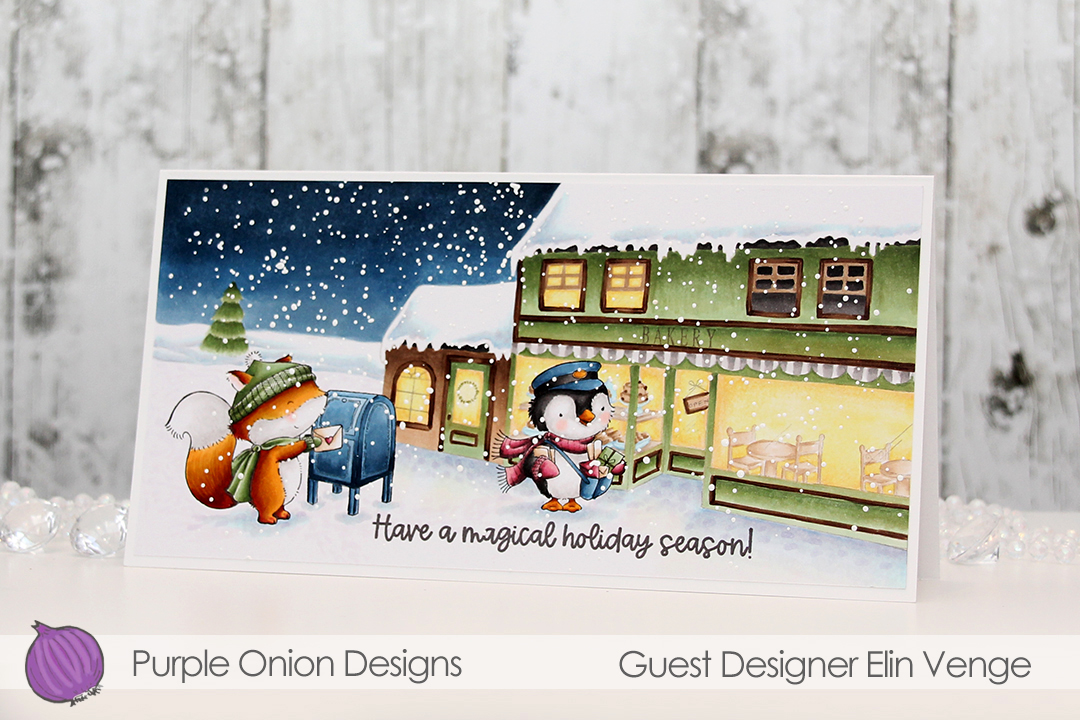 Whenever I have background elements, I pretty much always start with those, and today was no different. I colored in the snow first, both on the roofs and on the ground, before coloring the sky and then the building.
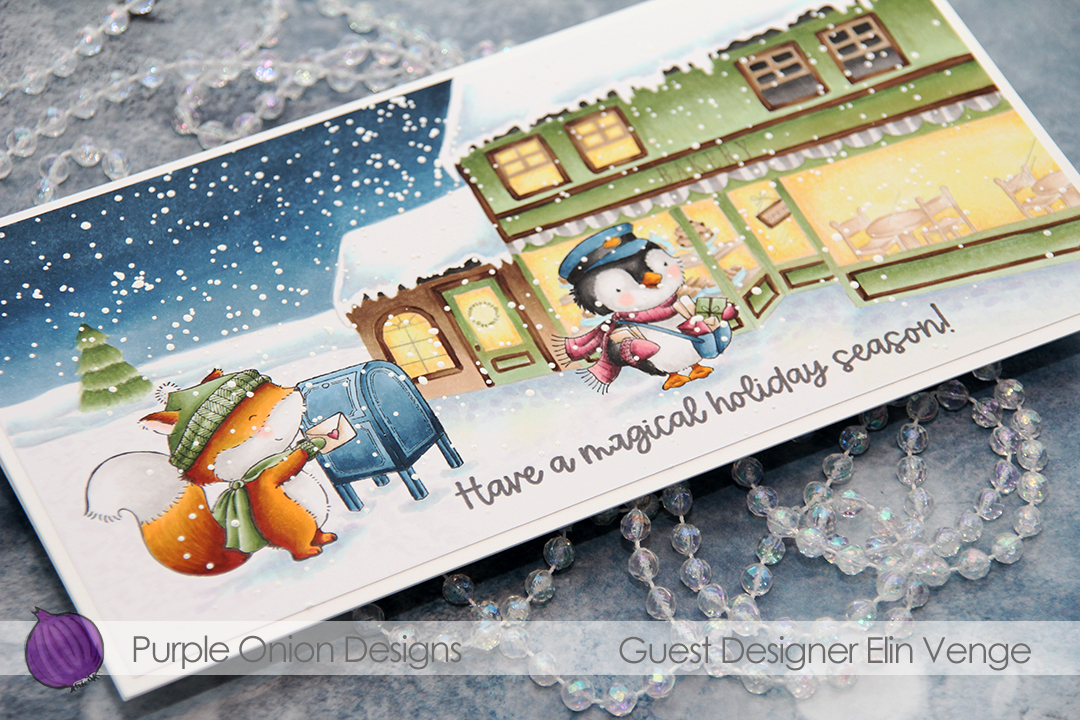 After I’d also colored in the fox, the mailbox and the penguin, I added a sentiment from the
  Plenty of colors used, but there are a lot of images in this one.
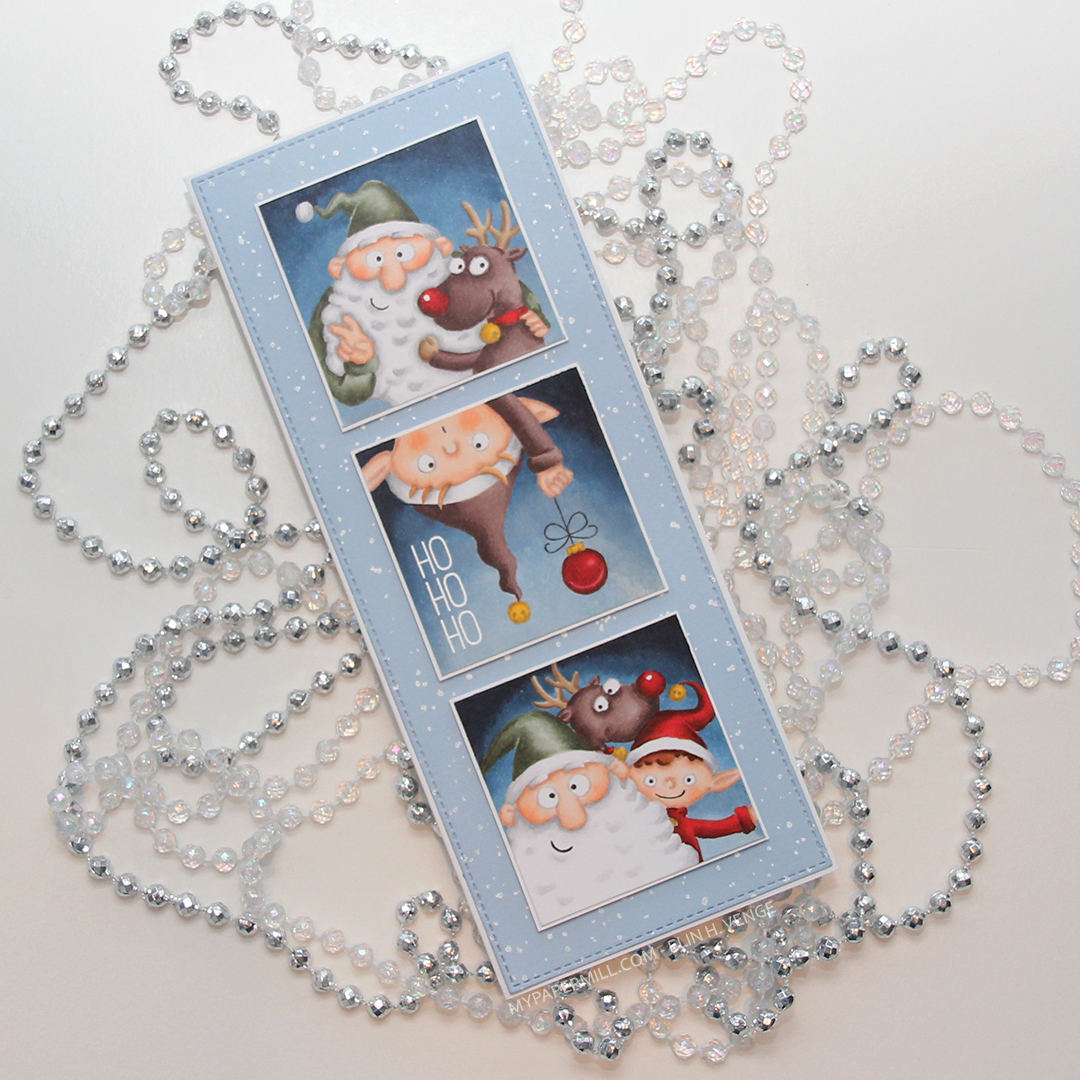 I used the slimline starter die from My Favorite Things to die cut a panel of Blue Breeze cardstock for my card front. I stamped the
 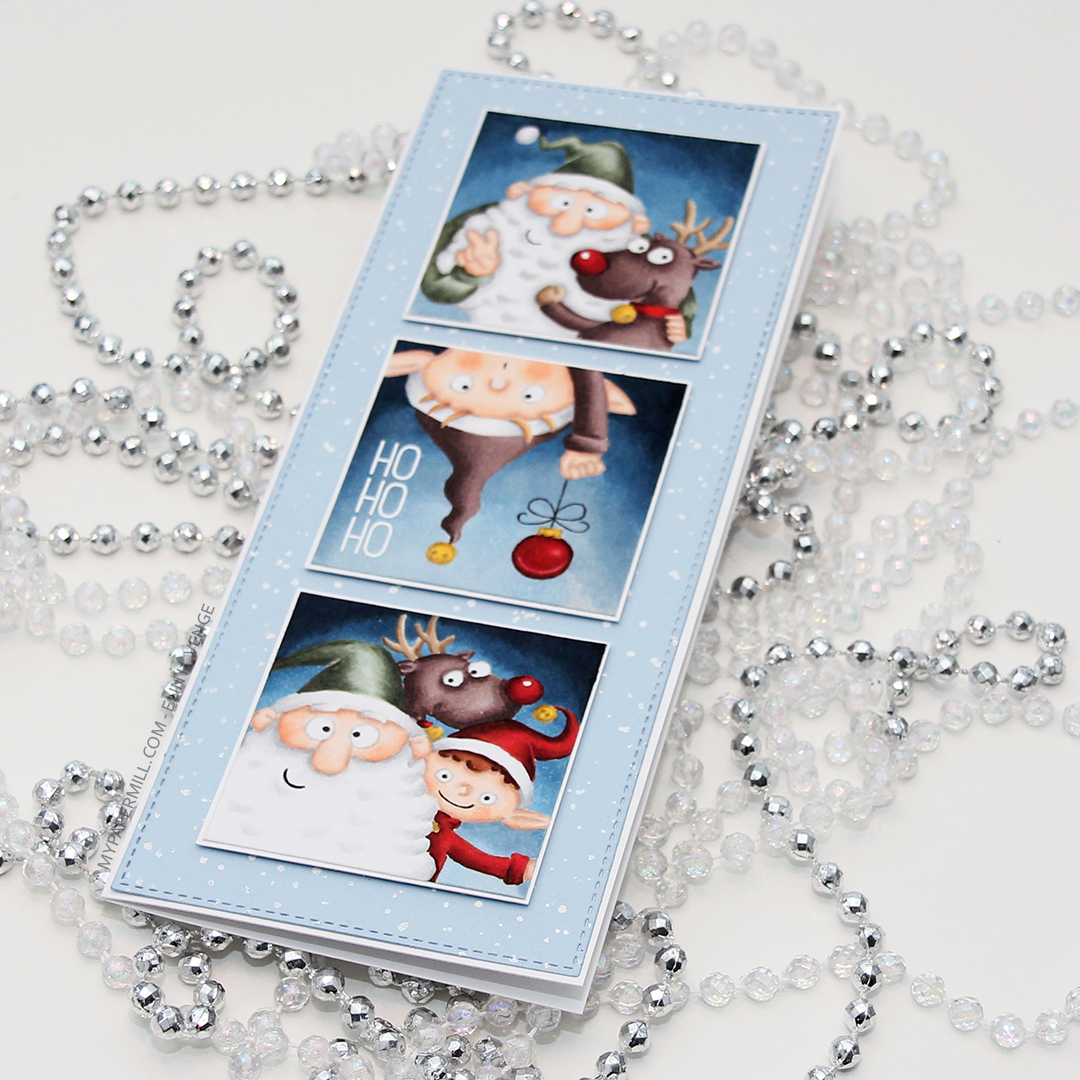 I didn’t want to add my colored pieces directly to the blue underneath. I decided to add a mat behind each of the images, and I cut them down to be slightly larger than the images themselves. We’re talking super thin frames, I think they wound up being about 1/32″ all around. They might be small, but it was enough that I didn’t have room for a sentiment between my images, so I cut apart the Ho ho ho sentiment from the
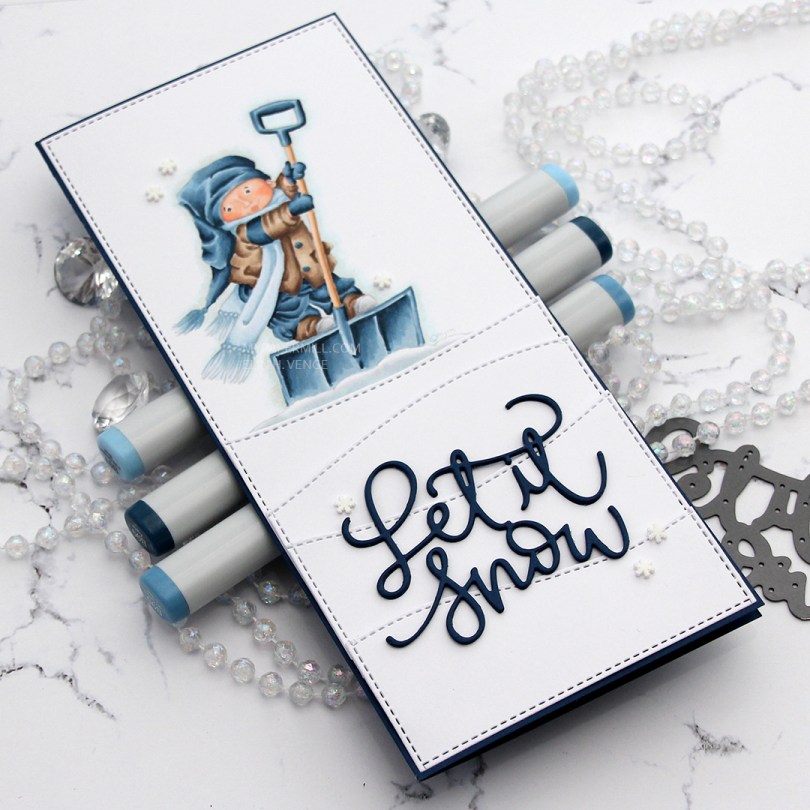
 I did no line coloring of the
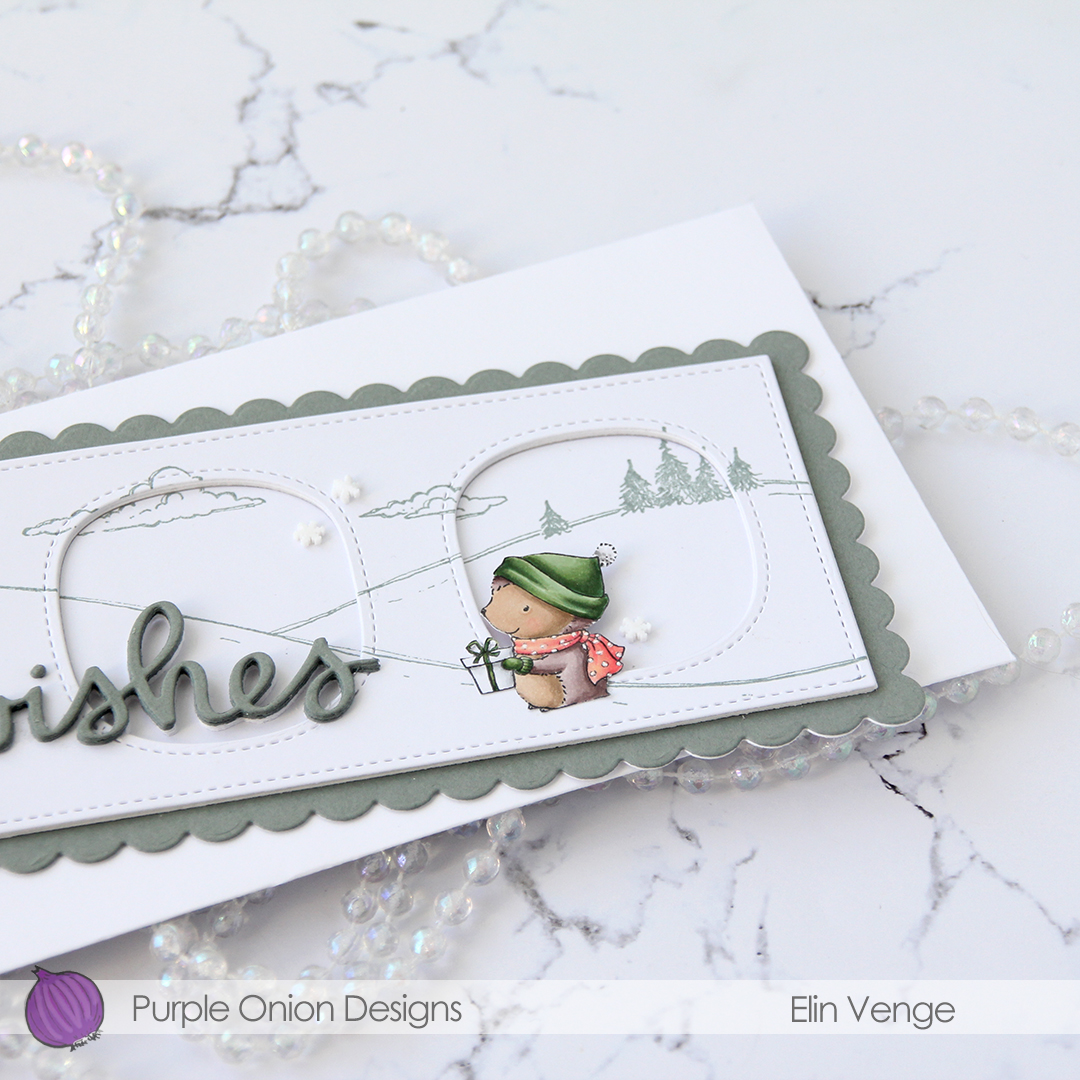
 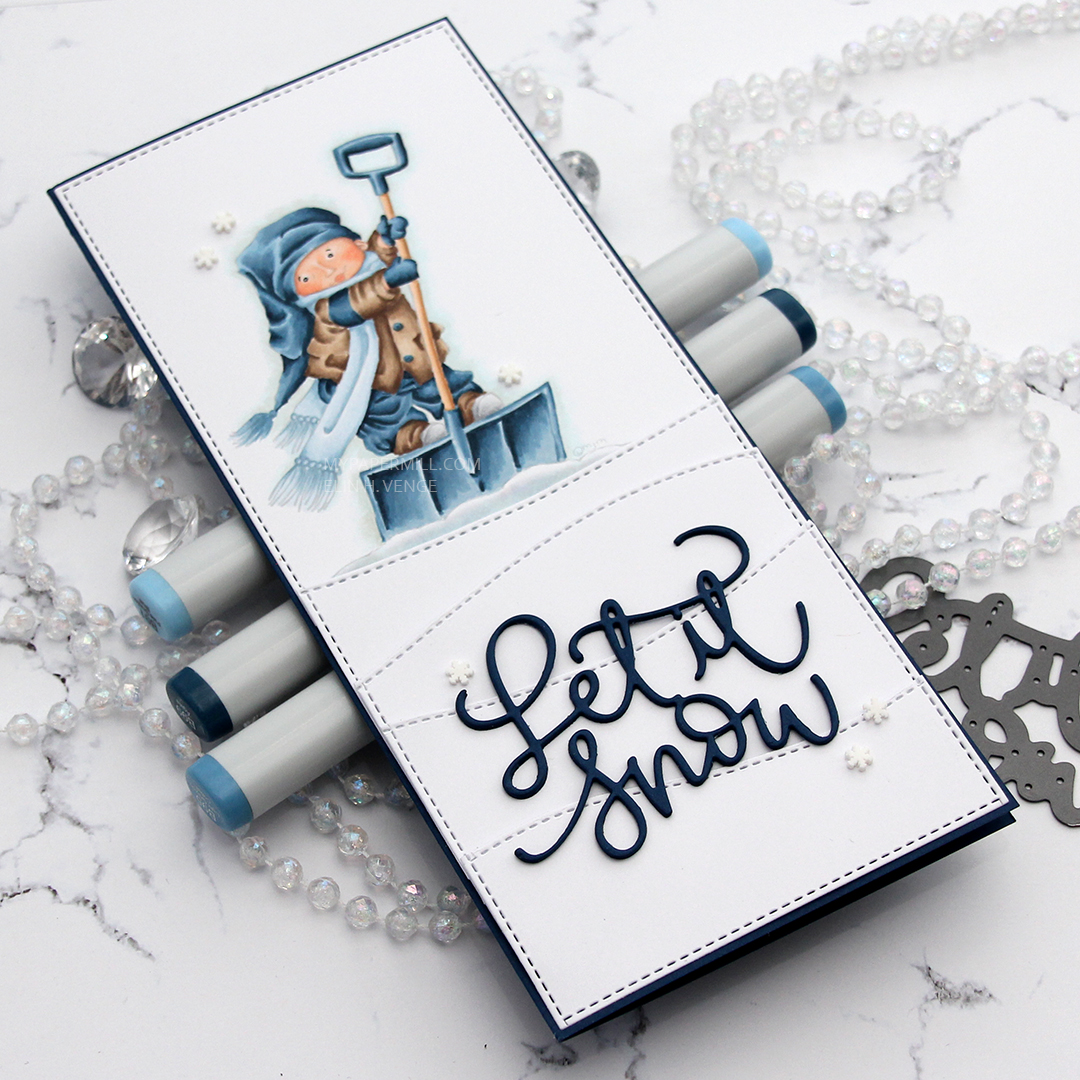 I adhered my panels with tape runner and 1 mm foam squares. Each panel has a little bit of dimension towards the top, while the rest is adhered using tape runner onto a slimline card base I created from After Midnight card stock from My Favorite Things. I used the piece that was left over to create my sentiment, which I die cut three times using a die from the Let it snow die set from Mama Elephant. My last finishing touch was a few snowflake sprinkles from Little Things from Lucy’s Cards.
 Limited color palette this time. I also used B90, which is a color I’ve made myself.
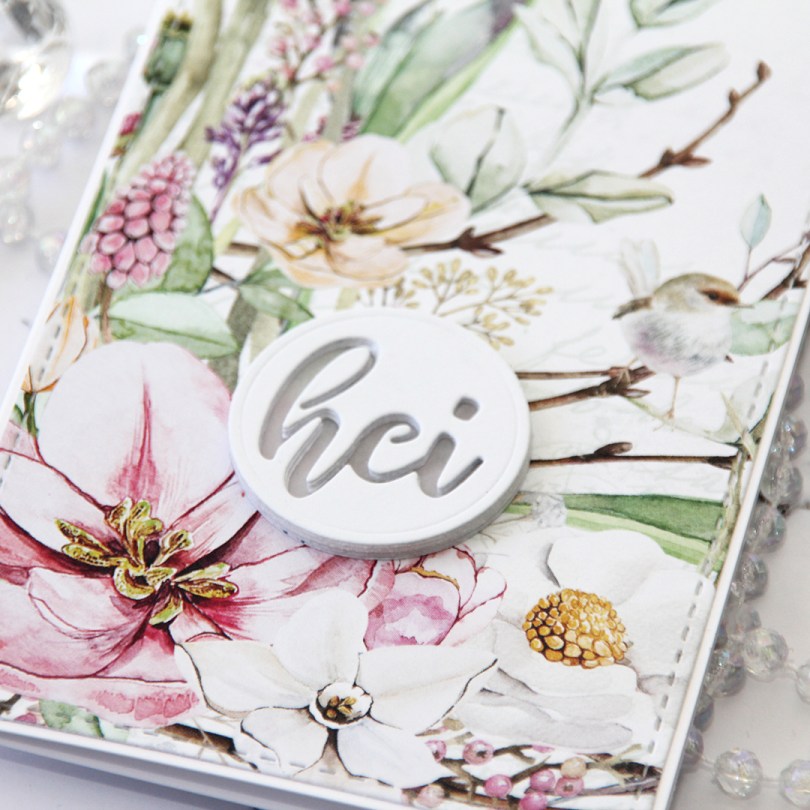
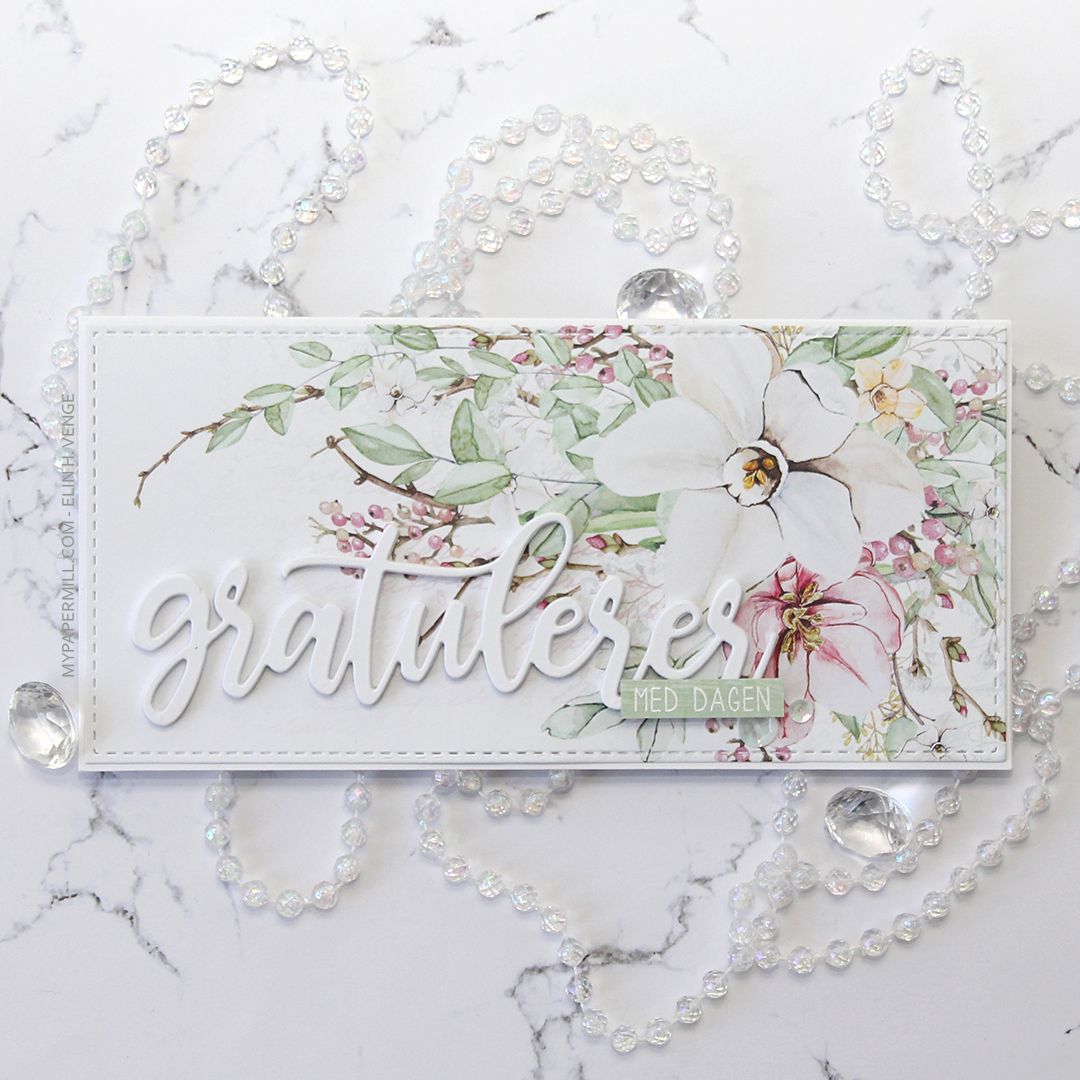 This first one might not even technically be a proper slimline card. It’s about 7-3/4 x 3-3/4″. I’ve used beautiful patterned paper from P13 for both my cards. I wanted the paper to be the hero, so I didn’t do too much to it. The sheet I used for this card is
  I used a
 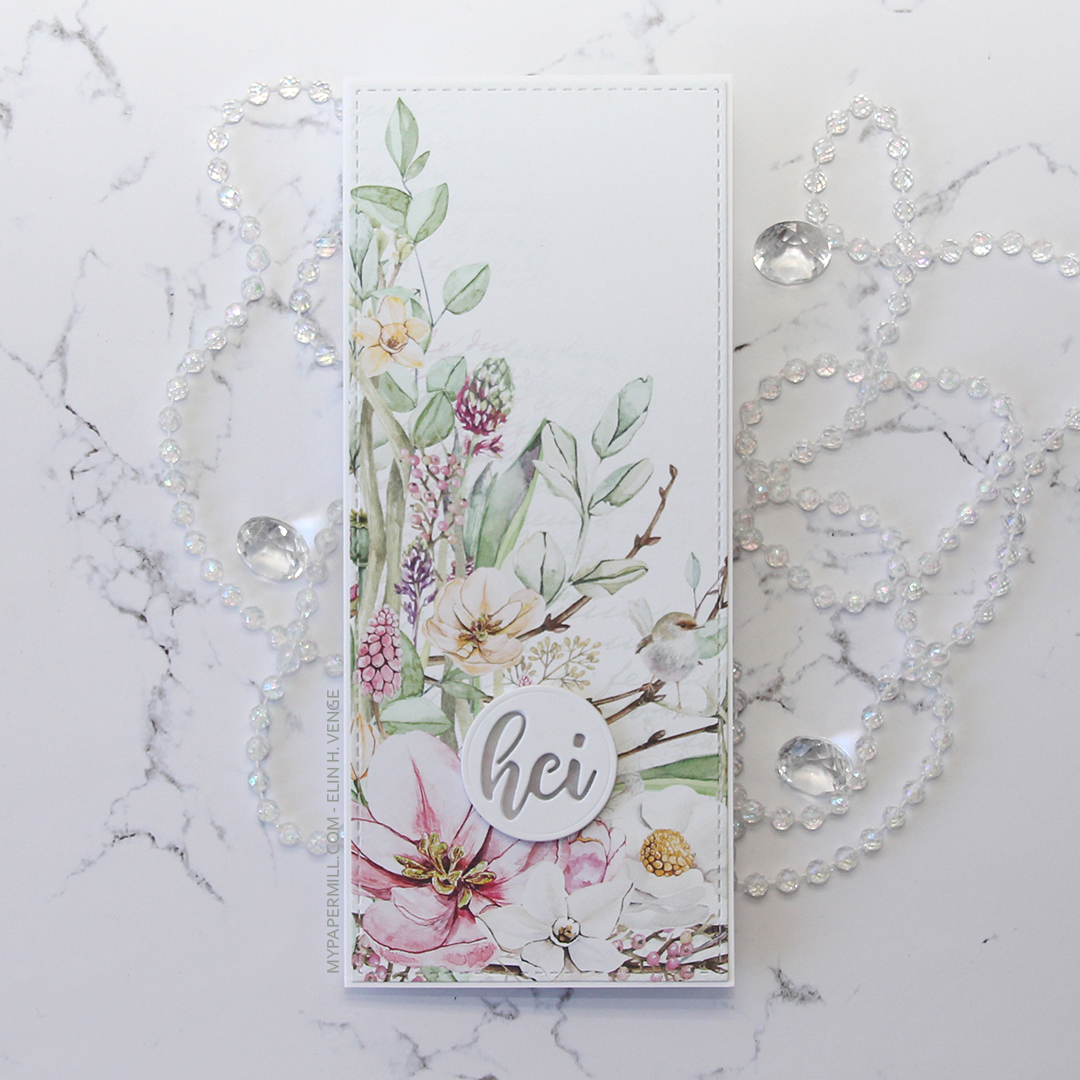 My second card uses a different part of that same sheet of patterned paper, as well as the same slimline die from Pinkfresh Studio. The sentiment is even die cut using a die from the same set as the sentiment on my first card.
 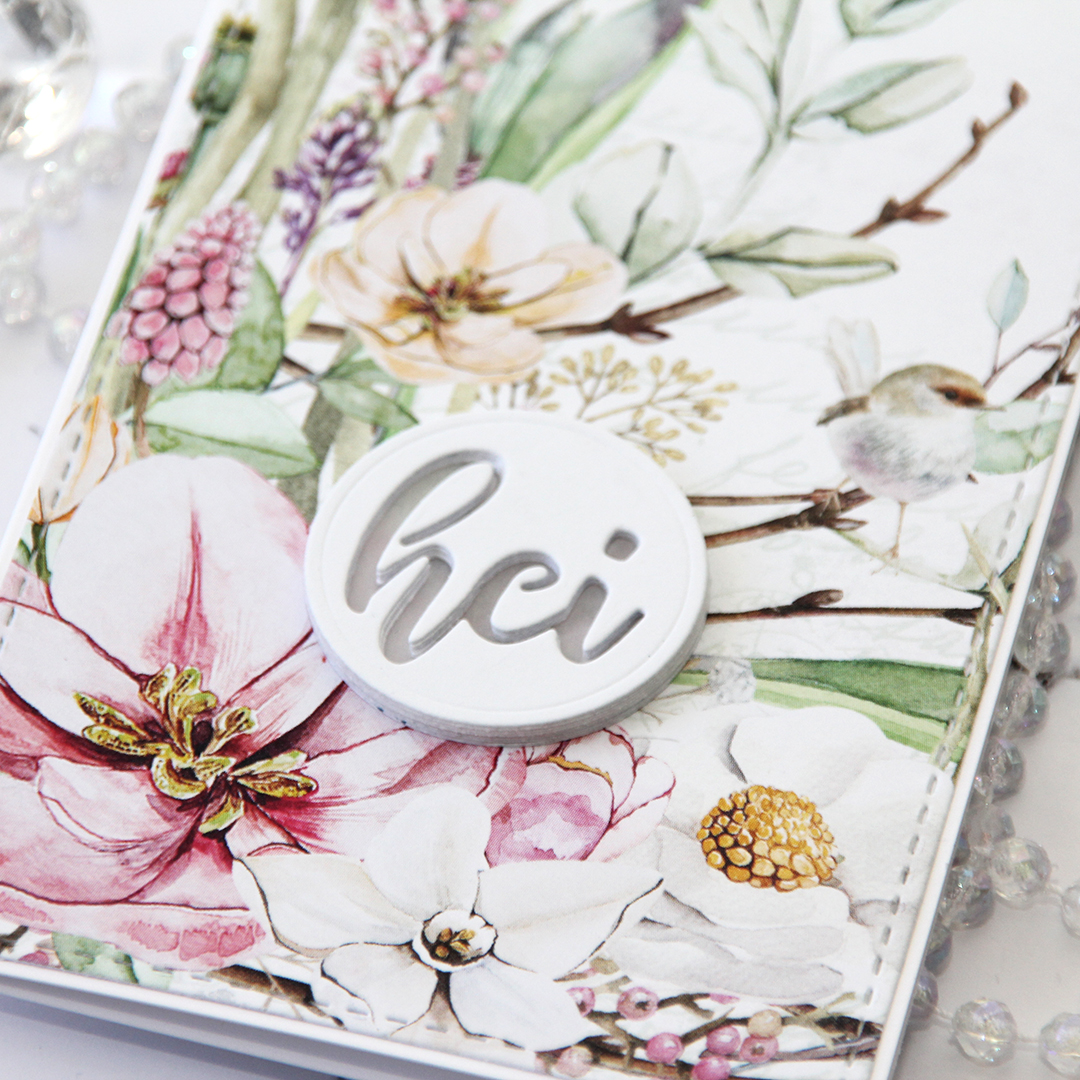 On this one I have four layers stacked on top of each other, then a vellum circle, then another four layers of the negative word die, making this sentiment really stand out as a statement on my card.
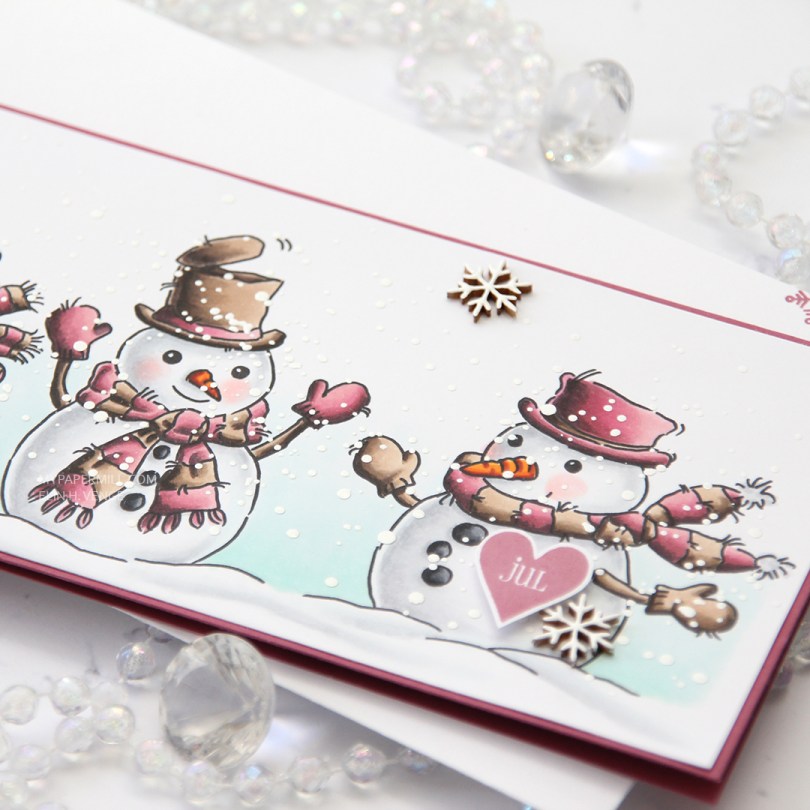
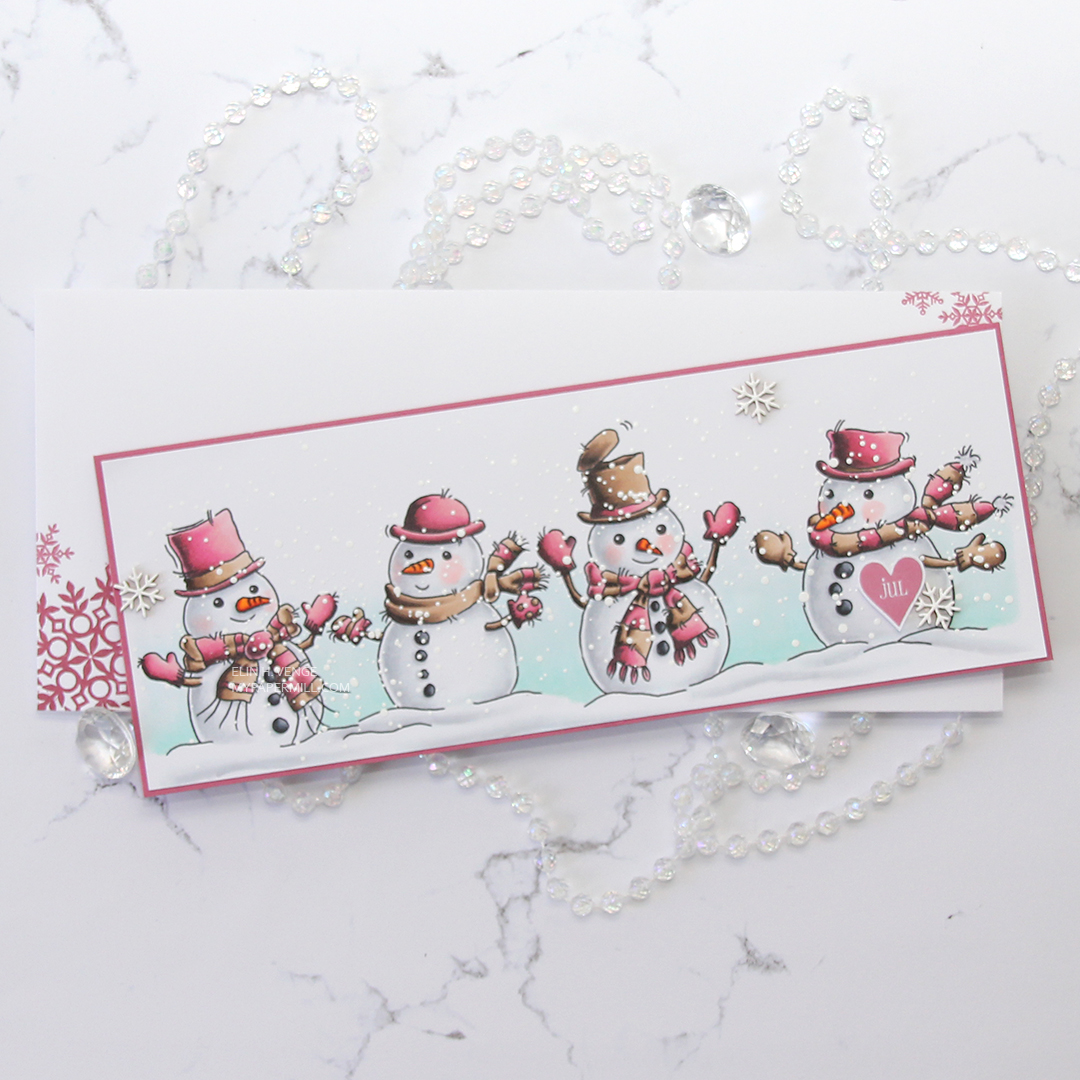 This color palette is definitely not the norm for me, but I was surprised at how much I like it. I think the secret was finding a pink combo I liked that wasn’t a screaming hot pink, and that also had a bit of contrast within it. Even better – my pink color combo matches the Autumn Rose color from Papertrey Ink, so I created my cardbase from a sheet of Autumn Rose cardstock and even stamped a few snowflakes from an old Simon Says Stamp stamp set (Holiday Envelope Sentiments) on the envelope using Autumn Rose ink. The envelope itself is a Deluxe white slimline envelope from My Favorite Things.
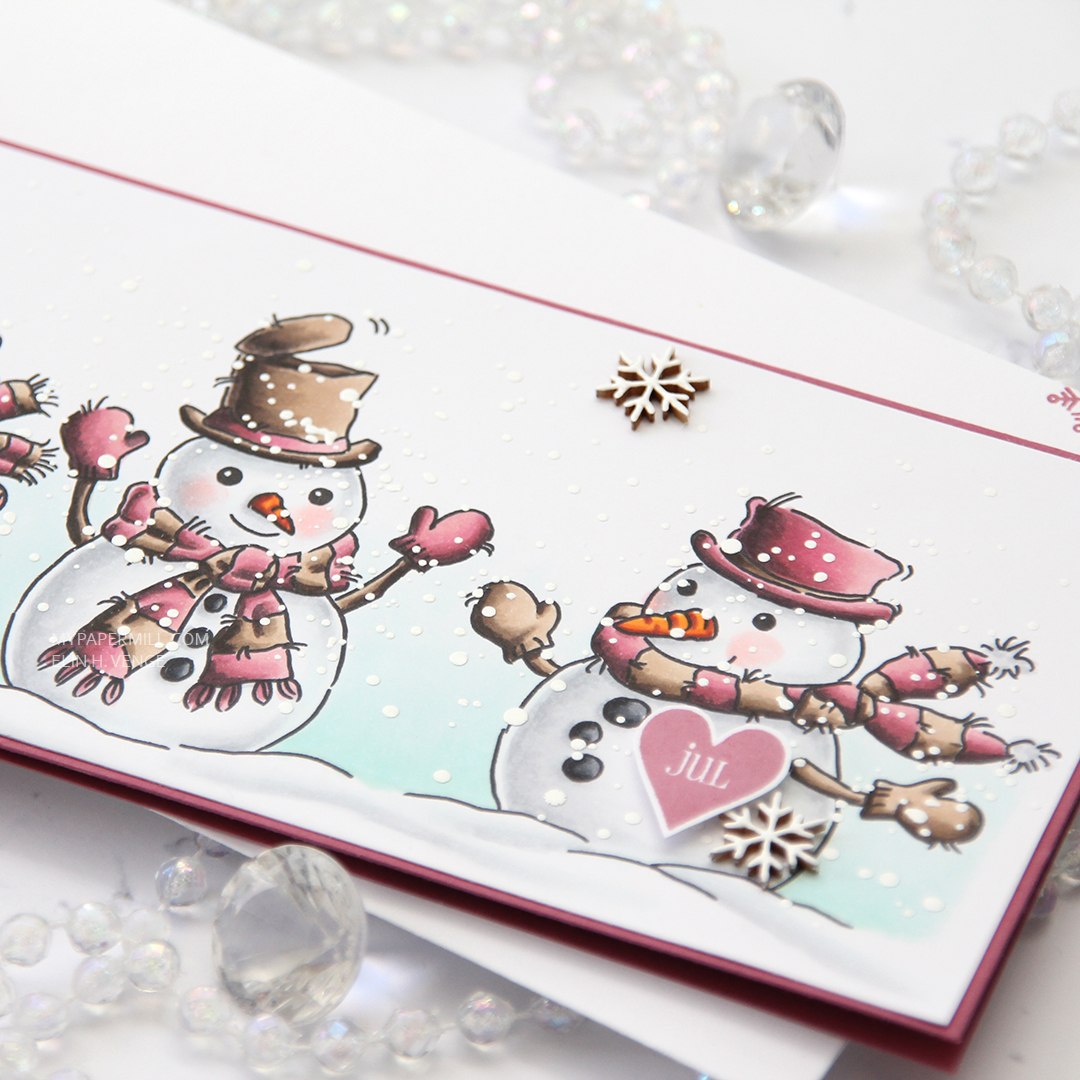 After coloring all my snowmen with Copics, I added a sprinkling of chunky white embossing enamel from Stampendous and heated my panel from the back until all the granules had melted. It warped quite a bit, so I ran the panel through my Gemini Jr without any dies, just sandwiching the panel between my cutting plates. That took care of the warping, and I could continue by gluing the panel of snowmen to the cardbase, before popping up a Norsk Stempelblad AS heart sentiment that I stamped using Autumn Rose ink. I also added a few Crafty Moly snowflakes that I covered in three layers of white embossing powder.
 RV99, R56, RV34 and RV32 – who would have guessed that it made such a pretty pink? Not me, that’s for sure, but I’m glad I stumbled upon this combo.