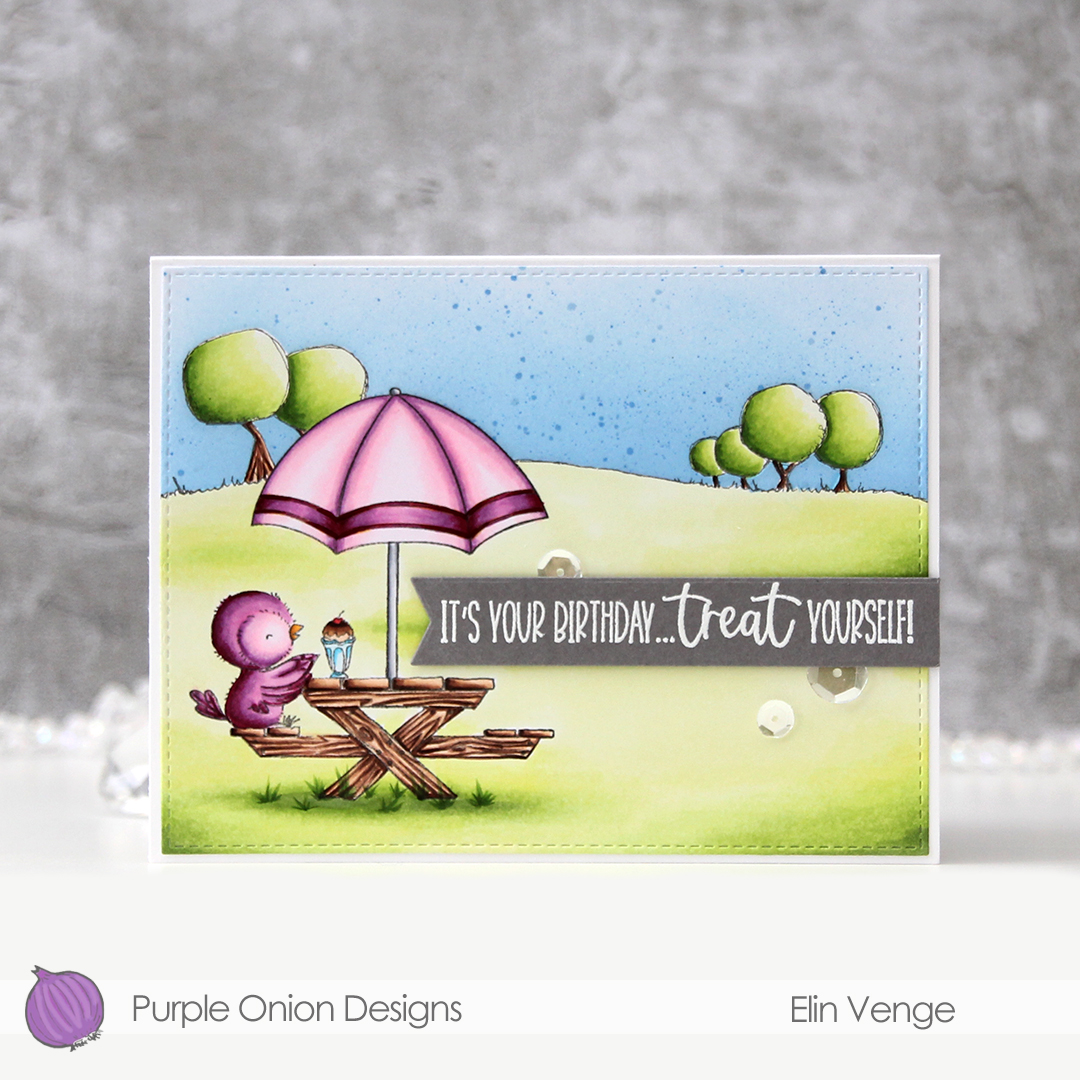
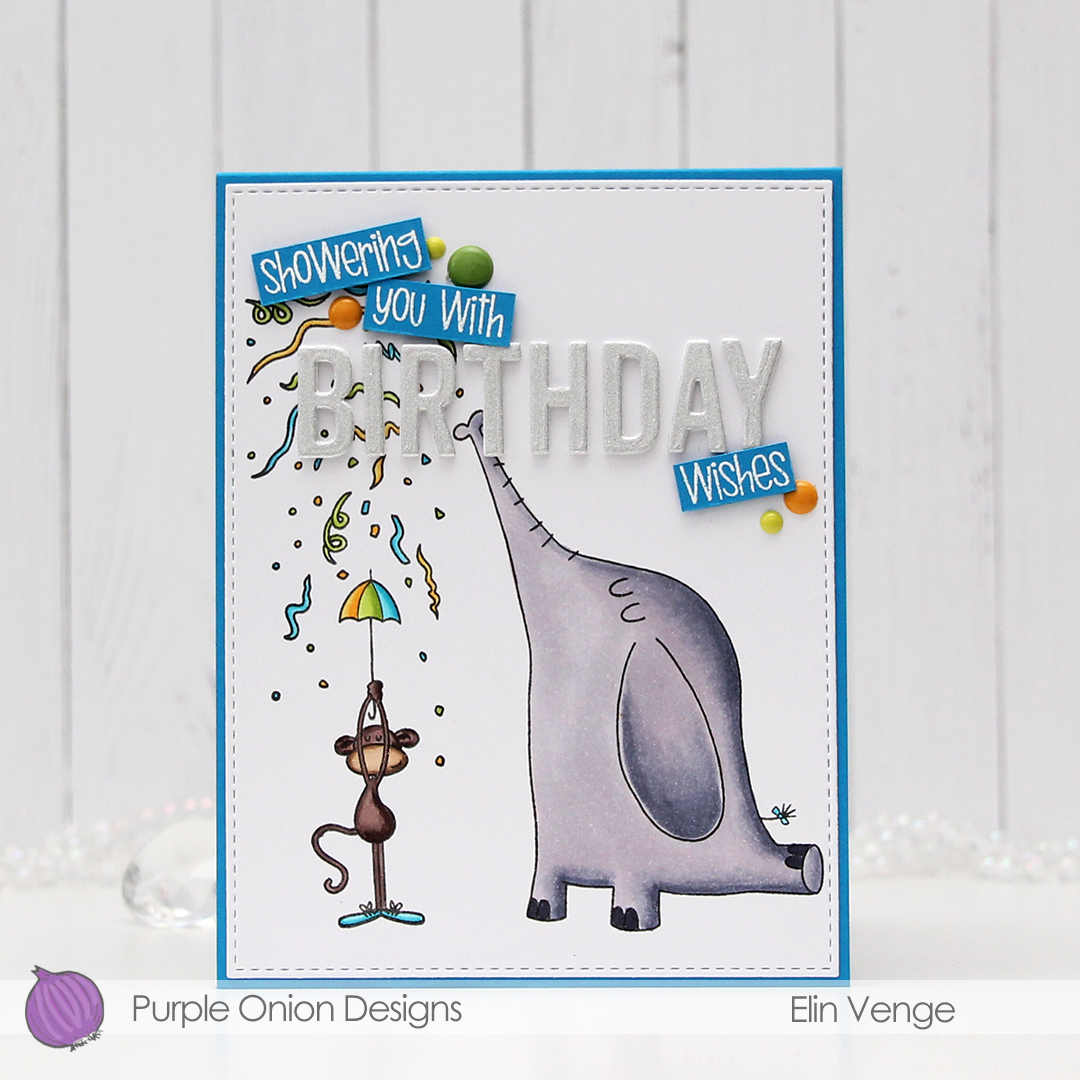
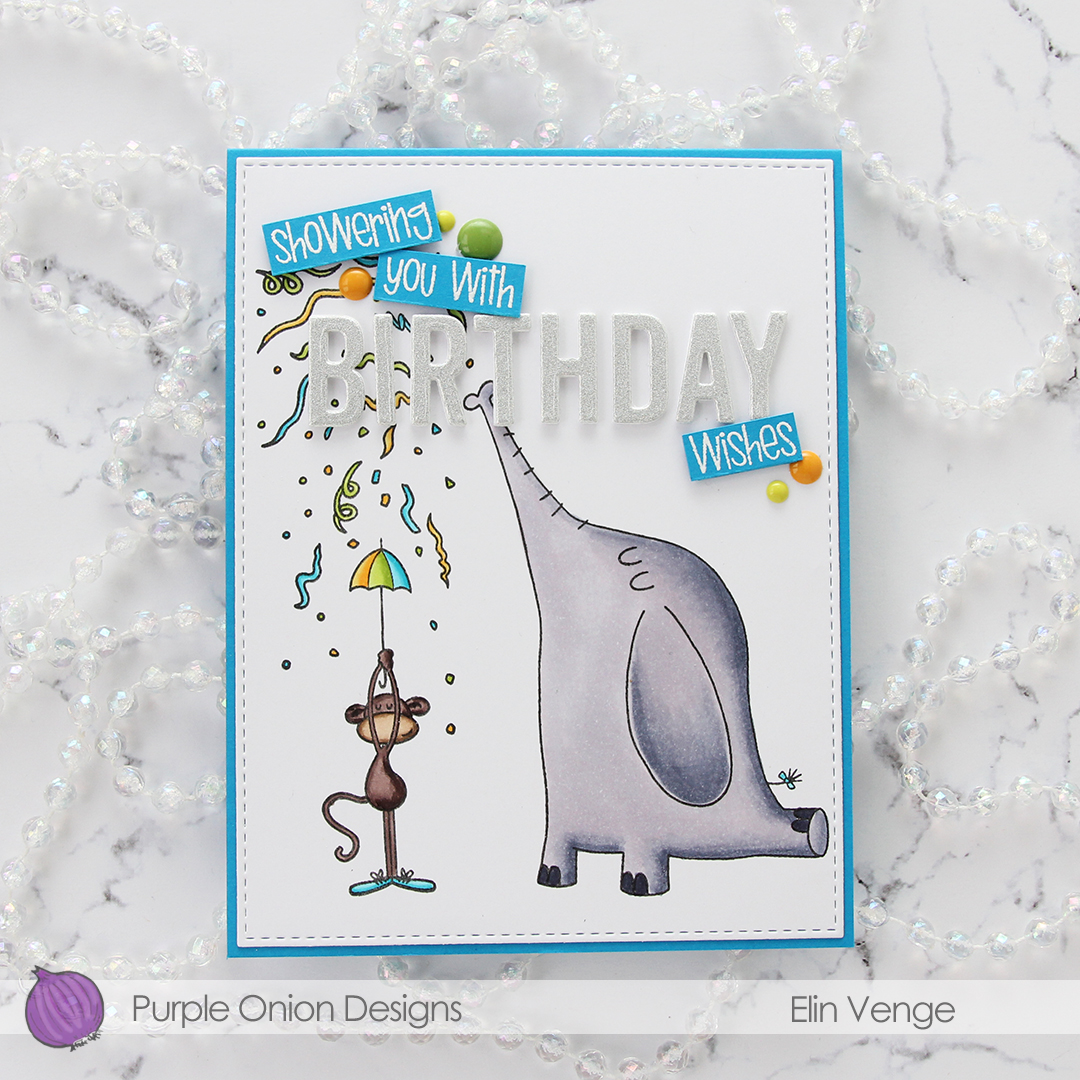
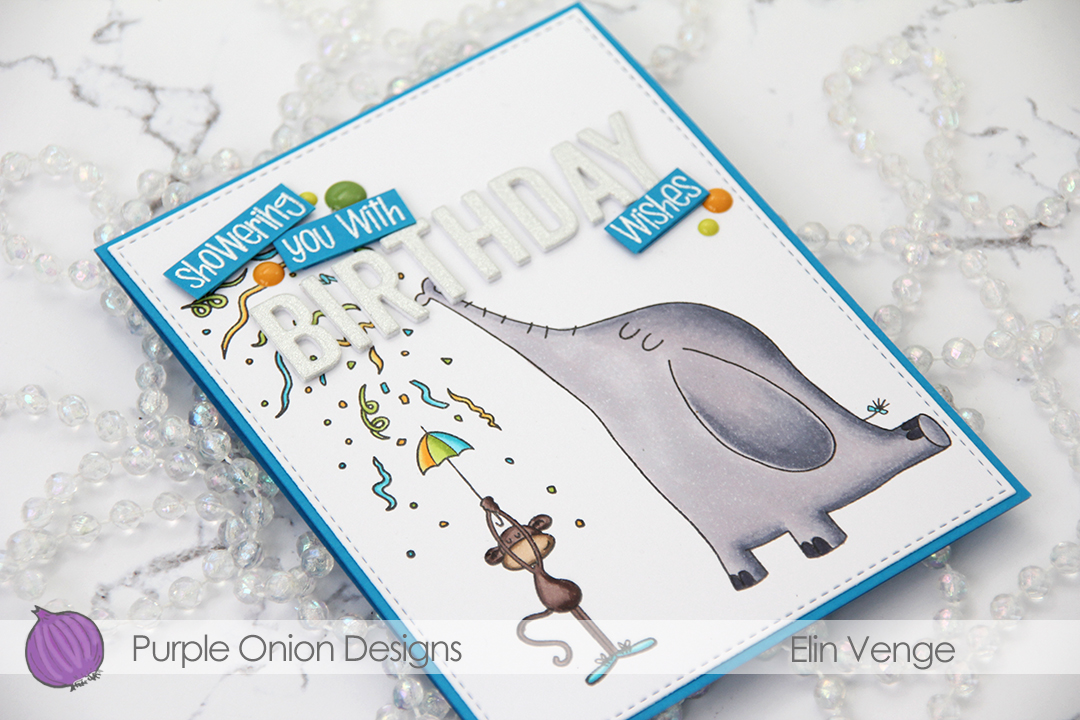
Hi! Today I have a fun and festive, yet very simple card to share, featuring the Confetti Celebration stamp set from Purple Onion Designs, illustrated by Julian Charlton. I love Elliot and Marcel, they’re so fun and quirky. They’re also not super detailed in the linework, which gives me the opportunity to practice my watercoloring.
 I bought a 36 tube set of Mijello Mission Gold watercolors last September, and they’ve been sitting in their palette scaring me, but I’ve recently started dabbling a little bit. Images like this with big open areas are great for practice, and this is my third proper watercolor piece. Yes, I’m keeping track, haha. The previous two attempts were both noline. One was a background, and the other a digital stamp. My printer ink doesn’t play well (or at all, really) with water, so I had to opt for the noline look to prevent visible bleeding. I dove right into the deep end, hoping I could pull it off.
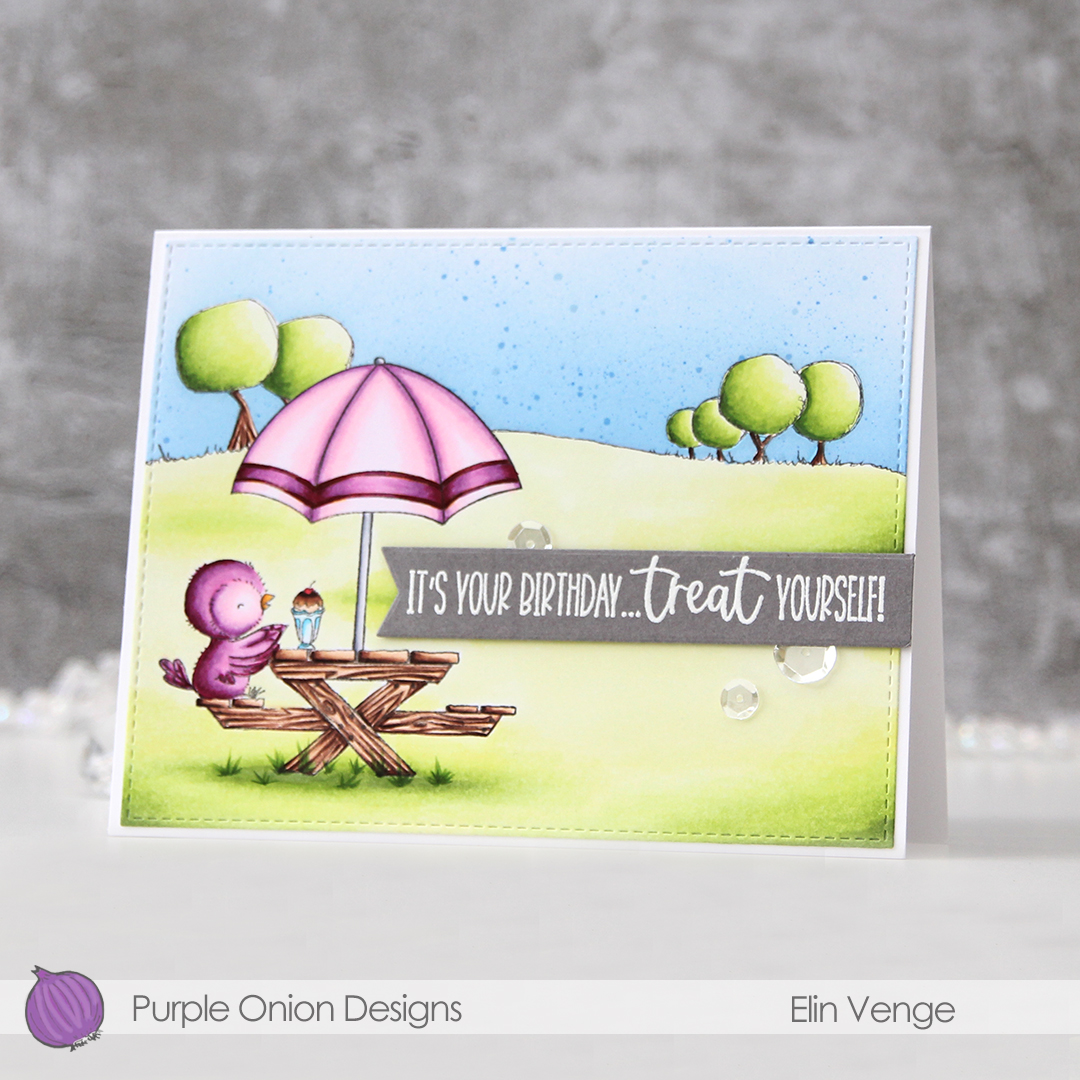
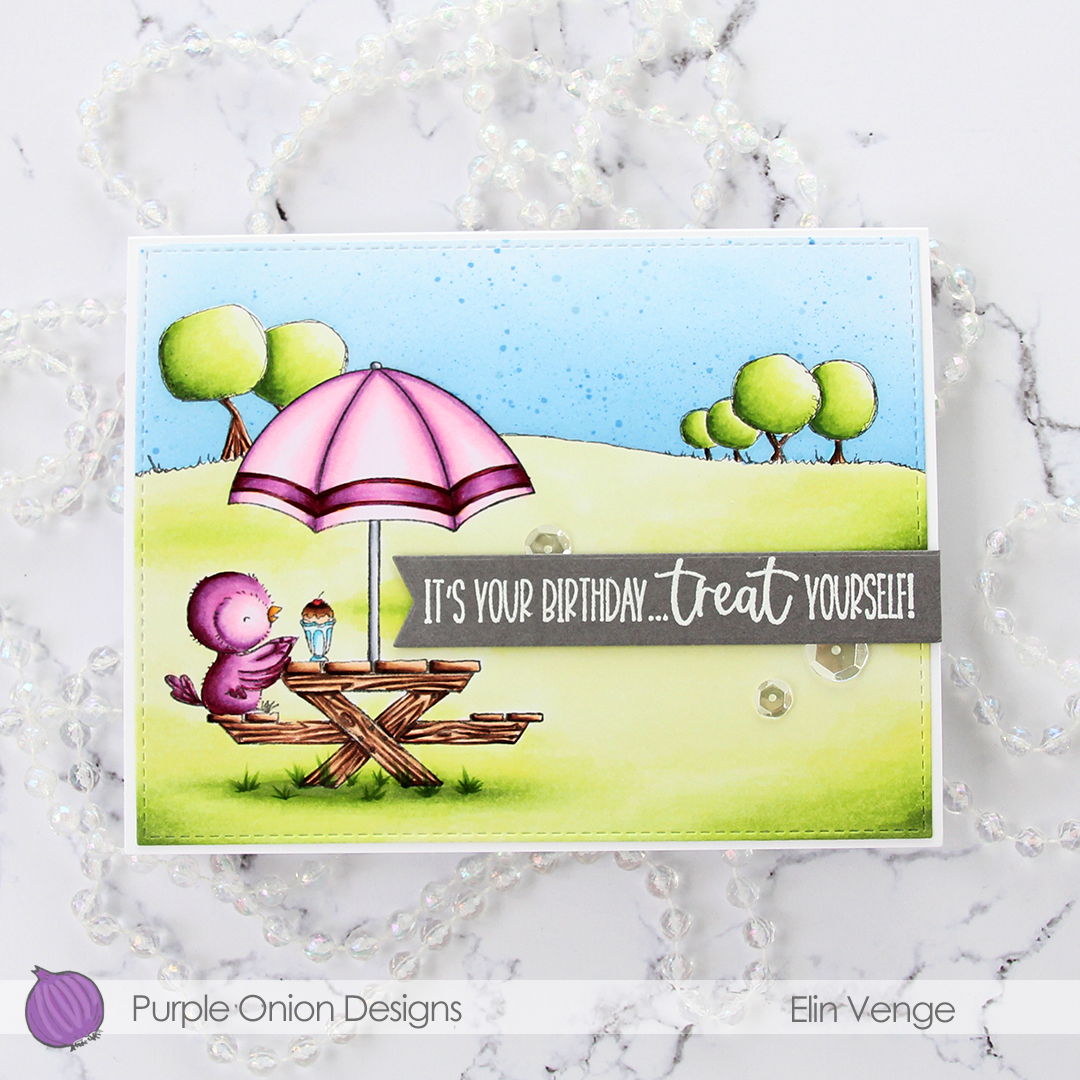
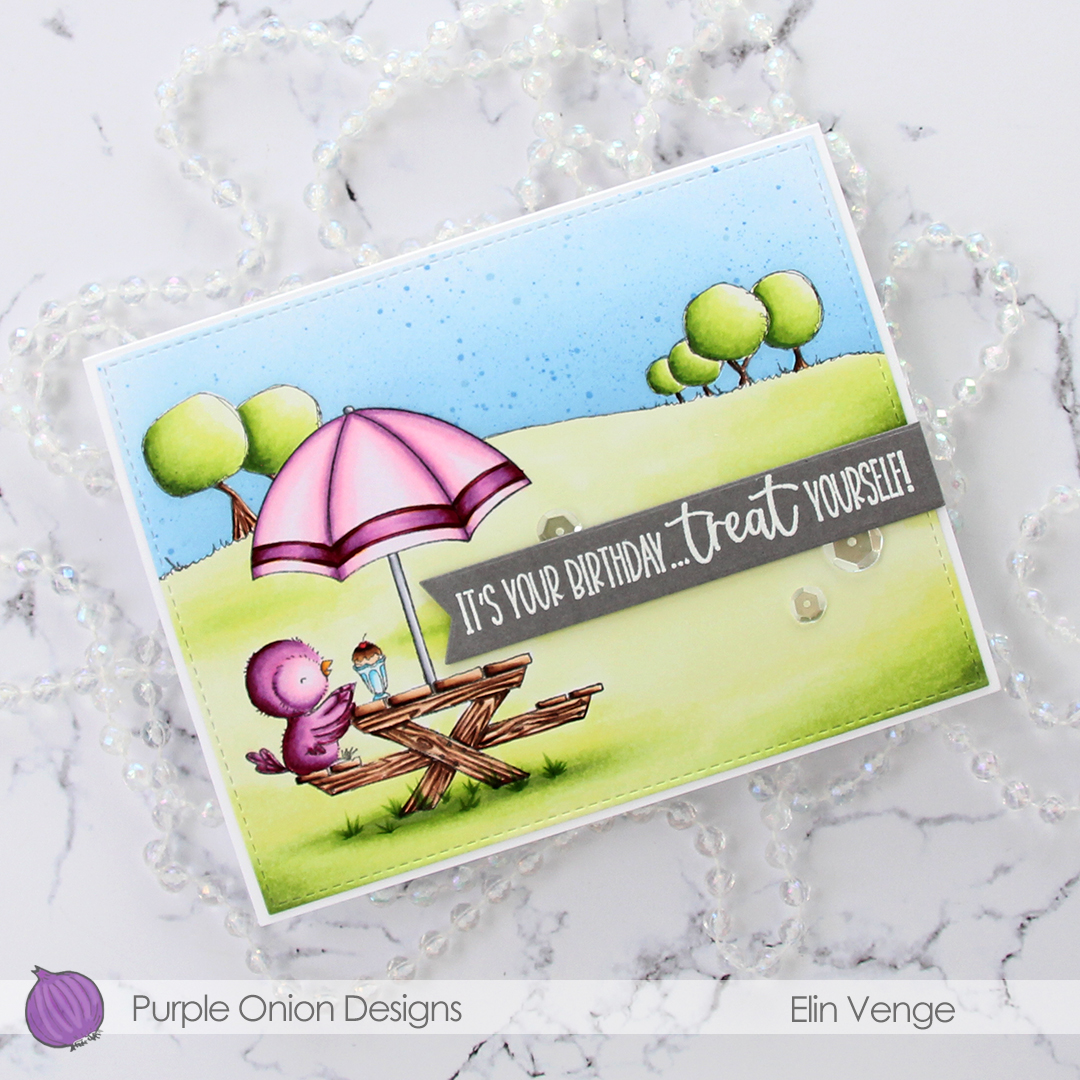
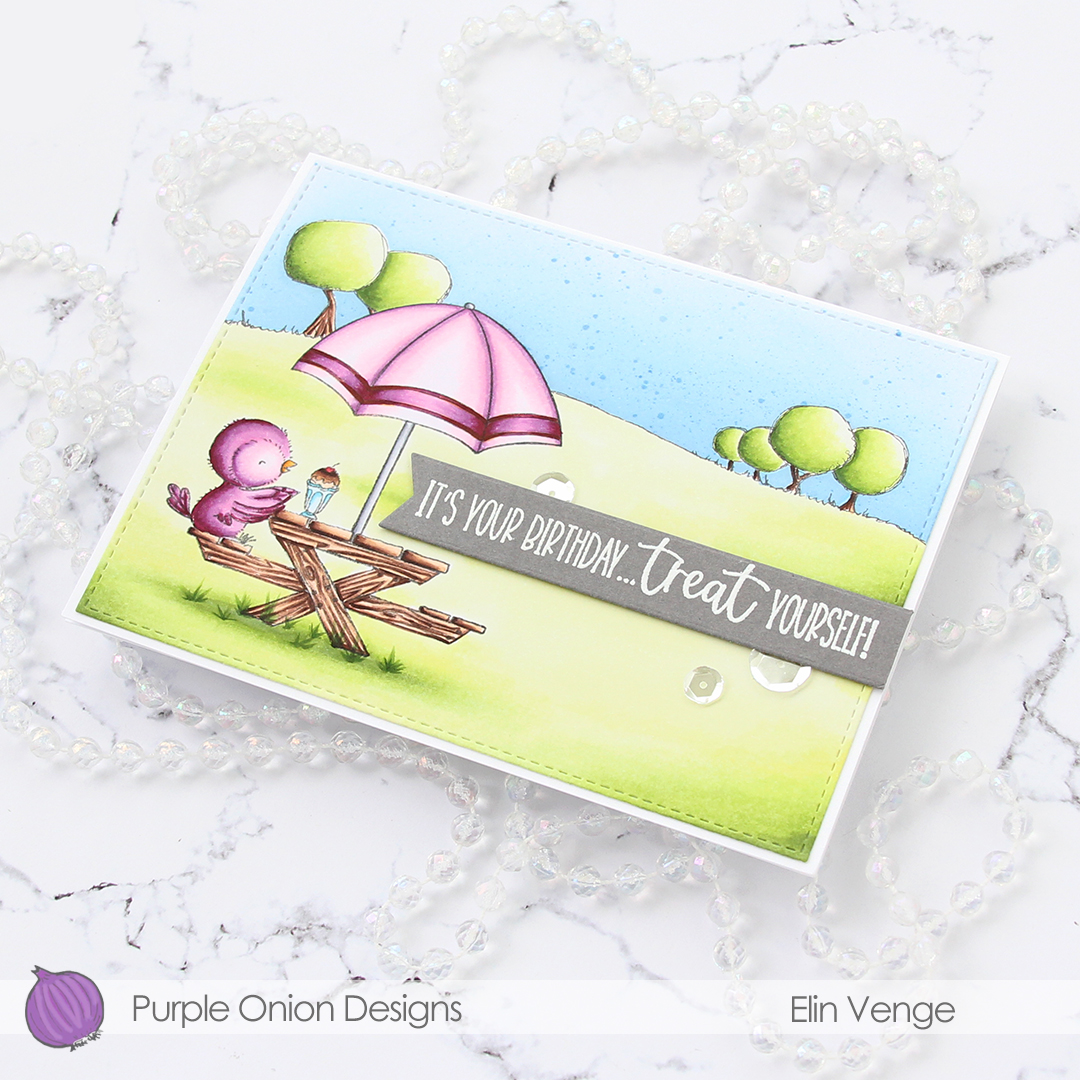
 I stamped the image onto Fabriano Artistico Extra White watercolor paper using VersaFine Onyx Black ink. I’ve created a birthday card with these two once before (blog post here). Back then, I used blue, green and yellow, so I wanted a different palette for today’s card. Pink, orange and yellow is a palette I really love, and with the pink watercolor wash on the background, as well as the Poppin’ Pink cardstock from My Favorite Things that I chose to create my card base from, I think this is a really fun card.
 For my last card with this image, I used my Copic BV20 series for a purply gray elephant. This time, I went for a bluer version to get a nice contrast. I actually decided to mute my pink a little before painting with it. The Bright Opera color from Mijello is a super bright pink, and I added a tiny bit of Hooker’s Green to dull it a little, it was just too bright a pink straight from the palette for what I wanted.
 Once I’d painted my scene, I went back over with a black pen to trace the lines of the image. I would have restamped if I could, but I stamped the image weeks before I painted it and removed the stamp from my MISTI in the meantime. Black pen to the rescue. I just wanted crisp black lines. I stamped a sentiment from the stamp set using VersaFine Onyx Black ink and heat embossed that using clear embossing powder.
 I cut down my colored panel slightly and adhered it to an A7 top fold card base I created from two pieces of Poppin’ Pink cardstock from Papertrey Ink. To finish the card I adhered sequins, beads, confetti and other various little bits from the Sweet Shop mix from Little Things from Lucy’s Cards. I don’t usually put this many sequins on my cards and scatter them like this, but I wanted to really keep the party vibe from these two going across the entire card front.
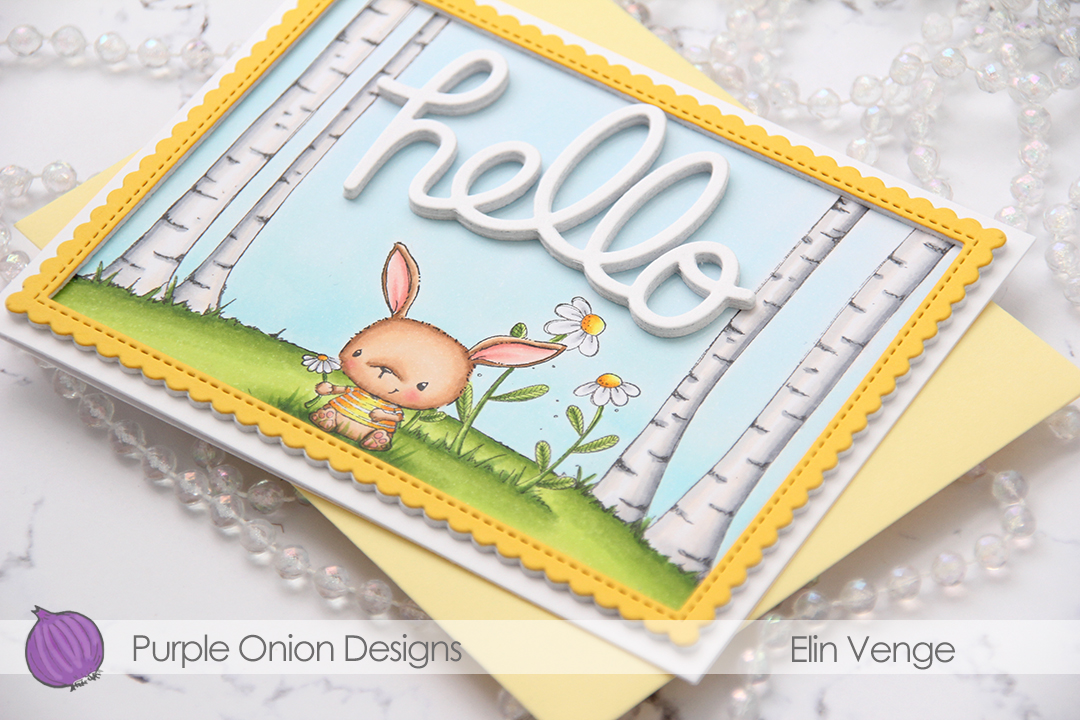
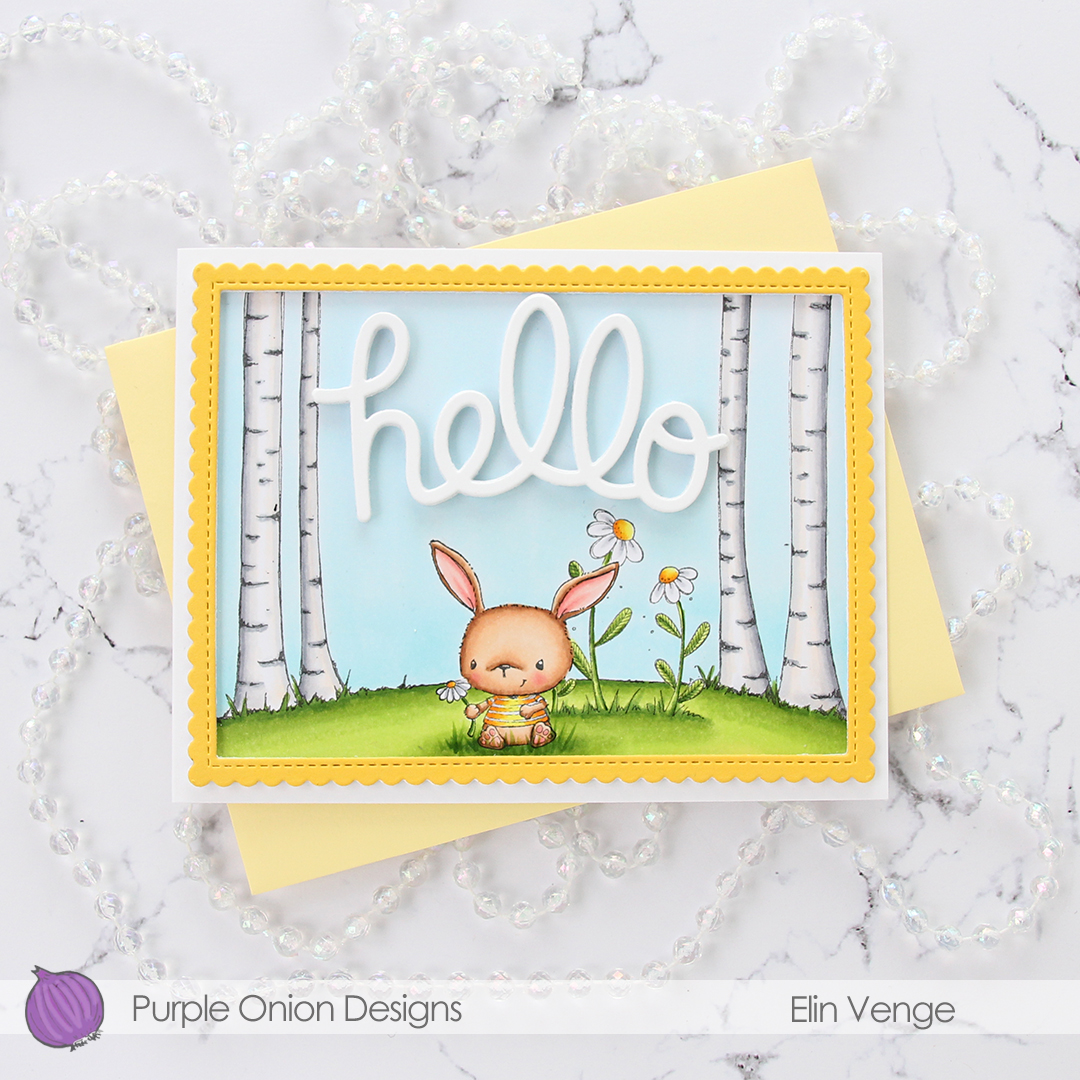
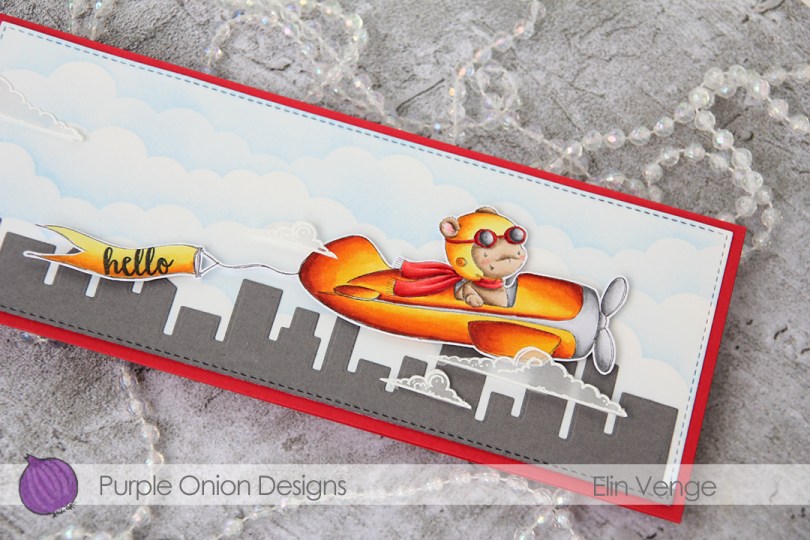
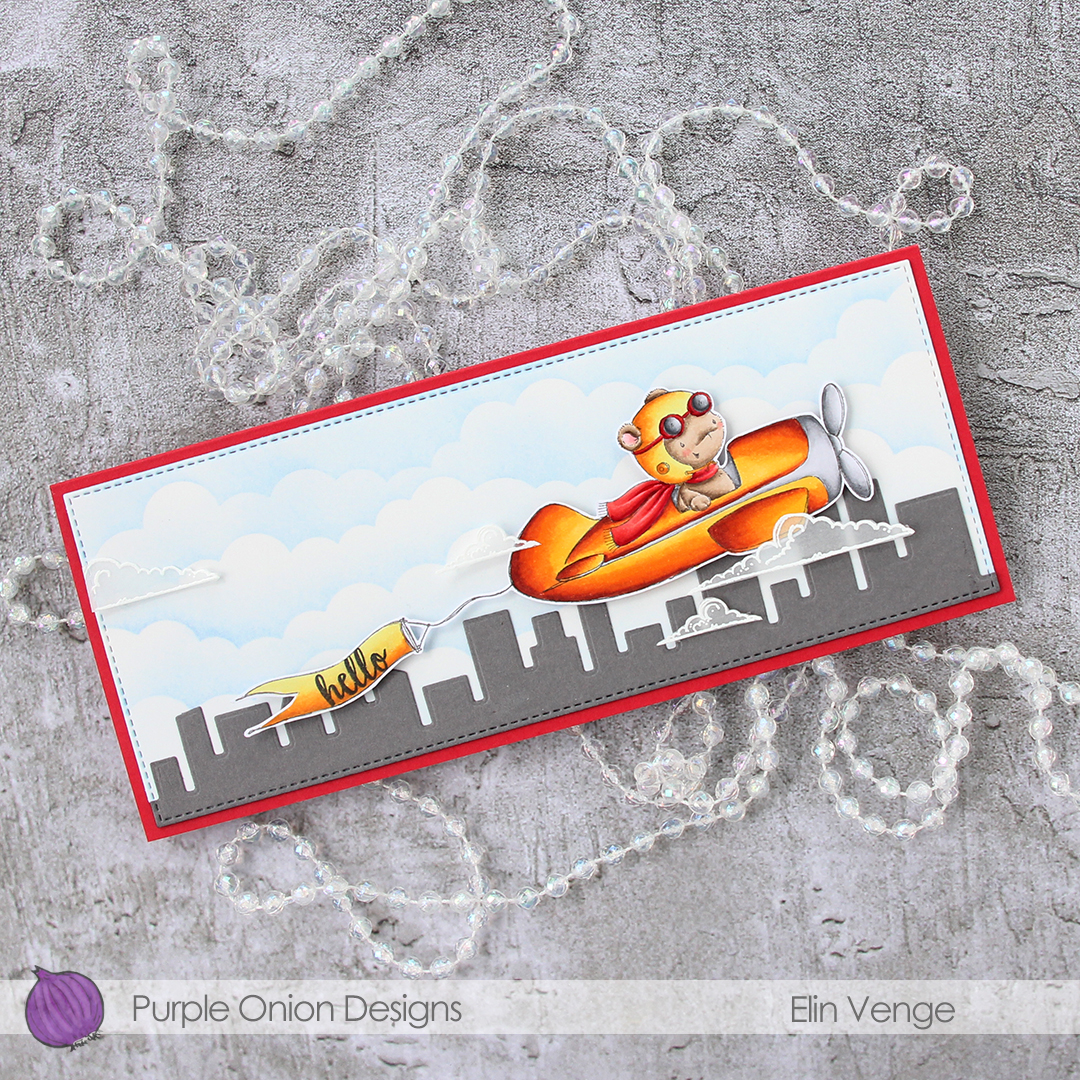
 I did something a little different for this card. Exactly one year ago, with helpful advice and a gentle nudge from
  I stamped the
  I used a die from Waffle Flower to cut my panel down to a rectangle that would fit my card, which also helped flatten it out a bit, it was a little bit warped. I sprinkled on Chunky White embossing enamel from Stampendous and melted the granules from the back, before mounting the panel on foam tape and adhering it to the front of my top fold landscape A2 card.
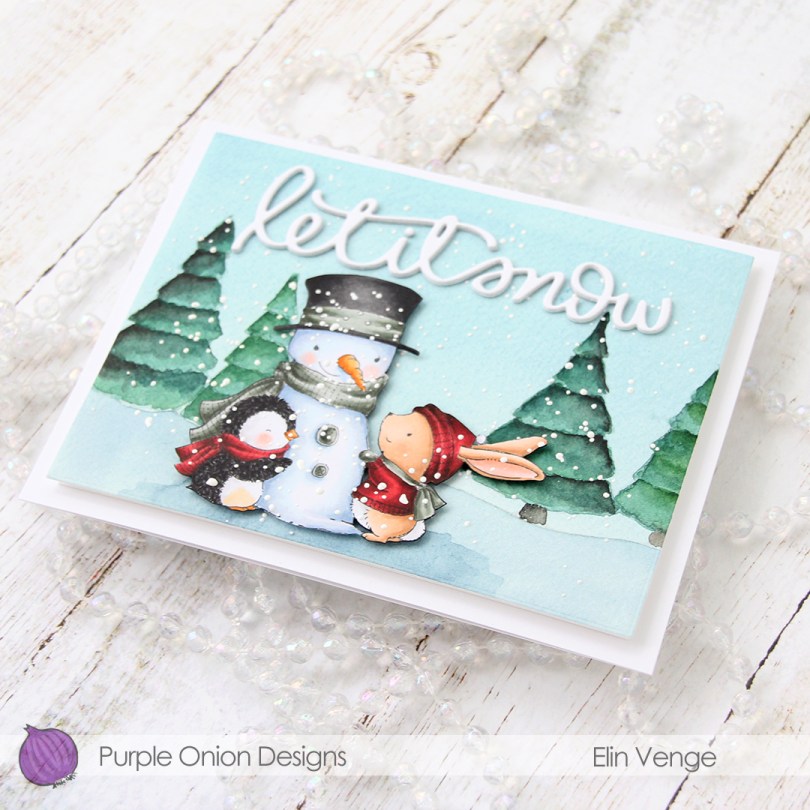
 Using My Favorite Things Extreme Black ink, I stamped the
  I die cut the words let it snow three times from white cardstock using a die from Mama Elephant, stacked them for a dimensional sentiment and adhered it to my scene to finish the card.
 The Copics I used for the cute critters and snowman.
 I colored the image using a very soft color palette with my Copics. I didn’t write the colors down, so unfortunately, I have no fancy graphic to show you at the end of this post. I wish I did, though, because I really like the colors I used for this.
 I used the largest of the A2 Stitched Rectangles STAX 2 dies to turn my colored piece into a nice panel with the faux stitch edge I love so much. I decided to adhere it directly to my top fold card base, that I made from Berry Sorbet cardstock from Papertrey Ink. The color matches the darkest parts of her dress very well.
 Onto a separate piece of Berry Sorbet, I stamped and white heat embossed part of a sentiment in the
  I die cut part the word wish using a die from Mama Elephant. The die actually die cuts the word wishes, but I cut off the tail end of the word so I was left with just wish. I die cut four more from Grapefruit cardstock from Concord & 9th, and added them behind the top die cut for dimension. This makes the word lighter (and it makes it match the lighter parts of the dress) from the sides. I did the same with the sentiment strips above, making the strip and the stacked die cut flush.
 I finished off the card by adding a few sparkling clear sequins from Pretty Pink Posh. I used my scissors to cut the largest sequin in half to tuck it behind the sentiment strip.