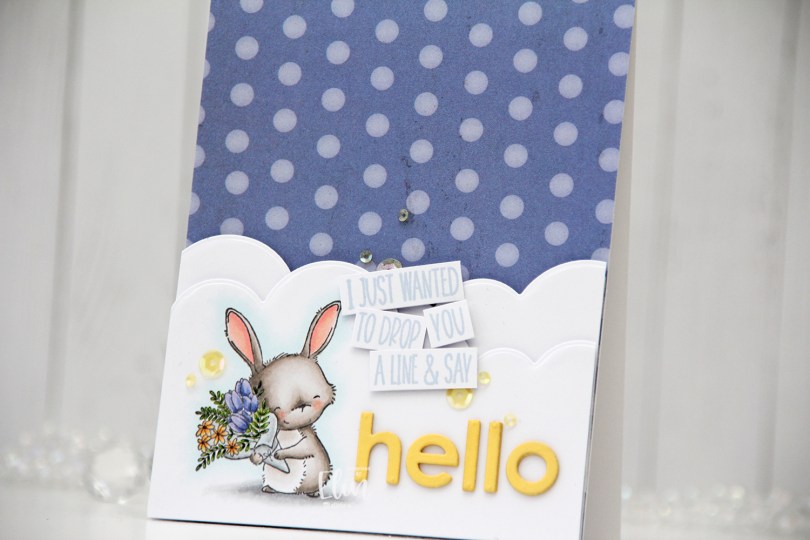
Hi, crafty friends. Today I’m sharing a card featuring the sweet Junie image from Purple Onion Designs. I love this little bunny with her bouquet of flowers.
 I stamped the image using Extreme Black ink from My Favorite Things, before coloring with my Copics. I love love love the way rubber stamps stamp even the thinnest lines. It’s great for details, and Stacey Yacula’s illustration style gets to shine. Her line work is very delicate, which pairs so well with rubber stamping, because you’re able to easily stamp all the little details.
 I used a die in the Slim Card Basics die set from Mama Elephant to create a cloud border above my stamped and colored image, and used the same die on a separate piece of cardstock. I found a scrap piece of patterned paper from Scenic Route that I added to my card base, then added my cloud pieces on top using foam tape.
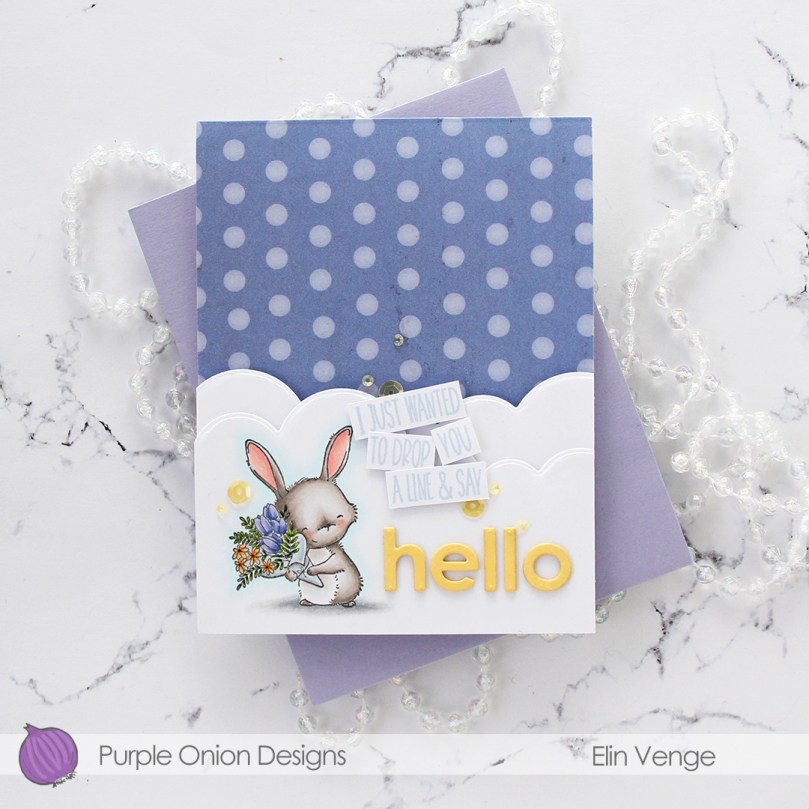 I used two sentiments from the Sunshiny Sentiment set to create my staggered sentiment. I didn’t have the right color purple ink I wanted, so I stamped once with Grapesicle ink from My Favorite Things and then right on top with Iceberg ink from Altenew to create a new color for my sentiment.
 Using the lower case Parker alphabet die set from Memory Box, I die cut each letter three times from Harvest Gold cardstock from Papertrey Ink to spell the word hello. I stacked my die cuts and adhered them to the right of Junie using liquid glue.
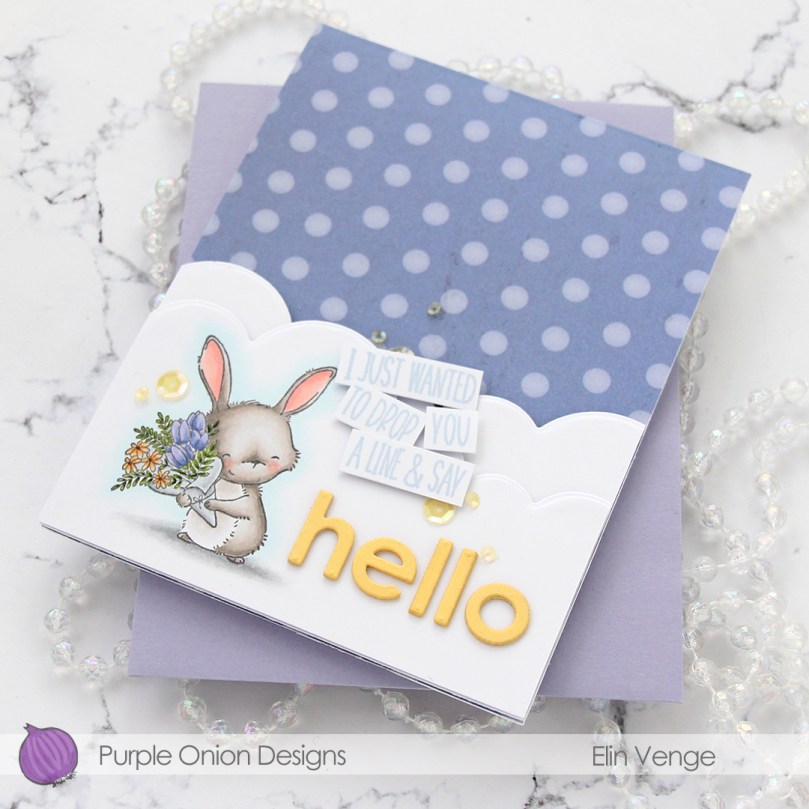 To finish the card I added a few yellow sequins from Little Things from Lucy’s Cards. These are actually from the Candy Corn mix; a Halloween mix with orange, yellow and clear sequins and gems which even has a few tiny ghosts made from acetate thrown in. It’s a fun mix.
 Simple color palette for this one.

 I colored the scene in using Copics. A couple of my browns went sticky during my coloring, and refilling them (which usually does the trick, markers tend to go sticky when they’re low on ink) didn’t work, so I replaced the nibs and they’re behaving a little bit better now.
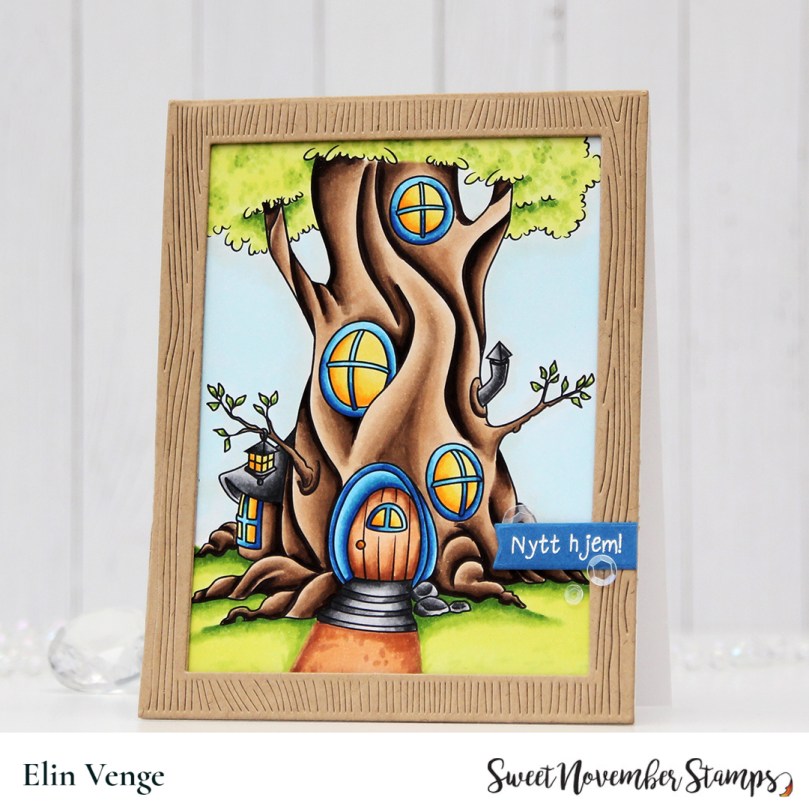 Using Classic Kraft cardstock from Papertrey Ink, I die cut the largest of the Wood frame infinity dies from Hero Arts and put two additional layers behind it for dimension. The die actually cuts a frame that is slightly larger than the size of an A2 card, so I created a custom sized card to fit the frame. I glued the frame to my scene, stamped a sentiment from the Småtekster stamp set from Norsk Stempelblad AS onto Cornflower cardstock from My Favorite Things and heat embossed it in white, before using a die from the Tag Builder Blueprints 6 die set from My Favorite Things to turn it into a nice strip with a flag end. I adhered it to the frame and added 3 sequins from the White Orchid sequin mix from Little Things from Lucy’s Cards to finish.
 Very simple color palette. Since I had to color it twice I’m glad it wasn’t more involved 🙂
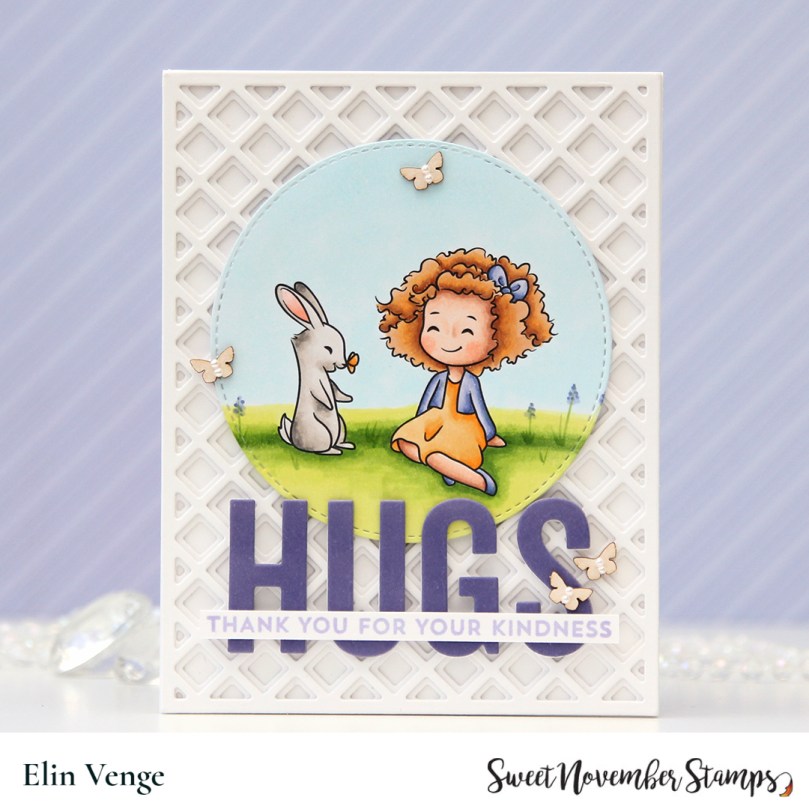
 I wanted a little bit of subtle interest to my background, and used the Garden Lattice dies from Honey Bee and die cut both the base and the top die (these are sold separately) twice from Stamper’s Select White cardstock from Papertrey Ink. By doubling up on each of the die cuts, I get lots of dimension.
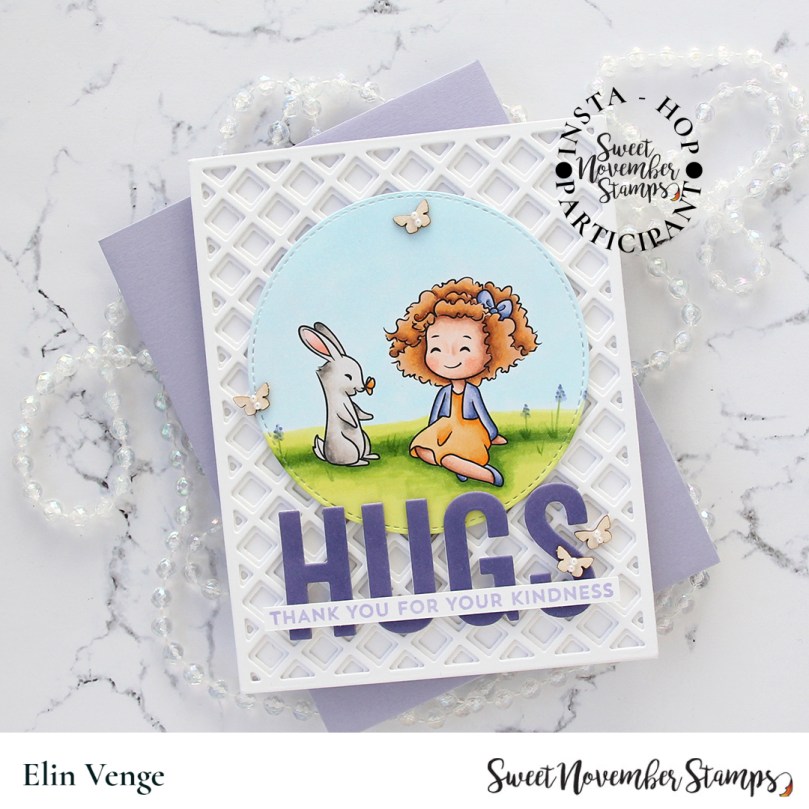 I also die cut the word hugs from the Sending Big Hugs die from My Favorite Things. I die cut two layers from white cardstock and three layers from purple (Winter Wisteria from Papertrey Ink). The purple didn’t match my coloring, so I added BV02 to the top layer, that did the trick. I stamped my sub sentiment from the Bitty Thanks & Gratitude stamp set from My Favorite Things using Grapesicle ink, also from My Favorite Things, and adhered the strip directly to the diecut HUGS word.
 I finished off the card by adding a few veneer butterflies, I thought they paired well with the butterfly on the bunny’s nose. The butterflies are from Wycinanka, and I added two Kort & Godt pearls to the center of each of the butterflies to form the body, and that finishes the card.
 Simple, yet happy color palette for this card.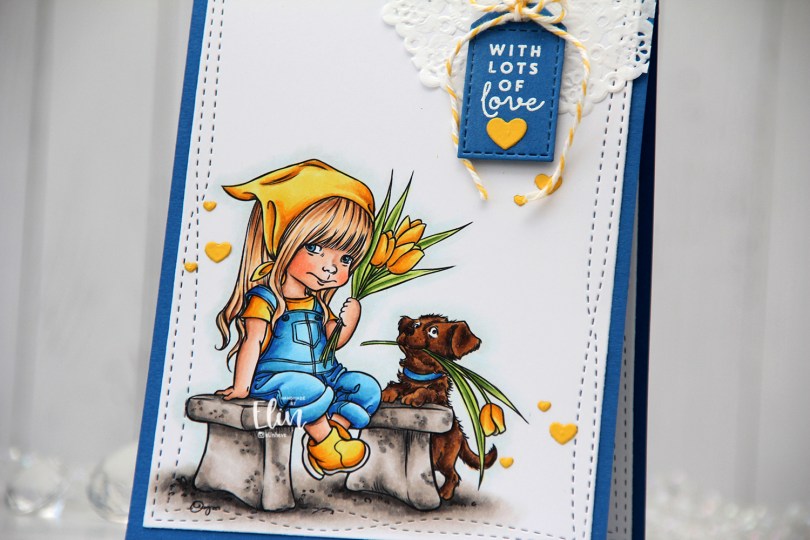
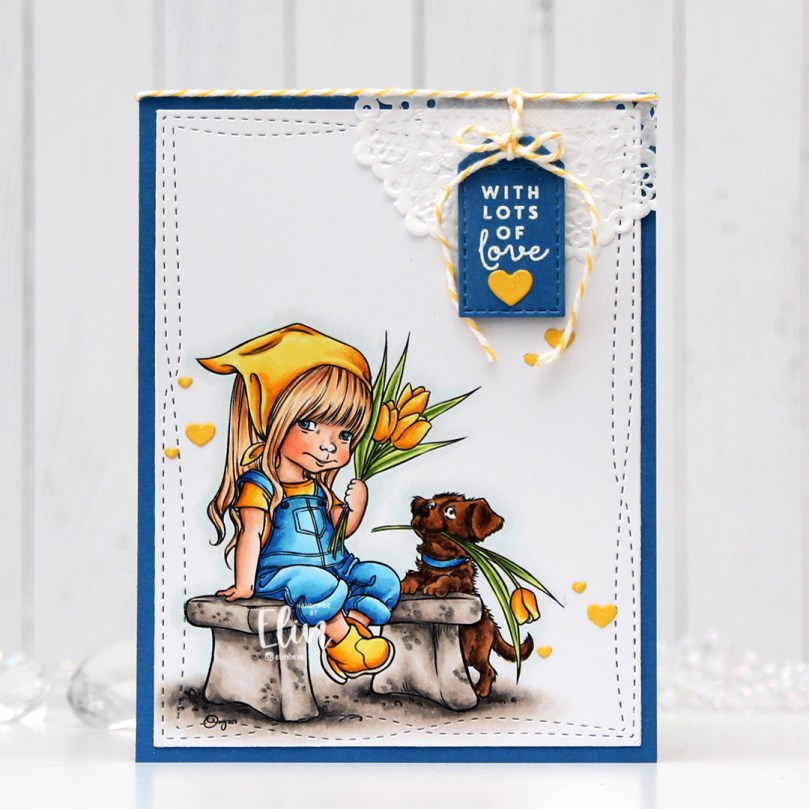 I couldn’t choose any other colors for this card, it simply had to be blue and yellow. I colored the image with Copics, then used the largest die in the Wonky Stitched Rectangles STAX set from My Favorite Things to create a little bit of interest to the edges of the panel, before adhering it to a card base created from Cornflower cardstock from My Favorite Things.
 In the top right corner, I adhered part of a mini doily from Doodlebug using liquid glue. To the top of the card, I tied a piece of Divine Twine from Whisker Graphics in the color Lemon. I stamped and white heat embossed a sentiment from the Mini Messages stamp set from Mama Elephant on a scrap piece of blue cardstock and die cut it into a tag using a die from the Everyday Gift Box die set from My Favorite Things. I tied the ends of the twine to the tag, added a bow and put foam tape behind the tag for a little bit of dimension to my card.
 I put a small piece of Stick-it adhesive behind a scrap of Bright Buttercup cardstock from Papertrey Ink and die cut lots of tiny hearts from it using a die from the Say What? Gift Tags die set from Lawn Fawn. I adhered the hearts in three little groupings of three. They form a nice visual triangle and add more yellow goodness to the card. There’s no such thing as too many hearts!
 I’m sending lots of love to the people in Ukraine. It’s heartbreaking that certain people haven’t yet learned the lesson that war’s never the answer. Love always is. 💙💛
 Lots of Copics used for this. Thankfully, they were already out on my desk from previous projects, so I didn’t add to the pile of markers I have to clean before I put them back where they belong in my block stands.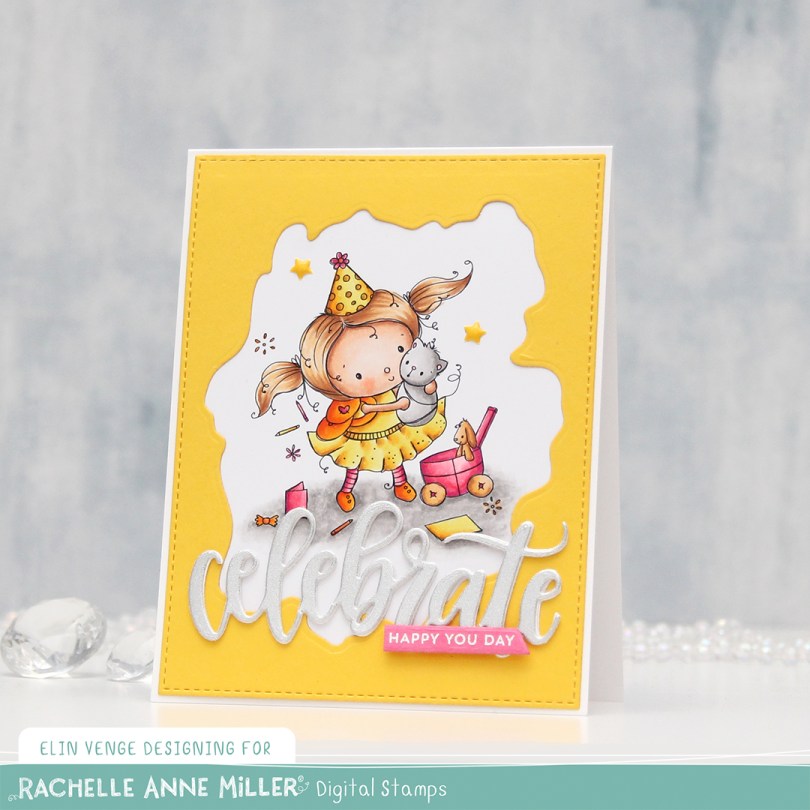
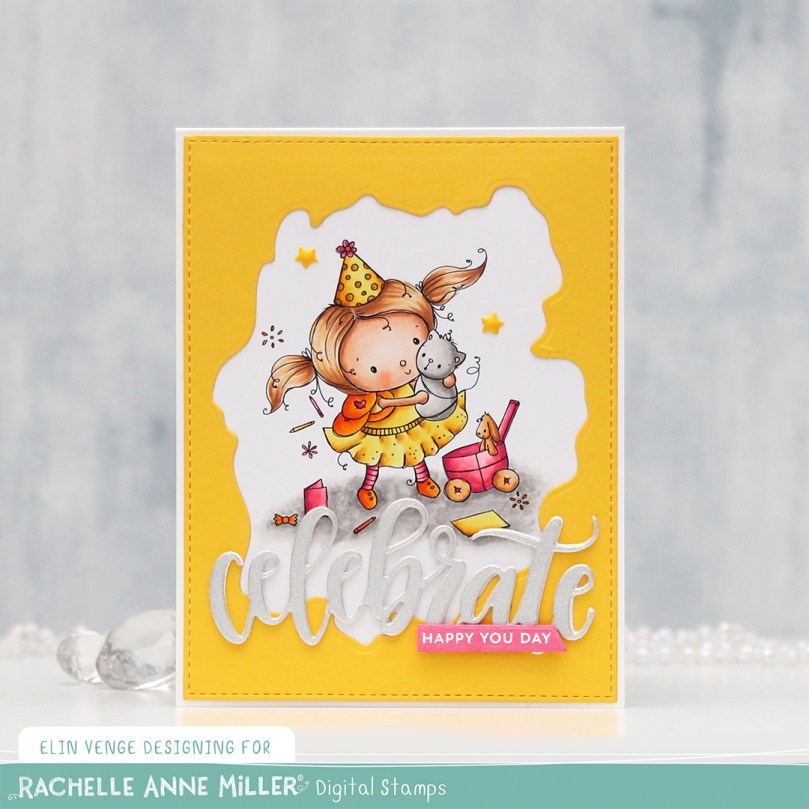 I colored my image with Copics and put it aside while I worked on the rest of the card, which I kept fairly simple. I used the largest die in the A2 Stitched Rectangles STAX 1 set from My Favorite Things in combination with the Watercolor Wash Free Form die, also from MFT, to die cut a window from Bright Buttercup cardstock from Papertrey Ink. I adhered the image to the back of this window and adhered it to my card base, which I made from Stamper’s Select White cardstock from Papertrey Ink.
 I die cut the Celebrate die from My Favorite Things twice from white cardstock and once from a silver sparkle cardstock and adhered them together for dimension. I also stamped a sub sentiment from the Itty Bitty Birthday stamp set from My Favorite Things onto Hibiscus Burst cardstock from Papertrey Ink and heat embossed it, before using a banner die from the Everyday Gift Box die set from My Favorite Things. I put a couple of additional layers of pink cardstock behind it, adhered it on top of the stacked Celebrate die cut and embellished the card very simply by putting two star enamel dots in spots that have stars in the stamp. Simple, right?
 Quick and easy coloring with a fun, summery color palette (it’s been snowing and sleeting and freezing here, which makes me long for summer even more than usual).
 I printed the image near the bottom left corner of a panel of X-Press It blending card, before coloring it with Copics and using the largest die in the A2 Double Stitched Rectangle STAX die set from My Favorite Things to create a finished look with the nice faux stitching details that I love to add to my cards. I adhered it to a cardbase I created from Jalapeño Popper cardstock, also from MFT, and I had my base ready for some play with scraps.
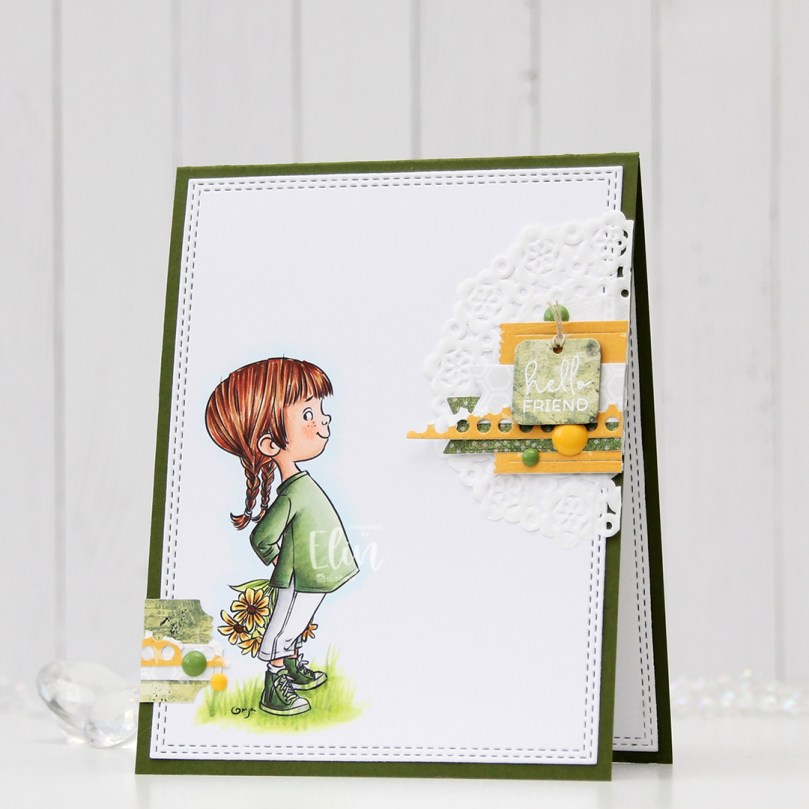 I love creating these clusters of die cut scraps on my cards, and I have stamp storage pockets with little die cut patterned paper scraps sorted by color. That way I can rummage through these when I create my cards instead of having to find lots of patterned paper to match my card, then die cut it. It usually takes several different patterned papers of one color to create the dynamic look I want for my cards, but for this one, I actually kept it simple with one yellow (P13), one white and gray (Sunny Studio) and only two green ones (Basic Grey and Karen Foster Design). They’re all different shapes, which still keeps it interesting. Some are glued directly to the card, some with foam tape for a little bit of dimension. Using VersaMark ink, I stamped a sentiment from the Mini Messages stamp set from Mama Elephant onto one of these die cut pieces (it happened to be a tag) and heat embossed it using Super Fine Detail embossing powder from Ranger. I used part of a mini paper doily from Doodlebug Design behind my main cluster, and added a few enamel dots (green from Papirdesign, yellow from Altenew) to embellish.
 Lots of green for this color palette.
 As soon as I saw this train, I immediately thought of the movie The Polar Express, which happens to be my favorite animated Christmas movie. I colored my train in similar colors to the one in the movie, and I put a mask on top when my coloring was done and airbrushed the sky, moon and glow coming from the headlight.
 My best friend and I have a tradition where we sit down and watch this movie every year, and I thought the sentiment from the
 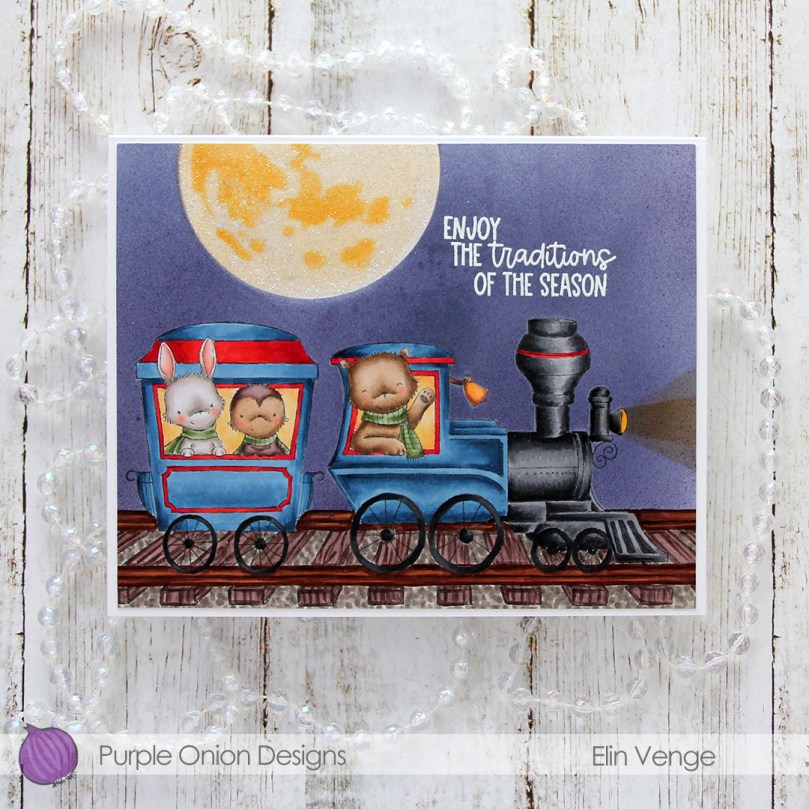 The sentiment is actually one long line, but I did some masking to create a staggered one, which I thought fit my card better. I stamped the sentiment in VersaMark ink and heat embossed it in white using Super fine detail embossing powder from Ranger.
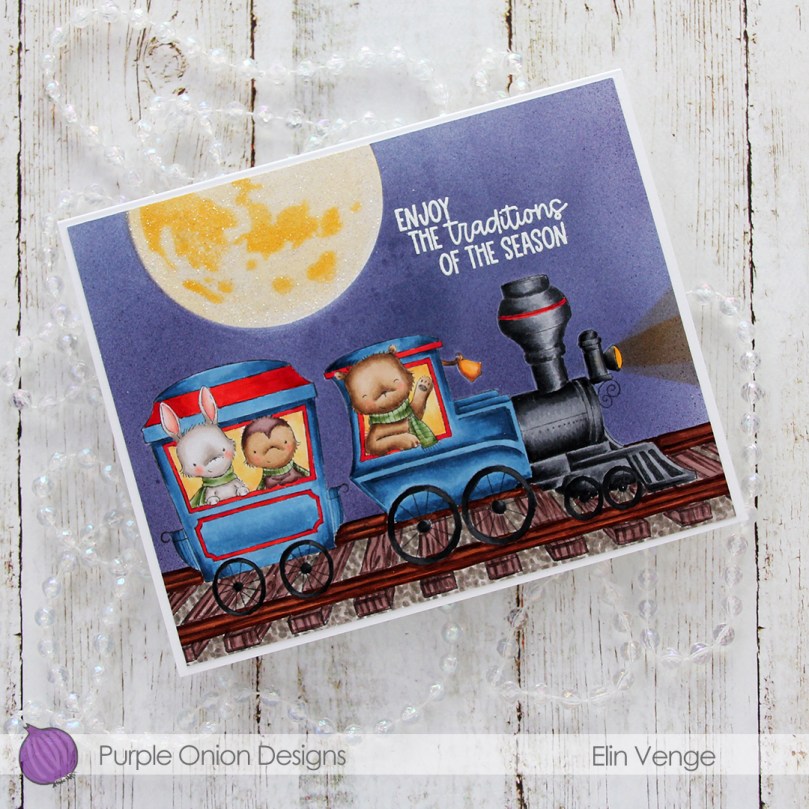 I created the moon by first masking off a circle as I airbrushed the sky, then I used the moon mask that was part of the Tim Holtz/Simon Says Stamp collaboration set for Stamptember 2021 to create my moon.
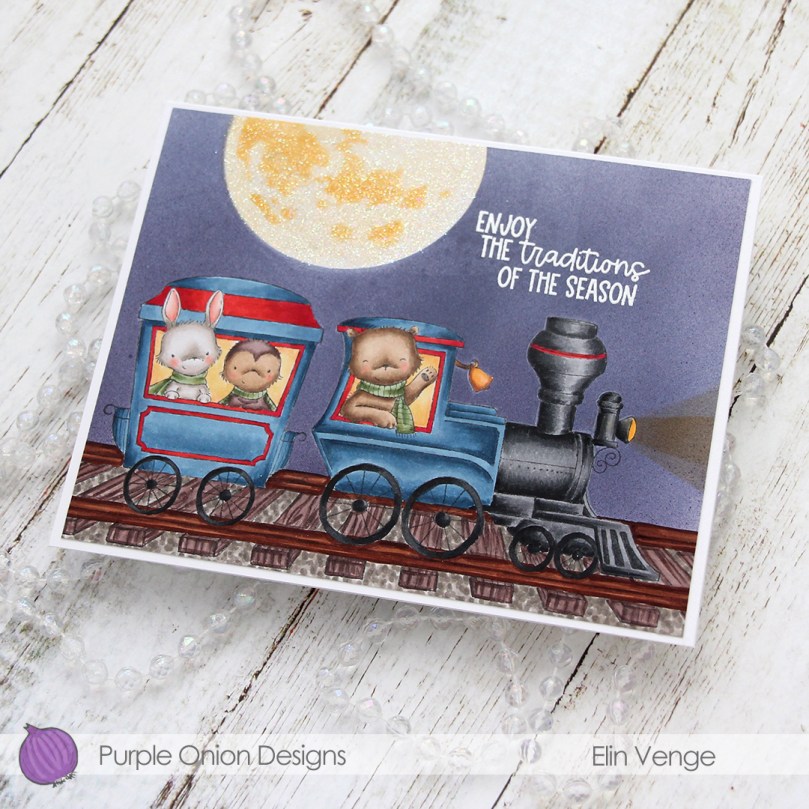 Once I’d created my moon I covered the circle opening again with VersaMark ink and sprinkled on Iridescent Sparkle embossing powder from Judikins, which I then melted. It gives the moon a nice sparkly glow. I thought that would be a nice detail to add to what is otherwise a very simple card. I adhered the colored scene to a white top fold card base and decided not to embellish, I wanted the image to be the focal point on this card.
 Lots of Copics for this one. The ones after the white gap are the ones I used to airbrush the sky, moon and the glow from the headlight.
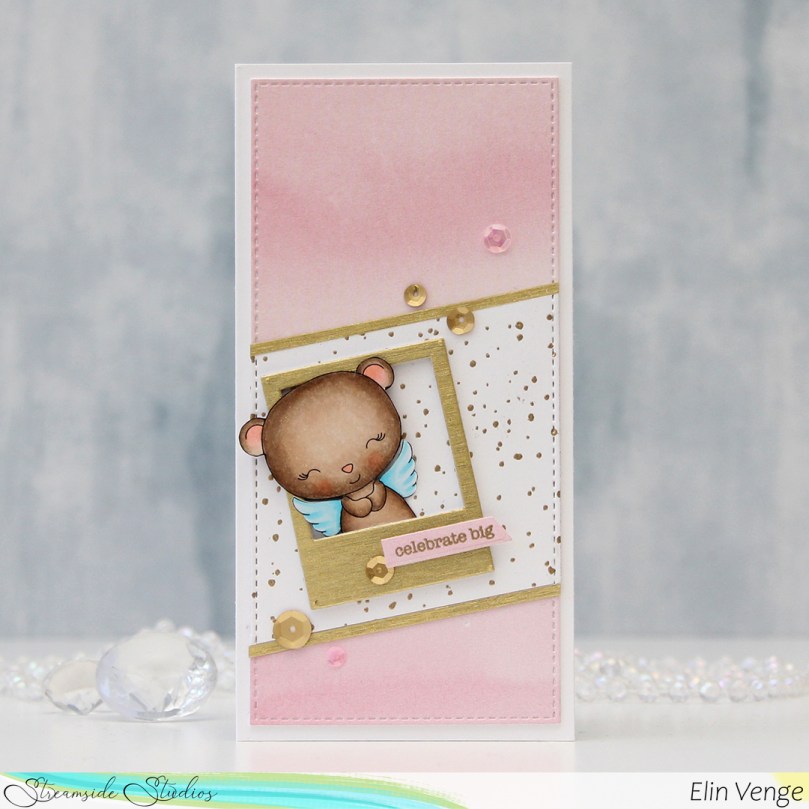 I colored the bear quickly with Copics, fussy cut and put the image aside while I worked on the rest of my card.
 I haven’t made a mini slimline card in a while, and I haven’t made any at all since I purchased the Stitched Mini Slimline STAX die set from My Favorite Things back in November, and thought it was about time I break them in. I used the largest die in the set for this card, once on a piece of patterned paper from the Watercolor Wishes 6×6″ paper pad from Lawn Fawn, and once from white cardstock at an angle that I’d stamped a background stamp onto (the Paint Splatter background from MFT) and heat embossed.
 I used one of the dies in the Precious Polaroids die set from MFT to die cut three times from white cardstock and once from a gold cardstock from Rayher. It has a brushed finish, which adds a little interest in texture instead of being flat gold. I put a thin strip of this cardstock above and below my heat embossed white cardstock piece as well, for a bit of definition to the top and bottom of the panel. I stamped a sentiment from the Birthday Messages stamp set from Mama Elephant onto a scrap piece of the pink patterned paper and poured on Gilded embossing powder from Brutus Monroe (the same embossing powder that I used for the paint splatter background), before melting the powder. I die cut it into a small strip with an angled end using one of the dies in the Everyday Gift Box die set from My Favorite Things and adhered it to the top of the polaroid using some 1 mm foam squares. I finished off the card with a few sequins from the Heaven Sent mix from Little Things from Lucy’s Cards.
 The Copic palette couldn’t possibly get any simpler.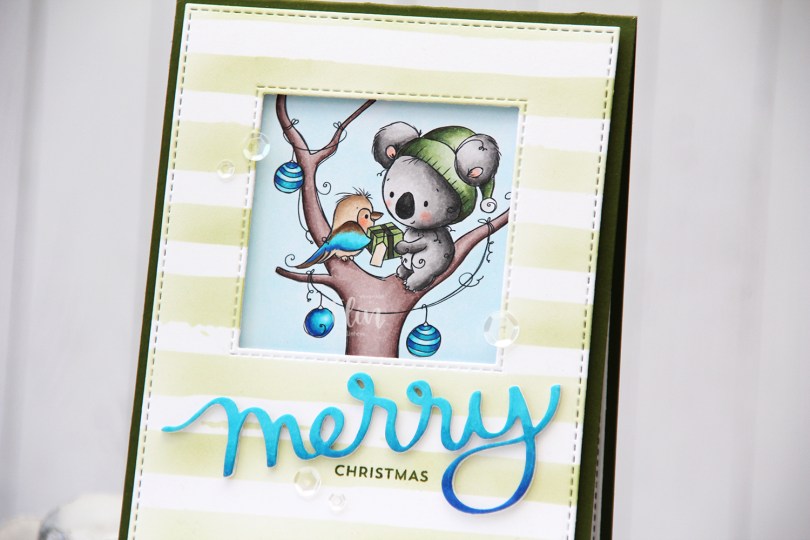
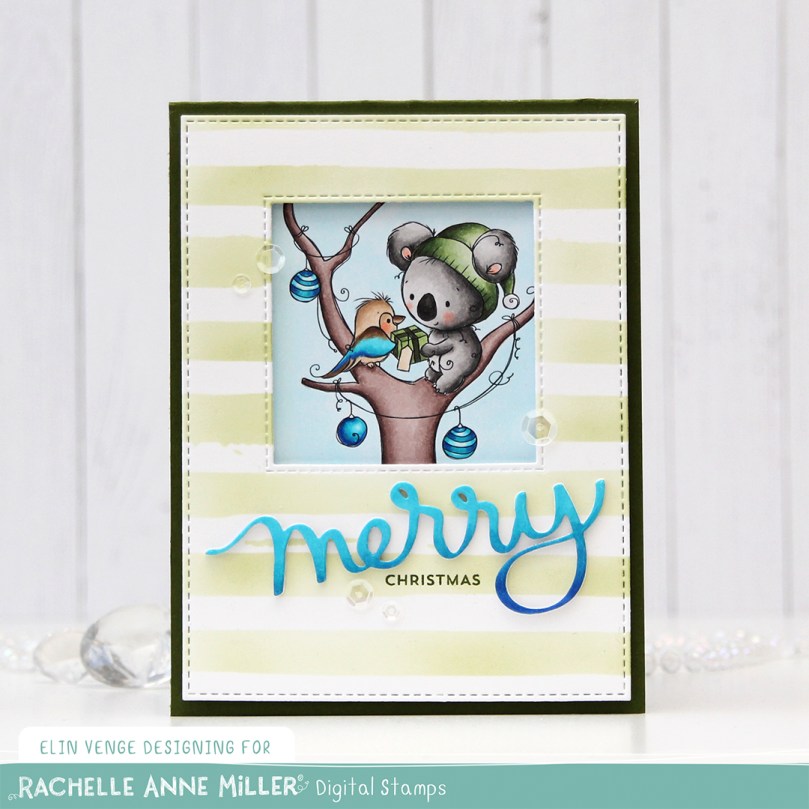 I colored the cute little scene with Copics and put it aside while I worked on the rest of my card. On a separate piece of X-Press It blending card I blended the same three blueish teal colors that I used for the kookaburra and the ornaments to create an ombré effect, and used the Merry Script die from Mama Elephant to create part of a sentiment that would match my coloring. I added three white die cuts behind it for dimension to make it stand out on my card.
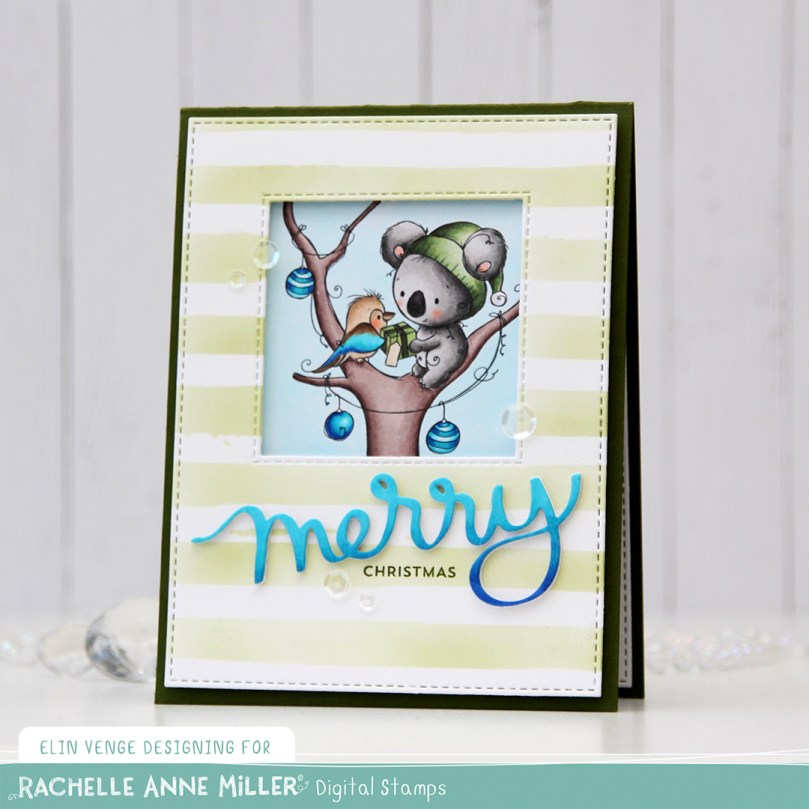 I used the largest die in the A2 Stitched Rectangles STAX 2 set from My Favorite Things along with the Selfie Square die, also from MFT, and die cut both from a piece of Stamper’s Select White cardstock from Papertrey Ink. I then used the Watercolor Stripes stencil from Altenew and ink blended Jalapeño Popper ink from MFT very softly onto the white cardstock for a subtle background.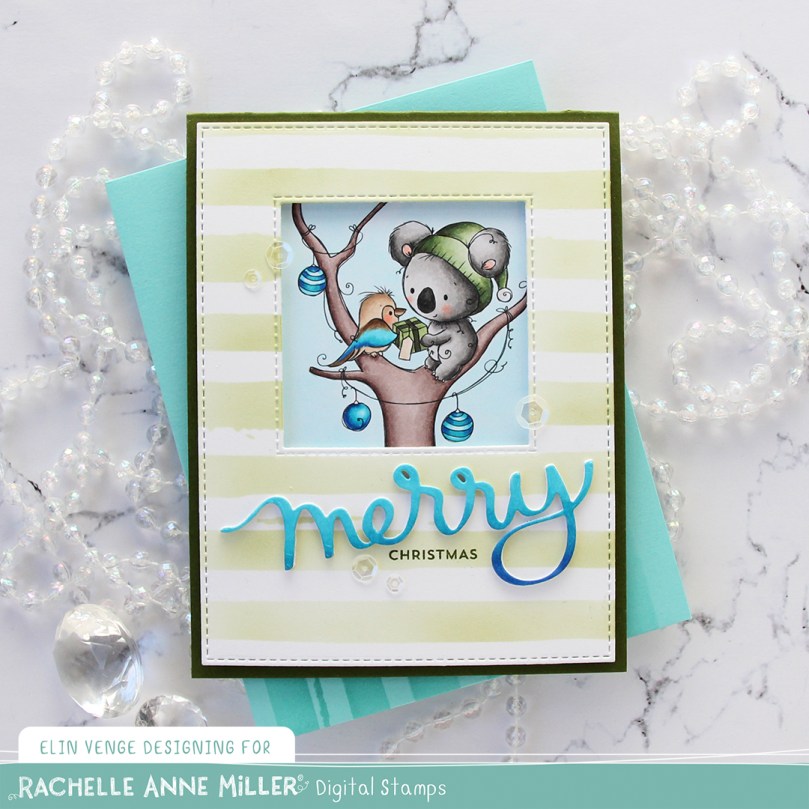
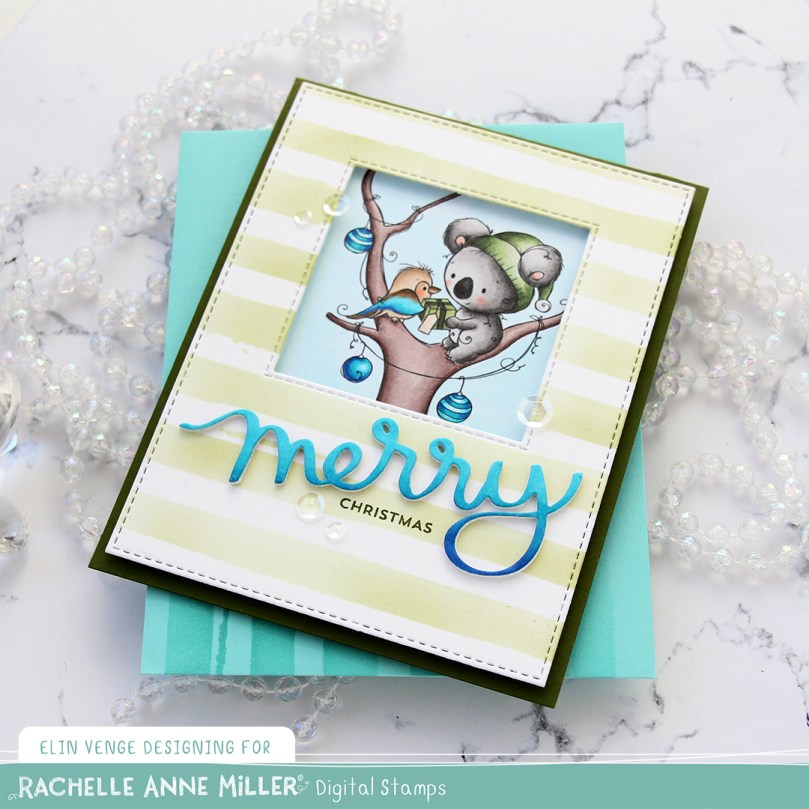 I put foam tape behind my ink blended background and adhered everything to a cardbase I created from Jalapeño Popper cardstock from MFT, before scattering a few sequins from the White Orchid Sequin Mix from Little Things from Lucy’s Cards to finish my card. I used the stencil from Altenew to add a little interest to the envelope, as well.
 I stamped and masked
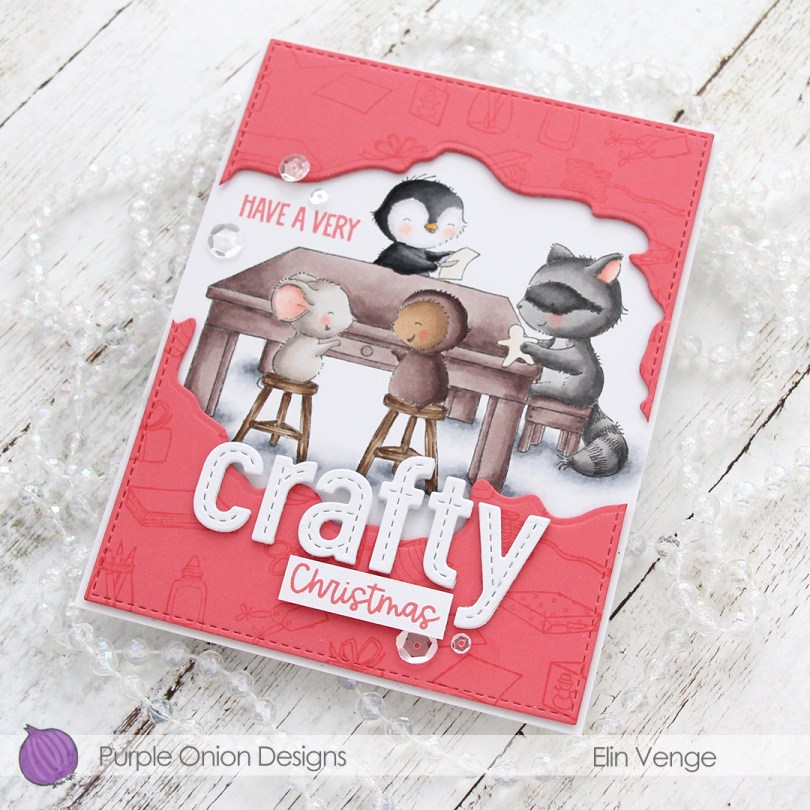
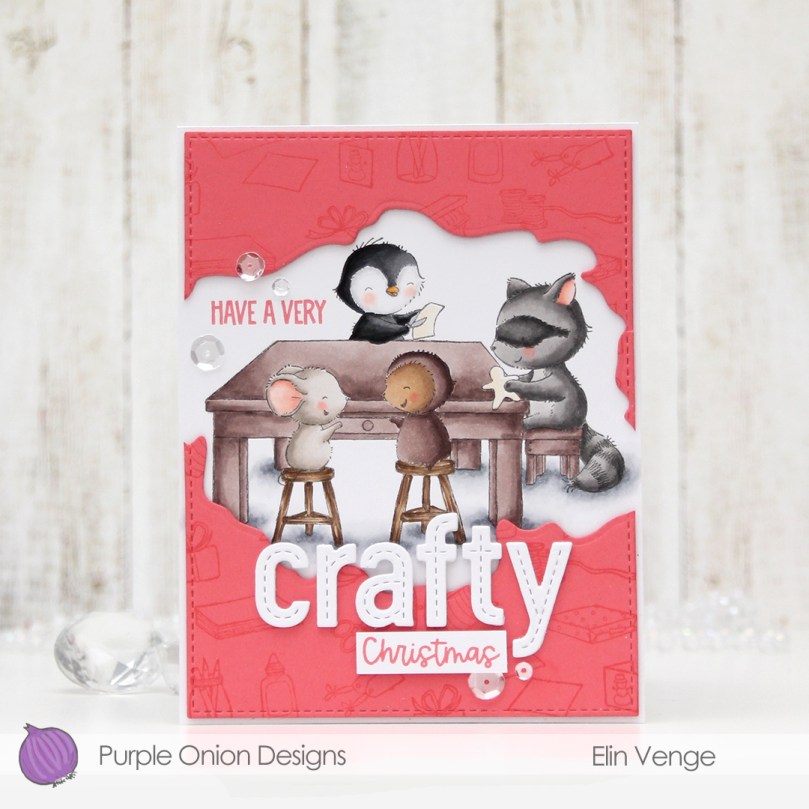
 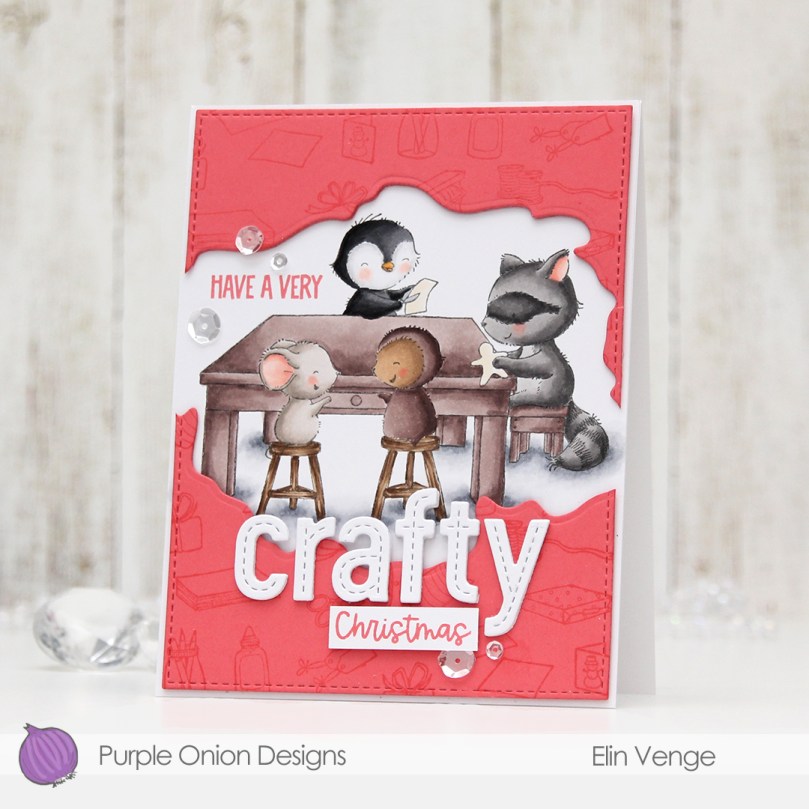 I colored in the scene using my Copics, and I actually used all the gray families for this, something that rarely happens. I tend to stick to one or maaaaybe two, but using all four made sense for this card.
 On a piece of Berry Sorbet cardstock from Papertrey Ink, I stamped the
  The sentiment is a mix of a stamp from the
 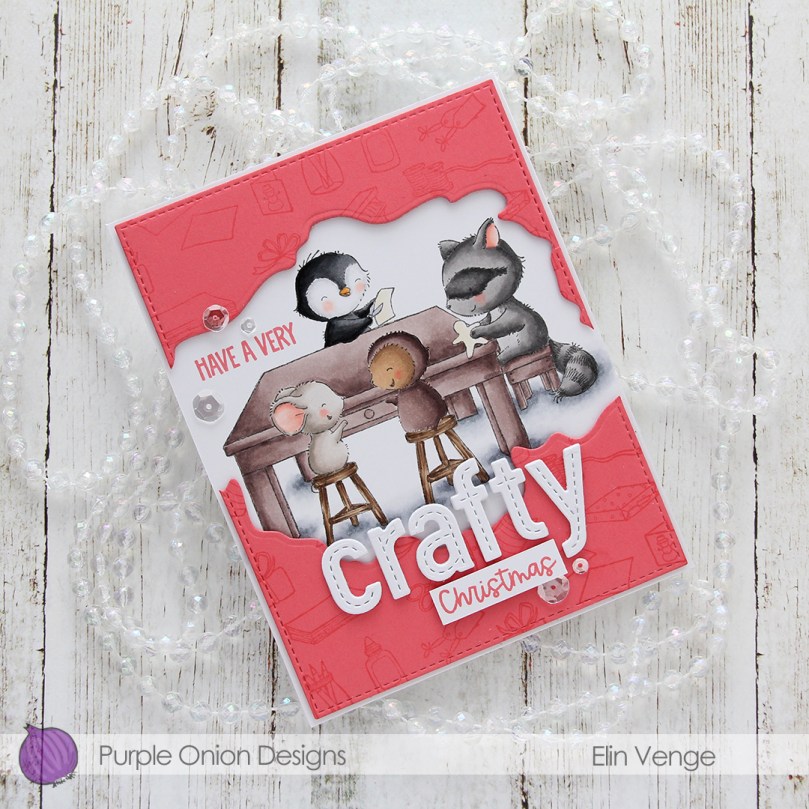 To finish the card I added a few Sparkling Clear sequins from Pretty Pink Posh around the sentiment.
 Lots of Copics for this one, but not a lot of color. Like I mentioned, I used all the gray families for this card.
