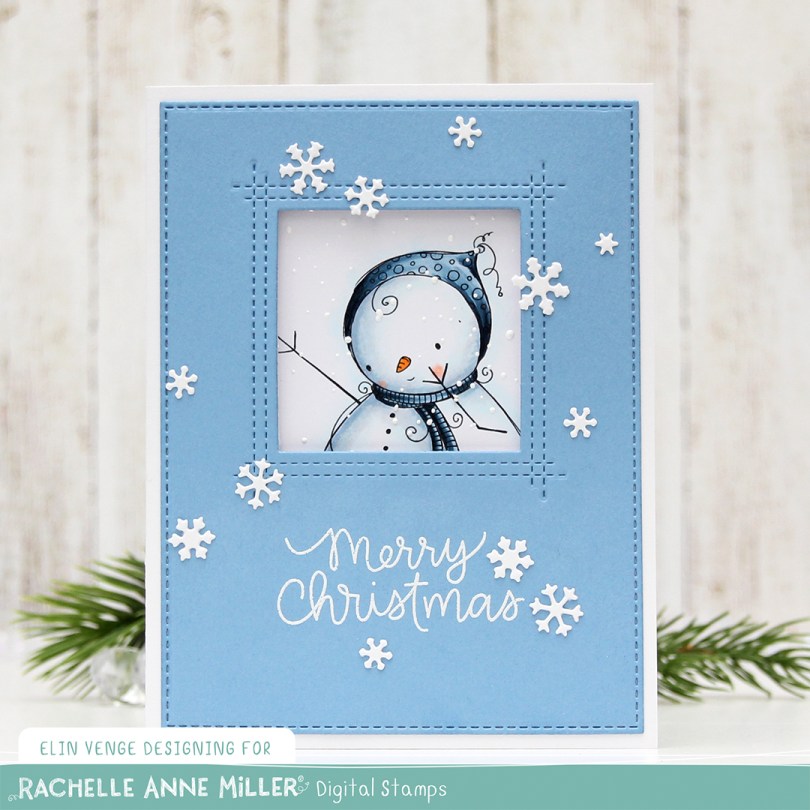
Hi! I’m back today with a Christmas card that is much more my speed than many of the ones I’ve been sharing lately. The reason? It’s blue!!! Nothing beats a blue Christmas card. Except maybe one that’s white on white, but those are notoriously difficult to photograph.
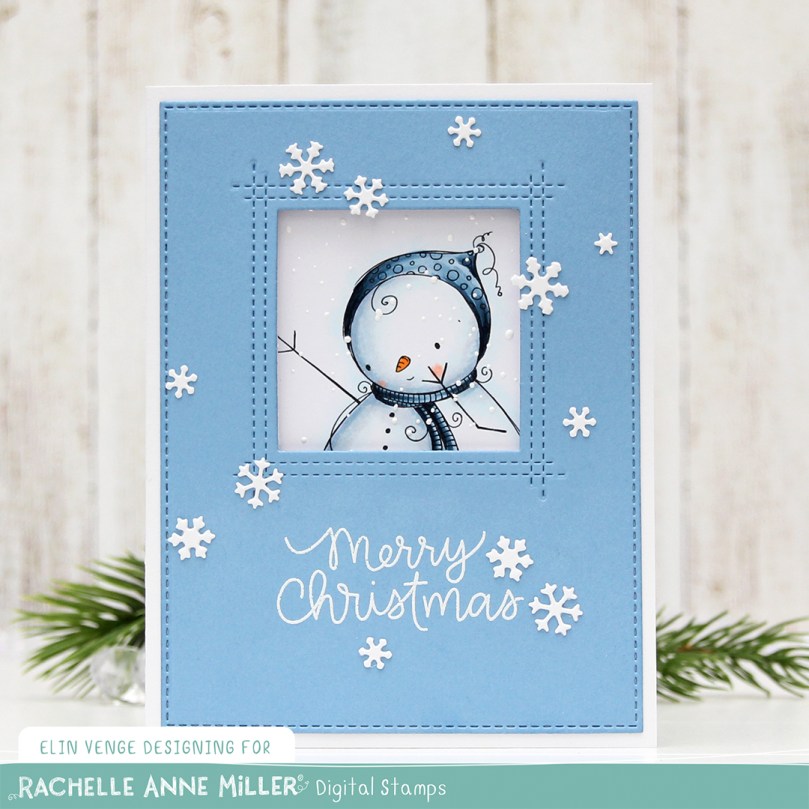 This cute image is called Snowman’s Gift, and it’s from the upcoming release from Rachelle Anne Miller, which will be available later this week (Thursday). I love coloring snowmen, and there’s more to this snowman than the tiny bit you can see through this window on the front of the card.
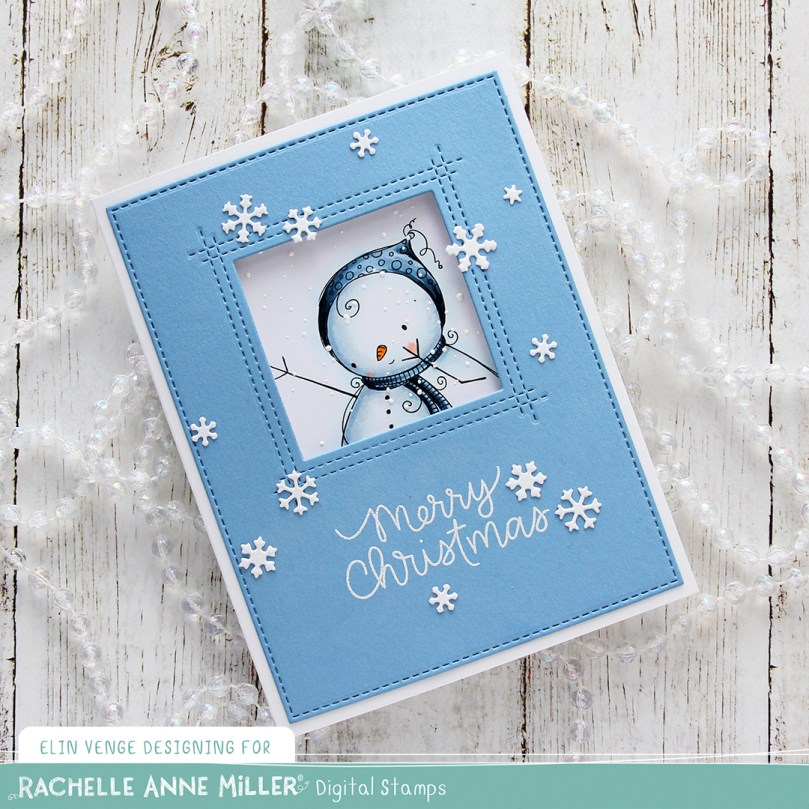 I actually turned this into a trifold card. I used the largest of the A2 Stitched Rectangles STAX 2 dies from My Favorite Things, as well as the Square Peek-a-Boo Window die to die cut from this panel of Lazy Day cardstock, also from My Favorite Things.
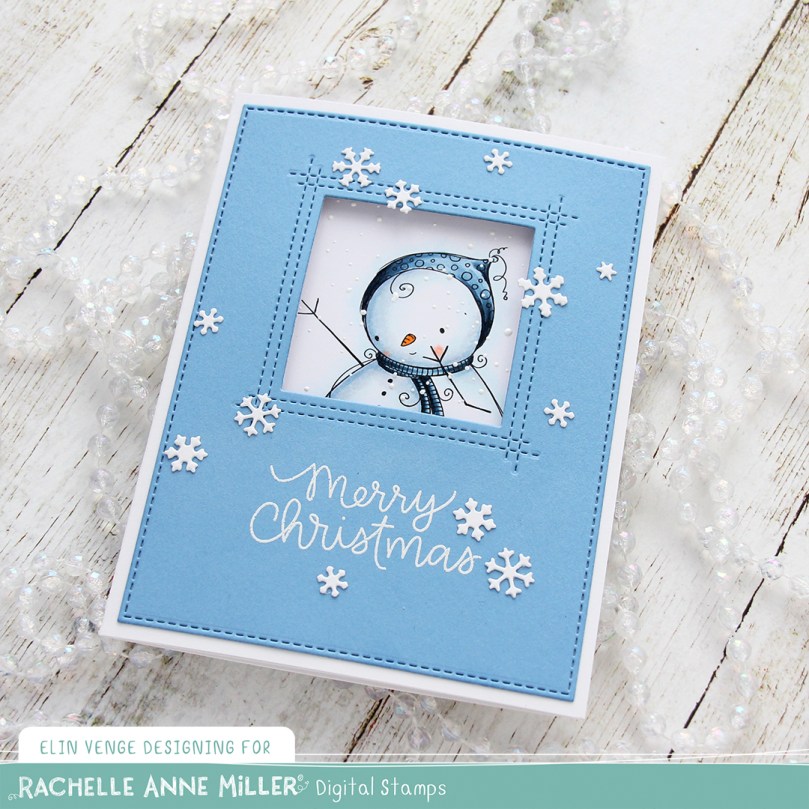
I heat embossed a sentiment from the Scripty Xmas set from Mama Elephant beneath the window and scattered white snowflakes here and there. The snowflakes are die cut using the Snowflake Confetti Fancy die from Hero Arts.
 When you open the card, the rest of the image is revealed, and that cute snowman isn’t alone. He has a little friend giving him a present. Below the image I stamped a sentiment from the Holiday Messages stamp set from Mama Elephant using Lazy Day ink from My Favorite Things. This panel is also die cut using that die from the Stitched Rectangles STAX set from MFT. I love these faux stitch rectangle dies, they’re my most used dies by far. I sprinkled on chunky white embossing enamel from Stampendous and heated the panel from the back to melt the granules before adhering it to my card. This opens up to reveal ample space to write a personal message to the recipient.

 I colored up these
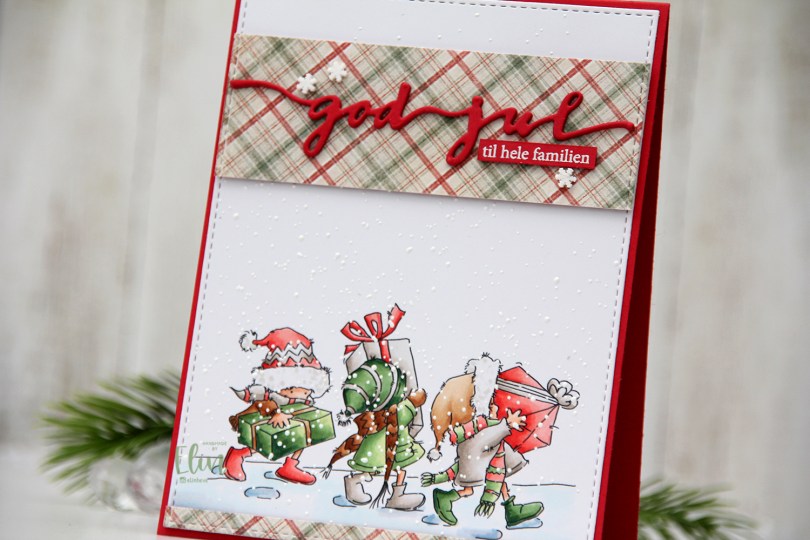
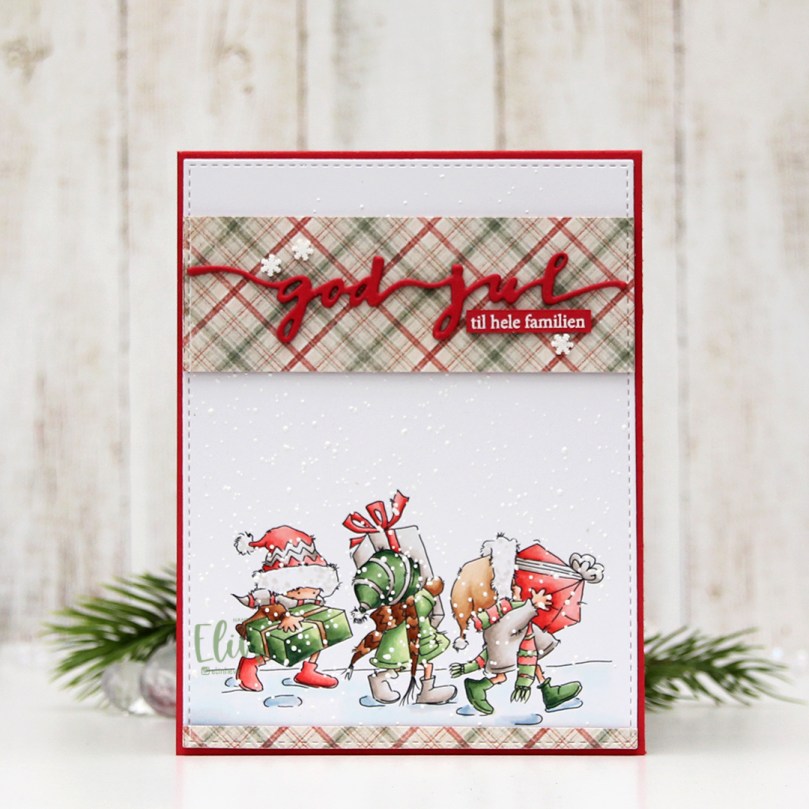
 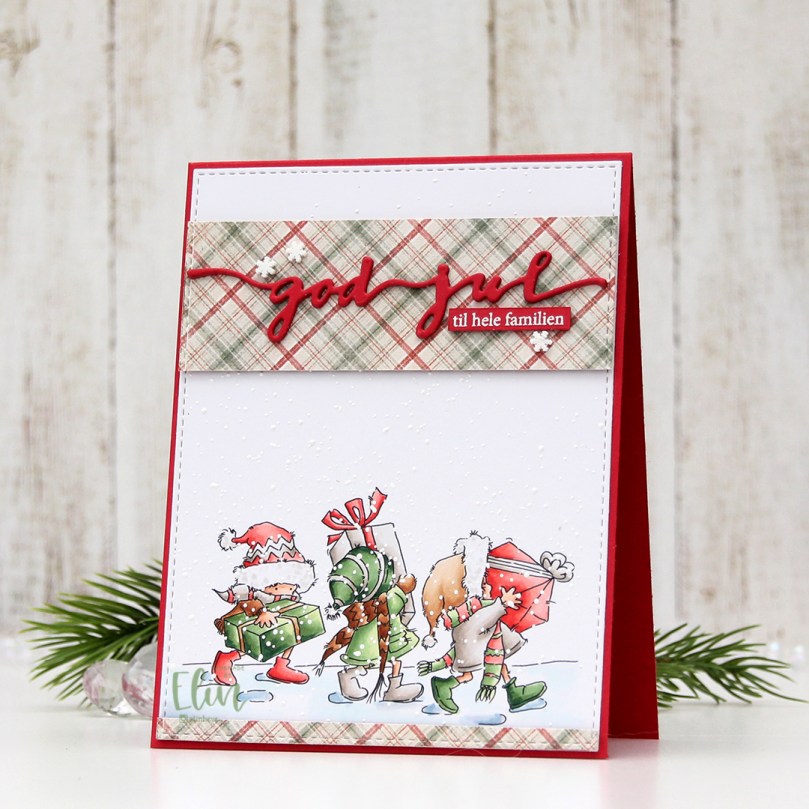 I’m usually good at using scraps of patterned paper and rarely use a brand new sheet. Today was the day, though. I thought this patterned paper from the I wish collection from Maja Design went really well with my coloring, and I didn’t have a single scrap of this particular paper. Using the same die that I used on the white panel, I die cut my patterned paper before cutting up my die cut into pieces I could use on my card. I added two layers of cardstock behind both pieces and glued them to my card. I now have a continuous stitched border, even though some of it is my colored panel and some is patterned paper. I love little details like that. I die cut three of the god jul die from Papirdesign from red cardstock and glued them together for a stacked look. I glued my die cut to the center of the wide patterned paper before adding a sub sentiment. The sub sentiment is from Norsk Stempelblad AS, white heat embossed on the same color red cardstock and cut down to a strip, with two additional pieces of cardstock behind it to make it flush with the die cut. I added three snowdrift sprinkles from Little Things from Lucy’s Cards to the patterned paper, and my card was finished.
 Not a whole lot of colors for this one. Soft colors too (except for the darkest green, I wanted a little bit of contrast there), which is rare for me.
 I actually colored this in May last year. I keep my colored image in stamp storage sleeves from Tim Holtz. They’re super sturdy and you can put a lot of colored images in one pocket. They come five in a pack, which is perfect for me, that way I can dedicate each sleeve to one design team, since I’m currently on five design teams. Sometimes, I just want to color without having to turn it into a card right away, and sometimes I just want to make a card, but don’t feel like coloring, or simply don’t have time to do both. Compartmental crafting for the win.
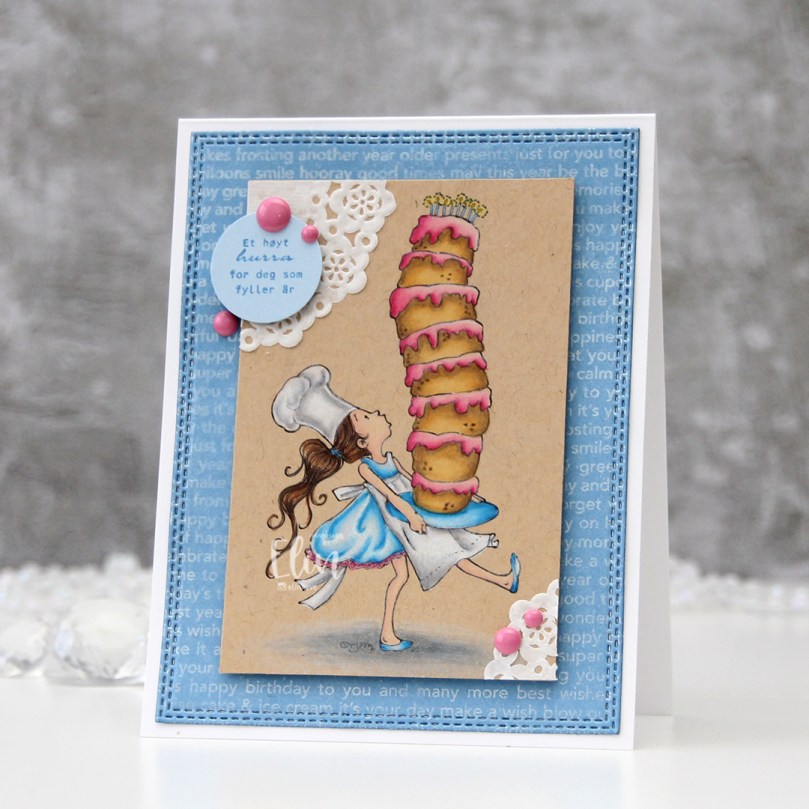 I mounted my colored panel using foam tape and adhered it to the center of the card. I felt like it was missing something and needed a little bit extra. Mini paper doilies from Doodlebug Design to the rescue. I love these mini doilies, I use them often. And you don’t need the whole doily, either, I just used two small pieces for this card, and there are 75 doilies in one pack, they last forever. Onto a piece of Blue Breeze cardstock from MFT I stamped a Norsk Stempelblad AS sentiment using Blueberry Sky ink from Papertrey Ink. I cut it down to a 1″ circle using a circle punch from EK Success, added it to my card using foam tape and finished the card with a few pink enamel dots from Papirdesign.
 This cute vampire is from the My Little Pet Ghost stamp set. There’s also a witch in the same set that I used for a similar treat bag, which you can read all about in
  I colored this vampire on the same day that I colored the witch, and I used the exact same colors.

 Using a couple of dies in a set of nesting squares from Lifestyle Crafts, I created a frame to go around my image. I taped the two squares together, so I could run them through my die cutting machine several times and be sure that the size of the frame would be the same with each pass through the machine. I die cut 8 of these frames, I wanted a very dimensional shaker card. I stacked 7 of them, glued them to my colored piece, added lots of sequins from the Icicle sequin mix from Hero Arts and glued the last die cut frame on top.
 That’s when I ran into trouble. I wasn’t able to glue the frame onto the acetate so that it lined up with the others. I’d adhered it with score tape, so there was no way to remove it without ruining it. My solution was to die cut a new, larger frame with a slightly smaller window. I went one die larger for the outside and one die smaller for the inside for this frame, and adhered it directly onto the ones that were already there. It was a happy accident, because I’m really happy with the chunkier frame.
 I added the shaker to a 5 1/2 x 5 1/2″ card base I created from Wild Cherry cardstock from My Favorite Things, before stamping and white heat embossing a se23ntiment from Norsk Stempelblad AS to a separate piece of the same color cardstock, which I then die cut using a die from the Gemini Extra Deep Loving Tags die set from Crafter’s Companion. I adhered it directly to the inside top right corner of my shaker frame, and my card was finished.
 Not a whole lot of colors for this card, in spite of all those stripes on the snowmen’s accessories.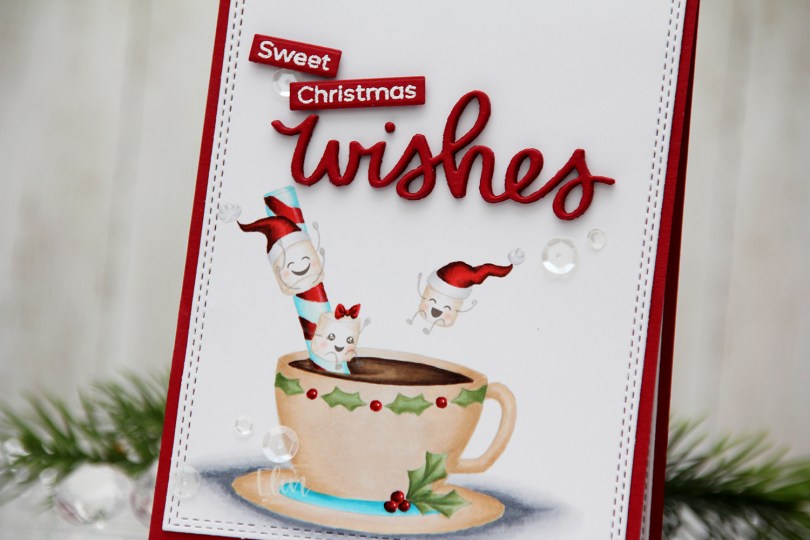
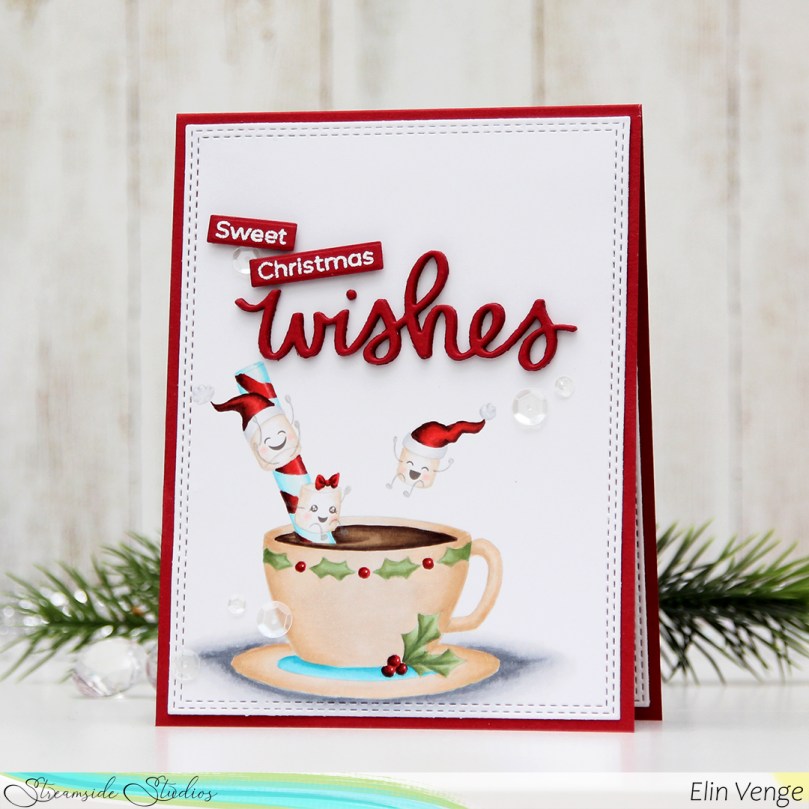 I printed my image with gray lines so I could do no line coloring. Whenever I do this, I like keeping facial features black or a dark brown, so I don’t have to free hand draw them back in once I’m done coloring. It’s a neat little trick.
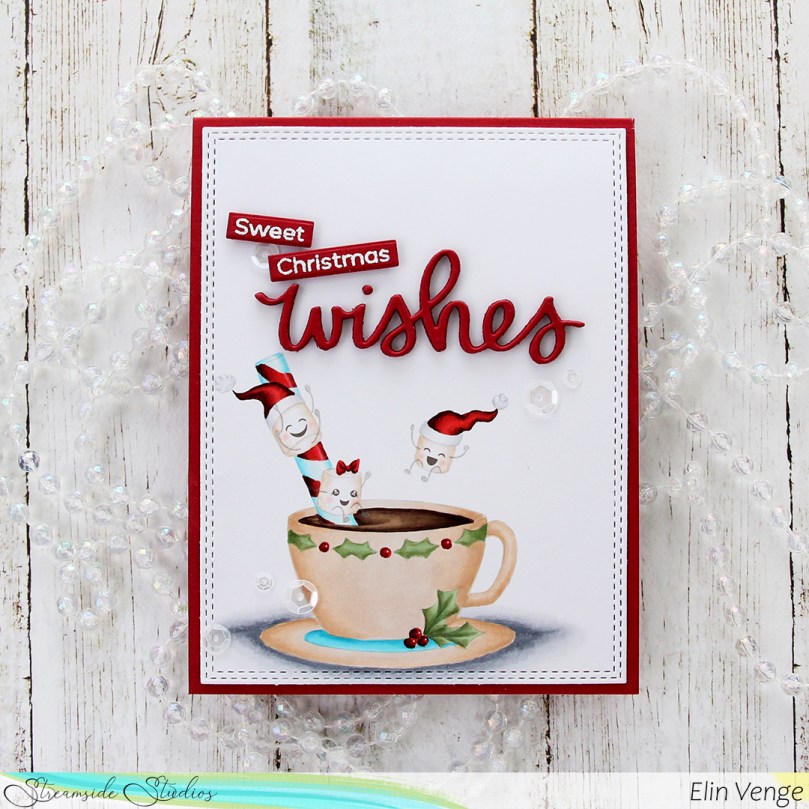 I die cut my colored panel using the largest die in the A2 Double Stitched Rectangle STAX die set from My Favorite Things and adhered it directly onto a cardbase I created from Amarena Cherry cardstock, also from My Favorite Things.
 I die cut the word wishes five times from my red cardstock using a die from Mama Elephant. I stacked the words for a dimensional look and also stamped and white heat embossed the words Sweet and Christmas onto separate pieces of the same color cardstock. The stamped words are from two separate sentiments from the Bitty Bears stamp set from My Favorite Things. I love using pieces of sentiments from stamp sets to create new sentiments, it makes them more versatile.
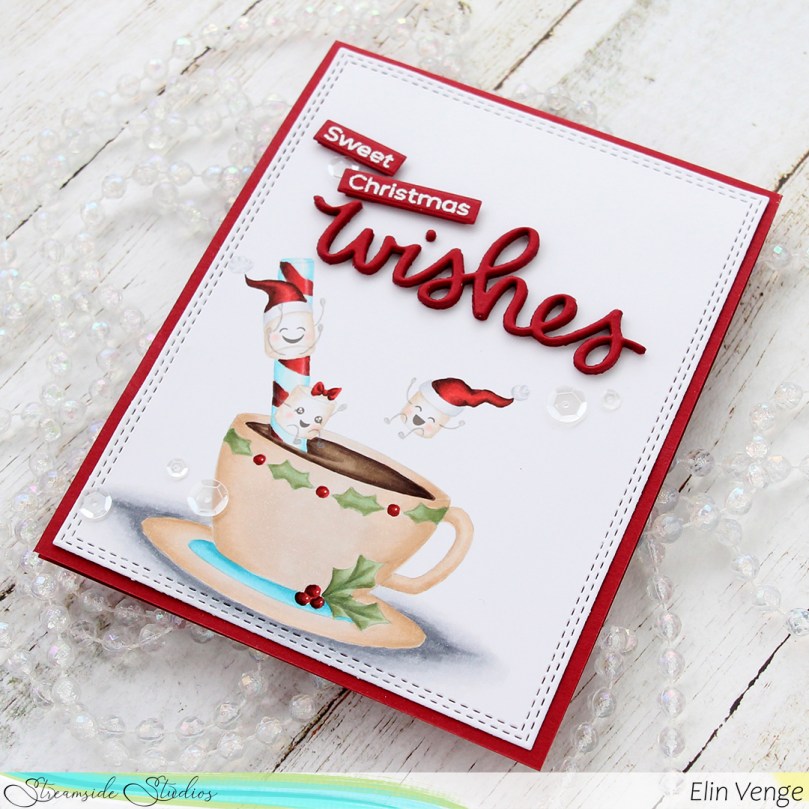 I felt like I had to add a little something to this, so I pulled out my White Orchid Sequin mix from Little Things from Lucy’s Cards and added them in a visual triangle on my card. This mix is one of my favorites, it’s right up there with the Sparkling clear mix from Pretty Pink Posh.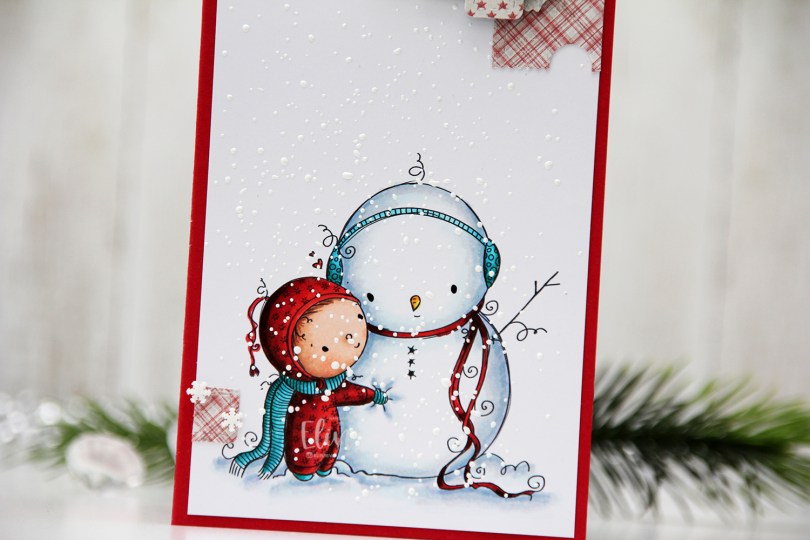
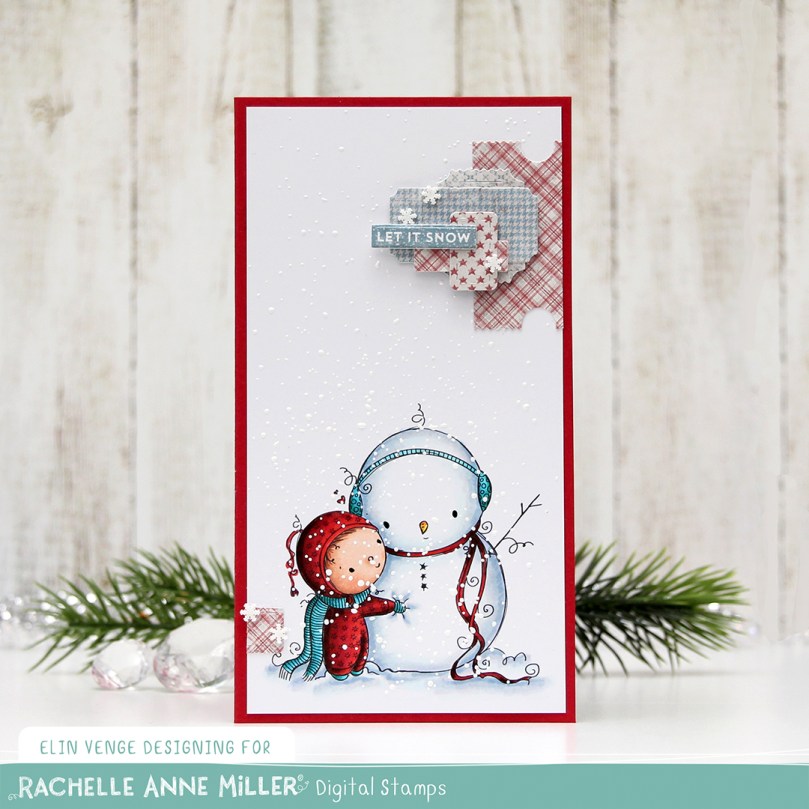
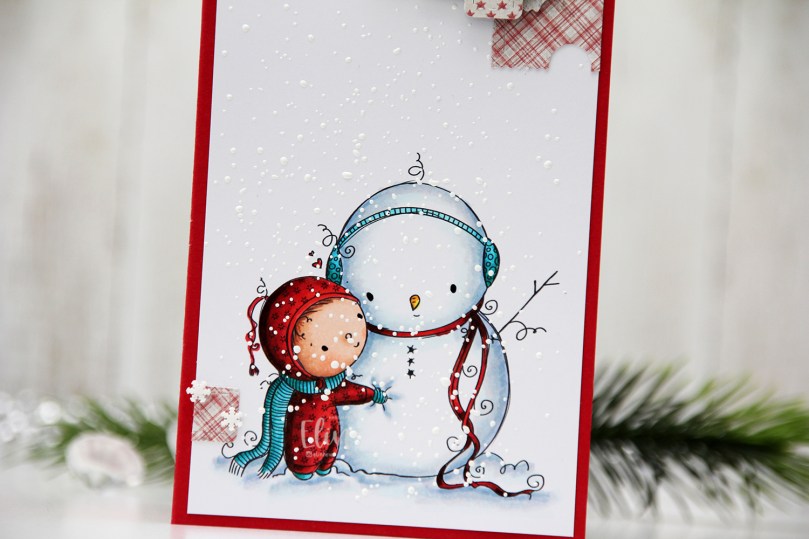 I don’t often create red Christmas cards, but when I can pair that red with a tealy blue, a light blue or a gray, I can make red work. I printed and colored the image onto a 3 1/4 x 6 1/4″ panel of X-Press It blending card, before sprinkling on lots of chunky white embossing enamel from Stampendous to make my scene extra snowy.
 The patterned papers are all die cut from the 6×6″ Home for the Holidays paper stack from Maja Design. I love their patterns and their colors, and the colors in this stack are SO good, I couldn’t resist.
 Mini slimline cards are fun to make. I really should make my envelopes as I go, but I’m not very consistent with that, I’m afraid, and will have lots of envelopes to create once we get a little closer to Christmas (we’ve got less than 100 days to go, by the way).
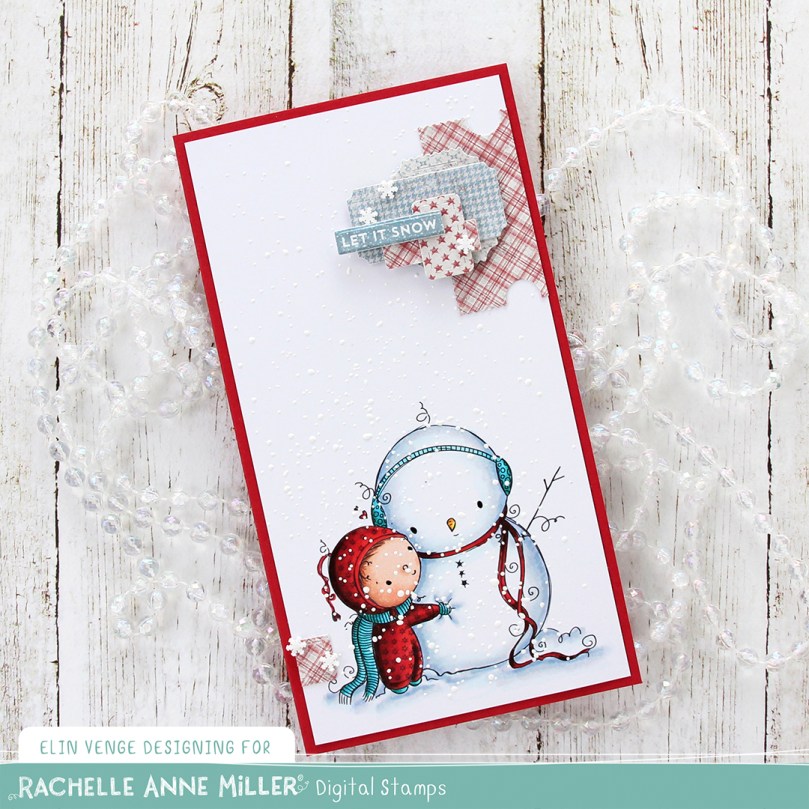 I stamped and white heat embossed a sentiment from the Itty Bitty Holiday stamp set from My Favorite Things onto a scrap piece of patterned paper from that stack from Maja Design, and die cut that with the coordinating Itty Bitty Strips die.
 I added a few snowdrift sprinkles from Little Things from Lucy’s Cards, and the entire panel is adhered onto a card base I made from Wild Cherry cardstock from My Favorite Things. I love their cardstock!
 As usual, I finish with my colors. Not a whole lot for this image.
 These badgers are the
 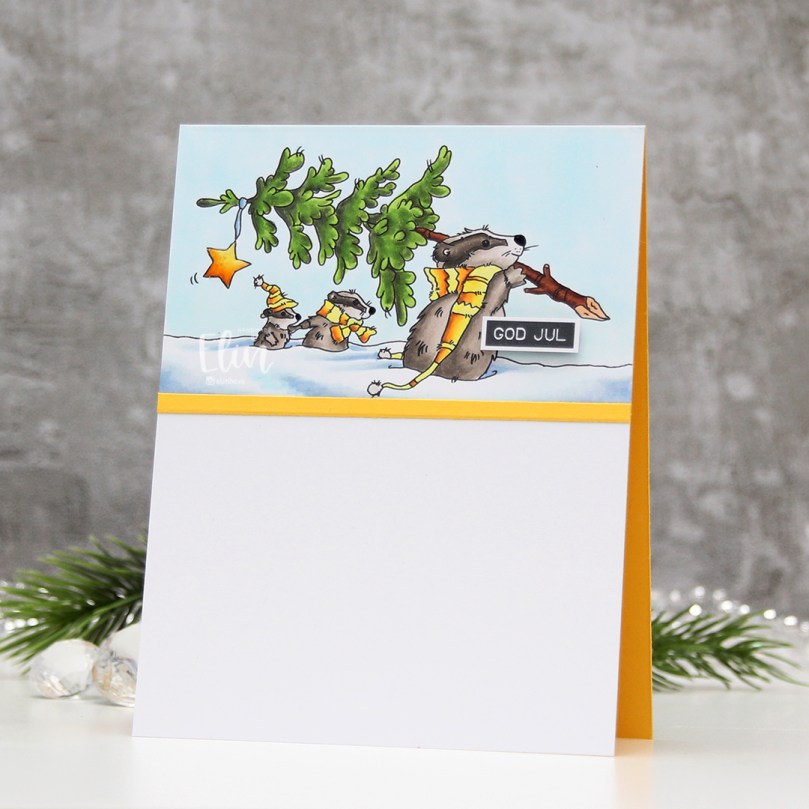 I adhered my colored panel to a top fold card I made from Bright Buttercup cardstock from Papertrey Ink. I added a strip of that same cardstock below my image and left tons of white space. I printed a sentiment from the
  Simple color palette, of course with a pop of yellow in there.
 I colored in the image using my Copics, adding footprints on the ground with my markers. Using the new Watercolor Wash Free Form die from My Favorite Things, I die cut a hole from the center of a 4 1/4 x 5 1/2 panel of Classic Kraft cardstock from Papertrey Ink. My Favorite Things released a stencil with this design back in July, and it’s awesome. Now there’s a die to match. I added two more layers of white behind my kraft panel to give it a little bit of dimension. I love how the little kid is looking back through the opening.
 I stamped and heat embossed a sentiment from the Itty Bitty Holiday set from My Favorite Things onto Scarlet Jewel cardstock from Papertrey Ink and die cut my sentiment using the coordinating Itty Bitty Strips die set. MFT has a stamp set called Itty Bitty Basics, which I love. Great sentiments in a font that will never go out of style, and it makes me so happy that they now have a Christmas one too – I love making Christmas cards. I added a few snowdrift sprinkles from Little Things from Lucy’s Cards to finish off my design.
 Simple color palette. I always use lots of blues, purples and blue greens for the snow.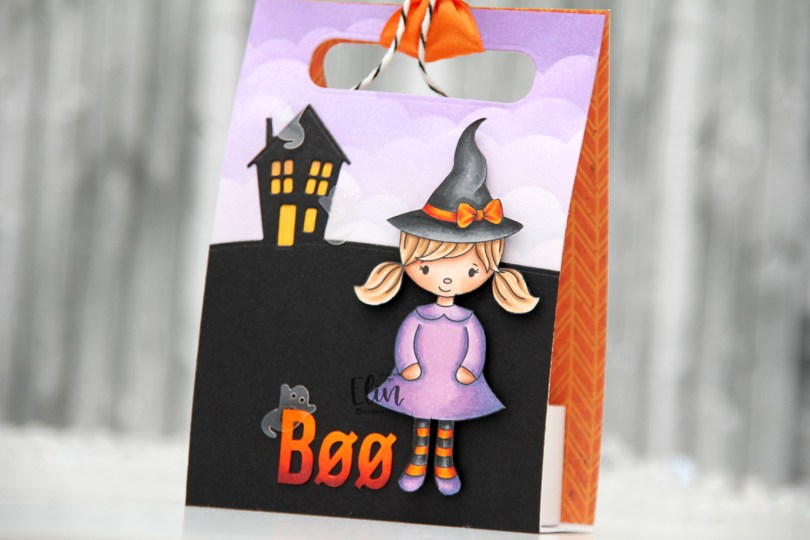
 This cute witch is part of the
  I did ink blending on this one, using the Slimline Cloud Edges stencil from My Favorite Things and inks from Altenew in the colors Deep Iris, Lavender Fields and Soft Lilac. I used the House on the Horizon die from Simon Says Stamp and die cut that from True Black cardstock from Papertrey Ink and adhered it directly onto my ink blended piece. Using a yellow Copic marker, I quickly colored in the windows and door of the house. I colored some white letter stickers from Papirdesign to match the orange on the girl, and adhered the letters next to her feet, before finishing off with a few ghosts from the Candy Corn mix from Little Things from Lucy’s Cards. I put a scrap piece of patterned paper on the inside back for a little extra visual interest, die cut holes through both layers and added a piece of ribbon and some twine to finish.
 Simple, Halloweeny color palette.
