
Hi, crafty friends. It might seem early to be making holiday cards this time of year, but Christmas is only 11 months away. Just sayin’. I love creating holiday cards all year, and this Got the Wreath image from Mo’s Digital Pencil is one I’ve used plenty of times in the past, so I felt I had to come up with color palette I hadn’t previously used on this image.
 I colored the image with Copics, then used a die from the Blueprints 27 die set from My Favorite Things to give the panel a nice border around the edge. I added a few layers of cardstock scraps behind the panel for strength and dimension. I created a top fold card base from Lavender Moon cardstock from Papertrey Ink and ink blended from the bottom using Autumn Rose ink, also from Papertrey Ink. This gave my card base a nice ombre effect.
 I used the Big Happy Holidays die from Mama Elephant to die cut four layers from Lavender Moon cardstock. I used the same ink blending trick for the top layer that I used for the card base, ink blending it before I die cut and stacked all four together for a nice, dimensional sentiment. To finish off the card I added a few die cut snowflakes. I used the Snowflake Confetti Fancy die from Hero Arts and CR1335 from Marianne Design to create my snowflakes, and my card was complete.
 I always go overboard when I color snow, even though there was very little of it this time.
 I used the Circular Lace stencil from Simon Says Stamp and ink blended white hybrid ink from Papertrey Ink onto the card base, which I created from Lavender Moon cardstock, also from Papertrey Ink.
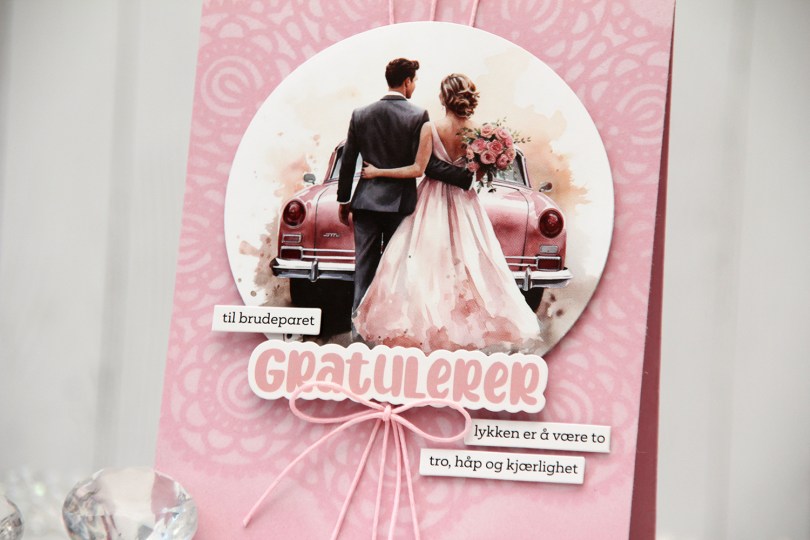
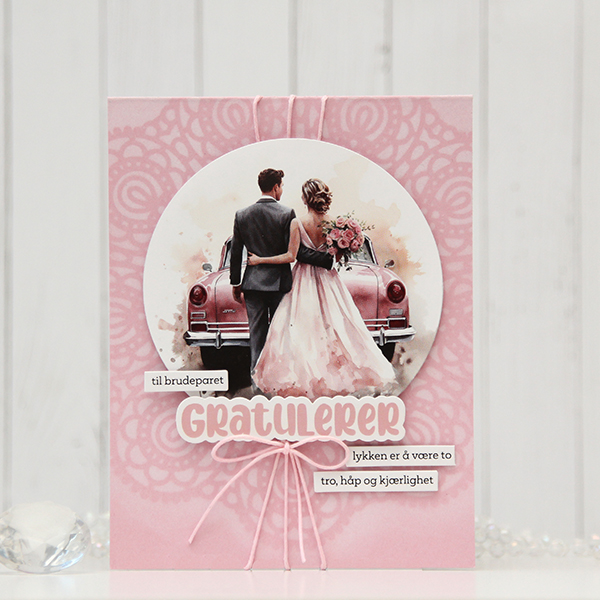
 I used pink thread to create a little bit of texture on the background. I created three holes at the top center of the card to loop my thread through and tied a bow. I die cut the image using a circle die, added foam tape to the back and adhered it to my threaded background, before adding a “Gratulerer” sticker using a few foam squares for additional lift. I also did the same with a few sticker sentiment strips, and my card was complete.
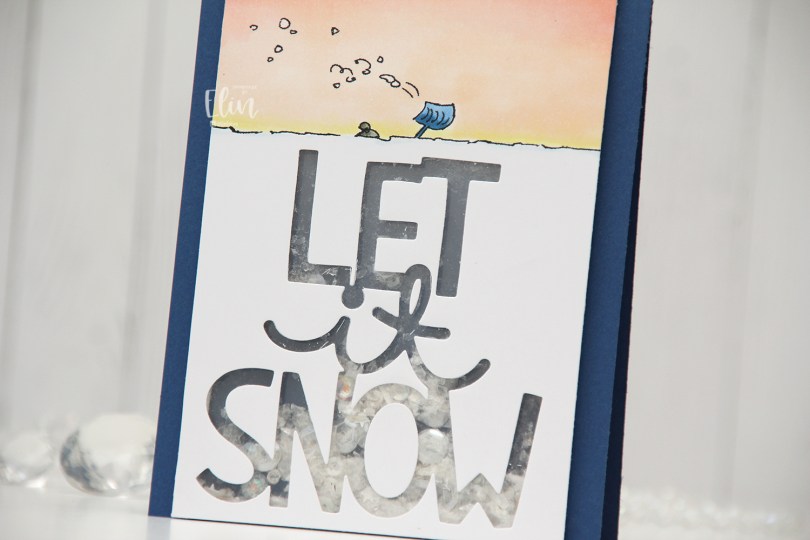
 I really don’t want the sentiment to come true right now, I don’t remember there ever coming this much snow in the city in such a short time, and I’d very much like to not have to walk to work tomorrow. I saw plenty of people out with their shovels today when I walked home, their cars were snowed in, their driveways were full of snow and they could barely open their front doors. It’s winter, we get it, but it’s enough now, we don’t need more snow.
 I’m done venting. I think. I was originally planning on adding a stacked die cut where all the snow is, but then I came up with the idea of a shaker card instead. It’s kind of like the little person under the beanie is trapped inside the shaker with all the shaker bits, which I thought was a fun concept.
 I used the Giant Let It Snow die from Lawn Fawn, covered my window with acetate and filled my shaker well with Distress Mica Flakes, a little bit of Rock Candy Distress Glitter and a small pile of embellishments from the Starry Night mix from Little Things from Lucy’s Cards.
 I added my shaker panel to a top fold card base I created from Blueberry cardstock from My Favorite Things and decided not to add anything else.
 Very simple color palette for this one.
 I colored up
  I stamped a sentiment from InkyWings using Pink Pearl ink from Altenew. The stamp actually has the word hugs in it too, but I opted for a die cut hugs, using the Sweet Sentiments die set from Altenew. I die cut four from Grapefruit cardstock and stacked them together for a dimensional look.
 I finished off with a couple of heart droplets from Little Things from Lucy’s Cards.
 Fairly simple color palette for this one.
 I used the Big Balloons stencil from My Favorite Things and did a rainbow of balloons going across the card. Each balloon is a gradient color, from dark at the bottom right, to a lot lighter at the top left. I used sooooo many ink colors to achieve this look.
 I die cut the word bursdag from Gold Shine cardstock from My Favorite Things. This is a very dainty die cut, so I chose to put double sided adhesive (I used a sheet from Altenew) on the back of the cardstock before die cutting, which made everything easy once it came to assembly. I die cut the shadow layer from True Black cardstock from Papertrey Ink and used black foam tape to pop it up in the center of my card. I used some sticker strips to fill out my sentiment, and added those using foam tape as well, before finishing off with a little gold bling.
 I’ve used this image a few times in the past, but I’ve never colored the penguins blue, which kind of blew my mind when I realized. I decided to remedy that and created soft blue penguins and a corally pink scarf. I cut my panel down to a square, die cut a heart in the center using a die from Papirdesign and mounted the negative onto a square card base I created from Berry Sorbet cardstock from Papertrey Ink.
 Onto my colored heart, I stamped a sentiment from the Mini Messages stamp set from Mama Elephant using Berry Sorbet ink from Papertrey Ink. I adhered the heart to the card front and added a few sequins from the Starry Night mix from Little Things from Lucy’s Cards to finish my card.
 Oh, and before I forget, I used a super simple color palette for this one.


 I printed the image onto X-Press It blending card and colored it with Copics. I went with a grayish green/muted pink combo, which is one I often use for holiday cards. I’m not a fan of bright red and green together, but this works for me. Once colored, I used a die from the Wonky Stitched Rectangle STAX set from My Favorite Things for a fun faux stitch look on the edges. I adhered my panel to a top fold card base I created from Autumn Rose cardstock from Papertrey Ink, which is a nice match with my pink coloring.
 I used a fairly simple color combo, but it’s still a lot of Copics, I never can seem to rein it in.
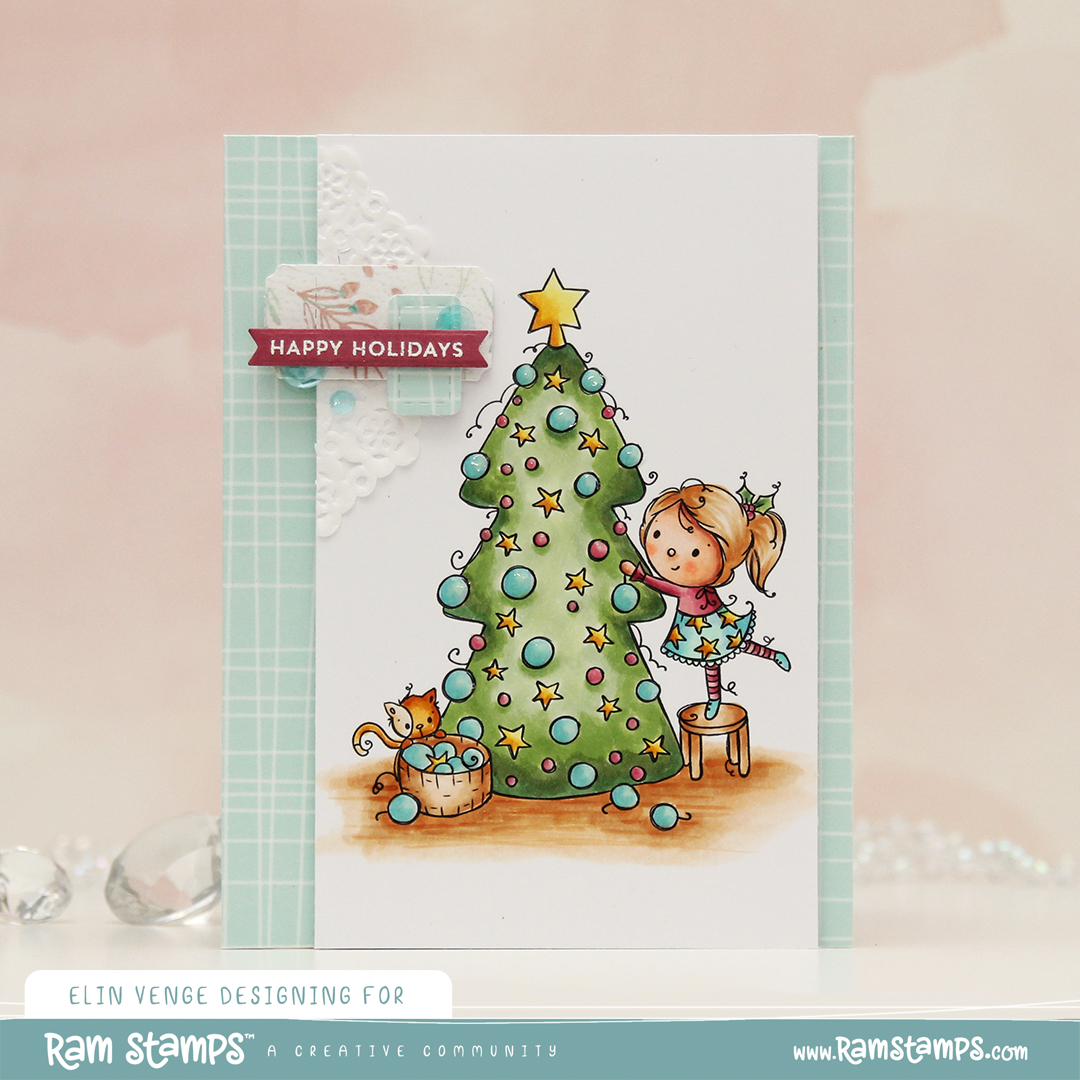 As usual, I colored the image with Copics, cut my panel down a little on the sides and added Glossy Accents to all the ornaments. This time, I decided to use the
  My signature clean and simple cluster cards have been few and far between this year, and I thought a mini cluster would work well for this card. I started with a scrap of a mini paper doily from Doodlebug Design that I adhered to my colored panel with liquid glue. I die cut a couple of additional pieces using the Happy Days Ticket Stubs die from XCut. This is one die that cuts nine different tickets, and it’s one I use a lot. I cut one from the light blue gingham patterned paper, and the other one from a scrap piece of patterned paper from Kaisercraft. I put them both on foam squares for dimension. The sentiment is from the Itty Bitty Holiday stamp set from My Favorite Things, stamped and white heat embossed on a piece of Autumn Rose cardstock from Papertrey Ink, which I then die cut into a strip with flag ends using a die from the Itty Bitty Strips die set from My Favorite Things. I finished off with a few sequins from the Ice Water mix from Little Things from Lucy’s Cards.
 A very simple color palette for this card. I started out with blue ornaments, but once I printed the patterned paper, I realized they needed to have a green tinge and went over the blue with BG32 and G00.
 I almost gave up on this background. One of my markers went sticky. It had recently been refilled, so I knew it wasn’t because of lack of ink (which is usually the culprit when my markers go sticky). I had to investigate, and as soon as I cleaned the marker cap, I knew why. It had a big crack. I keep spare marker caps on hand, so I replaced the cap, changed the brush nib (the chisel nib was fine) and added a few more drops of ink to the marker. It’s an old marker, so I’m hoping I was able to salvage it. I don’t want to have to get a new one, I know the new ones aren’t as good.
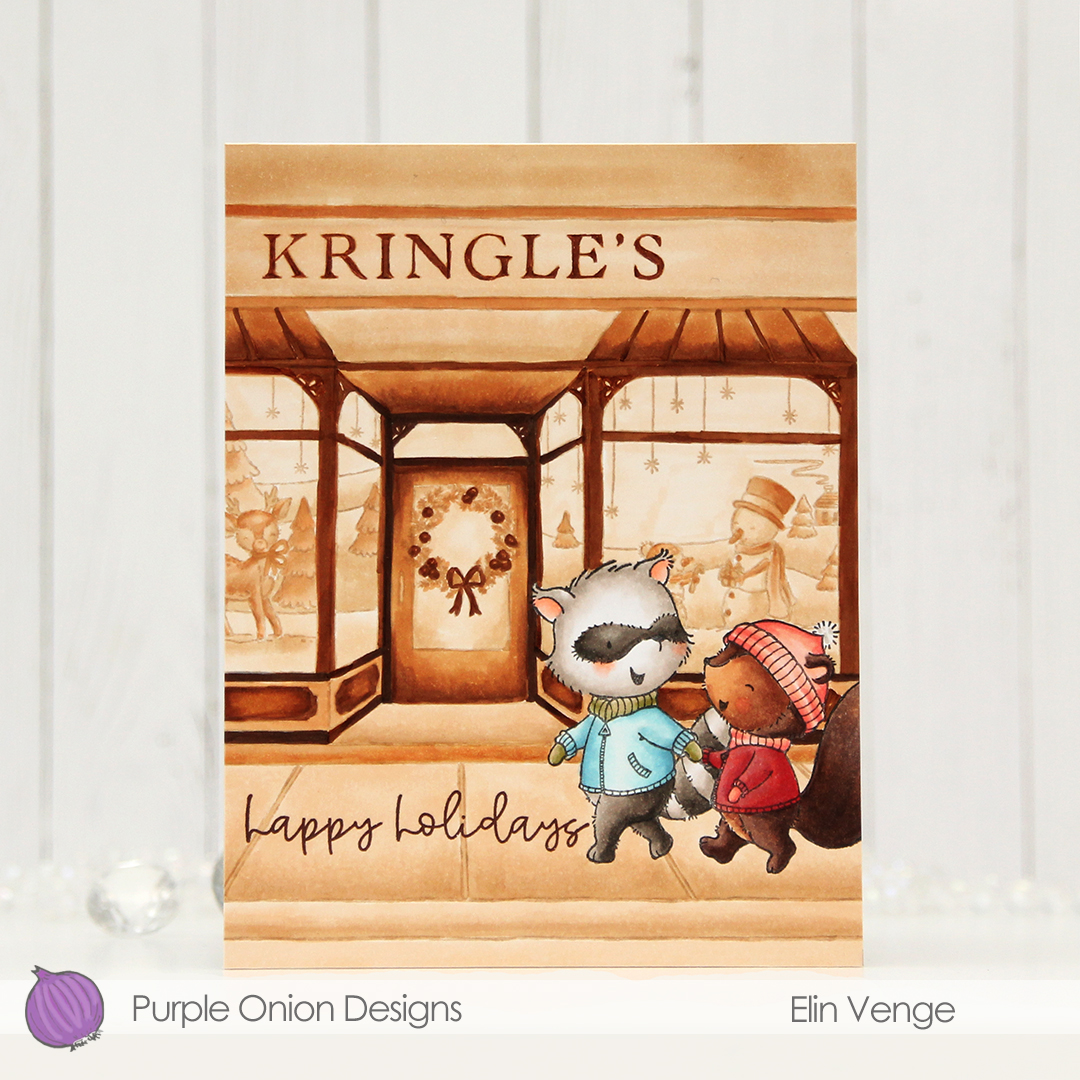
 I wanted a very light background to make Lavender & Thyme stand out, and while I’m happy with the window display, I think I would have liked it better if the exterior wasn’t this dark. Lesson learned for next time, I guess.
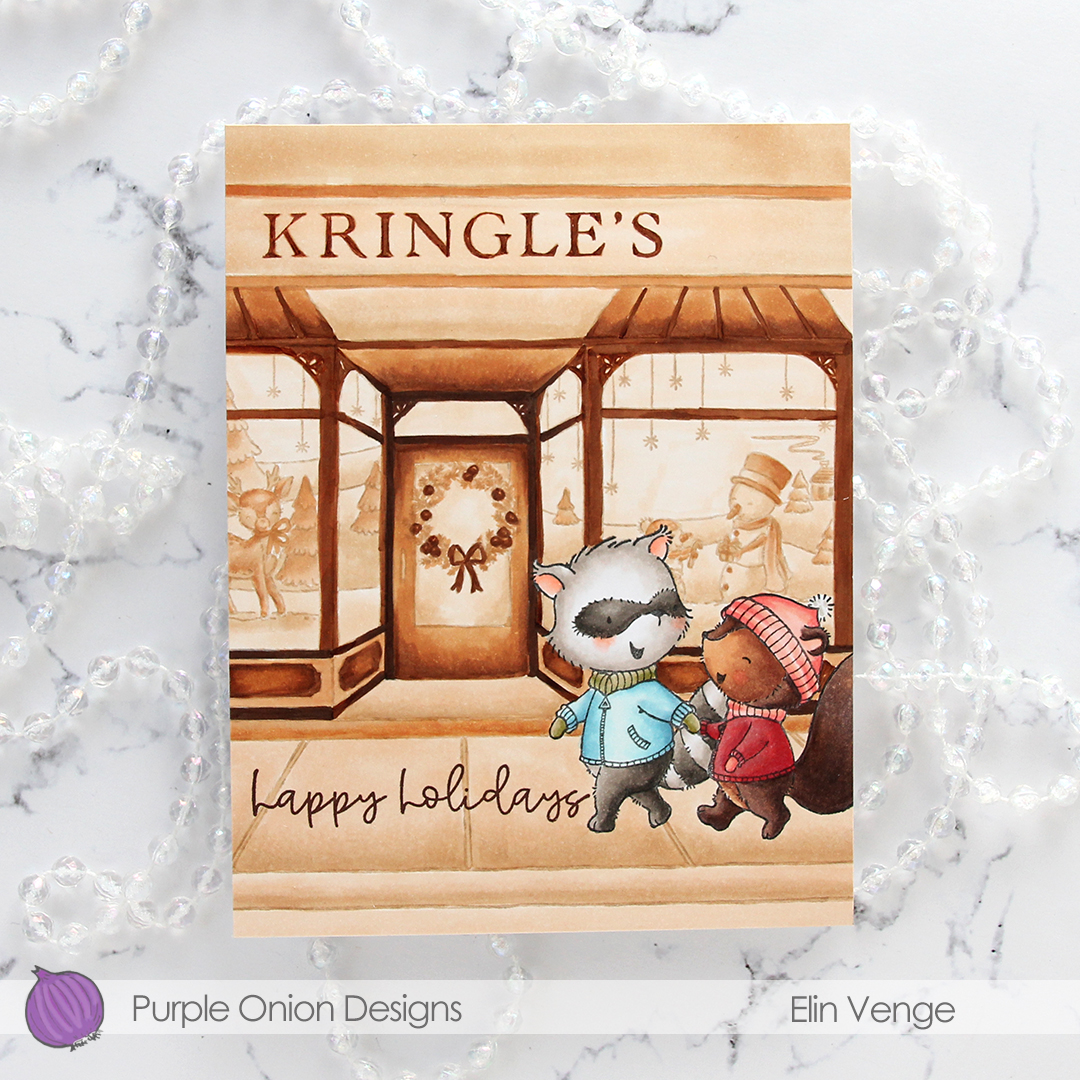 I’m happy with how Lavender & Thyme turned out, though. I wanted a bit of a vintage vibe with the colors and may have gone overboard with Thyme’s jacket. I wasn’t happy with the red I used initially, there just wasn’t enough contrast between the jacket and her mitten. I went back over the jacket with a couple of other colors and I’m much happier with this.
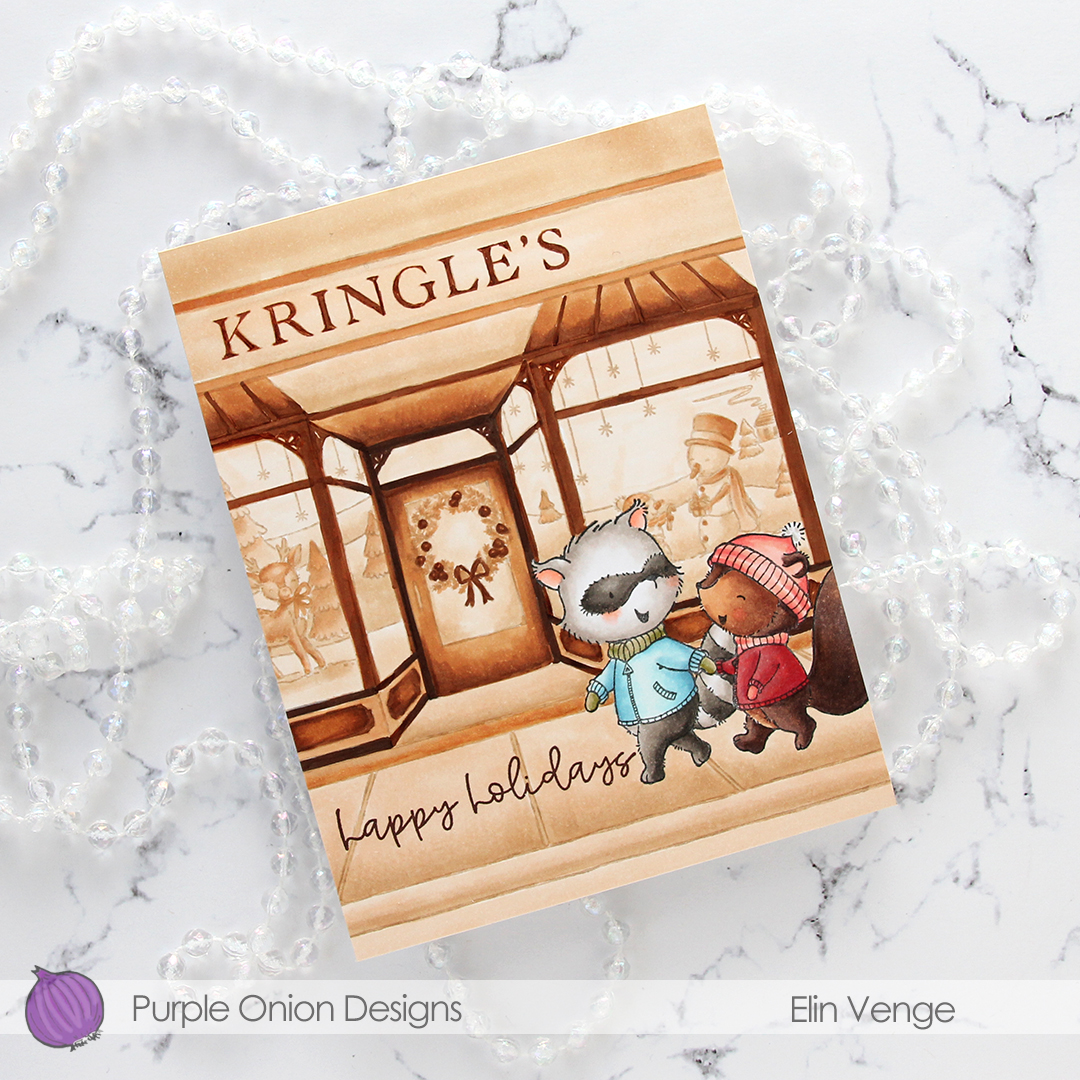 I stamped a sentiment from the
  I used ink from Papertrey Ink for the department store, as well. I used Classic Kraft ink, which I knew would work well with the sepia coloring I had planned. I even used a Sepia colored Copic multiliner to darken the letters in the sign. The Copic multiliner pens have very fine tips, and it was the perfect tool for the job.
 I only used seven colors for the entire background, but way more colors for the critters in front for this card.