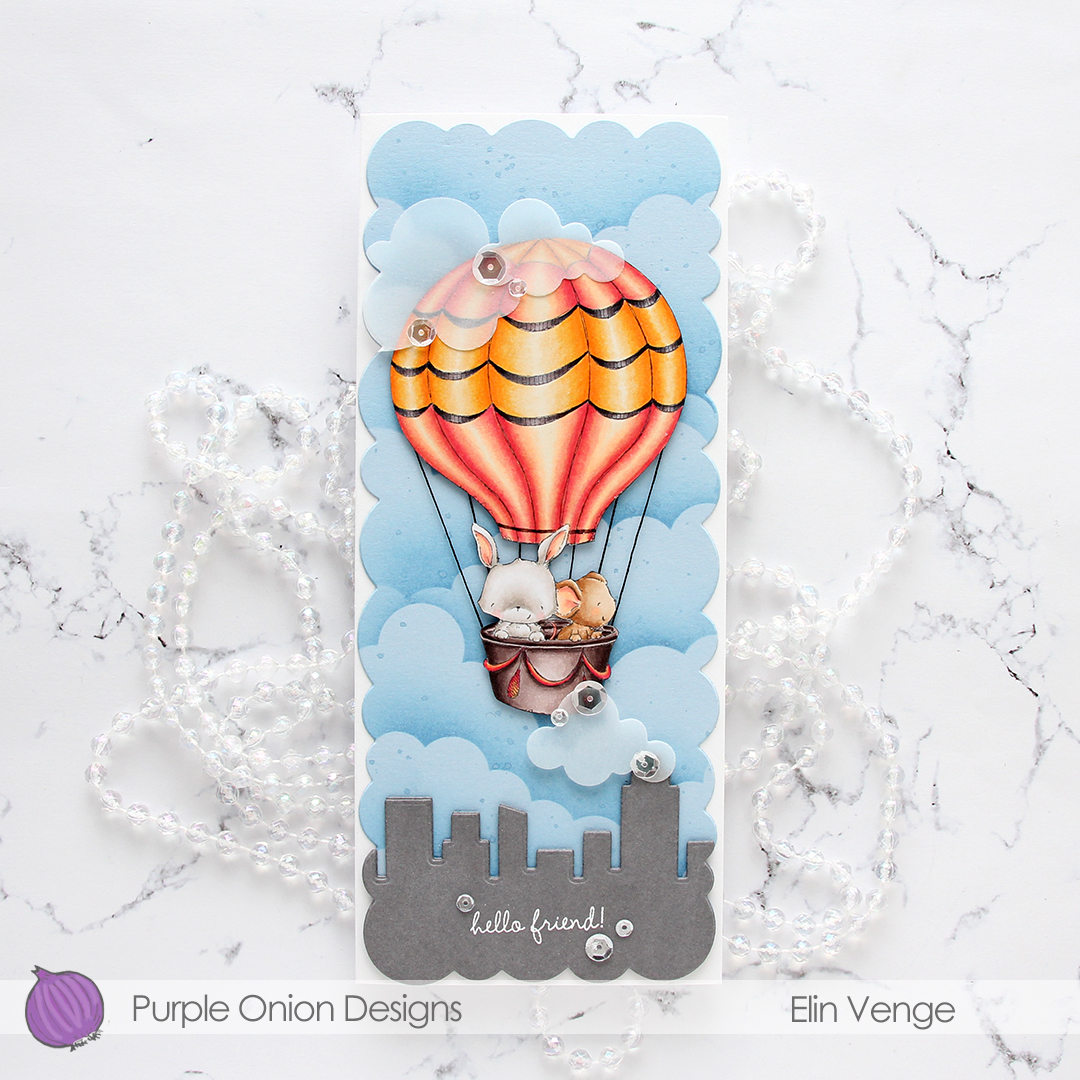
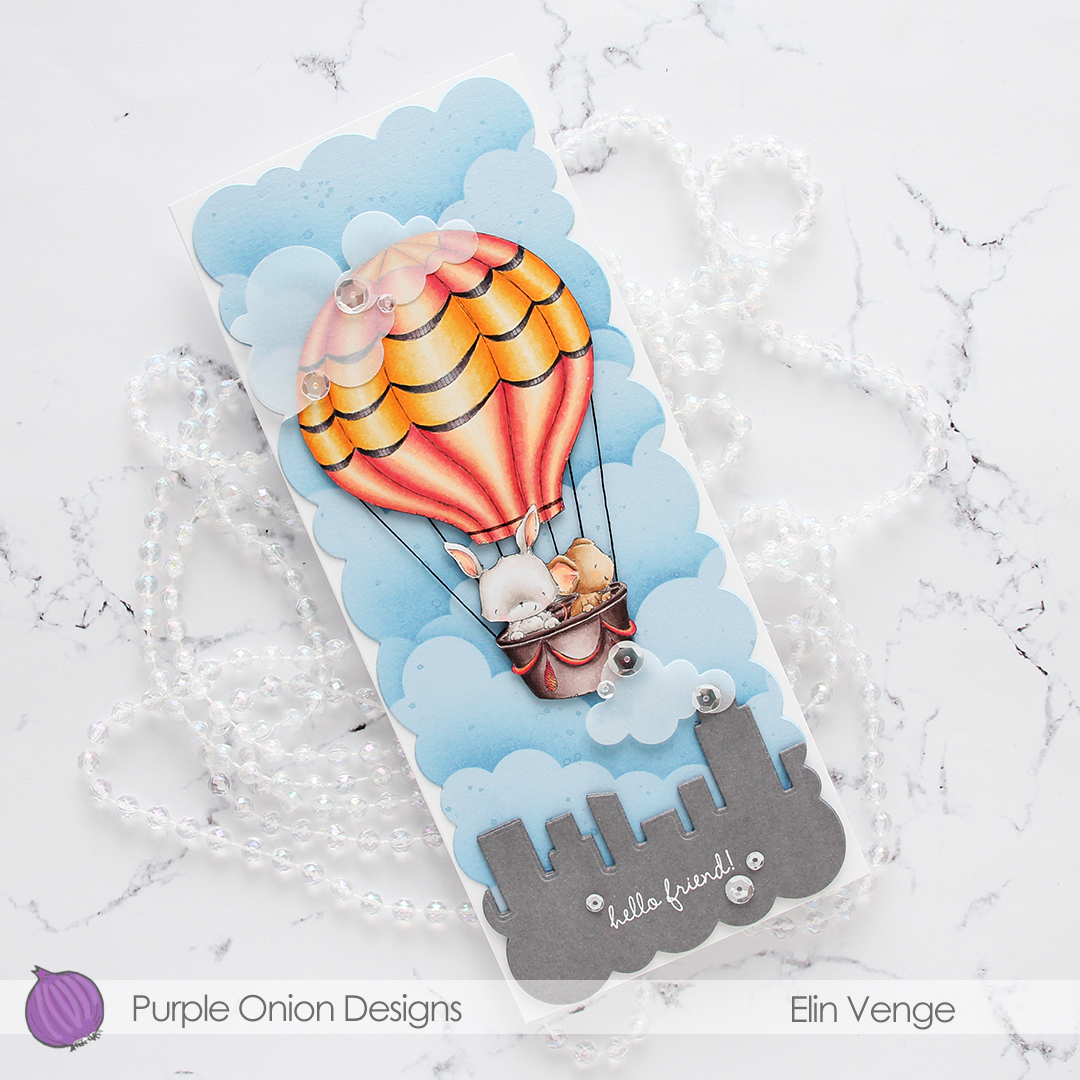
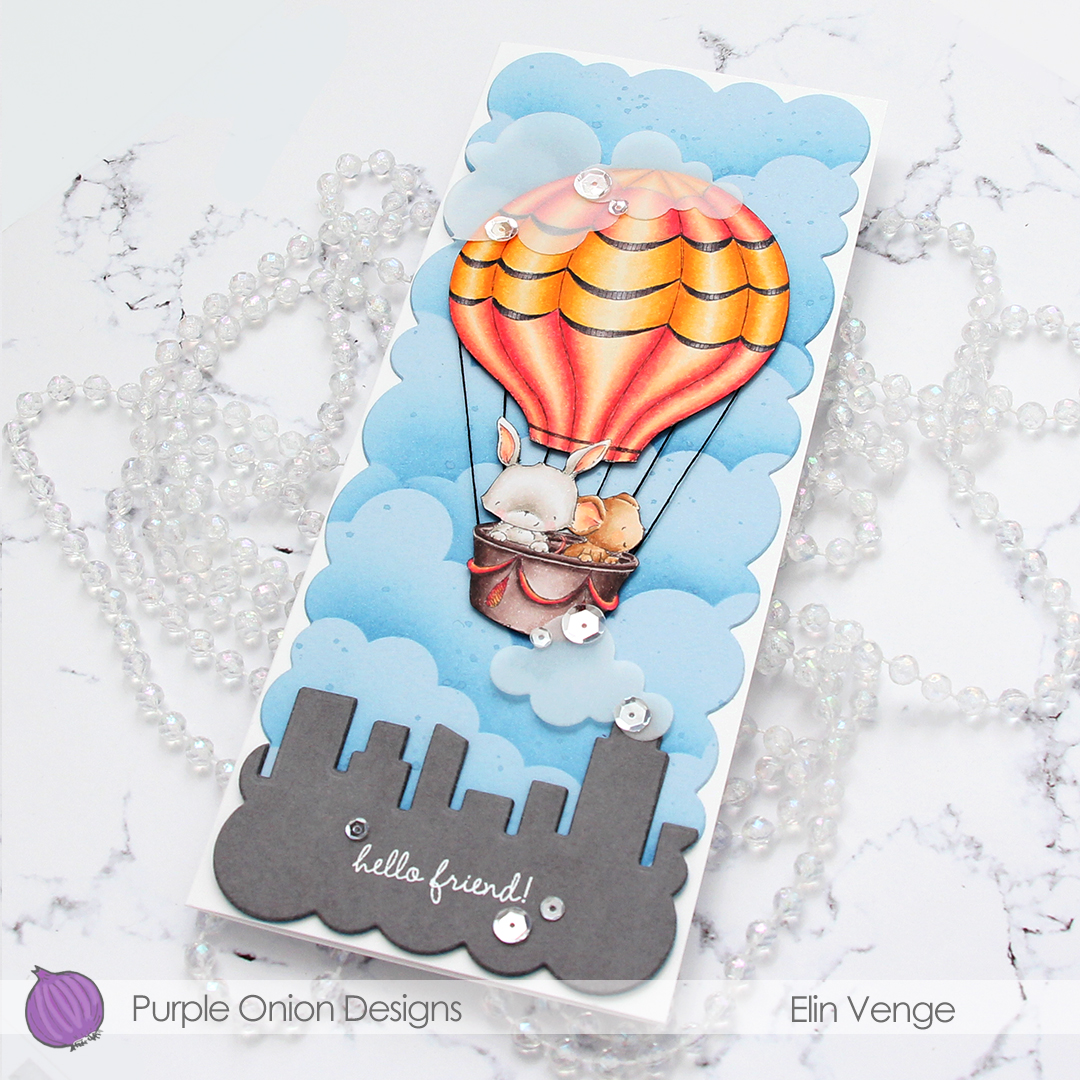
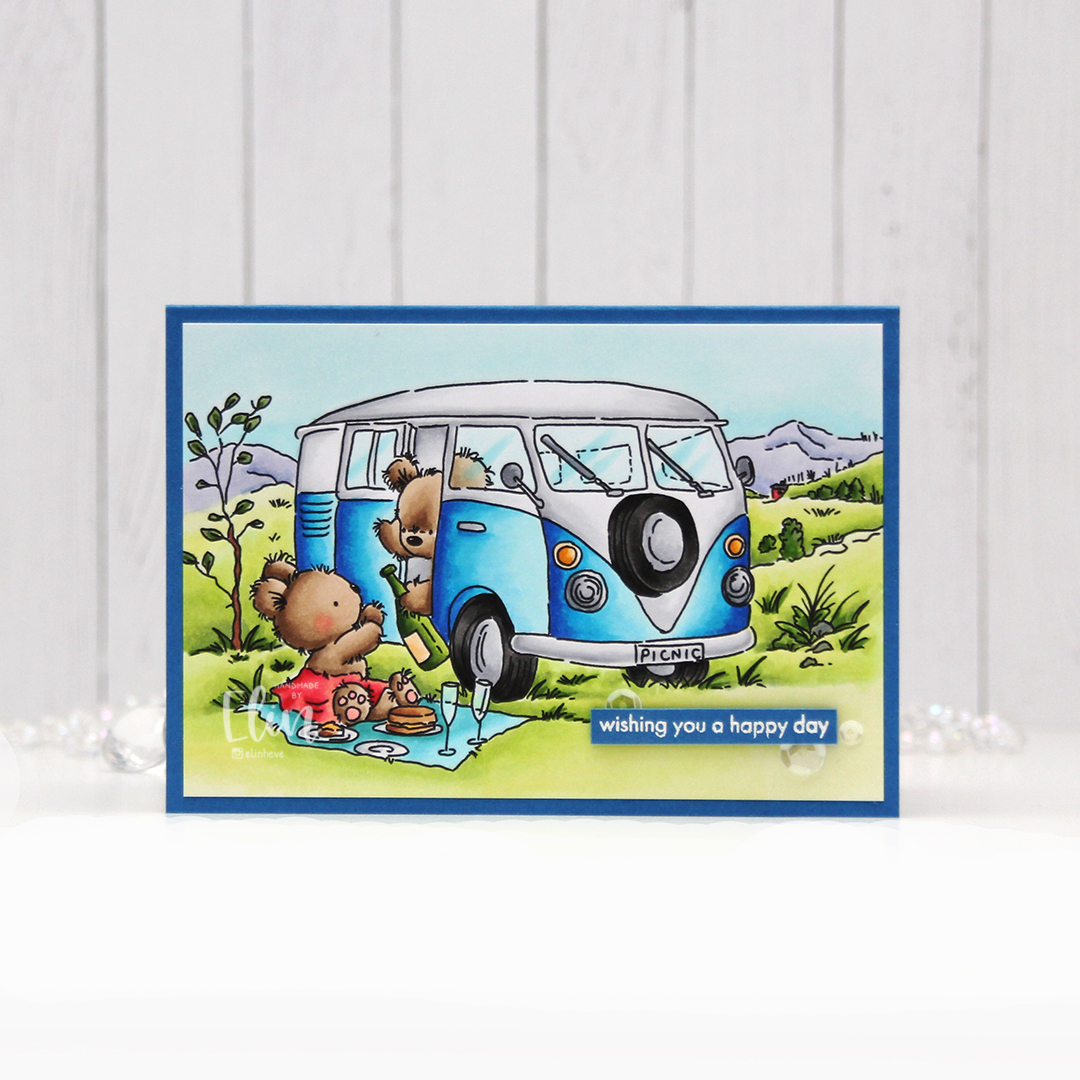
Hi! I’m back with something a little bit unusual. It’s a plywood card. It’s more of a plywood postcard, really. It’s about 1/8″ thick and is definitely sturdy enough to be sent in the mail. On the back there’s a place to put a stamp and the recipient’s address, and space to write a greeting, just like a regular postcard. I’ve put plenty of little die cuts and sequins on the front of this one, so I’d probably put it in an envelope if I wanted to mail it, just to be safe.

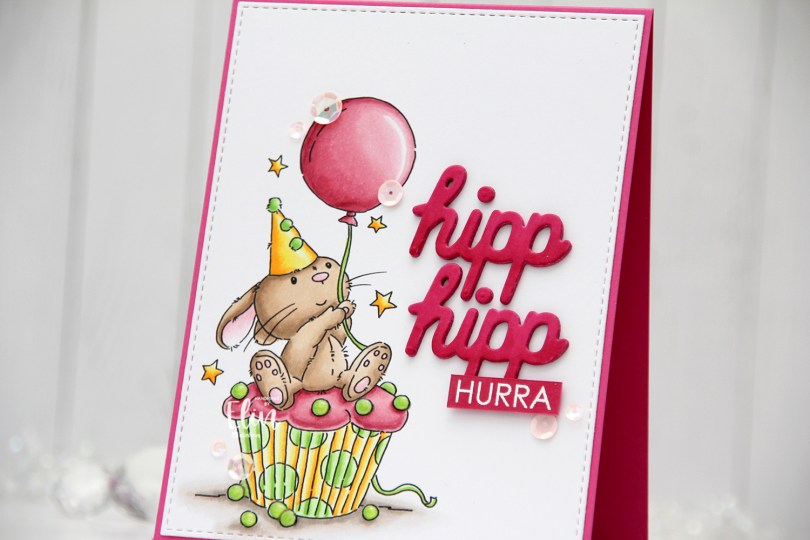
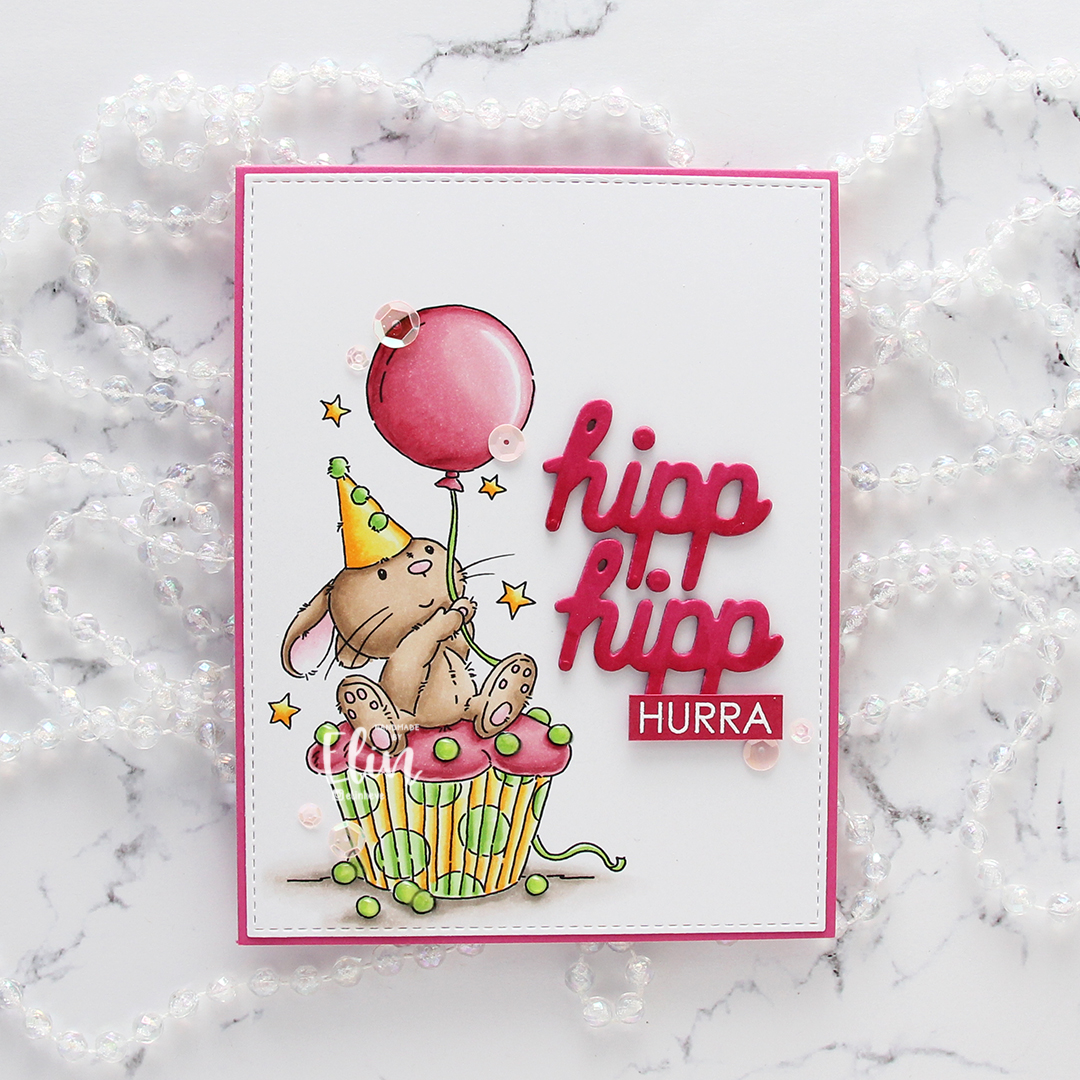
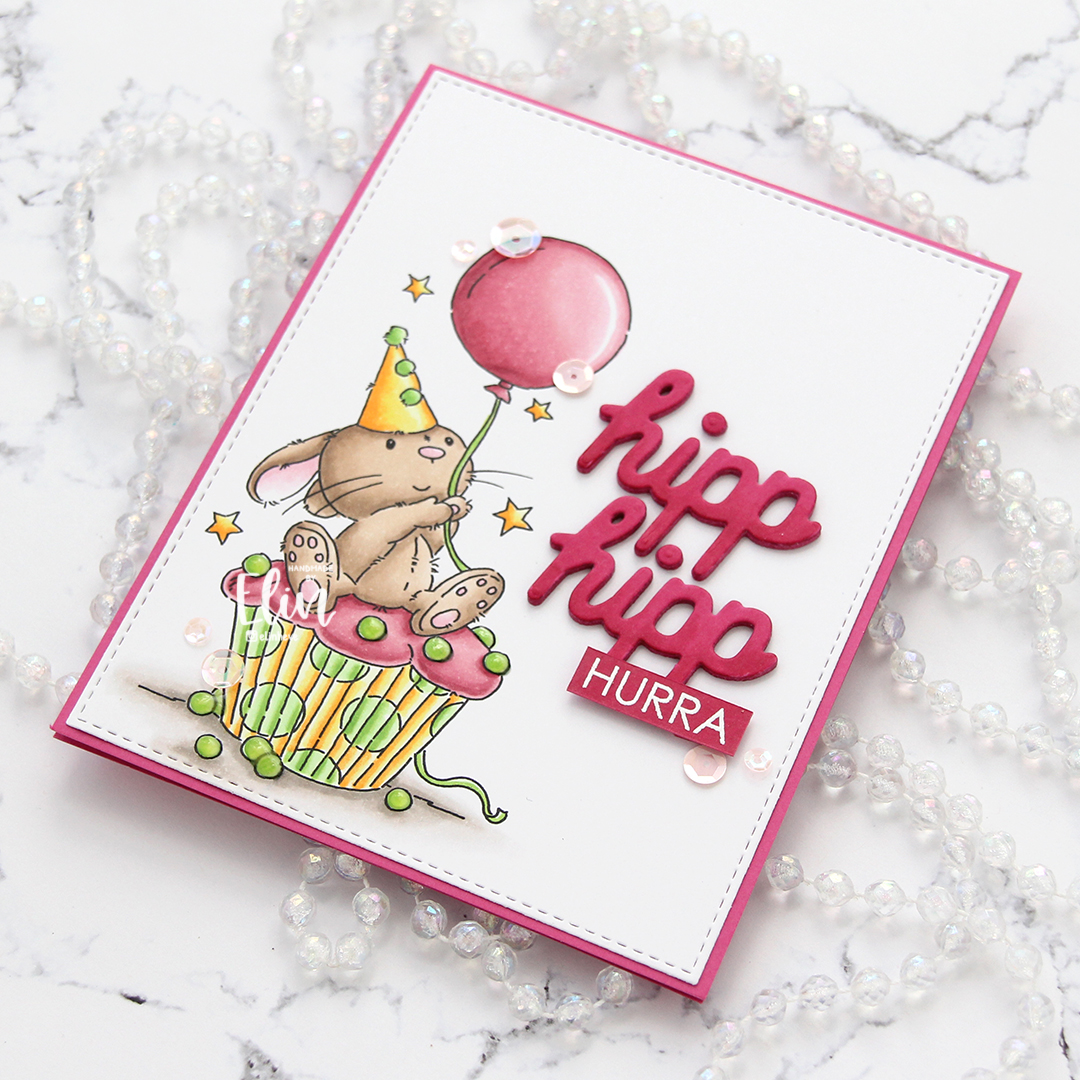
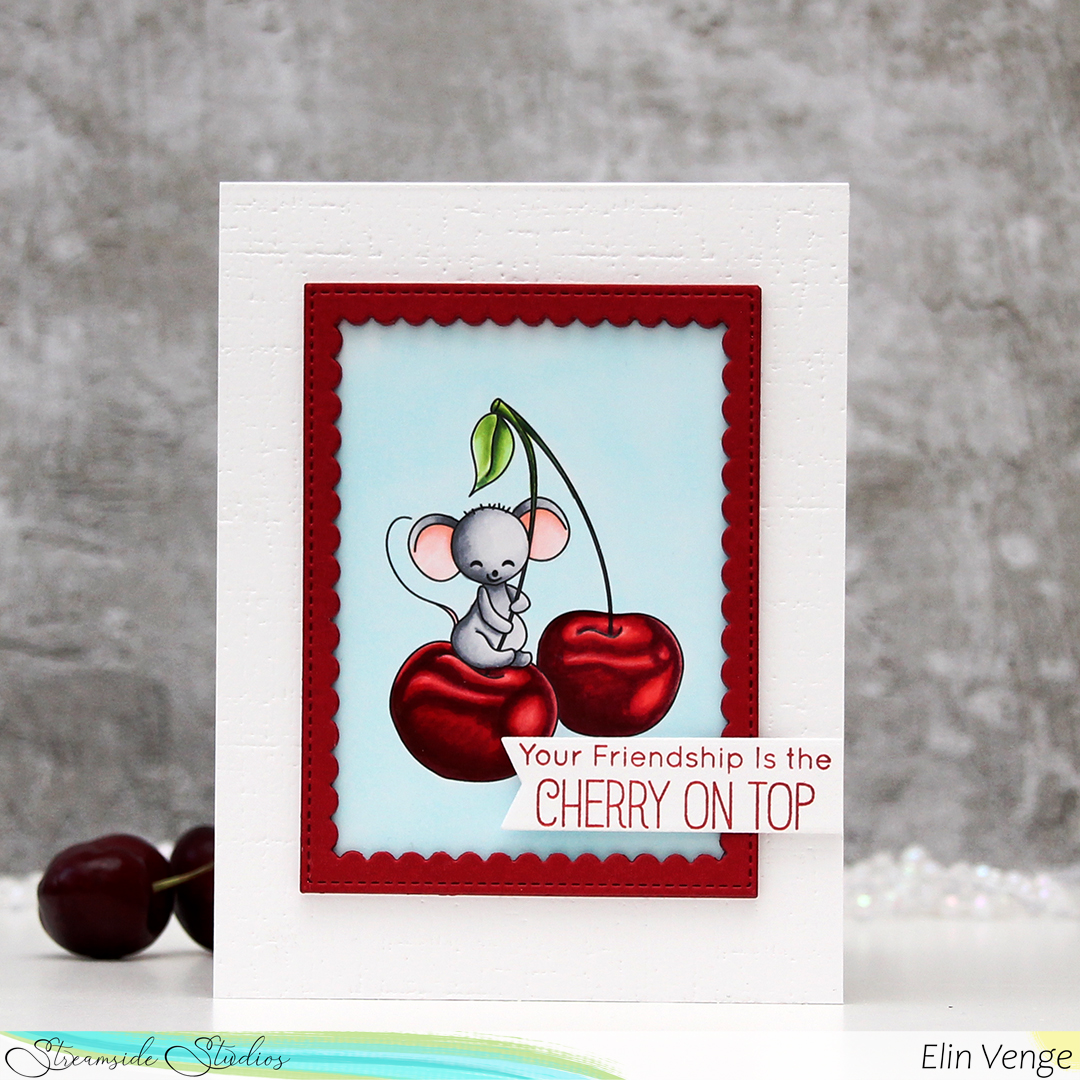
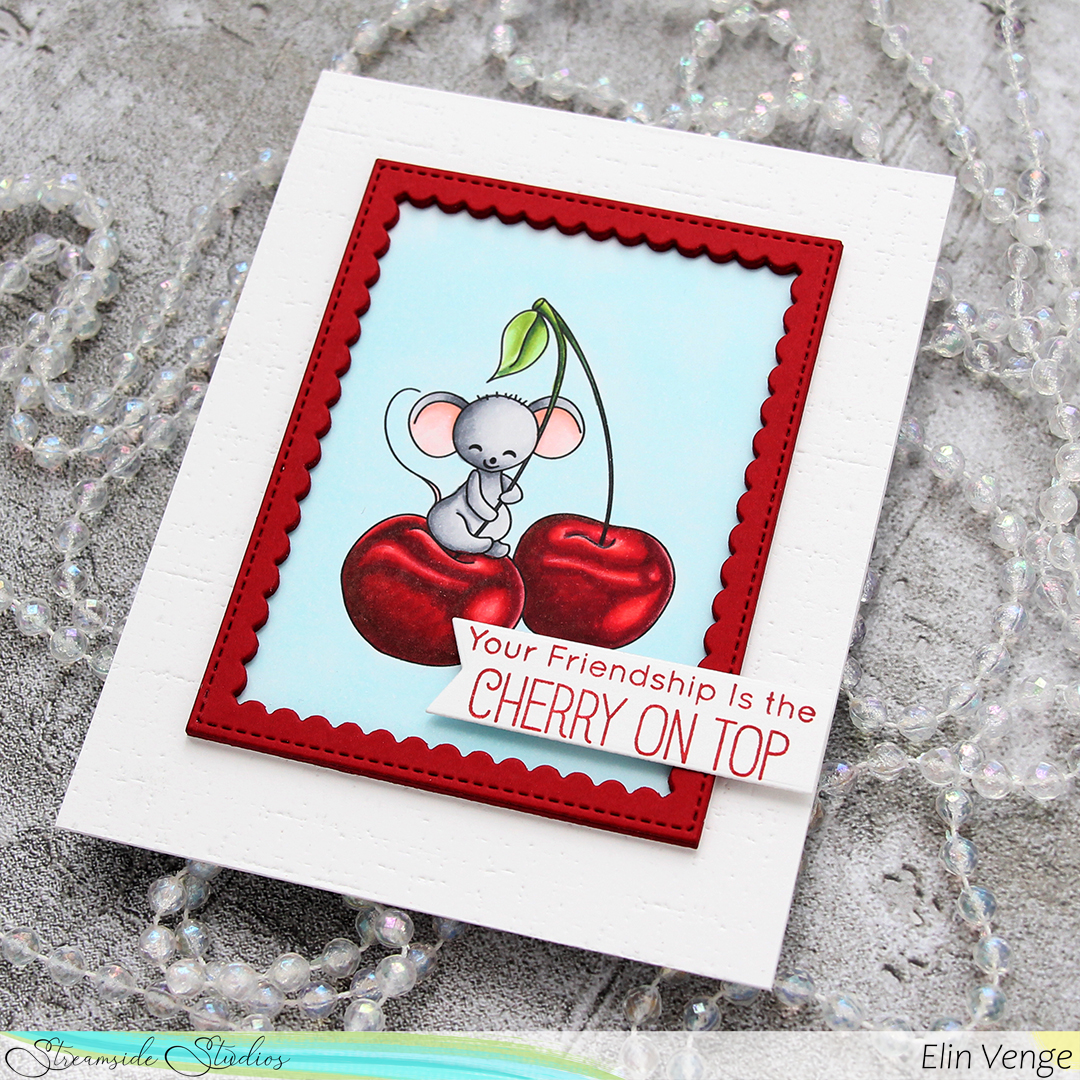
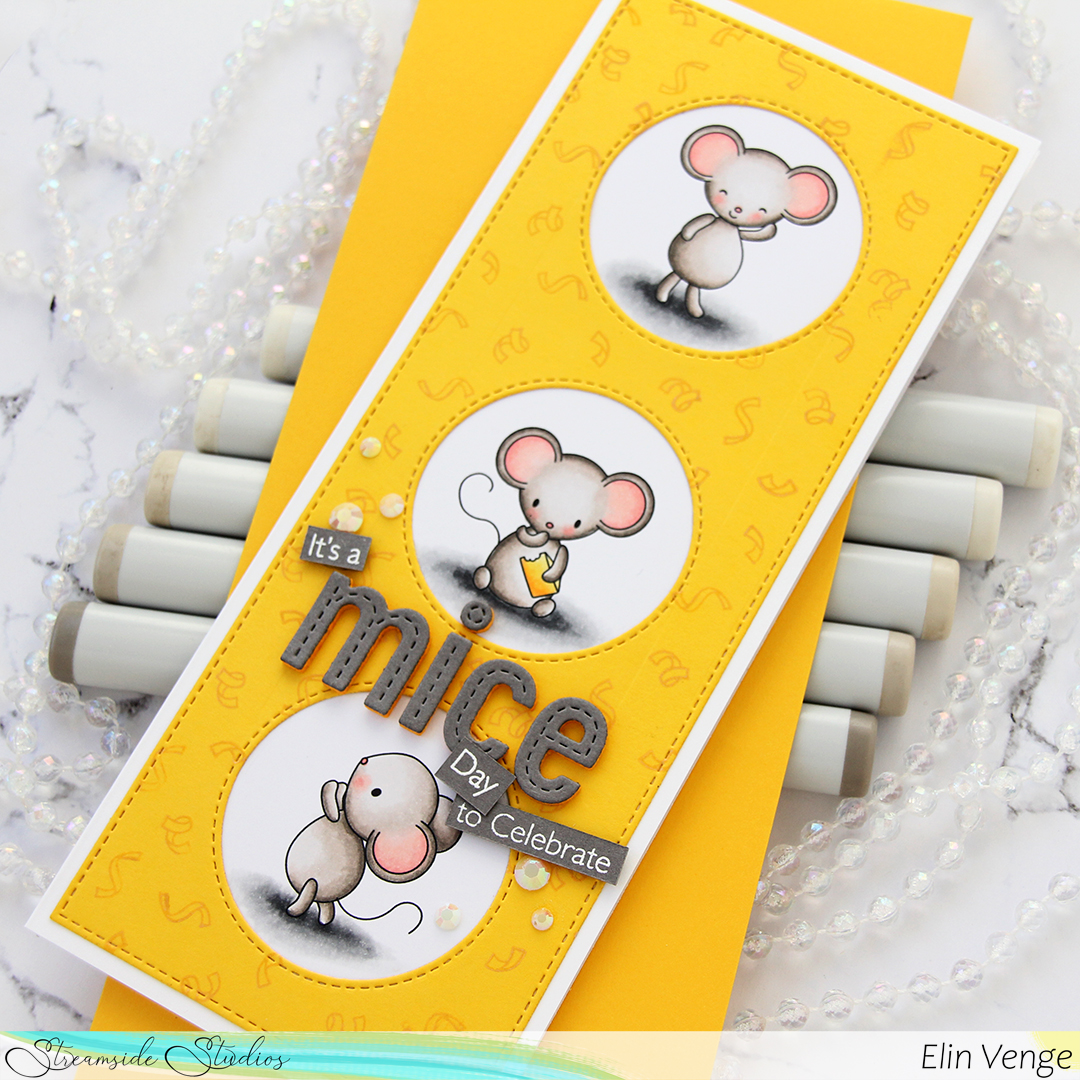
I colored a few of the images from the Mice Day to Celebrate stamp set from My Favorite Things with my Copics on X-Press It blending card. I fussy cut them and created a scene where the stack of crates that the one mouse is standing on is so wobbly that he’s tipping over the cupcake, making the mouse on the right run away. To ground my images, I painted a layer of snow paint at the base of the postcard, let that dry (it dries fairly quickly) and used watered down black watercolor paint (W502 Ivory Black from Mijello Mission Gold) to get some contrast on there.

Using the Big Birthday Wishes die from My Favorite Things, I die cut six of each of the letters I needed to spell the word wish from Sour Apple cardstock from My Favorite Things, and stacked them for dimension. Onto a die cut banner made from Lemon Drop cardstock, I stamped the word Big from the Pawty Time stamp set, also from MFT.
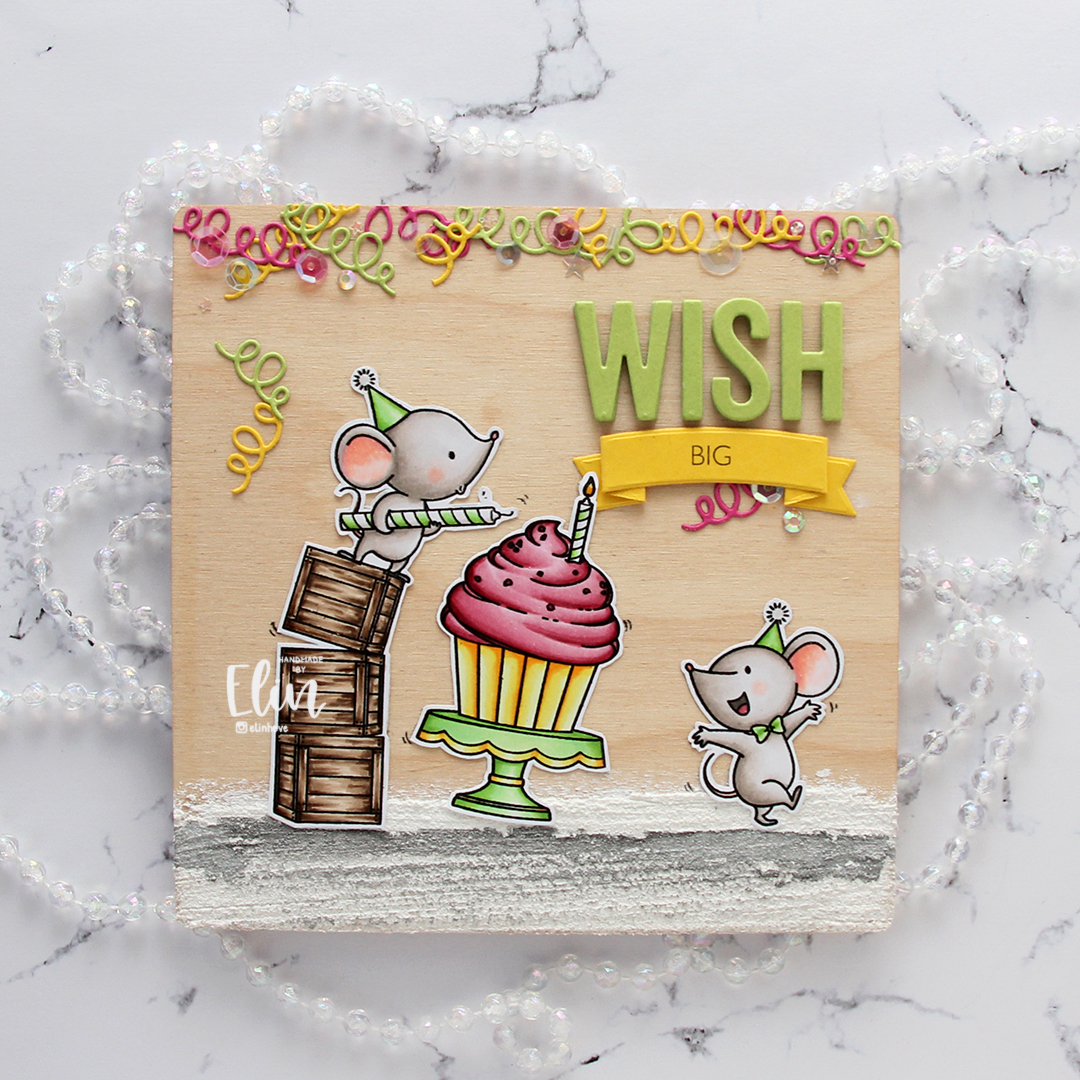
I die cut the streamer that’s in the Tag Builder Blueprint 5 set from My Favorite Things from 3 colors of cardstock. In addition to the Sour Apple and the Lemon Drop I’d already used, I threw in some Ripe Raspberry to match the frosting on the cupcake. I adhered most of the streamers at the top of the postcard, but a few are trickling down.
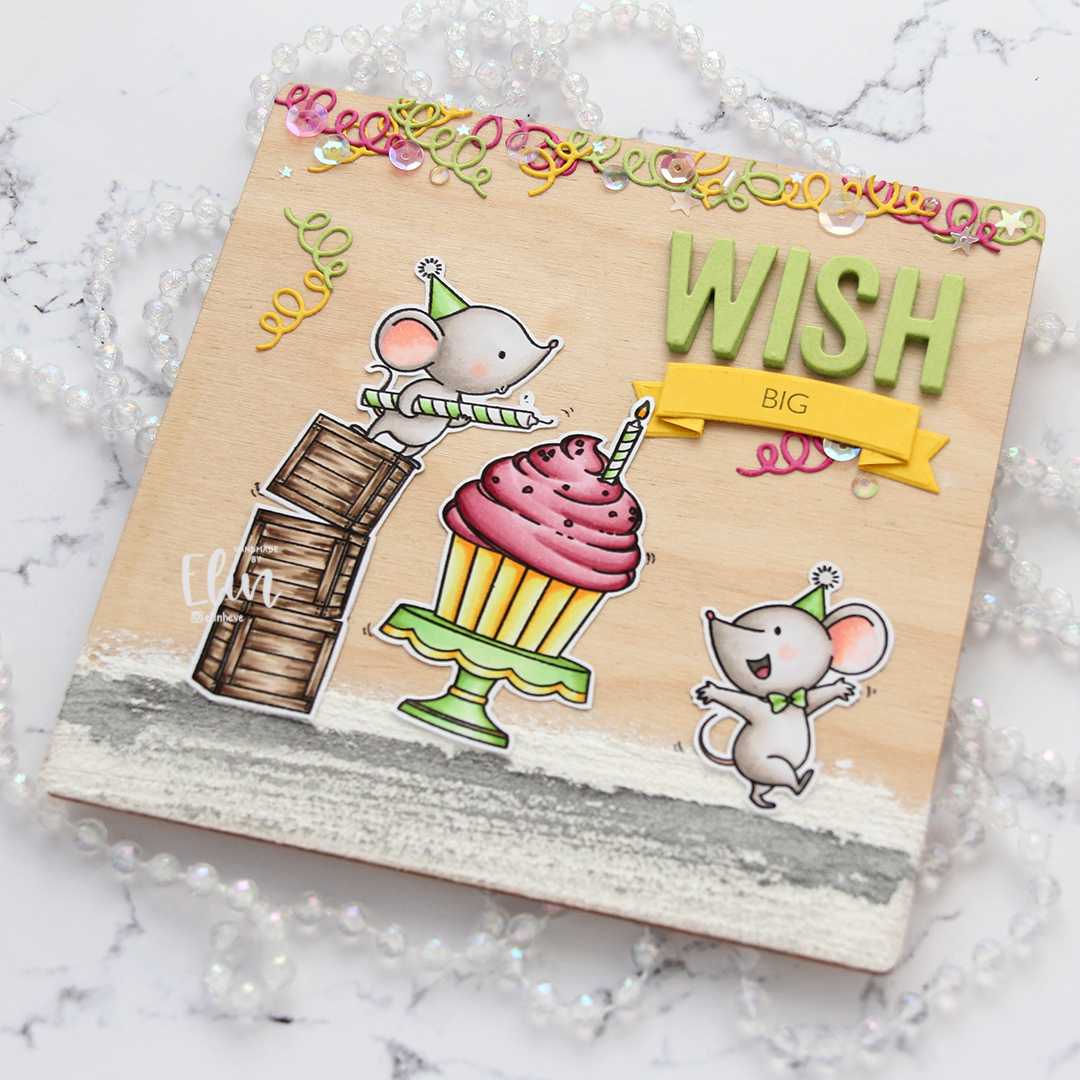
To finish off the party vibe and to add a little bit of shine, I added sequins, confetti, beads and crystals from the Enchanting embellishment mix from Little Things from Lucy’s Cards.

Not a whole heap of colors for this one.