
Hi, there! I’m sharing a super sparkly card today, featuring an adorable Uni-rex from Streamside Studios.
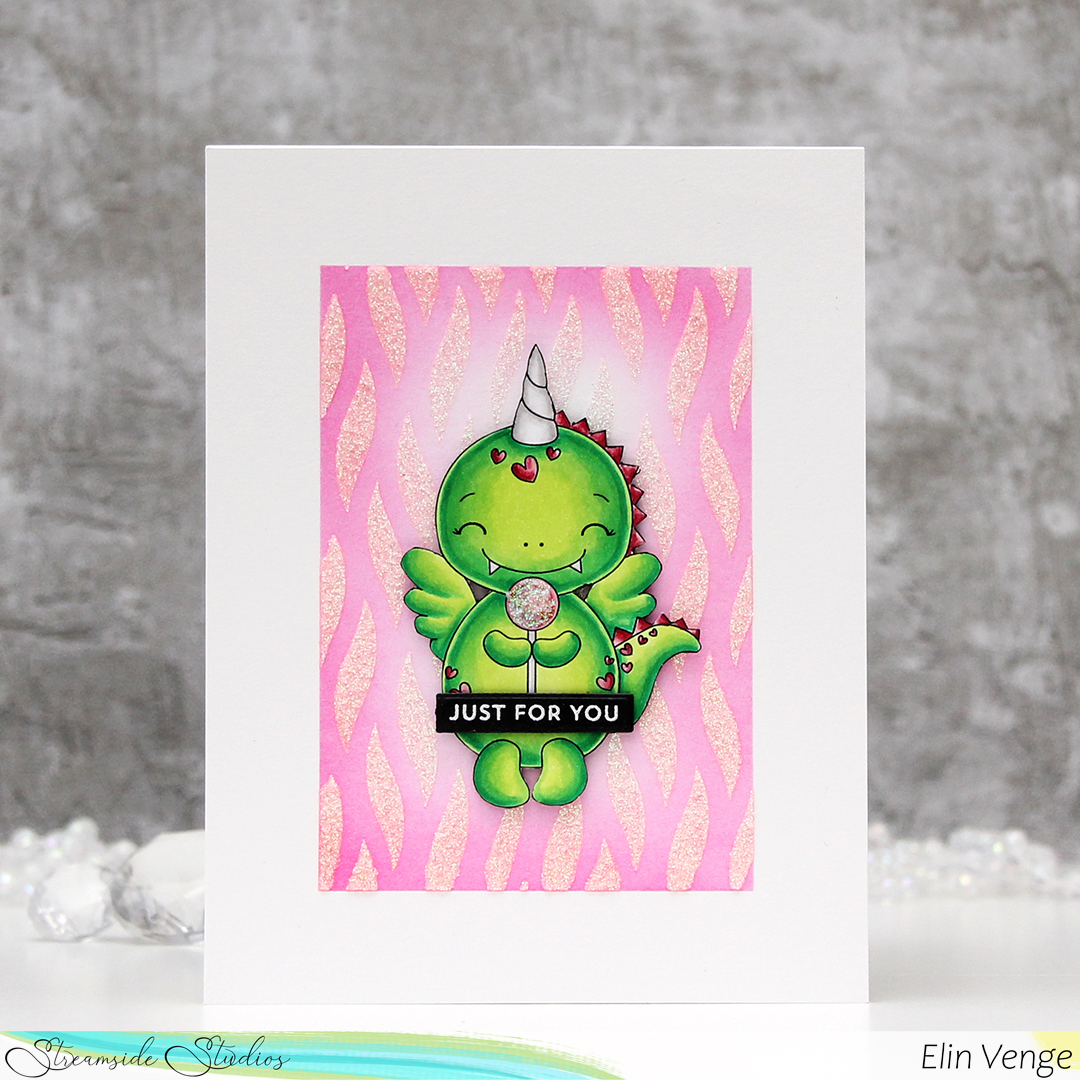
I colored up the uni-rex in a very vibrant green combo, paired with a fairy dull pink. I wasn’t sure what to do with him (or her), but I opted for some fussy cutting.

Onto a 4 1/4 x 5 1/2″ piece of Stamper’s Select White cardstock, I ink blended some Poppin’ Pink ink using the Rectangle Extraordinaire stencil from My Favorite Things. While the stencil was still in place, I added the Wavy Lines stencil on top and used it with some Pearly glitter paint from Aladine, which is super sparkly.

I added the uni-rex to the center of the card using 1 mm foam squares and decided to put the sparkly glitter paint on the lollipop he (or she) is holding.

I needed a sentiment, and the Itty Bitty Basics stamp set from My Favorite Things is quickly becoming my new favorite, I use it a ton. I heat embossed one of the sentiments in the stamp set onto True Black cardstock from Papertrey Ink and die cut it using the Itty Bitty Strips die set. I added a couple of extra layers of cardstock for a little bit of dimension, and glued the sentiment strip onto the uni-rex.
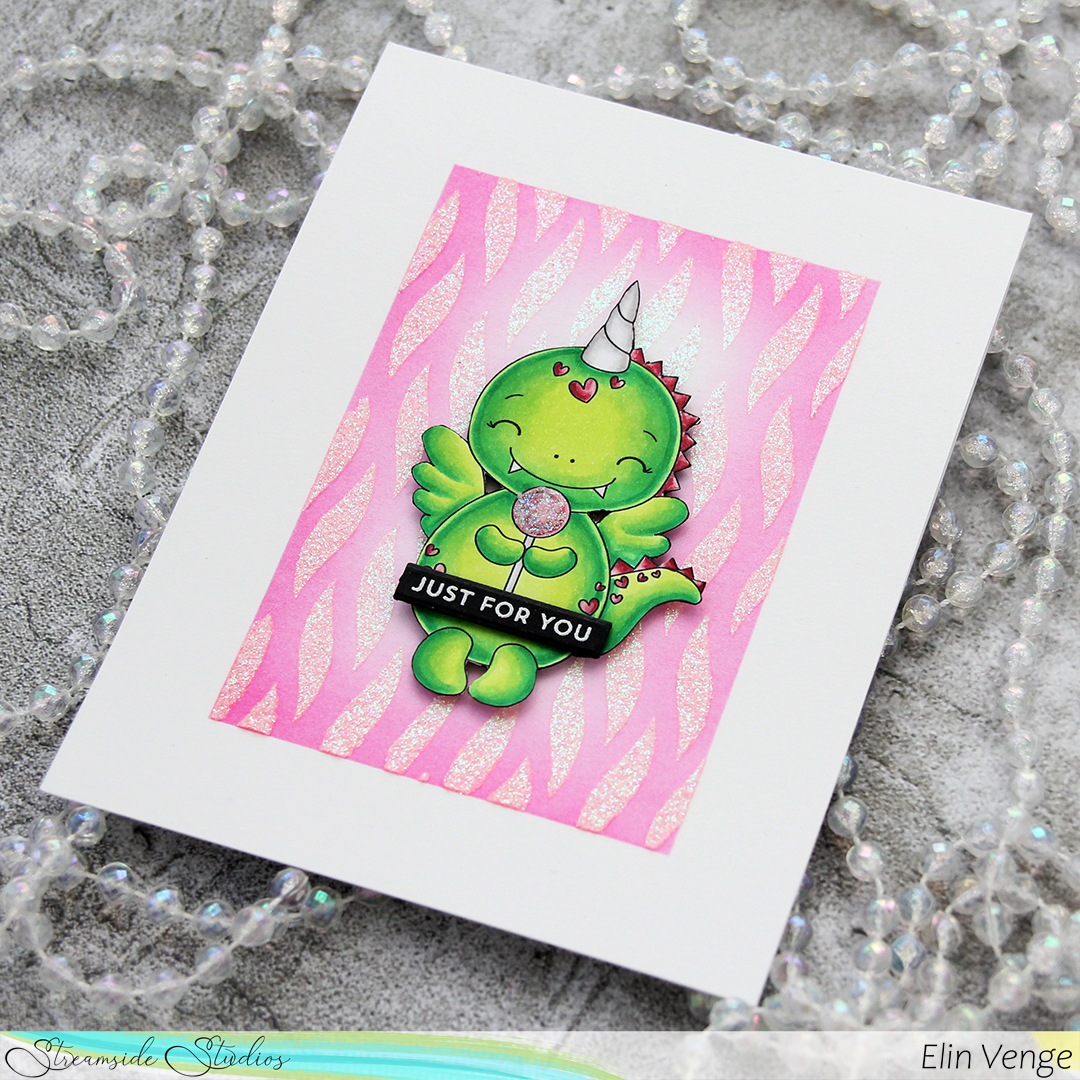
Lots of glitter and dimension, and it’s still a fairly clean card. I love when I can make that happen.

I essentially only colored pink and green for this uni-rex, so it goes without saying that the color palette is limited.
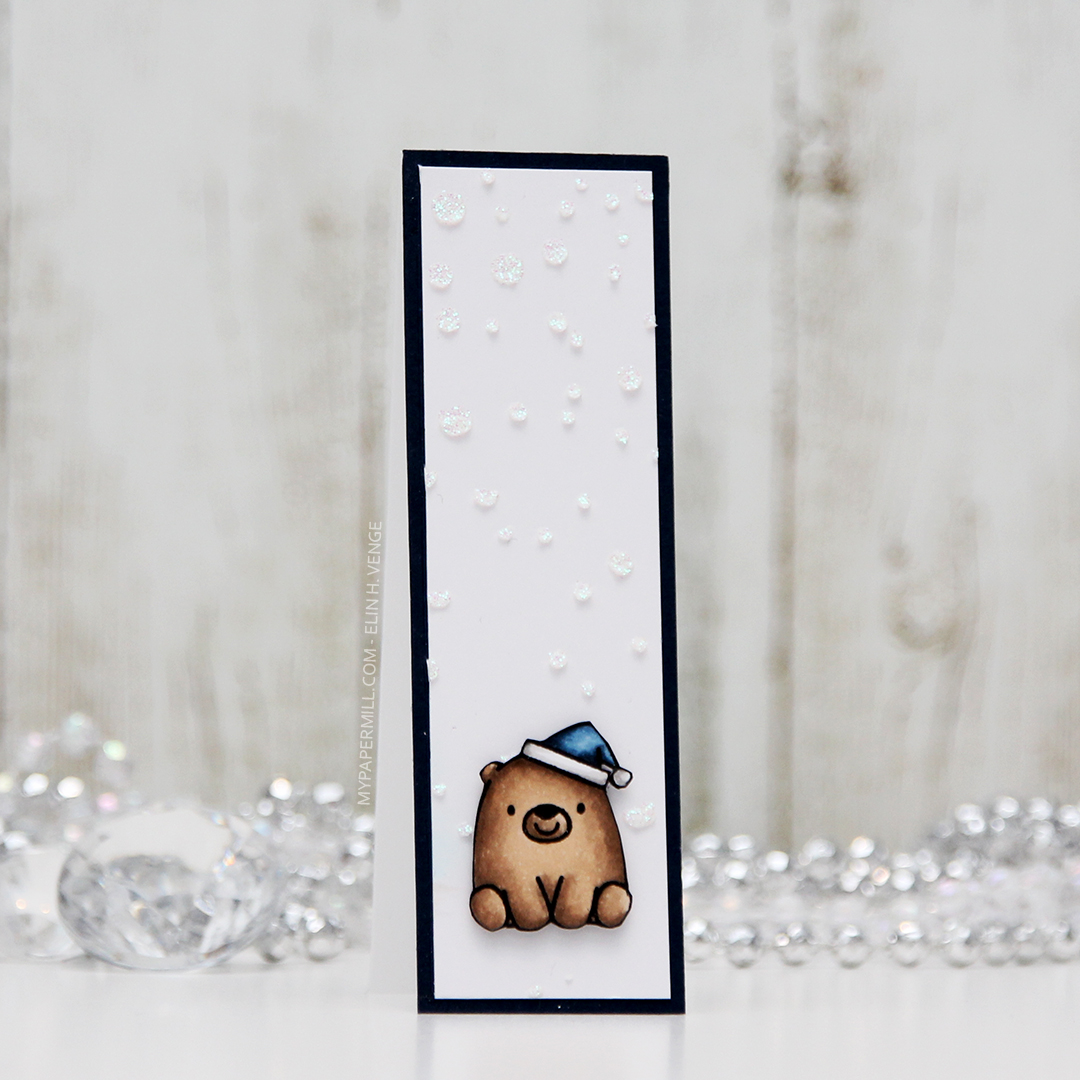 I had a leftover piece from a card I made earlier this year, so the dark blue base and the
 I colored up this image for day 27 of Kathy Racoosin’s 30 day coloring challenge back in May. Yes, I colored a winter scene in May… BUT I wanted to feature as many different companies as possible during the coloring challenge, and the only ones I have from Kinda Cute are winter ones. I love making Christmas cards, so I really didn’t mind.
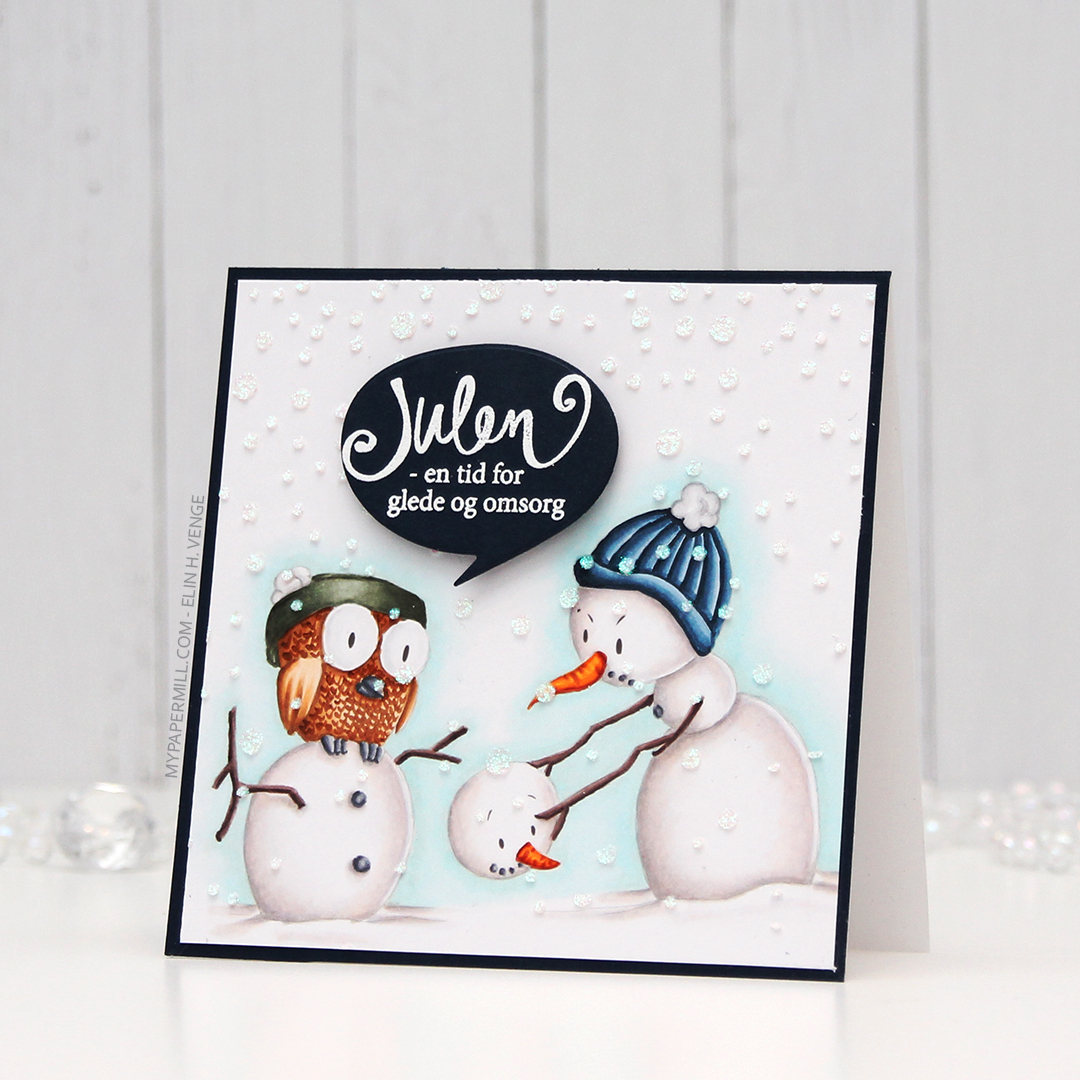
 I had initially planned on making an A2 landscape card, but it just wasn’t working, there was no natural place to put the sentiment. After I’d added the iridescent glitter paste over a Simon Says Stamp falling snow stencil and glued my panel to my cardbase, I chopped off 1-1/4″ on the right hand side of the card and then carefully went in with a craft knife to cut off an additional 1/16″ from my top layer. It works if you use a fresh blade and cut multiple times using very light pressure.
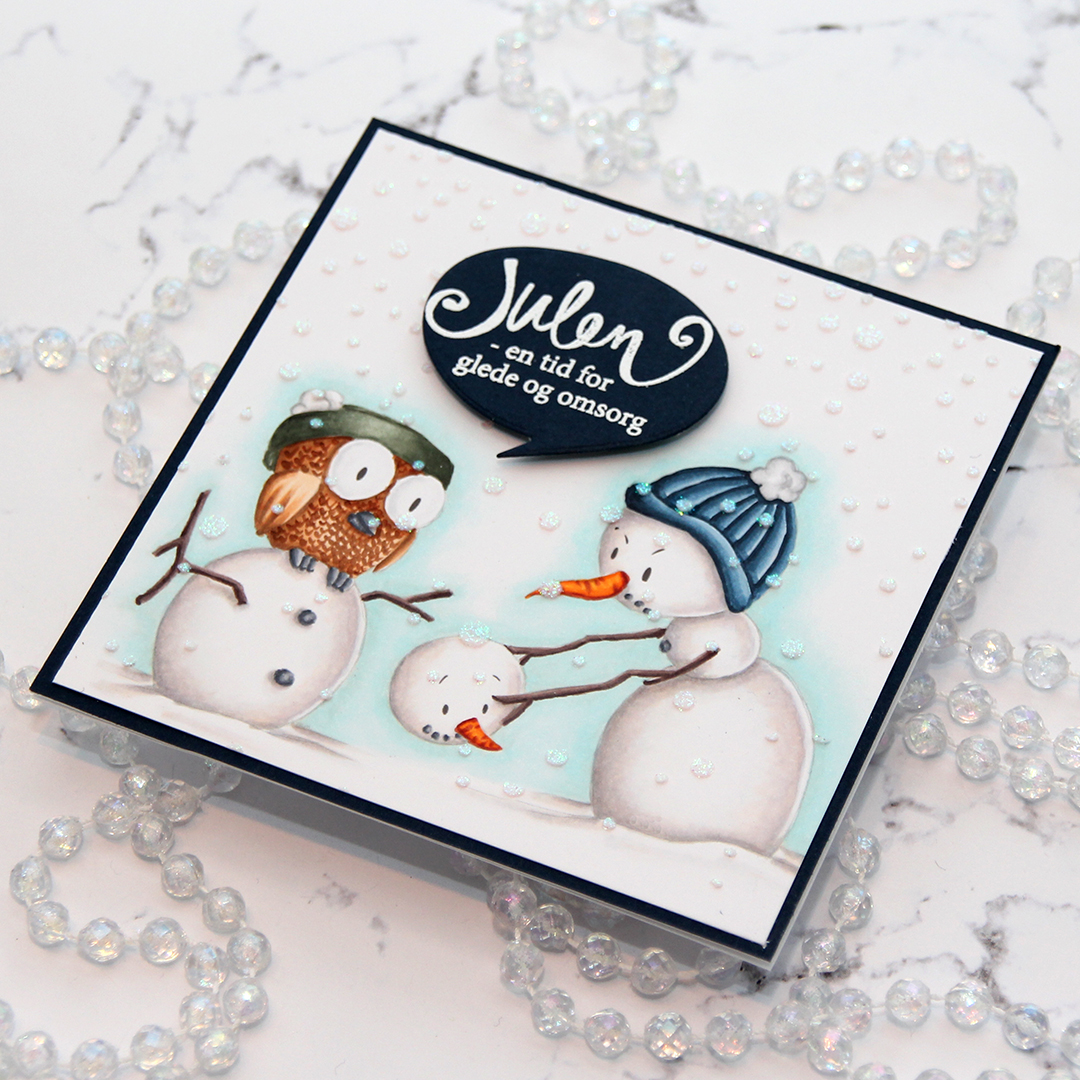 I stamped and white heat embossed a Norsk Stempelblad AS sentiment onto more of that same Dark Indigo cardstock from Papertrey Ink that I used for my card front, before using a speech bubble die from Altenew to die cut. I mounted my speech bubble using some foam tape, and my card was finished.