
Oh, how I wish spring really was here. These Stacked Chicks from the brand new release from Rachelle Anne Miller, make me hopeful that spring will eventually arrive.
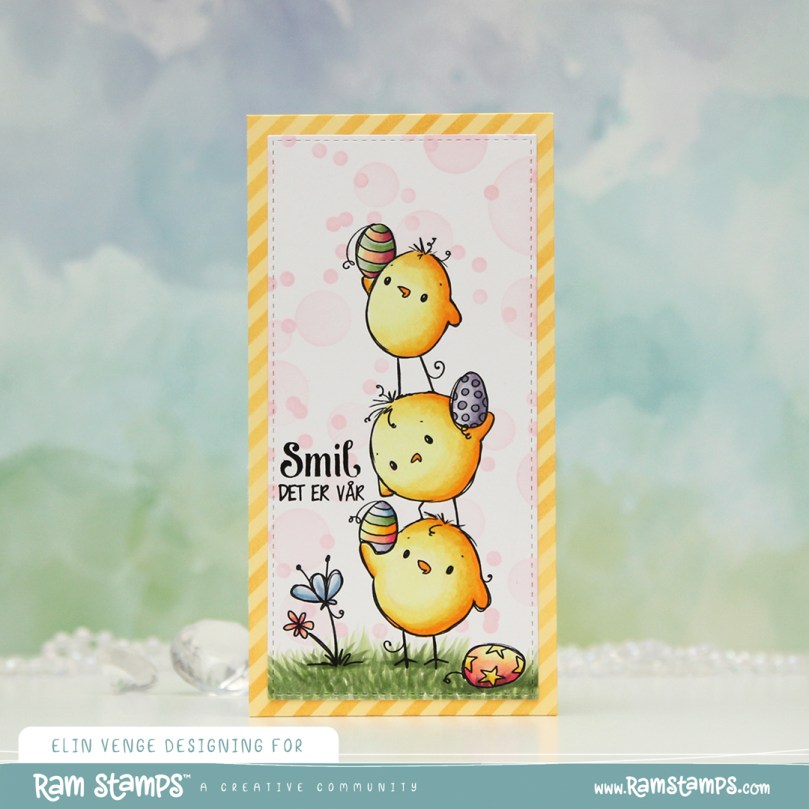 I created a mini slimline card this time. I figured it would go well with the tall, skinny image. This particular mini slimline measures 3 1/8 x 6 1/8″. I colored the image with Copics and used a die from the Stitched Mini Slimline STAX die set from My Favorite Things before I went over it with the Bokeh Elements Stencil Duo set from Waffle Flower and Rose Quartz ink from Altenew to create a soft background behind the chicks. I didn’t even bother masking them off, the pink ink was so light. I then trimmed down a piece of Lemon Tart cardstock from Papertrey Ink and used the Diagonal Stripe stencil from Simon Says Stamp with Scattered Straw Distress Ink to create some interest to the base as well. I stamped a sentiment from an Easter stamp set from Papirdesign (PD18390 Påske) using Obsidian ink from Altenew, and the card was complete.
 Bright, cheerful color palette for this one.
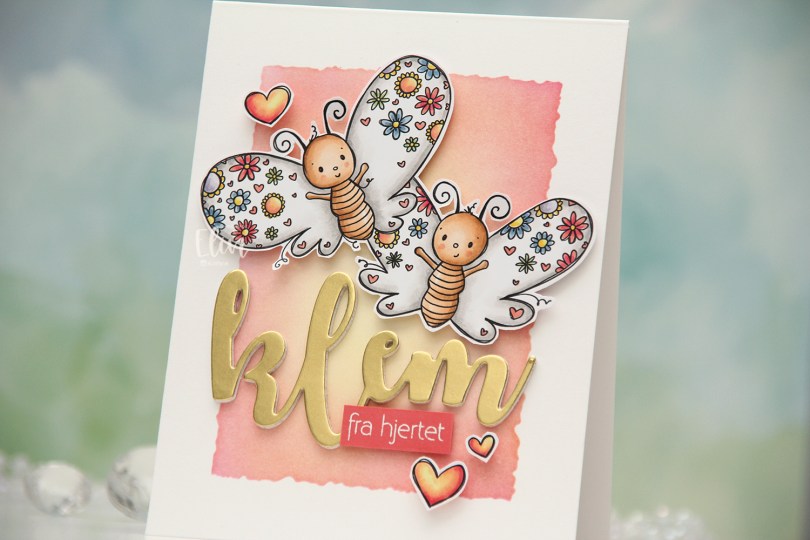
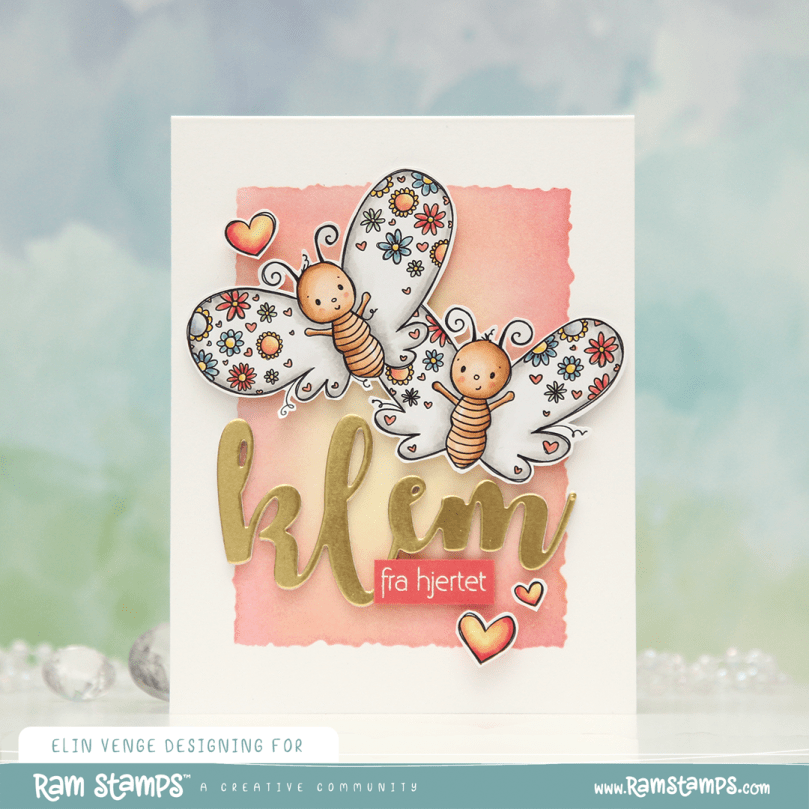 I colored the butterflies (and the three hearts that are part of the image) with Copics and fussy cut them, leaving a thin white trim around the edge. Onto a top fold card base I created from Stamper’s Select White cardstock from Papertrey Ink, I ink blended the center of the card, using the Watercolor Rectangle stencil from My Favorite Things and various inks (Distress Ink Picked Raspberry, Distress Ink Worn Lipstick, Altenew Pink Pearl, Distress Ink Scattered Straw). I went with pink on the edge and yellow in the center to mimic the colors in the hearts.
 I die cut the word klem (hug) four times from white cardstock and once from Gold Shine cardstock from My Favorite Things, and stacked them for a layered look. I added foam tape to the back of my butterflies, adhered them top center on the card and put the stacked klem below them. I also added a sub sentiment from Norsk Stempelblad AS that I white heat embossed on a piece of Berry Sorbet cardstock from Papertrey Ink. I put a few layers of cardstock behind it for dimension and added it to the card, partly on top of the die cut, before embellishing with the colored hearts to finish.
 Bright and happy color palette for this one.
 I colored the cow with Copics, before fussing cutting it, leaving a white trim around the edge. Onto a top fold fold card base, I ink blended blue inks from Altenew (Winter Lake, Icy Water and Polar Bear) through the Geometric Landscape stencil, also from Altenew, before stamping a Happy Birthday background stamp from My Favorite Things on top, using the darker two of the inks I used for the blending. I also used the stencil in the top right corner and used what was left on my ink blender brush for a soft look.
 I added Light & Fluffy modeling paste from The Crafters Workshop through the Tiny Clouds stencil from My Favorite Things. I wanted dimension to my clouds and put down a very thick layer of the paste. While that dried I worked on the rest of the card. I die cut four polaroid framed using the Precious Polaroids die set from My Favorite Things and stacked them for dimension. Onto Grapefruit cardstock from Concord & 9th, I stamped and white heat embossed three sentiments from the Bitty Birthday Wishes stamp set from My Favorite Things and cut them all down to strips, adding a few extra layers of cardstock behind each for dimension. I adhered the polaroid frame to my card base at an angle, glued the cow on top, added my sentiment strips and finished off with sequins and gems from the
  Super simple and very neutral color palette for this one.
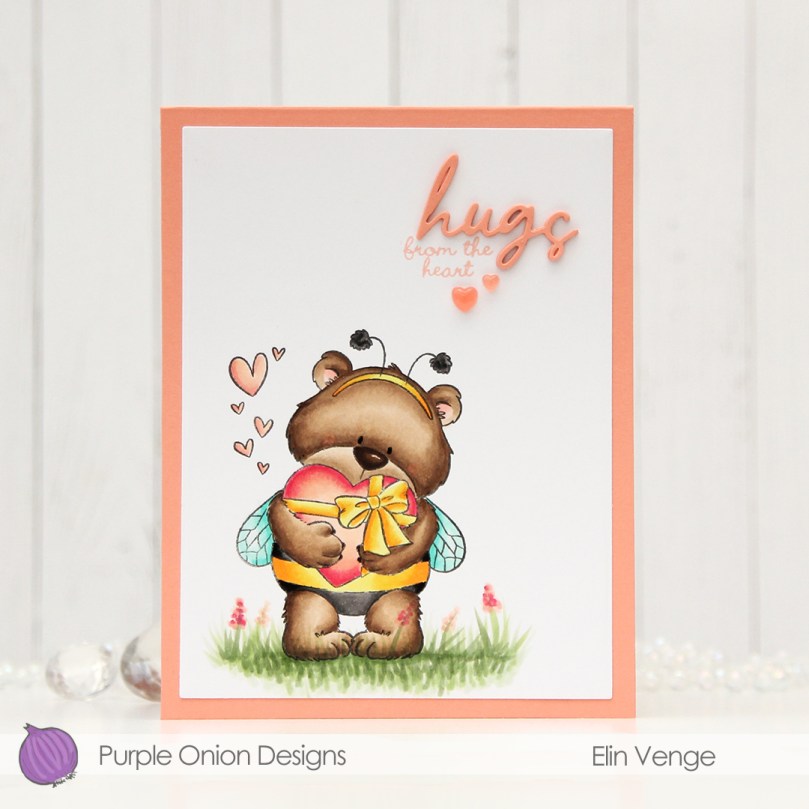 I colored up
 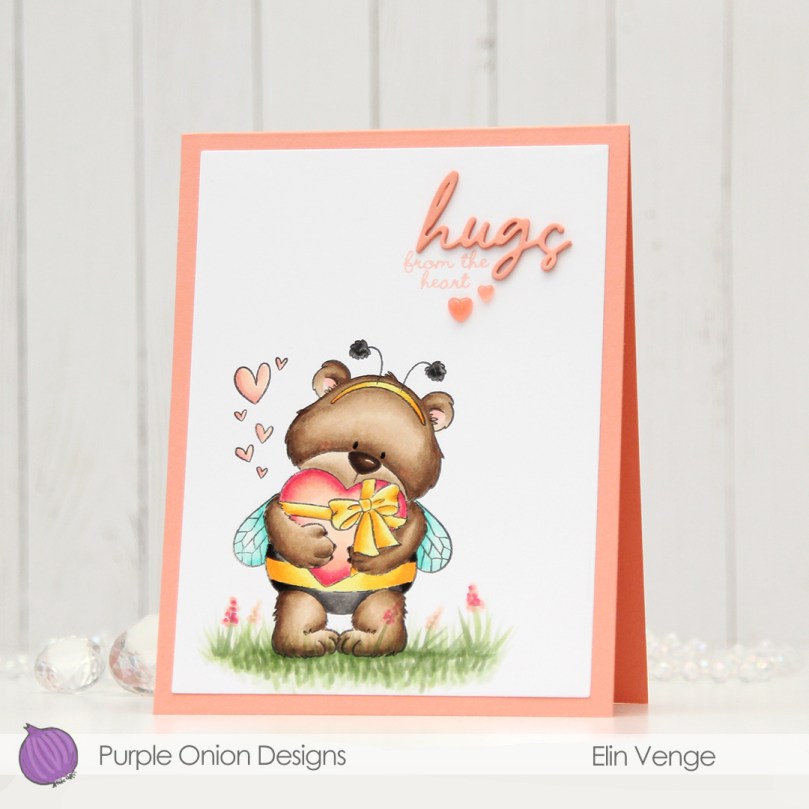 I stamped a sentiment from InkyWings using Pink Pearl ink from Altenew. The stamp actually has the word hugs in it too, but I opted for a die cut hugs, using the Sweet Sentiments die set from Altenew. I die cut four from Grapefruit cardstock and stacked them together for a dimensional look.
 I finished off with a couple of heart droplets from Little Things from Lucy’s Cards.
 Fairly simple color palette for this one.
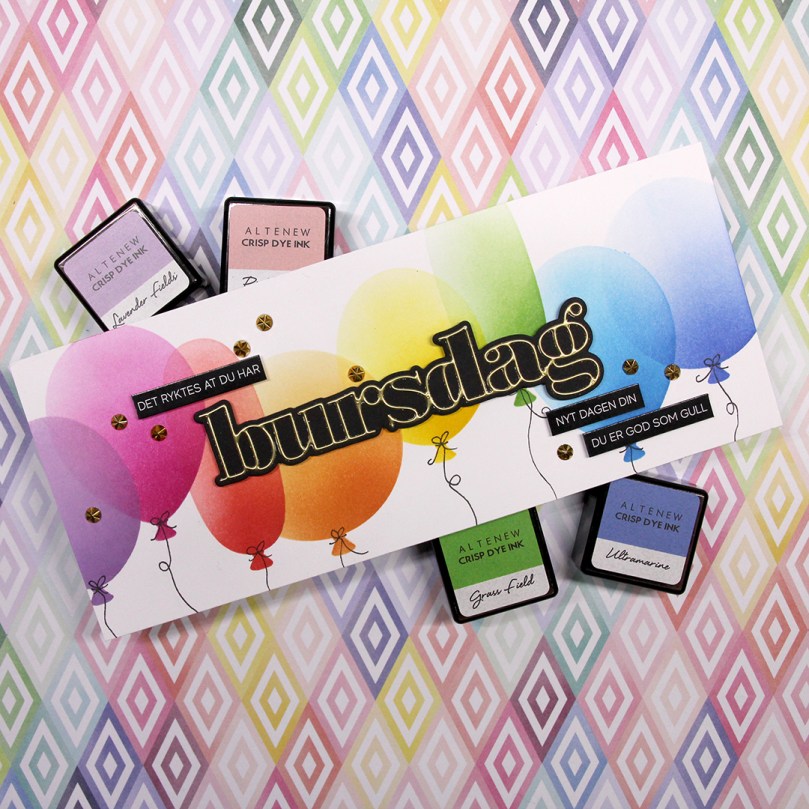 I used the Big Balloons stencil from My Favorite Things and did a rainbow of balloons going across the card. Each balloon is a gradient color, from dark at the bottom right, to a lot lighter at the top left. I used sooooo many ink colors to achieve this look.
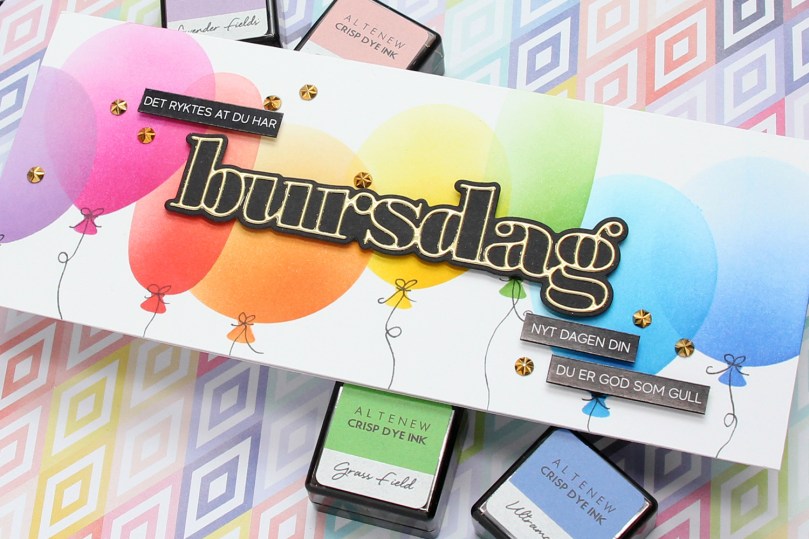 I die cut the word bursdag from Gold Shine cardstock from My Favorite Things. This is a very dainty die cut, so I chose to put double sided adhesive (I used a sheet from Altenew) on the back of the cardstock before die cutting, which made everything easy once it came to assembly. I die cut the shadow layer from True Black cardstock from Papertrey Ink and used black foam tape to pop it up in the center of my card. I used some sticker strips to fill out my sentiment, and added those using foam tape as well, before finishing off with a little gold bling.
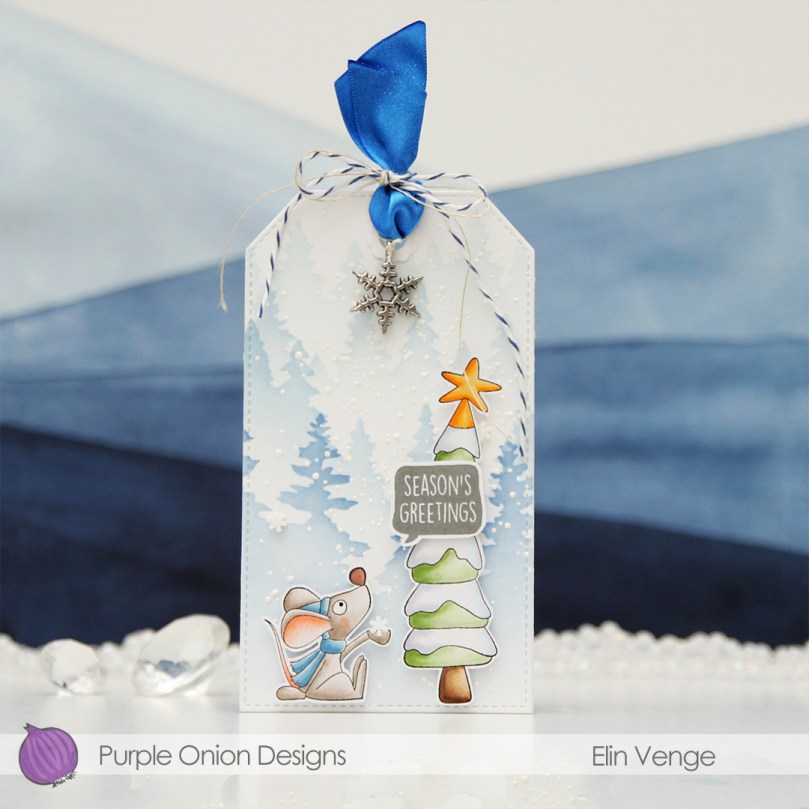 I colored the cute mouse and the tree with Copics, before fussing cutting them. I left a white trim around the edge to make it a little easier on myself, that mouse is small and I didn’t want to accidentally cut off his tail. Onto Stamper’s Select White cardstock from Papertrey Ink, I ink blended trees using the Wintry Forest stencil set from Pinkfresh Studio along with Polar Bear, Icy Water and Winter Lake inks from Altenew. I used the largest die in the Stitch. Trad. Tag STAX die set from My Favorite Things to turn it into a tag and sprinkled on chunky white embossing enamel from Stampendous, which I melted from the back for a snowy look.
 I mounted Pippin and the Christmas Tree to the tag using foam tape. I stamped a sentiment from the
 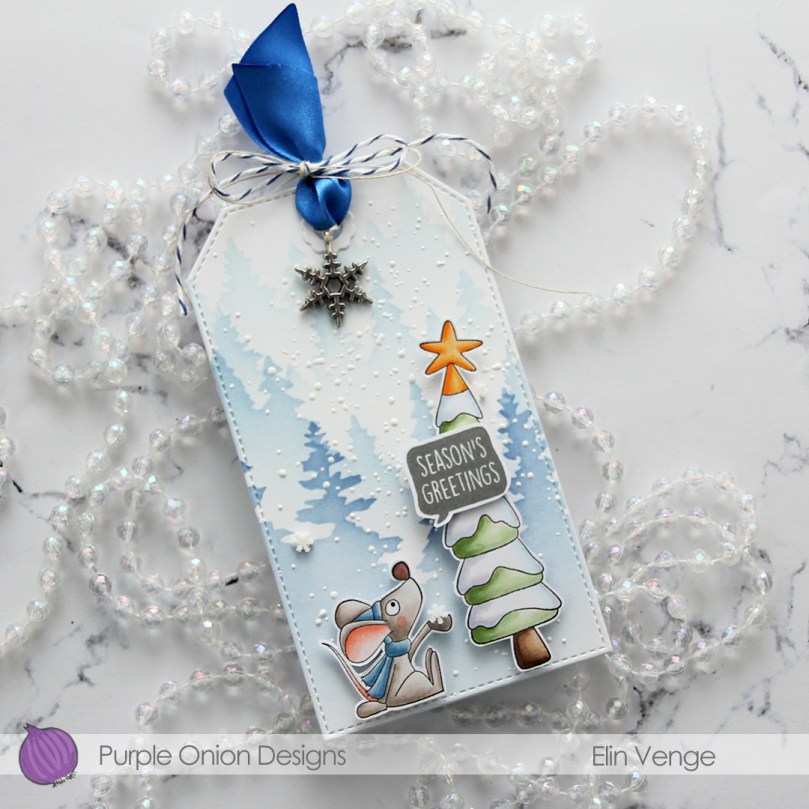 I used a reinforcer die from the Fold-up Tags die set from MFT to add strength to the hole at the top of the tag, added a couple of Snowdrift Sprinkles from Little Things from Lucy’s Cards, as well as some blue satin ribbon, a piece of Blueberry Divine Twine, a thin string and a snowflake charm to the top of the tag for a finished look.
 Simple color palette for this one. I didn’t even go overboard with the snow on the tree.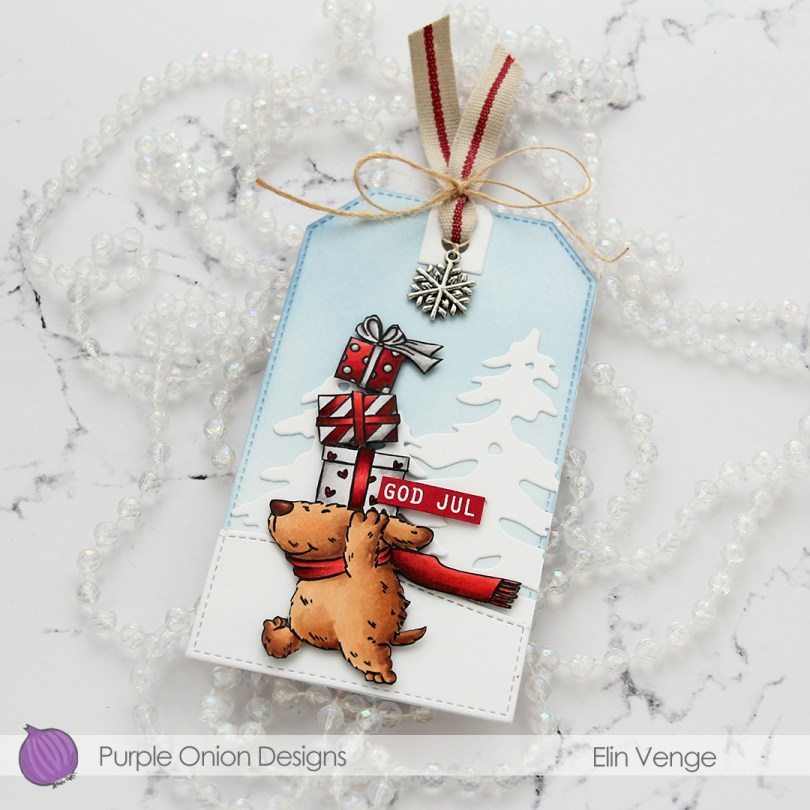
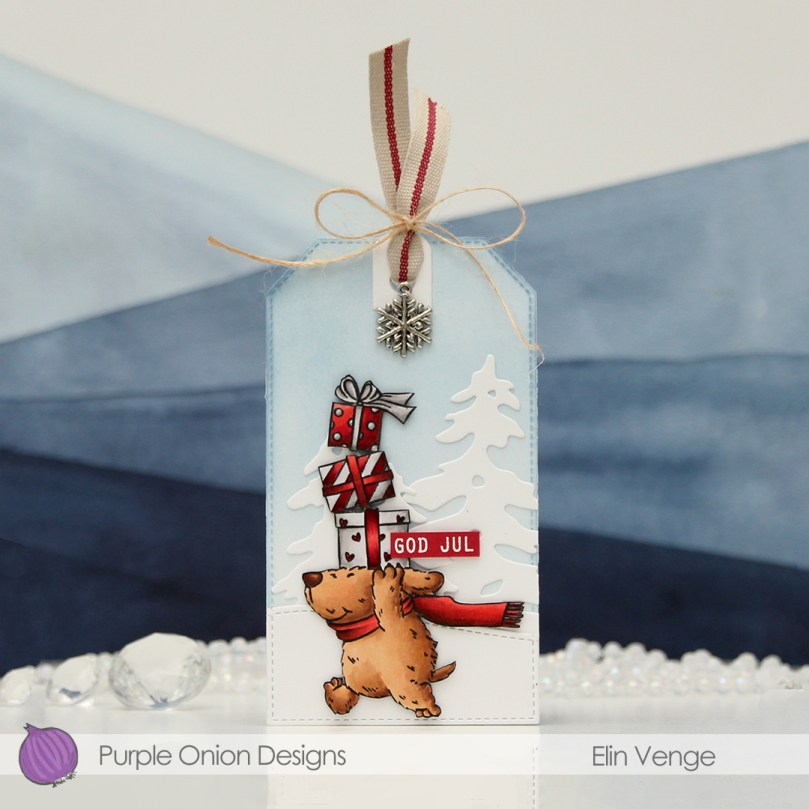 I stamped the image with Extreme Black ink from My Favorite Things, colored it with Copics, then stamped again, this time using Obsidian ink from Altenew for crips, dark lines. I decided to fussy cut right against the stamped lines, and put this cute dog to the side while I worked on the rest of the tag.
 I die cut a tag from white cardstock using the Stitched Trad. Tag STAX die set from My Favorite Things, before using Polar Bear, Icy Water and Winter Lake inks from Altenew to ink blend a soft blue sky. I die cut a couple of trees using the silhouette snow trees from Mama Elephant and adhered them on top of my ink blending. I used a die in the Stitched Hillside Borders die set from Lawn Fawn to create the faux stitch hill, then used the tag die again to die cut the bottom part and adhered it to the tag also.
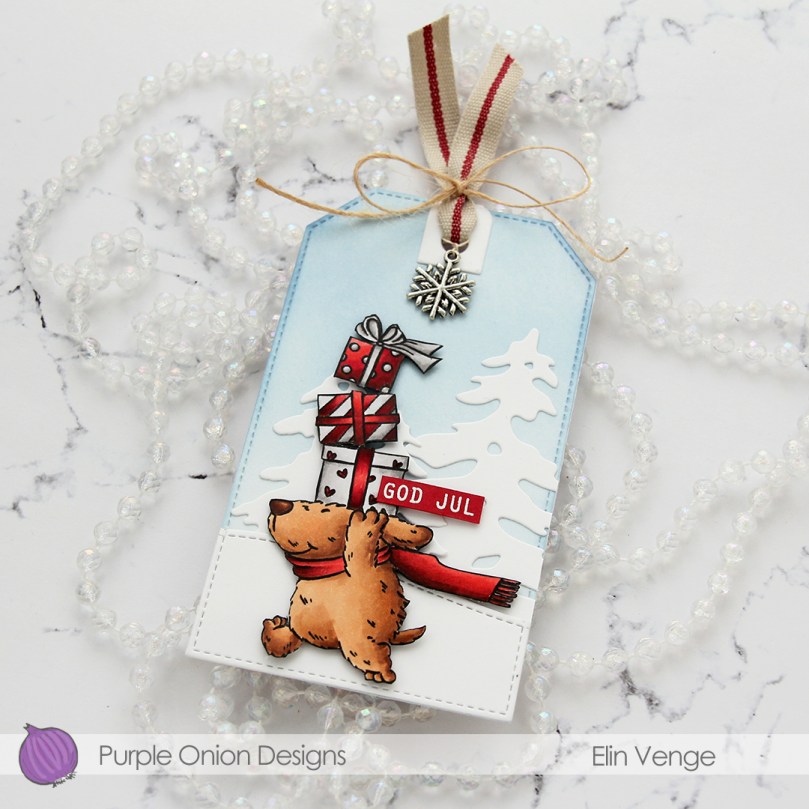 I added my dog using foam squares. stamped and white heat embossed a sentiment from the Julehilsen stamp set from Norsk Stempelblad AS onto Wild Cherry cardstock from My Favorite Things, before trimming it down and adding it with foam squares to the tag. I die cut a reinforcement piece from white cardstock using a die in the Fold-up Tags die set from My Favorite Things and adhered it to the top, before threading some ribbon through and adding a charm. I used some May Arts Natural Twine to tie a bow to secure everything.
 On the back of the tag, I stamped the Til/Fra frame from Norsk Stempelblad AS using Obsidian ink from Altenew. I used Dark Chocolate and Classic Kraft inks from Papertrey Ink to stamp the images that make up the background. The stamps are from North Star Design, Inkido and Ladybug and Friends. I believe none of these companies are still in business, but I love these particular stamps and use them regardless.
 Simple color palette for this one. No wonder, as it’s essentially just brown, gray and red.
 I colored the image with Copics, and after a couple of cards recently with very muted, vintage colors, I went super bright with this one. I love penguins done with BGs instead of grays, it’s like they’re happier, somehow.
 I stamped and white heat embossed a sentiment from Huldra Designstudio directly onto my card base, which I made from Oceanside cardstock from Concord and 9th.
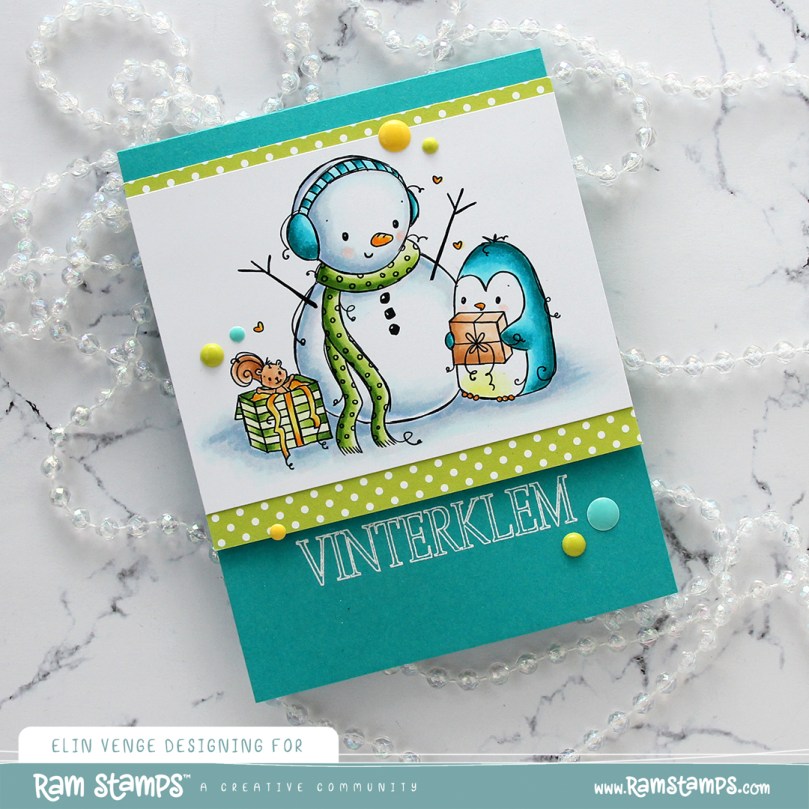 Above and below the colored panel, I added strips of patterned paper from the Party Patterns paper pad from My Favorite Things, before mounting it all on foam tape for dimension. I finished off the card with enamel dots. The bright green ones are from Papirdesign, the teal and yellow ones from the Cool Summer Nights and Pocketful of Sunshine packs from Altenew. The Papirdesign ones have more dimension to them than the ones from Altenew, which creates a little more variety.
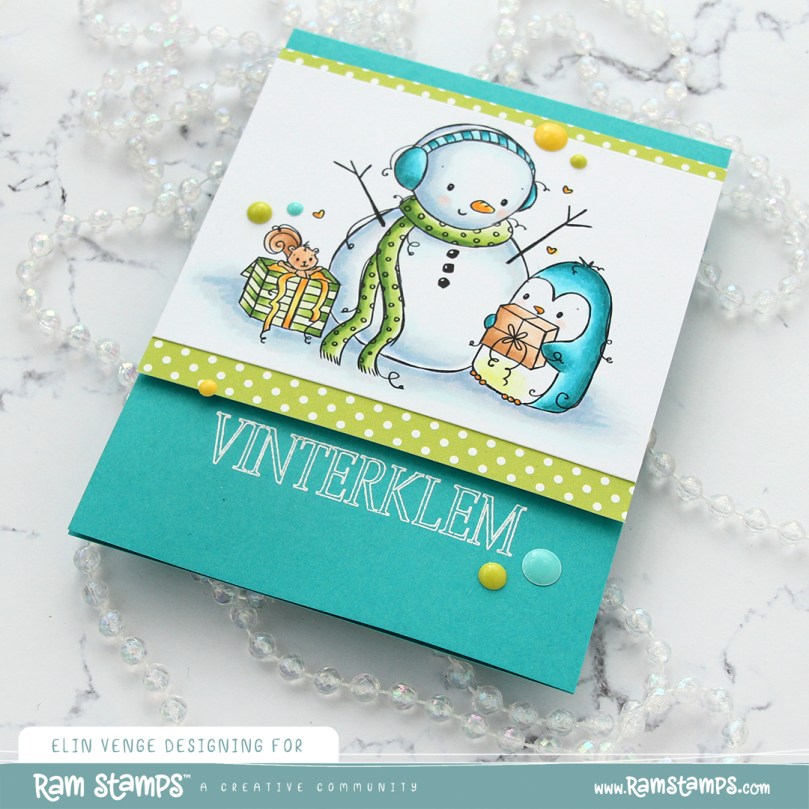 By using an untraditional color palette and a non holiday sentiment (winter hug), this image can be used for more than just Christmas. I’m thinking this would make a great wintery birthday card.
 Fun colors used for this one!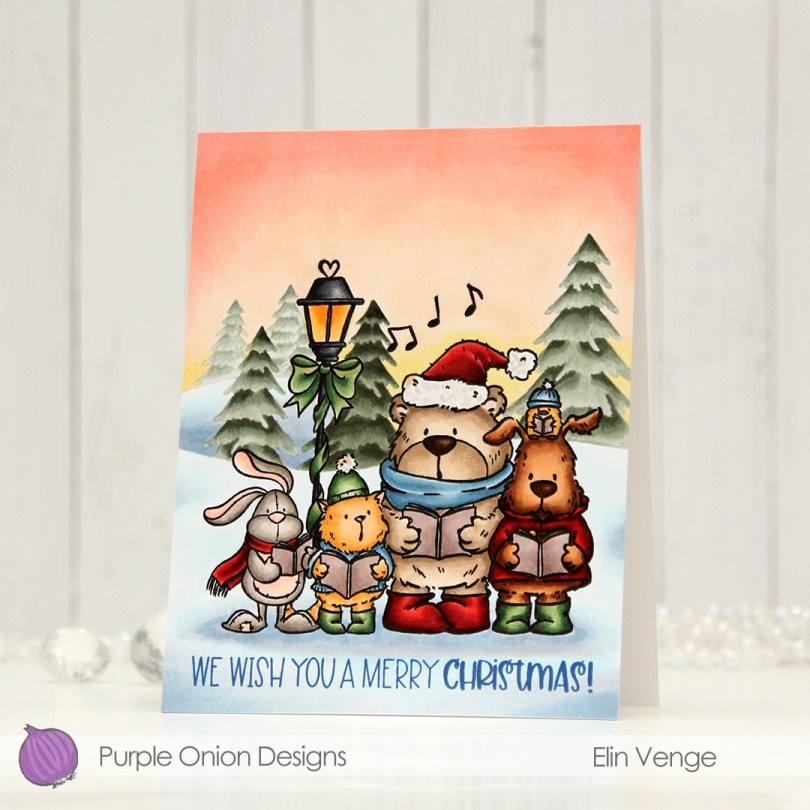
 I stamped my critters using Extreme Black ink from My Favorite Things, added a mask and stamped the trees in the background using Stormy Sky ink from Papertrey Ink. It’s a nice grayish green that goes really well with the colors I used for the coloring of the trees. I created my signature winter sunset behind it all, and did my best to create depth in the background by varying the intensity of the coloring of the trees. Once everything was colored, I stamped the critters again, this time using Obsidian ink from Altenew for a crisp, black outline.
 At the bottom, I stamped a sentiment from the
  I used lots of Copics for this one. Lots!!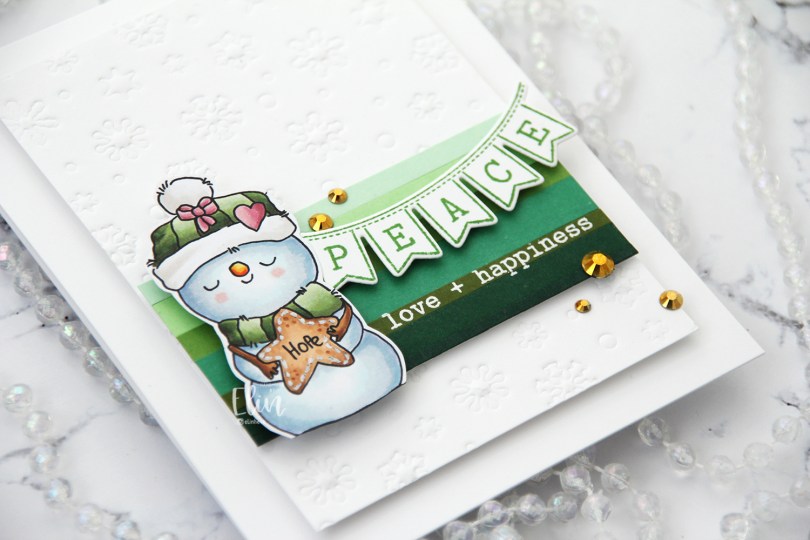
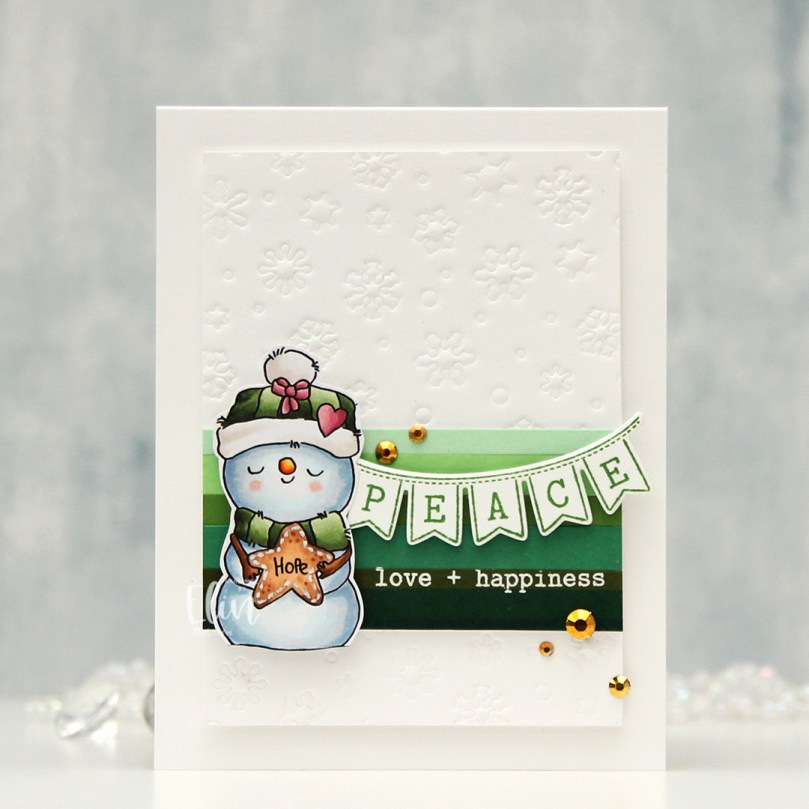
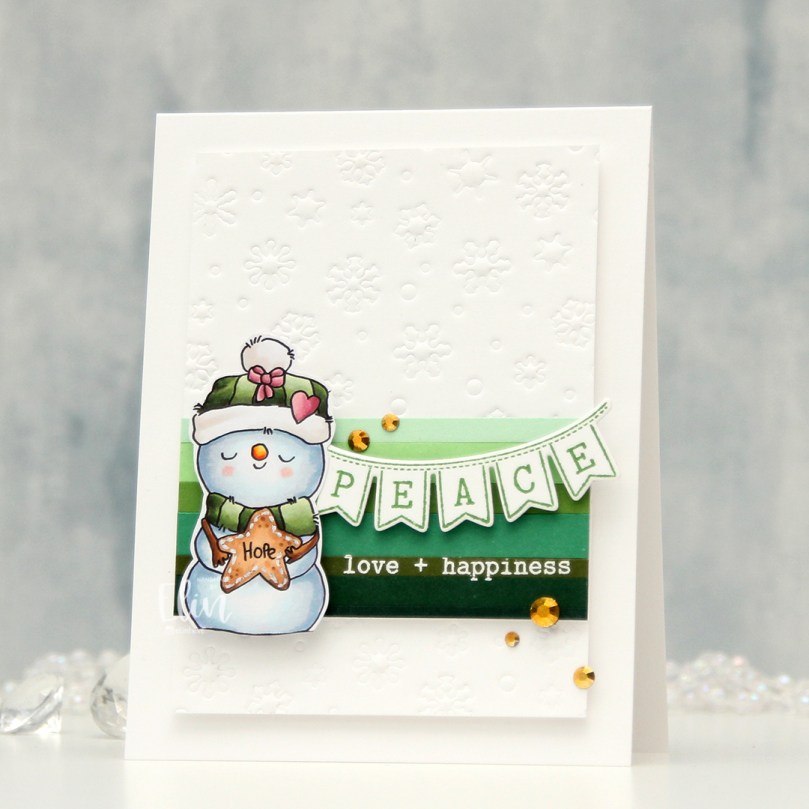 I dry embossed the Snowflake Confetti fancy die from Hero Arts on a piece of Stamper’s Select White cardstock from Papertrey Ink. I cut the panel down and added strips of green cardstock near the bottom. The colors are (bottom to top) Pinefeather (Papertrey Ink), Evergreen (Concord & 9th), Jalapeño Popper (My Favorite Things), Clover (C9), Parsley (C9), Vintage Jadeite (PTI) and Mint Julep (PTI). I white heat embossed a sentiment from the Sentiments from a Yeti stamp set from Mama Elephant and mounted my strips of green with a little bit of dimension behind them.
 I mounted my white dry embossed piece with the green strips onto a top fold white card base using foam tape. Using Shadow Creek Ink from Altenew, I stamped the Peace banner from the Sentiments from a Yeti stamp set from Mama Elephant and die cut it using the Yeti banner die from Mama Elephant, which coordinates. I added foam to the back and adhered it over the white heat embossing to complete my sentiment.
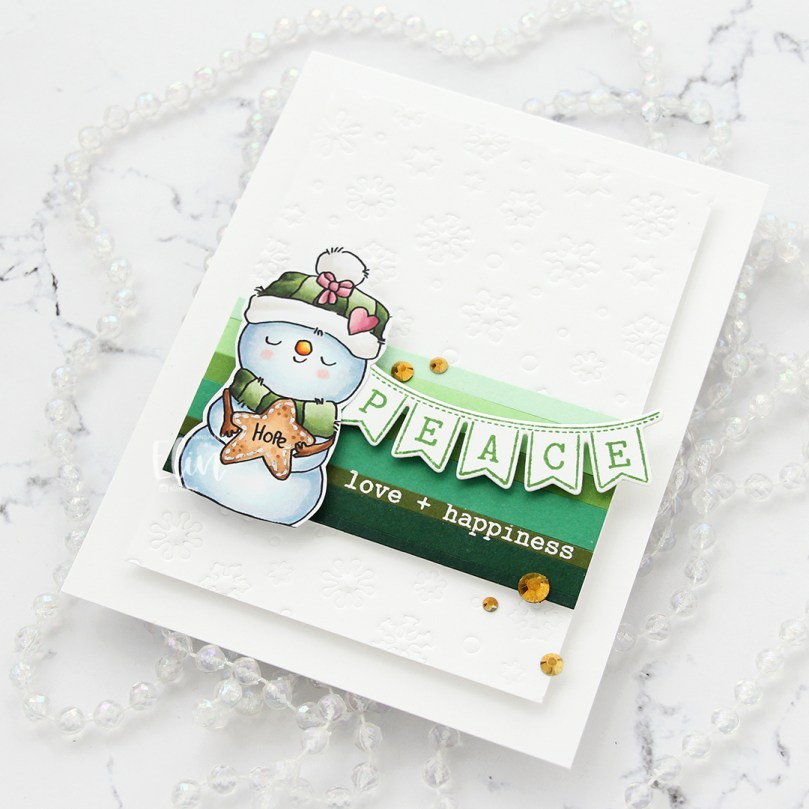 I used foam tape on the back of the snowman too, so this card has a lot of dimension. The dry embossed panel is on fairly thick foam tape, the green strips on a bit thinner foam tape, and the banner and snowman on thicker foam tape. I finished the card with a few gems from the Festivities mix from Little Things from Lucy’s Cards.
 This snowman looks so content, I love it!
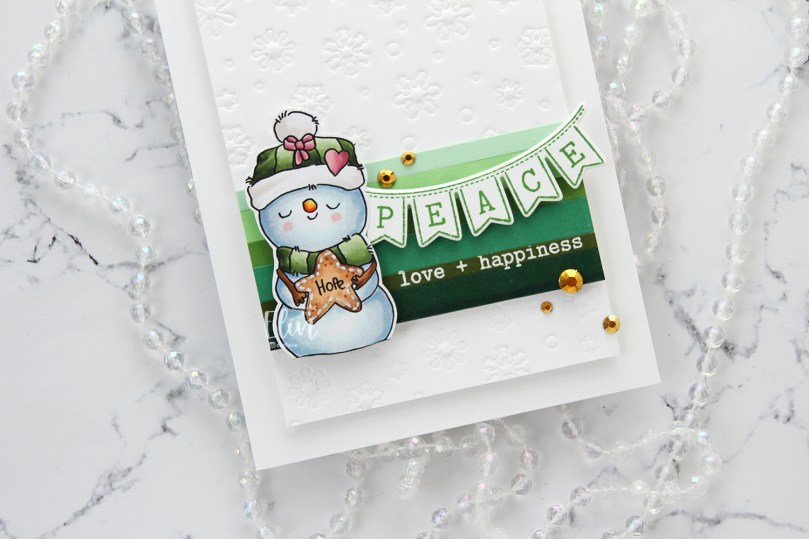 Peace, love + happiness. With a little bit of hope. Sounds like the perfect Christmas to me.
 I’m trying to limit the amount of Copics I use for my cards, but I’m failing miserably. I really don’t mind.
 Papirmølla