
Hi crafty friends! And happy birthday to me! I don’t really make a big deal about my birthday, but my birthday bothers me less now than it used to. Maybe I’m getting old enough to appreciate each day in a different way? I don’t know, but I’m not the focus today, these flowers are!
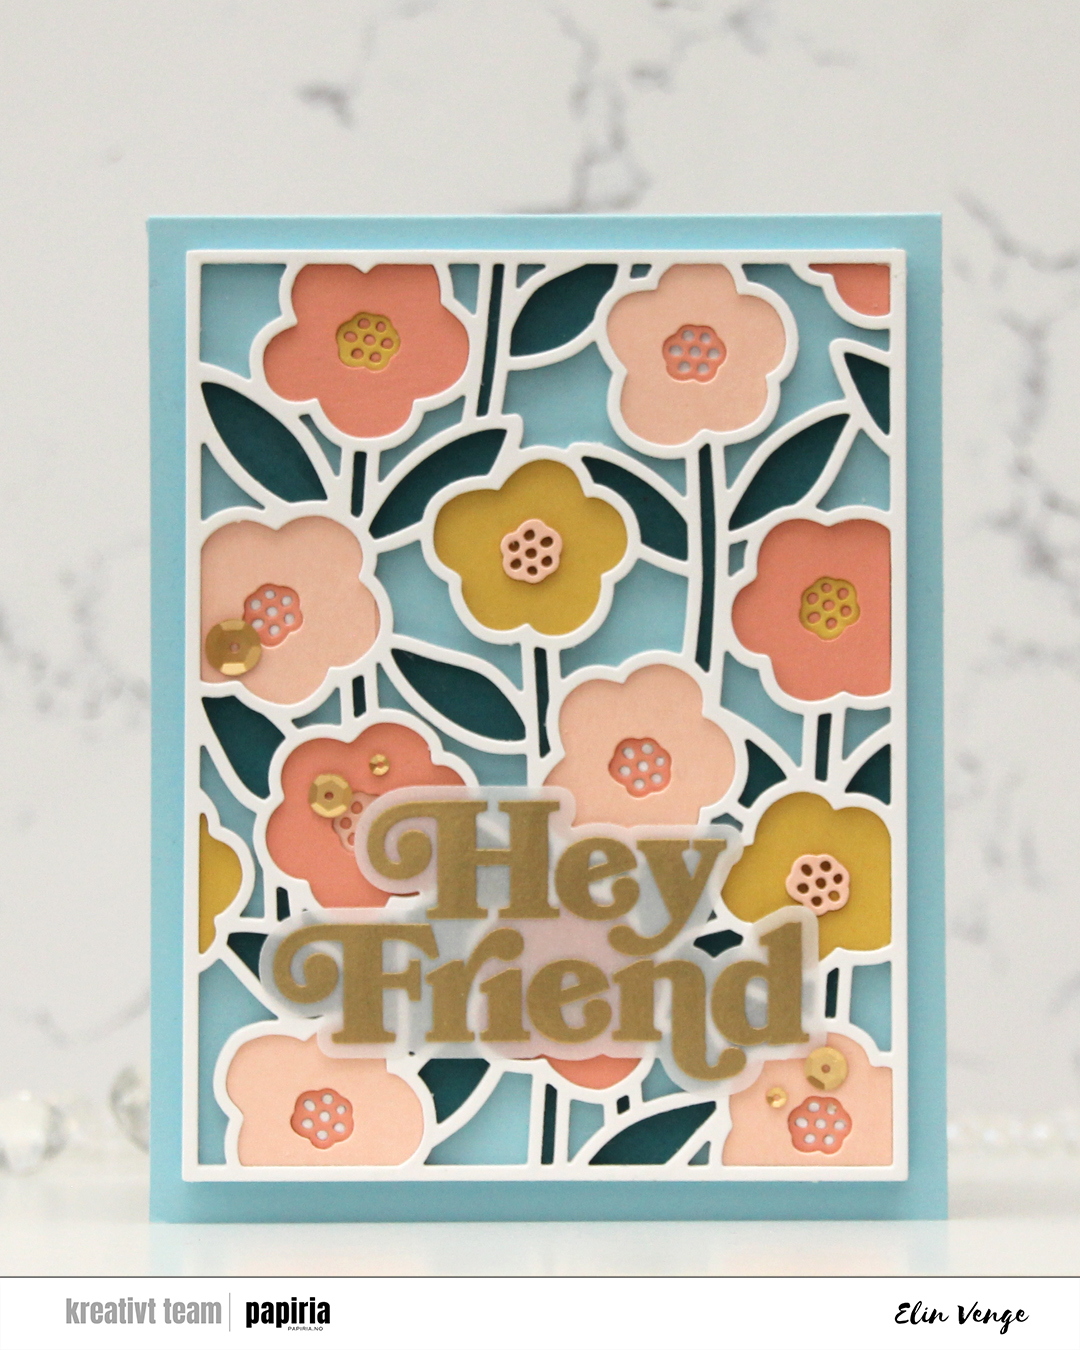 I love this Sweet Stems die set from Concord & 9th. It was part of their February release, and it’s so versatile. It has a separate coordinating stencil set (which I didn’t use for this card), which is great if you want lots of color, but not spend 512 hours on a card. The die set consists of a cover die, which is what I used here, and seven smaller dies. One of them cuts the outline for Hey Friend, which is a sentiment in the coordinating stamp set. I love when you can mix and match products like this.
 I used the cover die to cut a bajillion pieces from white cardstock (Stamper’s Select White from Papertrey Ink), then cut one panel each from Peacock, Honeycomb, Nectar and Grapefruit cardstock, all Concord & 9th colors. I started with one of the white outlines adhered to a piece of Harbor cardstock (also a C9 color), and puzzle pieced the stems and leaves into it with the Peacock color.
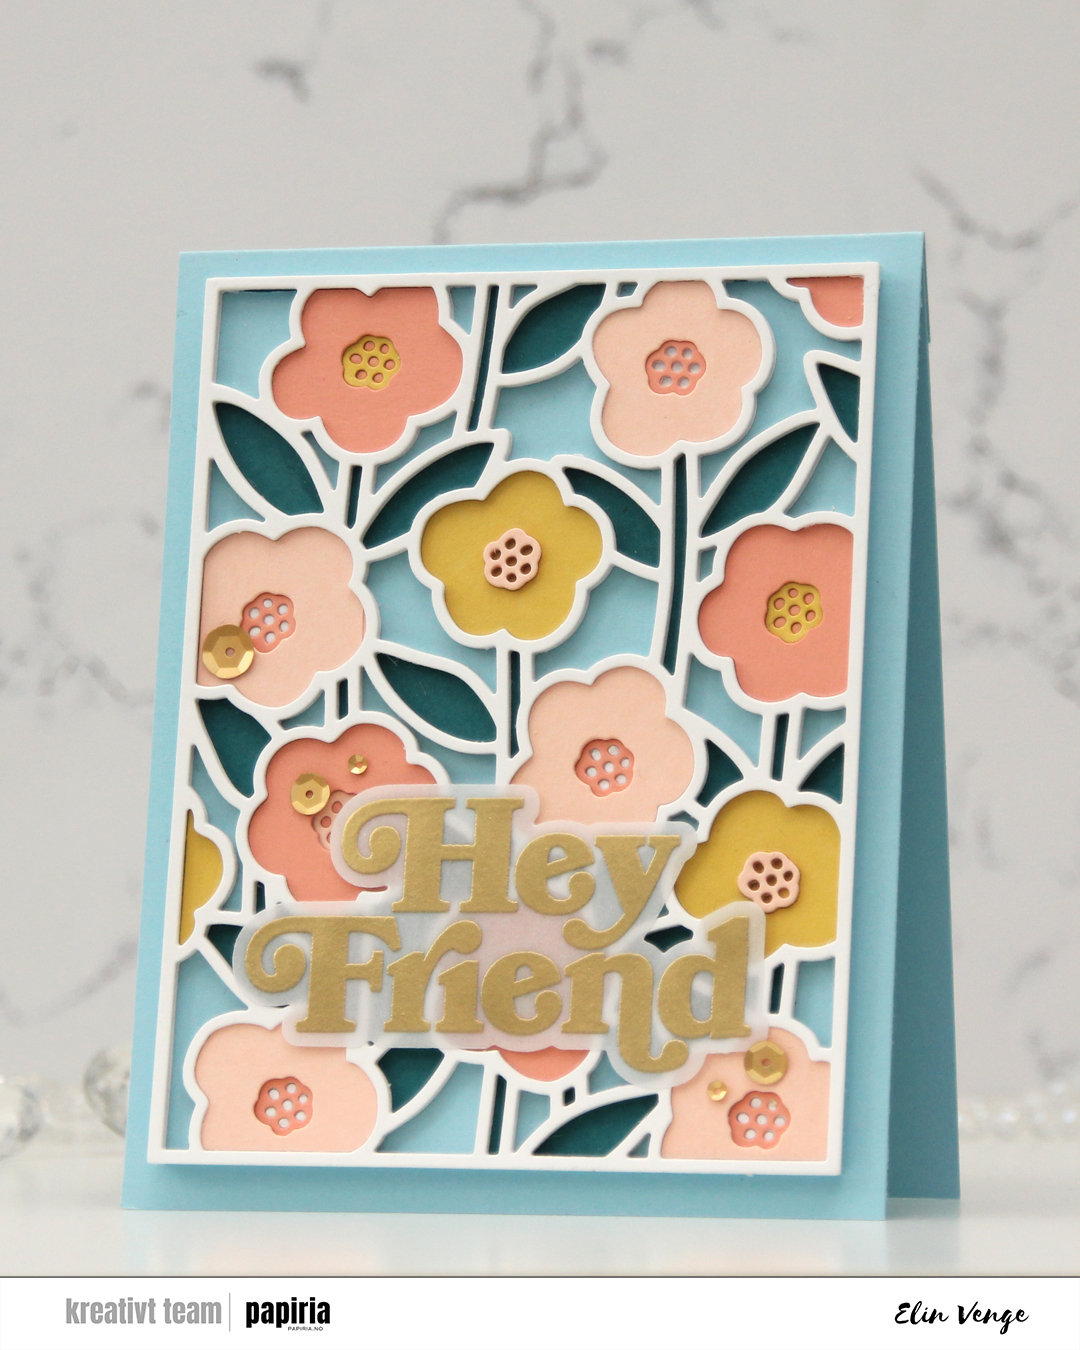
 In total, I stacked 6 white outlines and added the flowers and the flower centers at varying depths. The flowers are all slightly different shapes, but the centers are all the same, making them easy to stack.
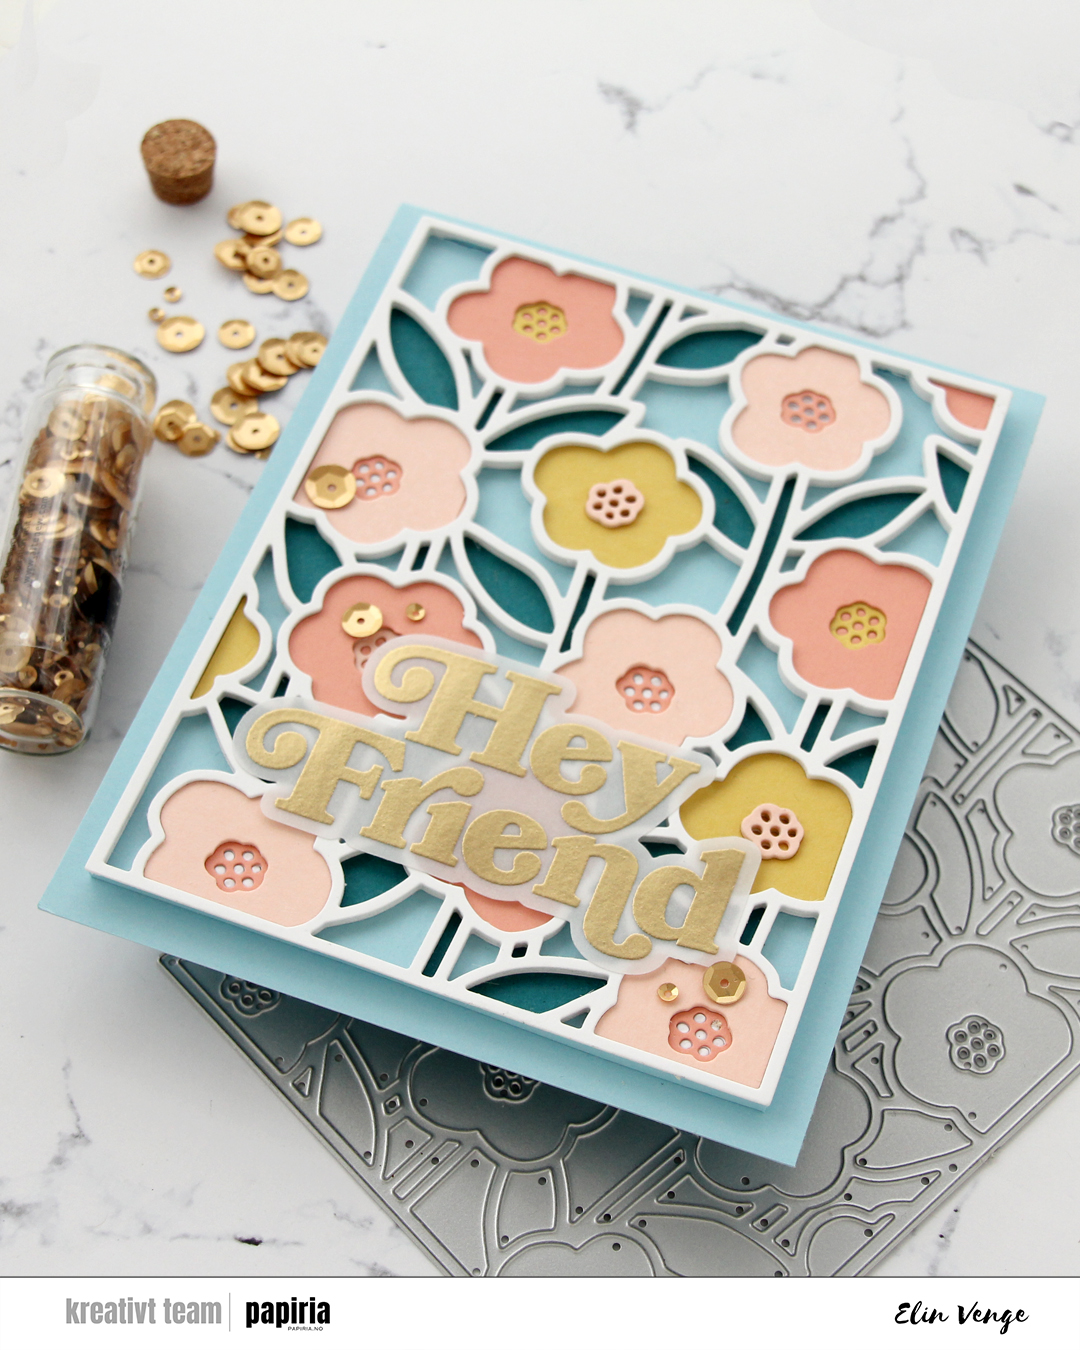
I stamped and gold heat embossed the large sentiment from the Sweet Stems stamp set onto heavyweight translucent vellum from My Favorite Things. This vellum is very thick – it’s my favorite. It’s even solid enough to use for a card base, and as you can see, even at just one layer, it’s opaque enough that the flowers behind the sentiment don’t make it hard to read. I added liquid adhesive in strategic spots behind the embossing and adhered the sentiment to the white frame, before finishing off with a few satin gold sequins from Altenew. They match the Gilded embossing powder from Brutus Monroe perfectly.

 I started by stamping the large flower in the Pristine Peonies stamp set from Altenew using VersaMark ink. I added Gilded embossing powder from Brutus Monroe and melted the powder before die cutting the flower and then using the coordinating stencils to quickly color in the flower and leaves. I used Nectar, Grapefruit, Sorbet and Cayenne inks from Concord & 9th for the florals, and Pistachio, Misty Sage, Mossy Meadow and Green Opal Fresh dye inks from Altenew for the leaves and buds.
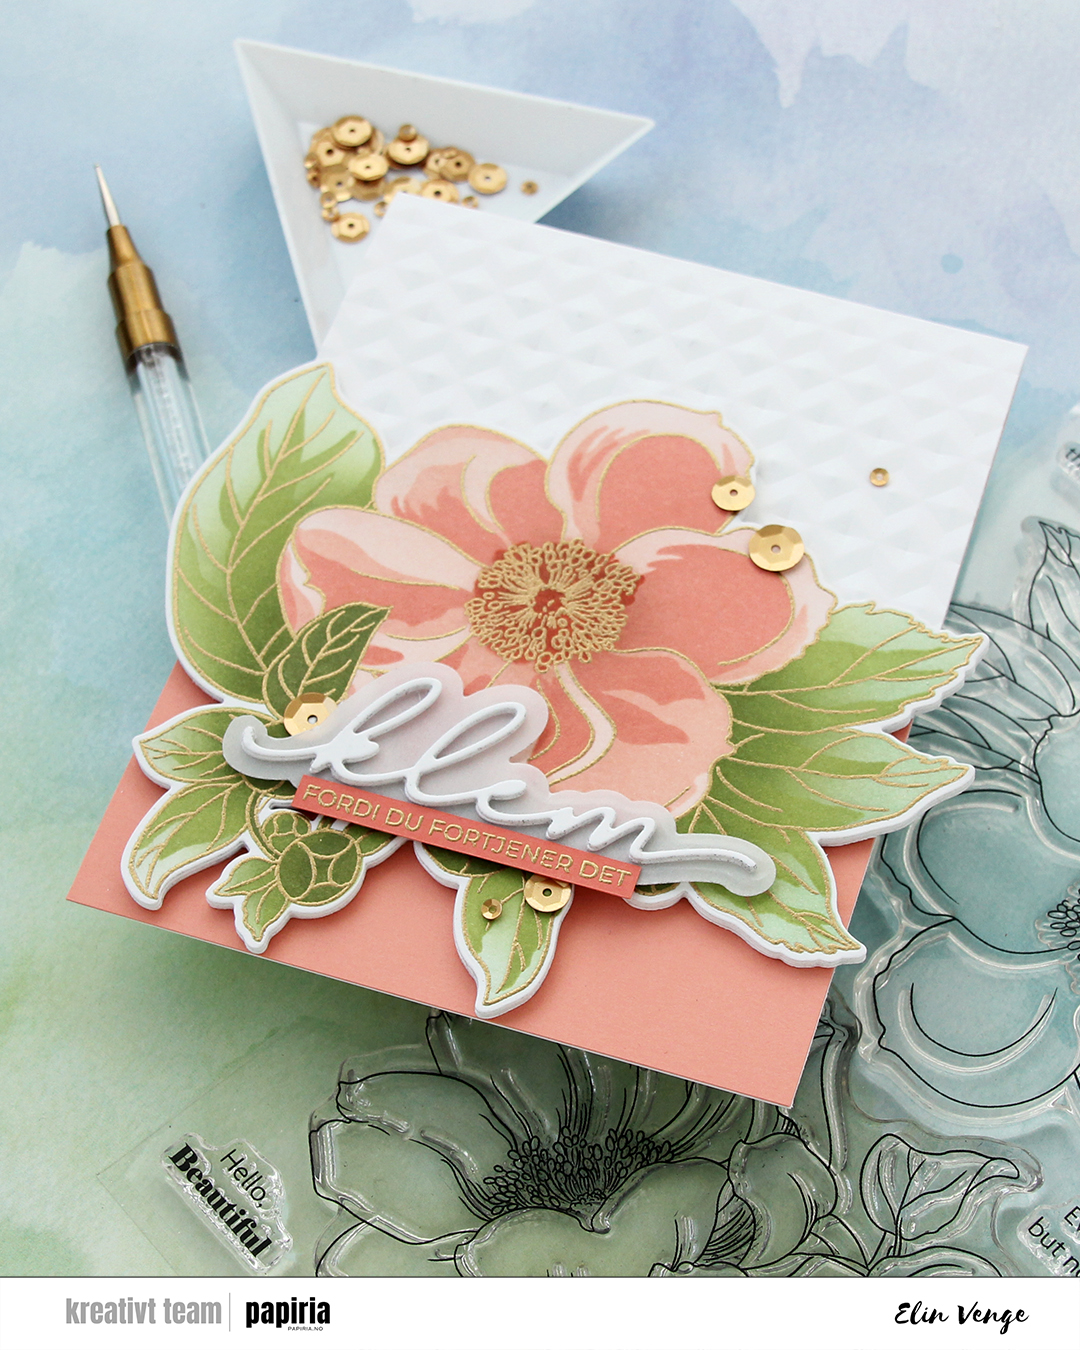 I die cut an additional three layers of the floral from white cardstock to glue behind my colored one, did partial die cutting on the card base using the same die and then ran the base through my Gemini Jr. with the Angled Mosaic embossing folder from Altenew to create some texture to the card front.
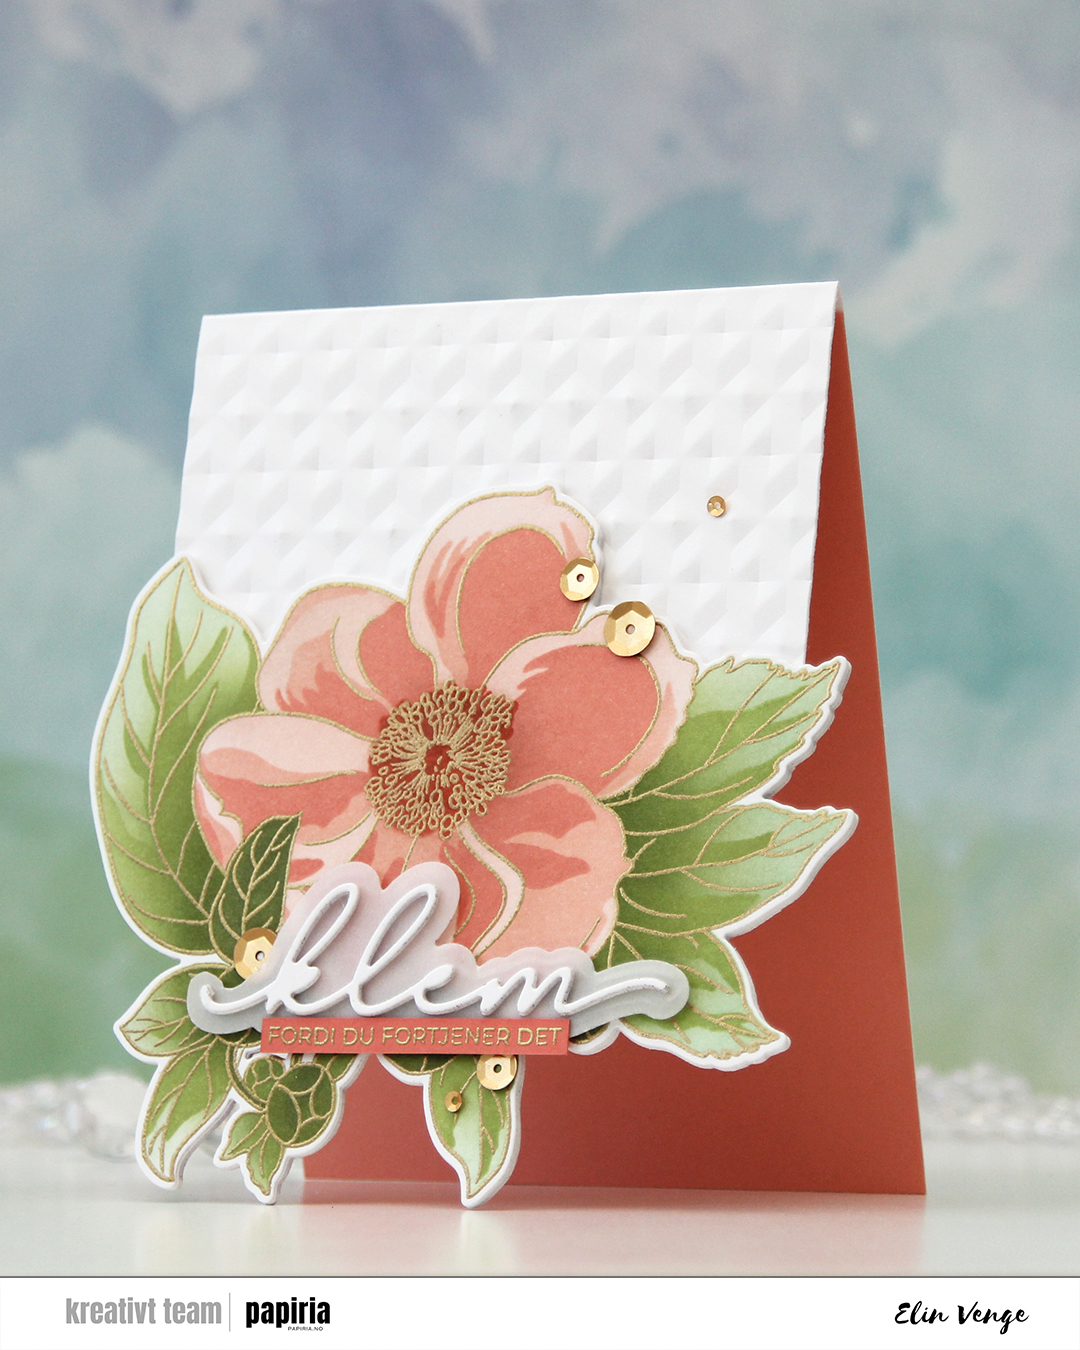 I adhered a panel of Grapefruit cardstock from Concord & 9th to the inside to accentuate the look of the open front, and added my stacked die cuts to the front of the card base. Even though the tips of the leaves touching the table when the card is on display are pointy, all the layers make for a very sturdy front, so they won’t bend.
 I actually used a Christmas die for the sentiment. The die cuts out the word juleklem (Christmas hug), but by omitting the first four letters, I was left with klem (hug). I die cut two stacks of three layers each and die cut the shadow layer from Heavyweight Translucent vellum from My Favorite Things. I sandwiched the vellum between the two stacks and adhered my stacked die cut on top of the flower. I stamped and gold heat embossed a coordinating sentiment (translation: because you deserve it) onto a strip of Sorbet cardstock from Concord & 9th, adhered it to the vellum and added a few more layers on the back for strength and dimension, before finishing off the card with satin gold sequins from Altenew.
 The process for creating this one was identical to the first ones I shared in
  There’s lots of texture and visual interest on this tag because of all the layers of paper, the foam tape to add dimension and the stenciled background. The accessories on the snowman are in a brighter green color than everything else on the tag, which still makes him stand out against the other elements.
 For the back of the tag I used a couple of stamps from Inkido, as well as more of the white heat embossed sentiments from Norsk Stempelblad that I created lots of in one of my compartmental crafty sessions. These tags were heaps of fun to put together like this.
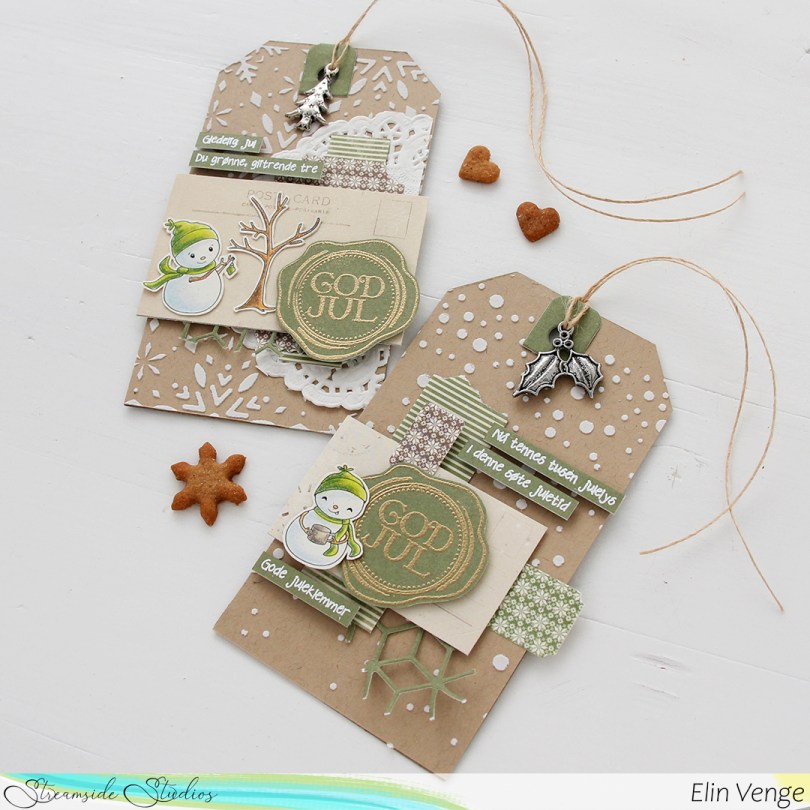
 For these tags (I’ll have more to share later), I did compartmental crafting. Tim Holtz always raves about this, but I usually sit down and create my cards from start to finish in one sitting. Actually, that’s not entirely true, I do prefer coloring one day and making the rest of the card another day. Coloring takes a while, and once I’m done with that, I’m not really in actual making and assembly mode.
 For the back of the tags I used a tag die from My Favorite Things to die cut from more of that Classic Kraft cardstock from Papertrey Ink. I die cut a bunch of tags in one session, so I’d have many to do at once when I did the actual assembly. I stamped an older Inkido stamp using Jalapeño Popper ink from My Favorite Things, and even did some second generation stamping. I also used a couple of stamps from the Distressed Patterns stamp set from MFT to add additional spatter beyond the 24.12 stamp. I used more of the scraps I die cut and cut with my trimmer, and stamped a to/from stamp from Inkido onto scraps of Pion Design patterned paper using Dark Chocolate ink from Papertrey Ink. First generation stamping on one, second generation on the other for a softer look. It was fun to break out acrylic blocks to use with my stamps again, I use my Misti for pretty much everything, but this didn’t have to be perfect or straight, so I just played and had fun!