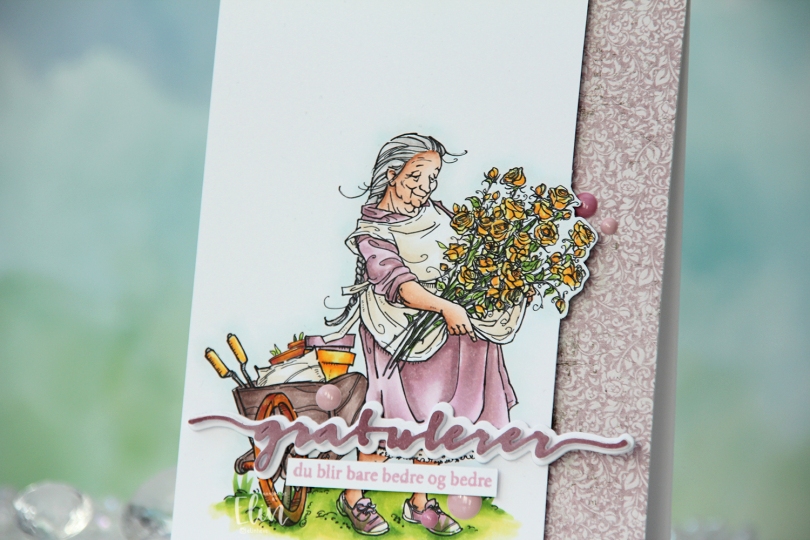
Hi, crafty friends. I’m sharing a birthday card today featuring Mummu’s Roses from Mo Manning. I made this on order a few weeks ago for a lady turning 70.
 I printed the image on X-Press It blending card and colored it with my Copics. I pulled out my RV90 series, which I used to use a lot ages ago, but haven’t really used much in recent years.
 Once my coloring was complete, I decided to cut off quite a bit on the right hand side of the panel, which meant doing some fussy cutting around the flowers. I don’t mind fussy cutting, and cutting on the border like this makes for a more dynamic design. Along the right hand side of a top fold card base, I adhered a scrap strip of patterned paper from the Vintage Romance collection from Maja Design, then popped my colored panel on the left.
 I die cut the Gratulerer 6 die from Papirdesign a few times. I die cut the shadow layer in white, then a few stacked of the word, before finishing off with a colored one. I actually colored this one with Copics on the scrap I cut off the panel. This is a neat trick if you want your colors to match, but don’t have the right cardstock color. I stamped a sentiment from the A06 stamp set from Norsk Stempelblad AS using Briar Rose ink from Concord & 9th, cut it down to a strip and adhered it below the die cut, adding a few strips of cardstock behind it for dimension. I finished off the card with a few enamel does from the Shades of Purple pack from Altenew.
 Using patterned paper from Craft Consortium along with a stamp, die and a few sentiment sticker strips from Kort & Godt, I created an envelope to match.
![]() I actually didn’t use too many Copics for this one. I see I’ve left out the colors I used for the sky, but I’m betting I chose B0000, BG90 and the blender for that.
I actually didn’t use too many Copics for this one. I see I’ve left out the colors I used for the sky, but I’m betting I chose B0000, BG90 and the blender for that.


 I knew I wanted to do something fun with the poinsettia die set from Kort & Godt. The die set comes with three dies in three different sizes. If you die cut two of each, you get a poinsettia. There’s also a leaf die in the set. I die cut three leaves and created four of each size of the petals for a very full poinsettia. I used a patterned paper from the Ink Drops – Vivid paper pad from Craft Consortium for everything paper on this card except for the white cardstock. Before assembling my poinsettia, I curled all the leaves back a little so they wouldn’t appear flat. I just used a paint brush handle, anything that you can use to create that curve will work. I put foam squares on the back of the petals at the very back, but adhered the center of the poinsettia directly to the white die cut panel. I also put foam squares on the back of the leaves.
 I die cut the word gledelig four times; once from the patterned paper, three times from white cardstock. I stacked them for dimension, adhering the patterned paper one on top of the others. I stamped and white heat embossed jul to complete the sentiment (the die set with gledelig also has the word jul in it, but it was too big for my card). I used a glue gun to add berries to the center of the flower and embellished with a few white pearls.
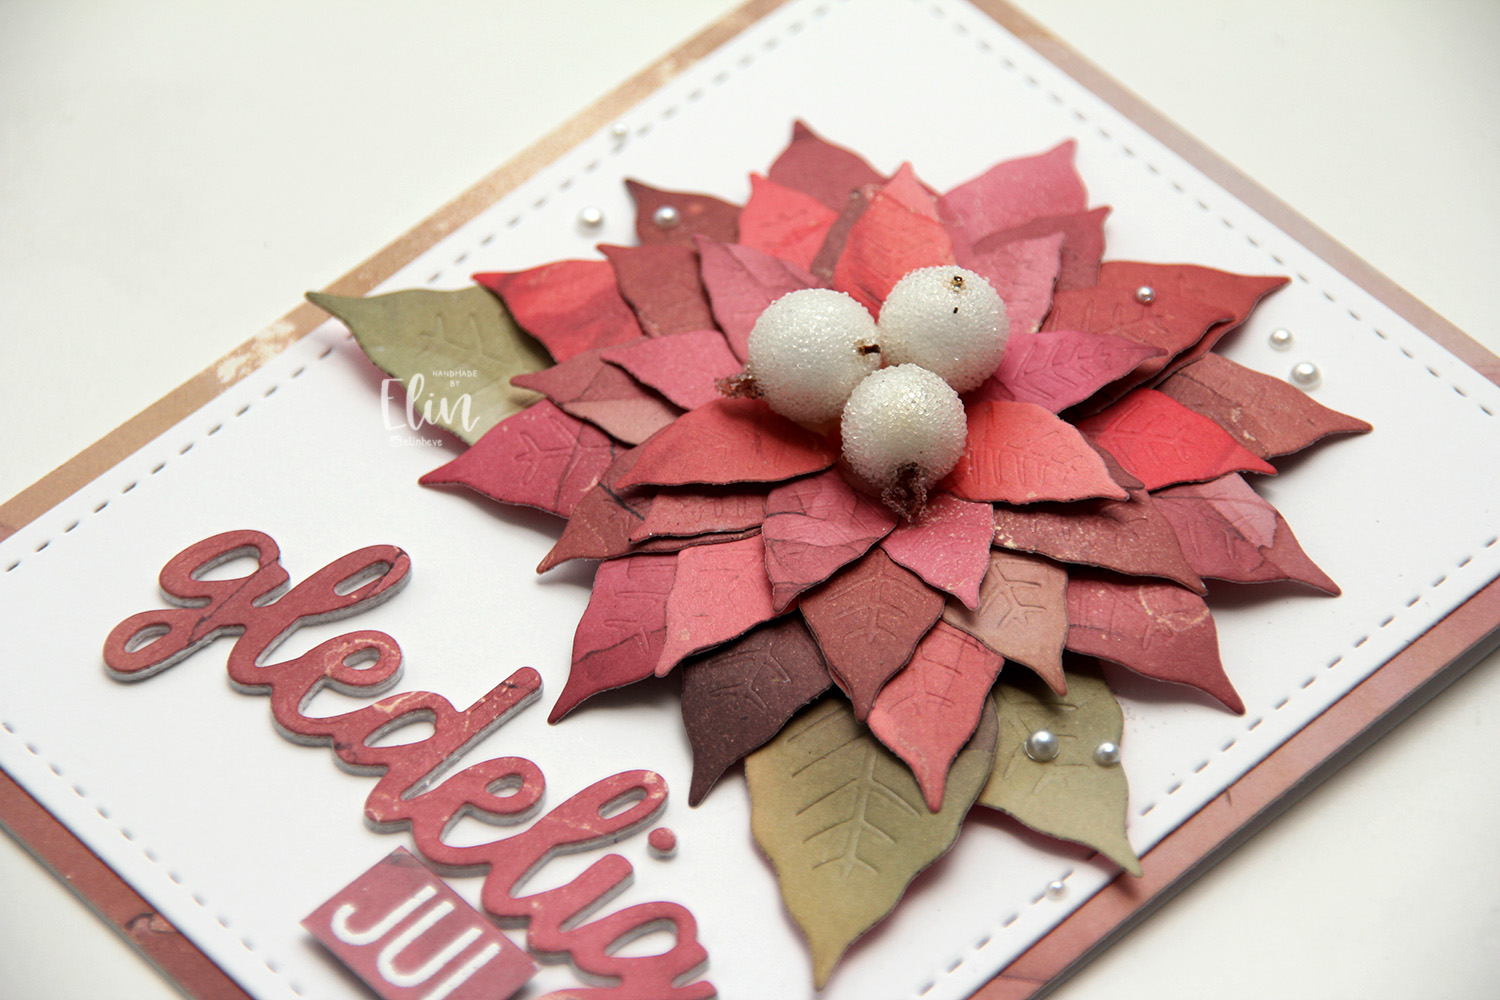 The curved leaves and the berries add a lot of dimension to this card. I love that the dies impress the veins of the leaves and petals into the die cuts.
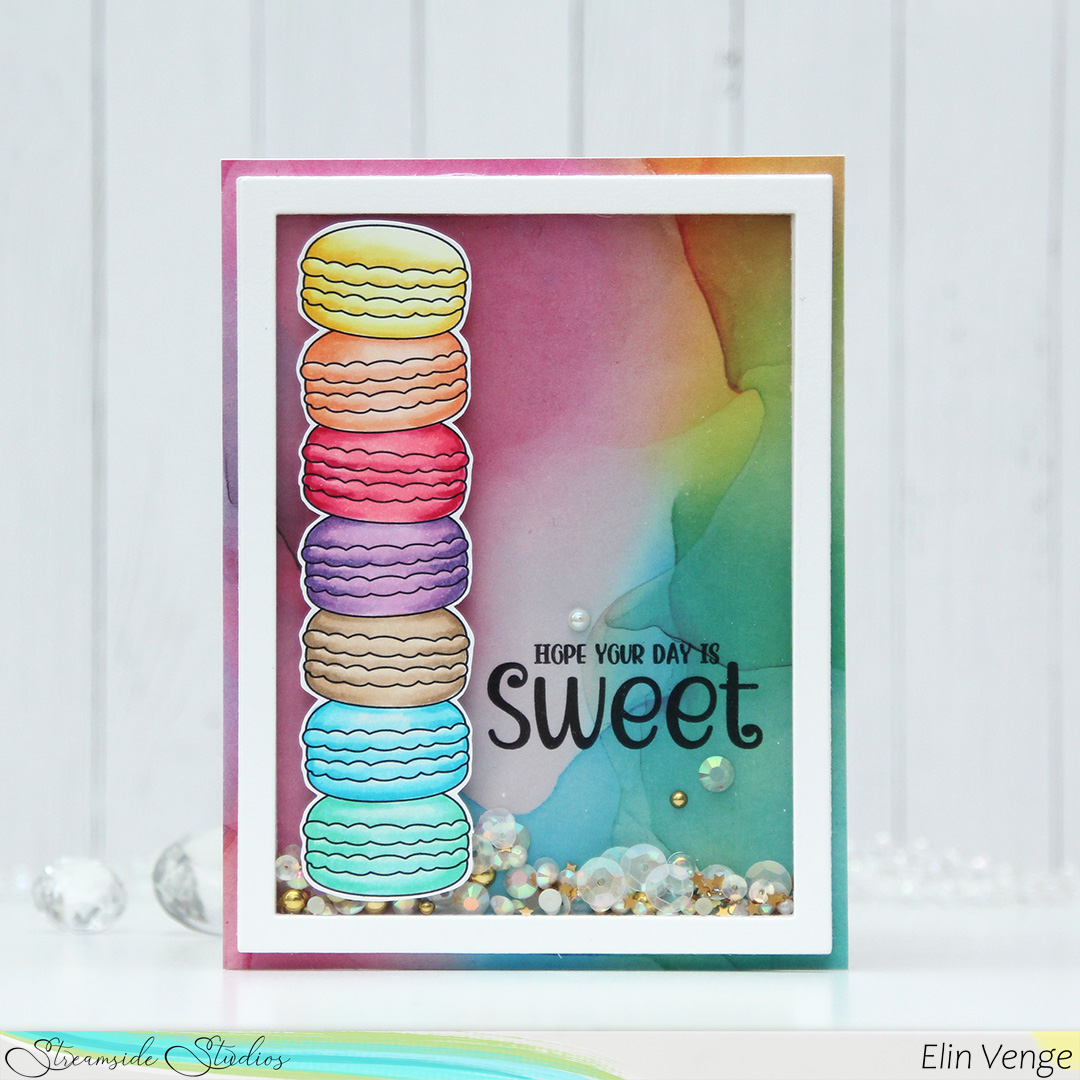 I decided to use the macaron from the stamp set. There’s actually a large and a small one in the set. I used the large one, and I stacked seven on top of one another, so I could add lots of different colors to them. It’s an odd rainbow, but I think it works, and I kept the coloring very simple. I fussy cut my stack of macarons, leaving a thin white border and put it aside while I worked on the rest of my card.
 I cut down a piece of patterned paper from the Ink Drops – Vivid paper pad from Craft Consortium. I chose this particular sheet because the colors I used for the macarons are well represented in the paper. I printed the sentiment directly onto the patterned paper and adhered it to a top fold card base I created from Stamper’s Select White cardstock from Papertrey Ink. I die cut the largest frame in the Classic Rectangle Frames die set from My Favorite Things 9 times from white cardstock. I stacked them and adhered them to the card front, before adding sequins and gems to the well. The sequin mix I used is the Vanilla Kiss mix from Little Things from Lucy’s Cards. I adhered a few around my sentiment to keep them from falling to the bottom, then sealed my shaker well with a piece of acetate from Simon Says Stamp. I added one final white die cut frame on top of the acetate for a clean look and also adhered the stack of macarons to finish the card.
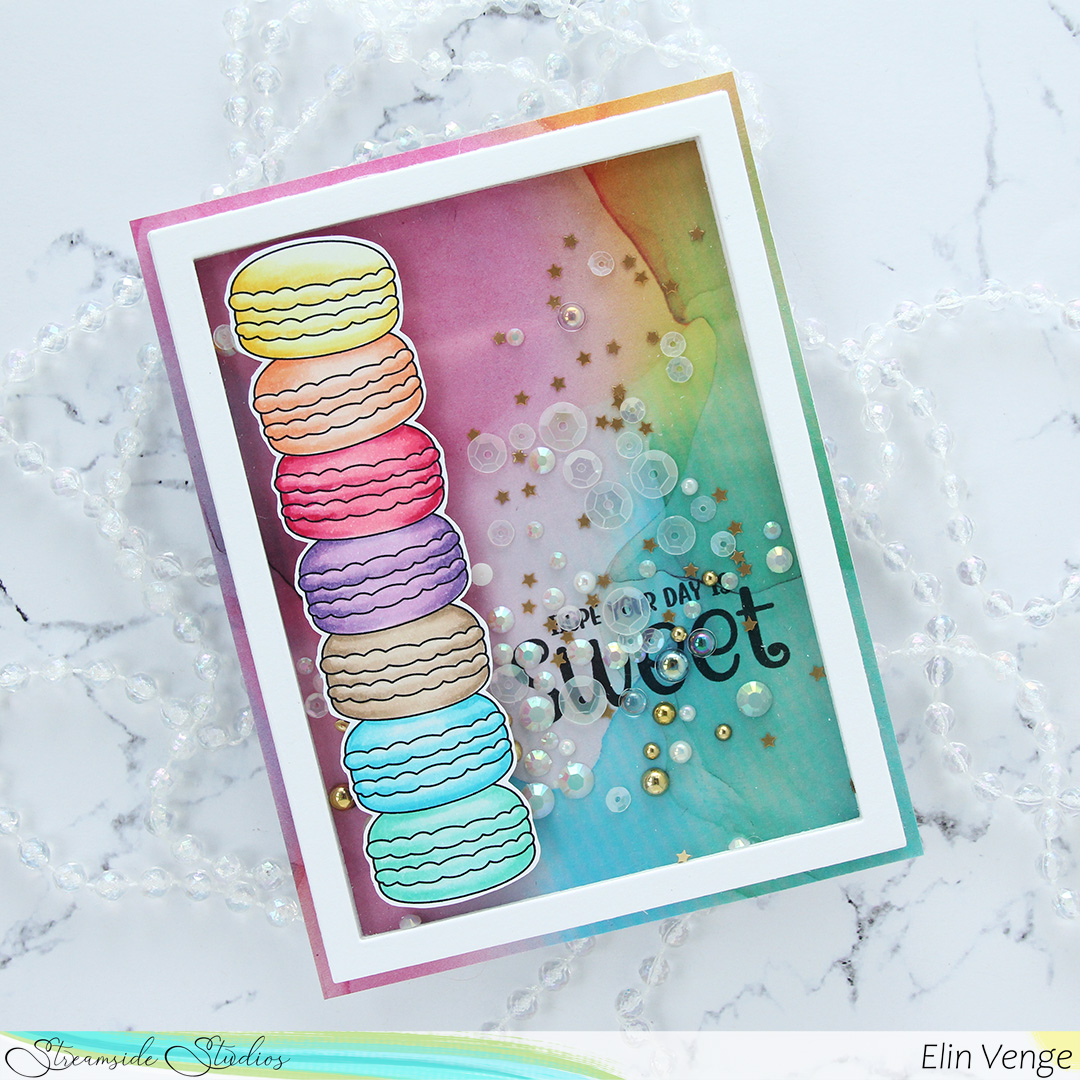 By creating thick walls for my well, the sequins, gems and pearls really have a lot of space to shake around. I made sure to place the large pearls and gems the right side up before I added the acetate, so they wouldn’t turn around on me. The smaller ones do, but as long as the big ones show their good side, I’m okay with that.
 Very sherbety color palette for this one. Three colors for each macaron.