Hi, crafty friends. There’s a new release at Lili of the Valley. There are a few different girls, quite a few florals and a quartet of party animals. If you know me, it’s no secret that I started with the party animals. The Party animal penguin, to be exact. There’s also a cute highland cow, a bunny and a chimp.
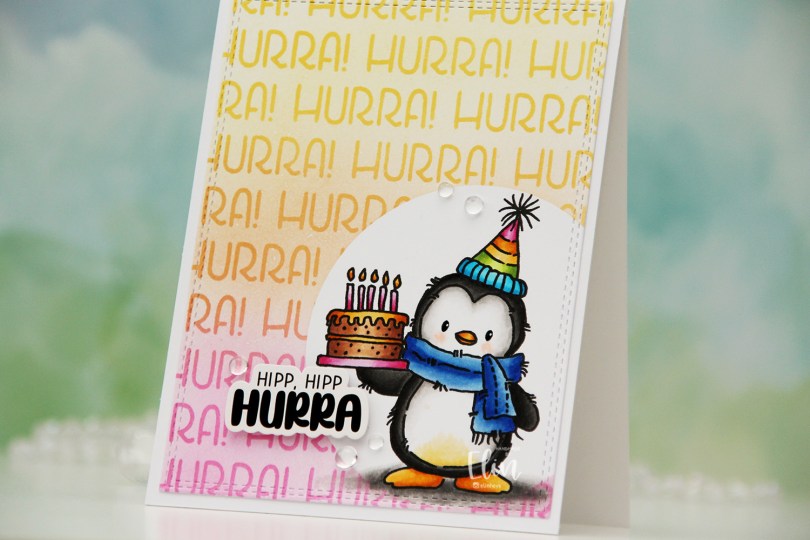
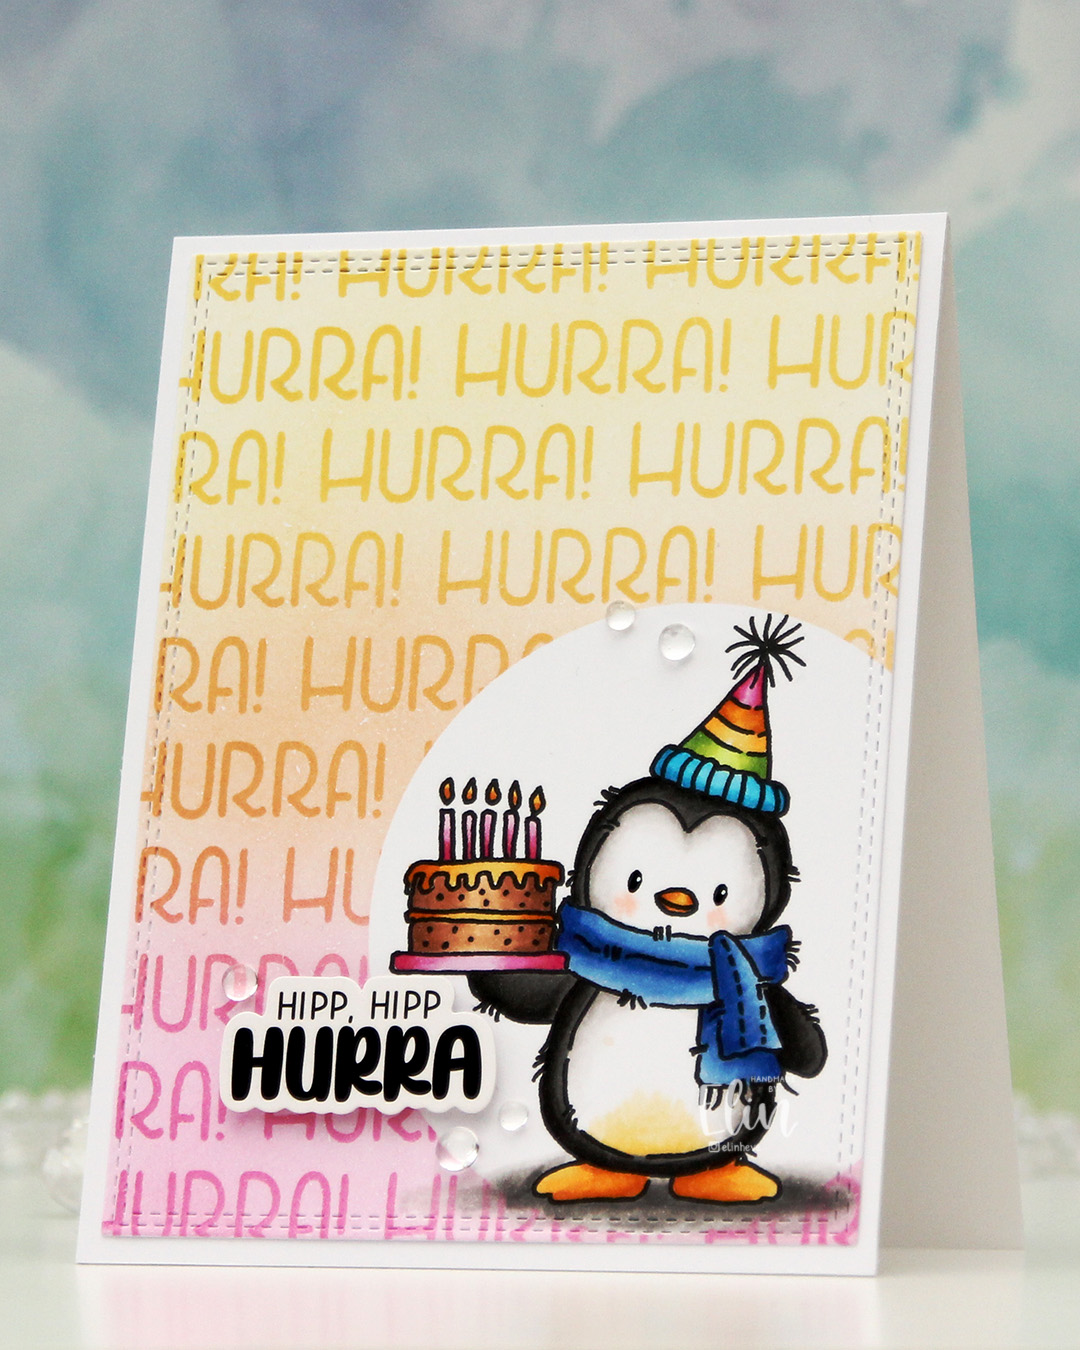
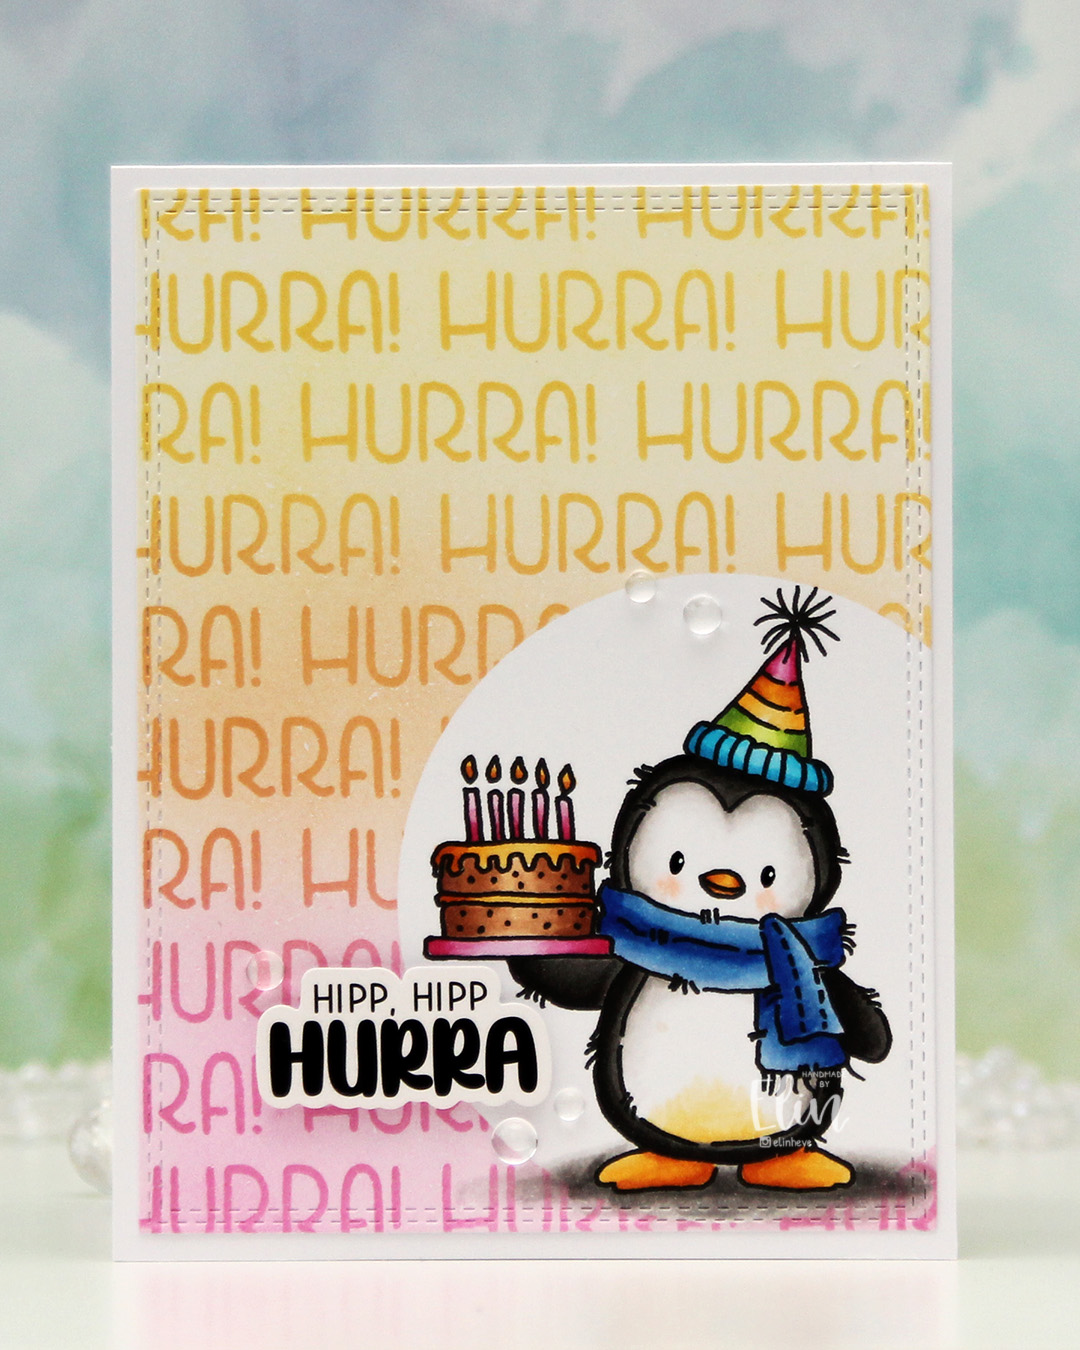 I actually didn’t start with the coloring on this one. I printed the image on a quarter sheet of X-Press It blending card, which is what I always use for Copic coloring. I put a circle mask on top of the penguin, then used the Hurra stencil from Create a smile and some inks from Concord & 9th to create my background. I used Sweet Pea, Clementine and Buttercup, creating a gradient between the three colors. Once I took the stencil off, the white of the background felt a bit stark, so I went in with the 1″ blender brushes from Pinkfresh Studio and did a soft blend of the background using the same three colors.
 Once I removed the mask, it was time to color the penguin. I used Copics, went for a pretty bright palette and added a bit of black glaze pen to the eyes, then a dot with a white Sharpie on top once the black was dry. This gives the eyes a bit of shine.
 I used the largest die in the Double Stitched Rectangles die set from My Favorite Things to cut my panel down slightly. It also adds a fun stitching detail to the edge. I then adhered my panel to a top fold card base I created from Stamper’s Select White cardstock from Papertrey Ink.
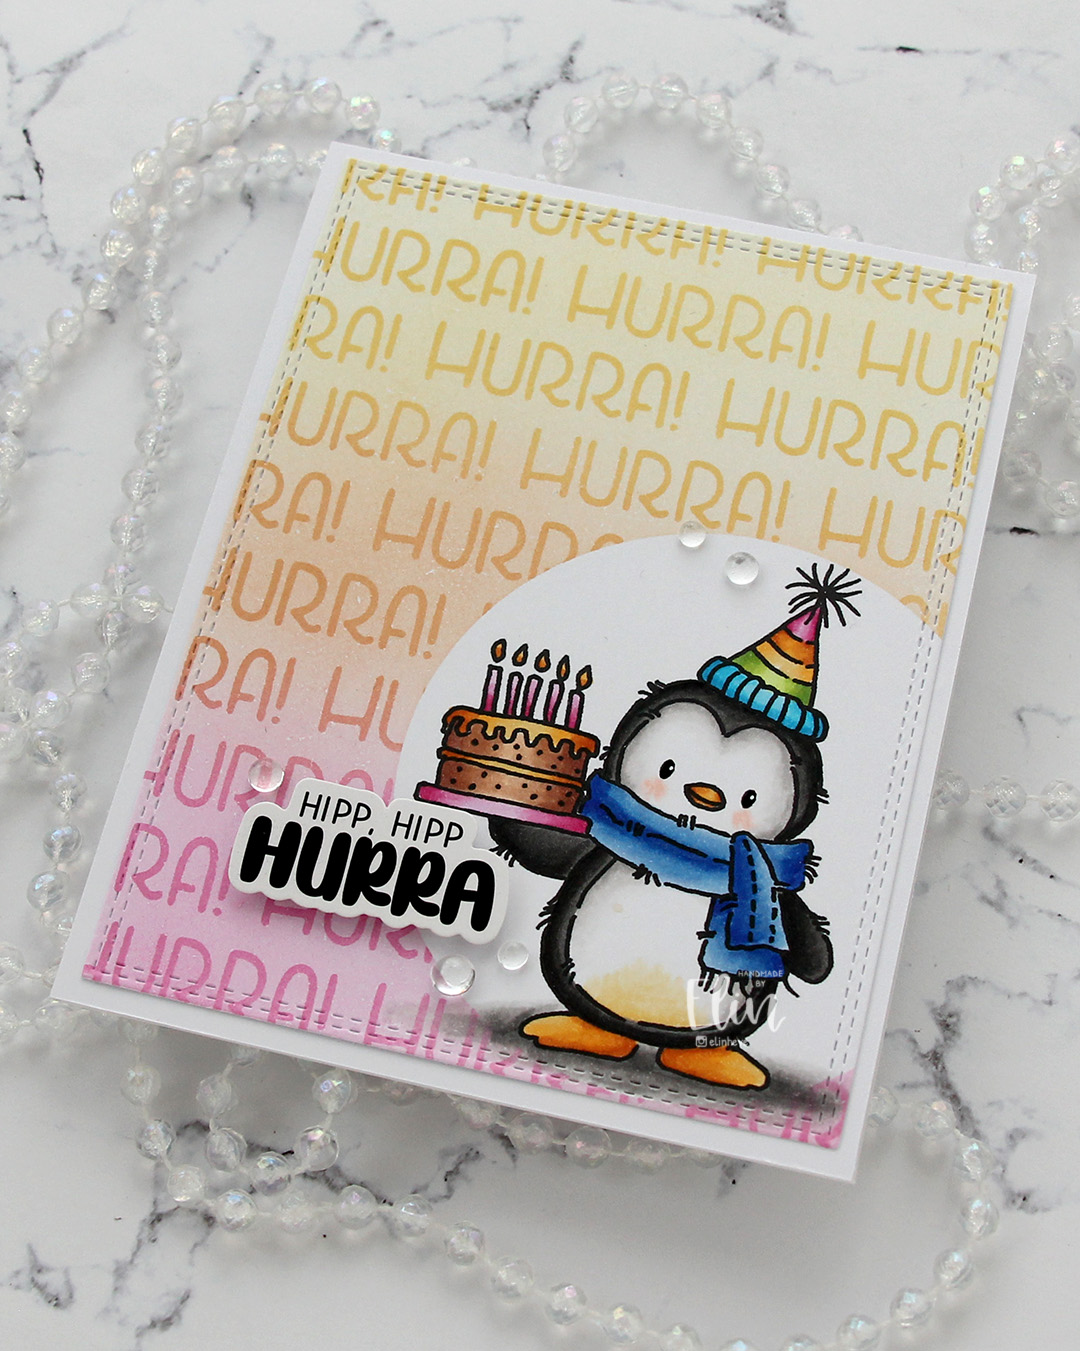 I used a sticker from Kort & Godt for my sentiment. I like my sentiments with some dimension, and to get dimension with stickers, I first use antistatic powder on the back to remove the stickyness, then add foam tape. I finished off the card very simply with some clear dew drops from Concord & 9th. There was so much color going on, I thought clear was the best option.
 I used quite a few Copics for this, but that hat alone needed quite a few.
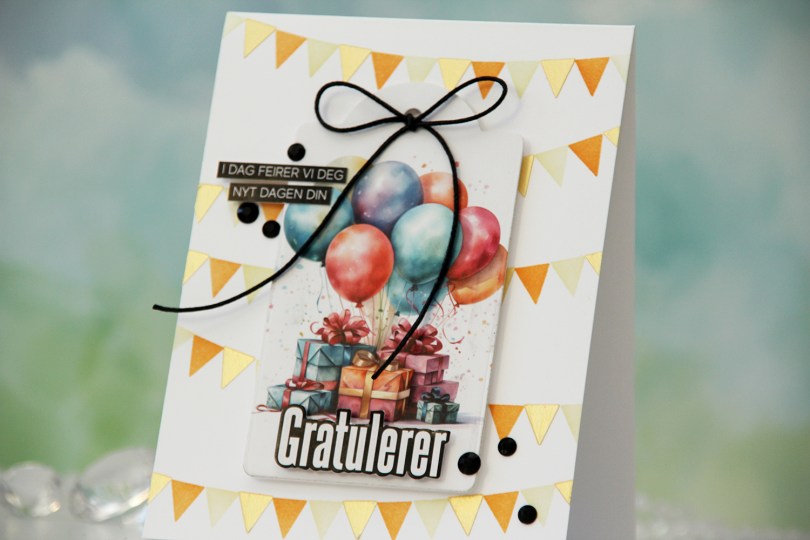
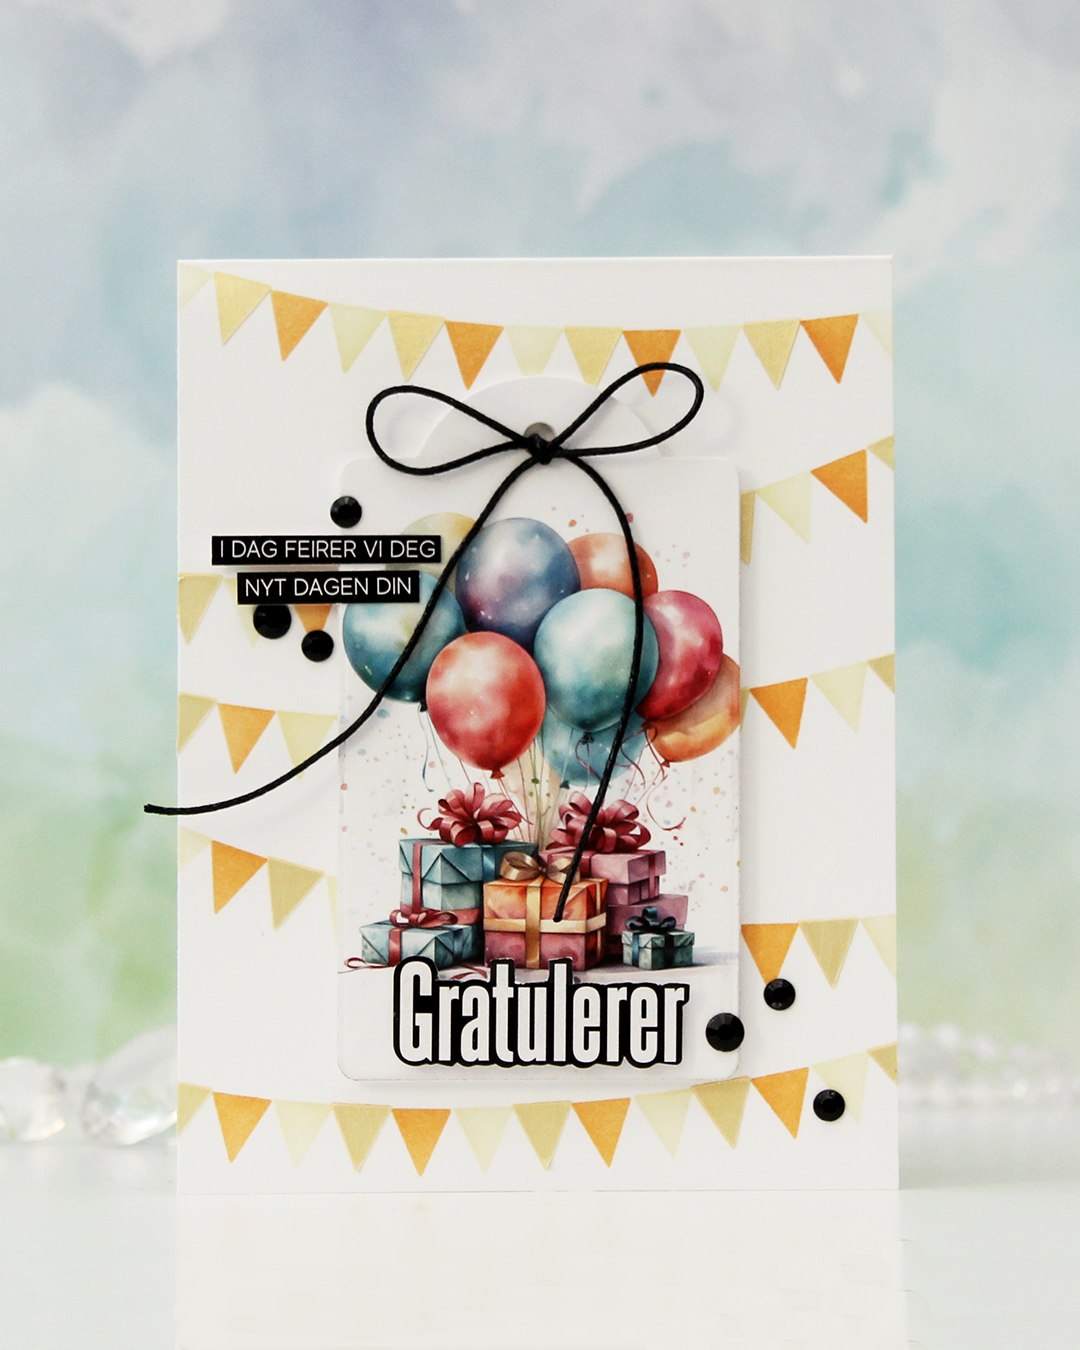 To start, I die cut this focal image with a tag die. I die cut another in white to put on the back for a little strength and put my tag aside while I worked on my card base.
 I used the Wimpelkette stencil set from Create a smile to create the pennants in the background. The set consists of 3 stencils that layer and create an easy pennant background. I used Peachy Glow and Amber Blaze inks from Altenew with two of the stencils, and through the third one, I added a layer of Solar Paste in the Golden Hour color. It creates a little bit of shine and some texture.
 I mounted the tag with foam tape in the center of the card, used 1/16″ foam squares on the back of the Gratulerer word sticker to make it stand out a little, then trimmed down the sentiment strips slightly and adhered them to the tag.
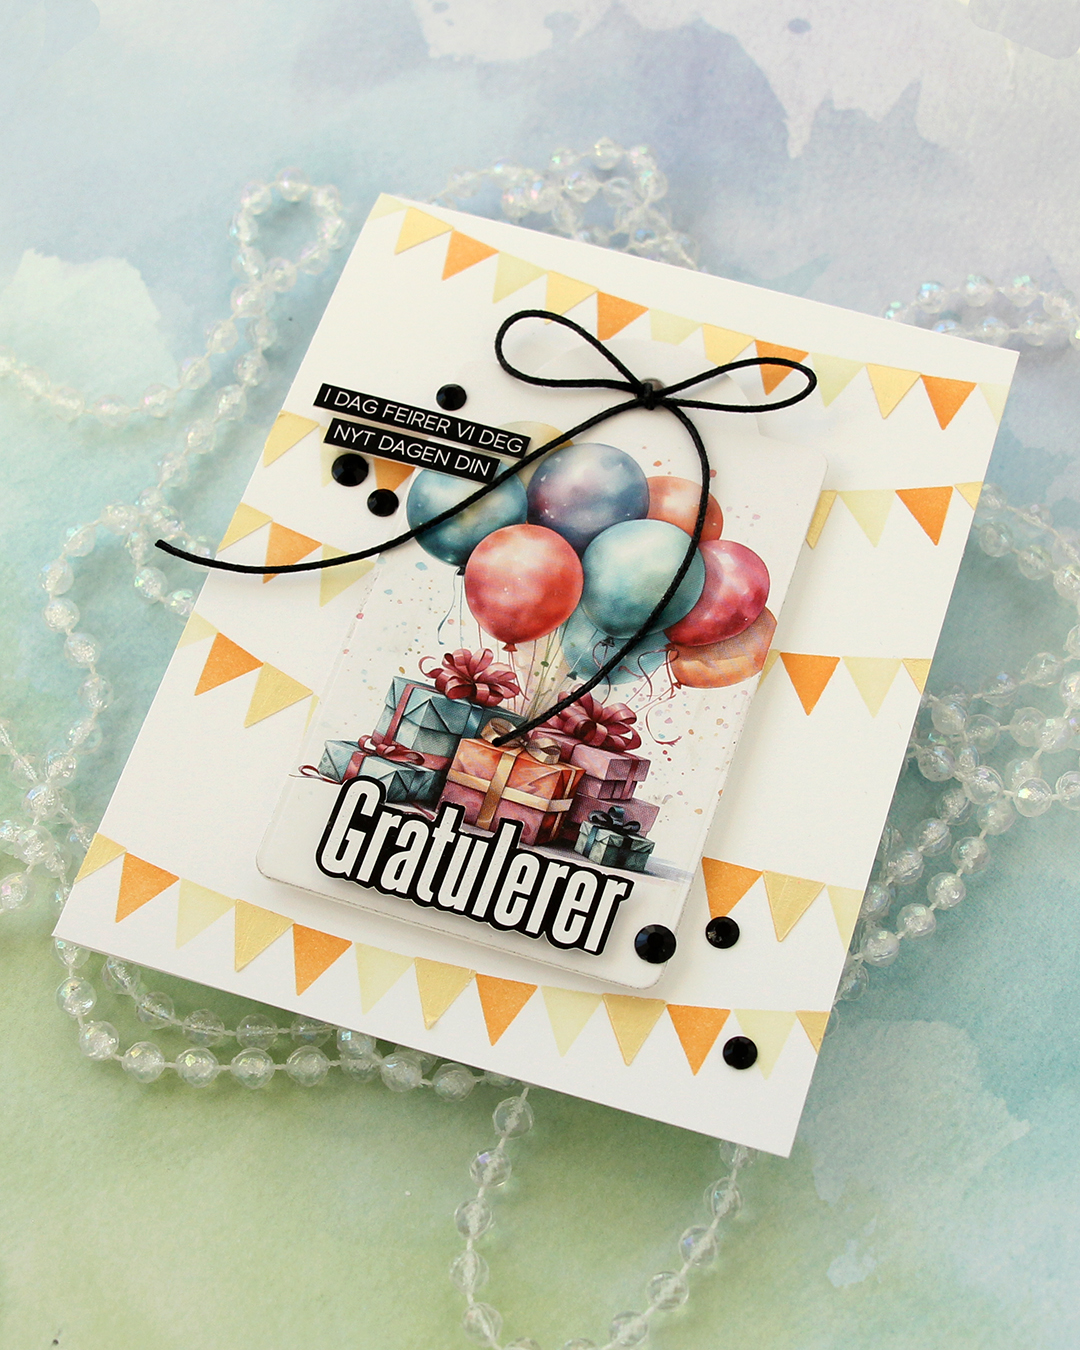 To finish off the card I added a few black gems and tied a bow using black cotton thread from Kort & Godt.