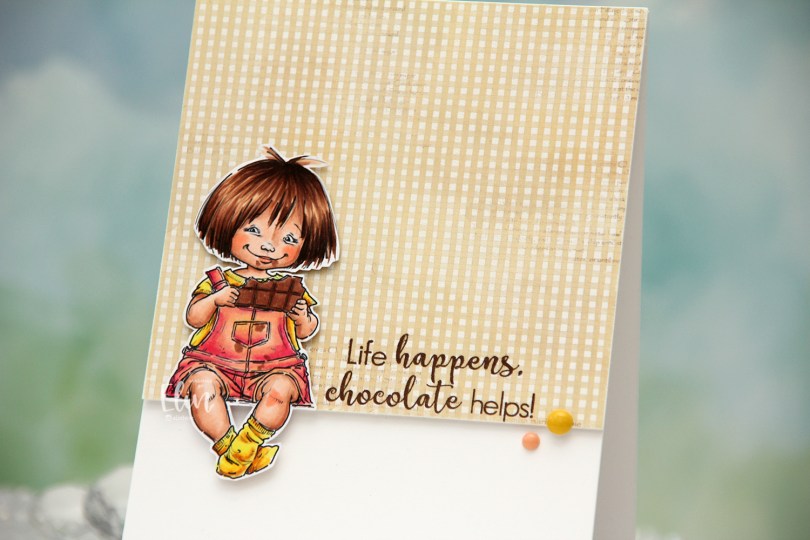
Hi, crafty friends. Chocolate fixes everything, right? I love this Chocolate Smile image from Mo Manning, and I’ve used it a few times over the years. I like adding chocolate stains on her clothes and around her mouth, as well as a scraped knee. My OCD could never handle eating the chocolate like this, though, I’d break it up into pieces and eat it the “correct” way.
 I colored the image with Copics, fussy cut leaving a white border and created a very simple card for her to sit on. I pulled out a piece of patterned paper from the Coffee in the Arbour 6×6″ paper stack from Maja Design and cut it down to fill about 2/3 of the front of an A2 card.
 I stamped a sentiment from the Coffee and Chocolate stamp set from hÄnglar & Wings onto the bottom of the pattern using Dark Chocolate ink from Papertrey Ink. I added a few layers of cardstock behind the patterned paper for a bit of dimension, and did the same with the little girl, making sure to add a couple of extra layers behind her legs so they wouldn’t sag. I adhered her so she’s sitting right on the edge of the patterned paper and finished off the card with a couple of enamel dots from My Mind’s Eye. The yellow one is from the “Oxford Lane” pack, the peach from the “Sky’s the Limit” pack.
![]() I used a very summery palette for this one. I really want summer, and we’re currently in “Ice, Ice, Baby” mode. I long for the days when I can walk outside without having to worry about an unpleasant meeting with the ice.
I used a very summery palette for this one. I really want summer, and we’re currently in “Ice, Ice, Baby” mode. I long for the days when I can walk outside without having to worry about an unpleasant meeting with the ice.

 I added a bunny to the top of the teacup stack and colored the image with Copics, before fussy cutting, leaving a thin white border around the edge. I used a black glaze pen from Sakura to add shine and a tiny bit of dimension to the bunny’s eyes, then a white dot of Gelly Roll 05 on top of the black, once the black was dry. The glaze pen dries fairly quickly once applied, so I didn’t have to wait long.
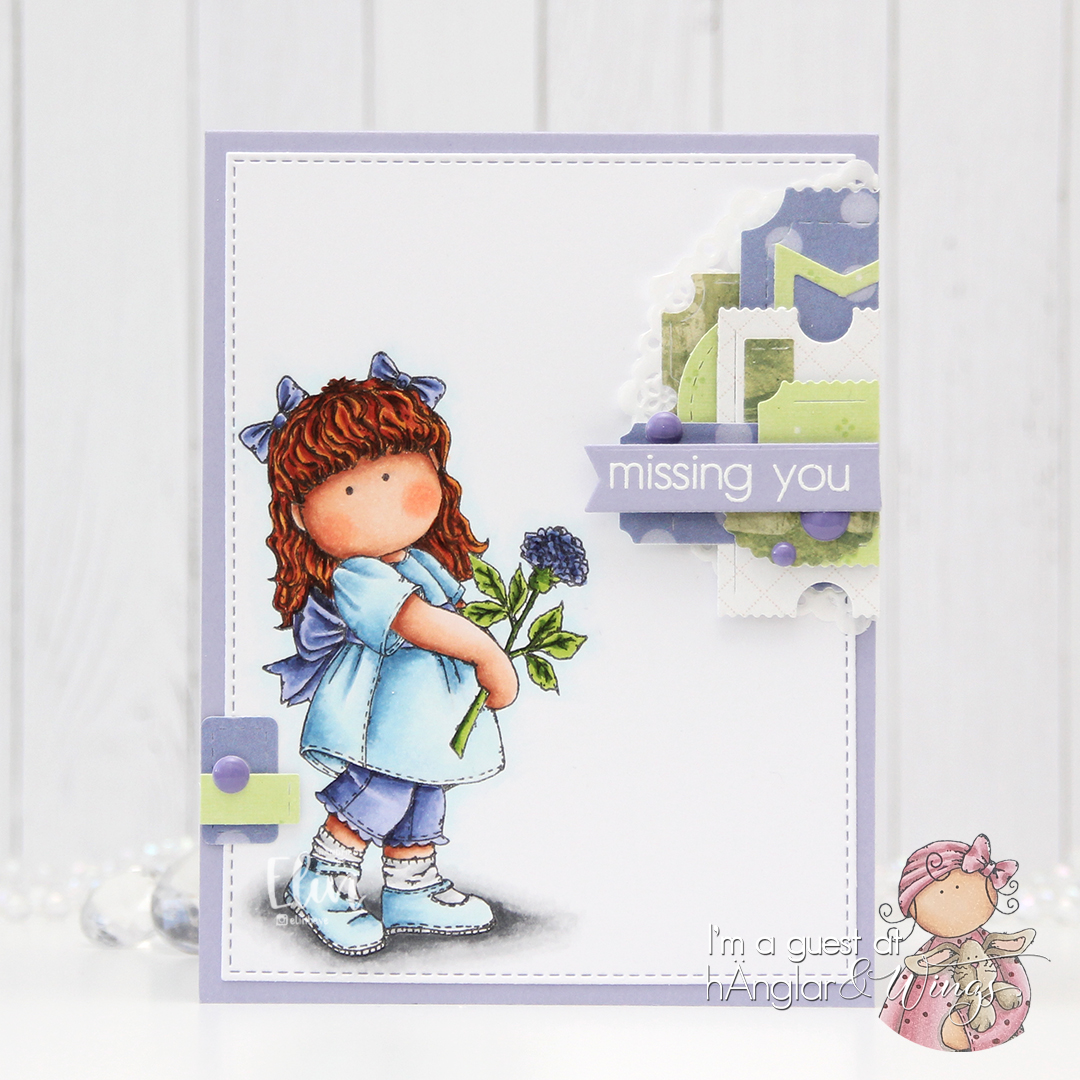
 I adhered a panel of Blueberry cardstock from My Favorite Things to my white card base. Using a die in the A2 Double Stitched Rectangle STAX die set, also from My Favorite Things, I die cut a piece of patterned paper from Sunny Studio to adhere on top of the blue. This patterned paper is from the Subtle Grey Tones pack, and it really is subtle.
 I realized I hadn’t made any of my signature clusters in a while, and decided to pull out my die cut scraps of patterned paper and have a play. These patterned papers are from Sunny Studio (more from the subtle grey pack), Kaisercraft (light blue with dots), Papirdesign (dark blue with smaller dots) and Maja Design (pink floral), all die cut using a combination of the Happy Days Ticket Stubs die from XCut and the Fishtail Flag Frames dies from My Favorite Things. I used a mini paper doily from Doodlebug to mat my little clusters, and embellished with sequins from Pretty Pink Posh and Simon Says Stamp.
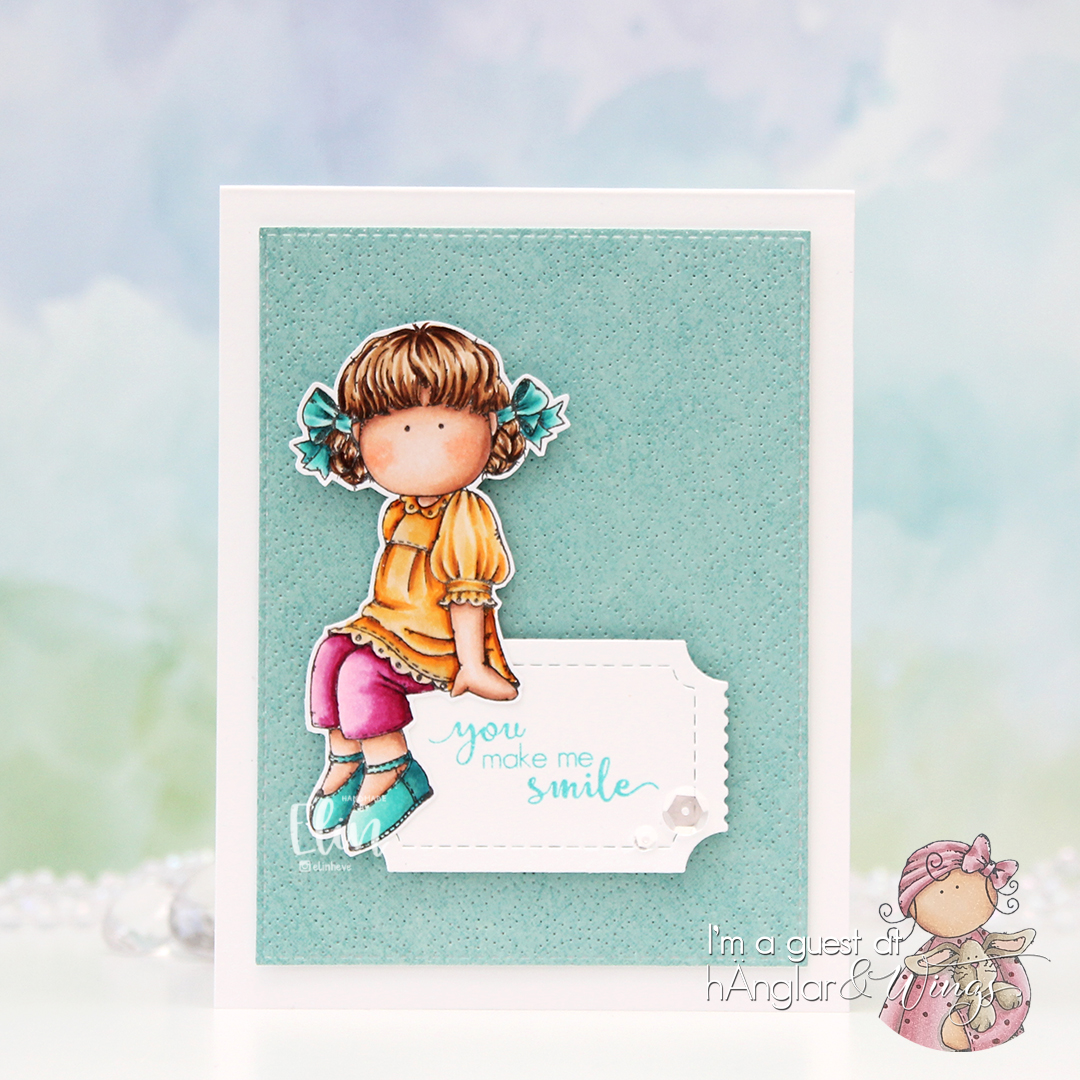
 The sentiment is from the Coffee and Chocolate stamp set from hÄnglar & Wings, white heat embossed on a strip of the same color cardstock I used for the card front. I then die cut it using one of the dies in the Itty Bitty Banners die set from My Favorite Things.
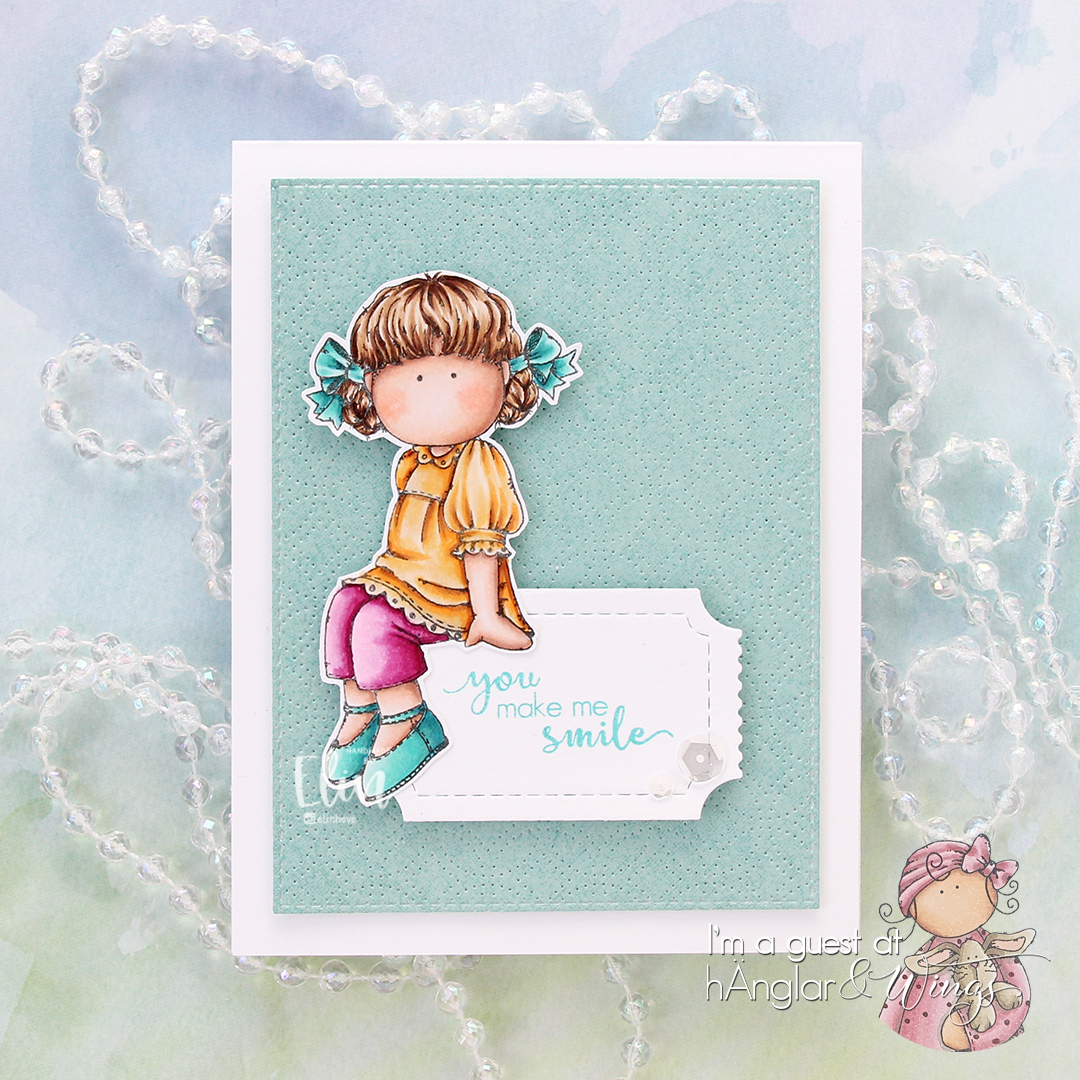
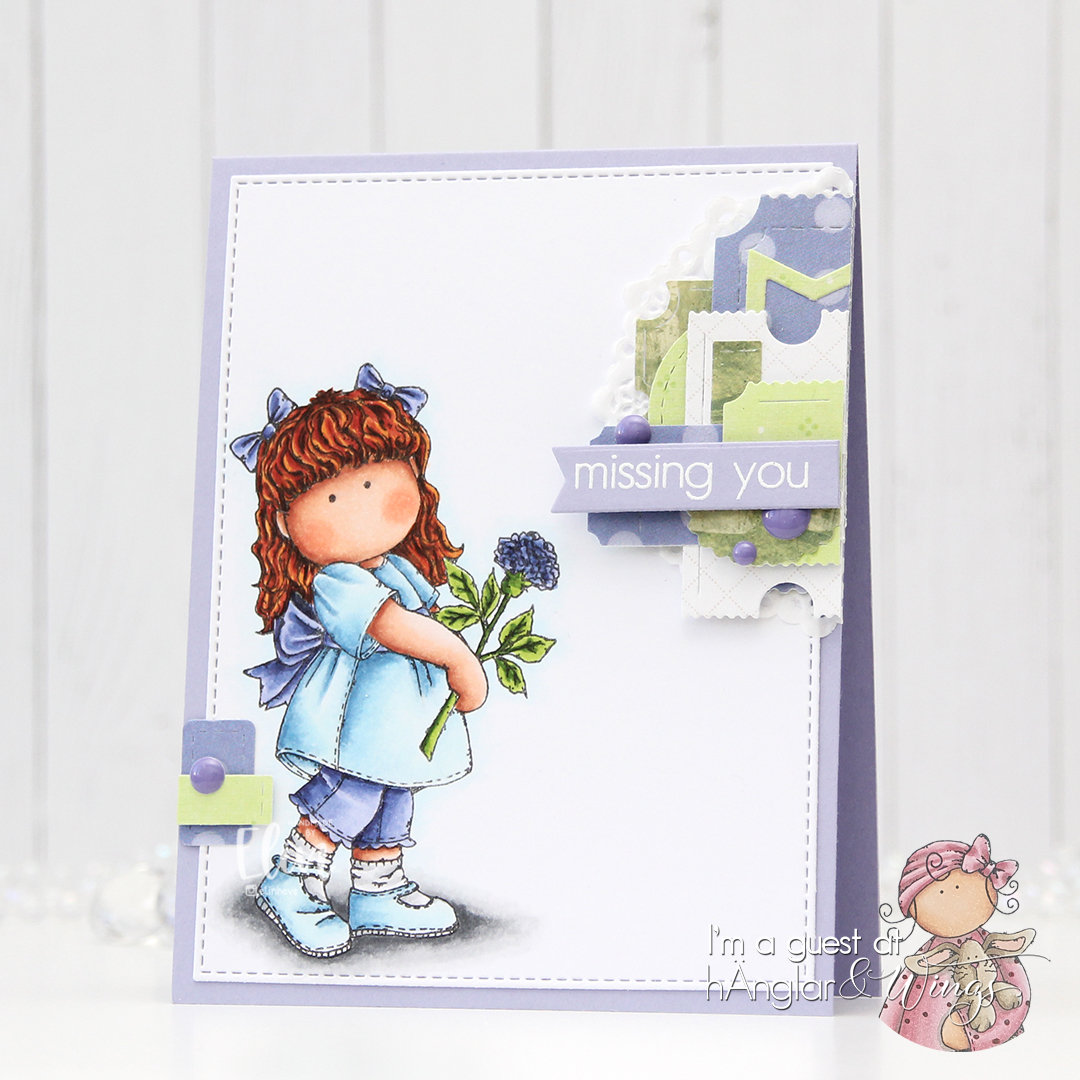
 The interactive element that I mentioned at the beginning of the post is actually the image. As you can see in this photo, it sits pretty high off the base. The reason for that is that it’s on an action wobble, so it’ll shake and move once you help it along a tiny bit.
 Fairly simple color palette for this one.
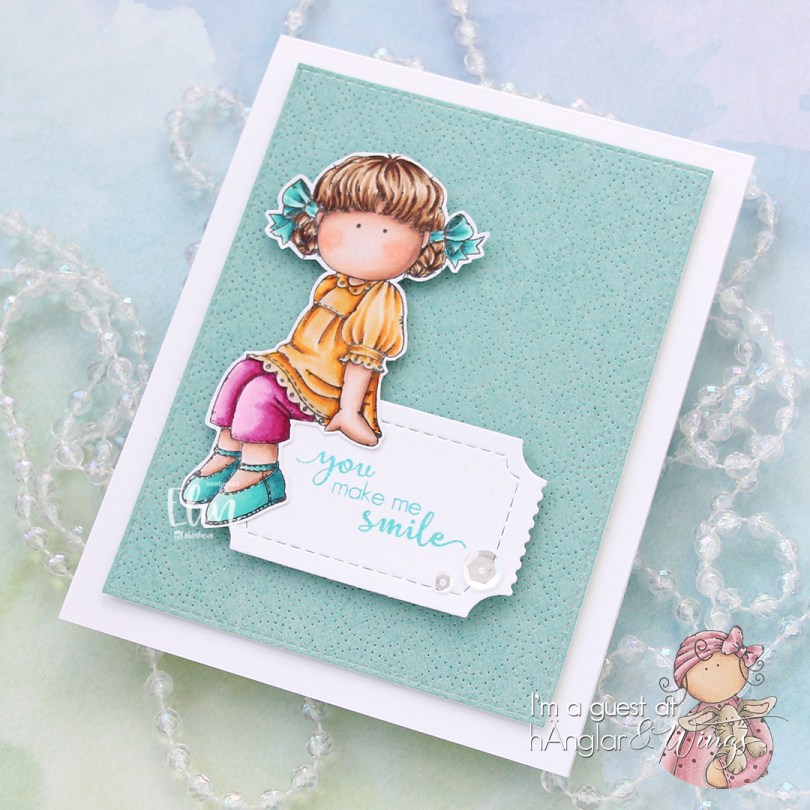


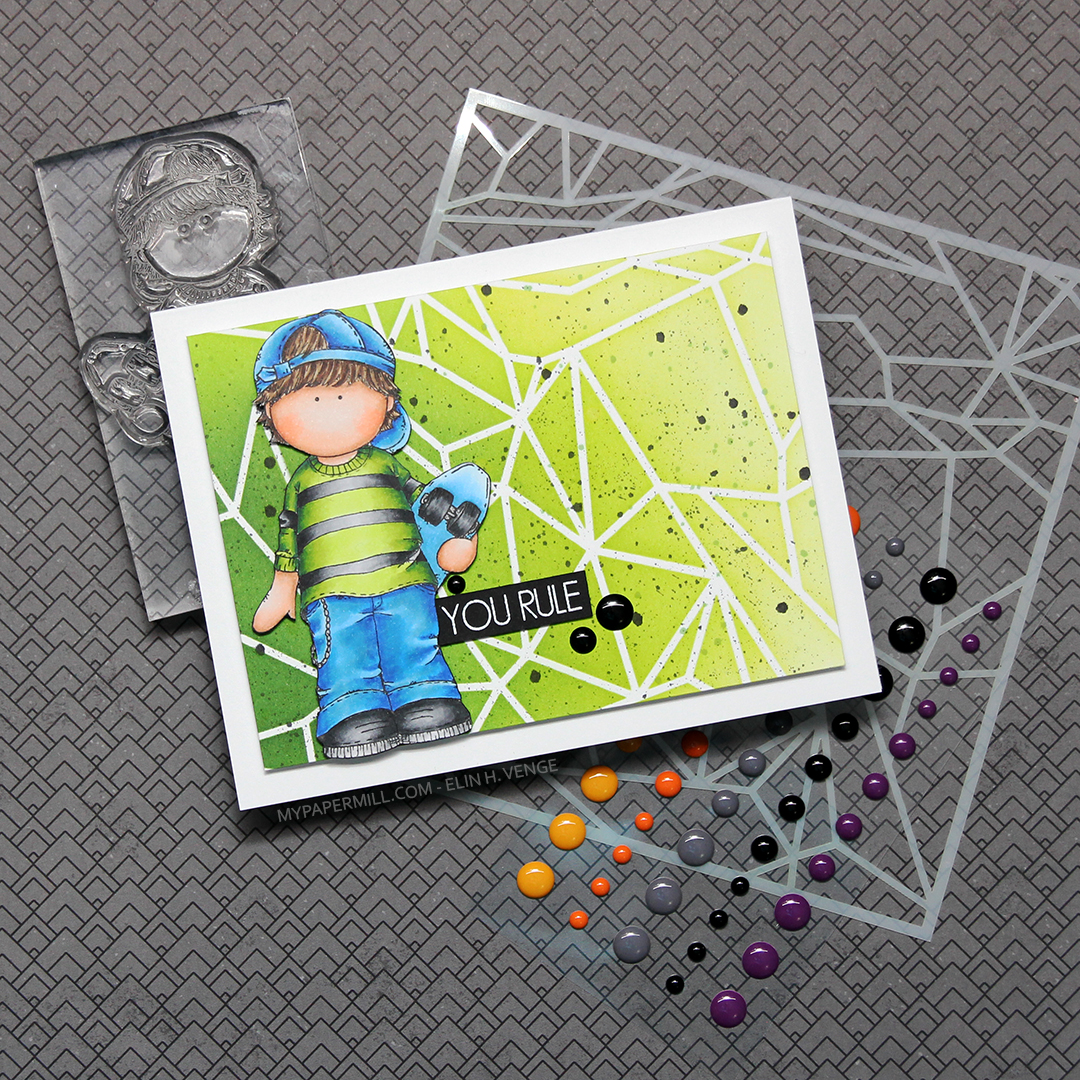 I colored the skater boy using Copics, then fussy cut him right up against the black stamped lines.
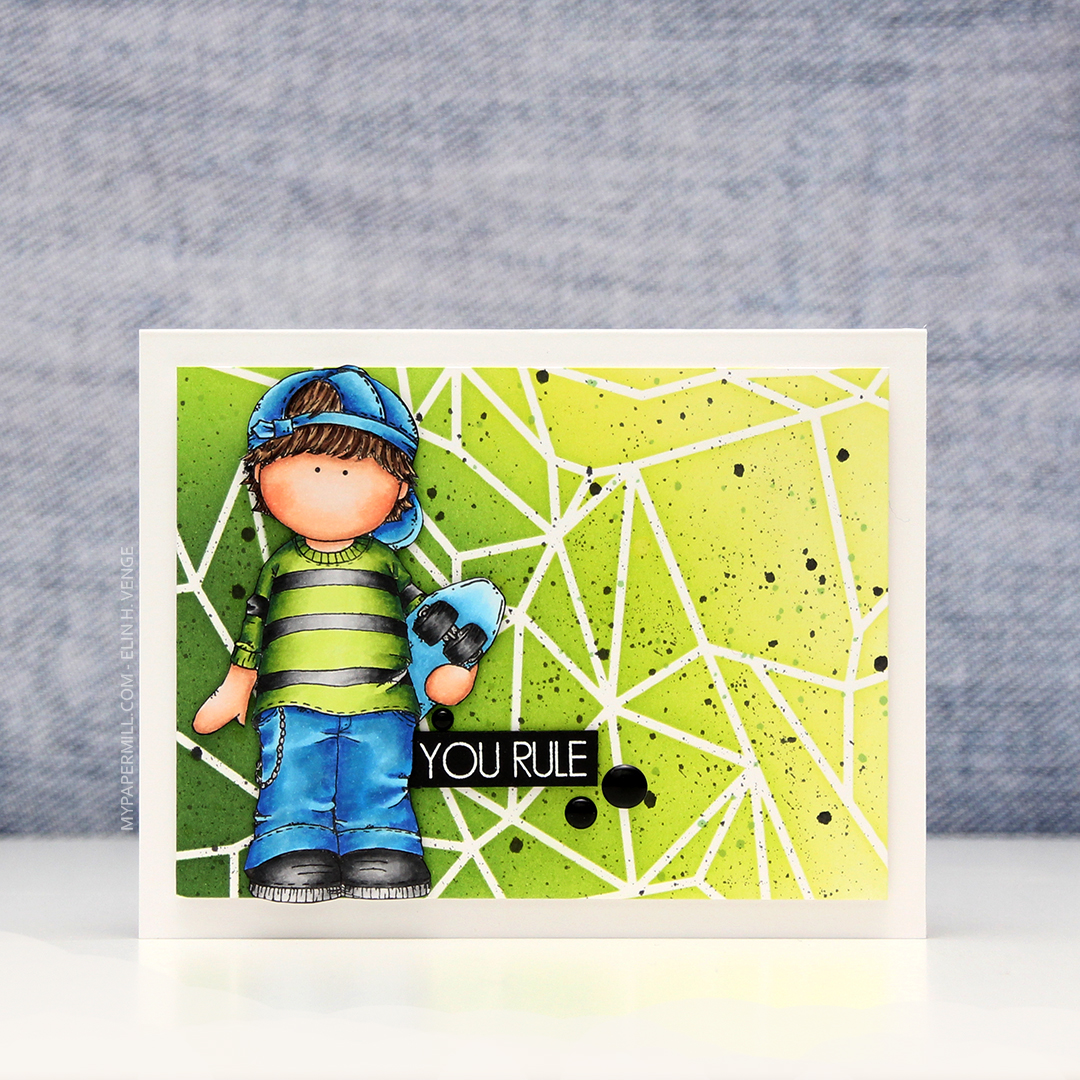 I don’t often use green as my main color in my cards, but on boy cards, I think it’s one of the best colors out there, even better than blue. And coming from me, that’s saying a lot. For this one, I used the Geometric Landscape stencil from Altenew, along with five different colors of Altenew ink for my background; Bamboo, Parrot, Grass Field, Shadow Creek and Evergreen. I smooshed the Grass Field onto an acrylic block and added some water to it, before using a paint brush to create green paint splatter in the background. I also pulled out my Black Marble ink spray from Ranger (Dylusions) and did the same with that.
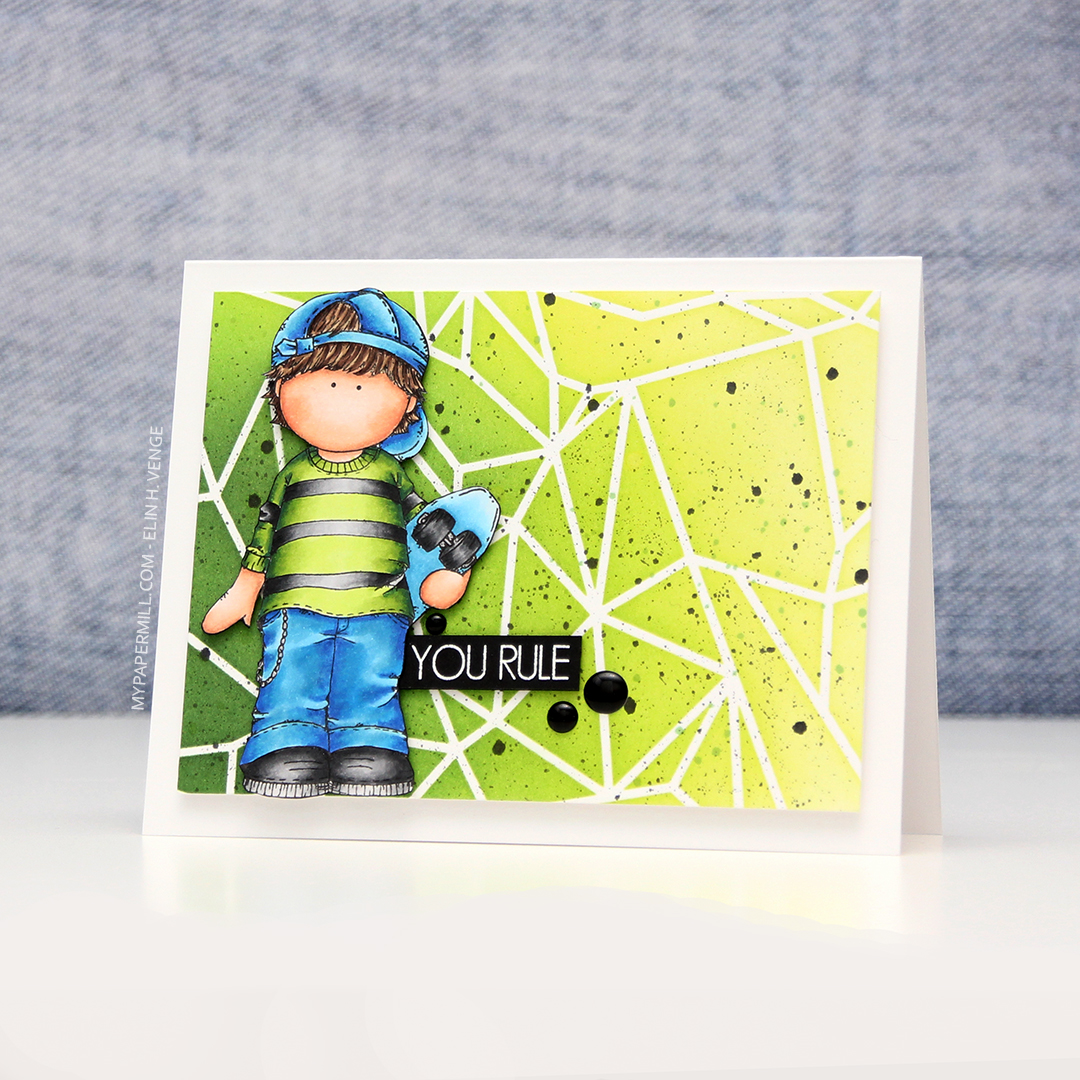 I mounted my ink blended background to a white card base using lots of foam tape, before adding the skater boy on top using some
  Blues, greens, gray and a little bit of skin and hair.
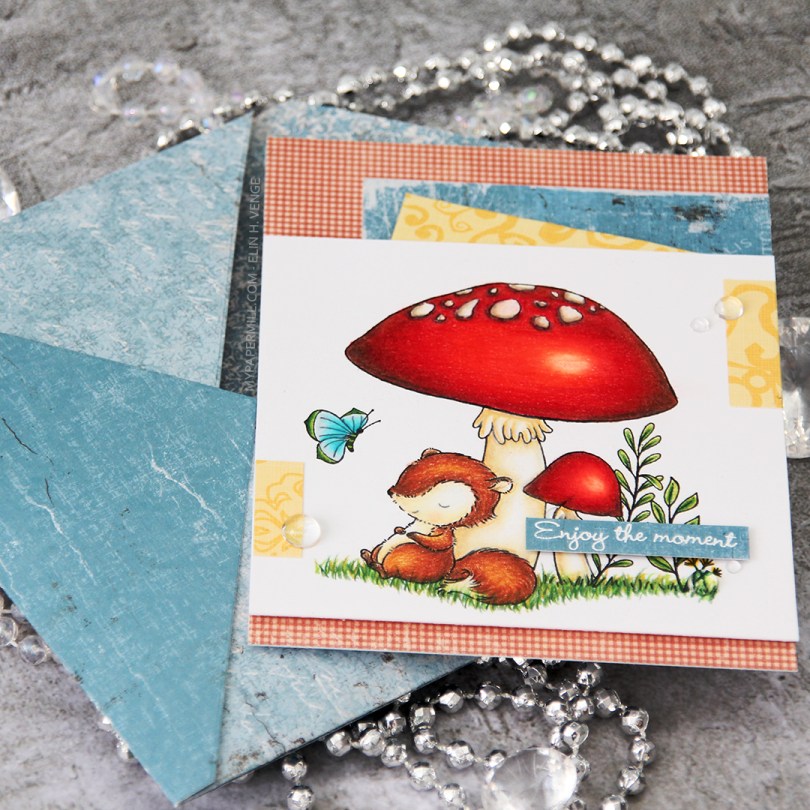
 This little fox scene is from the Always Bring a Smile set, designed for My Favorite Things by Stacey Yacula. I really love her characters, they’re so full of life, and this little guy looks like he’s taking a well deserved nap against the stem of that big mushroom. I actually stamped this on Stamper’s Select White cardstock from Papertrey Ink and pulled out my Prismacolor pencils to color him in for day 2 of the current round of Kathy Racoosin’s 30 day coloring challenge.
 I found some scraps of patterned paper in my stash (the red is from Pion Design, the tealy blue from Maja Design and the yellow from Chatterbox) and added them here and there on my card, before propping my panel with the cute fox onto the card front using foam tape. Lots of foam tape, I wasn’t shy! I stamped and white heat embossed a
  I added a few raindrops from Little Things from Lucy’s Cards around my sentiment and near those small yellow bits, and called it done. I had enough of those Maja Design scraps to make a matching envelope using the A2 V flap envelope dies from Simon Says Stamp.
 I don’t usually do anything to the back of my clean and simple (it’s somewhat clean and simple, this one?), but I recently bought this