Hi, crafty friends. Christmas Eve is in exactly two months. Yikes. I’m trying to be prepared, but I still haven’t bought a single present. I’ve created gift tags for these imaginary presents, though, and today I’m sharing two with some really fun images Shari Bresciani illustrated for Purple Onion Designs.
 Shari Bresciani’s cast of characters is so fun and quirky. Michele at Purple Onion Designs is very good at finding illustrators with a distinct style. The left tag features Starla, Scruffy and Christmas Tree, and the right tag features Carrie and Snowman. I also added sentiments from the Holiday Blurbs II stamp set, the blurbs match these characters well.
 For both of my tags, I used the Wintry Forest stencil set from Pinkfresh Studio to create my background of blue trees. I used Polar Bear, Icy Water and Winter Lake inks from Altenew to create my trees, die cut my panel into tags using the Stitched Trad. Tag STAX die set from My Favorite Things, then sprinkled on Chunky White embossing enamel from Stampendous which I melted from the back for a snowy look.
 I love the expression on Scruffy’s face! This tree originally has a star on top, but I wanted Starla to add the star to the tree, so I cut off the star from the top and colored the cone shaped part of the star in green, so it looks like it’s the actual tree, even though the even curved line is a telltale sign that it’s not. I don’t think many people will notice, and even less will care.
 I stamped the sentiment using two ink colors from My Favorite Things: Jalapeño Popper and Sour Apple. I would have preferred a green tone with more blue in it, but I don’t have that in the ink formulation that’s best for this kind of mostly solid stamping. I find that the squishy ink pads that have become popular in recent years do better with this kind of stamping than the old firm felt pad type ink pads.
 Close to the sentiment, I added pearls from the Party Girl mix from Little Things from Lucy’s Cards. I was tempted to add lots of pearls in different colors to the tree too, to act as baubles, but opted not to.
 I threaded some satin ribbon through the tag hole and tied it with a piece of Natural twine from May Arts. I also added a couple of gold bells from my stash, I love tags that make that jingle sound.
 Lots of colors for this, even though I felt like I didn’t use too many.
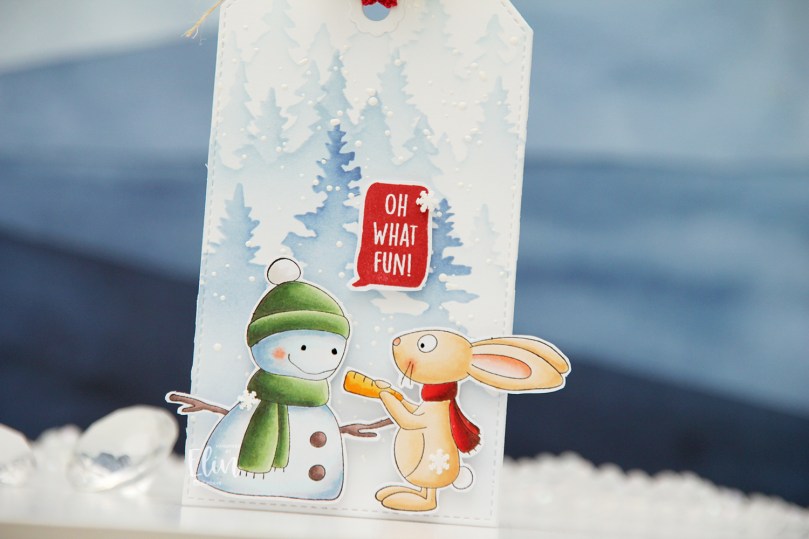 It’s Carrie’s turn. She goes so well with this snowman, you could almost think they’re one stamp and not two. I don’t mind when things hang off the edge of my cards or, in this case, tags. Will the ears and the branch get bent once this tag is on a present under the tree? Possibly. But I don’t mind, because I feel it adds to the design. If I had cut off the ears and branch to make everything fit inside the dimensions of the tag, this tag wouldn’t be as fun.
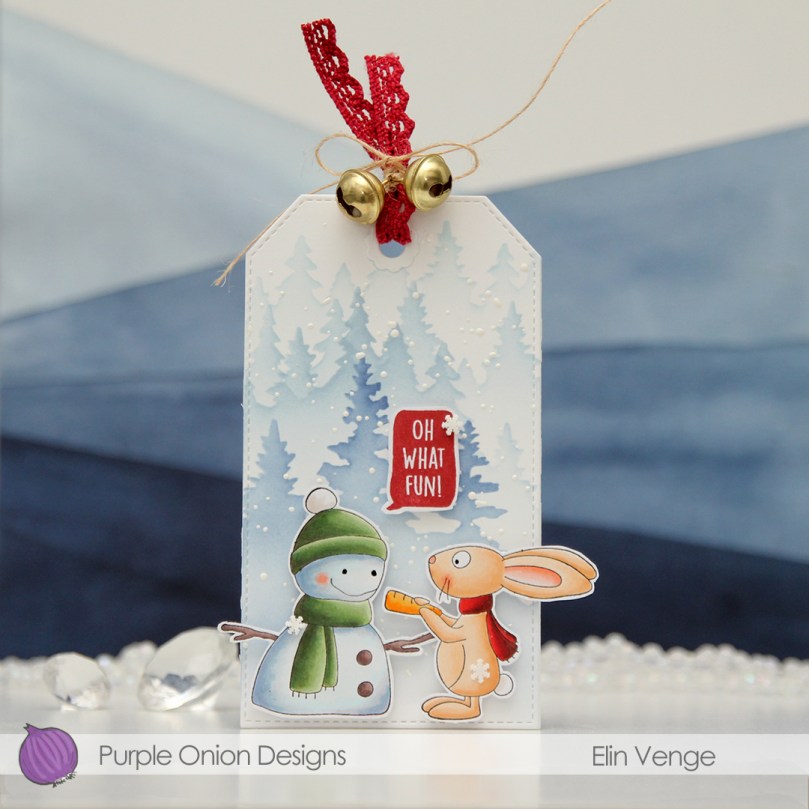 For this one, I stamped the sentiment in Amarena Cherry ink from My Favorite Things. It matches her scarf nicely.
 I managed to get something sticky in the middle of Carrie. There was no way to remove it, so I was very strategic about the placement of the clay snowflakes I added. They’re Snowdrift sprinkles from Little Things from Lucy’s Cards, and I love them.
 I threaded ribbon through the hole at the top of the tag, tied a bow around it using more of that Natural Twine from May Arts and added a couple of gold bells to the top. Different kind of bell than on the green tag, but they still make that wonderful sound.
 Lots of Copics for this one too. I just can’t help myself.
 For the back of the tags, I stamped To/From from the B06 stamp set from Norsk Stempelblad AS using Obsidian ink from Altenew. The remaining stamps are stamped in Classic Kraft and Dark Chocolate inks from Papertrey Ink. For some of it, I used second generation stamping. The circle stamp with 24.12 in the center and the tree stamp are both from Inkido. The little snowflakes are from North Star Design, the smaller circle stamp with God jul in the center is from Ladybug & Friends. Unless I’m mistaken, none of these companies are still in business. It’s kind of sad, but I’m very glad I have these stamps!

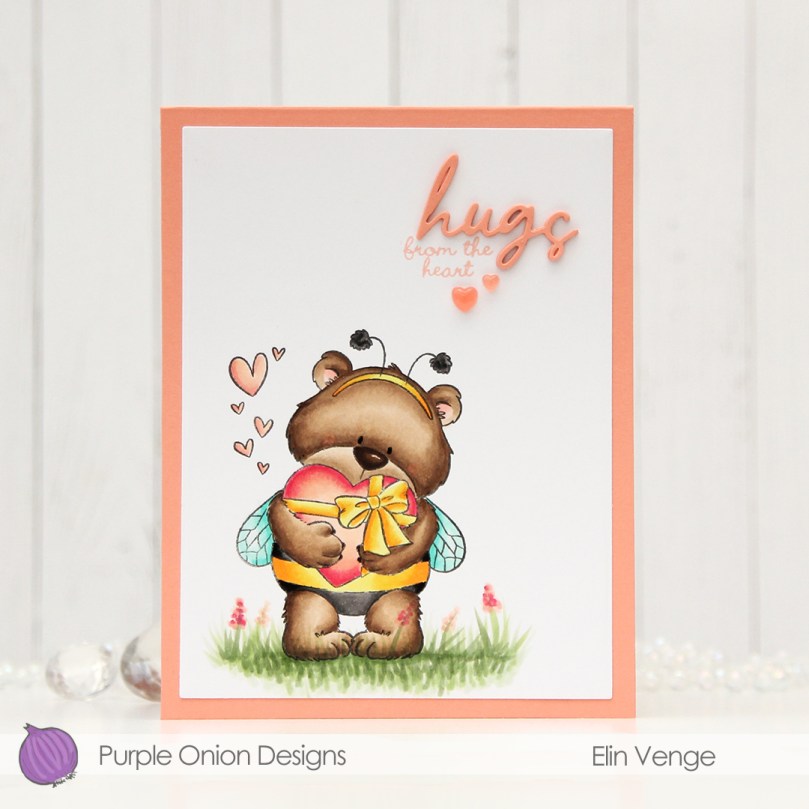 I colored up Love, Brownie Bear for my first card, I just couldn’t resist the wings and bee costume on this cute bear. I added some grass under his feet, die cut the panel using the second largest die in the Additional A2 Layers die set from Waffle Flower and adhered it to a card base I created from Grapefruit cardstock from Concord & 9th.
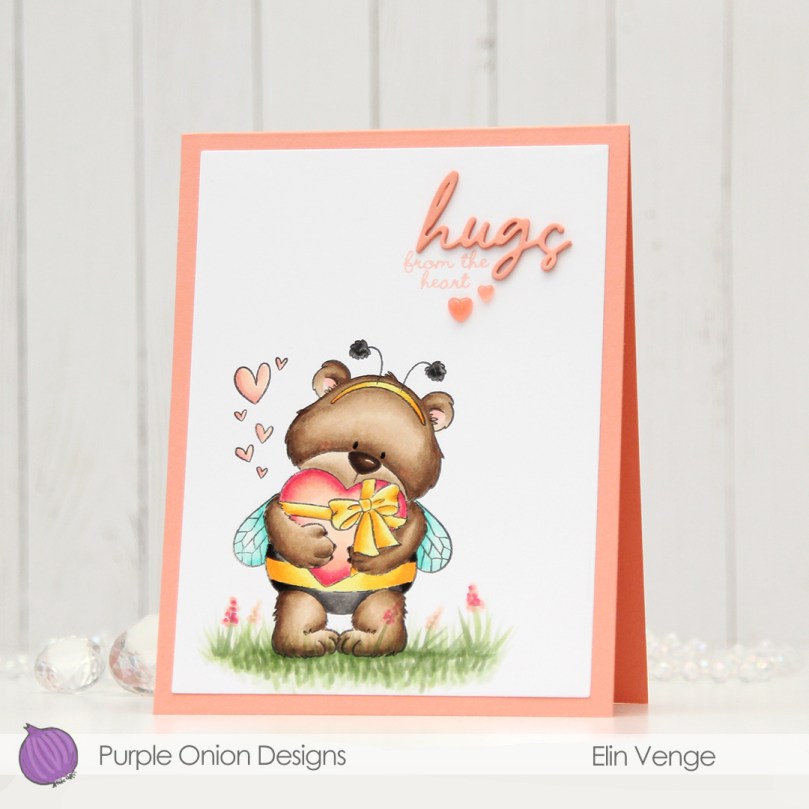 I stamped a sentiment from InkyWings using Pink Pearl ink from Altenew. The stamp actually has the word hugs in it too, but I opted for a die cut hugs, using the Sweet Sentiments die set from Altenew. I die cut four from Grapefruit cardstock and stacked them together for a dimensional look.
 I finished off with a couple of heart droplets from Little Things from Lucy’s Cards.
 Fairly simple color palette for this one.
 I’ve used this image a few times in the past, but I’ve never colored the penguins blue, which kind of blew my mind when I realized. I decided to remedy that and created soft blue penguins and a corally pink scarf. I cut my panel down to a square, die cut a heart in the center using a die from Papirdesign and mounted the negative onto a square card base I created from Berry Sorbet cardstock from Papertrey Ink.
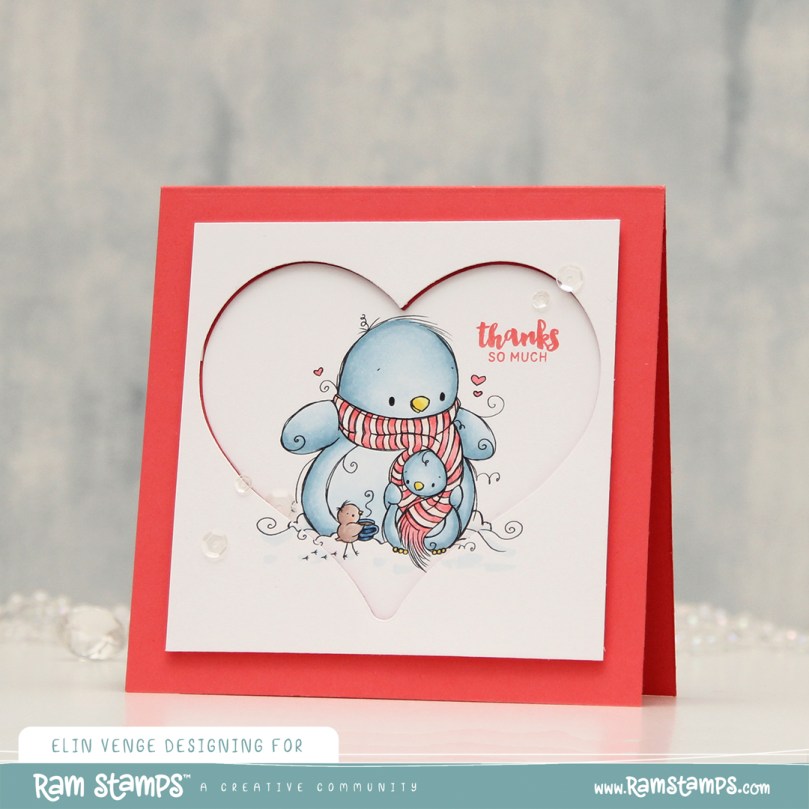 Onto my colored heart, I stamped a sentiment from the Mini Messages stamp set from Mama Elephant using Berry Sorbet ink from Papertrey Ink. I adhered the heart to the card front and added a few sequins from the Starry Night mix from Little Things from Lucy’s Cards to finish my card.
 Oh, and before I forget, I used a super simple color palette for this one.
 I printed the image onto X-Press It blending card and colored it with Copics. I went with a grayish green/muted pink combo, which is one I often use for holiday cards. I’m not a fan of bright red and green together, but this works for me. Once colored, I used a die from the Wonky Stitched Rectangle STAX set from My Favorite Things for a fun faux stitch look on the edges. I adhered my panel to a top fold card base I created from Autumn Rose cardstock from Papertrey Ink, which is a nice match with my pink coloring.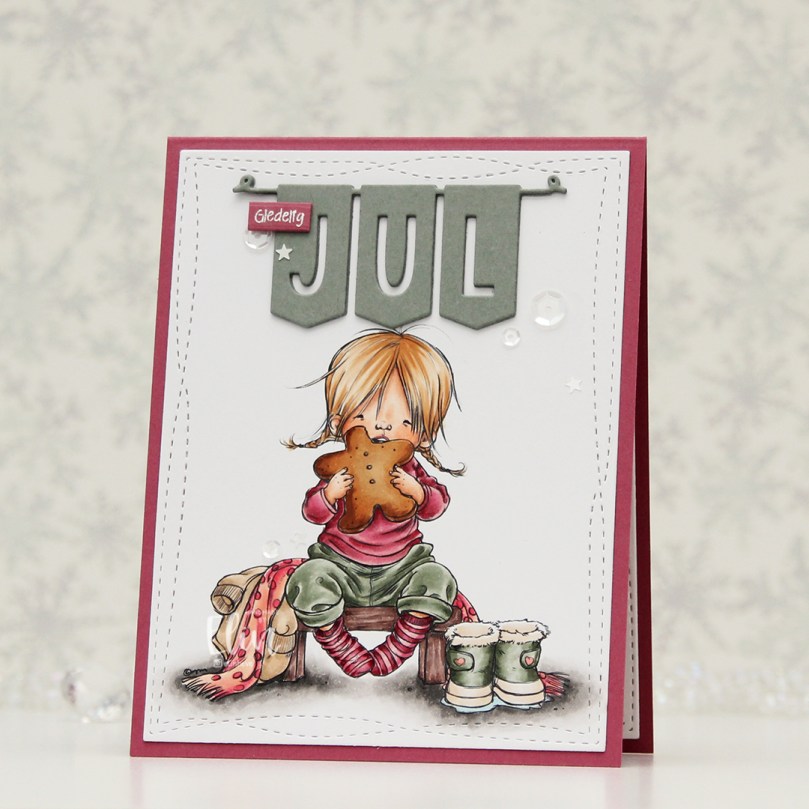
 I used a fairly simple color combo, but it’s still a lot of Copics, I never can seem to rein it in.
 As usual, I colored the image with Copics, cut my panel down a little on the sides and added Glossy Accents to all the ornaments. This time, I decided to use the
  My signature clean and simple cluster cards have been few and far between this year, and I thought a mini cluster would work well for this card. I started with a scrap of a mini paper doily from Doodlebug Design that I adhered to my colored panel with liquid glue. I die cut a couple of additional pieces using the Happy Days Ticket Stubs die from XCut. This is one die that cuts nine different tickets, and it’s one I use a lot. I cut one from the light blue gingham patterned paper, and the other one from a scrap piece of patterned paper from Kaisercraft. I put them both on foam squares for dimension. The sentiment is from the Itty Bitty Holiday stamp set from My Favorite Things, stamped and white heat embossed on a piece of Autumn Rose cardstock from Papertrey Ink, which I then die cut into a strip with flag ends using a die from the Itty Bitty Strips die set from My Favorite Things. I finished off with a few sequins from the Ice Water mix from Little Things from Lucy’s Cards.
 A very simple color palette for this card. I started out with blue ornaments, but once I printed the patterned paper, I realized they needed to have a green tinge and went over the blue with BG32 and G00.
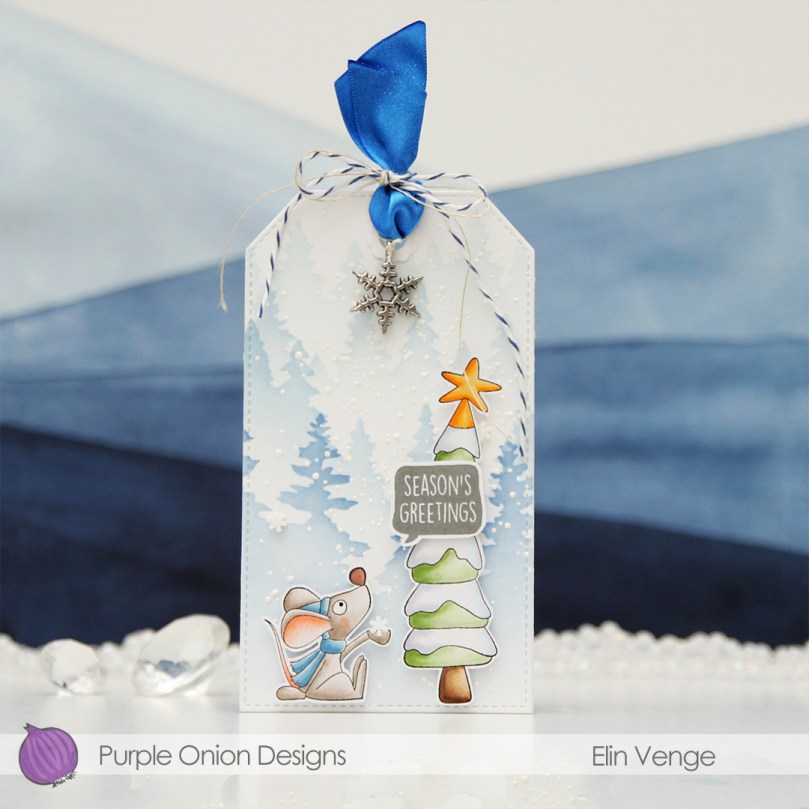 I colored the cute mouse and the tree with Copics, before fussing cutting them. I left a white trim around the edge to make it a little easier on myself, that mouse is small and I didn’t want to accidentally cut off his tail. Onto Stamper’s Select White cardstock from Papertrey Ink, I ink blended trees using the Wintry Forest stencil set from Pinkfresh Studio along with Polar Bear, Icy Water and Winter Lake inks from Altenew. I used the largest die in the Stitch. Trad. Tag STAX die set from My Favorite Things to turn it into a tag and sprinkled on chunky white embossing enamel from Stampendous, which I melted from the back for a snowy look.
 I mounted Pippin and the Christmas Tree to the tag using foam tape. I stamped a sentiment from the
 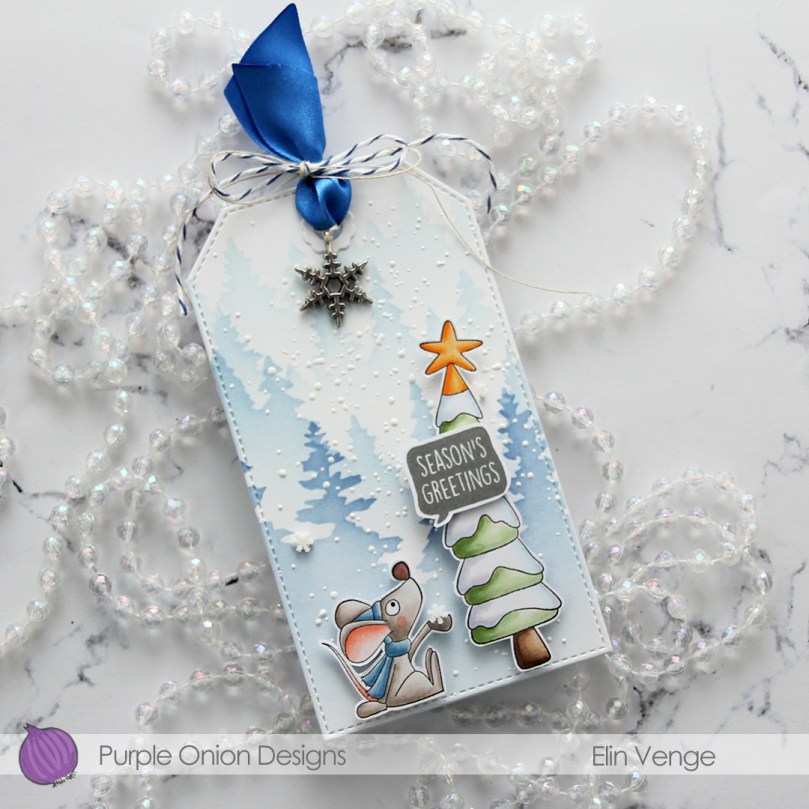 I used a reinforcer die from the Fold-up Tags die set from MFT to add strength to the hole at the top of the tag, added a couple of Snowdrift Sprinkles from Little Things from Lucy’s Cards, as well as some blue satin ribbon, a piece of Blueberry Divine Twine, a thin string and a snowflake charm to the top of the tag for a finished look.
 Simple color palette for this one. I didn’t even go overboard with the snow on the tree.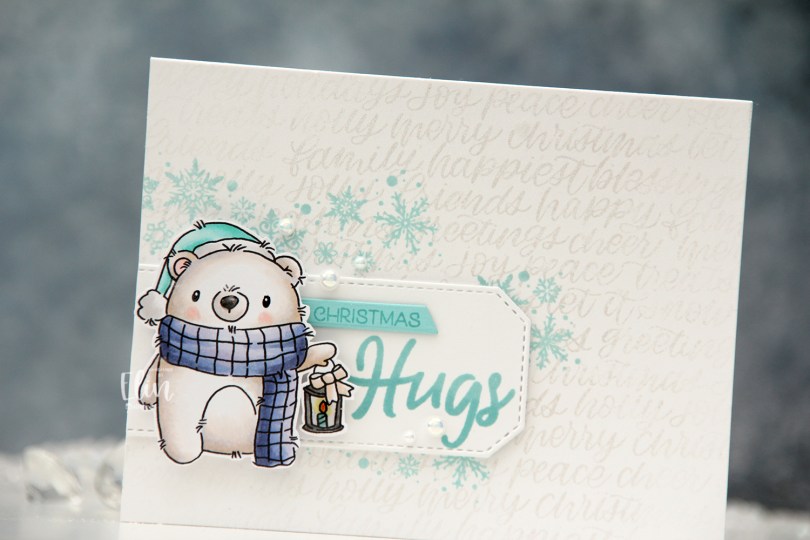
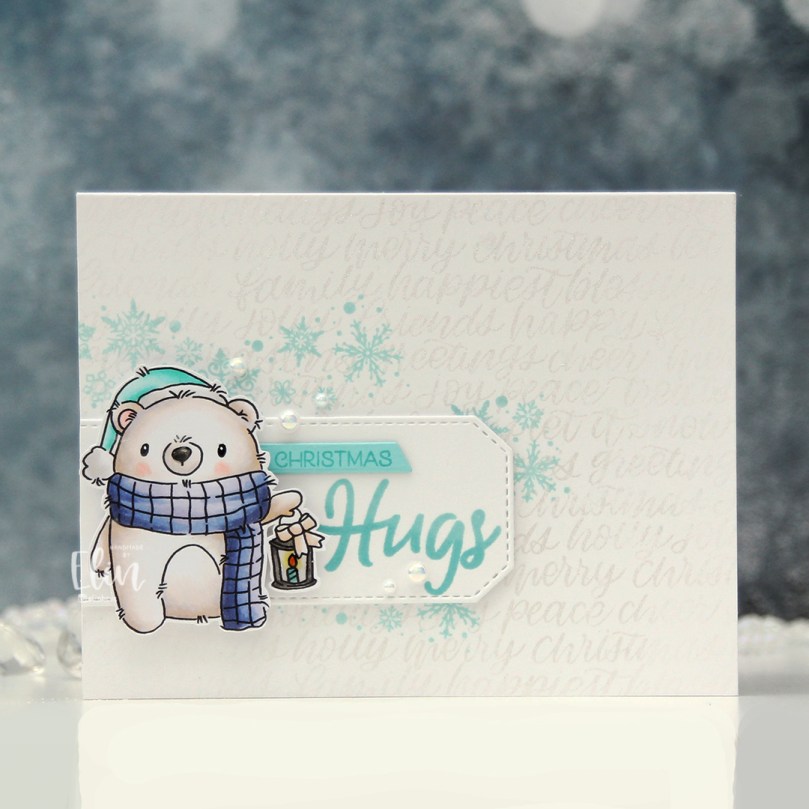 Isn’t he cute holding his little lantern? I went very untraditional with my aqua/purple combo, but I think it works. Onto a top fold landscape A2 card base I created from Stamper’s Select White cardstock from Papertrey Ink, I stamped the Hand-Lettered Holiday background stamp from Simon Says Stamp using VersaMark ink. I then brushed Perfect Pearls powder on top for a shiny, but subtle effect. I stamped the snowflakes from the Wreath & Mulled Wine stamp set from Ciao Bella on top using Sno Cone ink from My Favorite Things.
 I die cut a white tag using a die from the Stitched Trad. Tag STAX die set from My Favorite Things and stamped the word Hugs from the
 As usual, I use way more colors than I anticipate going in.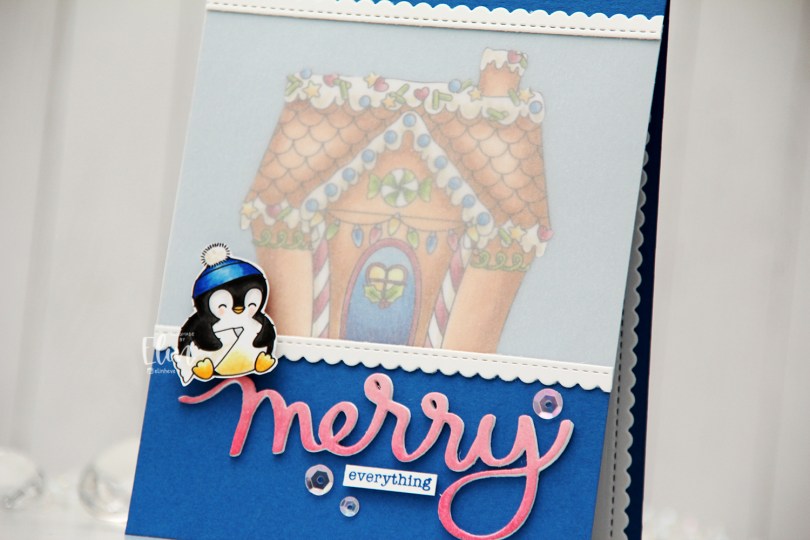
 This penguin is from the
  I adhered the light blue panel to a top fold card base I created from Cornflower cardstock from My Favorite Things, and die cut a scallop border using the Stitched Rectangle Scallop Edge Frames die set from My Favorite Things. I cut the frame apart and added one strip to the top and one to the bottom of my light blue panel. I used the Merry Script die from Mama Elephant to die cut three layers from white cardstock and one layer from X-Press It blending card that I colored pink with Copics. I stamped the word everything from the Holiday Messages stamp set from Mama Elephant onto white cardstock using Cornflower ink from My Favorite Things, added a few layers of cardstock behind it for dimension and embellished with a few pink sequins from the She’s So Lovely mix from Little Things from Lucy’s Cards. The penguin was easy to add with a little bit of foam tape.
 I didn’t use too many colors for the penguin itself, but the gingerbread house required quite a few markers.
 I have a deep, undying love for penguins and snowmen. These two have been joined by a sweet bunny and the cutest little squirrel you ever did see! I did some fairly simple Copic coloring of the image before I used a die in the Blueprints 27 die set from My Favorite Things to create a faux stitch line and a scallop border.
 I stamped the word Christmas from the Sentiments from a Yeti stamp set from Mama Elephant using Melon Berry ink from Papertrey Ink. Onto a strip of Sprout cardstock from Concord & 9th, I stamped a coordinating sentiment from the Holiday messages stamp set from Mama Elephant using Eiffel Tower ink from My Favorite Things. I stacked a few extra cardstock strips behind my stamped one for dimension, and adhered it above the word Christmas.
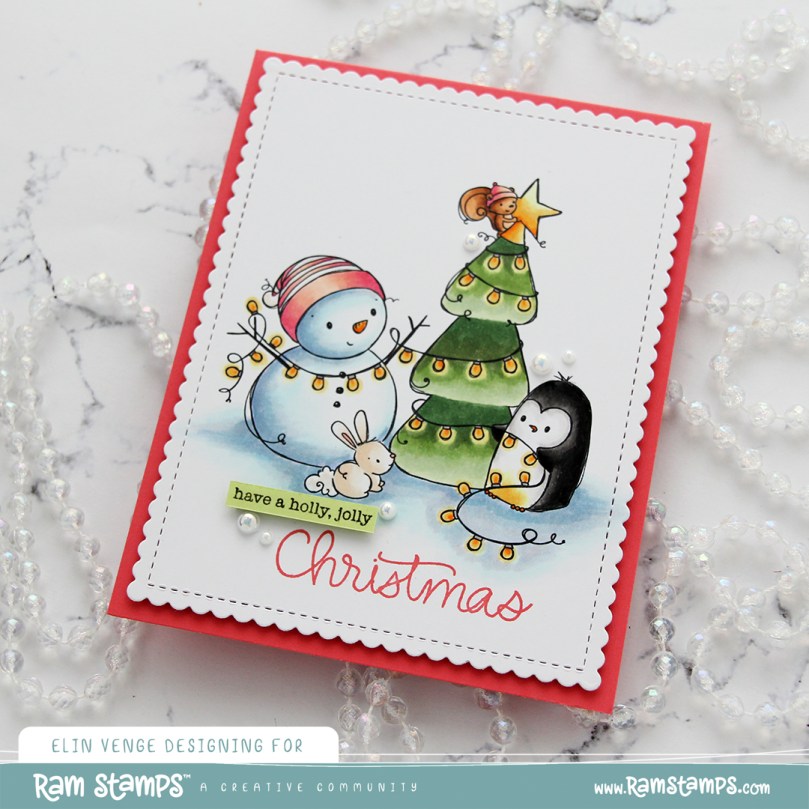 I added three layers of scrap cardstock behind my colored panel for dimension before adhering it to a top fold card base I created from Melon Berry cardstock from Papertrey Ink. I love this pink!
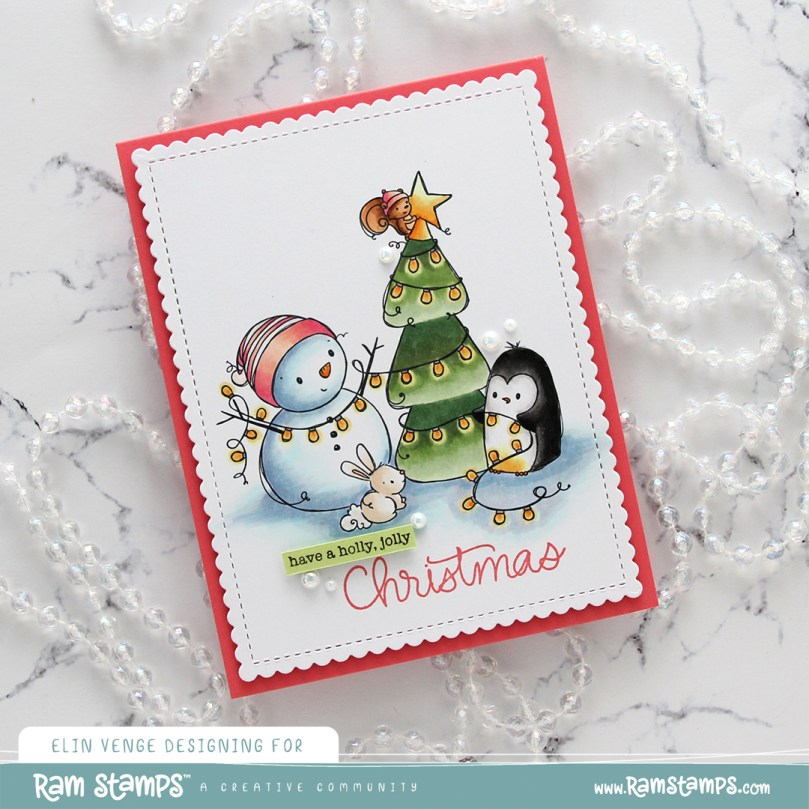 I used pearls from the Glossy Porcelain mix from Little Things from Lucy’s Cards to embellish just a little.
 Lots of Copics on this one, in spite of fairly simple and even quick coloring.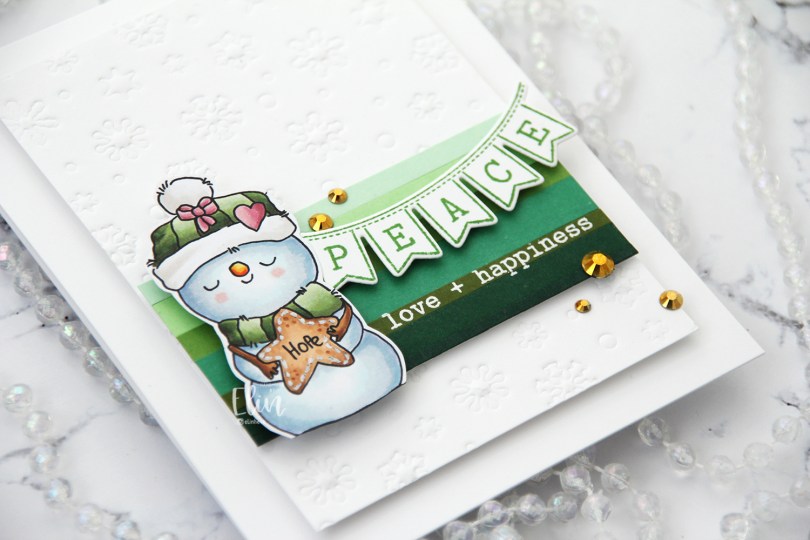
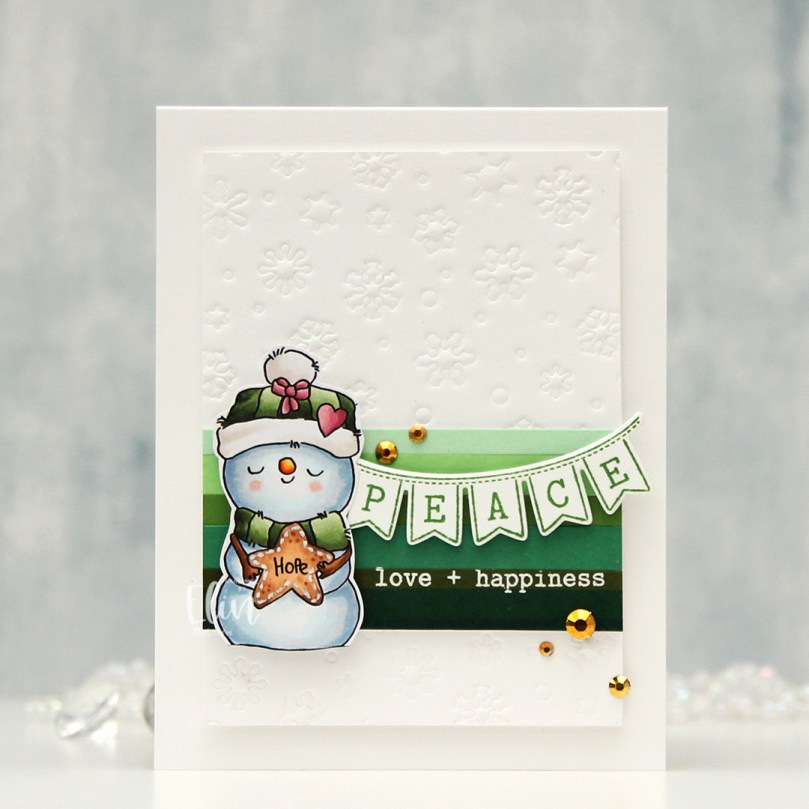
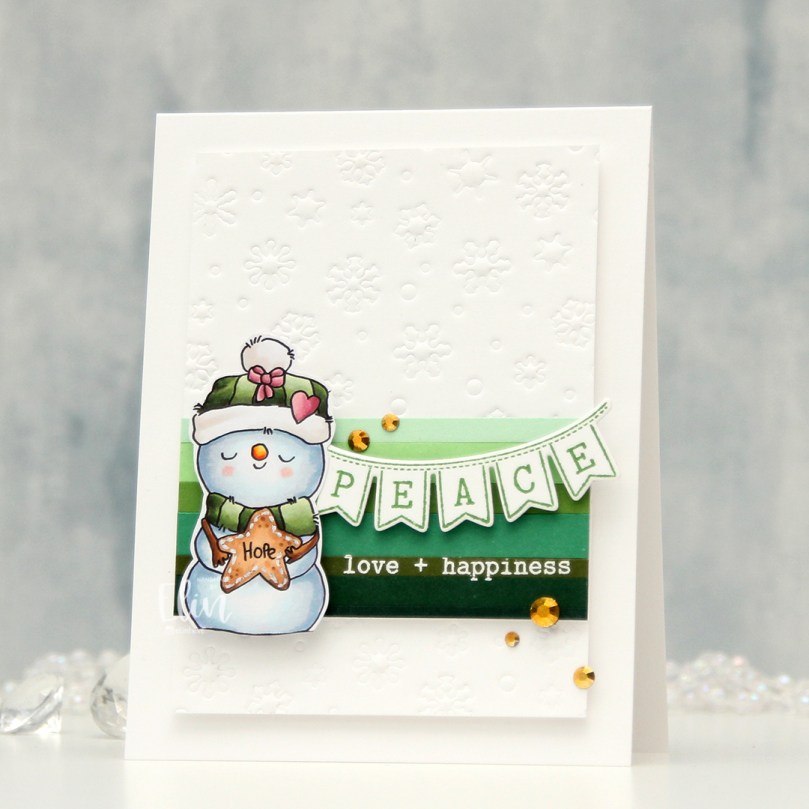 I dry embossed the Snowflake Confetti fancy die from Hero Arts on a piece of Stamper’s Select White cardstock from Papertrey Ink. I cut the panel down and added strips of green cardstock near the bottom. The colors are (bottom to top) Pinefeather (Papertrey Ink), Evergreen (Concord & 9th), Jalapeño Popper (My Favorite Things), Clover (C9), Parsley (C9), Vintage Jadeite (PTI) and Mint Julep (PTI). I white heat embossed a sentiment from the Sentiments from a Yeti stamp set from Mama Elephant and mounted my strips of green with a little bit of dimension behind them.
 I mounted my white dry embossed piece with the green strips onto a top fold white card base using foam tape. Using Shadow Creek Ink from Altenew, I stamped the Peace banner from the Sentiments from a Yeti stamp set from Mama Elephant and die cut it using the Yeti banner die from Mama Elephant, which coordinates. I added foam to the back and adhered it over the white heat embossing to complete my sentiment.
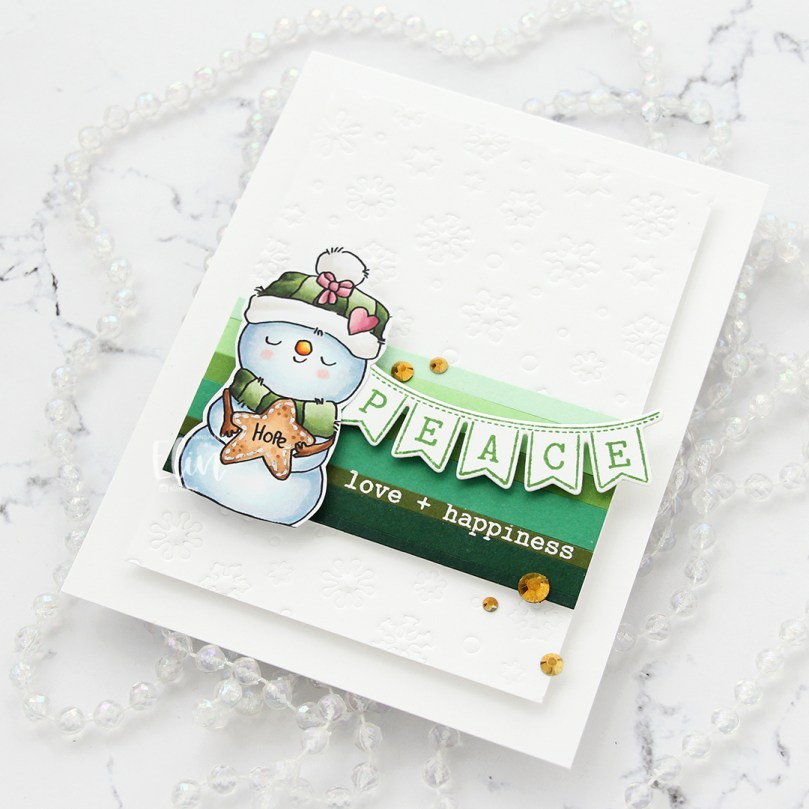 I used foam tape on the back of the snowman too, so this card has a lot of dimension. The dry embossed panel is on fairly thick foam tape, the green strips on a bit thinner foam tape, and the banner and snowman on thicker foam tape. I finished the card with a few gems from the Festivities mix from Little Things from Lucy’s Cards.
 This snowman looks so content, I love it!
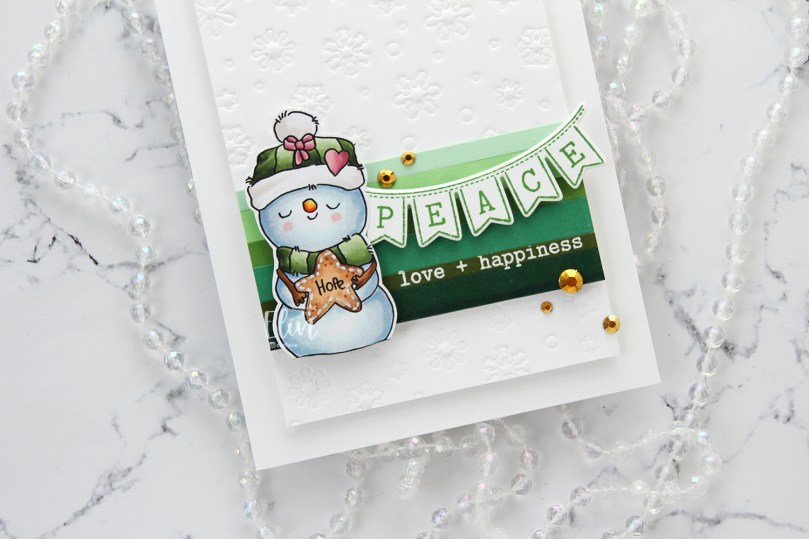 Peace, love + happiness. With a little bit of hope. Sounds like the perfect Christmas to me.
 I’m trying to limit the amount of Copics I use for my cards, but I’m failing miserably. I really don’t mind.
 Papirmølla