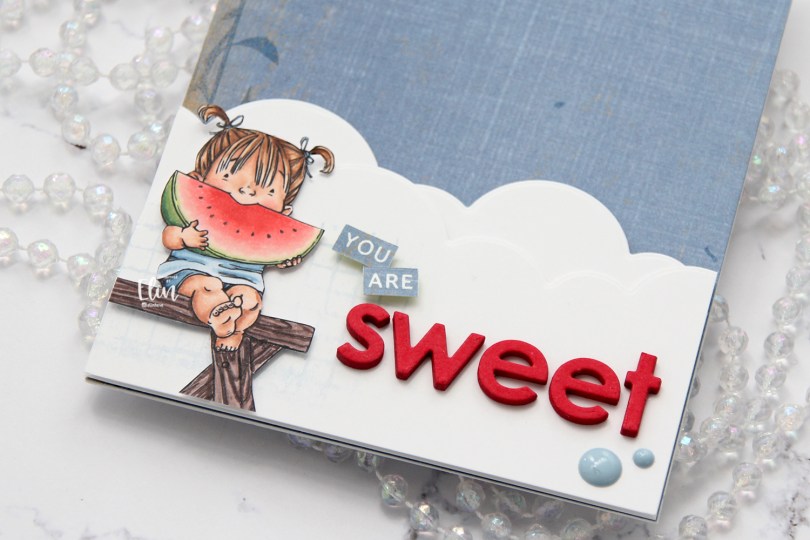
Hi! Today I have a sweet card (pun intended) to share featuring one of the kids from the 3 on a bench stamp set from Mo Manning. There are two options in the store: you can by the merged stamp with 3 kids sitting on a bench or opt for the separated version, which has the bench and each of the kids as 4 separate image files. I used the latter for my card today, and chose to use just the girl eating the watermelon and the bench.

I colored the girl with my Copics and fussy cut her. I put her to the side while I worked on the rest of my card.
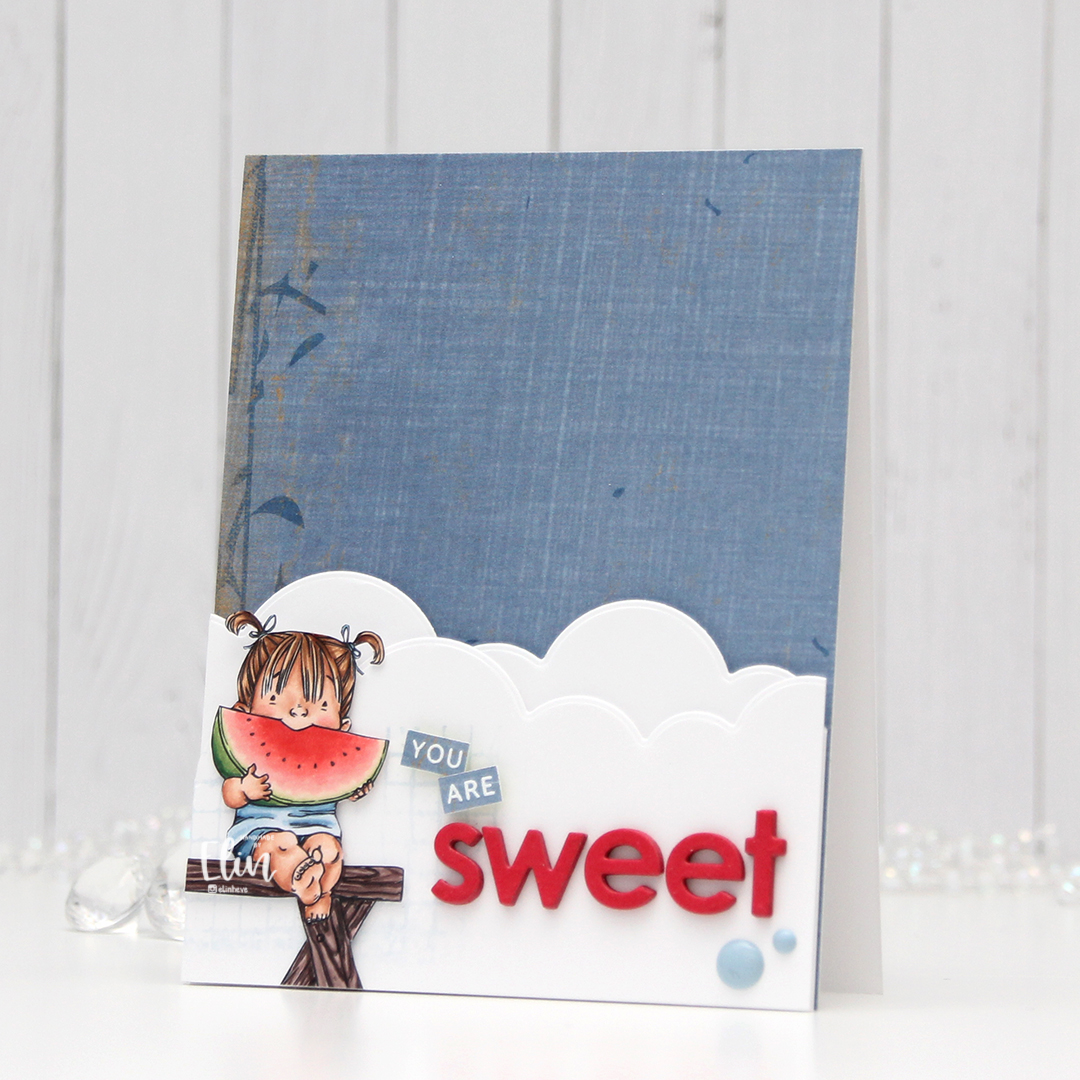
I wanted to repeat the blue from the image in my card, and found a scrap of Fancy Pants patterned paper that was already cut down to fit the front of an A2 card. It’s a beautiful blue, and it has a little bit more interest to it than card stock, without distracting too much from the image.

I used the cloud die in the slim card basics die set from Mama Elephant to create my clouds. The die was long enough that I only had to die cut it once, and cut my finished cloud border into two pieces that are both 4 1/4″ wide. I mounted them to the bottom of my card with 1 mm foam squares for both layers, creating a little bit of depth and dimension in my card, and also an anchor point for the remaining elements. I even stamped part of a background stamp from Tim Holtz on the left half using Spring Rain ink from Papertrey Ink, which is a very light blue ink. Again, it adds a little interest to the background without being too distracting.

I put 1 mm foam squares on the back of the little girl and adhered her near the left edge of my card. I think she’s so cute with that big slice of watermelon!

I used the Parker alphabet die set from Memory Box to die cut the letters to spell “sweet” six times from Red Hot heavyweight card stock from My Favorite Things. I glued them together for a stacked look and adhered the word to my cloud. I stamped and white heat embossed the words “you are” from the Courageous You stamp set from Altenew on a scrap piece of that blue patterned paper, cut the words apart and adhered them to the card using clear foam tape from KoolTak. Those little word strips are so small, I thought clear would be best. I added a couple of light blue enamel dots from Papirdesign to finish.

Not a whole lot of colors used for this one. I also used B90, which is a color I’ve made myself.


 I stamped
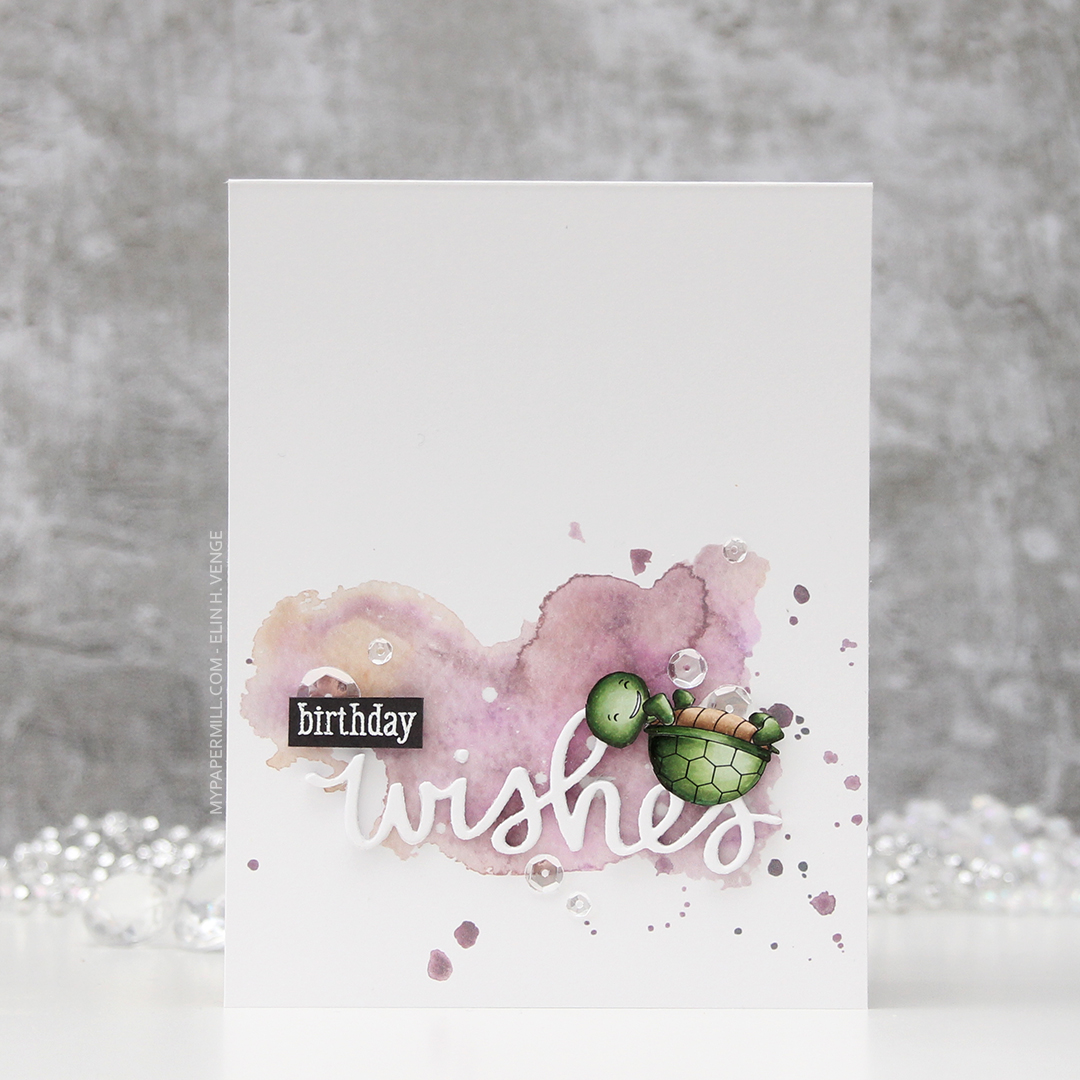
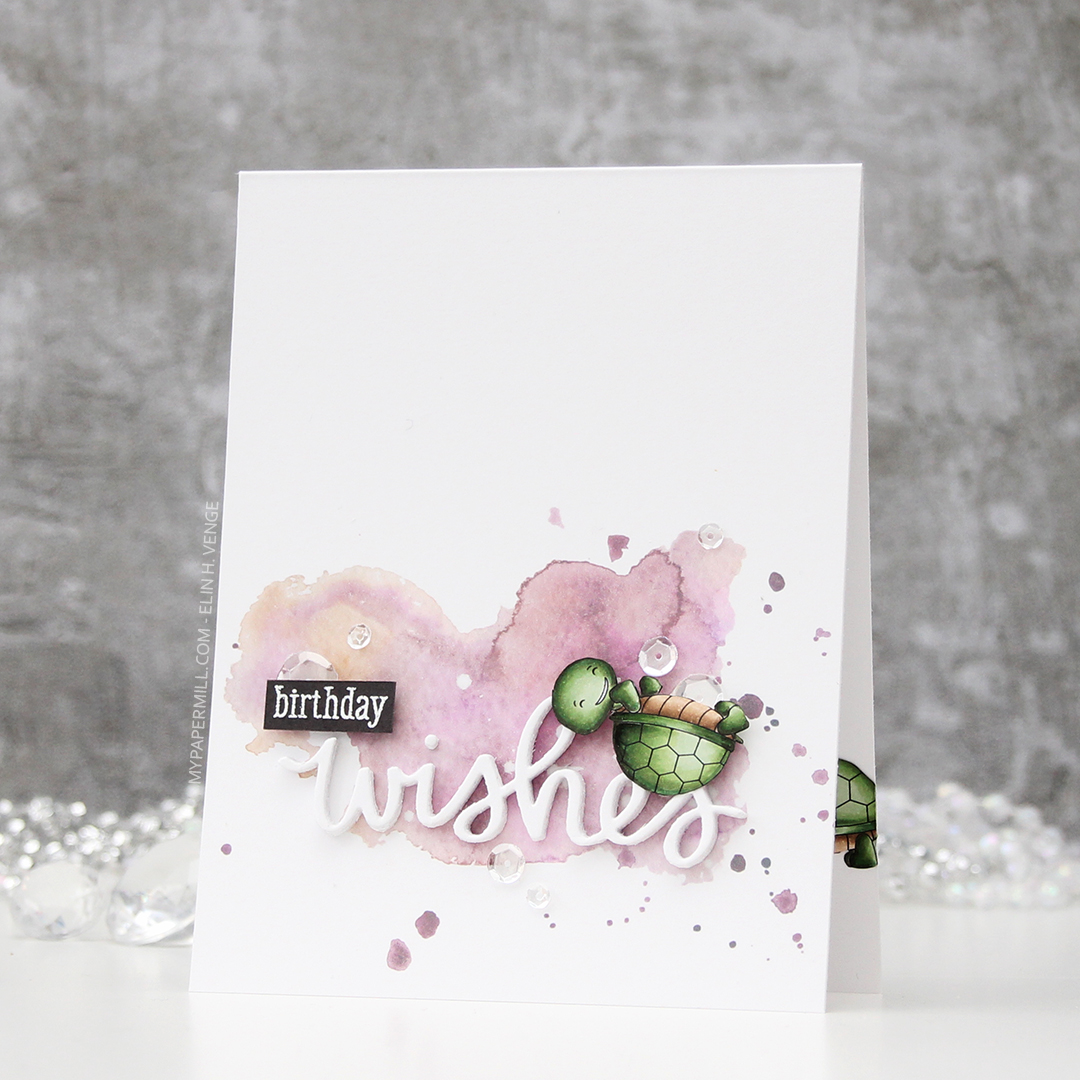
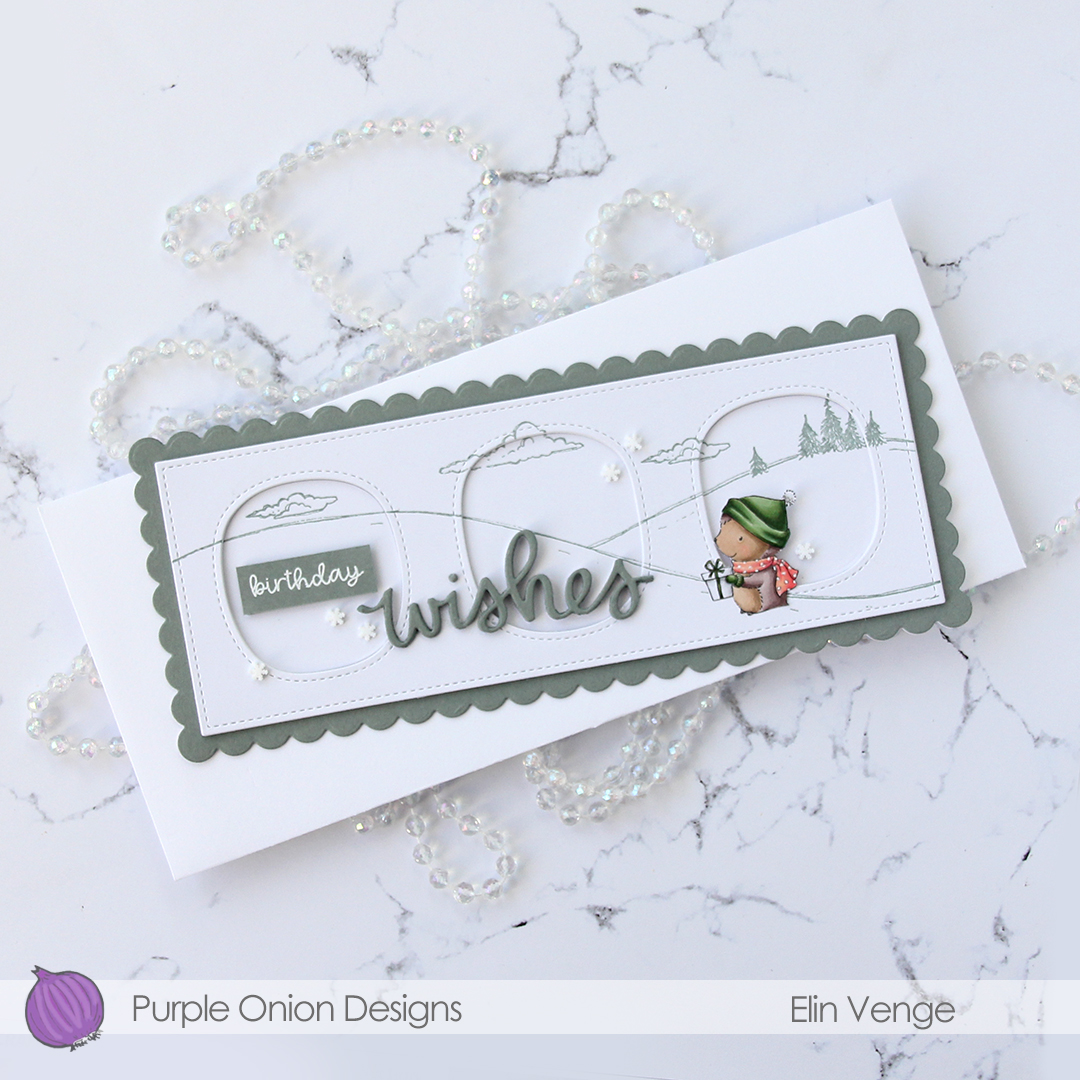
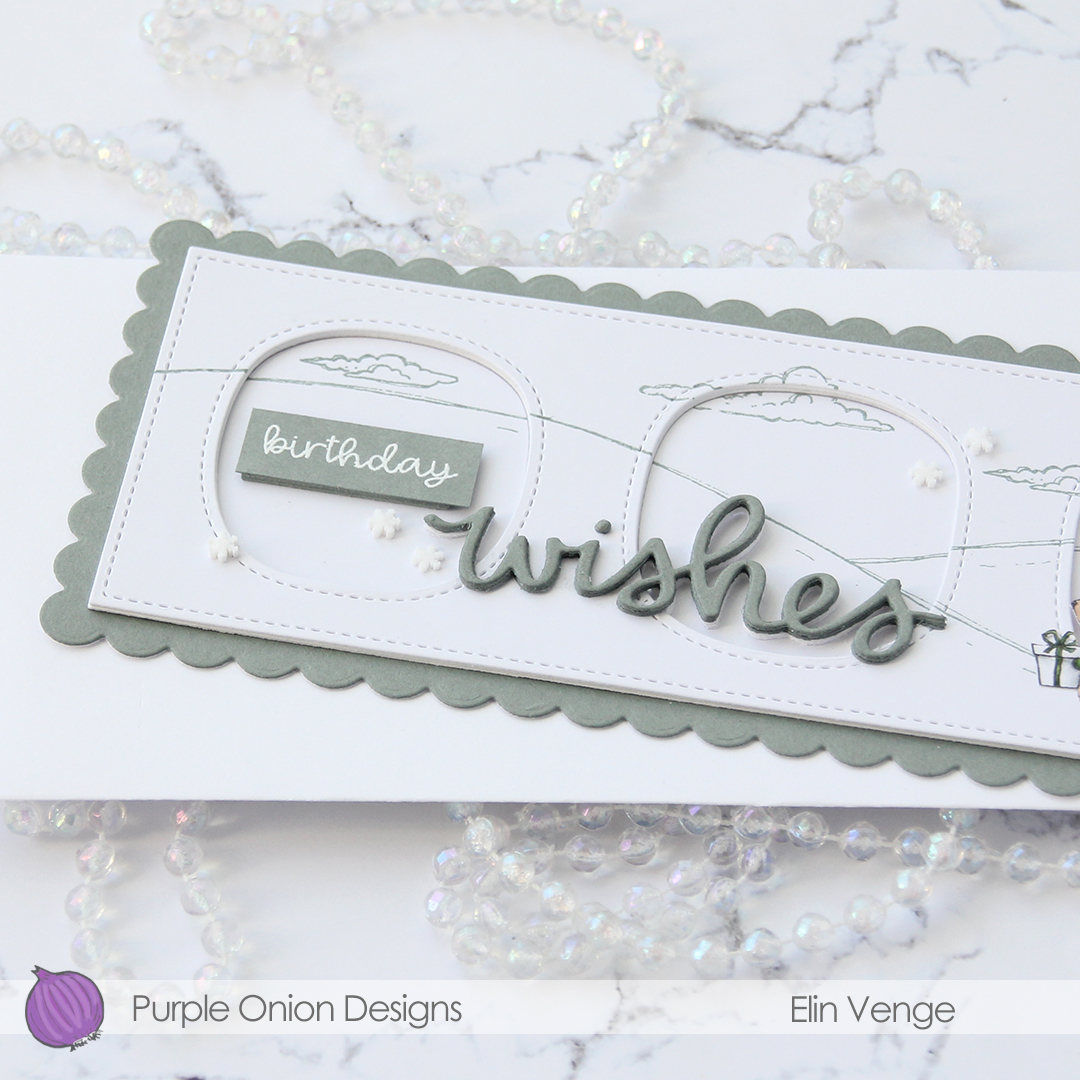
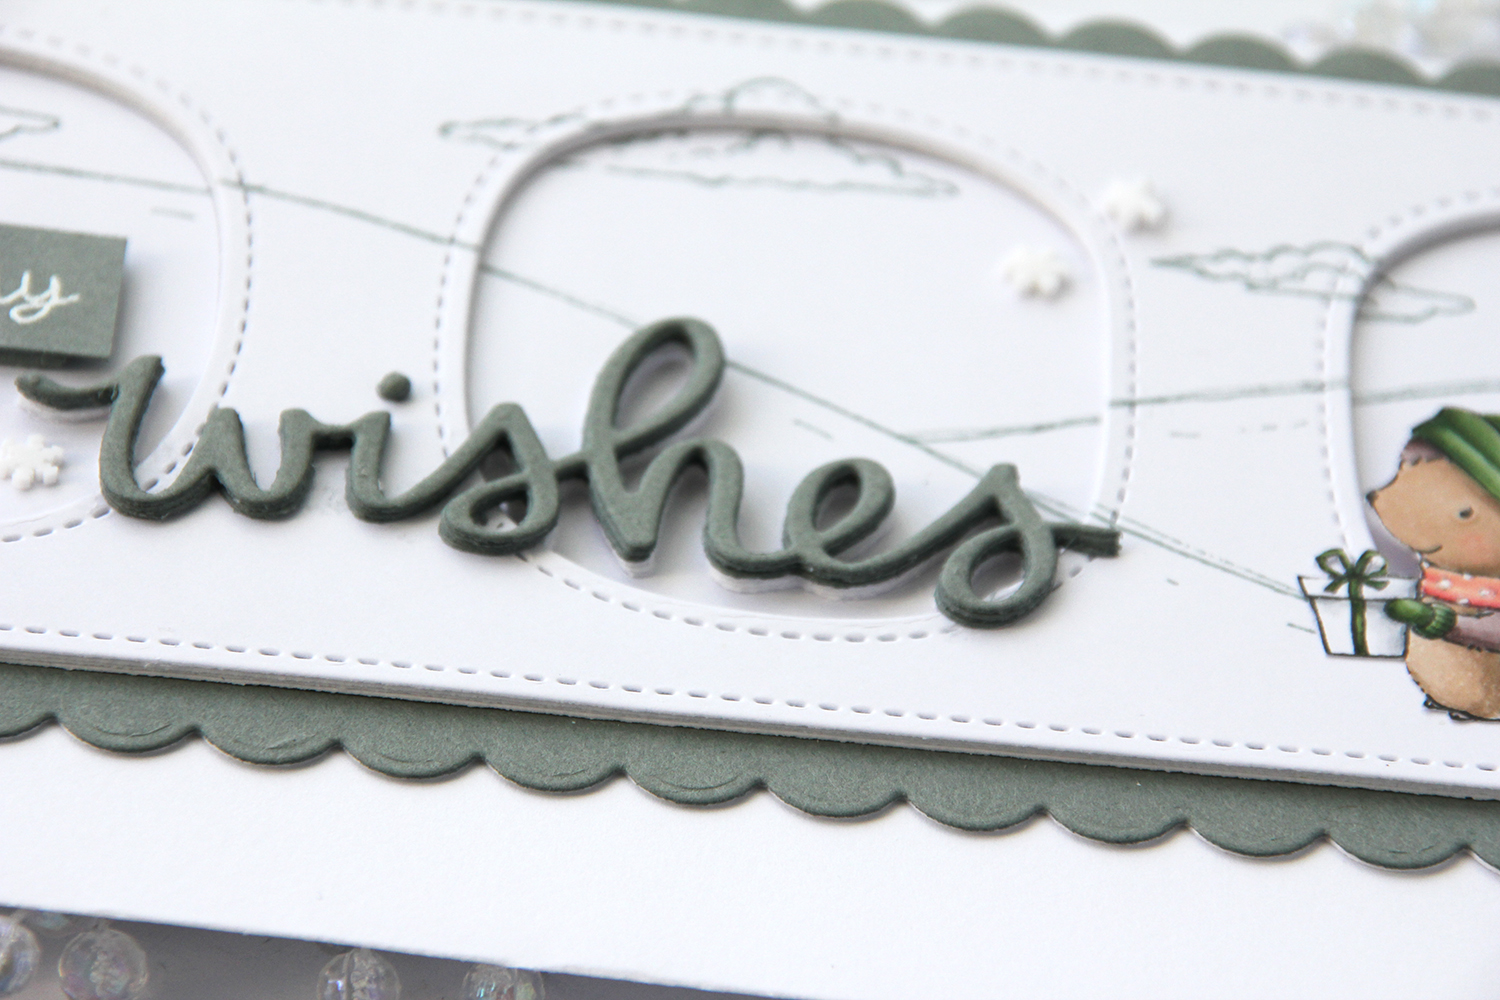
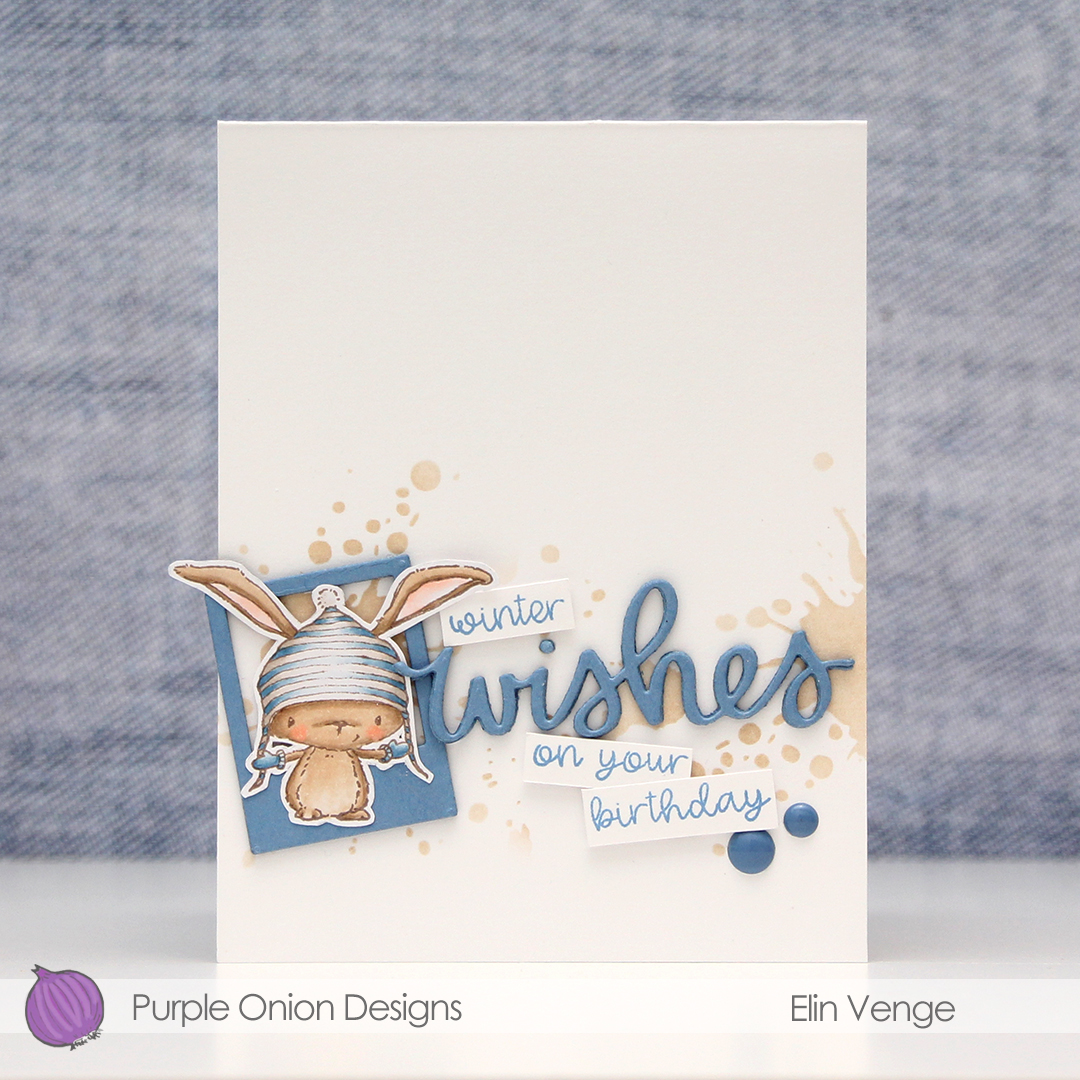
  I used one of the Precious Polaroids dies from My Favorite Things, as well as a wishes die from Mama Elephant. I die cut both four times from Blue Yonder card stock from My Favorite Things and stacked them for a dimensional look. Directly onto the card base, I used a blender brush from Taylored Expressions with Classic Kraft ink from Papertrey Ink over a Tim Holtz mini layering stencil to create some interest in the background. I stamped selected words from two sentiments from the
  I’m woefully short on envelopes to fit A2 cards, and definitely didn’t have any blue, kraft or white ones to go with my card, so I pulled out my A2 V Flap Envelope dies from Simon Says Stamp and created one using scraps of patterned paper from Papirdesign. Blue with snowflakes, can you get any better for a blue, wintery birthday card?
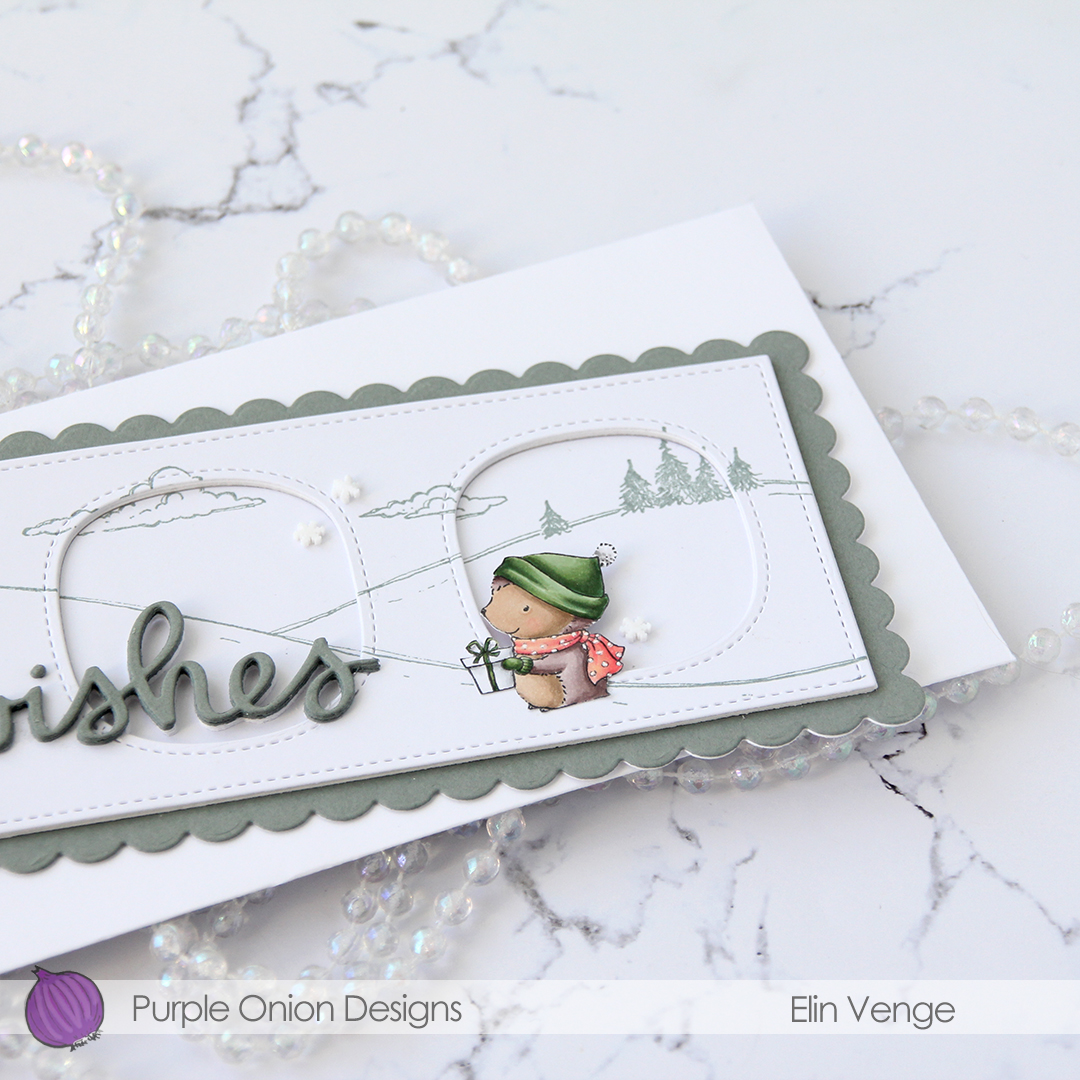
 Very limited color palette this time, but it’s no wonder given the size of the image. I also used B90 for the hat, which is a color I’ve made myself.
 I realized I hadn’t done my signature cluster in quite some time, so I found a few scraps of patterned paper from the Home for the holidays collection from Maja Design and die cut a couple of tickets from the scraps using my Happy Days Ticket Stubs die from XCut. I adhered them to the top right of the card and cut off the excess, before white heat embossing a couple of snowflakes from Crafty Moly. I white heat embossed part of a sentiment from the Oh penguin tree stamp set from Mama Elephant onto a scrap piece of blue patterned paper, before die cutting it into a banner using one of the fishtail flag frames dies from My Favorite Things. I added that to my cluster with a little bit of dimension behind it, glued a snowflake on top and finished off the card with three blue enamel dots from Papirdesign.
 Kind of a muted color palette for this one. I tried to keep it to a minimum, because there’s a lot going on in that image, and I didn’t want the end result to feel cluttered.
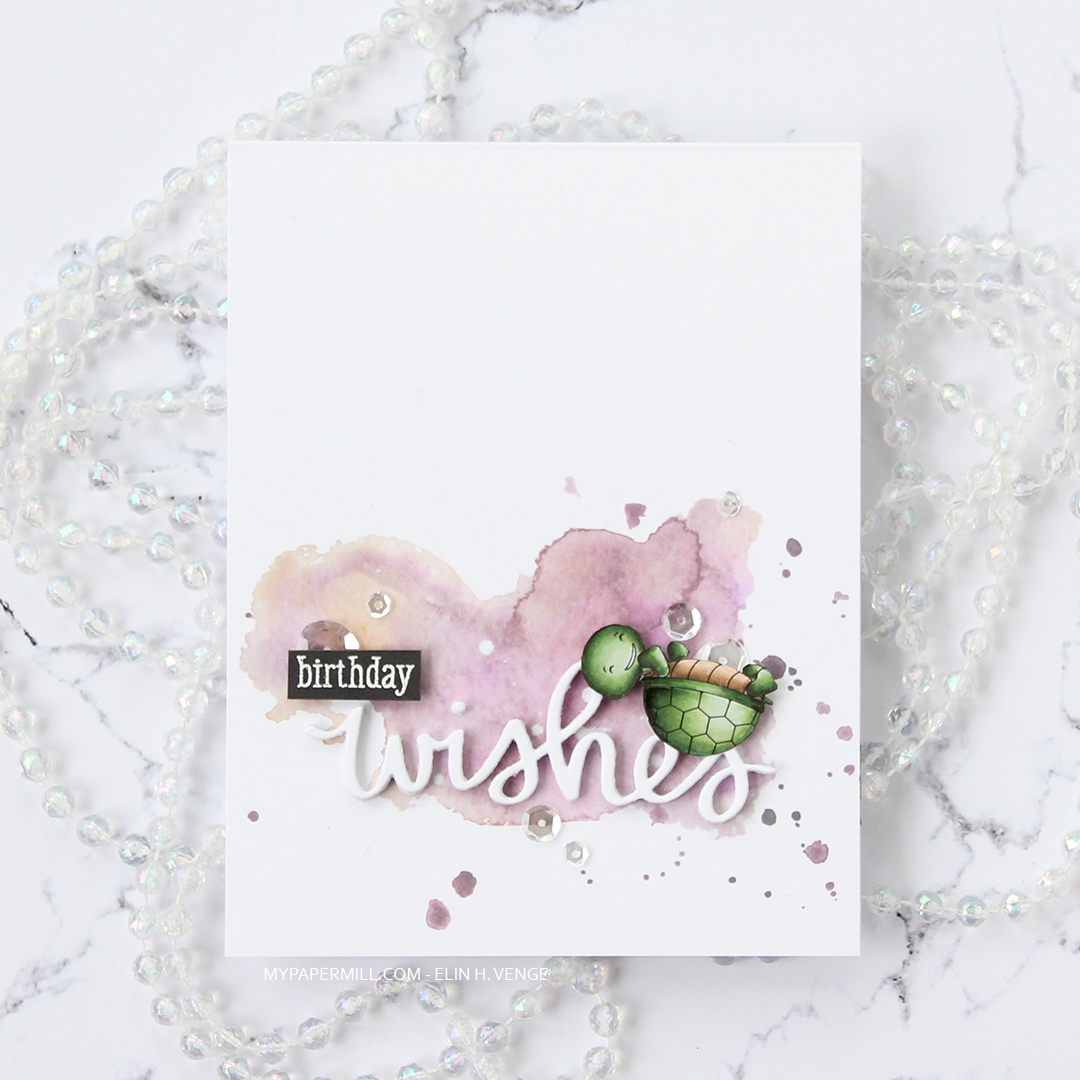
 I had trouble deciding whether to make a card for a baby girl or for a baby boy, so I decided to go somewhat neutral with a combo of yellow and green. I colored the image with my Copics, added a clear coat of glitter on the green areas using a Wink of Stella glitter brush.
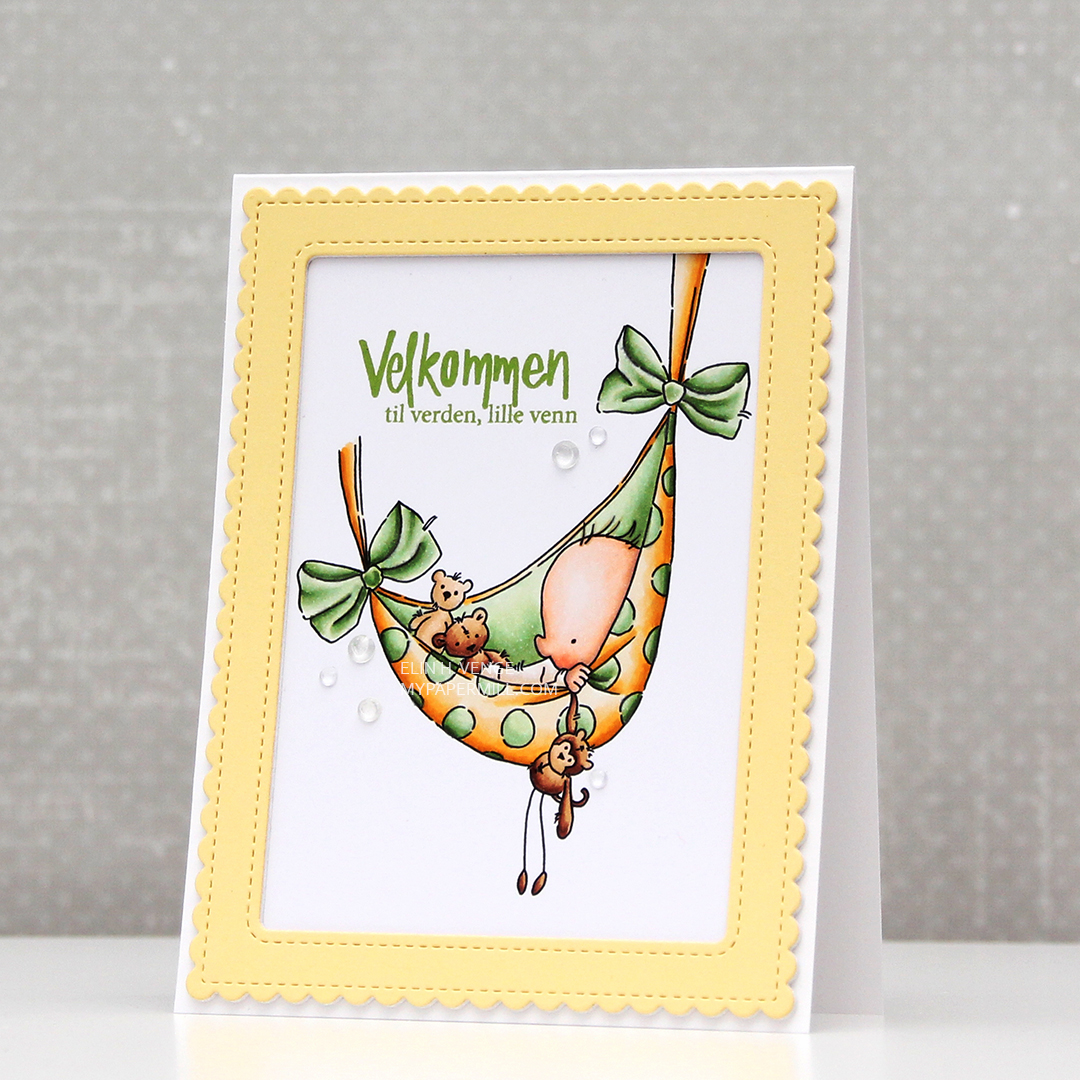 I stamped a sentiment from Norsk Stempelblad AS using Fresh Leaf ink from Altenew, and decided to even add some clear crystals of various sizes from the Crystal Collection from Little Things from Lucy’s Cards.
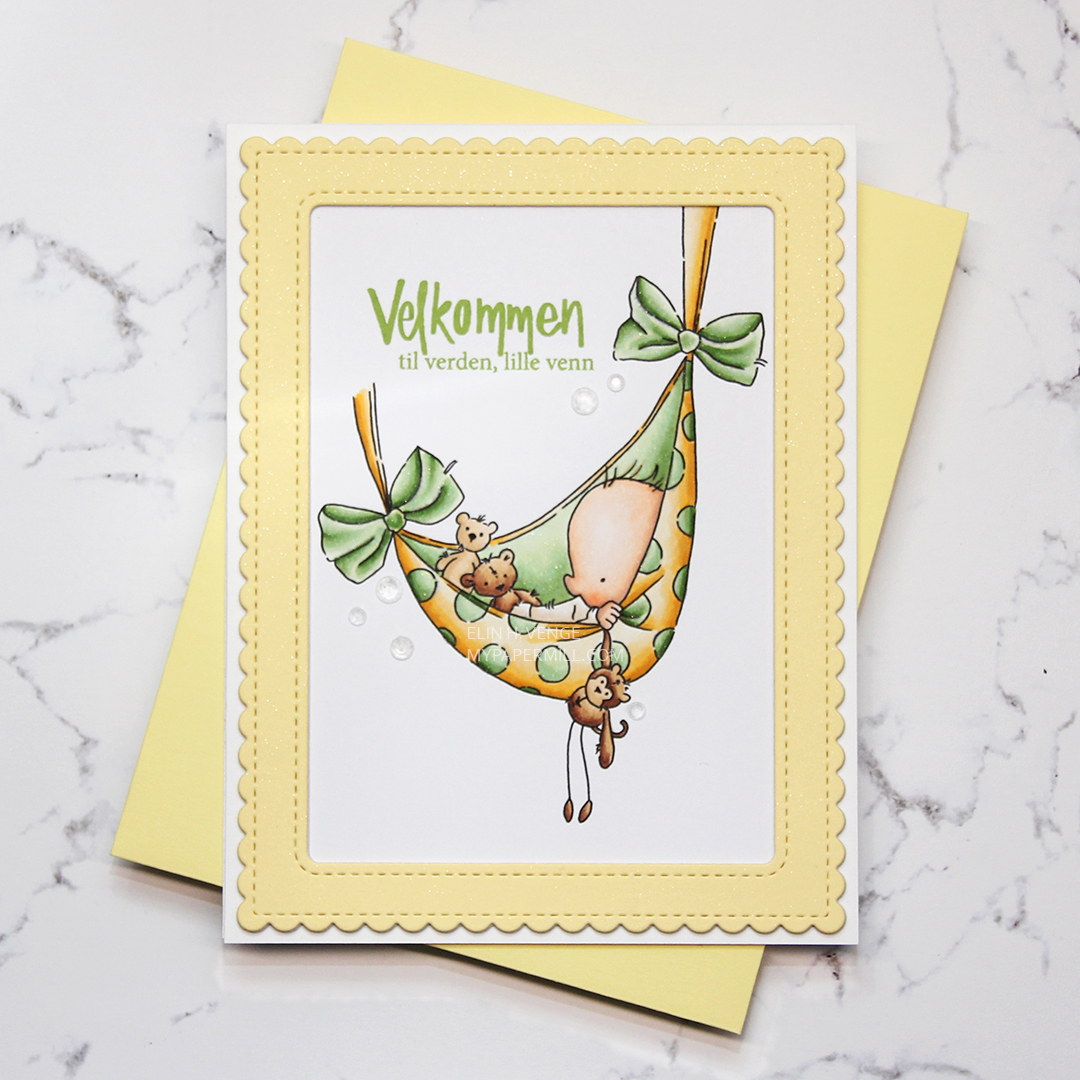 I used a frame die from Mama Elephant and die cut 3 frames; two from white card stock and one from Lemon Tart card stock from Papertrey Ink, which is a very nice soft yellow. I glued all three frames together for a stacked look and spritzed the frame with a sheer shimmer spray from Imagine, before adhering the frame onto the colored piece, and then onto a white card base. I paired it with a Lemon Chiffon envelope from My Favorite Things. It’s not a perfect match, but it’s close enough.
 I colored the penguins with Copics and used the coordinating die to die cut this cute little waddle for the front of my card.
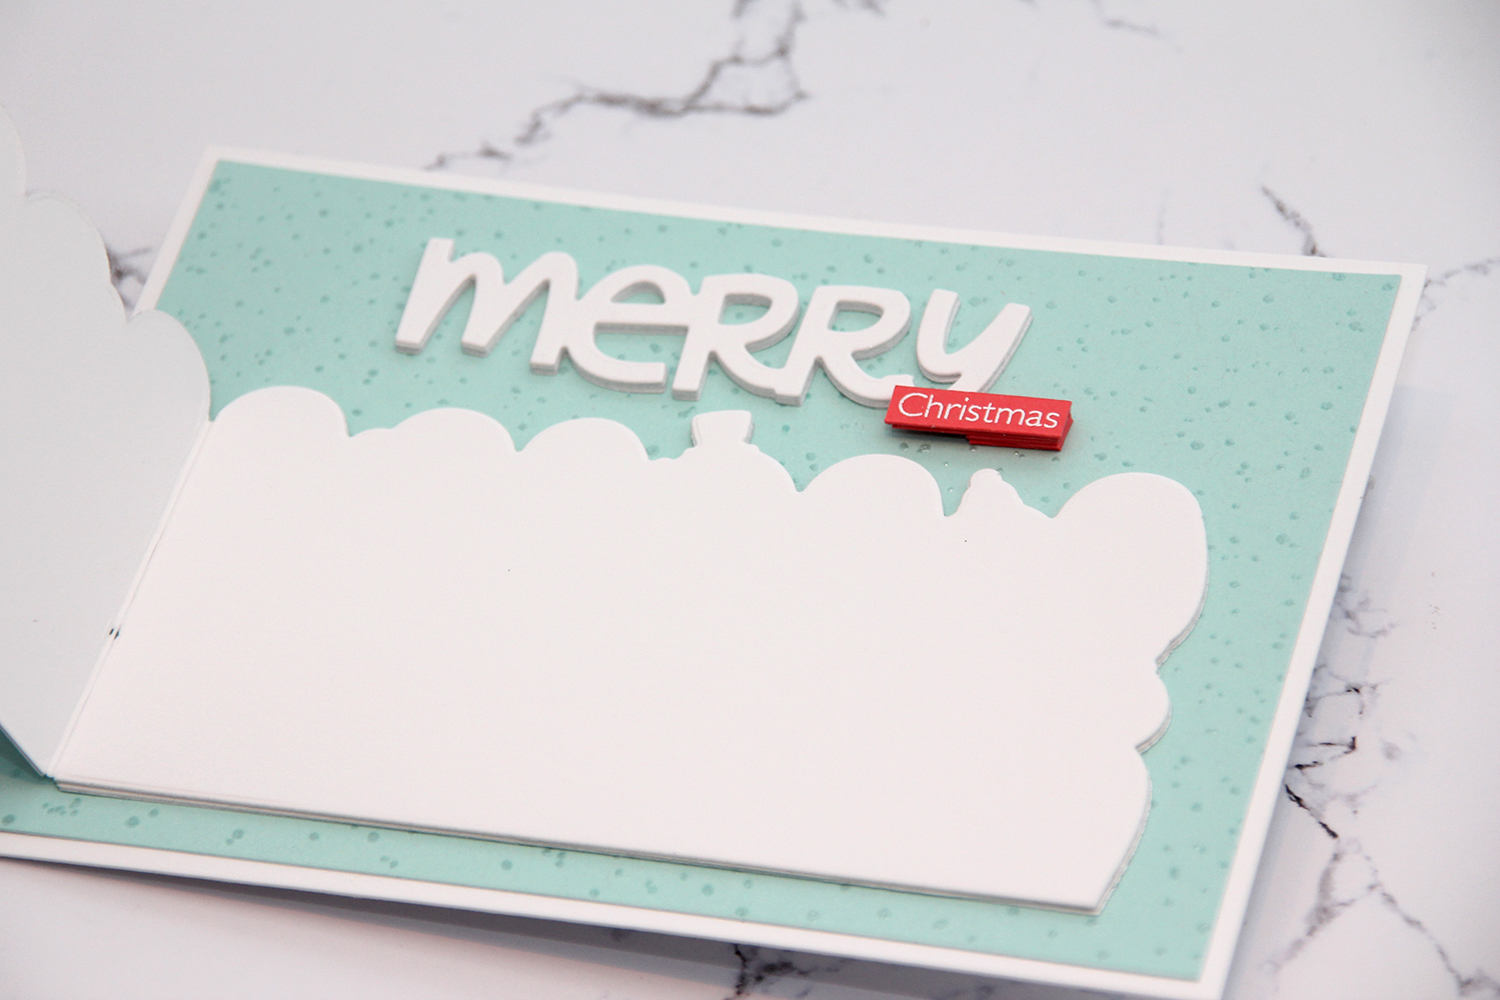 The waddle of penguins actually opens up so you can write a personal message on the inside, and there’s a few more die cuts under there for dimension and a little bit of stability.
 I glued my penguins to a panel made from Aqua Mist card stock from Papertrey Ink. I used the Paint Splatter background stamp from My Favorite Things with VersaMark ink, poured White Satin Pearl embossing powder from Hero Arts on top and heat embossed it. I know the stamp is supposed to be paint splatter, but I think it looks like snow, which makes the stamp even more versatile, and it’s a great way to add some subtle interest to a background. I added the Aqua Mist panel onto a slightly larger panel of Stamper’s Select White cardstock from Papertrey Ink.
 The Penguin’s Waddle die set comes with a big word die “Oh so merry”. I die cut it several times from white cardstock, cut the “oh so” away to use just merry on my card and spritzed some sparkly sheer shimmer spray on top, which you can kind of see in this photo if you look closely. I stamped and white heat embossed the word Christmas from the Christmas Cheer stamp set from My Favorite Things onto Berry Sorbet cardstock from Papertrey Ink, then used my Cut-align ruler from Misti to make sure I’d cut the little strip straight. In this photo you can also see the shine in the penguins’ eyes. I added a little bit of black glaze pen to the eyes, and also a little bit of clear Wink of Stella to certain elements.
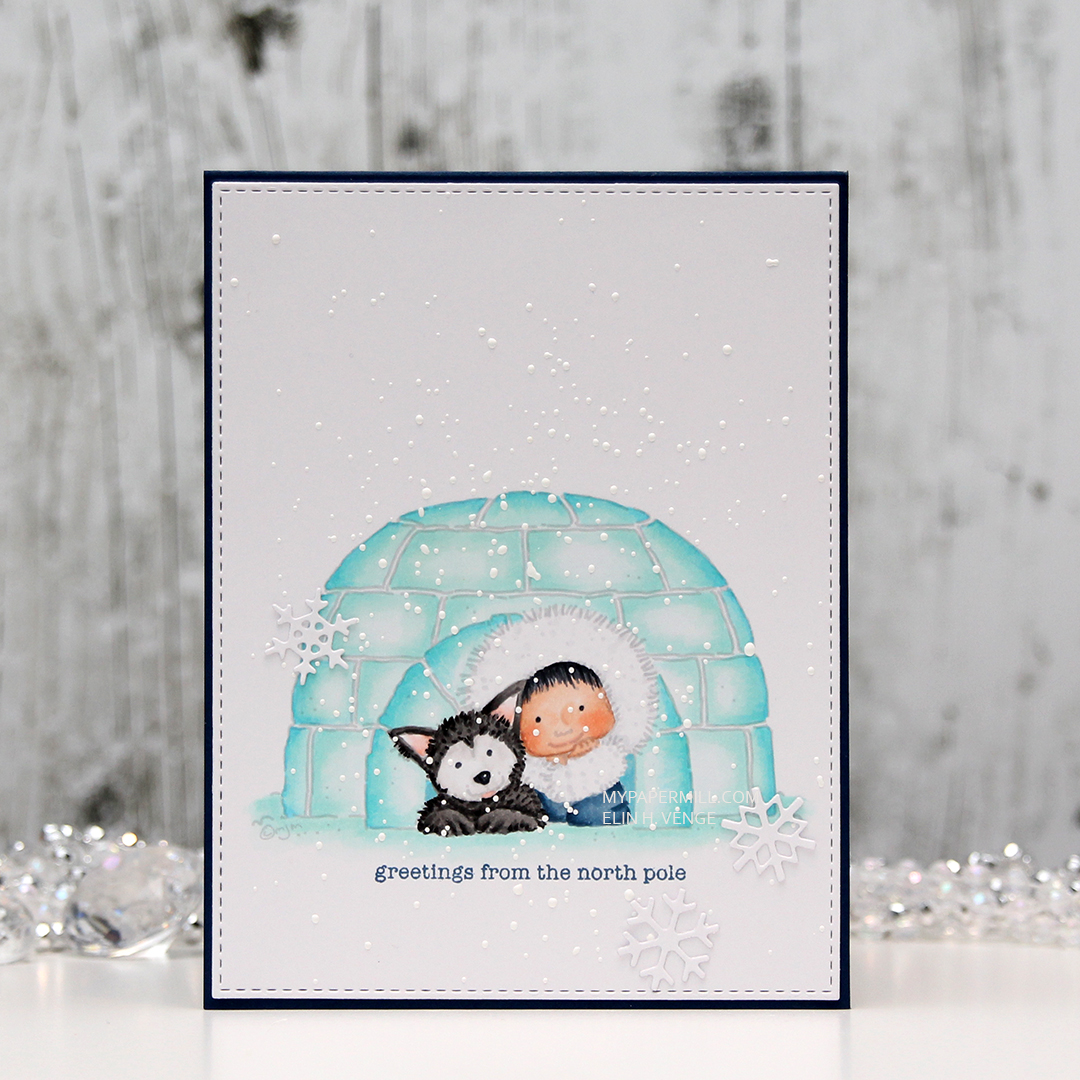 I used Anyu and Nanook Igloo for my card today. They’re part of the
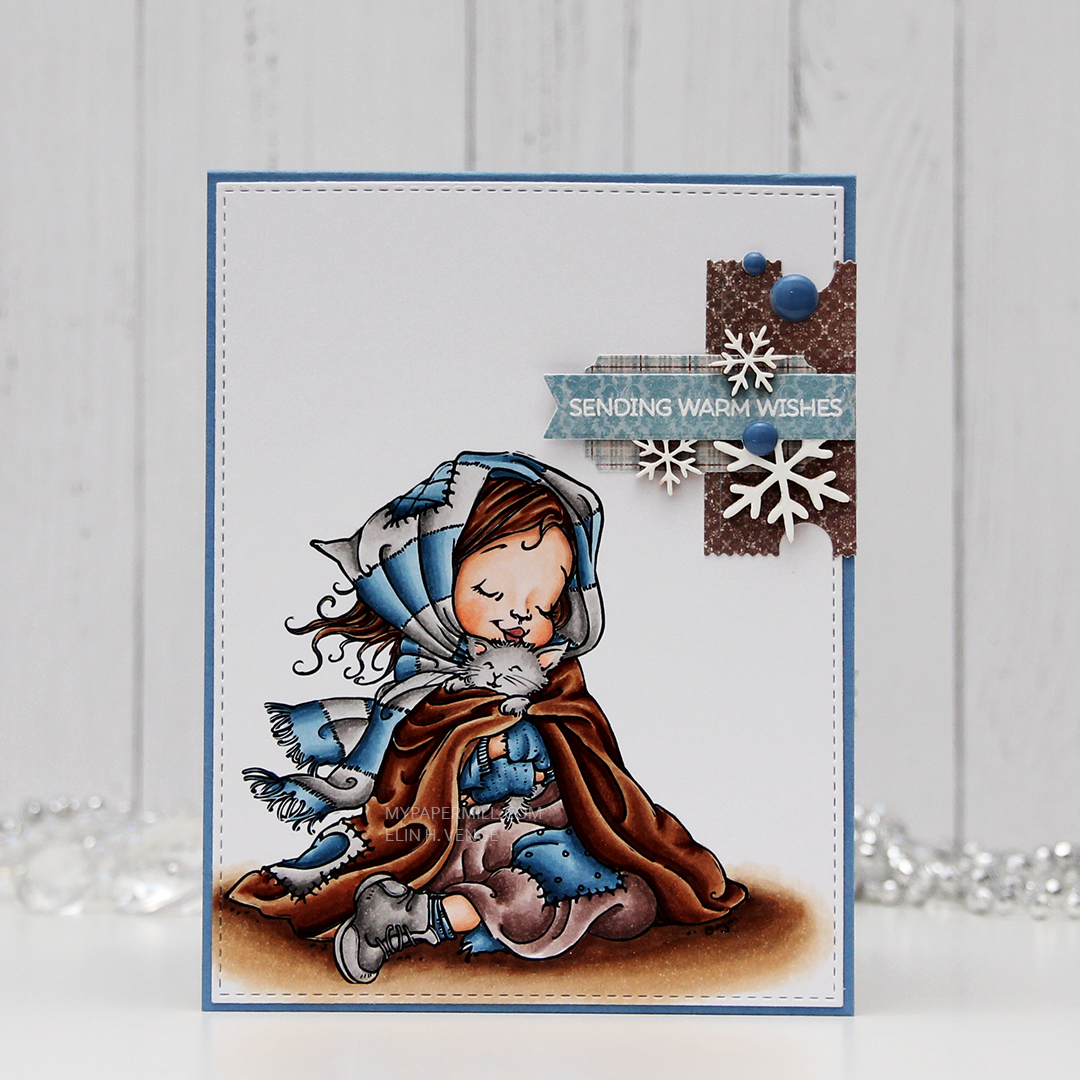
 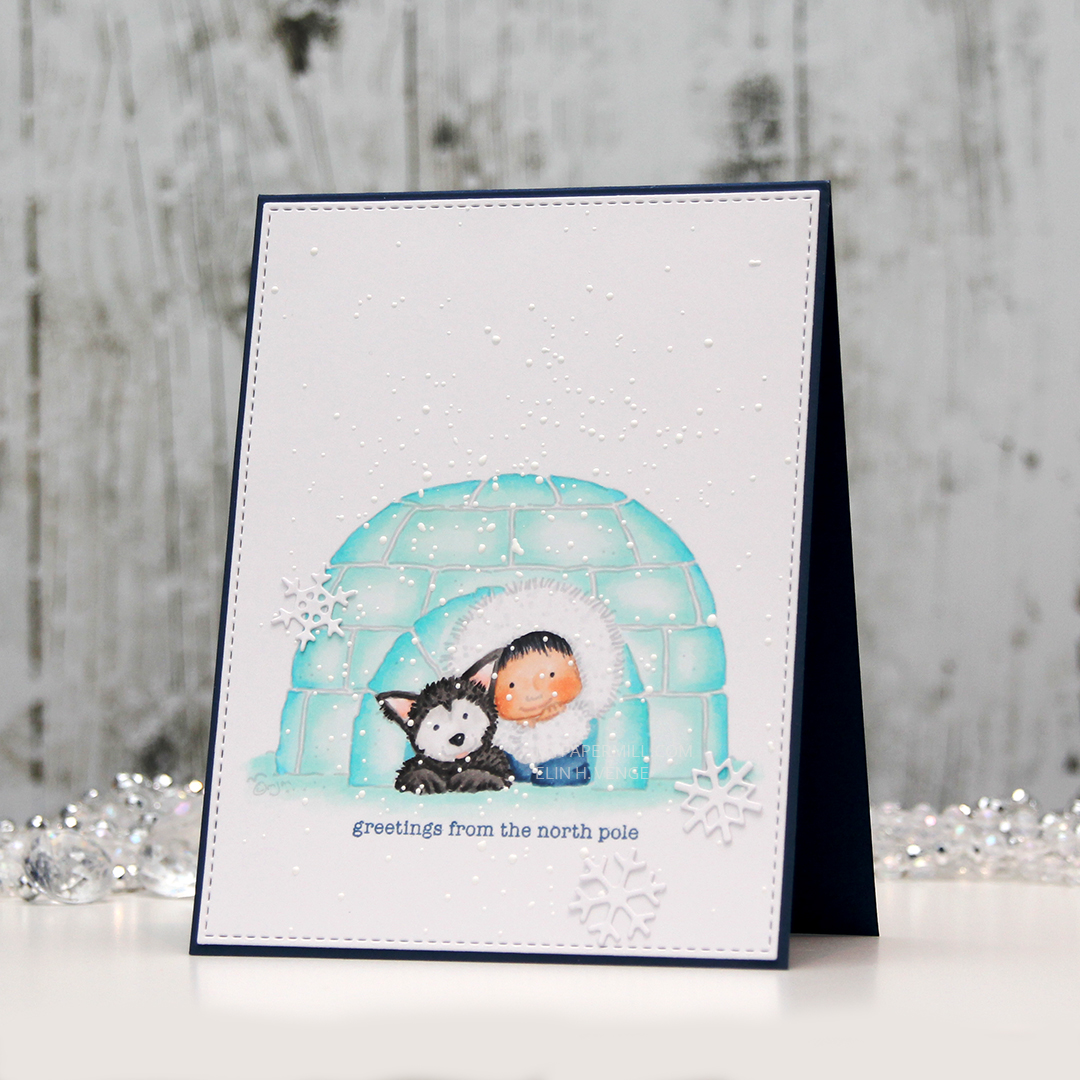 I used my trusty faux stitch rectangle die from My Favorite Things to turn my colored piece into a panel before stamping the perfect sentiment from Mama Elephant’s Holiday Messages stamp set using Enchanted Evening ink. I wanted to pick up the blue from the little girl’s coat, and this is such a pretty blue. I sprinkled on chunky white embossing powder and heated the panel from the back to create my snowy look, before adhering my panel onto a cardbase I made from After Midnight cardstock from My Favorite Things. I added a few snowflakes that I diecut using an old Marianne Design die that I absolutely love, and my card was finished.
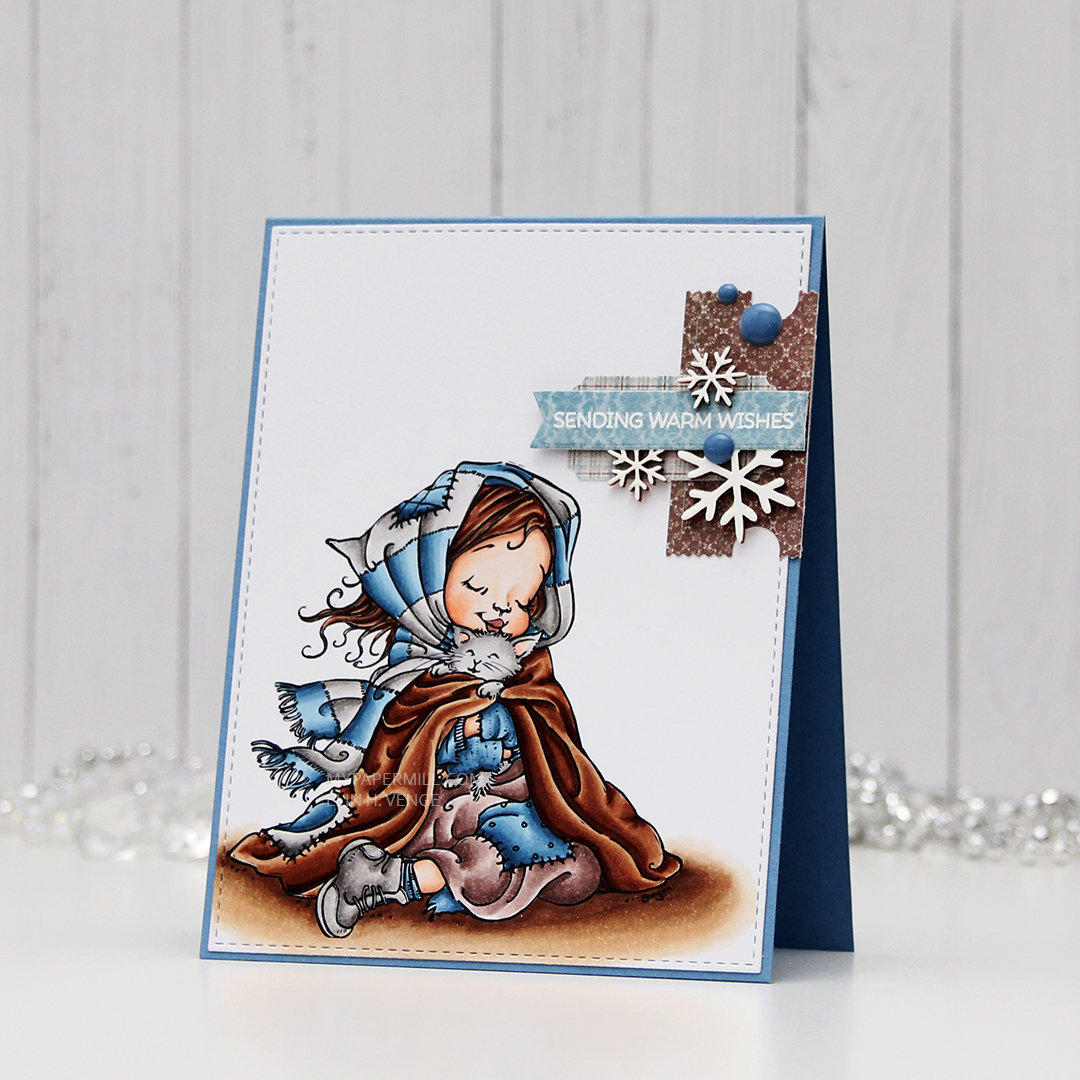
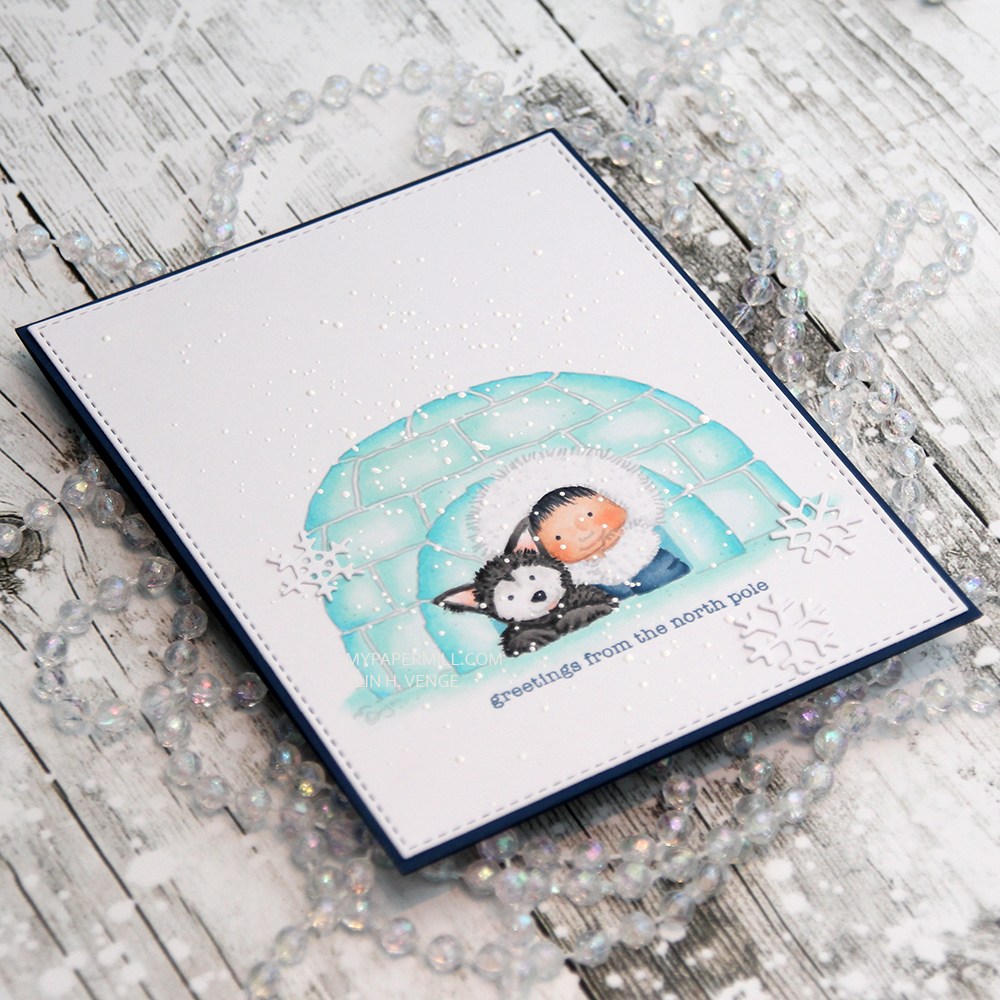 Here you can see the effect of the chunky white embossing enamel. It’s nice and thick and adds a bit of texture to the card, it kind of feels like braille when you touch it, it’s really cool, not to mention quicker than drawing on snowflakes with a white pen, also with the added bonus of it being more random than you’re able to achieve on your own.
 No surprise that I used mostly cool tones for this card, except for the skin colors and the ears and tongue of the dog.
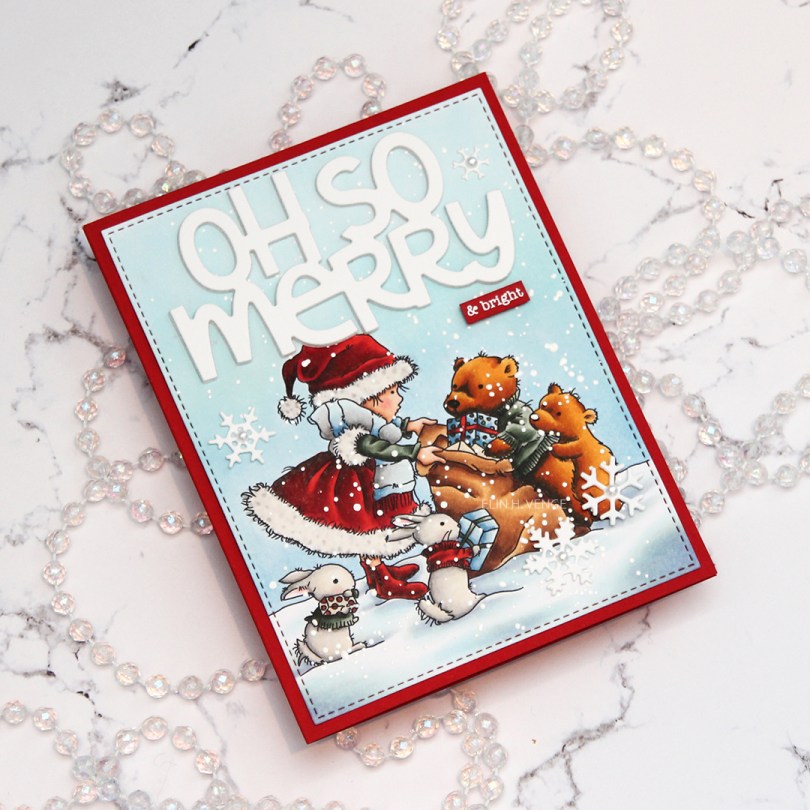
 For today’s card, I used the image “
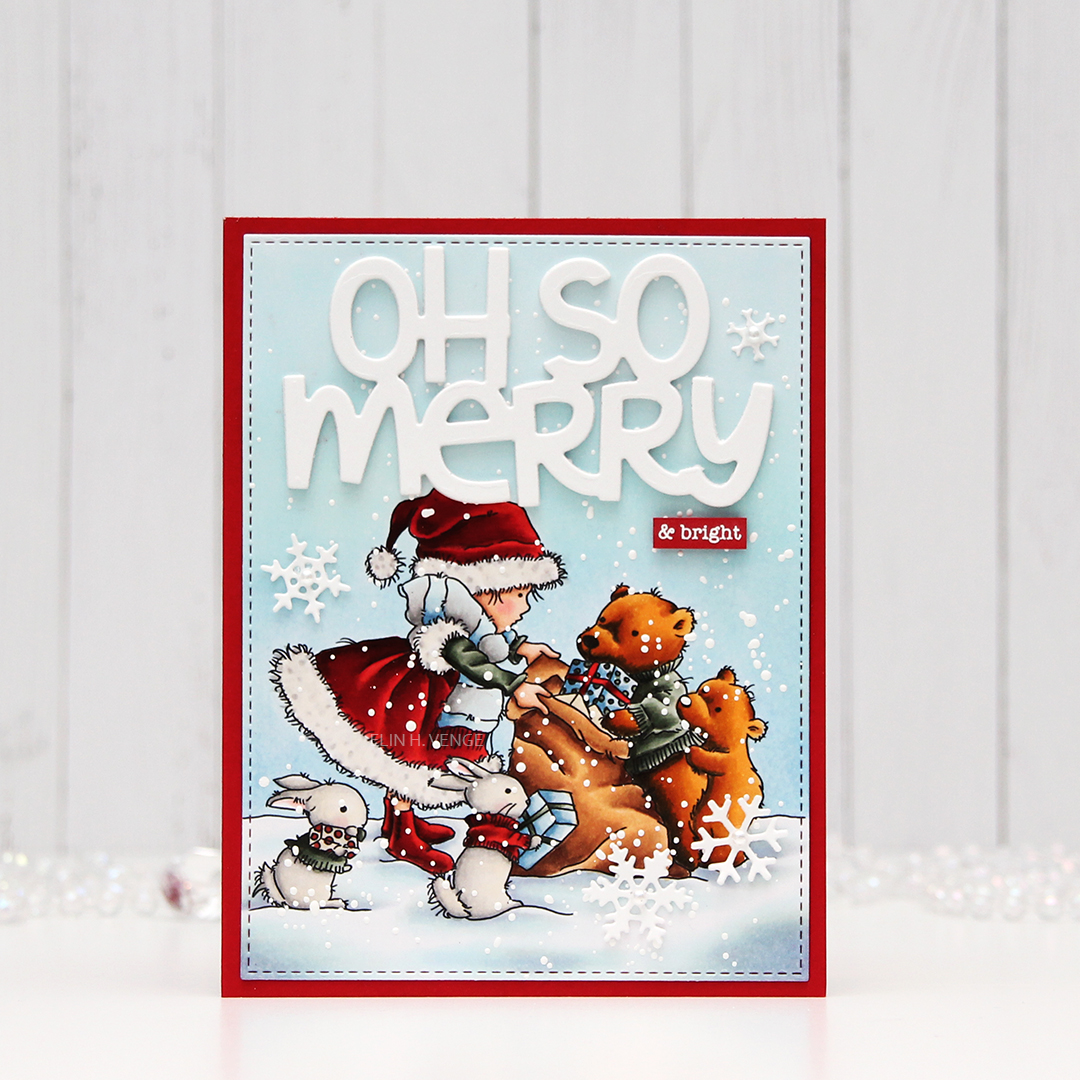
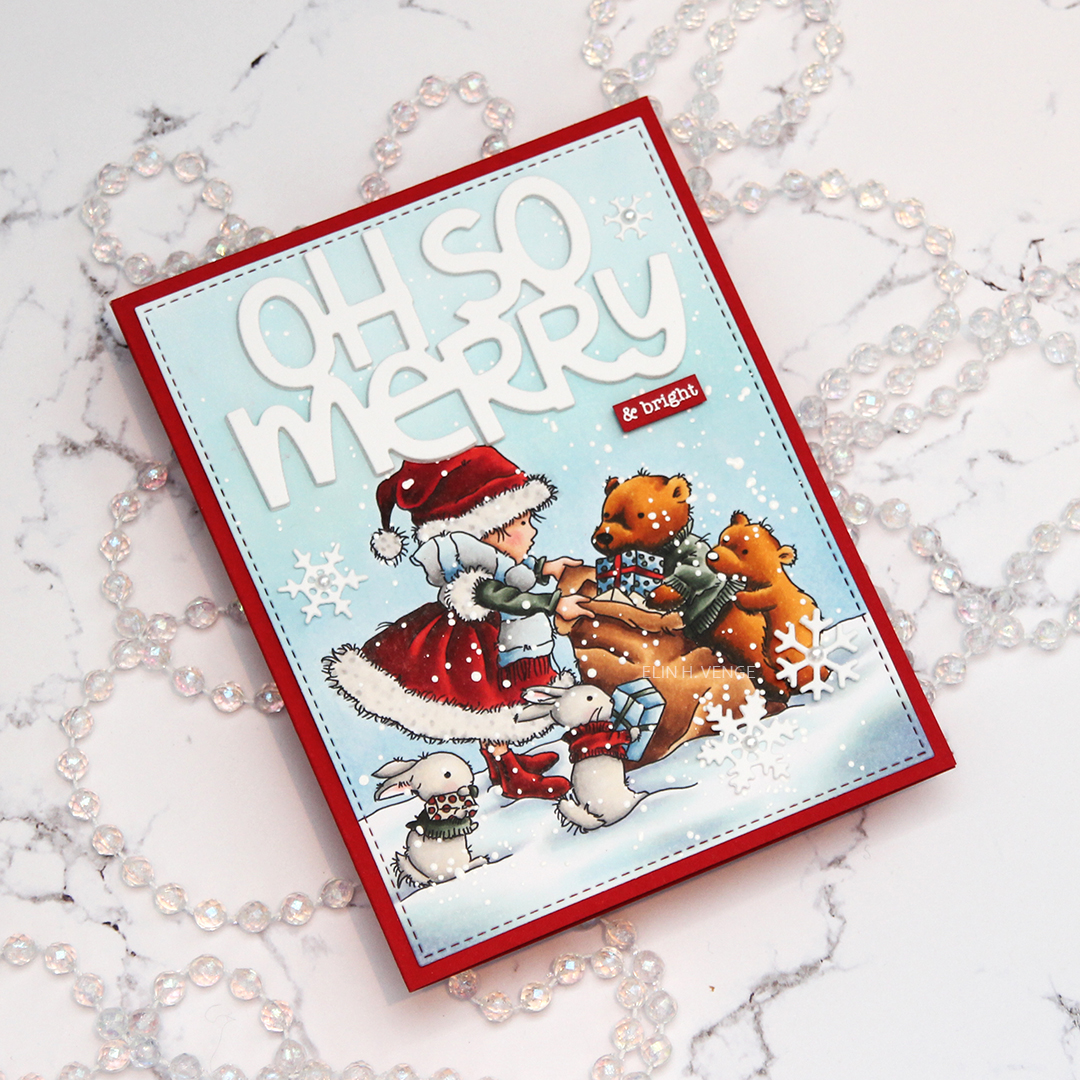 I die cut the words oh so merry from the Penguin’s Waddle die set from Mama Elephant a few times from white cardstock and stacked them for a dimensional look. I added chunky white embossing enamel to my scene, glued my panel onto a card base made from Pure Poppy cardstock from Papertrey Ink and glued my diecut words in the sky. I stamped and white heat embossed “& bright” from the Holiday messages stamp set from Mama Elephant onto a scrap of the same red cardstock and glued that below my diecut words. I added a few diecut snowflakes with pearls in the centers as my finishing touch.
 Lots and lots of marker, many of them used on the snow, believe it or not.
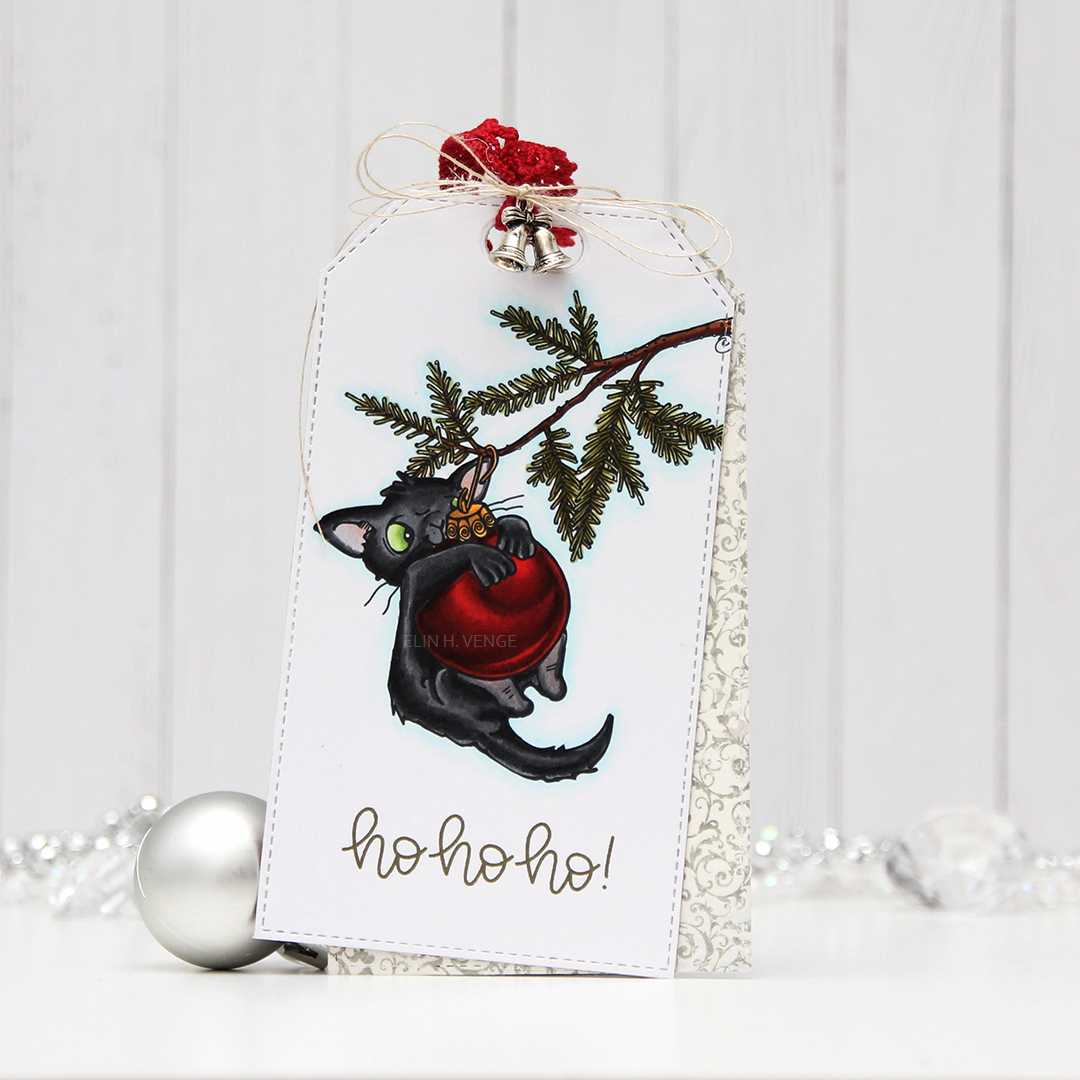 I colored up the cute
 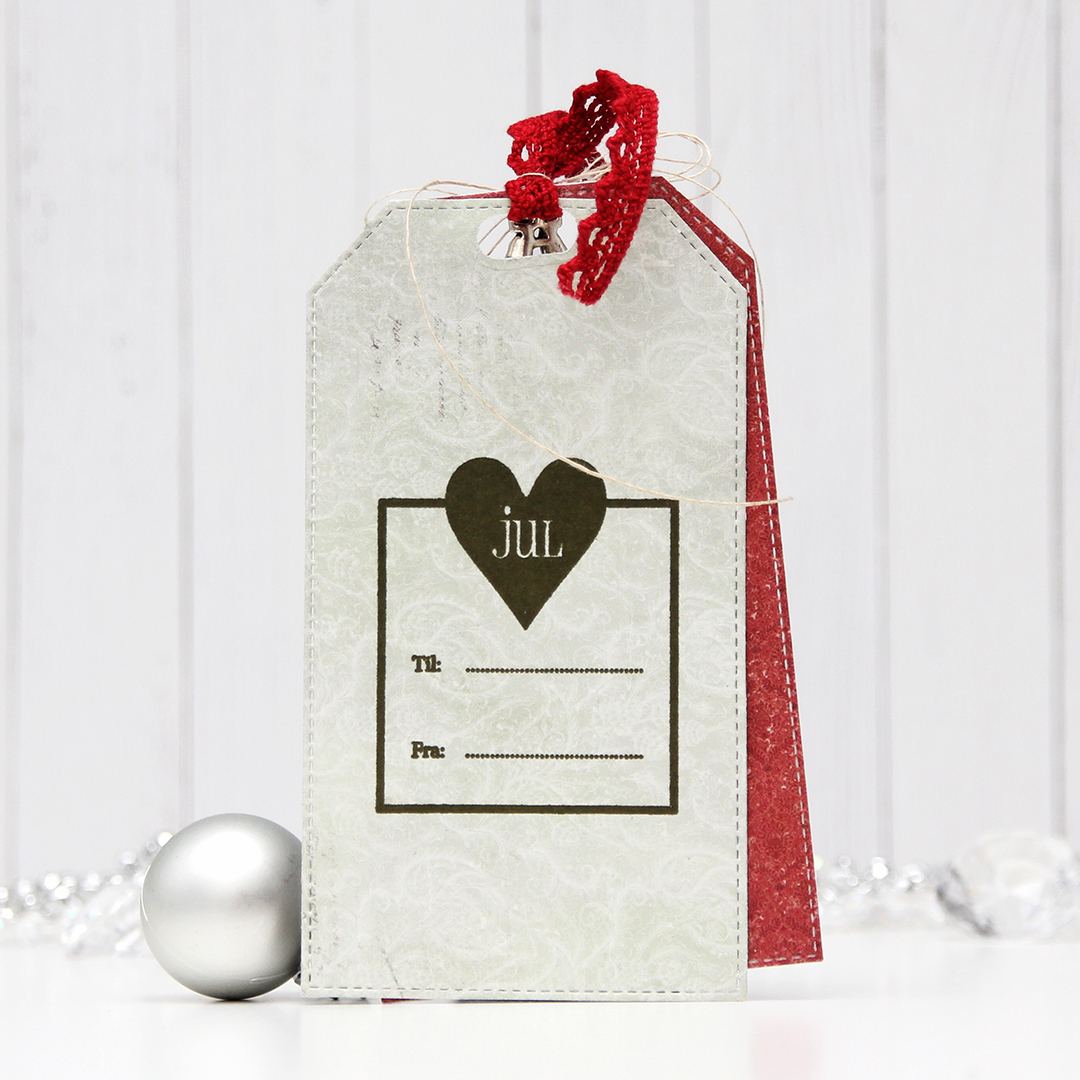 I die cut the tag an additional two times, once in a red patterned paper that I glued on the back of my colored piece, and once in a green patterned paper that I offset and glued on the back for a little interest. I stamped the standard To/From (this particular stamp is from Norsk Stempelblad AS) on the green patterned paper using Olive Twist ink from Papertrey Ink.
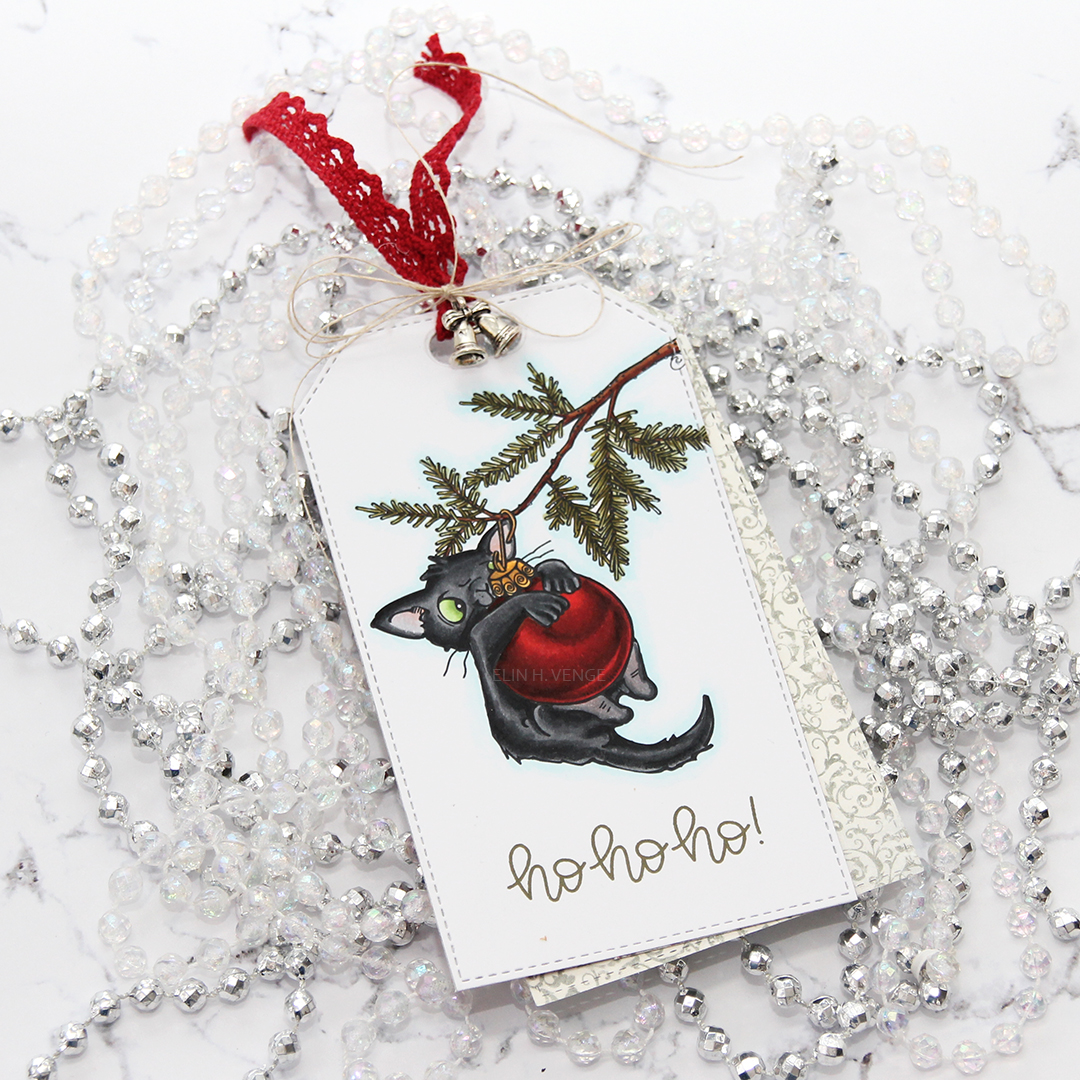 Underneath the kitten I stamped ho ho ho from the Scripty Xmas stamp set from Mama Elephant, using that same Olive Twist color ink. I added a bit of red lacey ribbon to the hole on the top of the tag, tied a bow around it using a very fine thread that I think is meant for warping looms, it used to be my grandmother’s. I added a little bell charm to the bow, I thought it was a nice finishing touch.
 Not a whole lot of colors used for this one, but the image isn’t very big either.
 I felt like I really needed to add a photo of the kitten in the tree. She was very content up there.