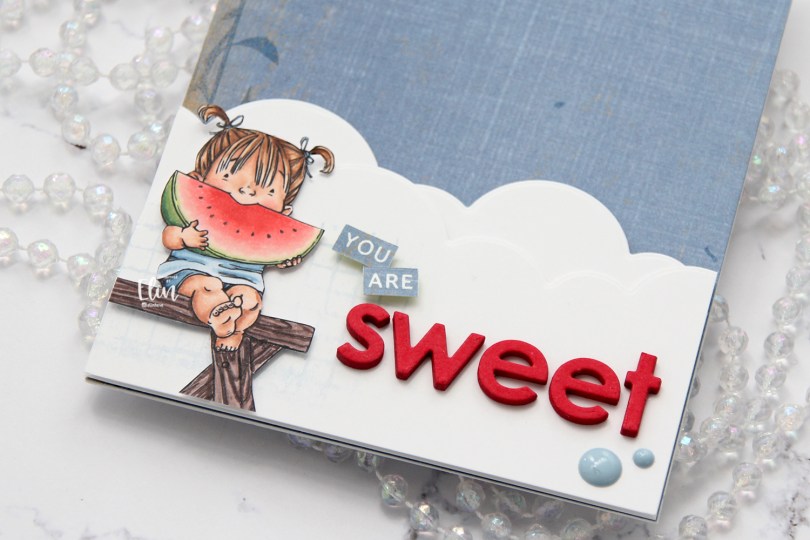
Hi! Today I have a sweet card (pun intended) to share featuring one of the kids from the 3 on a bench stamp set from Mo Manning. There are two options in the store: you can by the merged stamp with 3 kids sitting on a bench or opt for the separated version, which has the bench and each of the kids as 4 separate image files. I used the latter for my card today, and chose to use just the girl eating the watermelon and the bench.

I colored the girl with my Copics and fussy cut her. I put her to the side while I worked on the rest of my card.
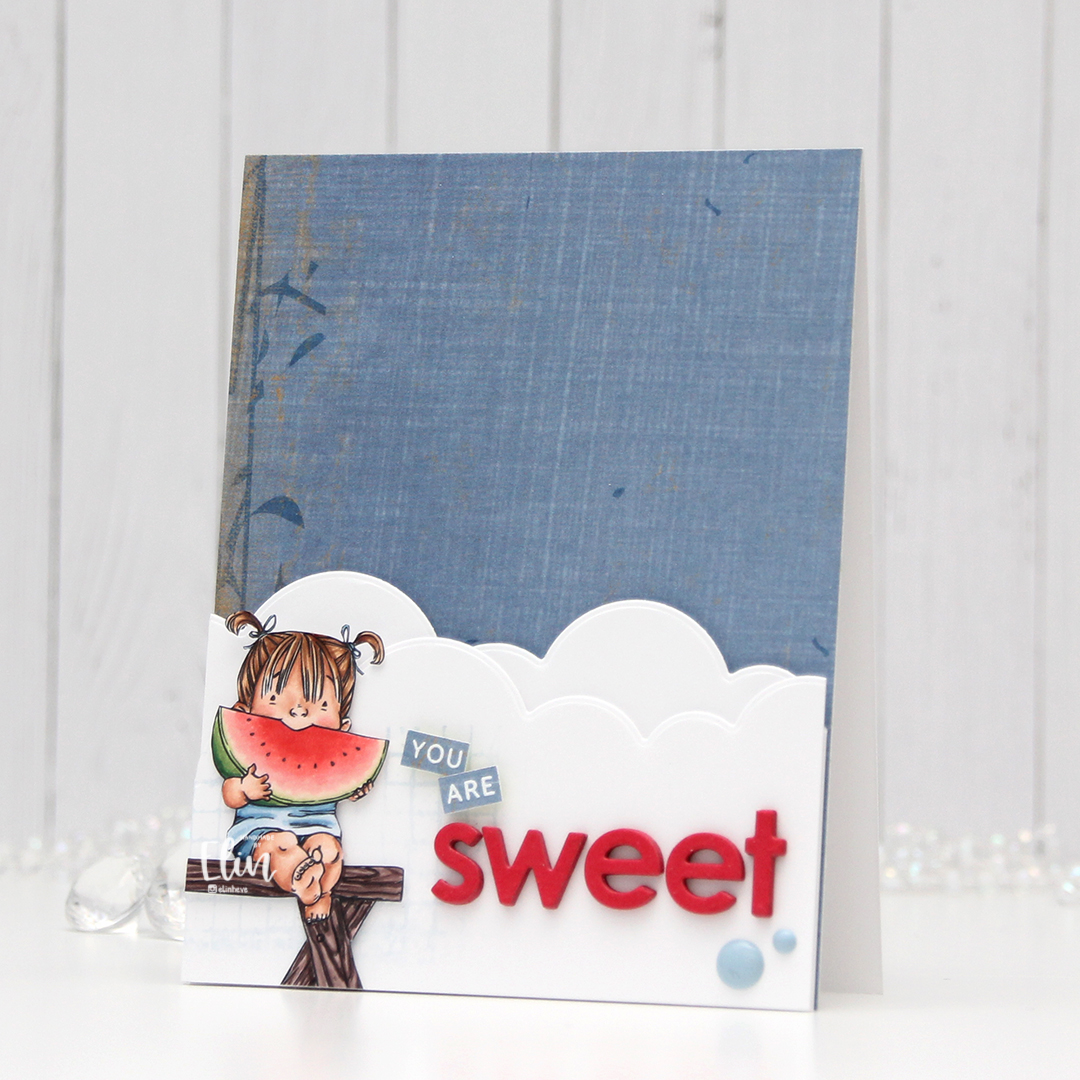
I wanted to repeat the blue from the image in my card, and found a scrap of Fancy Pants patterned paper that was already cut down to fit the front of an A2 card. It’s a beautiful blue, and it has a little bit more interest to it than card stock, without distracting too much from the image.

I used the cloud die in the slim card basics die set from Mama Elephant to create my clouds. The die was long enough that I only had to die cut it once, and cut my finished cloud border into two pieces that are both 4 1/4″ wide. I mounted them to the bottom of my card with 1 mm foam squares for both layers, creating a little bit of depth and dimension in my card, and also an anchor point for the remaining elements. I even stamped part of a background stamp from Tim Holtz on the left half using Spring Rain ink from Papertrey Ink, which is a very light blue ink. Again, it adds a little interest to the background without being too distracting.

I put 1 mm foam squares on the back of the little girl and adhered her near the left edge of my card. I think she’s so cute with that big slice of watermelon!

I used the Parker alphabet die set from Memory Box to die cut the letters to spell “sweet” six times from Red Hot heavyweight card stock from My Favorite Things. I glued them together for a stacked look and adhered the word to my cloud. I stamped and white heat embossed the words “you are” from the Courageous You stamp set from Altenew on a scrap piece of that blue patterned paper, cut the words apart and adhered them to the card using clear foam tape from KoolTak. Those little word strips are so small, I thought clear would be best. I added a couple of light blue enamel dots from Papirdesign to finish.

Not a whole lot of colors used for this one. I also used B90, which is a color I’ve made myself.


 I colored up the boy version of
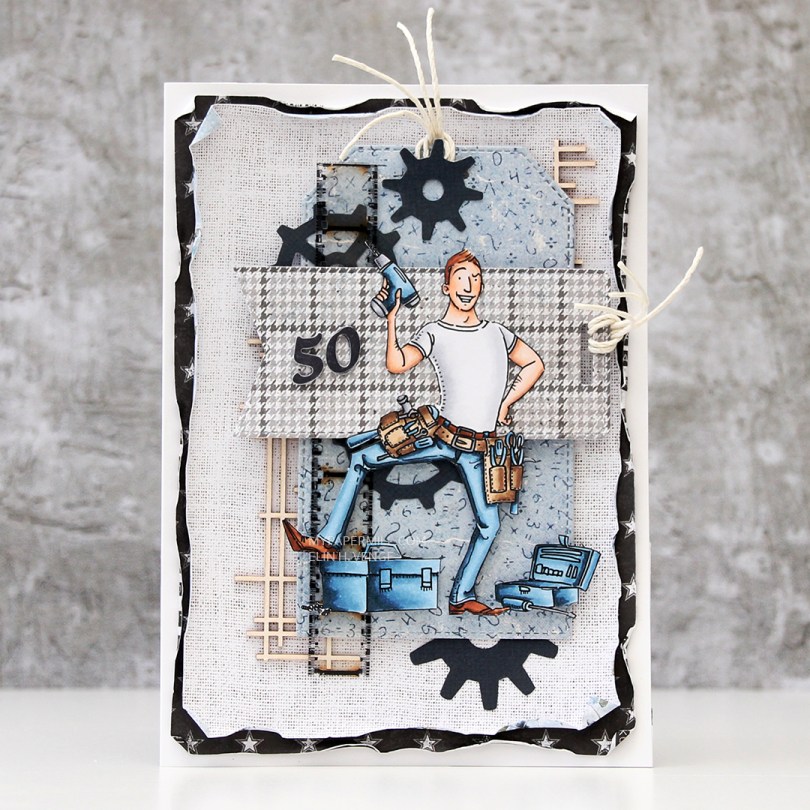
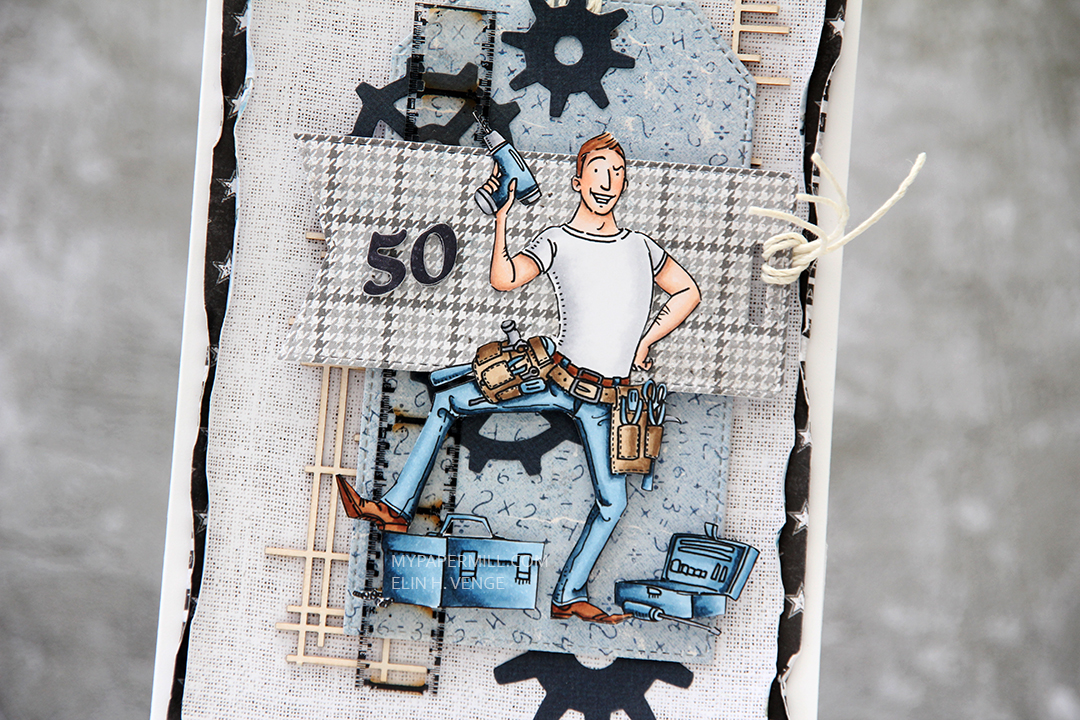
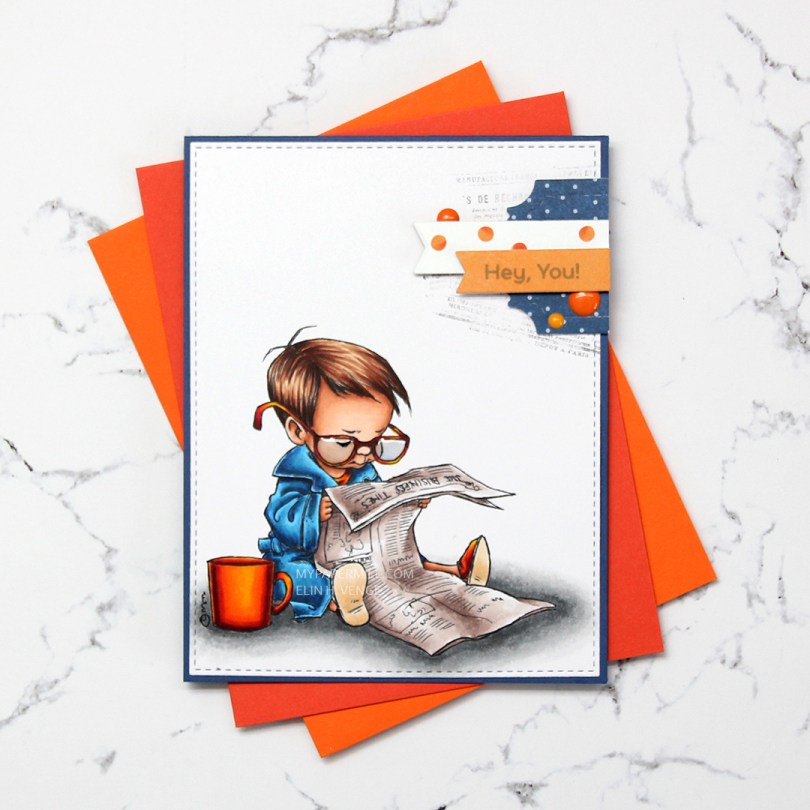
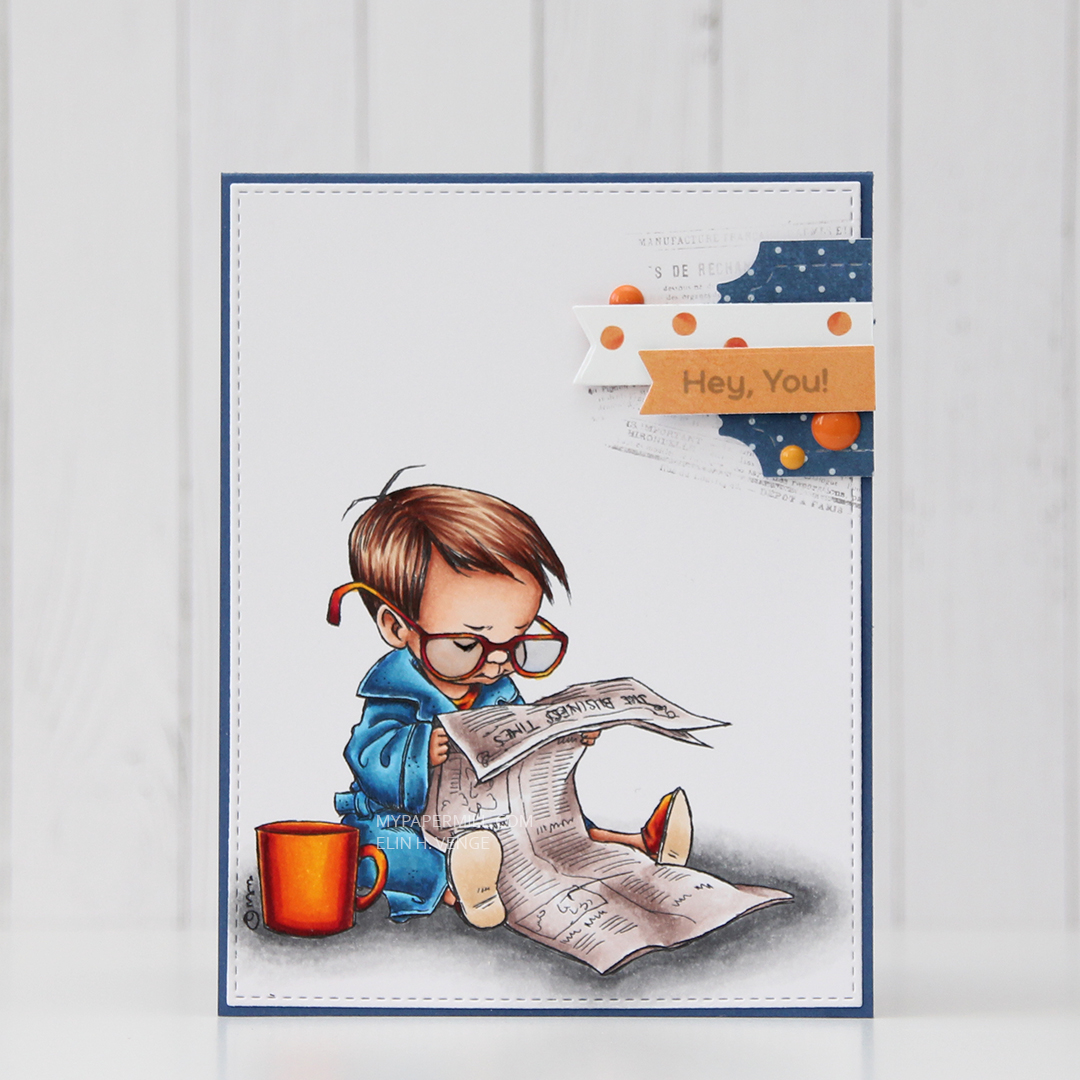
 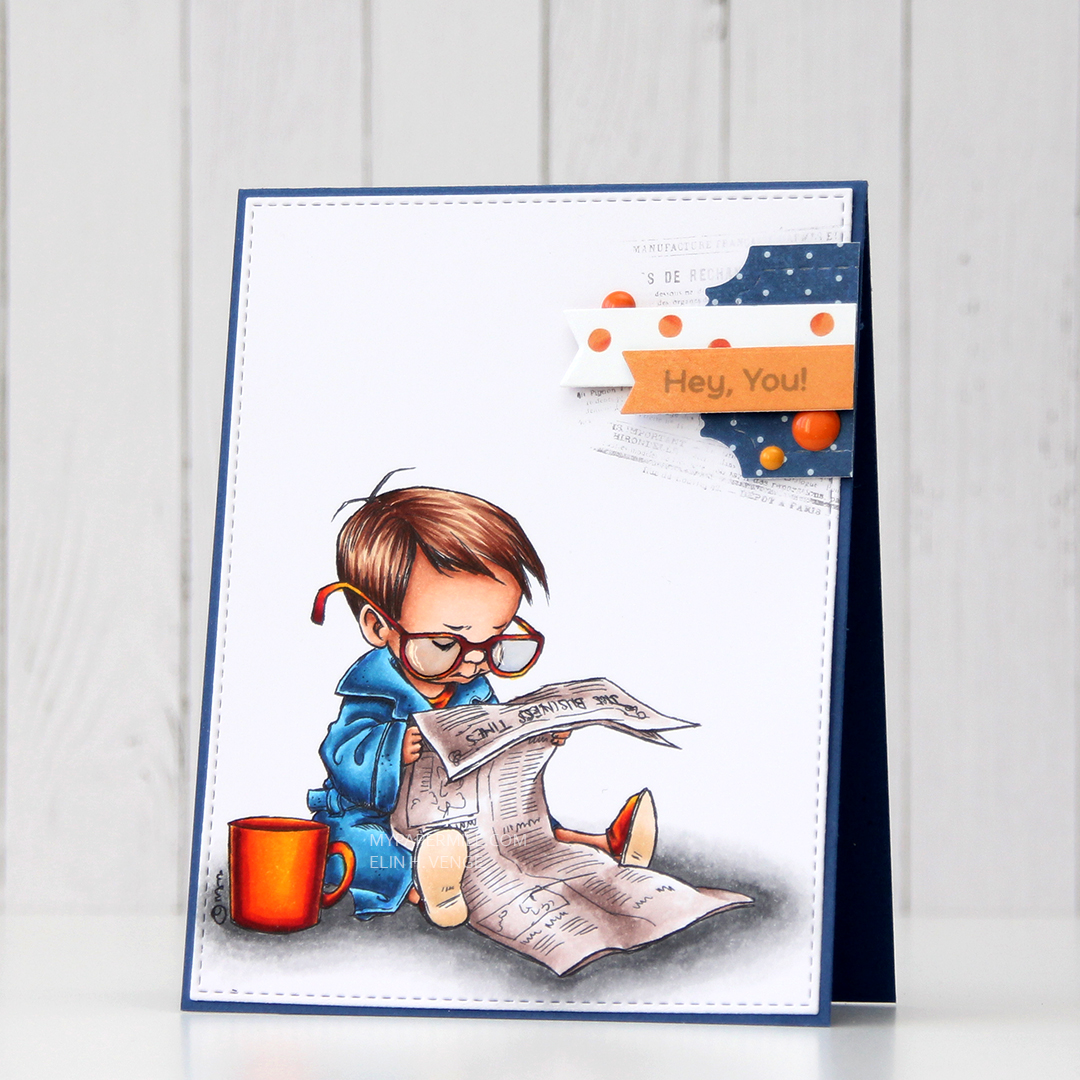 Near the top right corner, I randomly stamped part of an old background stamp from Tim Holtz and Stampers Anonymous. I thought the small text on the stamp would pair well with the newspaper in the image and stamped pieces of it at an angle with Memento Espresso Truffle ink. I didn’t even put the stamp in my Misti or on an acrylic block, I bunched it in my hand and stamped, giving it less of a rigid feel, since the stamping is uneven. I added my colored and stamped panel onto a card base made from Blueberry card stock from My Favorite Things, and a small cluster on top of my stamping.
 I die cut some patterned paper scraps with a couple of dies from XCut and My Favorite Things to create my cluster. The blue piece is from Papirdesign, the other two from the Happy Birthday collection from P13. I stamped a sentiment from the Bitty Bears stamp set from My Favorite Things onto the orange banner using Hero Arts Soft Granite ink. I finished off with three enamel dots from Papirdesign and added Glossy Accents to the boy’s glasses.
 Not a huge amount of colors. For the soles of his slippers I actually used the two lightest colors that I used for his hair (E31 and 30).
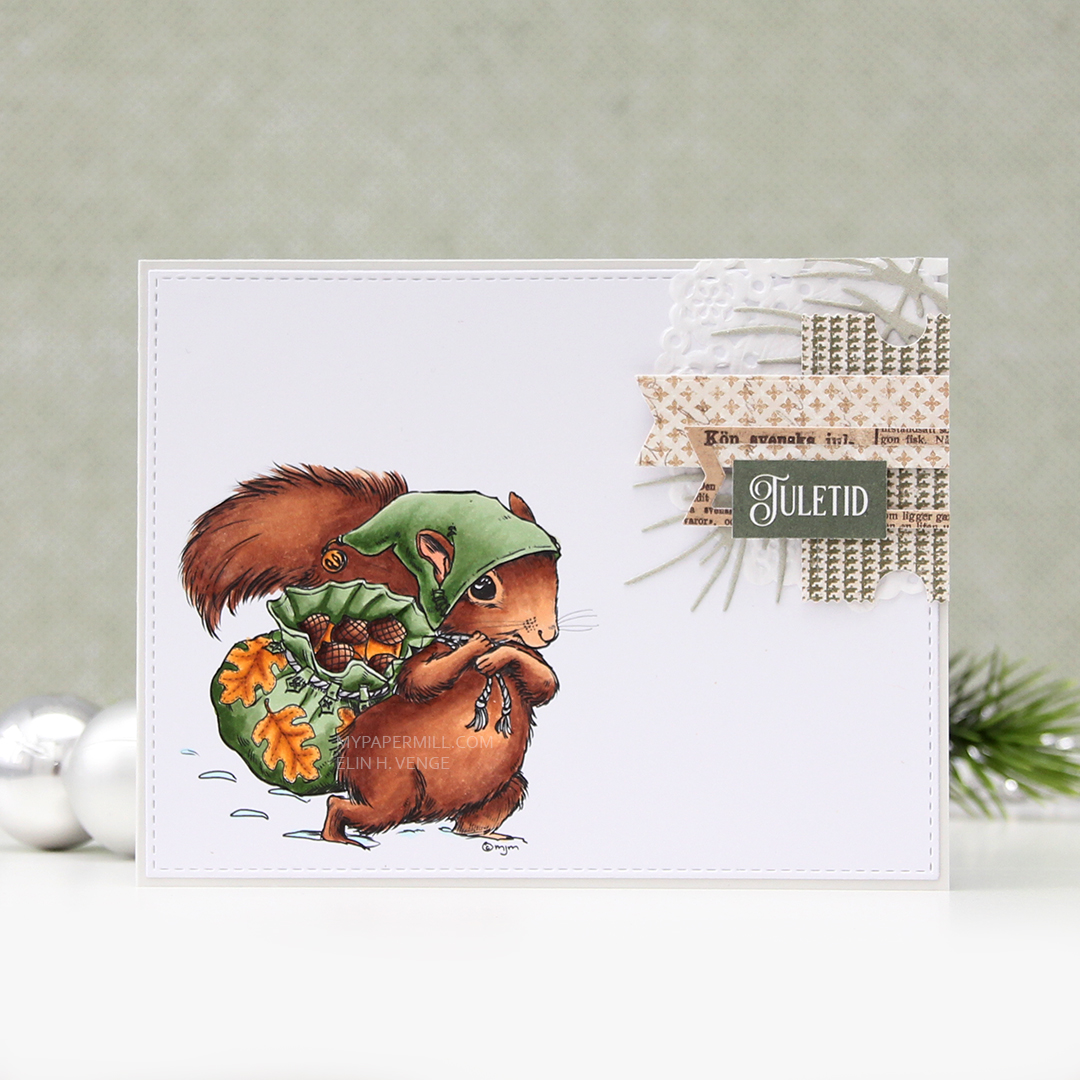
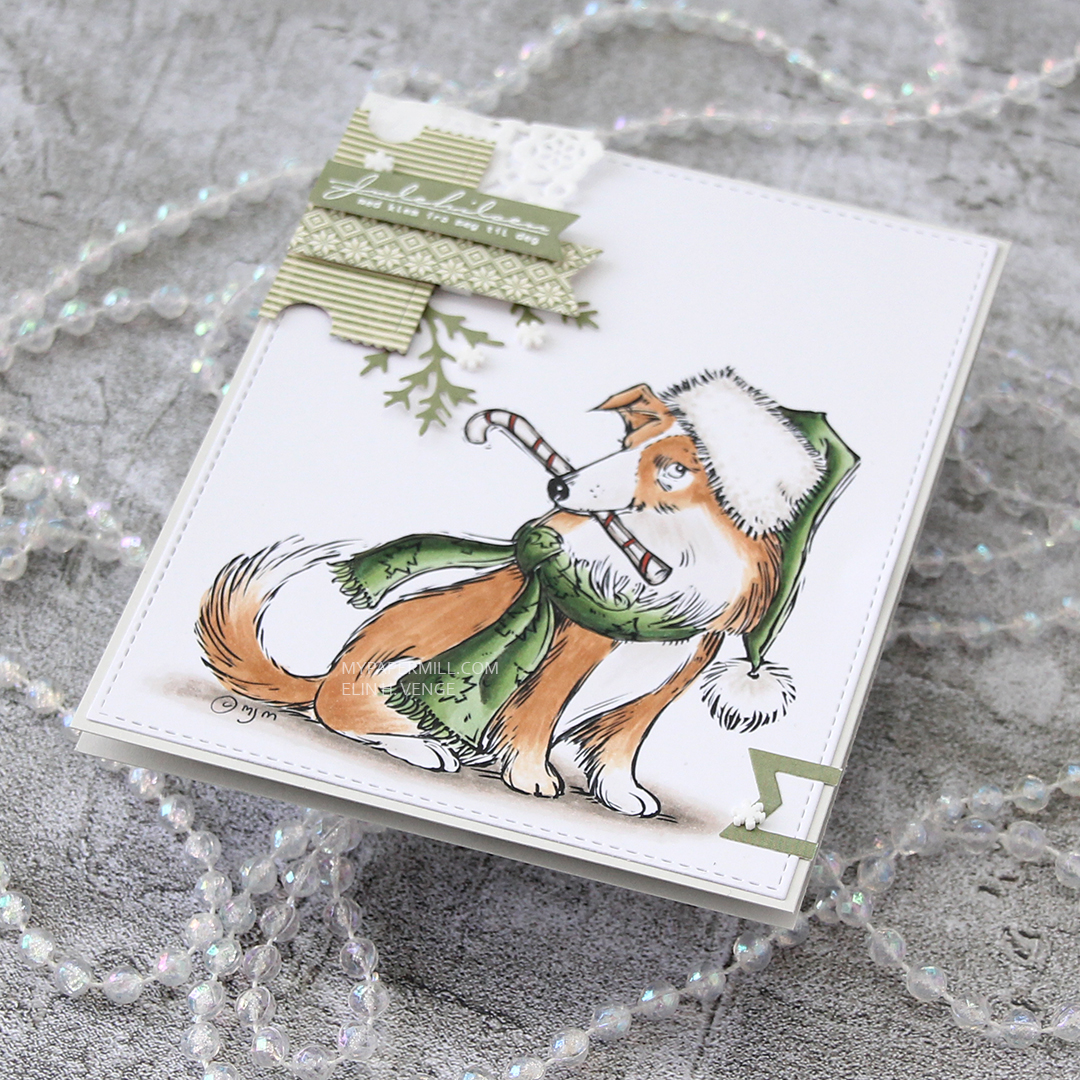
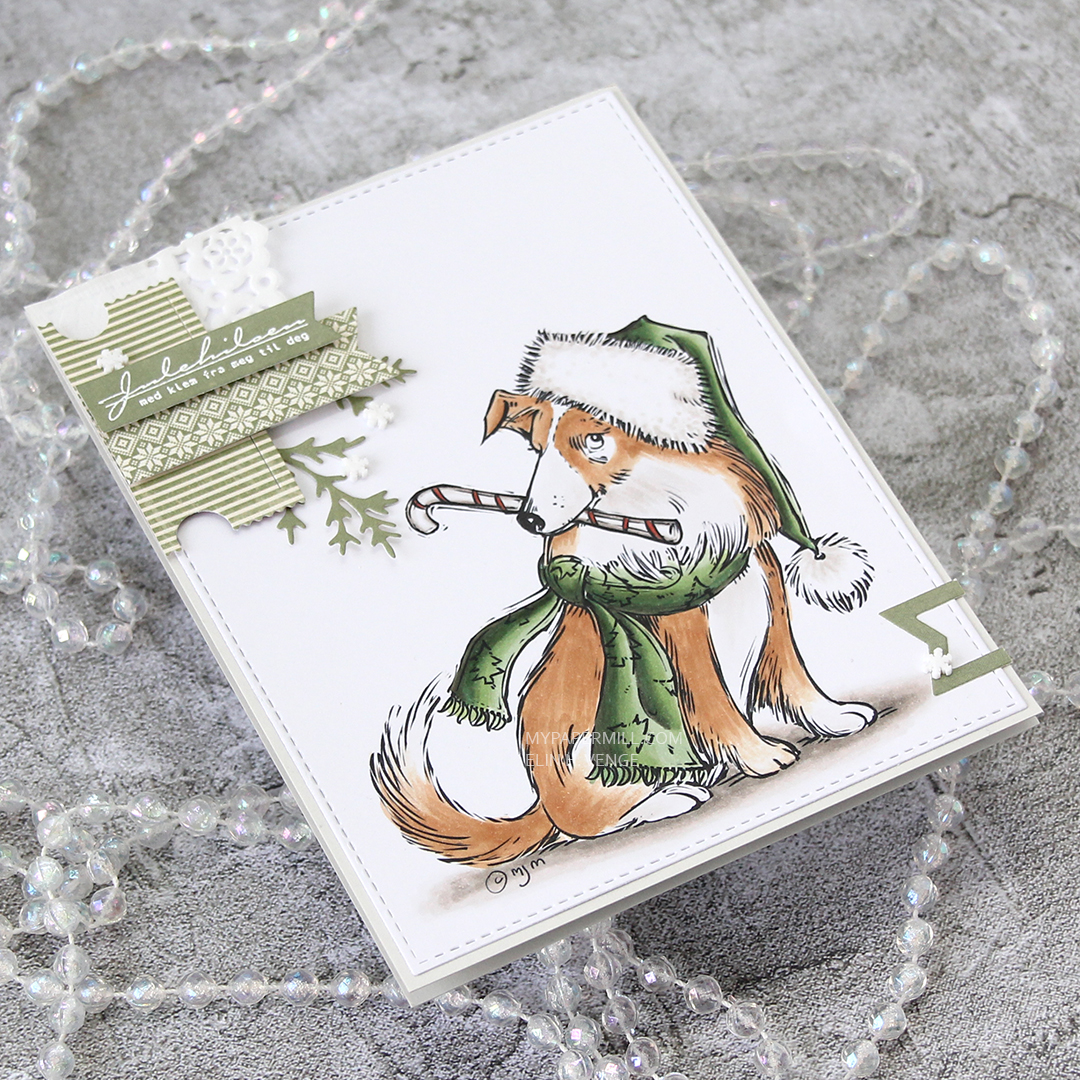
 I colored the image with my Copics, cut the panel down quite a bit and put lots of foam tape on the back. I dug through my patterned paper Christmas scraps and found a blue piece from Papirdesign that was large enough to cover the card front, as well as a couple of smaller pieces from Maja Design.
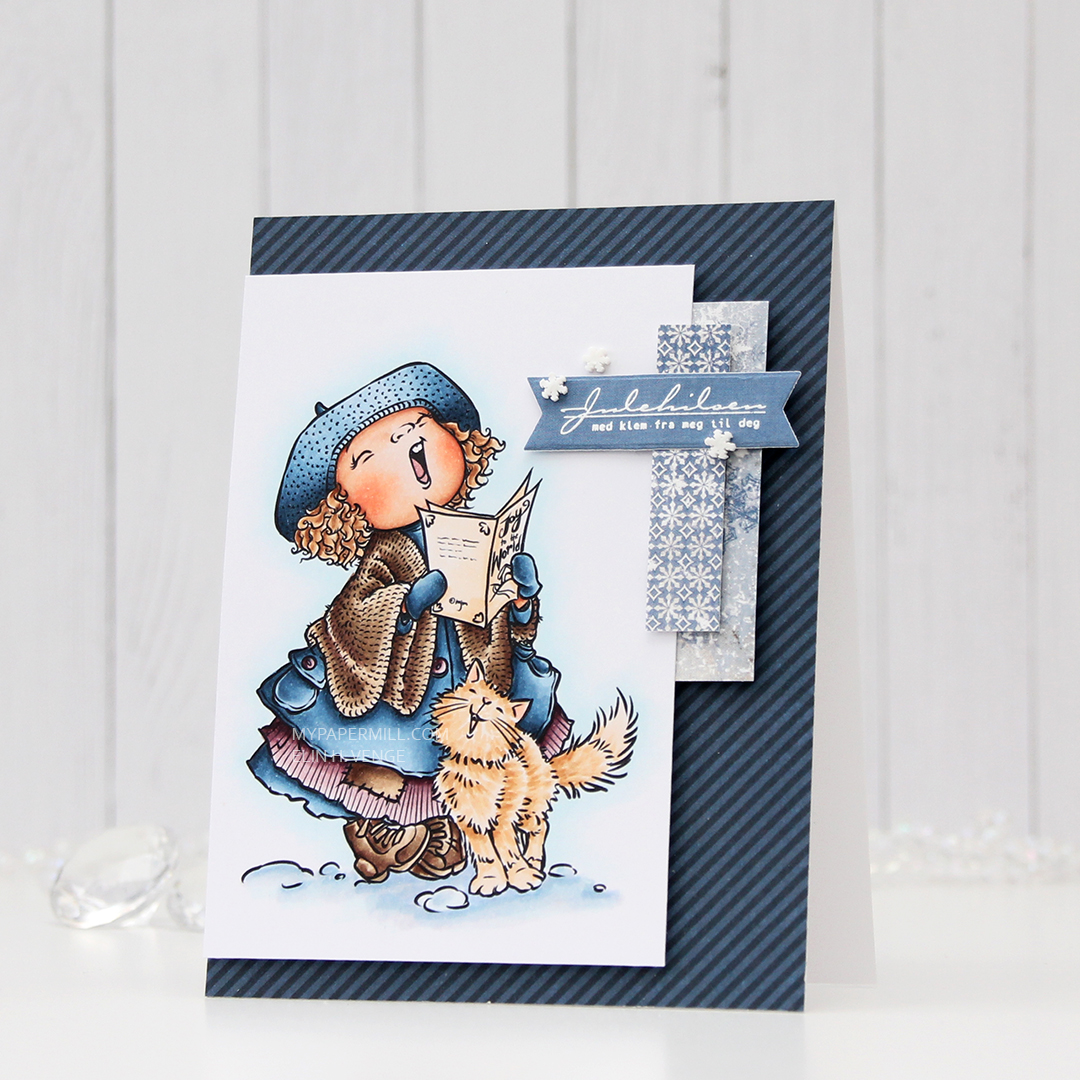 I stamped and white heat embossed a sentiment, before die cutting it with the mid size fishtail flag frame die from My Favorite Things. I added a few snowdrift sprinkles from Little Things from Lucy’s Cards, and my card was all done. Super simple, and one more card in the Christmas 2021 box. Feels good to have the pile grow!
 Nothing too fancy in my coloring today. The combo I used for the cat happens to be nearly identical to the one I used for the girl’s hair, I just omitted the darkest one.
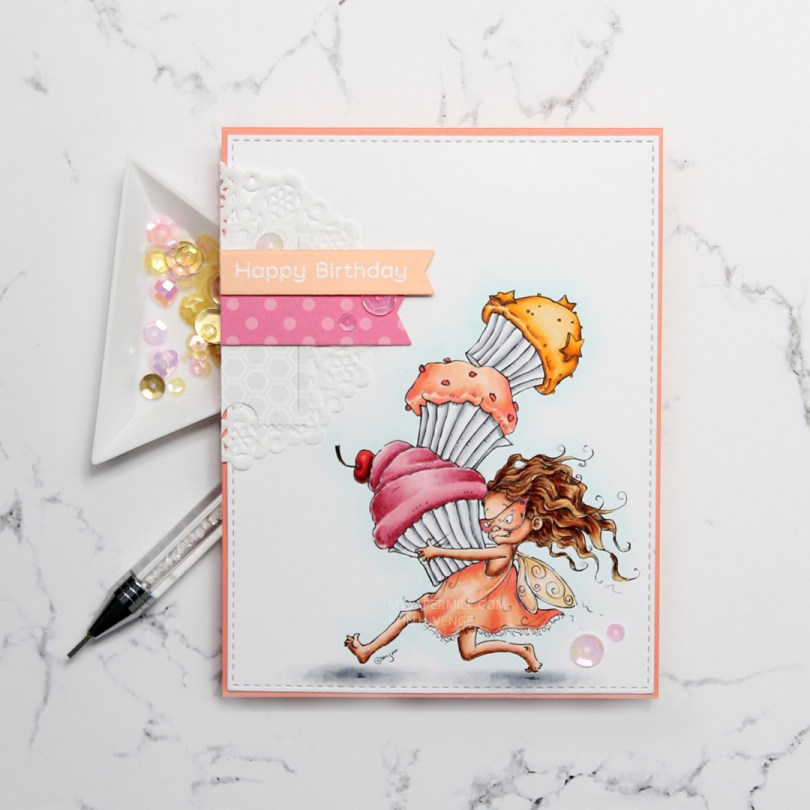
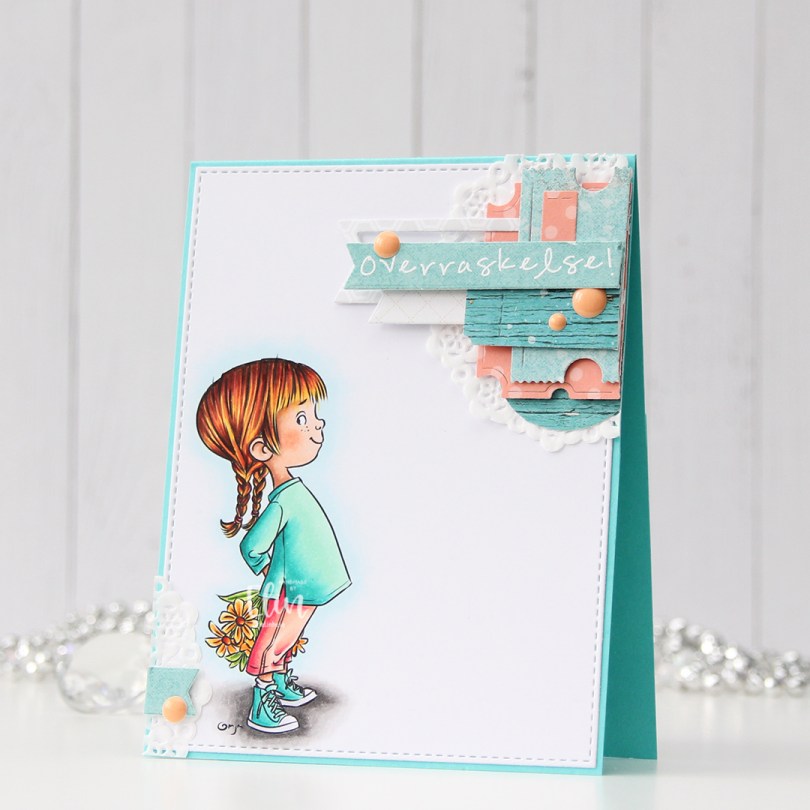
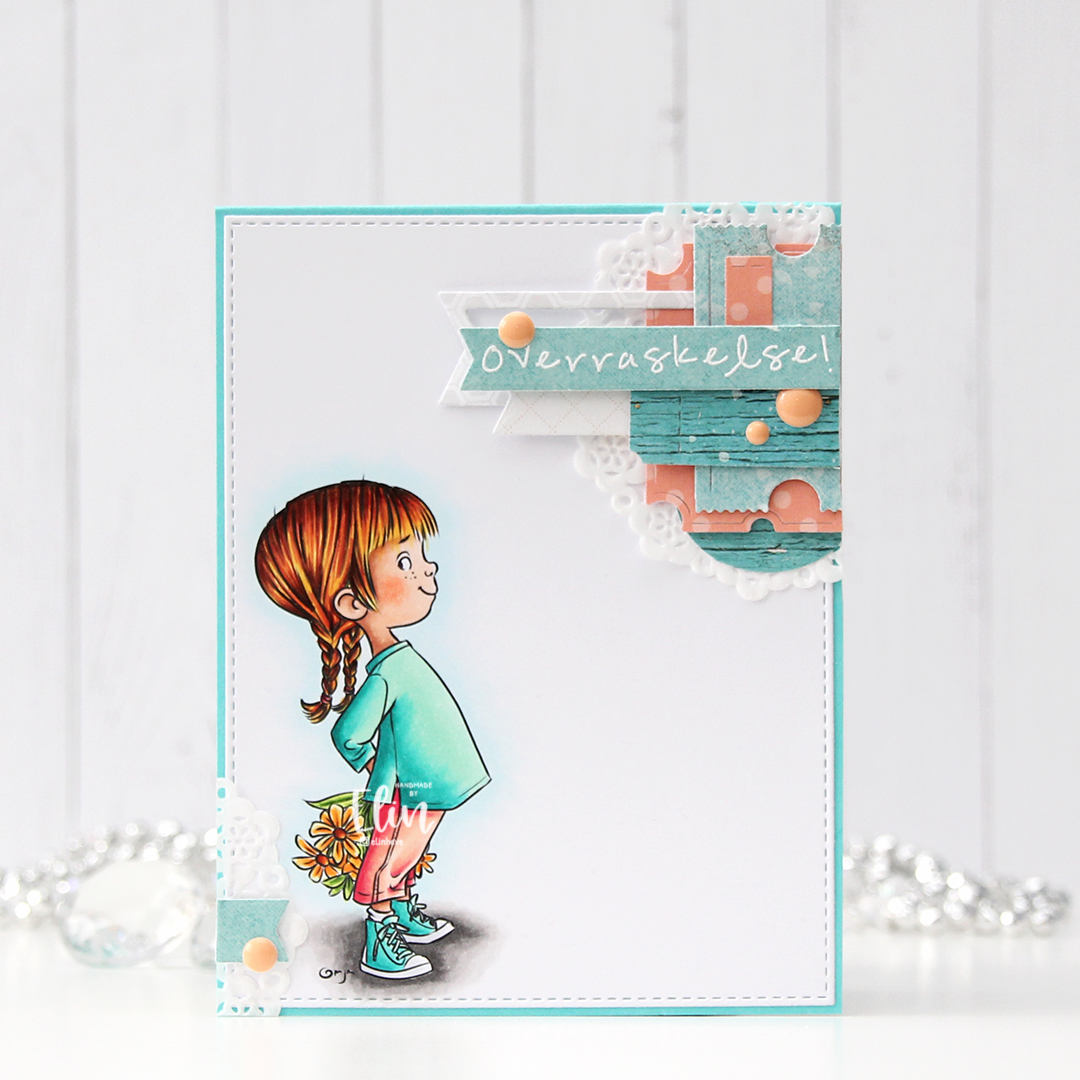
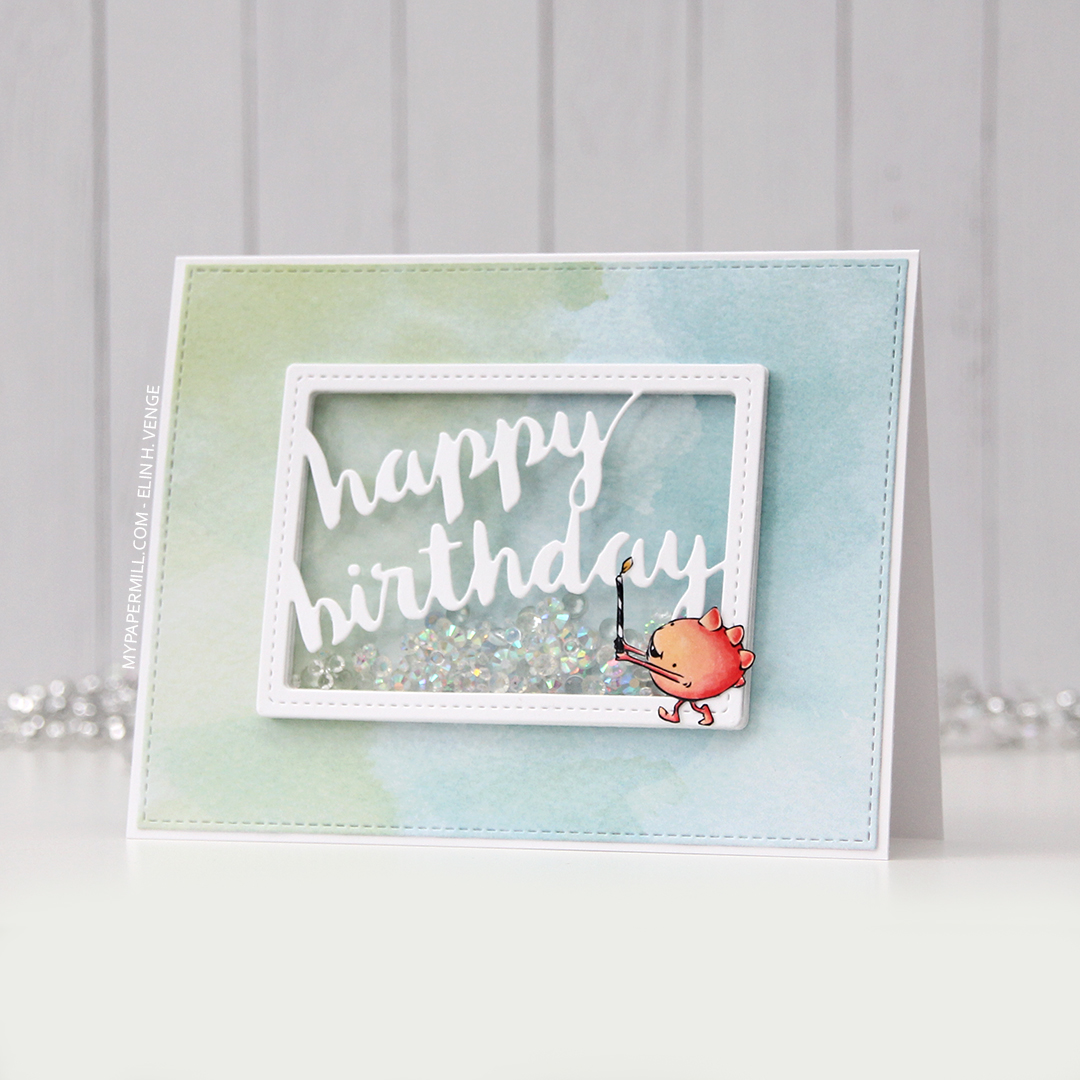
 I colored my image onto X-Press It blending card using my Copics, before using the largest of the A2 Stitched Rectangles STAX dies from My Favorite Things to turn it into a nice panel with faux stitching around the edge. I adhered it onto a card base I made from Coral Crush card stock from My Favorite Things. Sadly, the color’s discontinued, but they have loads of other gorgeous card stock colors at My Favorite Things.
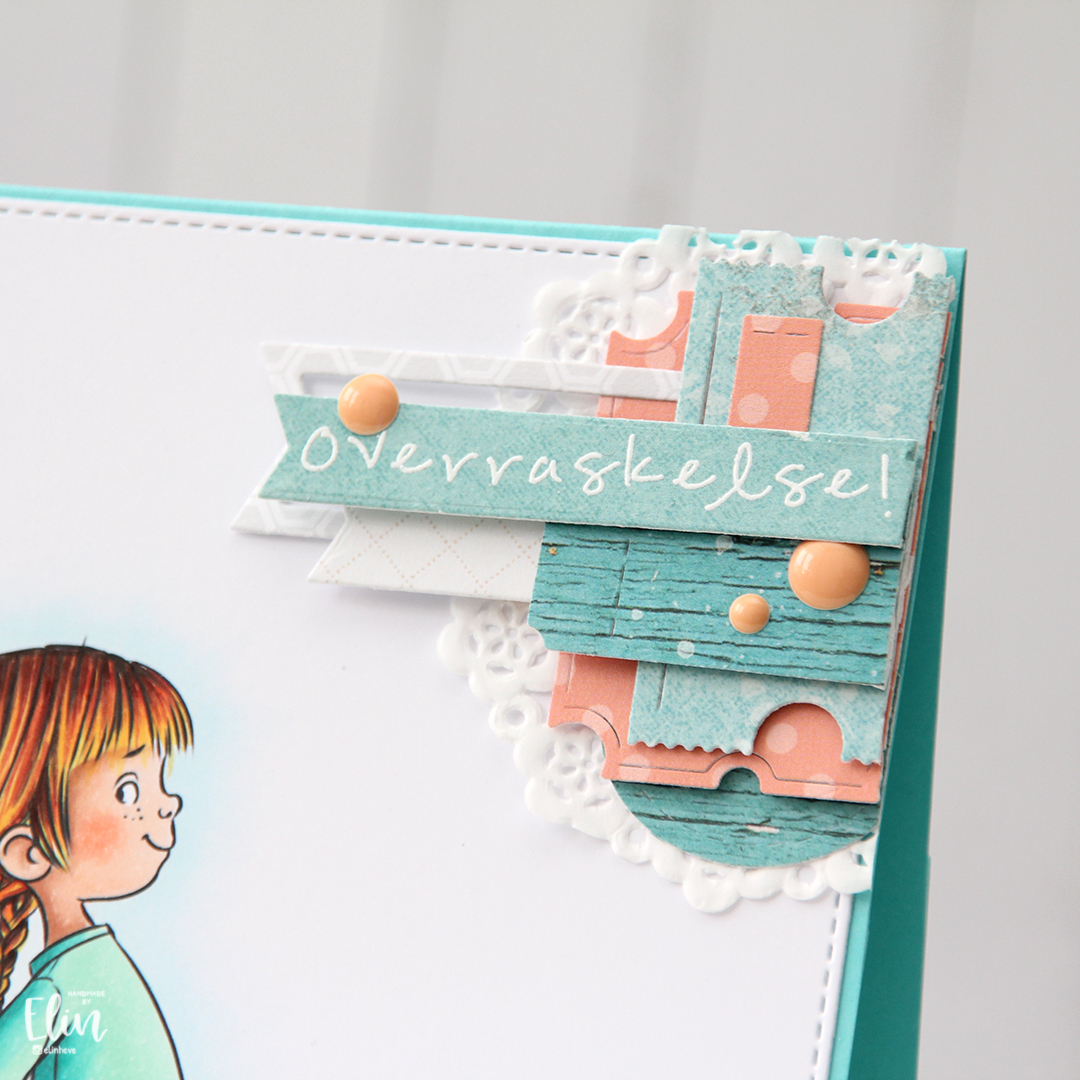
 I added a small cluster of scraps to the top left of my card. About half a mini doily from Doodlebug Design is at the bottom, followed by die cut pieces of patterned paper from Sunny Studio and a sentiment banner on top. I white heat embossed a sentiment from the Bitty Bears stamp set from My Favorite Things onto a banner of Peach Bellini card stock, also a discontinued MFT color.
 My embellishments tend to be sequins or enamel dots centered around the sentiment on my cards. For this one, I added another two sequins in the bottom right corner, just to do something different than my standard three sequins. These sequins are from the Heaven Sent mix from Little Things from Lucy’s Cards.
 I used quite a few colors for this one. For the frosting on the pink cupcake, I also used R87, which is a color I’ve created myself.
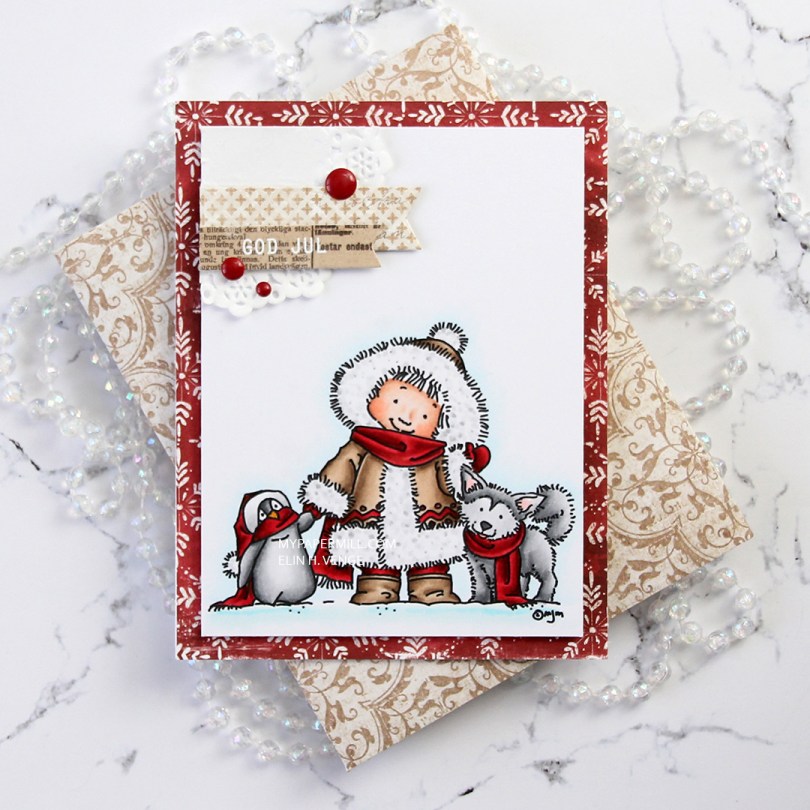
 I don’t know what’s going on with me, but I’ve made another red Christmas card. I love creating Christmas cards, but I’m not a fan of red, not even for Christmas. The best thing about creating cards is that they get sent to someone else, so even if I personally don’t like certain colors, I’m getting rid of them eventually anyway, so it doesn’t matter. 😉
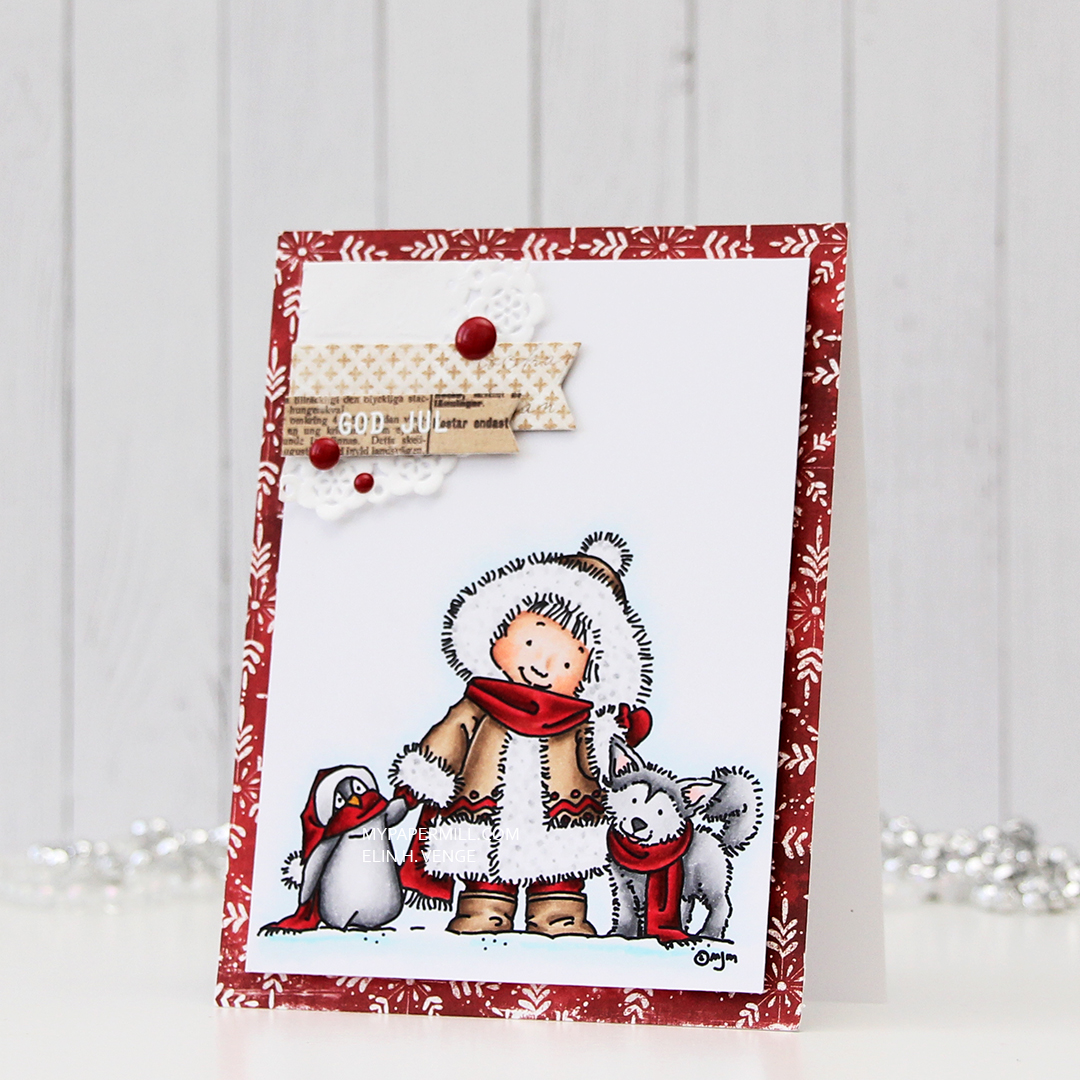 Once I’d colored the image with my Copics, I trimmed 1/4″ off each of the four sides and covered the back with foam tape. I found an old scrap of patterned paper from Magnolia that was already cut down to 4 1/4 x 5 1/2″, probably a reject from a previous project, but perfect for this one, the red matches my coloring! It has white “snowflakes” on it. These have 8 points, so they’re not actually snowflakes. There’s no such thing as an eight pointed snowflake (or a five pointed, for that matter), it has to do with how water molecules are formed.
 I die cut a couple of scraps of Maja Design patterned paper using two of the Fishtail Flag Frames dies from My Favorite Things. I stamped and white heat embossed a sentiment from Norsk Stempelblad AS onto one of the die cut banners, adhering it to the larger one using 1 mm foam squares for a little bit of dimension. I used the same foam squares on the back of the bigger one and glued both banners to part of a mini doily from Doodlebug adhered to the top left corner of my colored panel. I added a few enamel dots from Papirdesign, and my card was done.
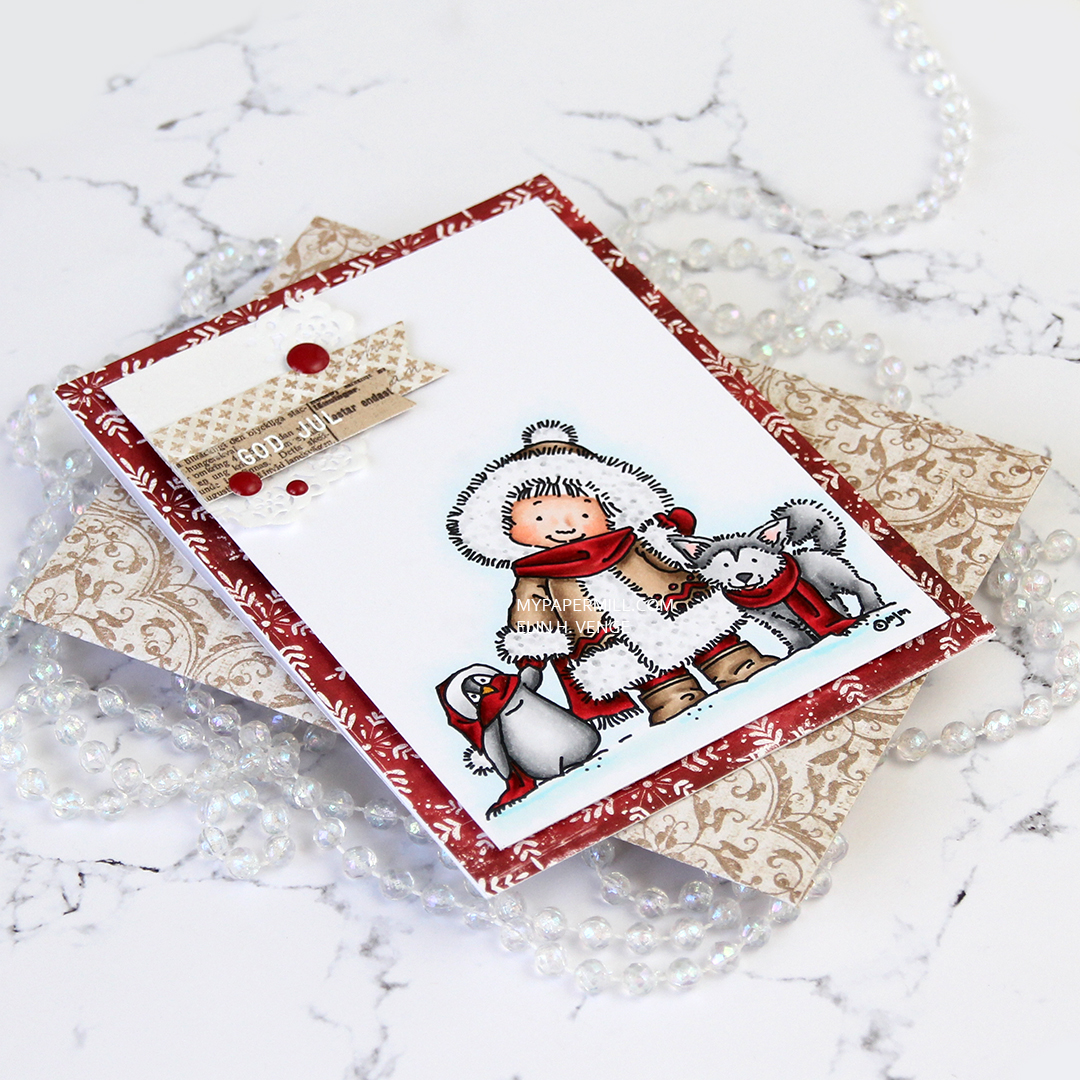 I found an old scrap of patterned paper from 3ndypapir that was just large enough to create an envelope from using the A2 V flap envelope dies from Simon Says Stamp. I thought the color matched the brown in my card nicely.
 Not a lot of colors used for this one.