
Hi, crafty friends! November and December are usually fairly hectic around here, and this time, they were especially hectic. I changed jobs and felt like I worked around the clock, which left little time for blog posts and to upload my creations to Instagram. As a result, I’m playing catch-up, and I have a few more holiday cards and tags to share over the next few weeks. Let’s face it, I make Christmas cards all year anyway, so I’d probably be sharing holiday cards in January even if November and December hadn’t been as crazy as they were.
 Every year I seem to create just enough Christmas cards by making them all year, but I tend to neglect gift tags and scramble last minute to get them done as I wrap presents. This time I was a little more ahead, and this gift tag was one of the early ones I made, featuring Mittens from Purple Onion Designs, as well as the Snow-capped Duo in the background.
I created a very layered tag for my niece and used the Stitched Traditional Tag STAX die set from My Favorite Things to achieve that faux stitch look that I’m such a fan of. I used another stitched die from MFT to create the slope in the background and added both the ground and my fussy cut cat using foam tape.
 Through the hole at the top, I looped a bit of tinsel and tied a bow around it using Purple Plum divine twine from Whisker Graphics. I also die cut a letter tag using the Personalized Tags die set from My Favorite Things from some Winter Wisteria cardstock from Papertrey Ink. My niece loves purple, so I thought it fit nicely. I also added a charm with a pair of mittens, I just couldn’t help myself. This tag doesn’t even have to be a holiday tag, it’d be perfect for someone born in the winter months (not my niece, though, her birthday’s in June).
 On the back of the tag I used a piece of patterned paper from the Forever Green paper pack from Moda Scrap. I die cut it using that same stitched tag die from MFT that I used on the front and stamped a to/from stamp from the B06 stamp set from Norsk Stempelblad AS using Milk Chocolate ink from MFT. I love their inks, they stamp so well!
 You wouldn’t think I’d use this many colors for such a small image, but I did. I even airbrushed the sky in the background using B93, 91 and 90 (a color I’ve made myself), and used BG93 and BG90 with a tip to tip technique on the trees in the background for just a hint of color. I wanted the main focus to be on the cat in the foreground, so I chose very soft colors for the background.
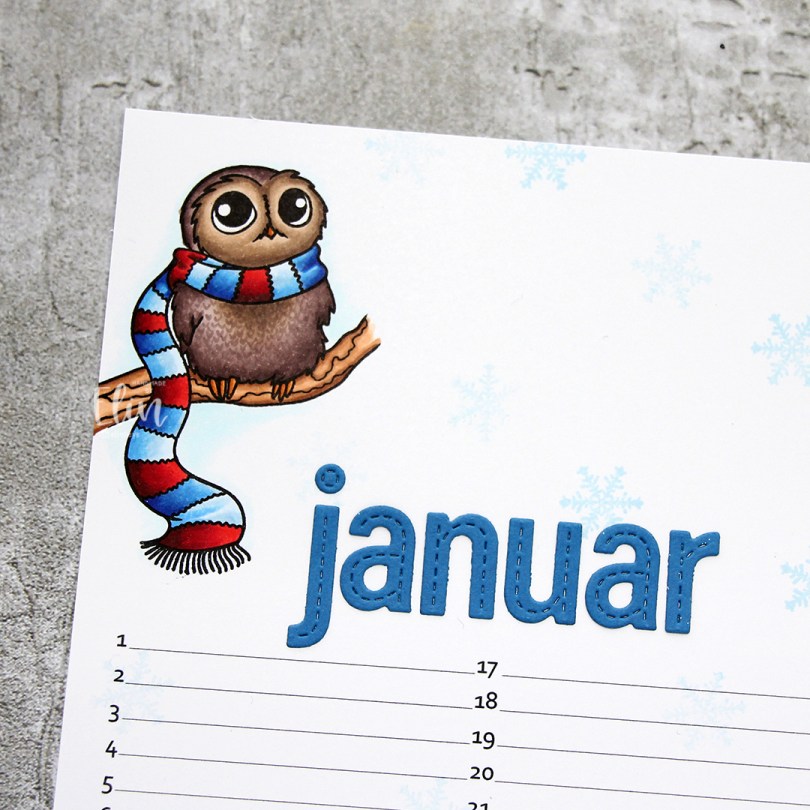

 I stamped the snowflake in the stamp set repeatedly across my background using Iceberg ink from Altenew. I did second generation stamping on some of the snowflakes, especially where they overlap the lines where I intend to write. From Cornflower cardstock from My Favorite Things, I die cut the letters to spell januar using the In Stitches Lowercase Alphabet die set, also from My Favorite Things. I adhered the letters using liquid glue, centering them above the dates for the month.
 I used lots of colors for this little owl. Isn’t he just the cutest, sitting there on his branch wrapped in a scarf?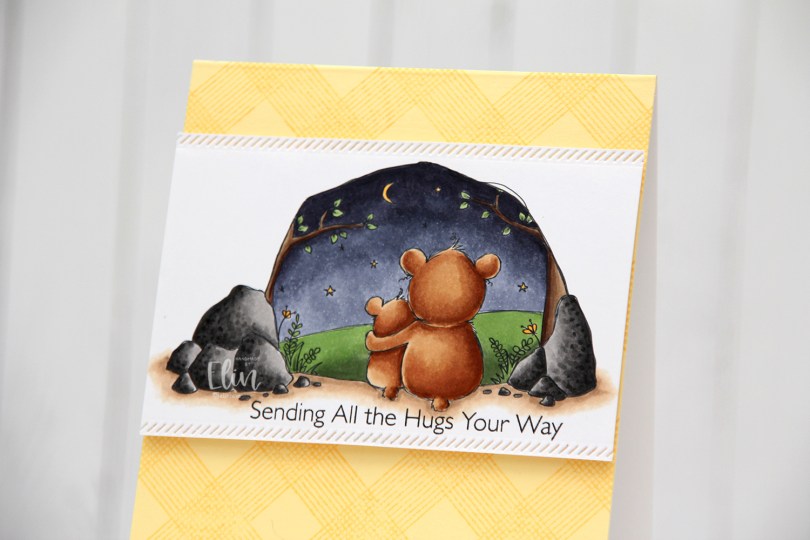
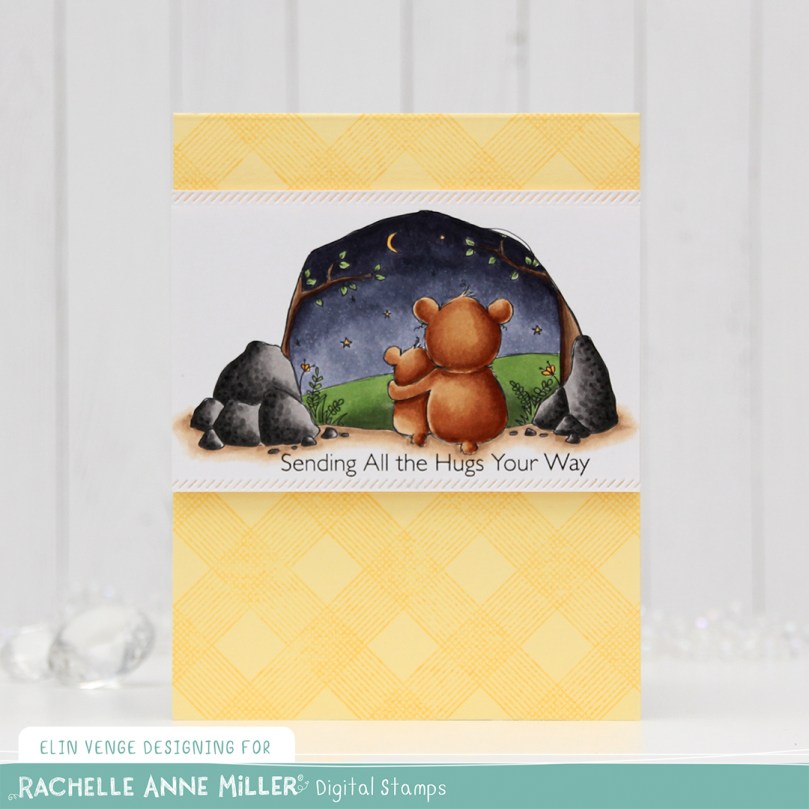 I wanted the focus to be on the image and kept the rest of the card pretty simple. I stamped a sentiment from the Hugs Make Everything Better stamp set from My Favorite Things directly below my image using Smokey Shadow ink from Papertrey Ink. I wanted something a little bit softer than black, but I did stamp it twice, so maybe I should have used black after all. Close to the sentiment and close to the top of the scene I used one of the Stitched Borders dies from Lawn Fawn to create a decorative edge. I love faux stitching details on my cards, and this diagonal one is a fun change from the ones I normally use.
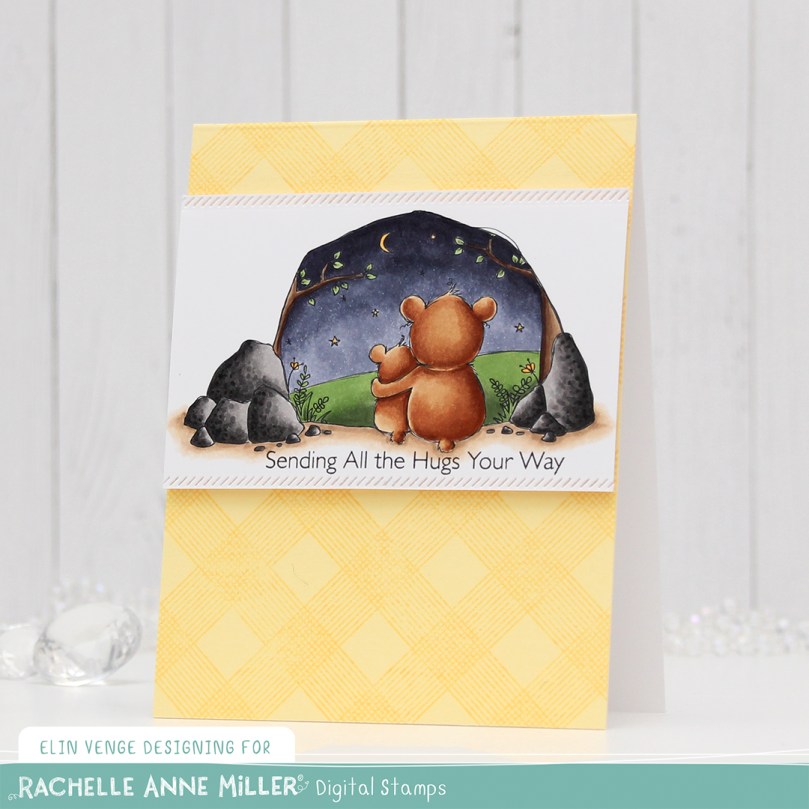 Onto a panel of Lemon Tart cardstock from Papertrey Ink, I stamped the All Lined Up Diagonally Background stamp from My Favorite Things using Harvest Gold ink from Papertrey Ink, which is a tiny bit darker than the Lemon Tart. It adds subtle tone on tone interest to the background without distracting from the focal point of the image. I adhered the panel directly to a white top fold card base I created from Stamper’s Select White cardstock from Papertrey Ink and added my image towards the top of the card using foam tape for dimension.
 Simple color palette today. I also used BV27 for the sky, which is a color I’ve made myself.
 I colored the gingerbread cookies with my Copics and used a circle die to turn it into a circle. I die cut another circle from patterned paper from Papirdesign and used a die from the Glassic Snow Globe die set from My Favorite Things to cut a window from the same piece. I stamped and white heat embossed a sentiment from Norsk Stempelblad AS below the window and added a shaker pouch from My Favorite Things that I filled with the Icicle Sequin mix from Hero Arts.
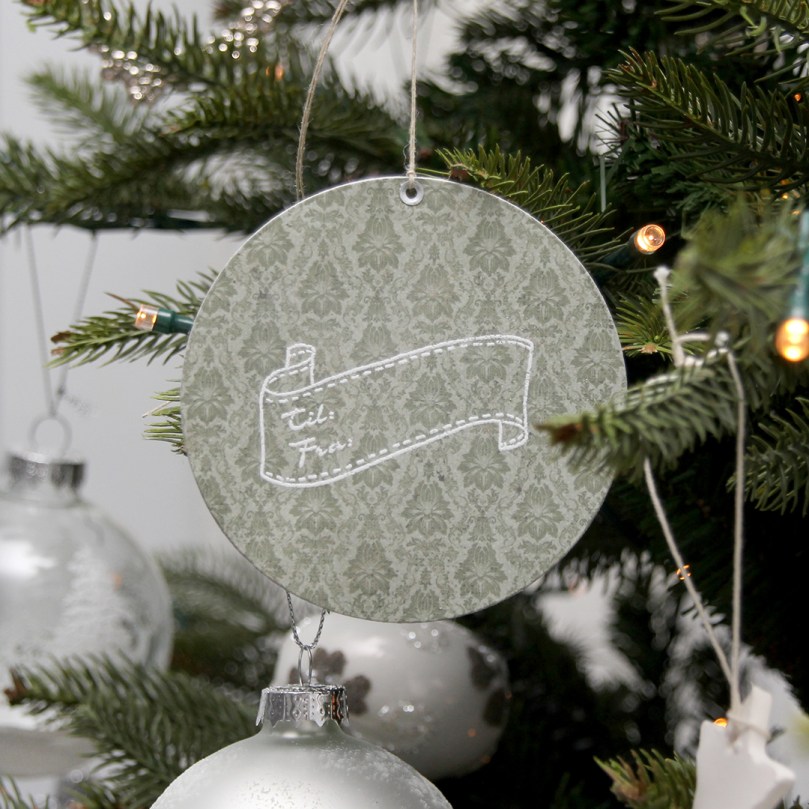 I die cut another circle from the same patterned paper that I used on the front and white heat embossed a to/from stamp from Norsk Stempelblad AS in the center. After adhering all the pieces together, I cut a hole at the top, reinforcing it with an eyelet before pulling string through. This shaker gift tag can definitely be used as an ornament too, and I’m hoping that’s what will happen.
 Simple image and simple colors for this one.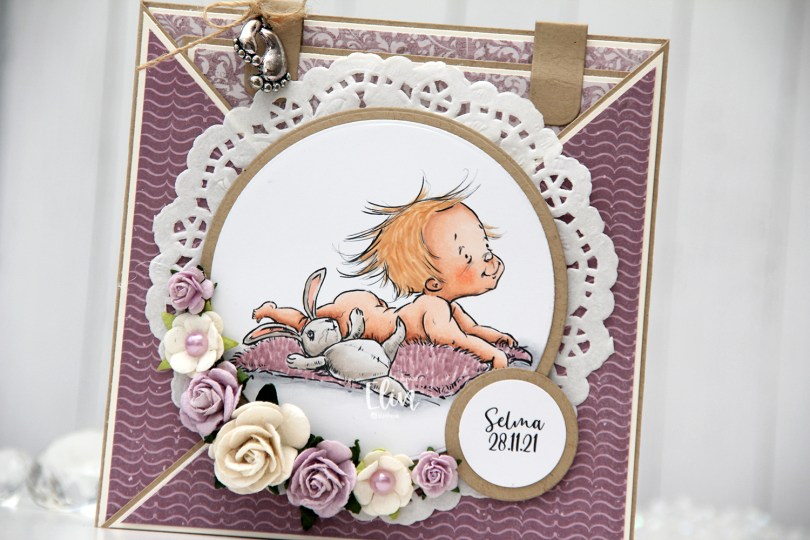
 This card was created for a little girl whose christening was this past Sunday. I think the
  I die cut the image using a circle die from Lifestyle Crafts and matted it with kraft cardstock. I also printed the name and date on a piece of white cardstock that I also matted with kraft. I put a doily from Helz Cuppelditch behind my image and added flowers using a hot glue gun. I took out the yellow centers of two of the flowers and replaced them with Lavender pearls from Kaisercraft.
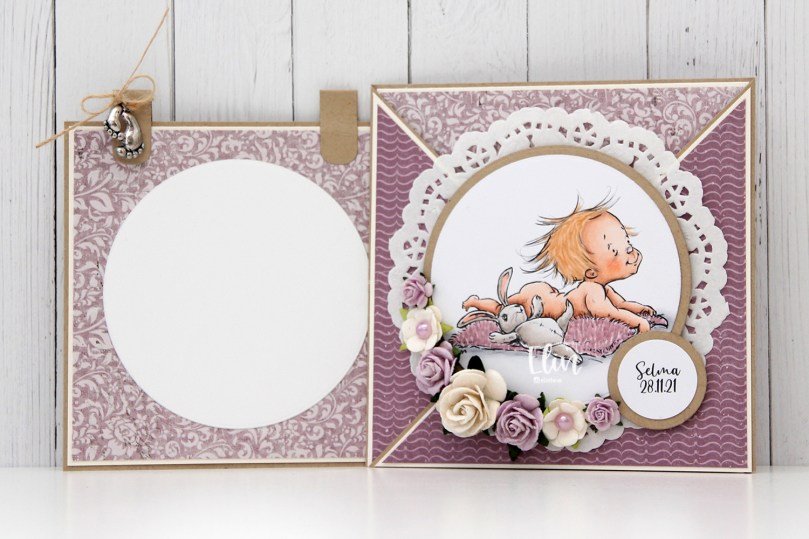 On the inside tag I added a circle diecut made from white cardstock for a space to write a personal message. I used the Labels Trio die set from Spellbinders to create two “handles” from kraft cardstock. I tied a bow and attached a charm to one of them for a little added interest.
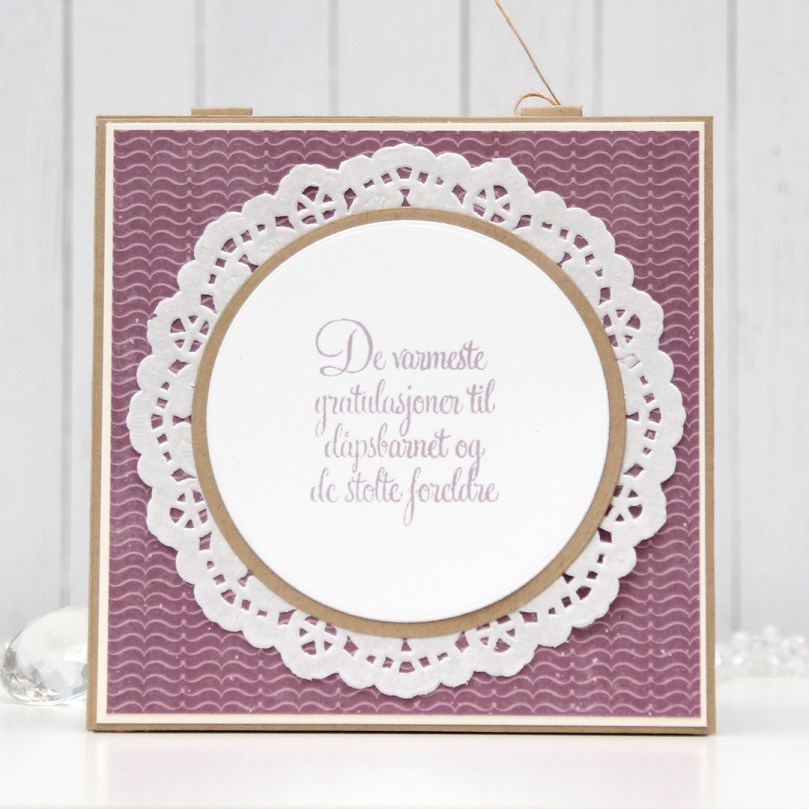 On the back of the card I stamped a sentiment from North Star Design using Amethyst ink from Altenew.
 The card isn’t very big, it only measures 5×5″, but it’s quite dimensional and doesn’t fit in a regular envelope, so I decided it was best to create a box envelope.
 I rummaged through my 12×12″ cardstock and found a color that matched pretty well, and used my Envelope Punch Board from We R Memory Keepers to create the box. I added another Helz Cuppelditch doily for cohesion, as well as more of the patterned paper that I die cut using the Impact alphabet die set from My Favorite Things.
 Not a whole lot of Copics used for this.
 The process for creating this one was identical to the first ones I shared in
  There’s lots of texture and visual interest on this tag because of all the layers of paper, the foam tape to add dimension and the stenciled background. The accessories on the snowman are in a brighter green color than everything else on the tag, which still makes him stand out against the other elements.
 For the back of the tag I used a couple of stamps from Inkido, as well as more of the white heat embossed sentiments from Norsk Stempelblad that I created lots of in one of my compartmental crafty sessions. These tags were heaps of fun to put together like this.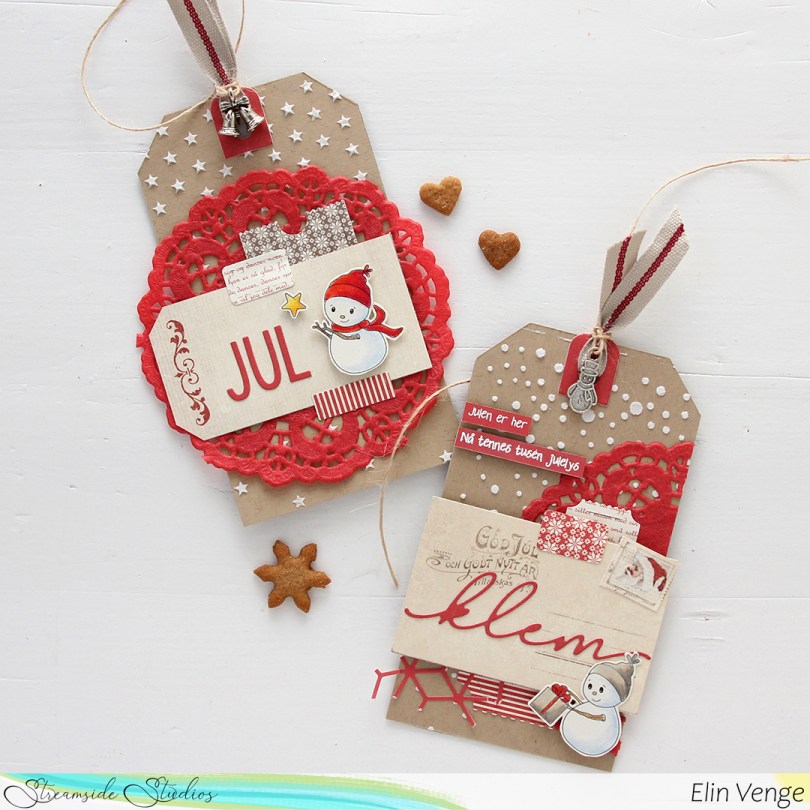
 For these tags, I chose red instead of green. I planned ahead and colored some of the snowmen with green accessories, and some with red. For one of these tags I used the Falling Stars stencil from Simon Says Stamp, and I thought it was fitting to add the snowman with the star for that particular tag.
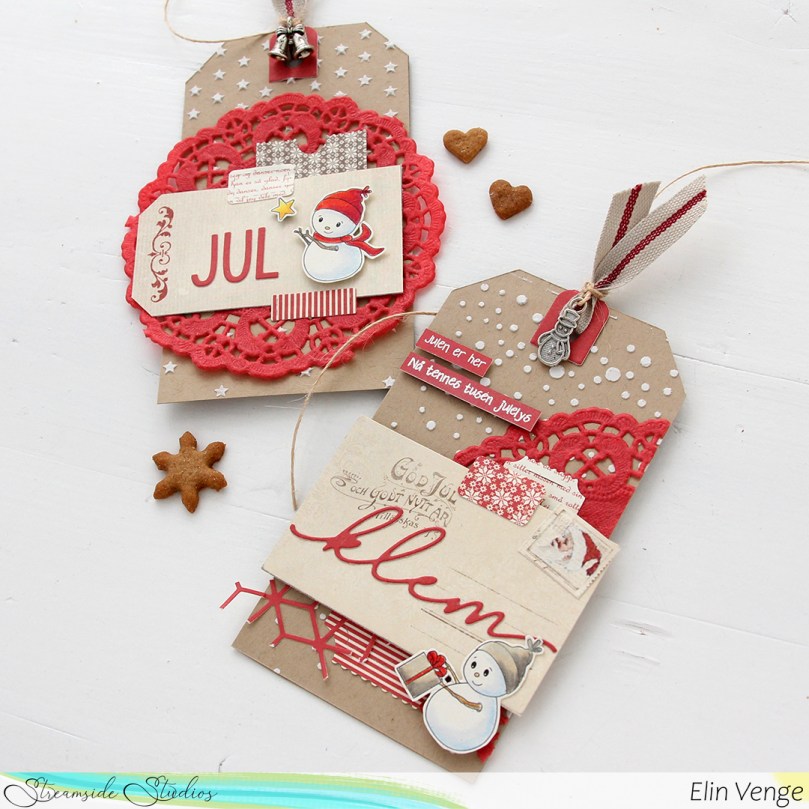 A lot of elements are the same on these two tags as the first two; patterned paper from Pion Design die cut using the Happy Days Ticket Stubs die from XCut. I also used the same die from Altenew that I used with the green cardstock on this one, and it’s a nice added element that doesn’t have the perpendicular angles than many of the other layers do, so it breaks up the monotony a little and adds interest. For the tag with the stars, I used the word JUL from the Gledelig jul die from Kort & Godt, and for the tag with the Christmas present, I used the word klem from the Juleklem die, also from Kort & Godt. I added red paper doilies from Papirdesign to the base of these tags, it’s a nice foundation to put everything else on top of.
 The backs of these are pretty similar to the backs of the green tags I made. I used the same 24.12 stamp from Inkido and the same stamps from the Distressed Patterns stamp set from My Favorite Things, but changed the ink color to Pure Poppy ink from Papertrey Ink.
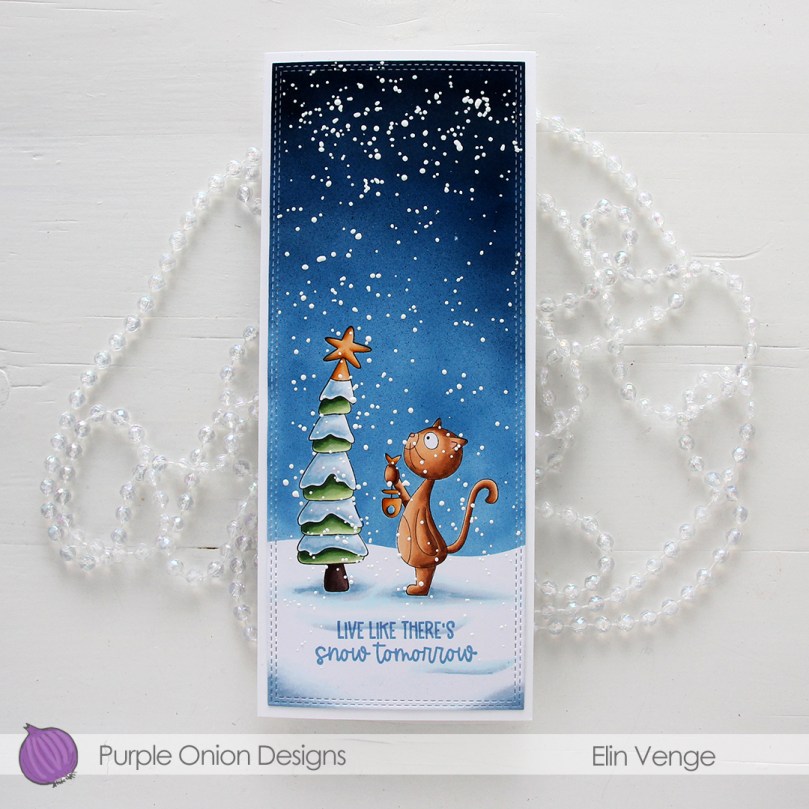 I colored the cat, tree and ground with my Copics, before deciding that I really wanted a dark, intense night sky. I stamped and fussy cut masks for both images, then did some free hand cutting of a snowbank at the back, before I went in with my Copic airbrush system and some dark blue colors to quickly create the sky.
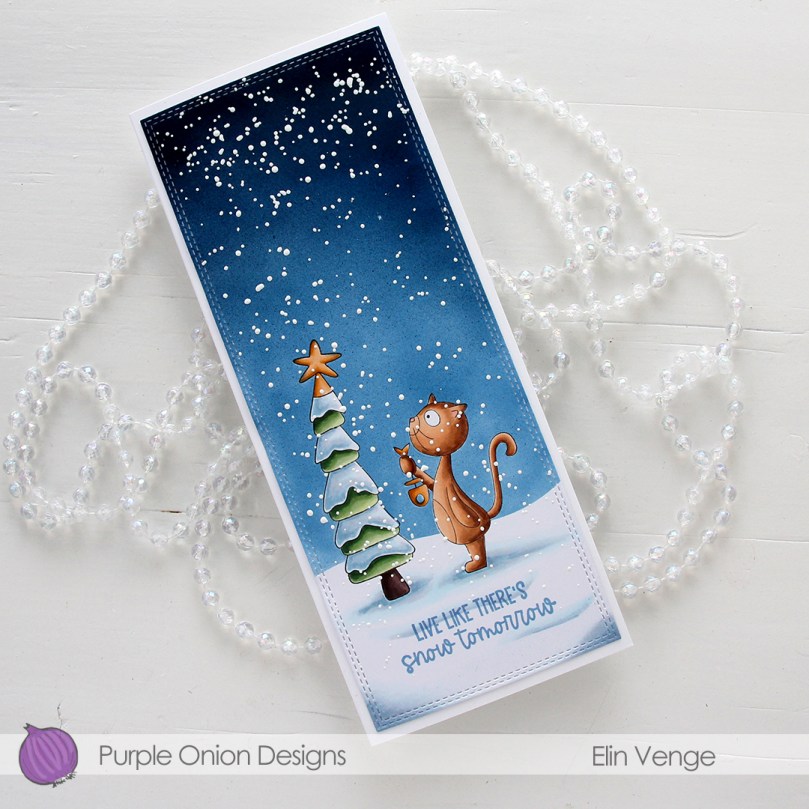 I used the largest of the dies from the Slimline Double Stitched Rectangle STAX set from My Favorite Things to cut down the panel to fit on the front of my card, and stamped a sentiment from the
 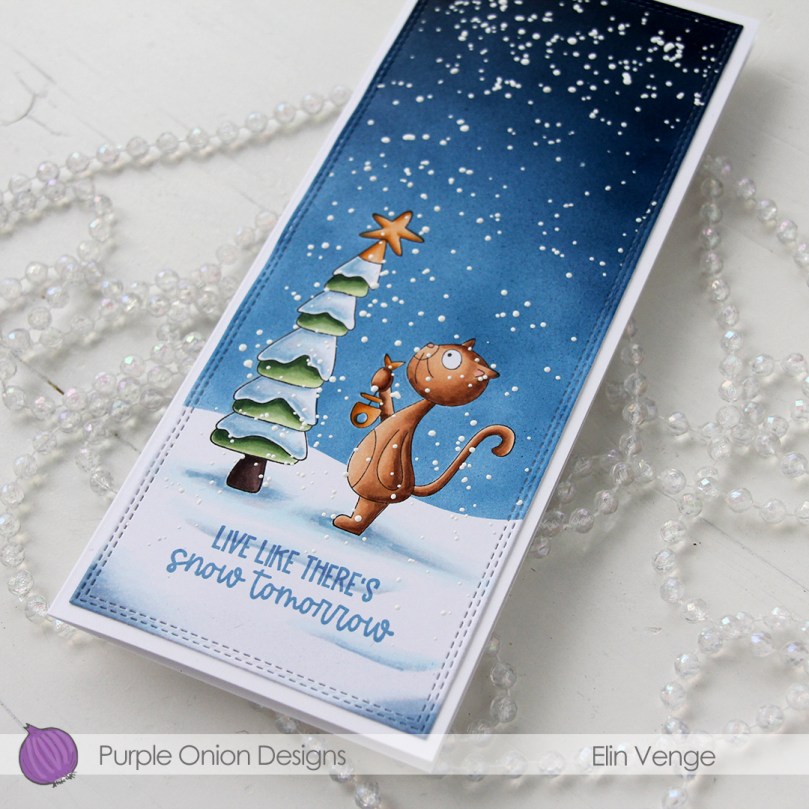 I sprinkled on chunky white embossing enamel from Stampendous, making sure no granules covered the sentiment or Hazel’s eye before melting the granules from the back of the panel. I adhered my snowy scene to a card base I created from Stamper’s Select White cardstock from Papertrey Ink, and my card was complete. I didn’t want to add anything else to it.
 For such a simple scene I sure used quite a few colors. The ones that come after the jump in this graphic are the ones I used to airbrush the sky.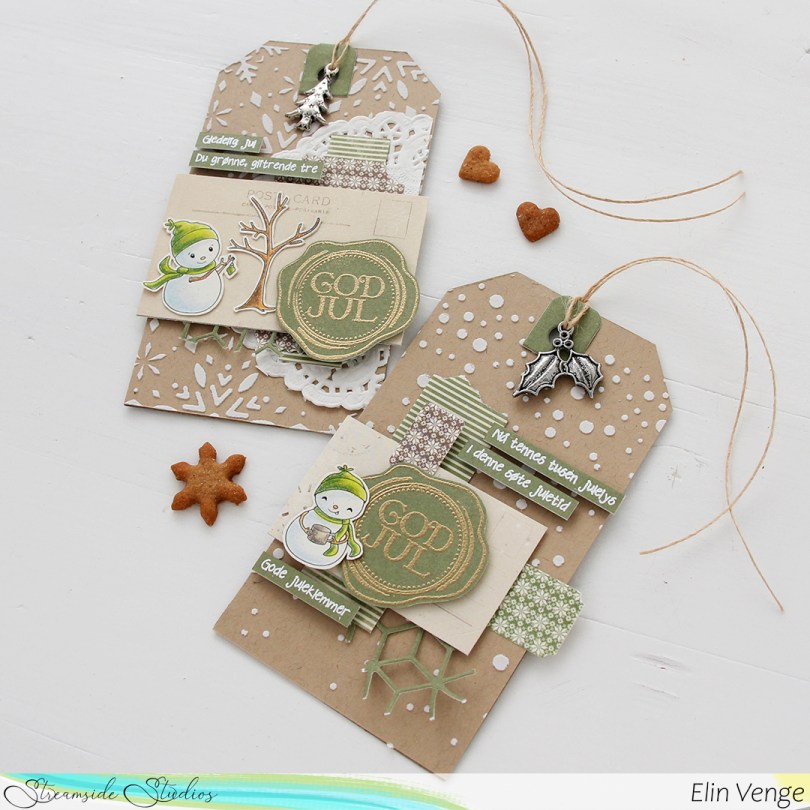
 For these tags (I’ll have more to share later), I did compartmental crafting. Tim Holtz always raves about this, but I usually sit down and create my cards from start to finish in one sitting. Actually, that’s not entirely true, I do prefer coloring one day and making the rest of the card another day. Coloring takes a while, and once I’m done with that, I’m not really in actual making and assembly mode.
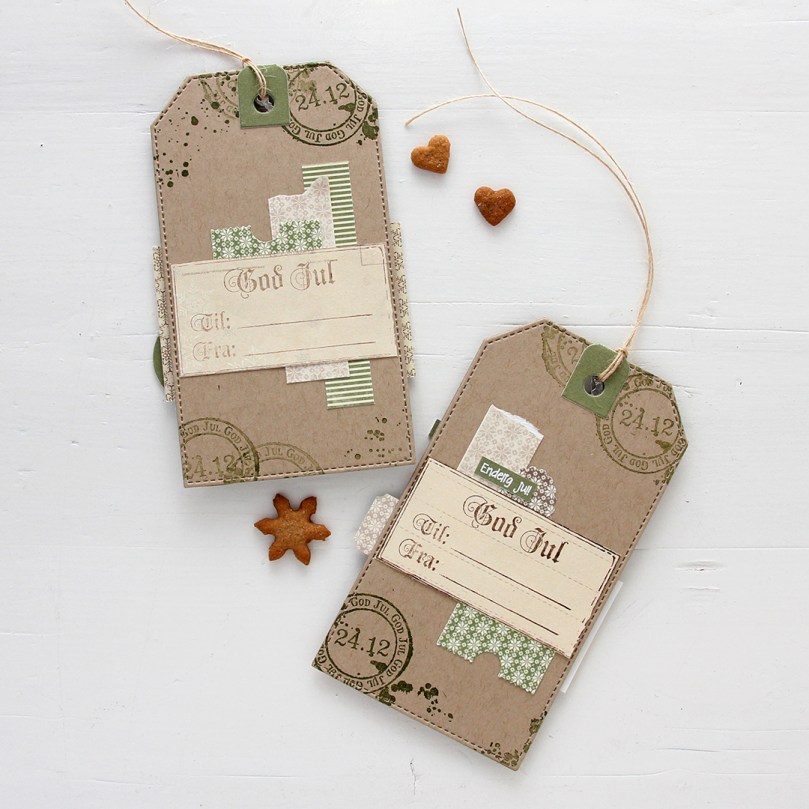 For the back of the tags I used a tag die from My Favorite Things to die cut from more of that Classic Kraft cardstock from Papertrey Ink. I die cut a bunch of tags in one session, so I’d have many to do at once when I did the actual assembly. I stamped an older Inkido stamp using Jalapeño Popper ink from My Favorite Things, and even did some second generation stamping. I also used a couple of stamps from the Distressed Patterns stamp set from MFT to add additional spatter beyond the 24.12 stamp. I used more of the scraps I die cut and cut with my trimmer, and stamped a to/from stamp from Inkido onto scraps of Pion Design patterned paper using Dark Chocolate ink from Papertrey Ink. First generation stamping on one, second generation on the other for a softer look. It was fun to break out acrylic blocks to use with my stamps again, I use my Misti for pretty much everything, but this didn’t have to be perfect or straight, so I just played and had fun!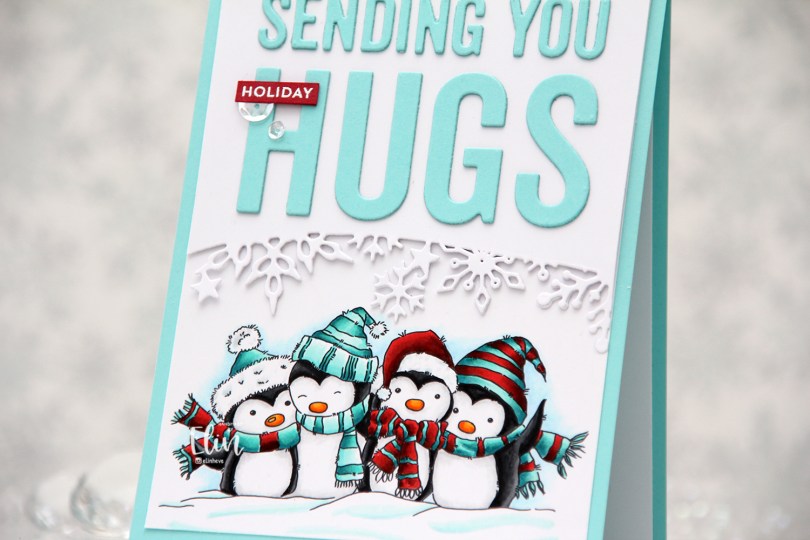
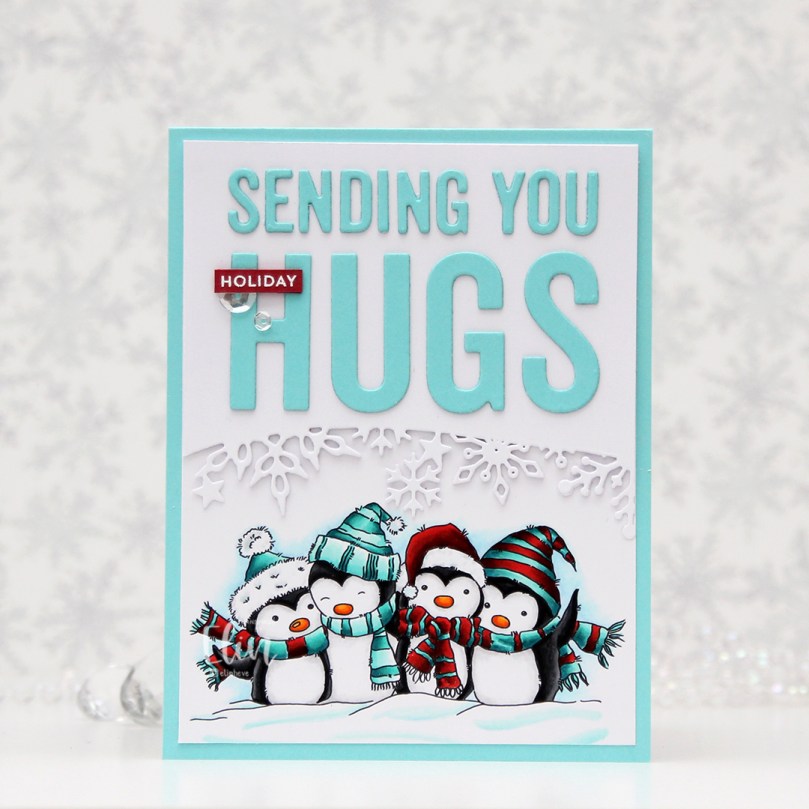 I colored up my penguins with Copics, using a combo of red and teal for their hats and scarves. I’m not a fan of complementary colors, and I do my best to avoid using green with red, but teals, blues and greys all work well.
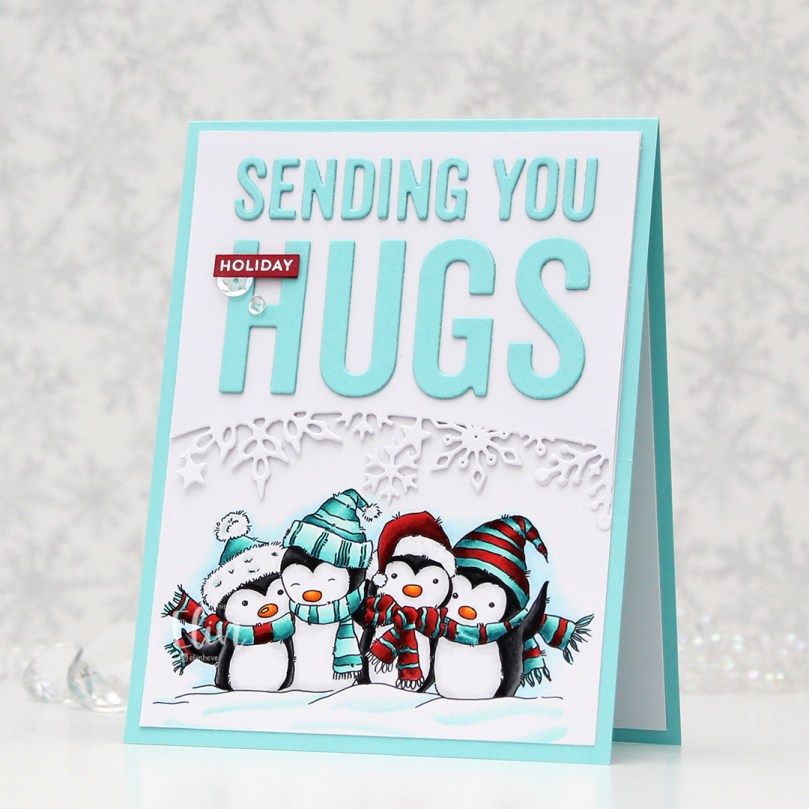 I didn’t really have a card idea in mind when I printed my image, but I printed it towards the bottom of a 4 1/4 x 5 1/2″ piece of X-Press It blending card. Once I sat down with my colored panel to actually create the card, an idea formed straight away. It doesn’t always happen like that, but I’m grateful every time it does. I created a card base from Summer Splash cardstock from My Favorite Things, cut down my panel to 4 x 5 1/4″ and adhered it to the card base.
 Using a snowflake border die from Papirdesign, I die cut a snowflake border above their heads. I used the same X-Press It blending card for this as I wanted the whites to match. I die cut an additional two pieces, and glued them together for a stacked look. The die is actually meant for slimline cards, but it worked really well for this.
 I used the Sending You Hugs die from My Favorite Things to die cut my sentiment twice from Summer Splash cardstock. I used the negative piece of the die cut for placement, and layered my letters together for a little bit of dimension. On a piece of Amarena Cherry cardstock from My Favorite Things, I stamped and white heat embossed the word holiday from the Itty Bitty Holiday stamp set, also from MFT. I cut it down to a thin strip, added another layer of Amarena Cherry cardstock behind it for a bit of dimension and stability, and glued my little strip to the H in hugs, before finishing off the card with a couple of sequins from the Sparkling Clear mix from Pretty Pink Posh.
 I could have gone crazy with tons of colors for the accessories on these cute penguins, but I limited my color palette by keeping the coloring simple.
 Papirmølla