Hi, there! I have a very clean and simple card to share today, featuring some more stamps from the latest release from Stacey Yacula and Purple Onion Designs.

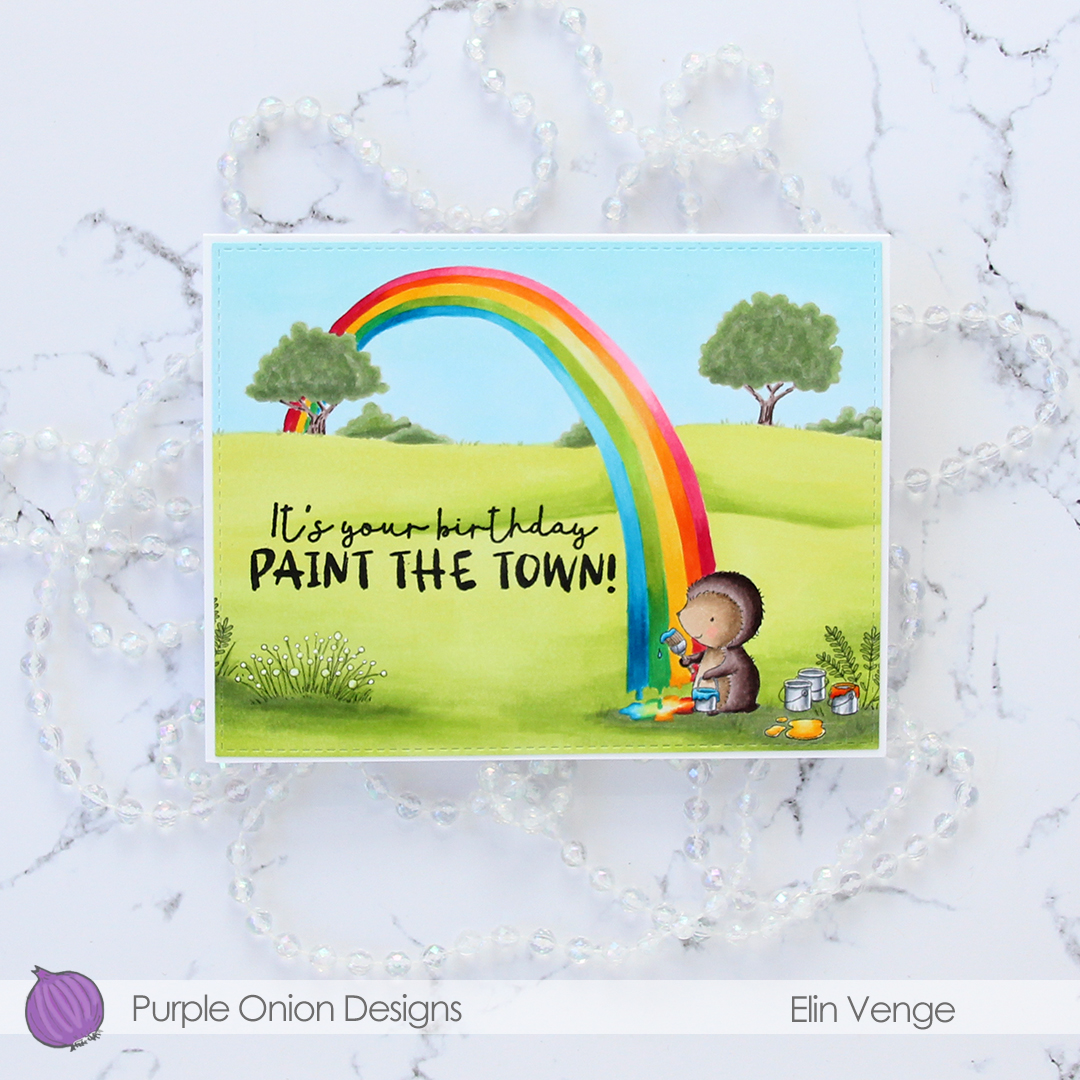
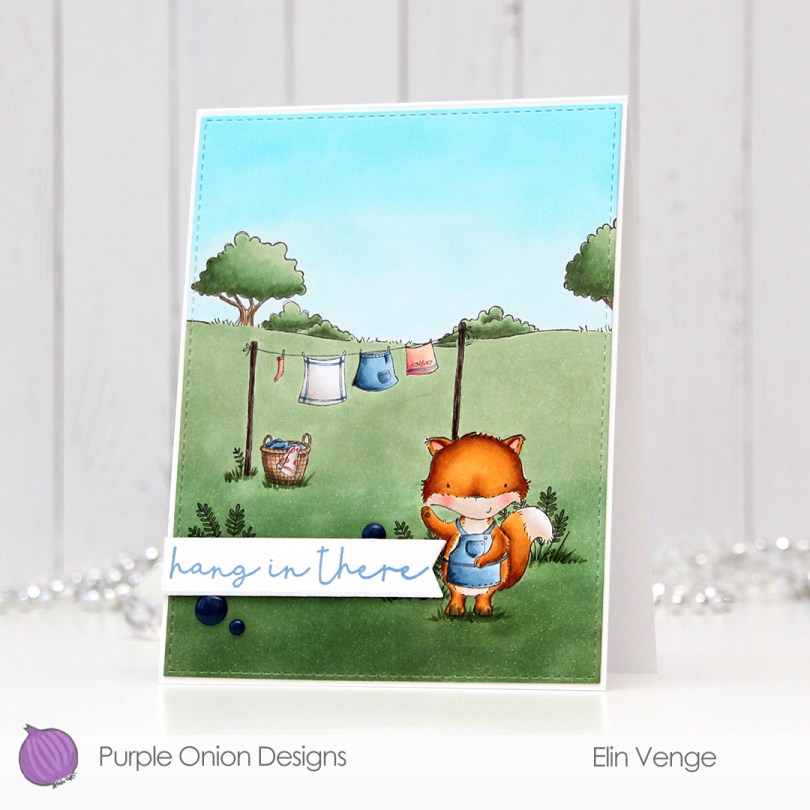
I thought the Hang in there sentiment from the Around the Town sentiment set (also new with this release) would be the perfect accompaniment to the clothes line. I could have kept my card even simpler by not adding anything else to it, but I wanted to create a little scene. I stamped Jane the fox waving hello at the very front and added in one of the stamps from the country flowers set to fill out my scene a little. They match the little sprigs at the bottom of the clothes line perfectly. I stamped the countryside horizon towards the top of my panel and colored everything with my Copics.

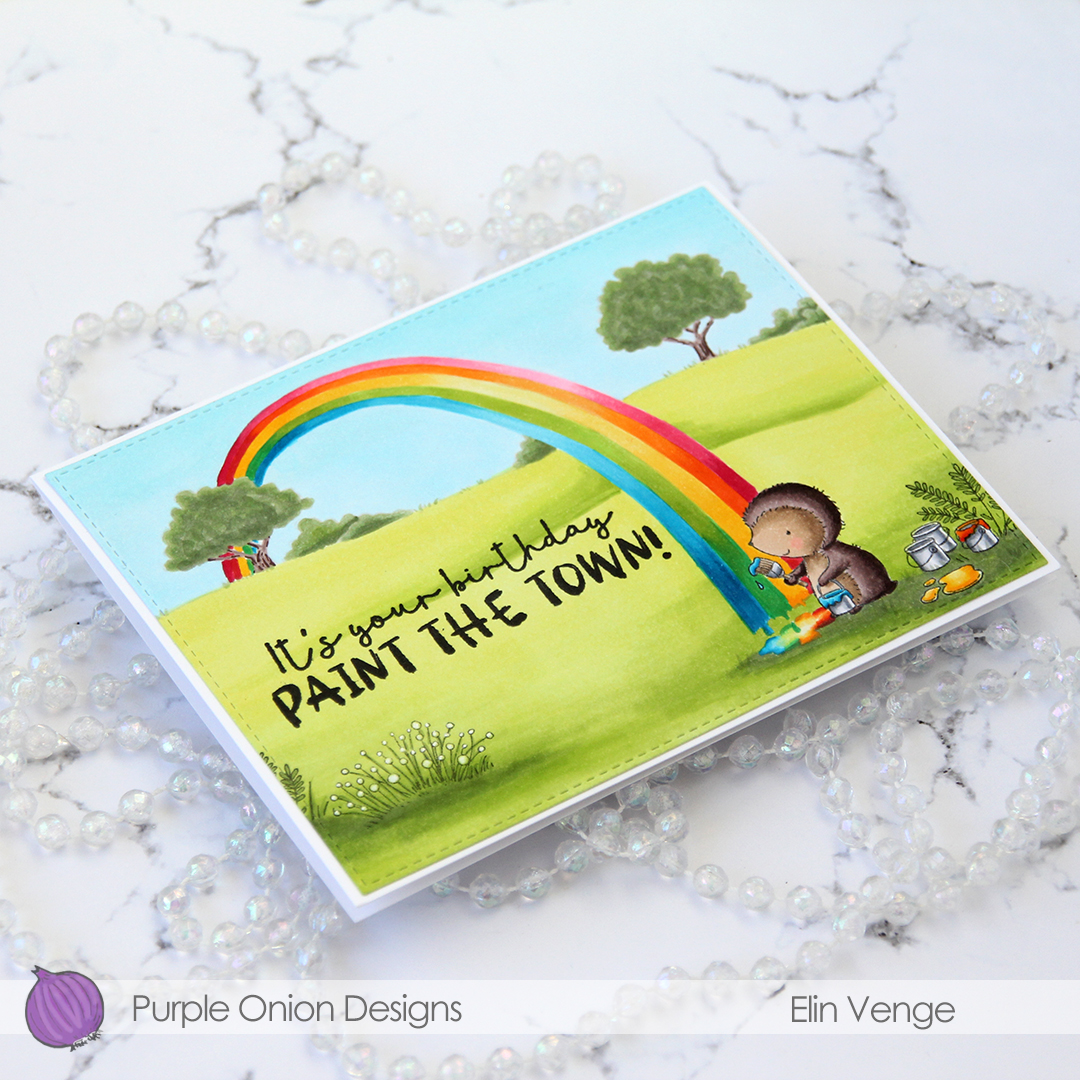
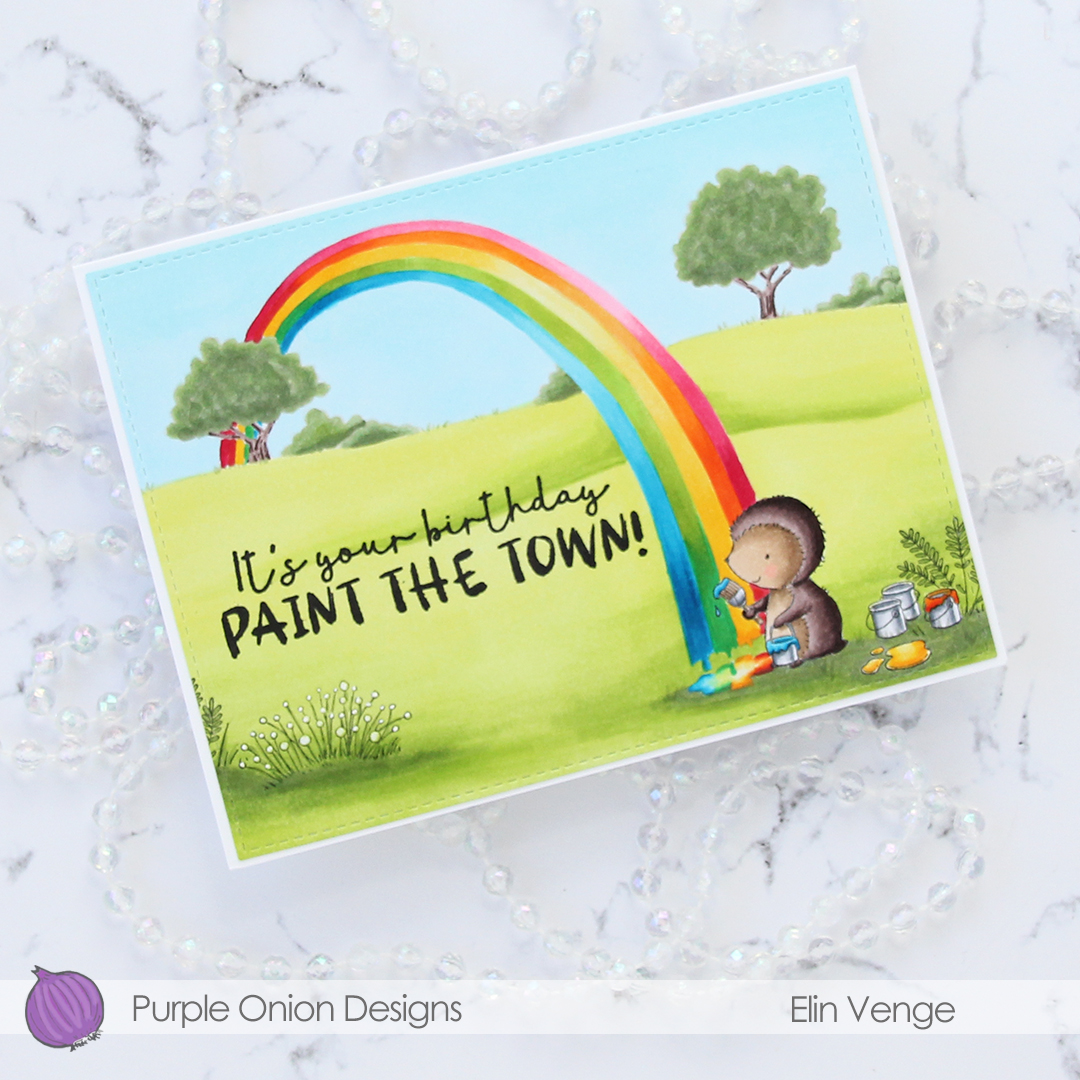
Once my entire scene was colored, I used the largest of the A2 Stitched Rectangles dies from My Favorite Things to turn it into a panel with a nice faux stitch egde and adhered it to a top fold white card base. I stamped the sentiment using Blueberry Sky ink from Papertrey Ink, die cutting it into a nice banner using one of the dies in the Fishtail Flag Frames die set from My Favorite Things. I adhered it to my card using foam tape and added some blue enamel dots from Papirdesign to finish.

I’ve colored a lot of scenery for the cards I’ve made with this release, and wanted to get a different green look for the grass and trees for this card compared to the others, which have all been fairly bright. This is a more subdued green, I kind of like it.