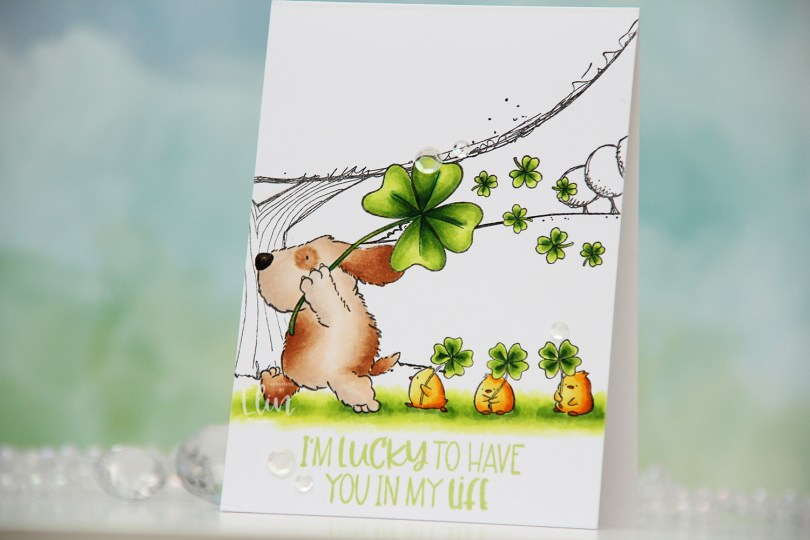
Hi, crafty friends. Today, I’m sharing a fun card featuring Flappy’s Lucky Day, illustrated by Pei for Purple Onion Designs. I love her collection of critters! My mojo’s been missing since we entered the new year. I’ve done some shopping, cleaned and refilled all of my Copics (which took forever, btw) and done a few other things in hopes that my mojo would return. Nothing worked, and for the last two months, my cards have been very basic and also somewhat similar as a result. Last weekend, that changed. I flew to Trondheim for a crafty weekend away, and even taught a class (I’ll share more about that tomorrow). The weekend away did a world of good, and I *think* my mojo’s back. At the very least I had no issues creating this card, it all flowed very nicely, and I’m hoping my mojo will stay for a good long while this time.
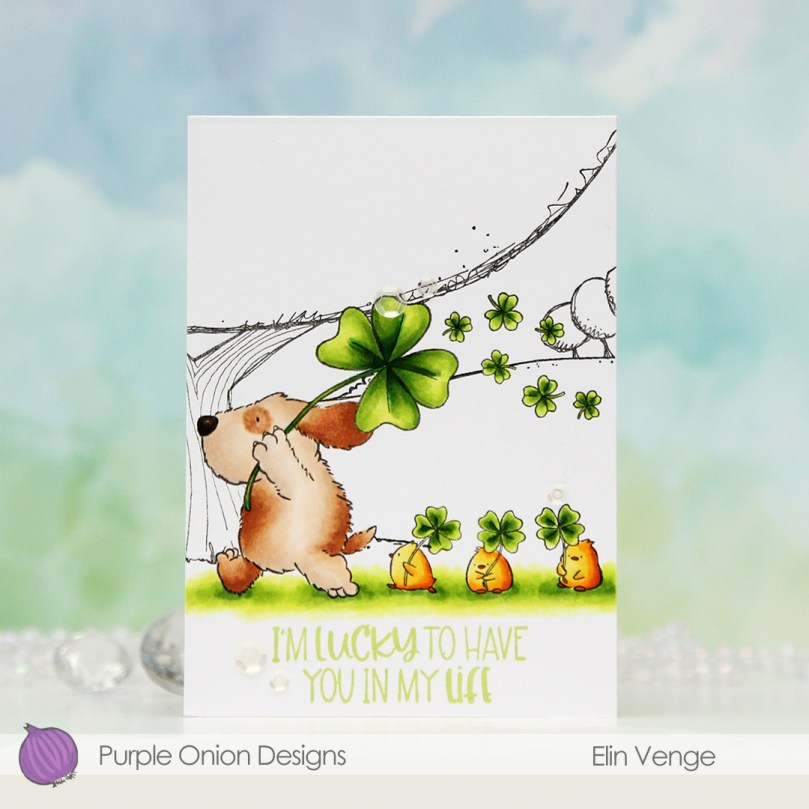 I didn’t want to use Flappy and his little friends on their own, so I decided to create a mask and stamp The Perfect Spot behind them. This is an older stamp from Stacey Yacula, it’s from the A Beautiful Day collection, which released in 2014. I still wanted to keep the focus on this new image, so I decided to leave the background un-colored. This way, Flappy and his friends really get to shine, and the card isn’t all green, which could have easily been the case had I colored the background also.
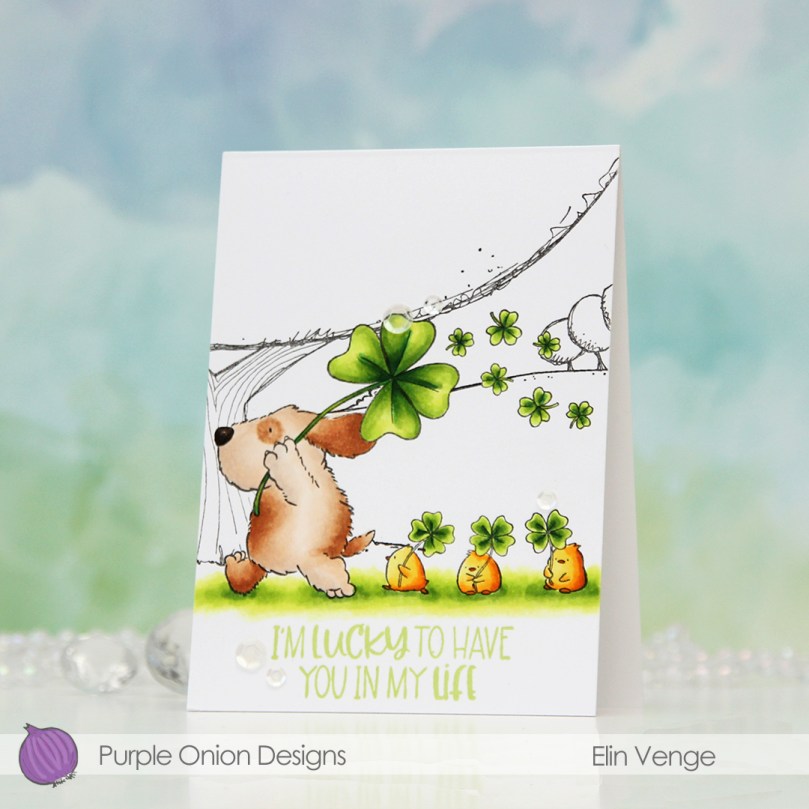 Once my coloring was complete, I stamped a sentiment from the coordinating Lucky sentiment set using Sprout ink from Concord & 9th. This color goes really well with the vibrant green I used for the ground. I trimmed the panel down to 3 1/2 x 4 7/8″ and adhered it to a 4 bar card base I created from Stamper’s Select White cardstock from Papertrey Ink, before finishing off with a few sequins from the White Orchid Sequin mix from Little Things from Lucy’s Cards.
 I used a mixture of brown and gray for Flappy’s fur, and an obscene amount of colors for the green.
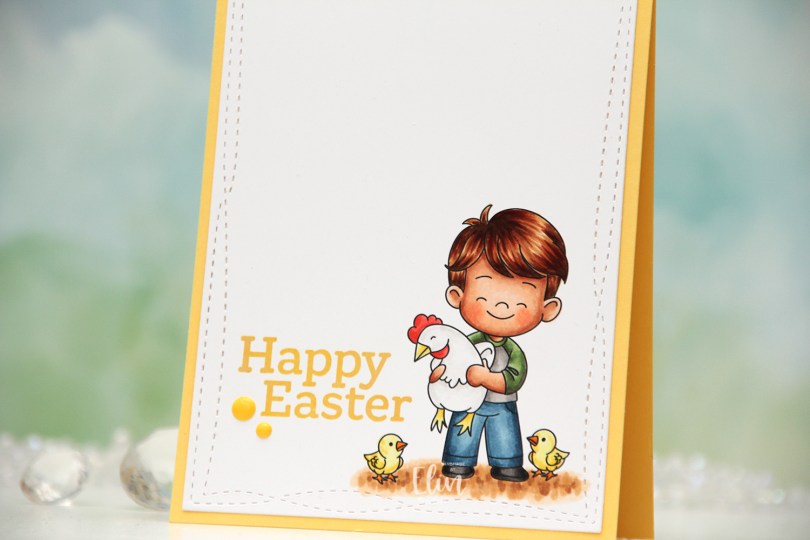
 I colored the image with my Copics and used the largest die in the Wonky Stitched Rectangle STAX die set from My Favorite Things to create a little bit of interest to the edge. I adhered my panel onto a top fold card base I created from Harvest Gold cardstock from Papertrey Ink.
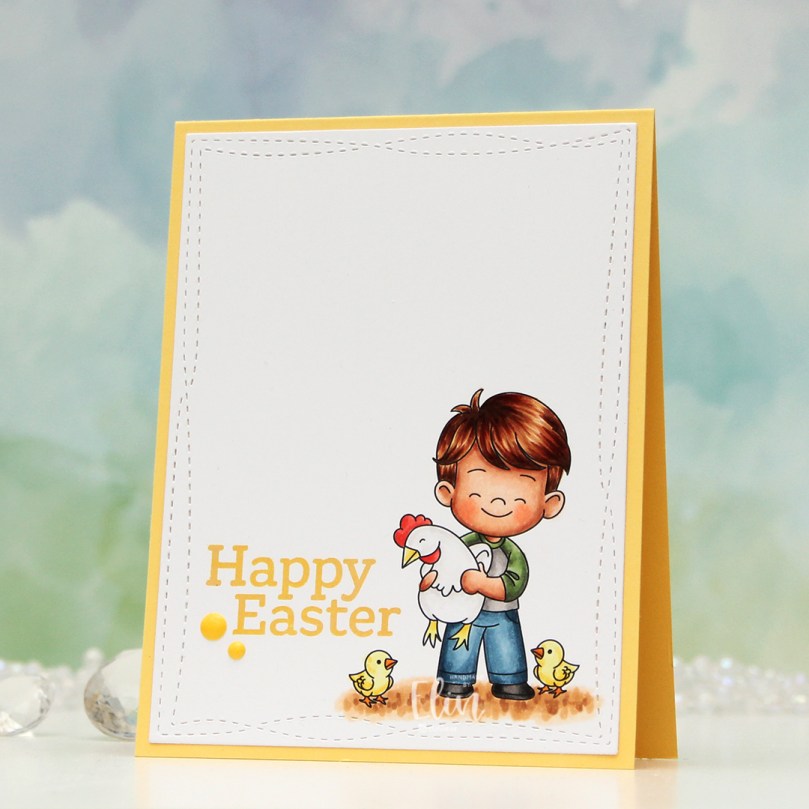 The sentiment is from the Sweet Easter stamp set from Sweet November Stamps. It’s actually a single line stamp, but I wanted a staggered look and cut the two words apart. You could also mask if you don’t want to cut your stamps, but I promise they don’t cry, and it’s easy to put the two halves back together as originally intended. I used Fossilized Amber Distress Oxide ink, stamping Easter first, then nestling in Happy above it, before finishing the card off with a couple of enamel dots from the Pocketful of Sunshine pack from Altenew.
 I used quite a few Copics for this, even though the card is very simple.
 I used the second largest die in the Watercolor Rectangle STAX die set from My Favorite Things to turn my colored piece into a panel with a fun edge. I added some layers of cardstock behind it and adhered it to a top fold card base I created from Berry Sorbet cardstock from Papertrey Ink.
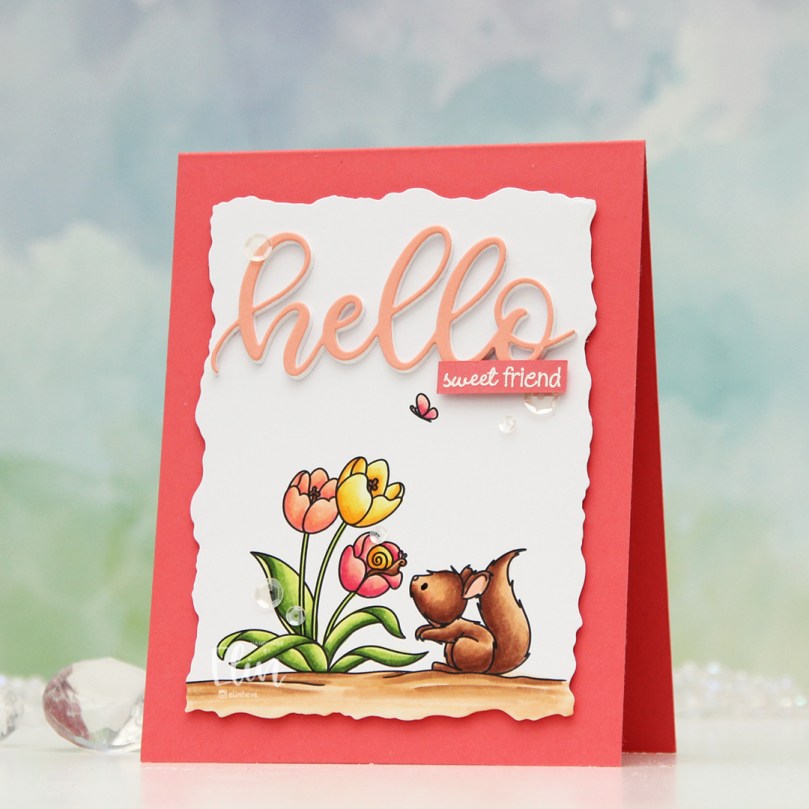 I used the Sweet Hello die from My Favorite Things to create my sentiment. I die cut four from white cardstock and one from Grapefruit cardstock from Concord & 9th and adhered them all together for a stacked, dimensional look. I stamped and white heat embossed a sub sentiment from the IWCL2017005 English stamp set from InkyWings on a strip of Berry Sorbet cardstock and added it to my die cut sentiment, making sure to put a few layers of cardstock behind it on the part that overhangs. I added a few sequins from the White Orchid Sequin Mix from Little Things from Lucy’s Cards, and put a dot of black Glaze pen from Sakura on the squirrel’s eye for a little bit of shine and dimension to finish off the card.
 I used a lot of colors for this simple image.
 I colored up the penguins with my Copics and fussy cut them right up against the black lines. These are very simple shapes and easy to fussy cut. I put the penguins aside while I worked on the rest of my card. Onto a card base I created from Blue Breeze cardstock from My Favorite Things, I stamped tiny snowflakes from North Star Design using Spring Rain ink from Papertrey Ink for a subtle tone on tone look. This is super subtle, my ink pad needed reinking, but I went with it and didn’t reink until after the project was complete, I didn’t want to stop half way.
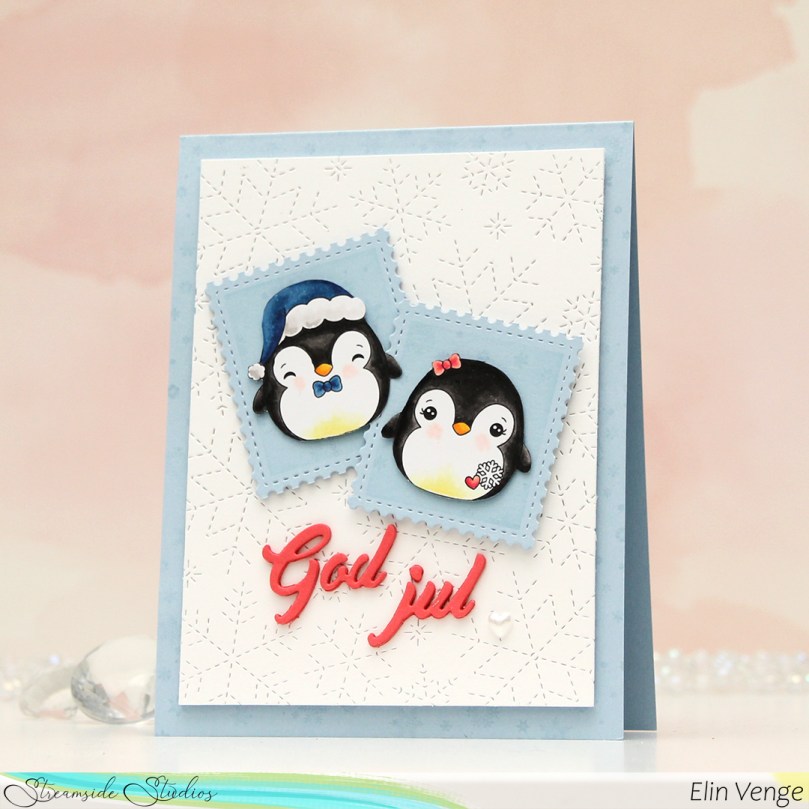 I used the Stitched Snowflake Backdrops die from Lawn Fawn to create an impressed snowflake pattern on a piece of Stamper’s Select White cardstock from Papertrey Ink. I added a few extra layers of cardstock behind it and adhered it to the card base. Using the Postage Collage Die and coloring stencil from Waffle Flower, I created postage stamps for my penguins to sit on. I stamped the snowflakes on these as well, and ink blended a little in from the edges to define them a tiny bit. It’s still subtle, I hadn’t reinked my ink pad at this point. I added dimension behind each of the postage stamps, adhered them to the card and mounted the penguins on top. I used the Hjerte 3 die set from Papirdesign to die cut my sentiment from Berry Sorbet cardstock from Papertrey Ink. I die cut four and stacked them together for a dimensional look, before adding a
  Simple coloring for simple images.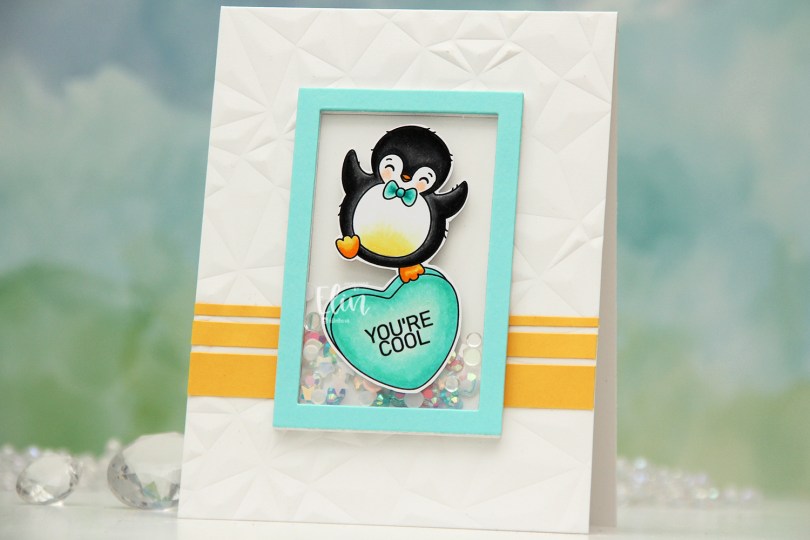
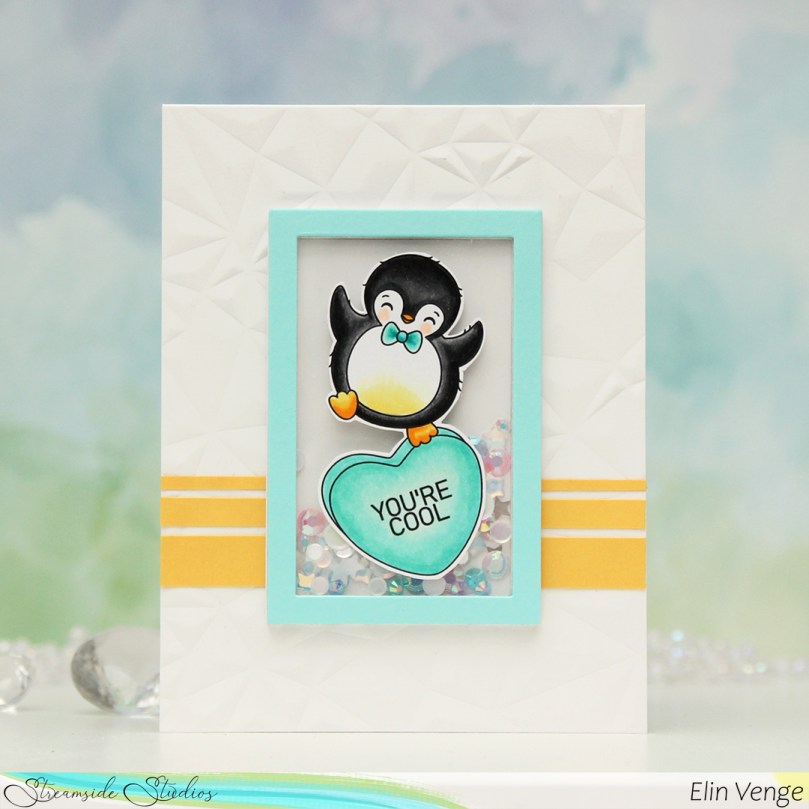 I colored the penguin on the heart with Copics. You know me, I can’t resist a penguin stamp. I fussy cut around him, leaving a white trim around the edge and put him to the side while I worked on the rest of the card. I used the Crystal Distortion embossing folder from Simon Says Stamp to create some interest and texture to my card base, which I created from Stamper’s Select White cardstock from Papertrey Ink. I cut strips of Buttercup cardstock from Concord & 9th and added them towards the bottom of my card.
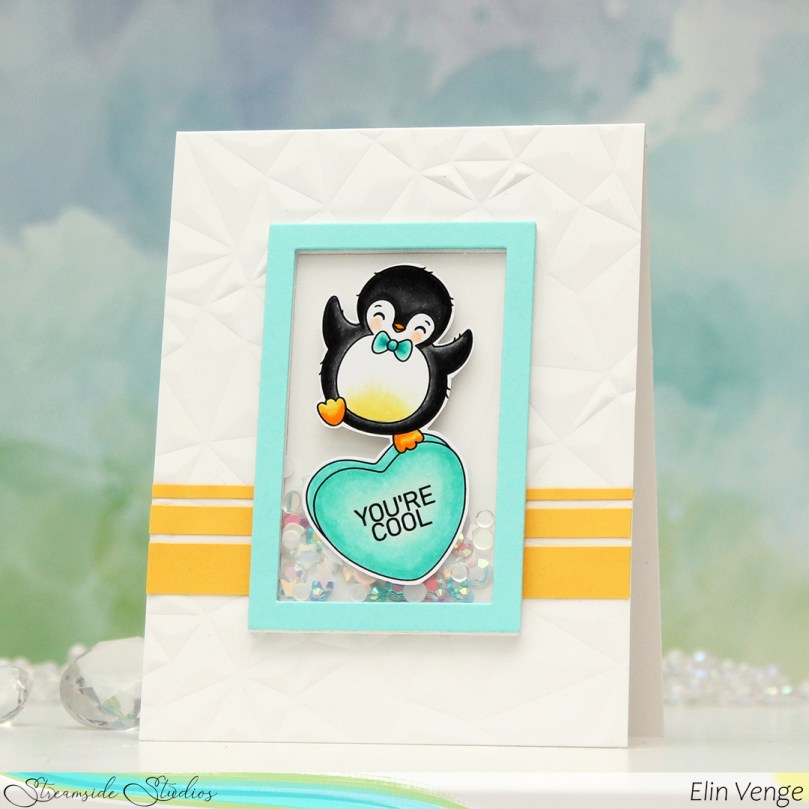 I die cut a frame from the Classic Rectangle Frames die set from My Favorite Things several times from white cardstock (I think I have six or seven layers) and stacked them to create my shaker well, adding one of the centers back in to create a smooth back for my shaker well. I added a mix of the
  This yellow and wonderful aqua combo makes me think of summer. I wish it would get here already, but it’s currently snowing. Again. Sigh.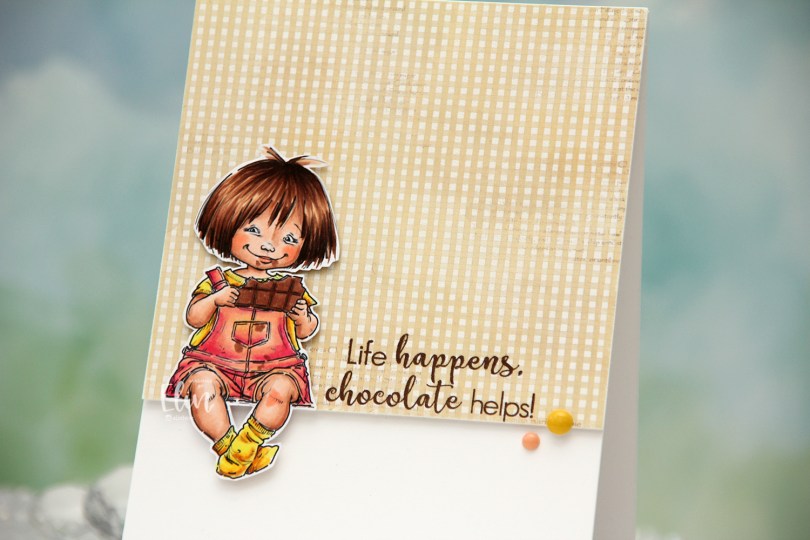
 I colored the image with Copics, fussy cut leaving a white border and created a very simple card for her to sit on. I pulled out a piece of patterned paper from the Coffee in the Arbour 6×6″ paper stack from Maja Design and cut it down to fill about 2/3 of the front of an A2 card.
 I stamped a sentiment from the Coffee and Chocolate stamp set from hÄnglar & Wings onto the bottom of the pattern using Dark Chocolate ink from Papertrey Ink. I added a few layers of cardstock behind the patterned paper for a bit of dimension, and did the same with the little girl, making sure to add a couple of extra layers behind her legs so they wouldn’t sag. I adhered her so she’s sitting right on the edge of the patterned paper and finished off the card with a couple of enamel dots from My Mind’s Eye. The yellow one is from the “Oxford Lane” pack, the peach from the “Sky’s the Limit” pack.
 I used a very summery palette for this one. I really want summer, and we’re currently in “Ice, Ice, Baby” mode. I long for the days when I can walk outside without having to worry about an unpleasant meeting with the ice.
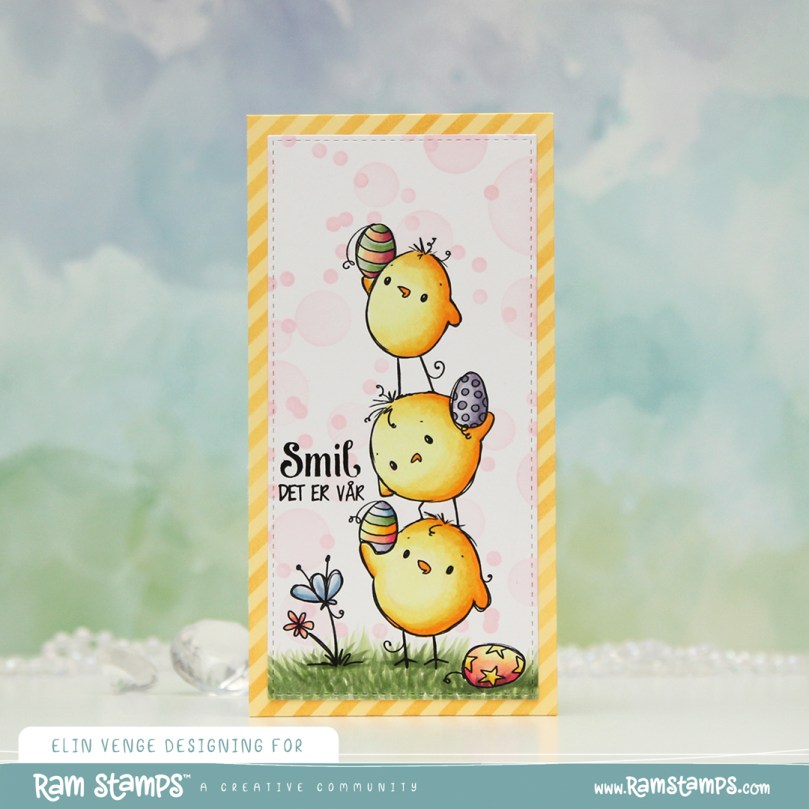 I created a mini slimline card this time. I figured it would go well with the tall, skinny image. This particular mini slimline measures 3 1/8 x 6 1/8″. I colored the image with Copics and used a die from the Stitched Mini Slimline STAX die set from My Favorite Things before I went over it with the Bokeh Elements Stencil Duo set from Waffle Flower and Rose Quartz ink from Altenew to create a soft background behind the chicks. I didn’t even bother masking them off, the pink ink was so light. I then trimmed down a piece of Lemon Tart cardstock from Papertrey Ink and used the Diagonal Stripe stencil from Simon Says Stamp with Scattered Straw Distress Ink to create some interest to the base as well. I stamped a sentiment from an Easter stamp set from Papirdesign (PD18390 Påske) using Obsidian ink from Altenew, and the card was complete.
 Bright, cheerful color palette for this one.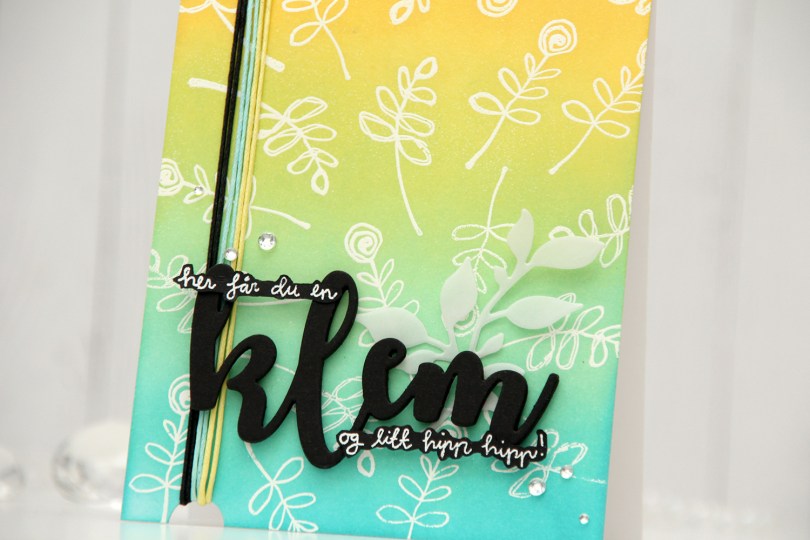
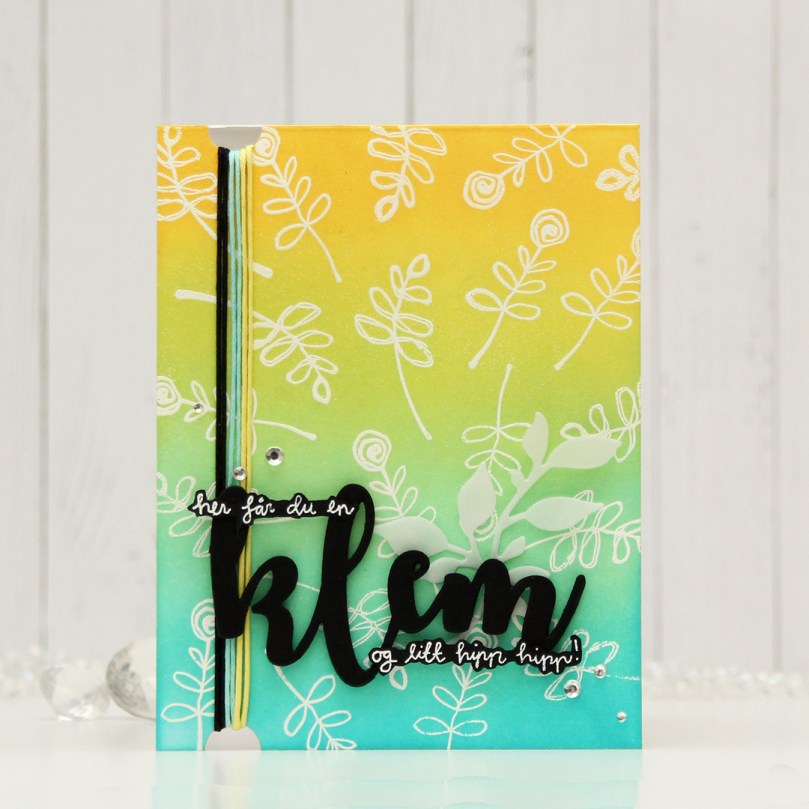 I started with an A2 top fold white card base. I stamped and white heat embossed two stamps repeatedly across the background, before ink blending on top with Distress Oxide inks. From bottom to top, I used Peacock Feathers, Cracked Pistachio, Twisted Citron and Fossilized Amber. I die cut klem four times from True Black cardstock from Papertrey Ink and stamped and heat embossed coordinating sentiments. I figured they’d be too tall if I cut them down to regular sentiment strips, so I fussy cut around them. So far, so good, right? Yeah, that’s when I hopped on the struggle bus. I figured the sentiment on its own was a bit meh against the background, and it wasn’t exactly revolutionary. Also, the first part of the sentiment was floating on its own, which I also didn’t like too much.
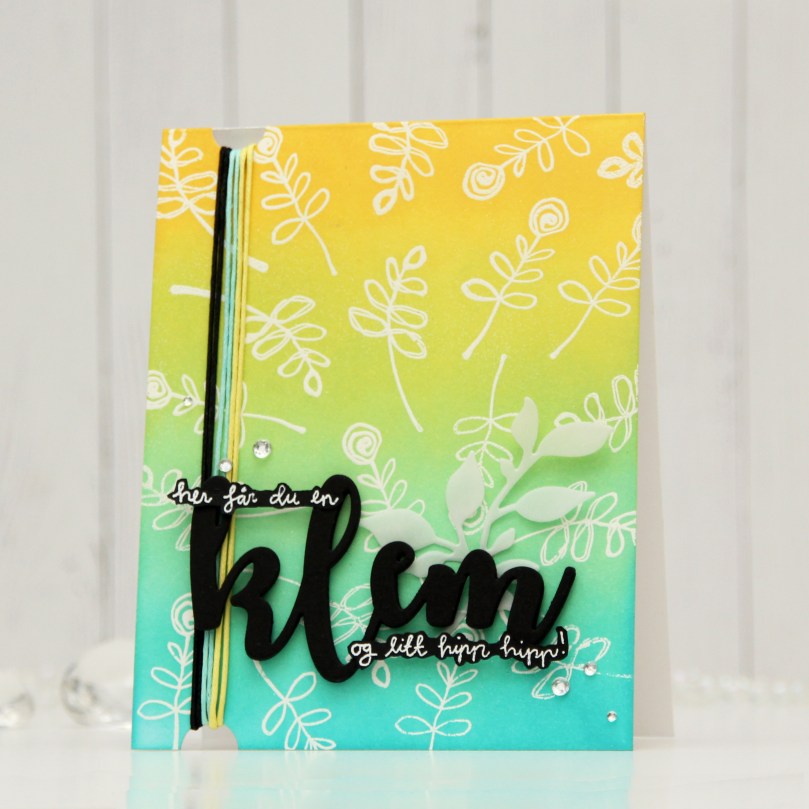 I used a leaf die to cut some leaves from vellum (Heavyweight Translucent Vellum from My Favorite Things), hoping that would work. It helped, but the first part of the sentiment was still floating. I needed an anchor point. I tried adding some thread on the side. Better already. I decided to cut a half circle notch from the bottom and top of the card for the thread to be looped around. Two strands each of three colors that matched the card. I was quite happy with that and decided to add the die cut word, and also adhered the stamped pieces of the sentiment on top of the die cut. Instant anchor points, and the first part of the sentiment was no longer floating on its own. I finished off with diamonds that framed the sentiment, and felt like it all ended up as a cohesive design in the end, even if it took me a while to get there.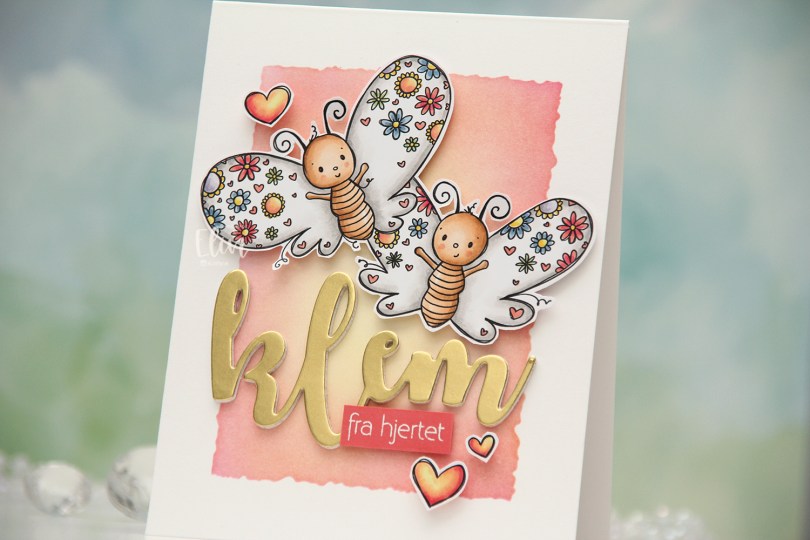
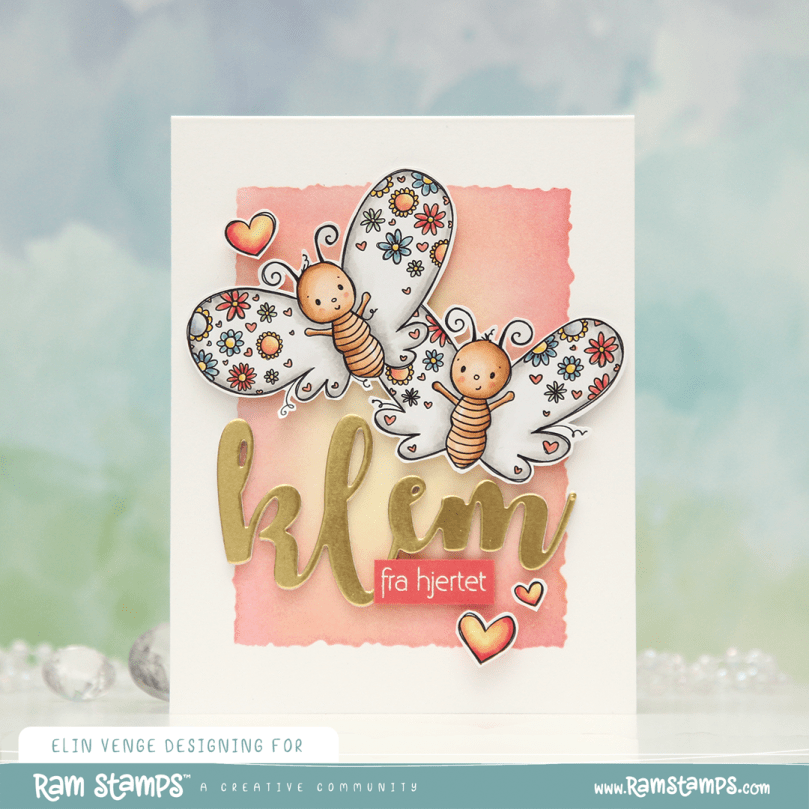 I colored the butterflies (and the three hearts that are part of the image) with Copics and fussy cut them, leaving a thin white trim around the edge. Onto a top fold card base I created from Stamper’s Select White cardstock from Papertrey Ink, I ink blended the center of the card, using the Watercolor Rectangle stencil from My Favorite Things and various inks (Distress Ink Picked Raspberry, Distress Ink Worn Lipstick, Altenew Pink Pearl, Distress Ink Scattered Straw). I went with pink on the edge and yellow in the center to mimic the colors in the hearts.
 I die cut the word klem (hug) four times from white cardstock and once from Gold Shine cardstock from My Favorite Things, and stacked them for a layered look. I added foam tape to the back of my butterflies, adhered them top center on the card and put the stacked klem below them. I also added a sub sentiment from Norsk Stempelblad AS that I white heat embossed on a piece of Berry Sorbet cardstock from Papertrey Ink. I put a few layers of cardstock behind it for dimension and added it to the card, partly on top of the die cut, before embellishing with the colored hearts to finish.
 Bright and happy color palette for this one.
 I colored the image with Copics, then used a die from the Blueprints 27 die set from My Favorite Things to give the panel a nice border around the edge. I added a few layers of cardstock scraps behind the panel for strength and dimension. I created a top fold card base from Lavender Moon cardstock from Papertrey Ink and ink blended from the bottom using Autumn Rose ink, also from Papertrey Ink. This gave my card base a nice ombre effect.
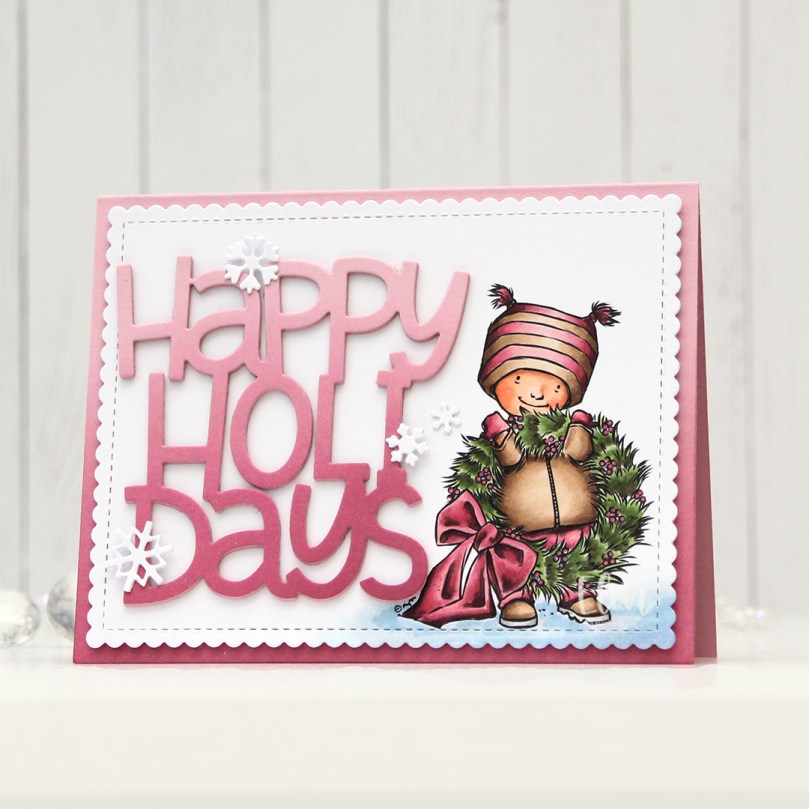 I used the Big Happy Holidays die from Mama Elephant to die cut four layers from Lavender Moon cardstock. I used the same ink blending trick for the top layer that I used for the card base, ink blending it before I die cut and stacked all four together for a nice, dimensional sentiment. To finish off the card I added a few die cut snowflakes. I used the Snowflake Confetti Fancy die from Hero Arts and CR1335 from Marianne Design to create my snowflakes, and my card was complete.
 I always go overboard when I color snow, even though there was very little of it this time.
 Papirmølla