Hi, crafty friends. I’ve got a super simple card coming your way today, featuring the Belated Birthday Sloth image from Mo’s Digital Pencil. This actually comes as a set. You get two sloths, one with birthday gear and one without. I used the one without the birthday gear for this one, but used the party hat from the one WITH the gear to add a bit more color to my card.
 I colored and fussy cut the sloth, colored in the party hat and fussy cut that, before putting both pieces aside while I worked on the rest of my card. I created a card base from Blue Breeze cardstock from My Favorite Things and created a wall for the sloth to hang onto using Stamper’s Select White cardstock from Papertrey Ink. To create a bit of texture to the wall, I stamped the Touch of Texture background stamp from My Favorite Things using Soft Stone ink from Papertrey Ink. It’s subtle, but still adds a little bit of interest.
 I stamped a sentiment from the Anything-but-Basic Birthday Wishes stamp set from My Favorite Things using Obsidian ink from Altenew, before adding the wall to the card base with 1 mm foam squares. I added the sloth using foam tape and finished off the card with a few Starry Sky Ombré Glitter Drops from Pinkfresh Studio. I also added a dot of Black Glaze pen to his eyes for a bit of shine and dimension, which is easy to see in real life, but tricky to photograph.
 This was initially a very muted, very simple color palette. Let’s just say things changed when I decided to add the party hat 🙂

 Isn’t this image the sweetest, with mama bear and her two cubs? For some reason, I love coloring polar bears, and to make them look “white” (although real polar bears aren’t really white), I always do no line coloring whenever I create cards with polar bears.
 Once my coloring was complete, I made a quick mask from Post-it tape to cover up my polar bears before I used my Wintry Forest stencil set from Pinkfresh Studio along with inks from Altenew (the colors are Misty Morning, Cloudy Sky and Nimbus) to create my background.
 I die cut my panel using the second largest die in the Additional A2 Layers die set from Waffle Flower Crafts, adhered it to a panel of Enchanted Evening cardstock from Papertrey Ink and then onto the card base.
 I stamped a sentiment from the Scripty Xmas stamp set from Mama Elephant using Enchanted Evening ink from Papertrey Ink and added some white dots to the cub’s hat with a white Gelly Roll 05 pen. And that finishes the card. I decided not to add any embellishments to it.
 Oh, how I love blue for Christmas cards.

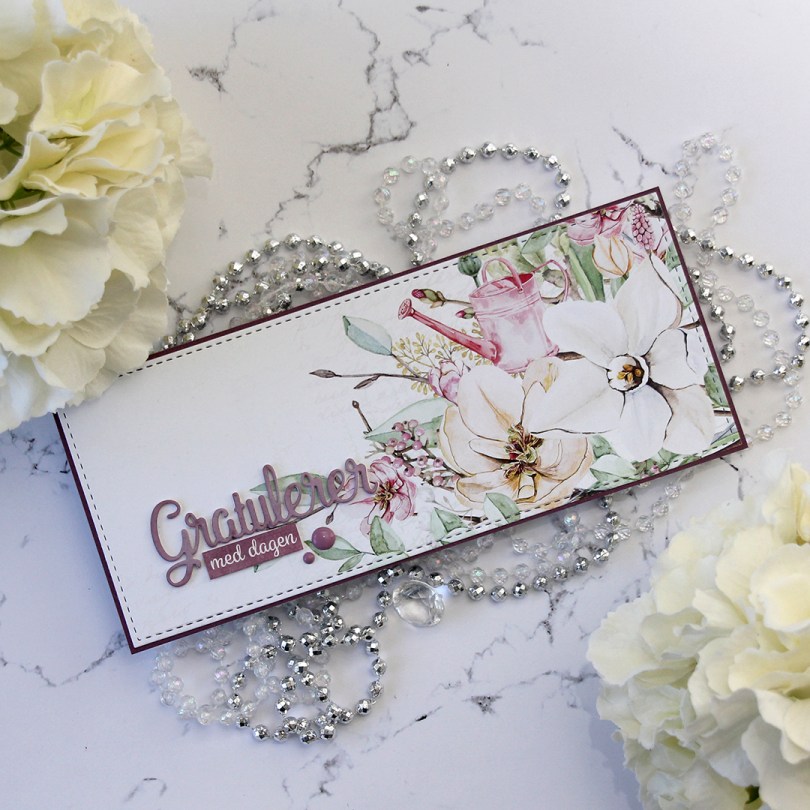
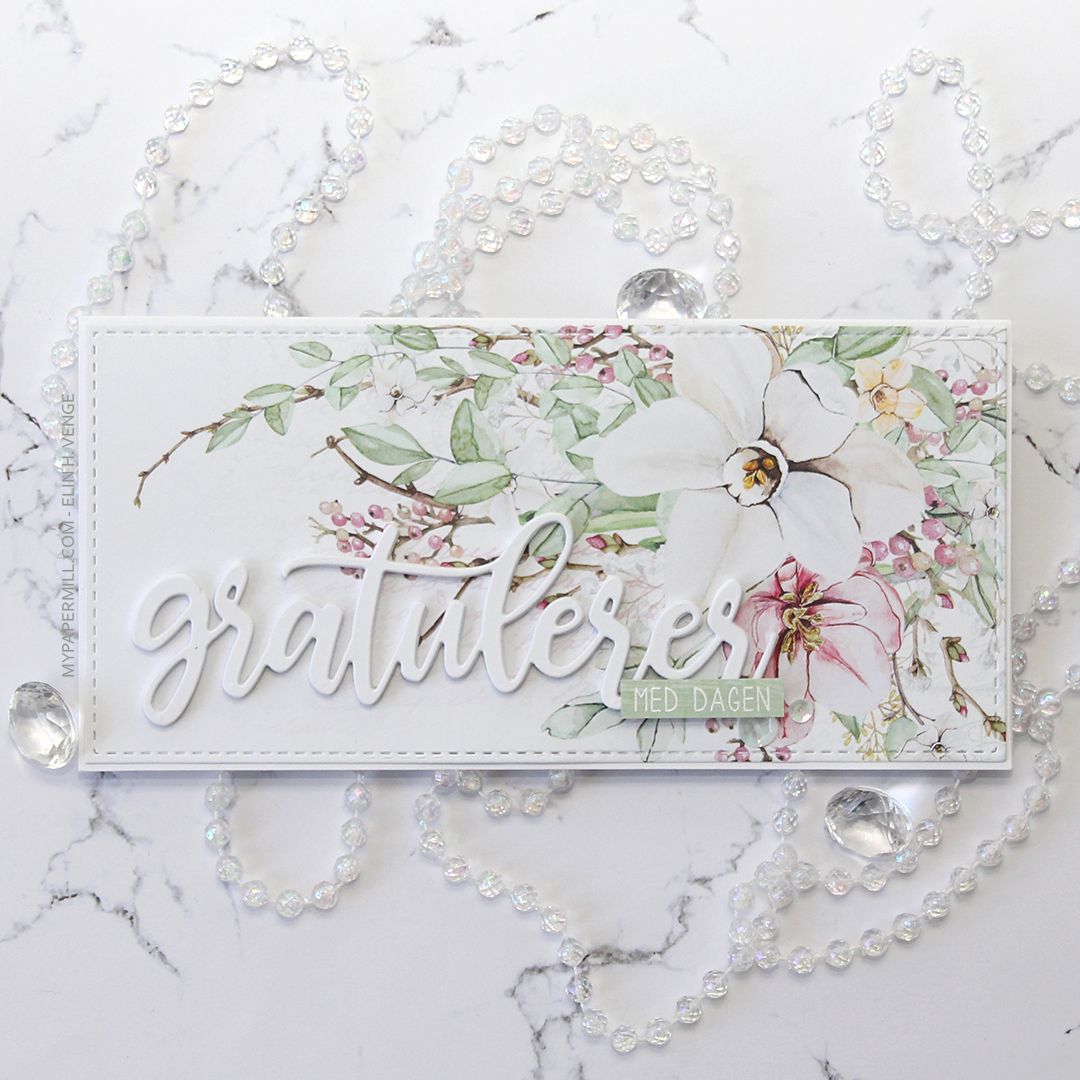 This first one might not even technically be a proper slimline card. It’s about 7-3/4 x 3-3/4″. I’ve used beautiful patterned paper from P13 for both my cards. I wanted the paper to be the hero, so I didn’t do too much to it. The sheet I used for this card is
  I used a
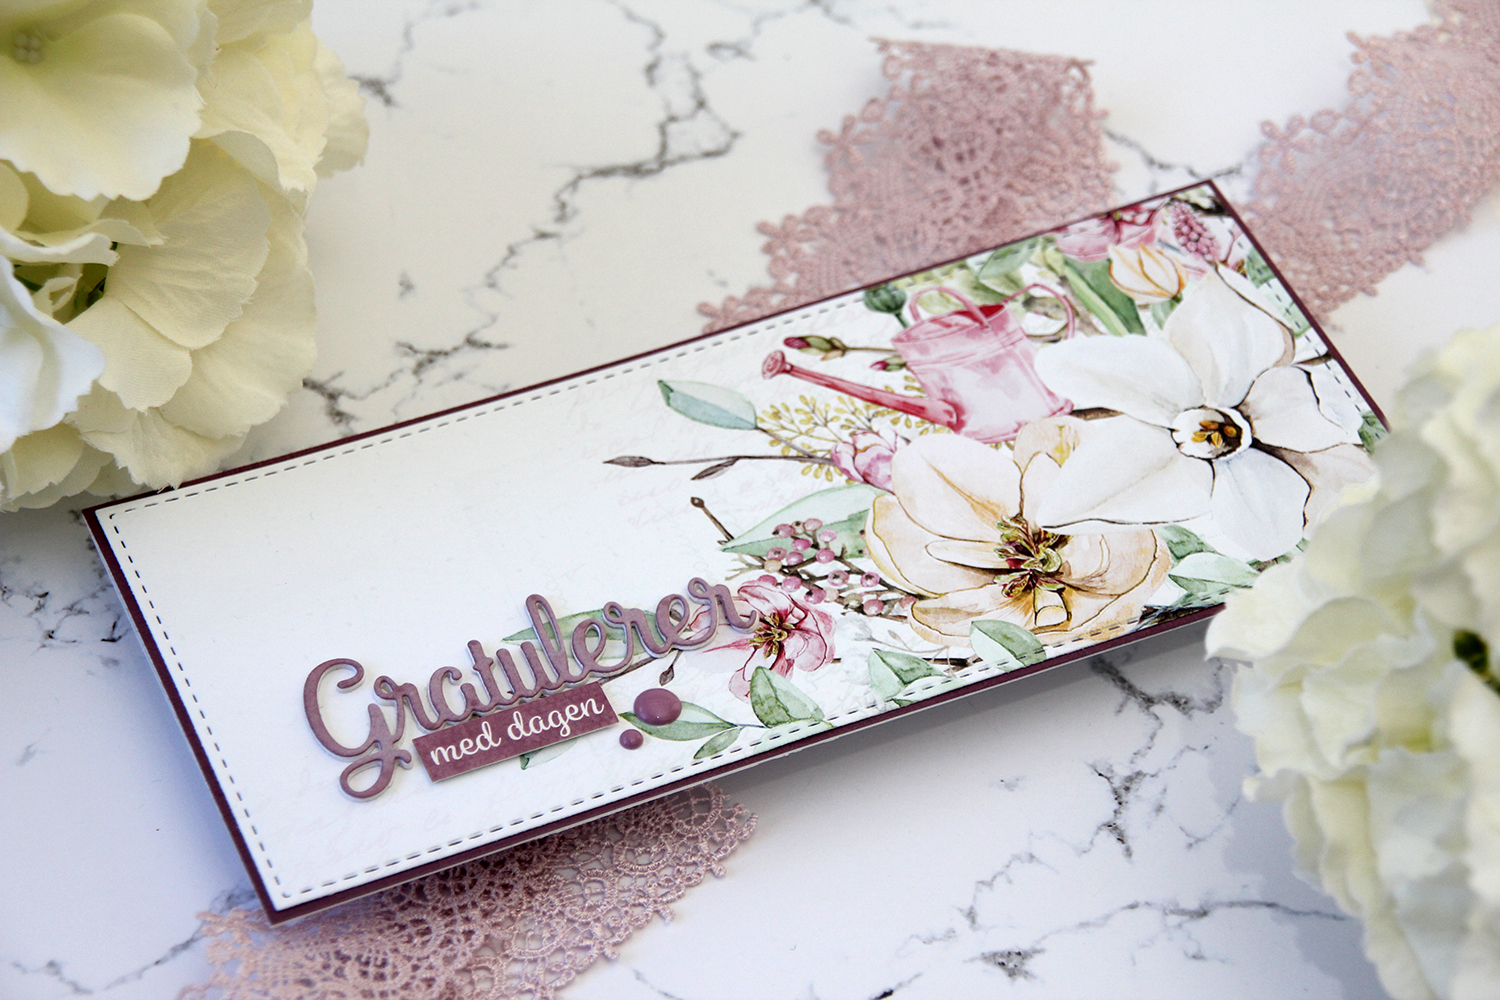
 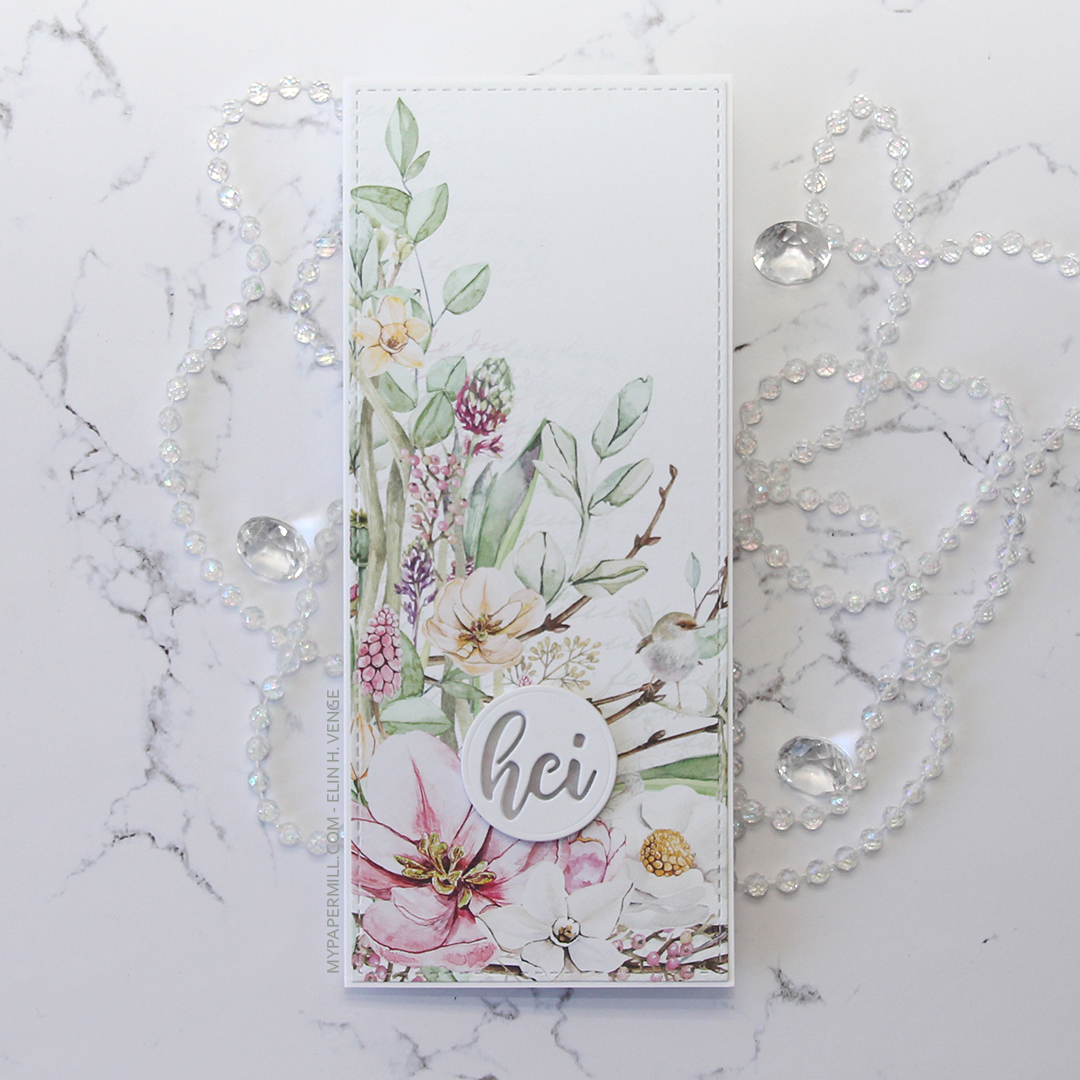 My second card uses a different part of that same sheet of patterned paper, as well as the same slimline die from Pinkfresh Studio. The sentiment is even die cut using a die from the same set as the sentiment on my first card.
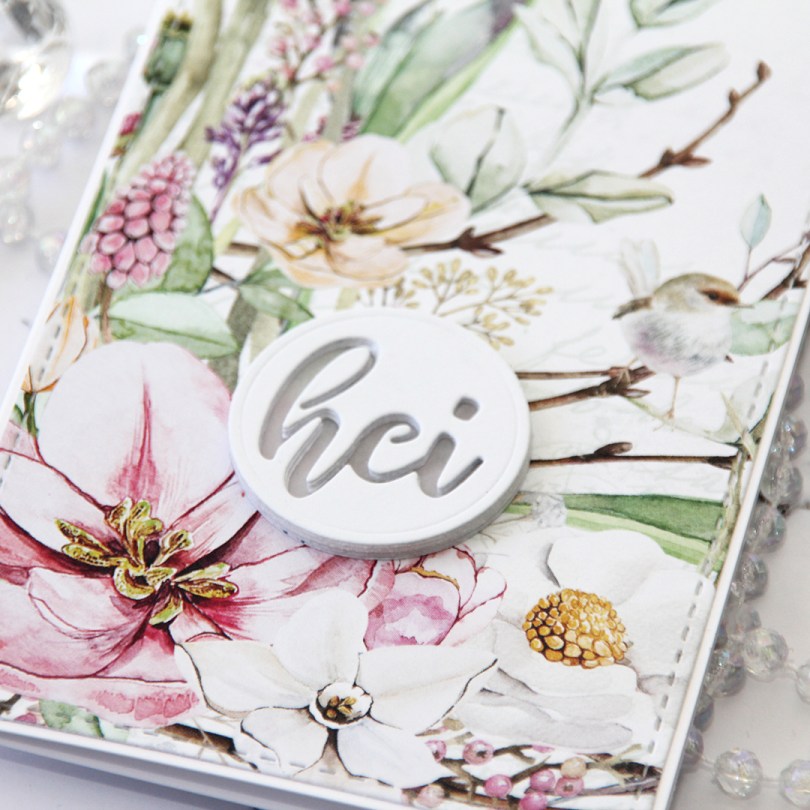
 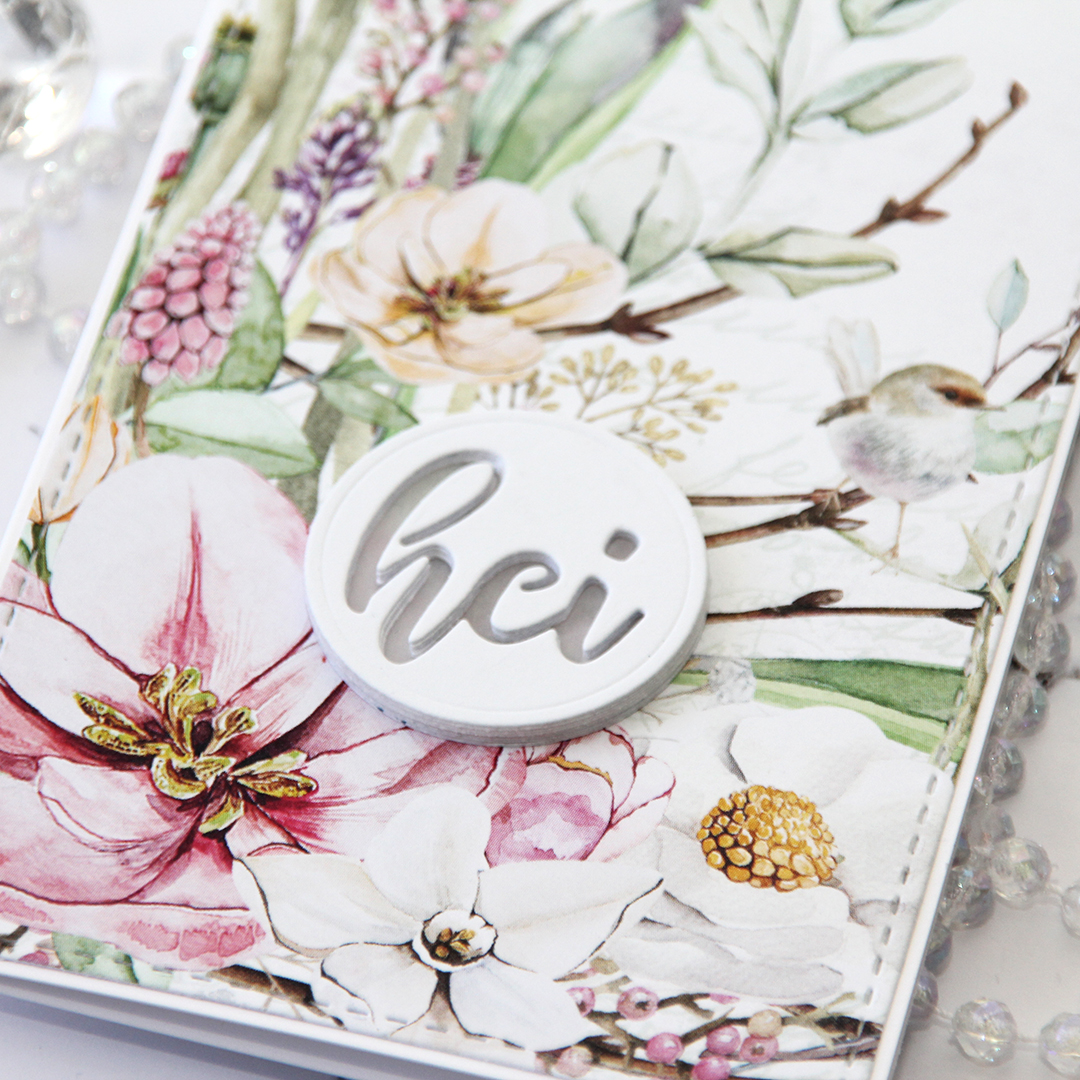 On this one I have four layers stacked on top of each other, then a vellum circle, then another four layers of the negative word die, making this sentiment really stand out as a statement on my card.
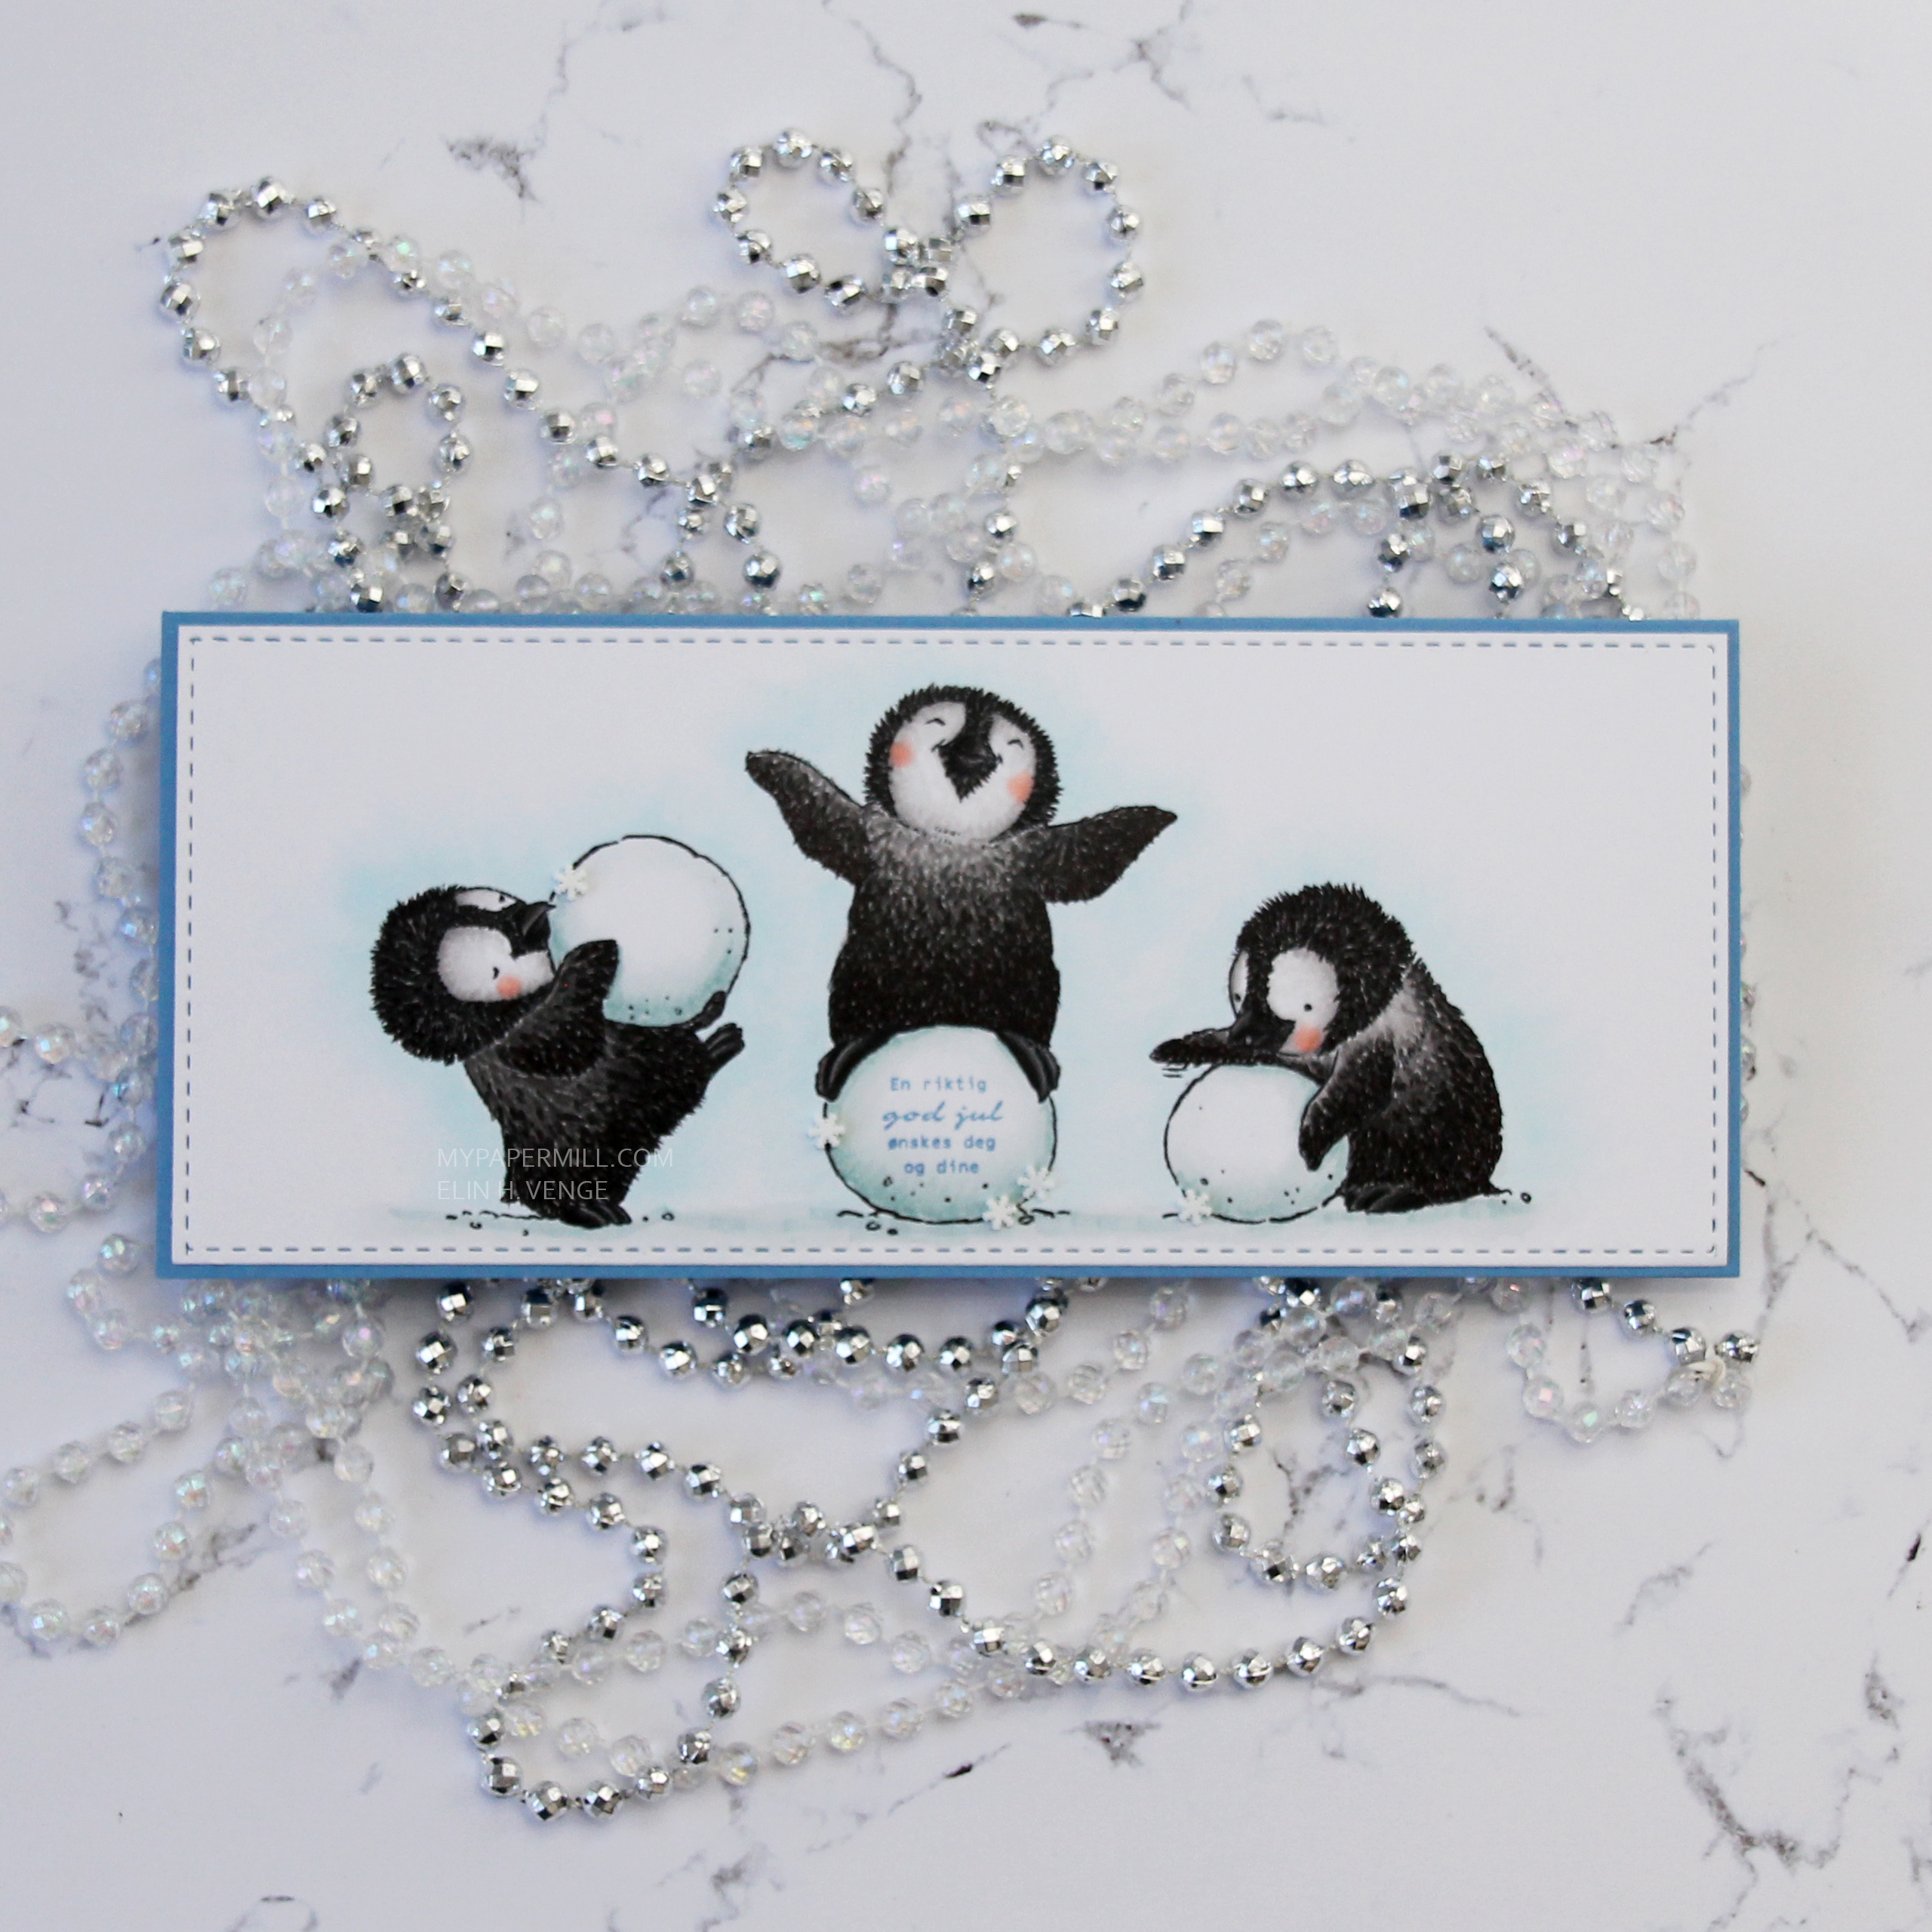
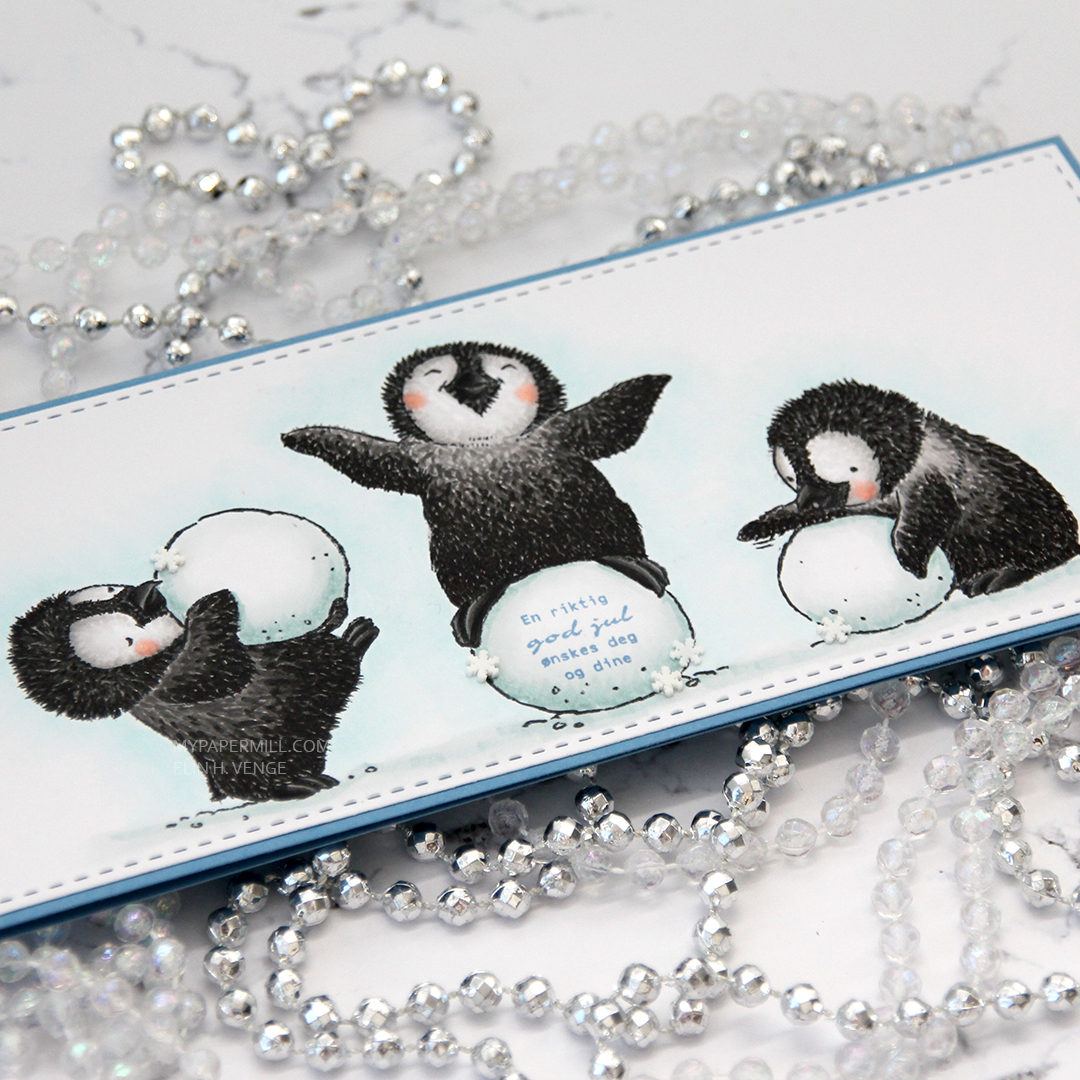
 I colored in my little scene using more Copics, die cut that using the same die, then fussy cut around the trees, snow and house. I added a sprinkling of snow by heat embossing chunky white embossing enamel on both panels. I glued my blue background to a cardbase I made from Pure Poppy cardstock from Papertrey Ink and added the rest of the scene on top using 1 mm foam squares – lots of them! I added a stacked die cut sentiment using a die from the So Many Snowmen die set from Mama Elephant and my card was done.
 I didn’t use too many colors on this, and most of these were actually used on the sky and the snow.