
Hi, everyone! I’m back after what I’d call sick leave for a couple of days. Don’t worry, I don’t have the virus that should not be mentioned, it was a plain old migraine that knocked me out. Once again, I’ve had a blast with some cute Purple Onion Designs critters illustrated by Stacey Yacula. Purple Onion has a sale going until the end of the week, so if you want to pick up some of these cuties for yourself, they’re 25% off right now 😉

I decided to create a woodland scene for this one, and managed to fit all my images on a regular A2 card. I started by stamping Rory and Noelle (the mouse and squirrel enjoying hot beverages), then Red (the lumberjack beaver) and masked them all before stamping Old Betsy (the truck with the bear inside). I masked that, then stamped one of the trees from the Double Pine Tree stamp in the bed of the truck by only inking up the one tree before stamping (the larger of the two). I added a mask for that as well, before stamping the Pine Tree Farm using fadeout ink from Inkon3 for that noline look that I love for my background elements.
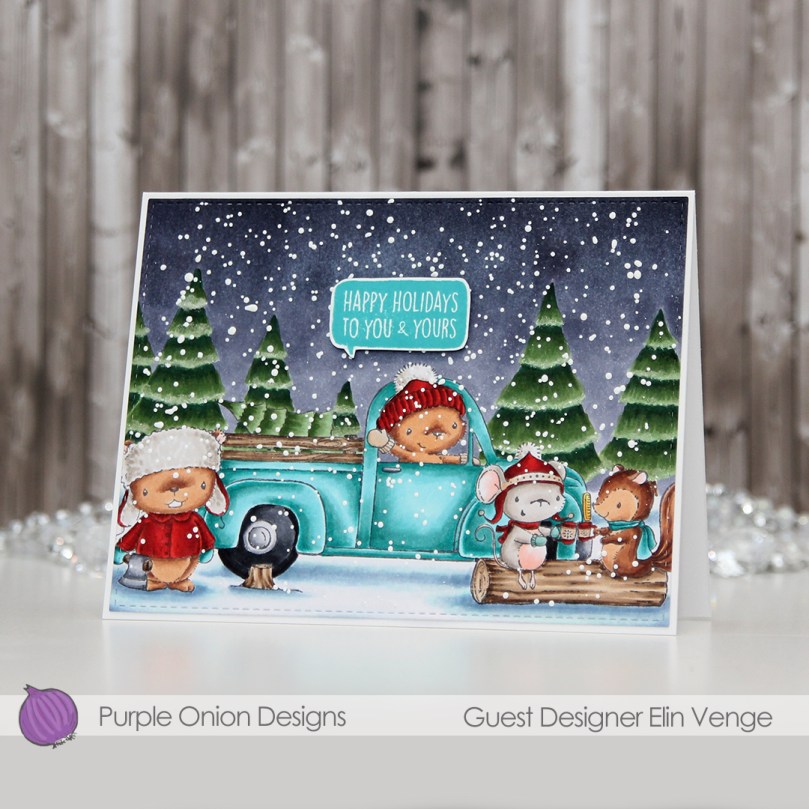
Once all my coloring was done, I used a stitched rectangle frame from My Favorite Things to die cut my scene, before adding a little bit of liquid glue and rock candy distress glitter to portions of the trees and selected areas on the ground for some frosty, snowy effect. Lastly, I sprinkled on chunky white embossing enamel and heated the panel from the back, creating a snowy look that I really love.

I stamped one of the sentiments from the Holiday Blurbs I stamp set using Peacock Feathers Distress Oxide ink, fussy cut my sentiment leaving a thin white border and adhered it to my scene using Gina K black foam tape. All that was left was to add everything to a top fold landscape oriented card base, which I made from Stamper’s Select White card stock from Papertrey Ink, which is my favorite white card stock for card bases.

It’s back! I took the time to redo my template for my Copic colors, and this time it’s not stored in a Dropbox folder where I can accidentally delete it using my iPhone, which is what happened to the last one. Lots of colors for this one, and I even used BV27 in the sky in addition to all the other BV20s. It’s a color I’ve made myself using an empty marker and drops of RV29 various ink as well as blending solution.
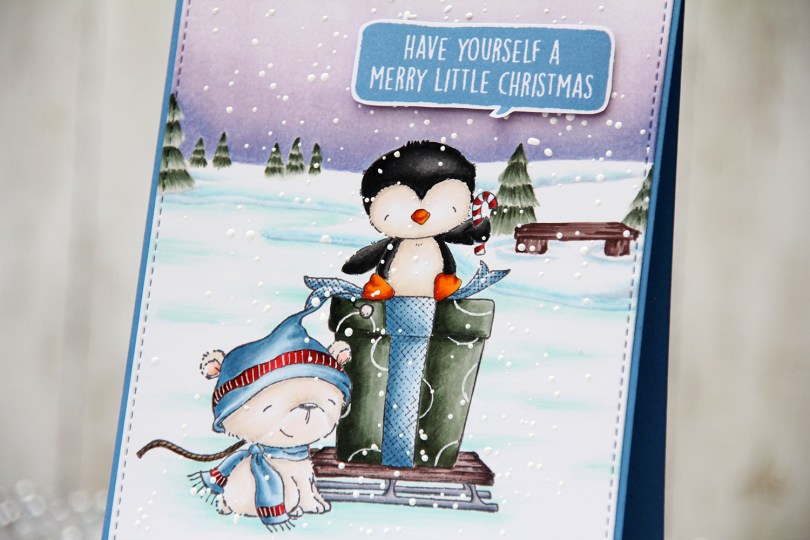
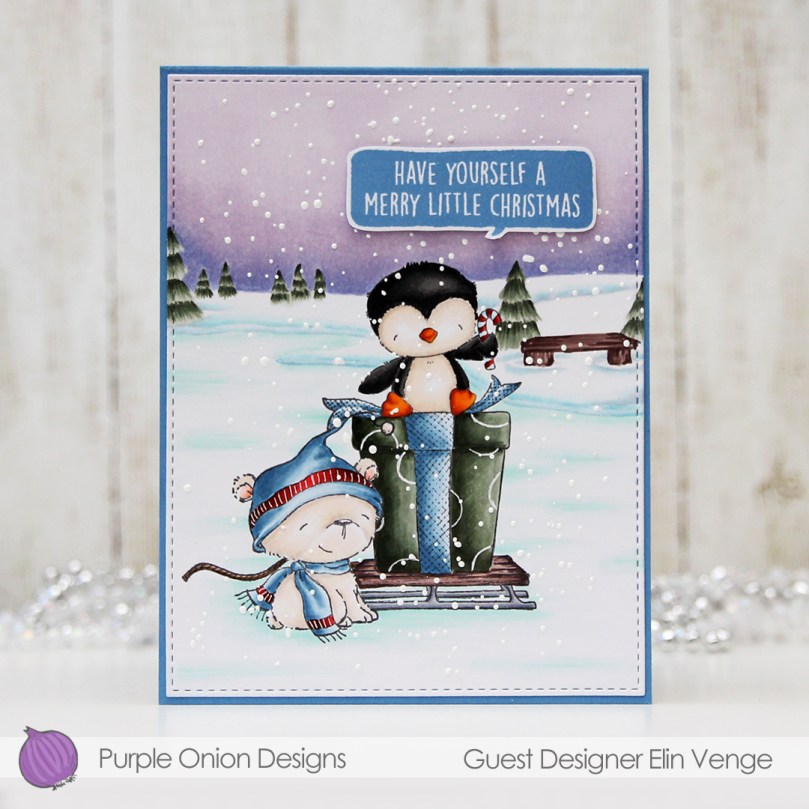 It’s no secret that I’m a fan of penguins and polar bears, and even though their habitats are on opposite sides of the globe, they’ve come together for this card. I mean look at them; that cute cub with a scarf and hat and that penguin sitting on a present with a candy cane in his hand – just too cute to pass up.
 The little polar bear’s name is
  Here’s a bit of a closeup. I swear the bear has some color, even though he looks very one dimensional here. I stamped a sentiment from the
  Once I finished my coloring, I took the largest of my A2 Stitched Rectangle STAX dies from My Favorite Things to create a nice edge on my scene. I sprinkled on chunky white embossing enamel from Stampendous, heating the panel from the back until the granules melted. I glued my panel straight onto a top folding card base I made out of Papertrey Ink Blueberry Sky cardstock.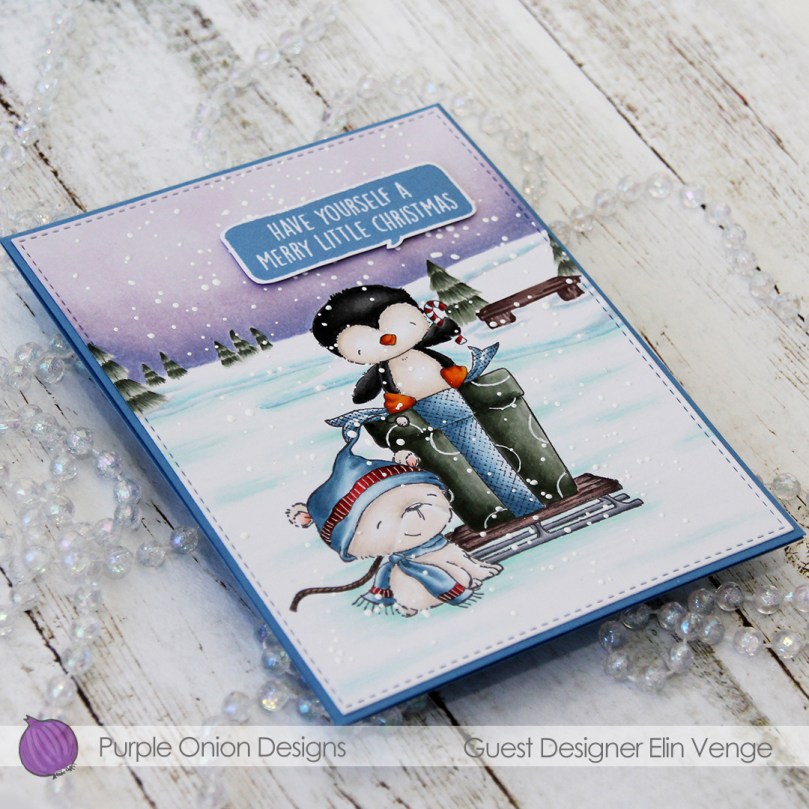
 The
The 

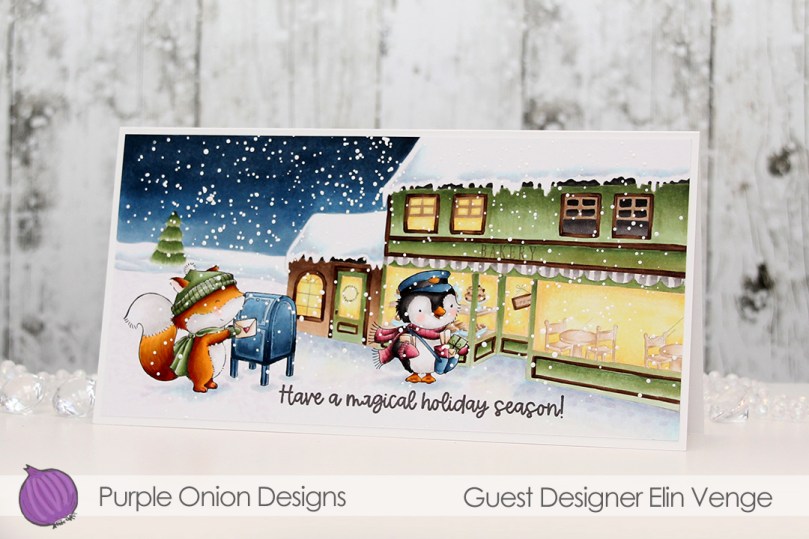 Whenever I have background elements, I pretty much always start with those, and today was no different. I colored in the snow first, both on the roofs and on the ground, before coloring the sky and then the building.
 After I’d also colored in the fox, the mailbox and the penguin, I added a sentiment from the
  Plenty of colors used, but there are a lot of images in this one.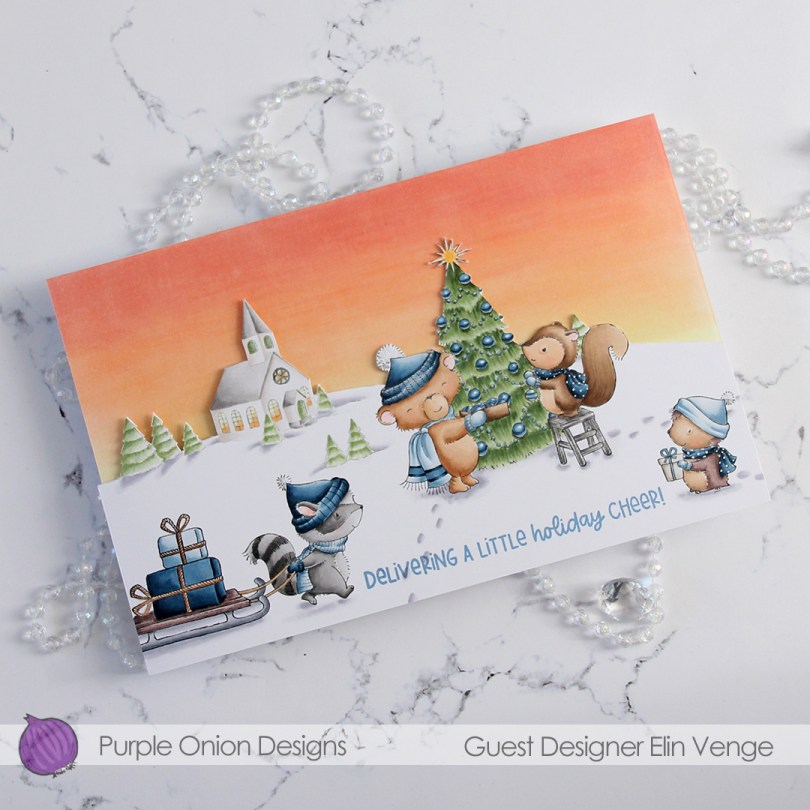
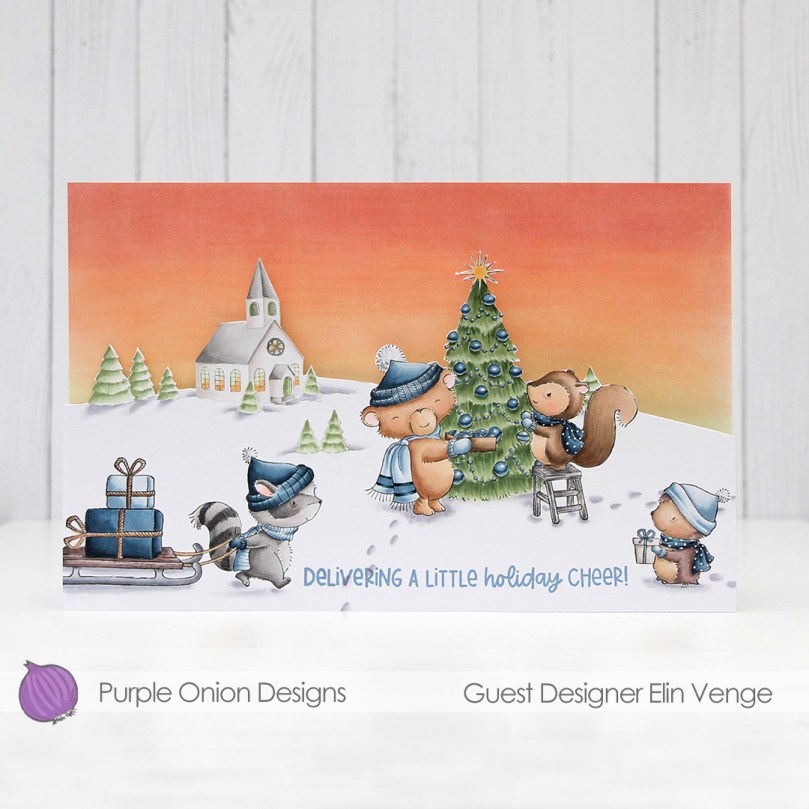 I wanted to create a scene with a couple of the cute critters (
 When you open the card, the sky’s still there, but below it are the
  I also stamped a sentiment from the new
 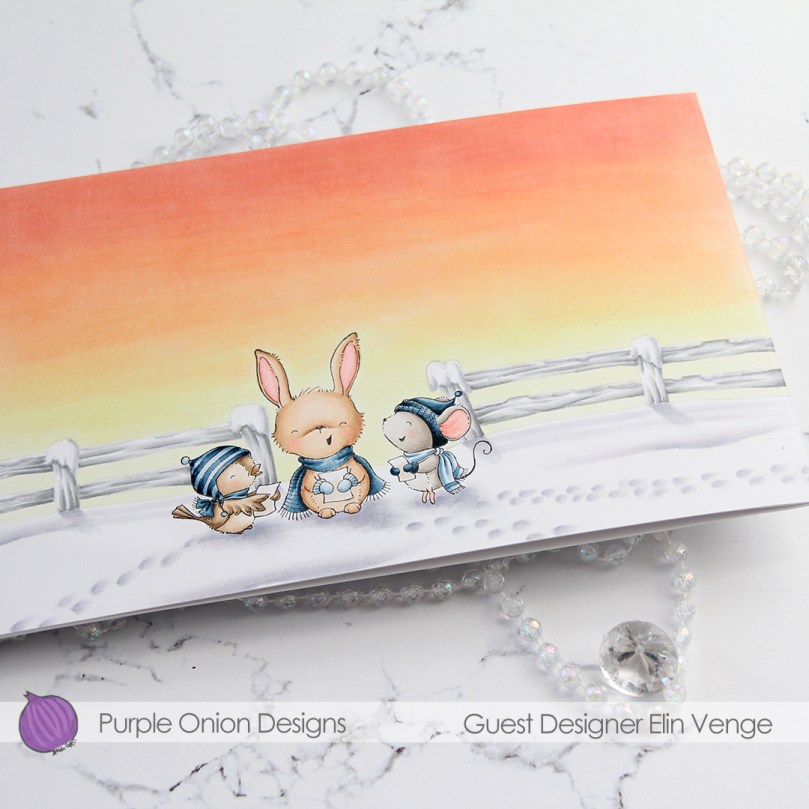 In this photo, you can see that there’s another layer of the card behind this panel with the singing critters.
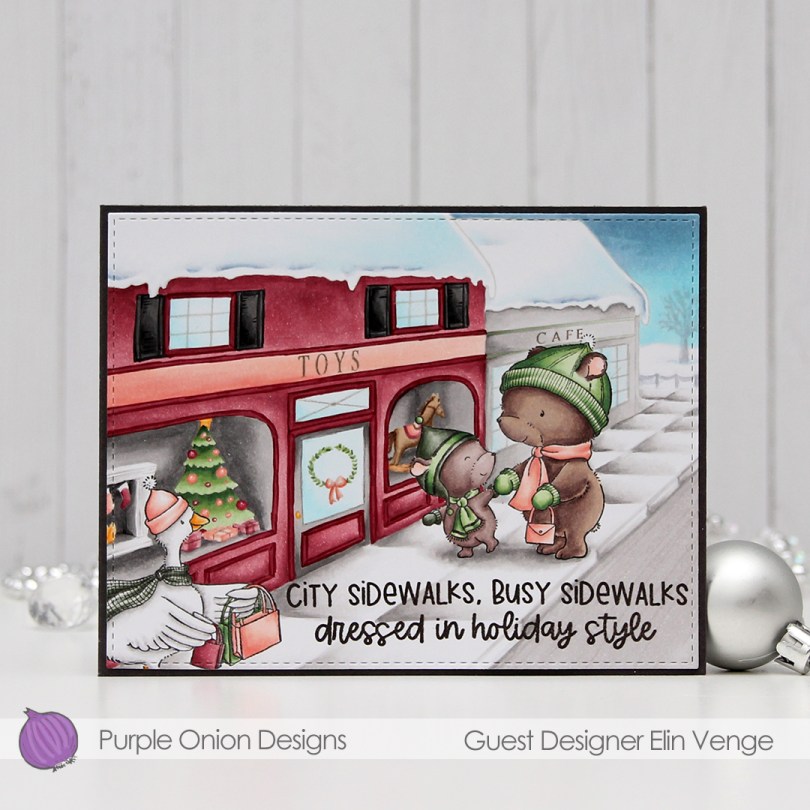
 I love these stamps!! And I do believe this is the first time I’ve colored a goose! And it’s such a cute goose too, she (her name is
 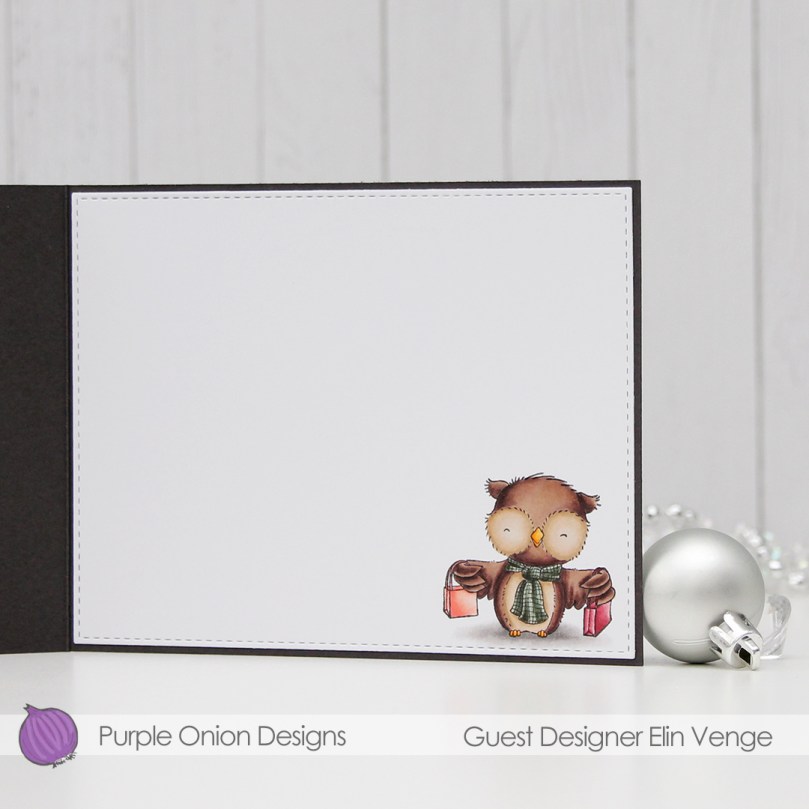 I was going to make a 5×7″ card, but changed my mind. It meant that
  The bears are
 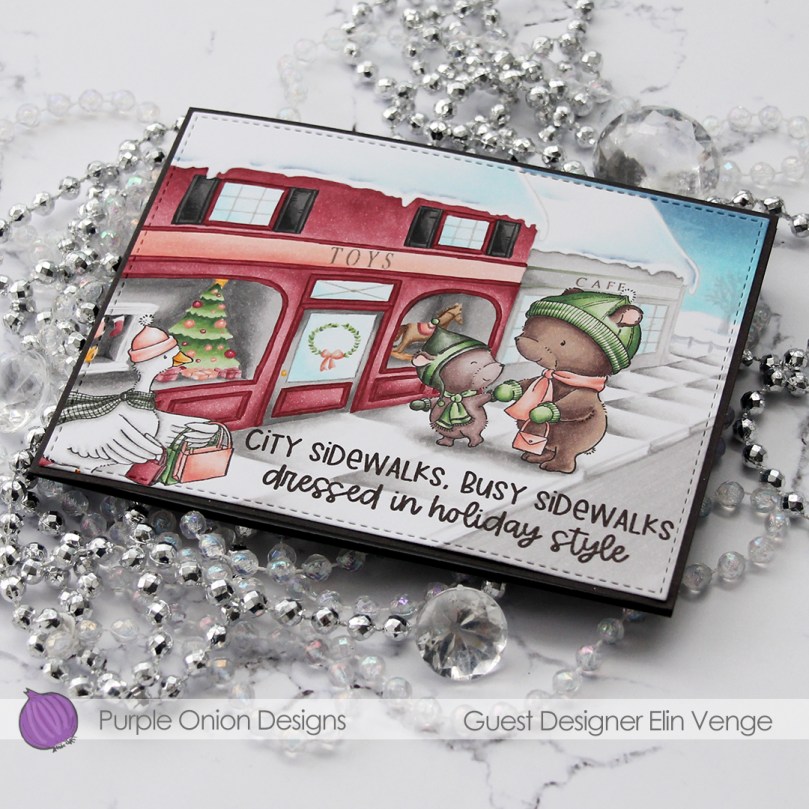 To me, this color scheme is a bit untraditional, but I didn’t want to go with the same red and green combo I used for my last card, so I had to come up with something new. Somehow, I had it in my head (thanks to Liz) that my toy store needed to be red, so I came up with a combination of a pink based red, a light, peachy color and a brighter green than the greens I usually go for.
 Lots of Copics used for this one, I did color in the whole front of the card, after all. I stamped the background using Fadeout ink from Inkon3, so once my Copic coloring was done, I went in with a gray Prismacolor for details on the windows and a little bit of brown for the horse and the ribbon on the presents in the display windows.
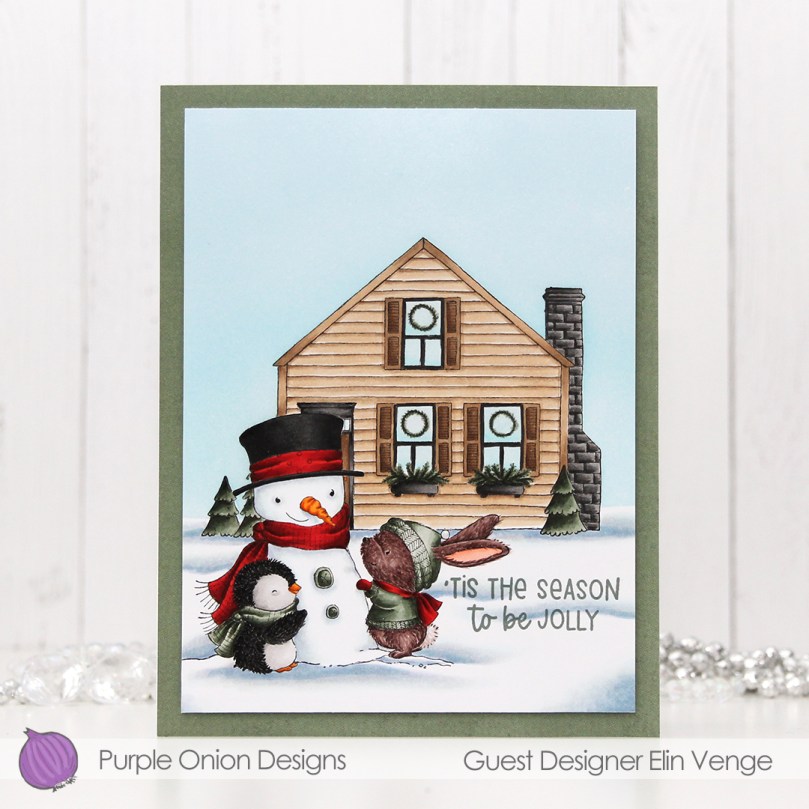 When I first got the stamps, the first thing I did was create masks for each and every single one of them. Time consuming, sure, but so worth it to be able to create scenes like this. For this card, I started by stamping the S
 I colored the scene using Copics, making sure to use muted, soft colors for the background and brighter colors and more detailed coloring for the snowman and his friends. That penguin chick had me, I love him!! I stamped a sentiment from the
 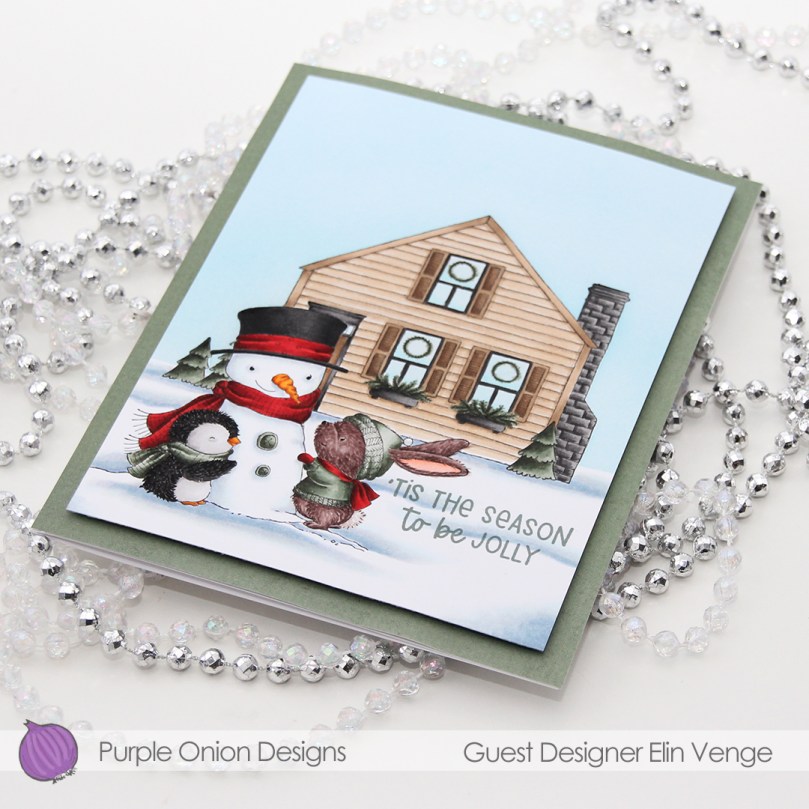 I cut my colored piece down a little and was going to add it to a 5×7″ card base, but realized I’d cut too much off the height, so I had to shrink the card front accordingly. The finished card measures 5 x 6 1/2″. A bit of an unusual size, I guess, but I think it works. I added a piece of green patterned paper from Papirdesign to my white side folding card base and mounted my colored piece with plenty of foam tape. Normally I’d use Stormy Sea card stock for my base, but I didn’t have a piece big enough, and that patterned paper (without much of a pattern) was a great match.
 Lots of colors for this one, but I used the ones before T7 on the snow alone… No wonder it’s a lot.
