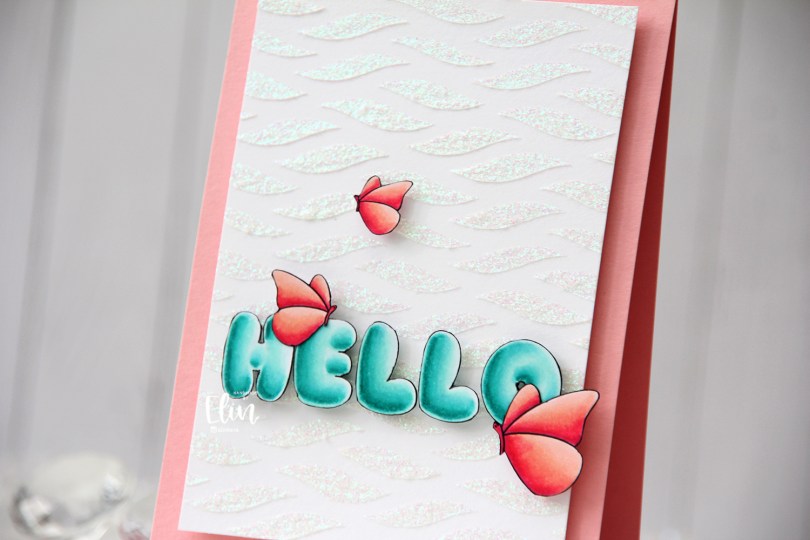
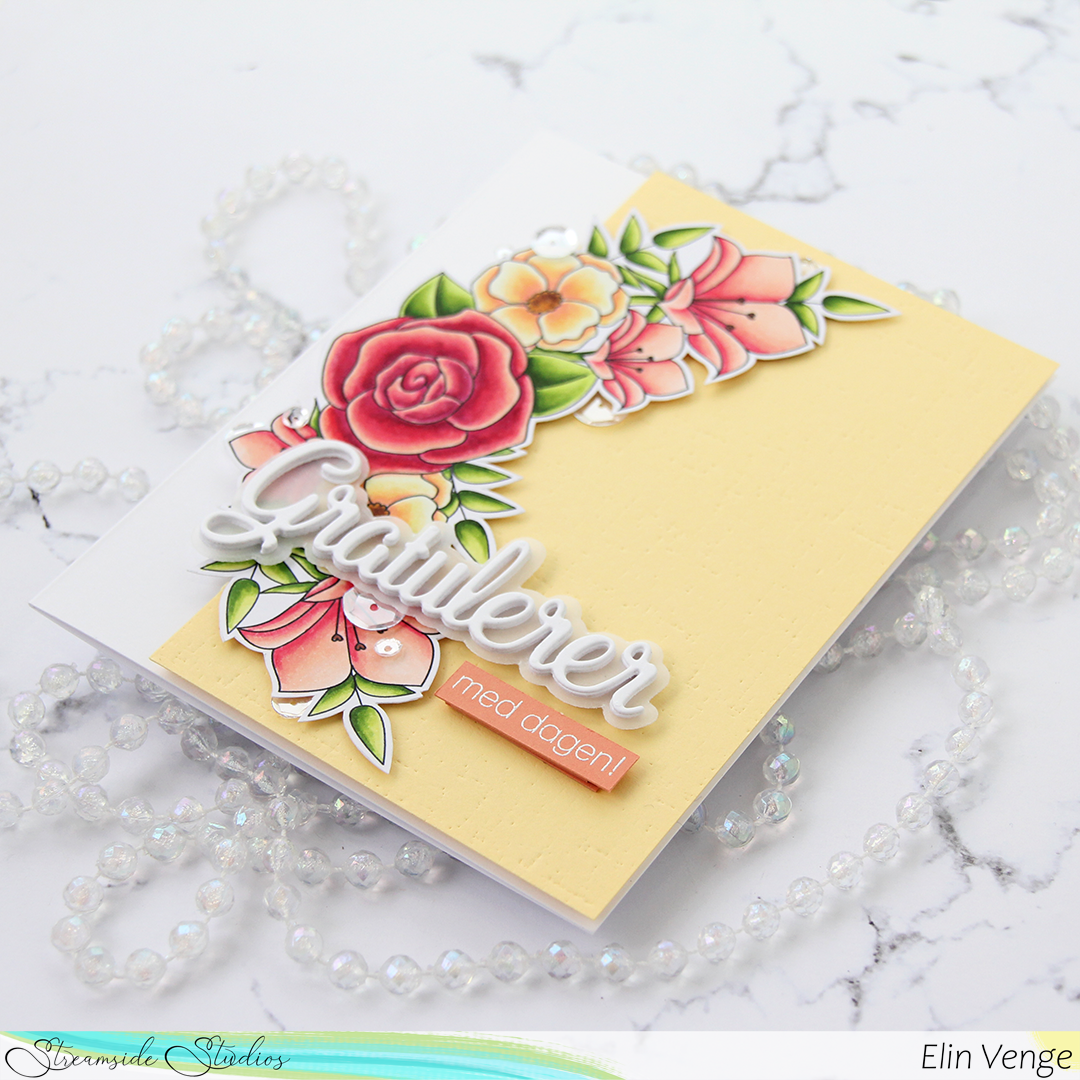
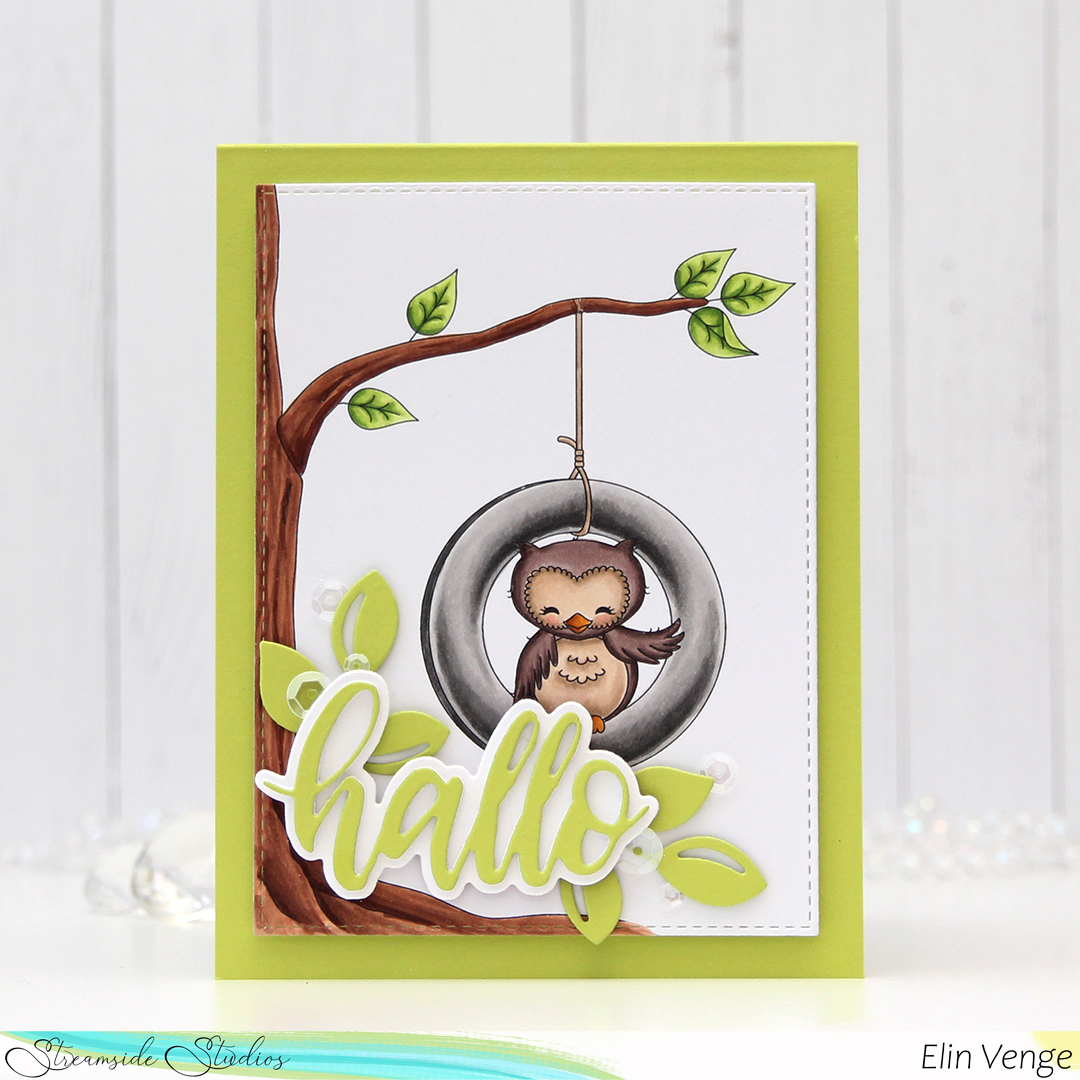
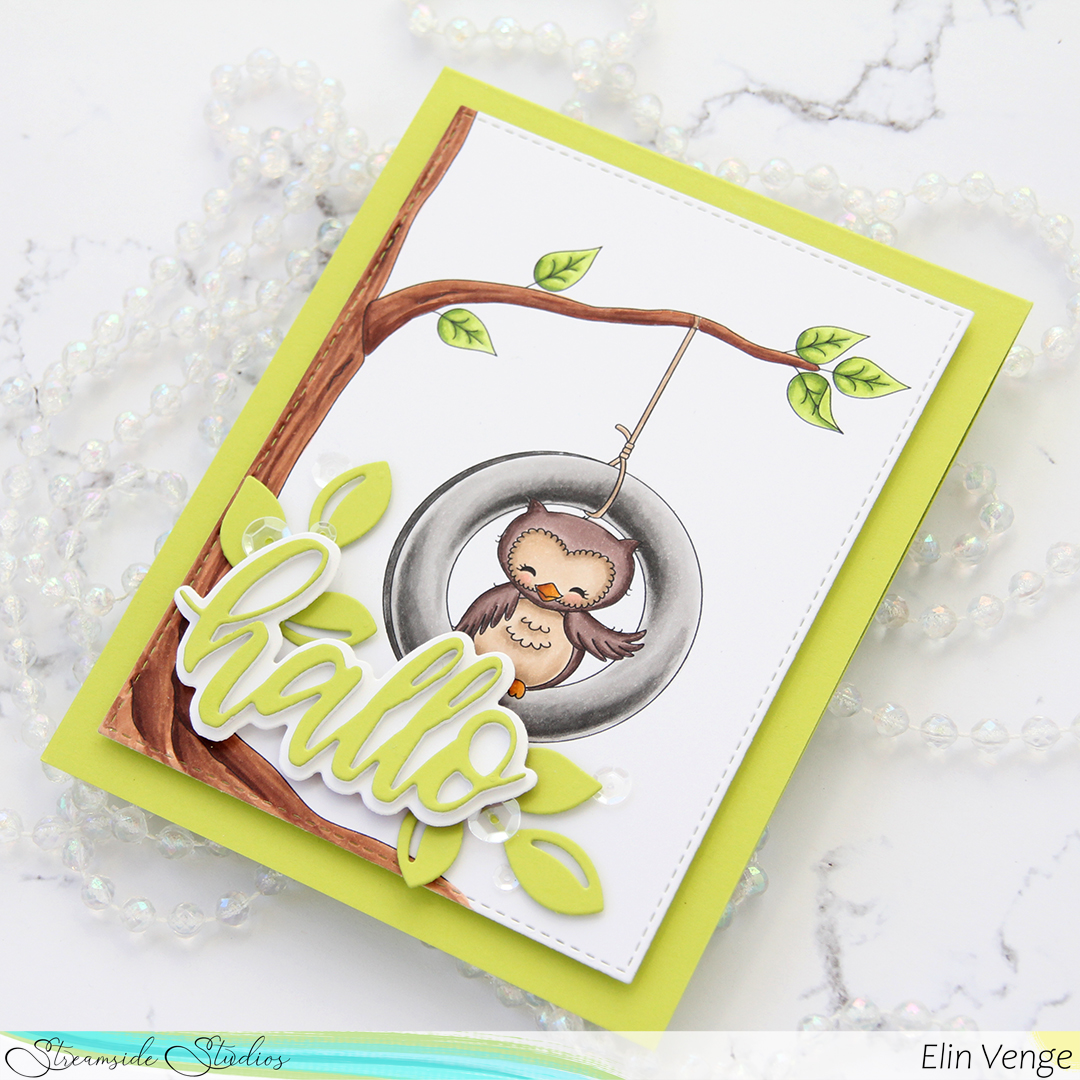
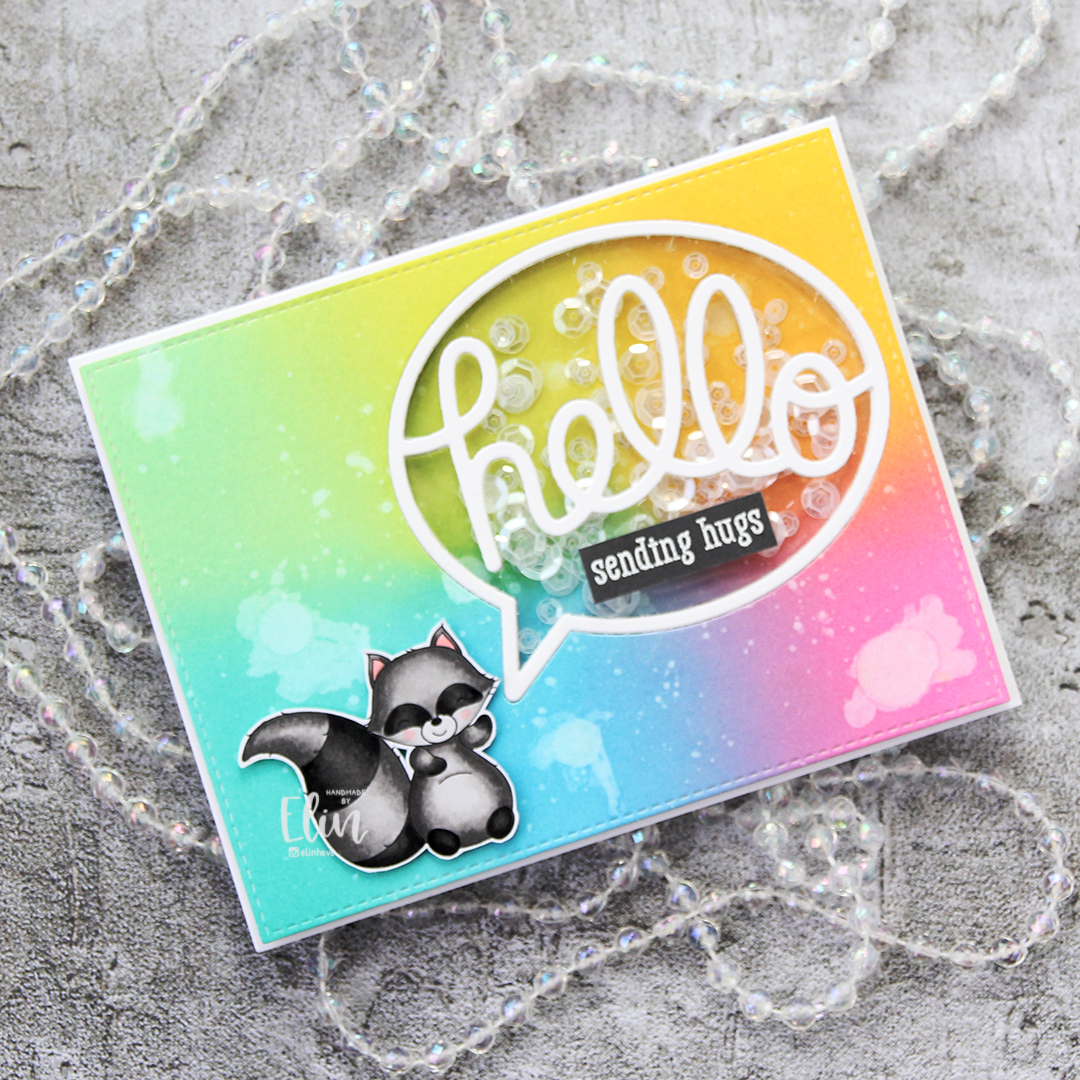
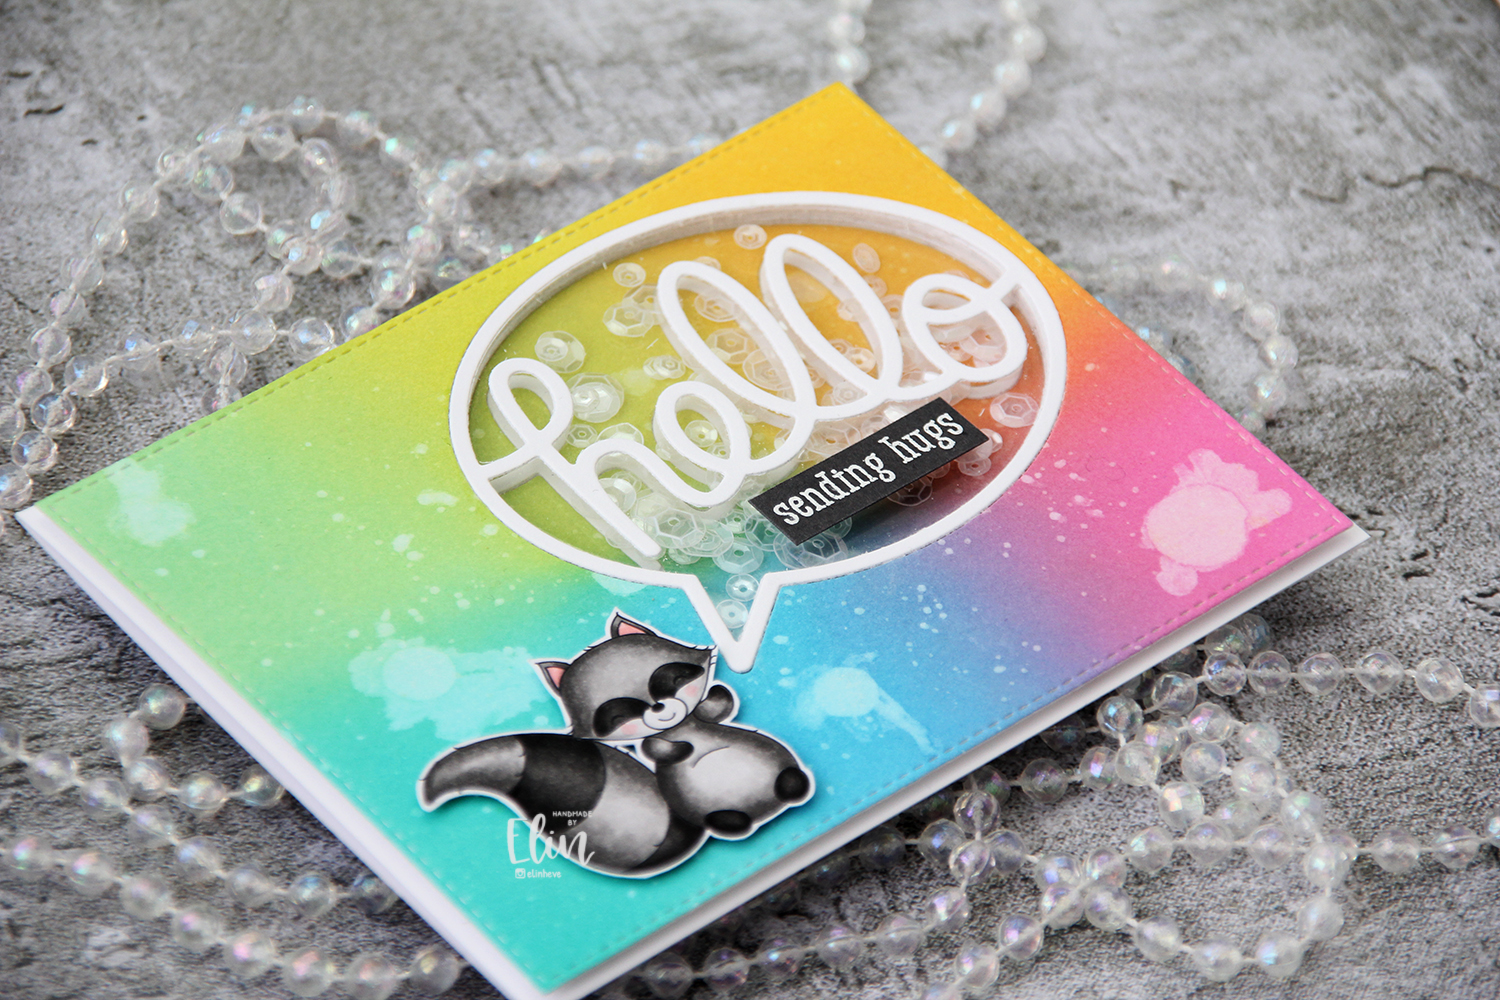
Hi, there! It’s the start of a new week, and I have a new card to share. This is a very simple one, featuring the Woodlands Scene builder stamp set and Toadally awesome woodland friends set from Streamside Studios.
I colored the butterflies from the Woodland Scene builder set and the bubble Hello from the Toadally Awesome Woodland Friends set (that’s a mouthful) with my Copics and fussy cut them all. I wanted to cut right up to the lines with no white borders, which meant I had to sacrifice the antennae of the butterflies. Small price to pay, I think.

I created a card base from Pale Peony cardstock from Papertrey Ink. The card measures 3 3/4 x 5 1/8″, so it’s a fraction larger than a 4 Bar size. I’d intended to make a 4 Bar card, but I wanted a chunky frame without cutting down my white panel too much, so I opted for a size just a bit bigger.
Onto a white cardstock piece, I used 24 Carats Pearly glitter paint from Aladine with the Wavy Lines stencil from My Favorite Things to create a super sparkly, textured background. This paint is a tiny bit more liquid than a regular embossing paste, and it goes on very easily. It comes in a bag with a spout and a screw cap, which makes it less prone to dry out, which can be an issue with most pastes.

I mounted my textured, stenciled background onto my card base using foam tape, and adhered the letters and butterflies on top with clear foam tape from Kool-tak. The Kool-tak foam tape is super sticky, which is perfect on a textured, somewhat grainy surface where regular adhesives tend to not want to stick. I think the balance of the card would have been a little bit better without the largest butterfly, but once it was on, there was no way it was coming off. To my eyes, the card is a little heavy on the right, and I think a smaller butterfly would have been better to complete the visual triangle, or I could have left it off entirely.
The best thing about the clear foam tape from Kool-tak is that it makes whatever you adhere look like it’s floating, more so than white or black foam tape would have. It’s not as visible from the sides, and gives a cool effect. It’s not the cheapest foam tape, so I only use small bits of it, but it’s perfect for those projects where you want the look of something hovering above the card front. You don’t need much, anyway, because it’s super strong.

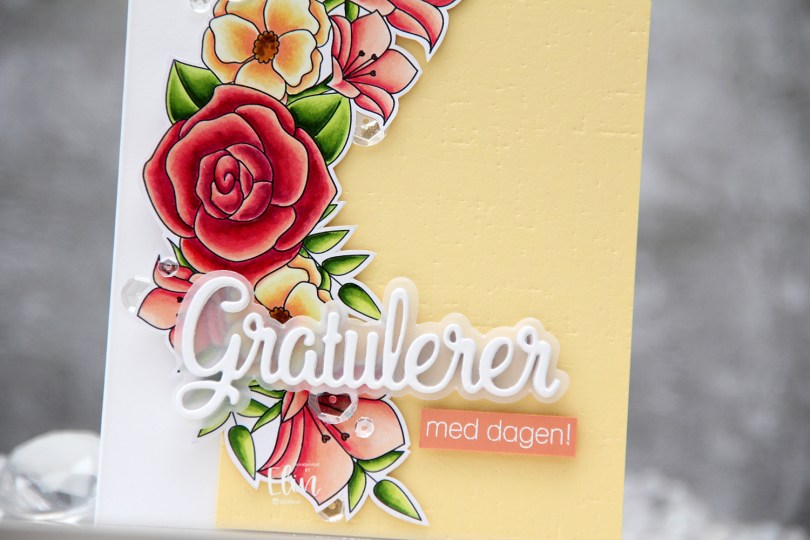
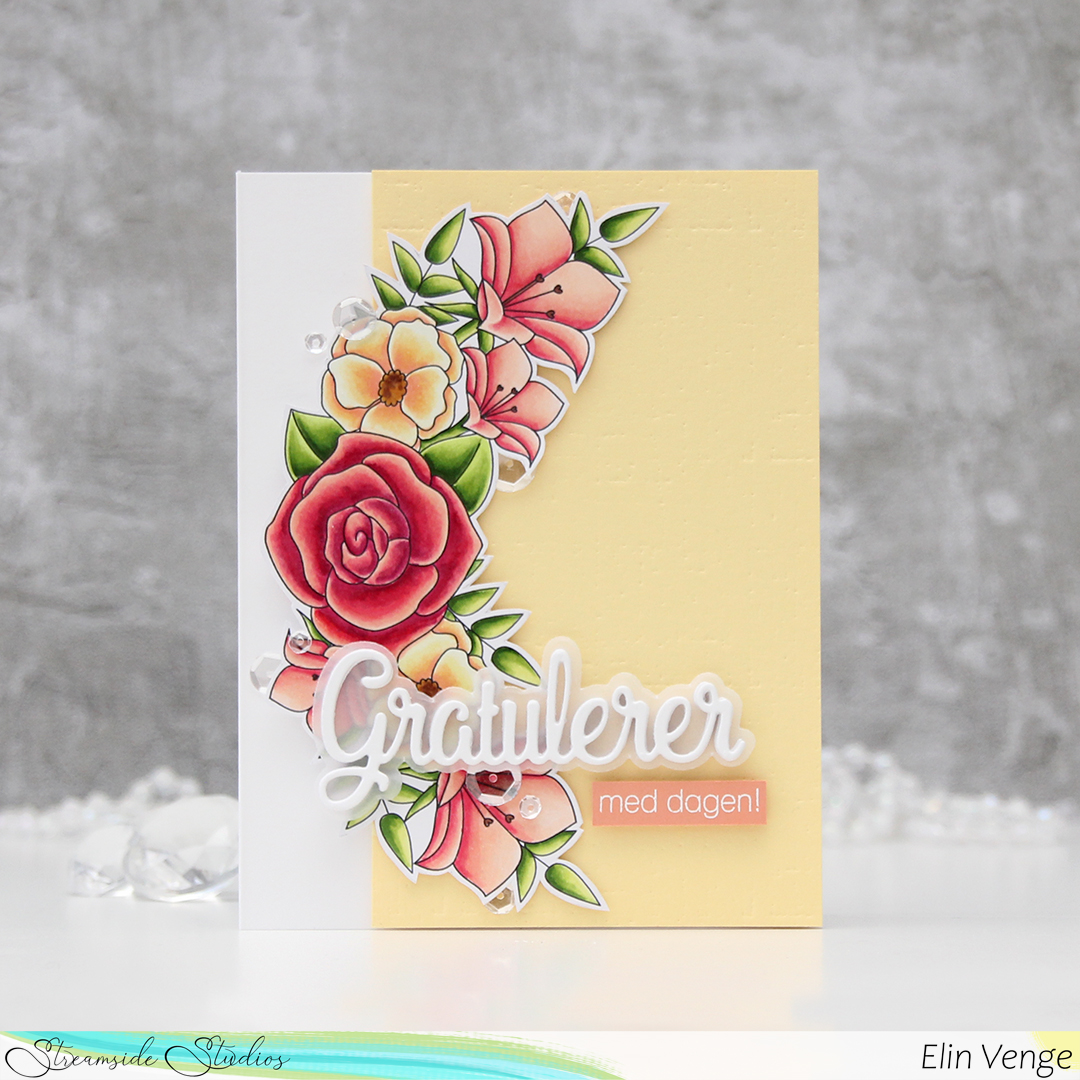
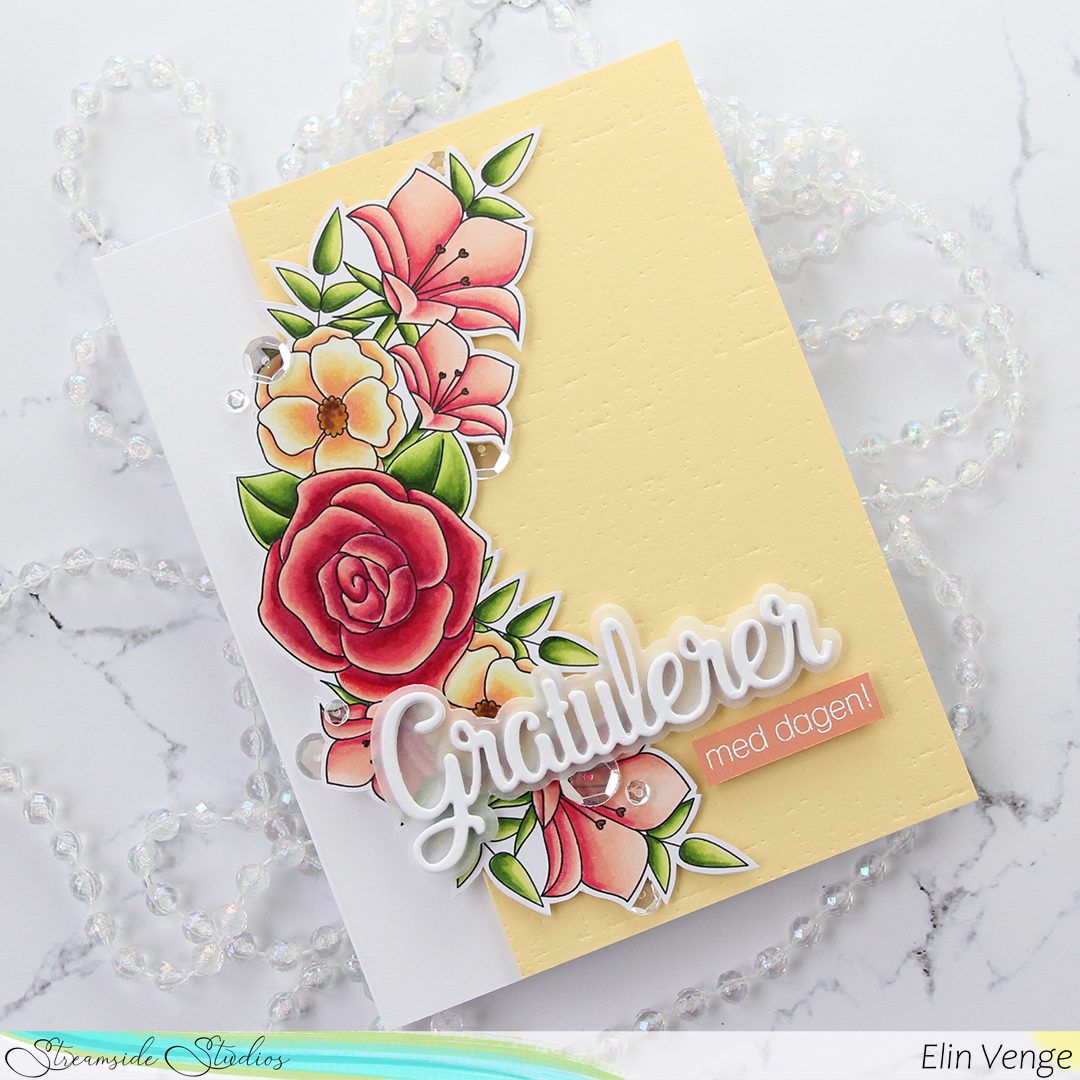
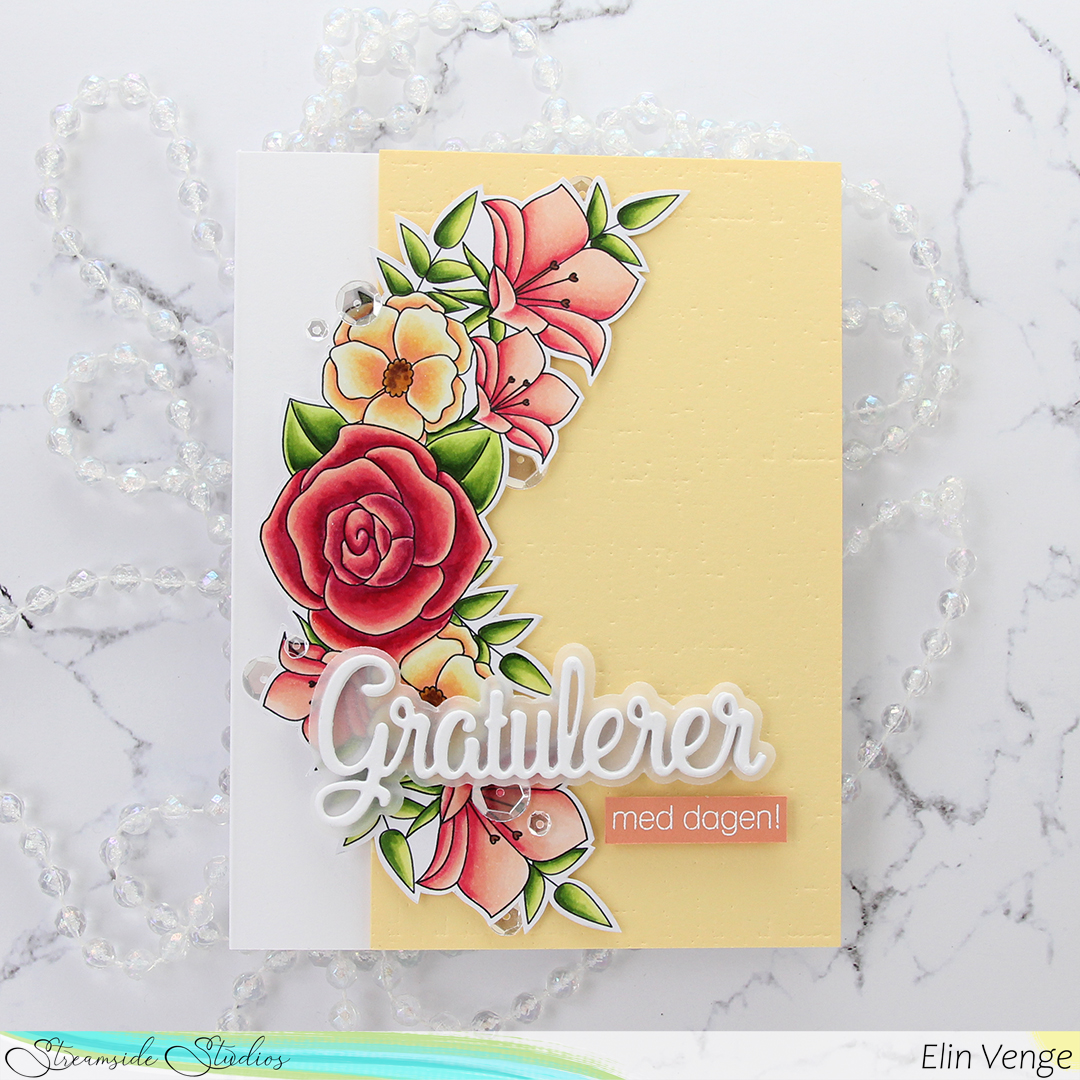
Not a lot of Copics for this one.


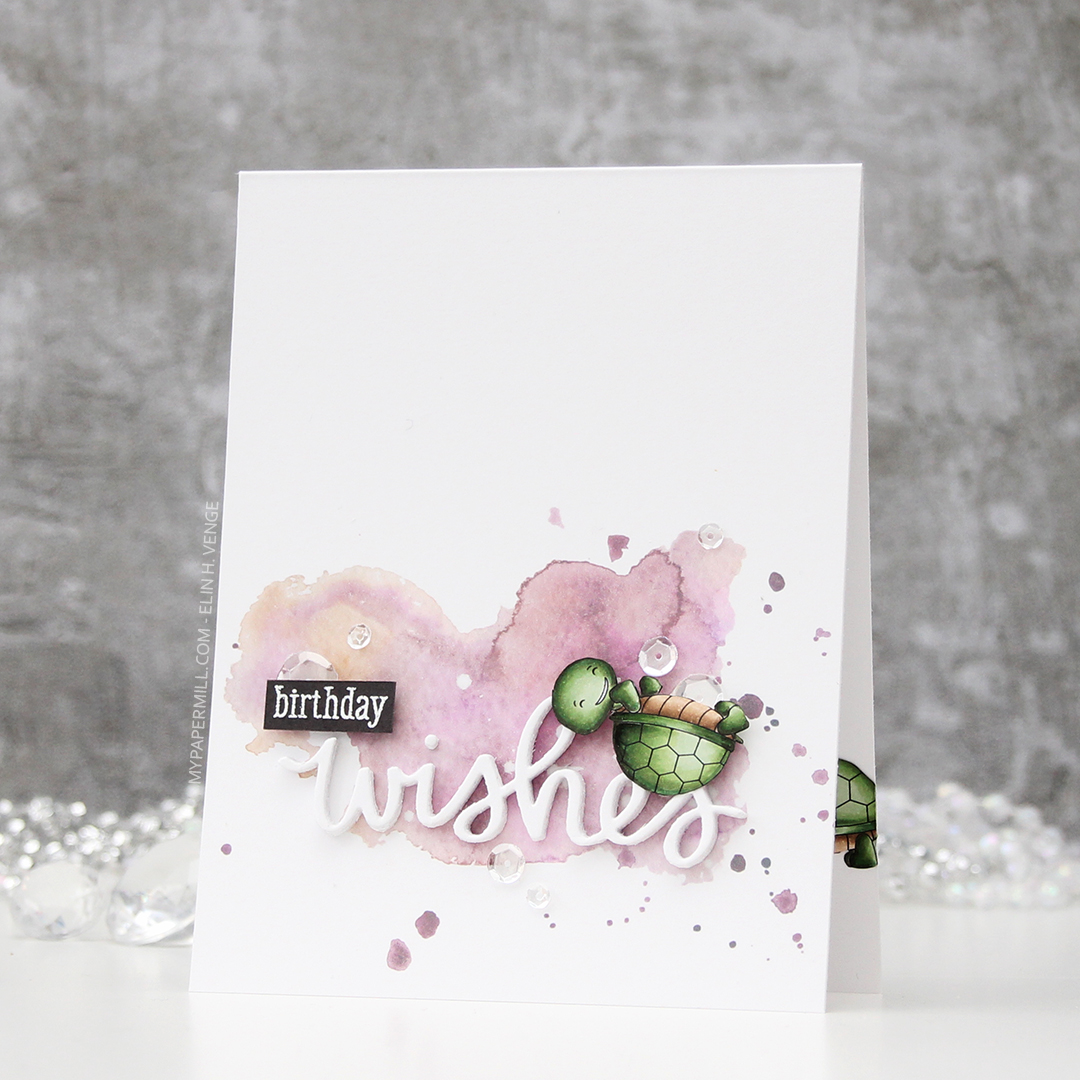
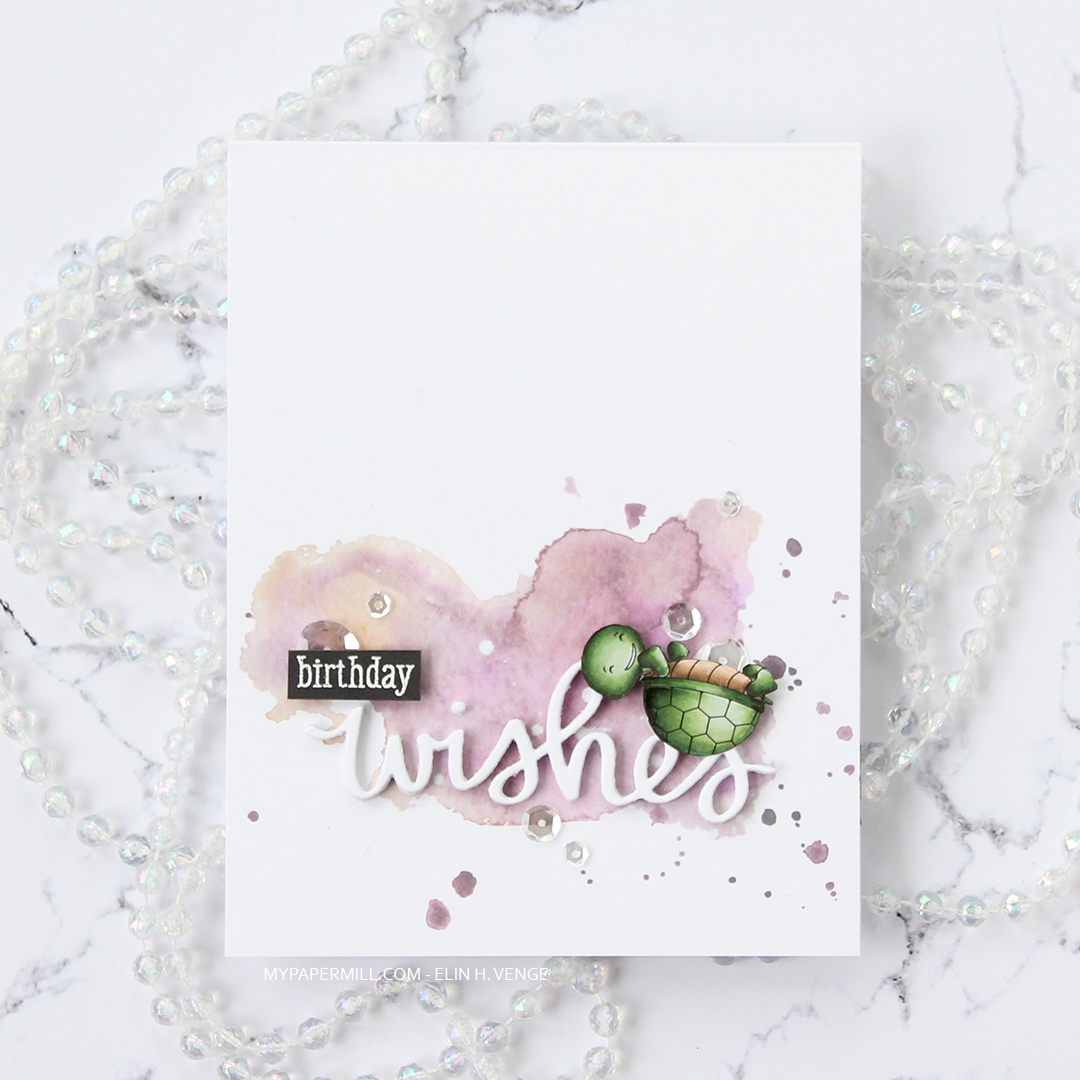


 Soft, pastel colors throughout this one. I die cut the panel into a rectangle by doing partial die cutting twice with a stitched rectangle die from My Favorite Things. I don’t have any dies for mini slimline cards, but partial die cutting definitely works.
 I added the panel to a card base made from Lavender Moon card stock from Papertrey Ink. I die cut God påske (die from Papirdesign) four times; three from white card stock and once from Lavender Moon. I stacked them and centered my dimensional die cut as best I could above the image, before finishing off with some sequins from the White Orchid Sequin Mix from Little Things from Lucy’s Cards. I love her mixes, they’re awesome!
 My light Copic palette shouldn’t come as a surprise, pastels and spring go hand in hand.
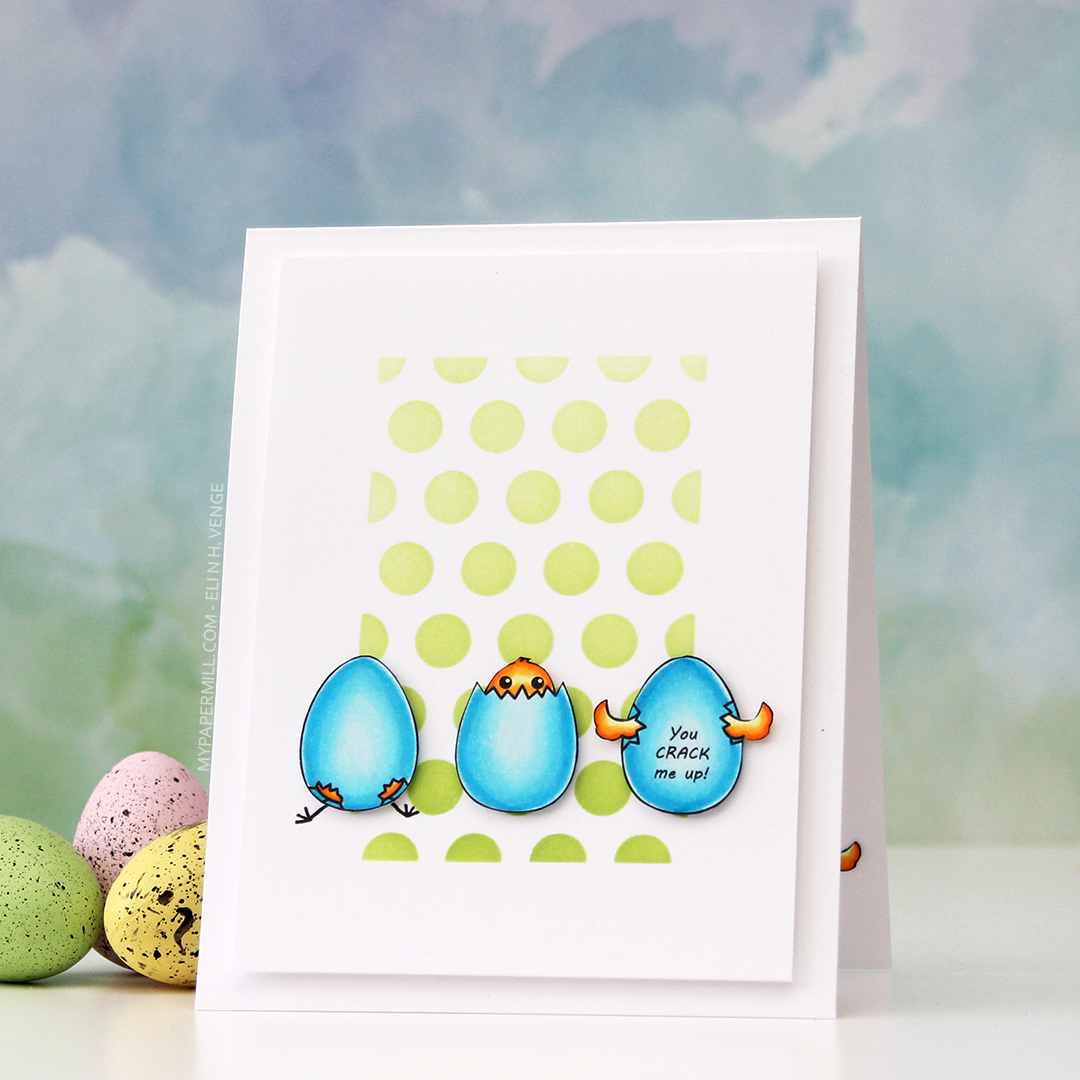
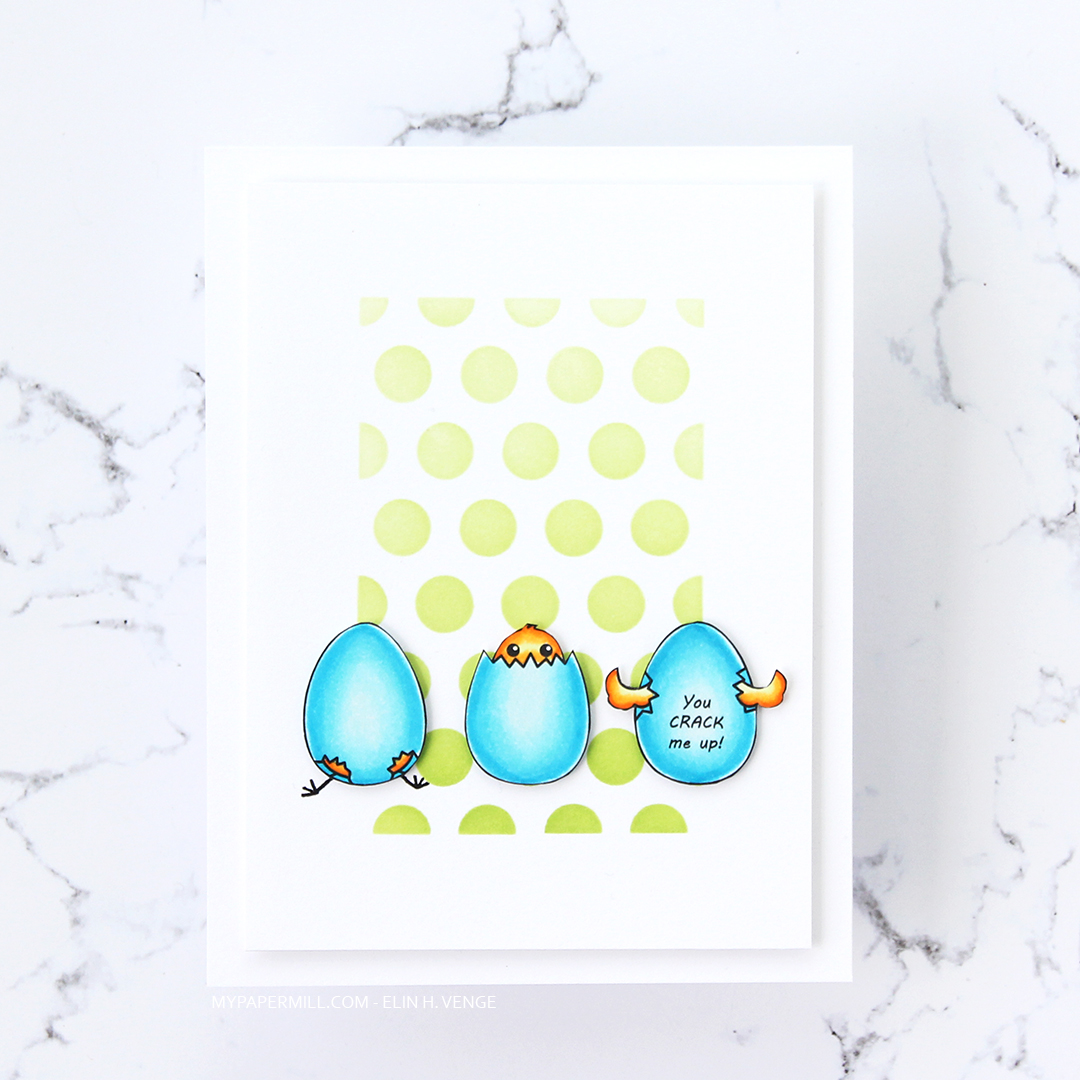
 These peas are part of an upcoming stamp set from
  Once I’d colored the peas, I masked off each individual pea and did some ink blending across the entire panel using distress inks. I went for an orange to yellow ombre combo with Spiced Marmalade, Mustard Seed and Squeezed Lemonade. I placed a stencil (Dotted Flowers) from Ranger on top and ink blended again using the same colors, going in with a heavier hand. I adhered the panel to a mini slimline card base I made from Stamper’s Select White cardstock from Papertrey Ink and used foam tape for a little bit of dimension behind the sentiment, before finishing off with some sequins from Little Things from Lucy’s Cards.
 Simple coloring leads to a simple color palette.
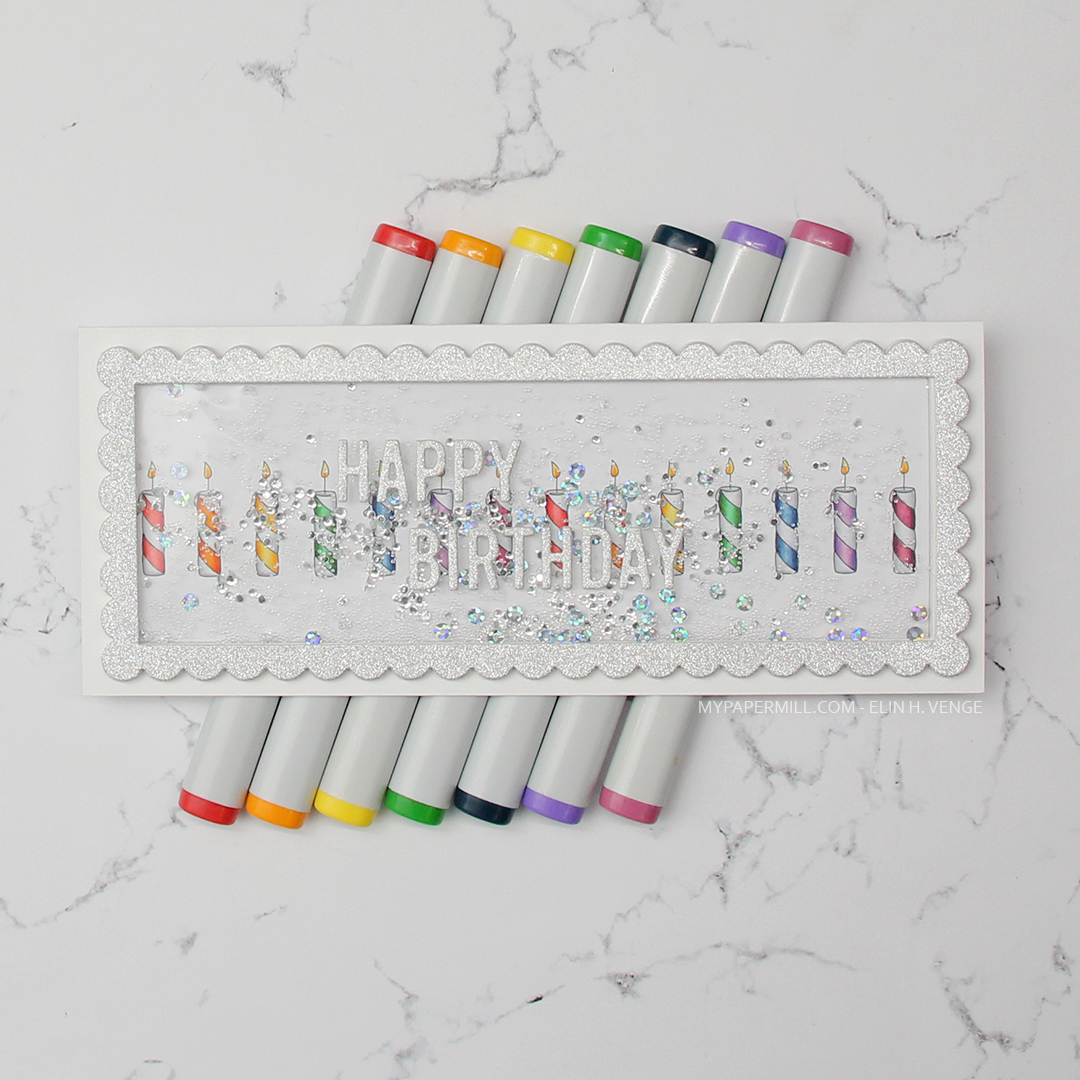 I colored in the candles using a rainbow color palette. Using the largest die in the Slimline Scallop Frame die set from Simon Says Stamp, I die cut six frames from white card stock and glued them together in a stack to form the walls for my shaker card. Into the shaker, I put some micro beads, some flat, iridescent sequins and quite a few “diamonds” from Kort & Godt, before adding a piece of acetate to seal the shaker. I die cut one last scallop frame to put on top, this time from a super glittery silver card stock from Kort & Godt. It’s very sparkly, and the glitter doesn’t rub off, I love it. I die cut Happy birthday from the same cardstock and adhered the letters onto the acetate to finish the card.
 Lots of colors for this one. That happens with rainbows 🙂