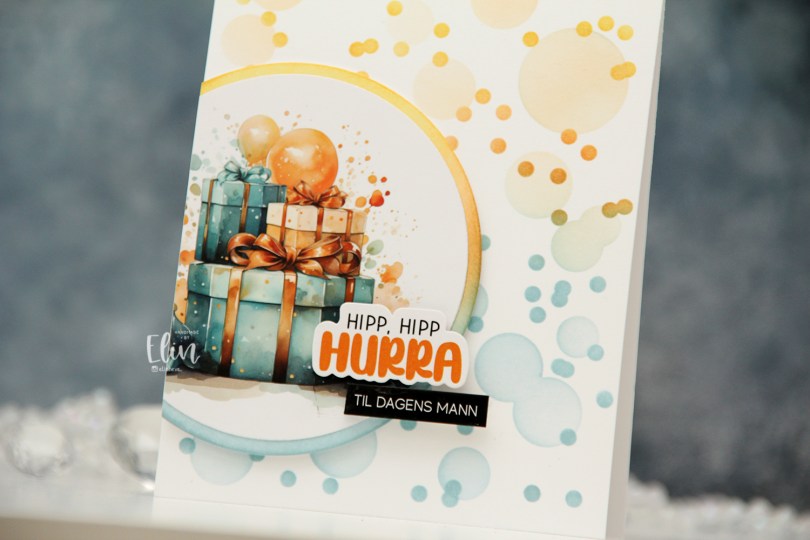
Hi, everyone. We’re almost two weeks into spring, but there are still patches of snow and ice on the ground, and there’s even more snow in the forecast. I’m compensating by making happy, colorful cards and this one features Daisy Daisy from Mo’s Digital Pencil.
 I colored the image with Copics, added some simple ground and flowers next to her and die cut my panel using the largest die in the Additional A2 Layers die set from Waffle Flower, before adhering it to a card base I created from Lazy Day cardstock from My Favorite Things. It’s been a really long time since I’ve made one of my signature “cluster cards”, so I decided it was time for a new one. I keep little die cut scraps in storage pockets sorted by color, which makes it easy to find pieces that will fit any color combination I’ve chosen for my image. I play around with the composition, and when I’m happy, I adhere it all to my card. Some directly, some using foam tape. This gets very thick very fast, but I love this process.
 I stamped a sentiment from the Pristine Peonies stamp set from Altenew using Picked Raspberry Distress Oxide ink, then die cut it into a banner using one of the dies in the Essential Stitched Sentiment Strips die set from My Favorite Things. This goes really well with the other fishtail banners I already had going in my cluster, and the color matches nicely with the pink striped patterned paper from Sunny Studio that I used. I finished off with a few enamel dots from the Pocketful of Sunshine pack from Altenew.
 Very springy color palette. I’m here for it!!

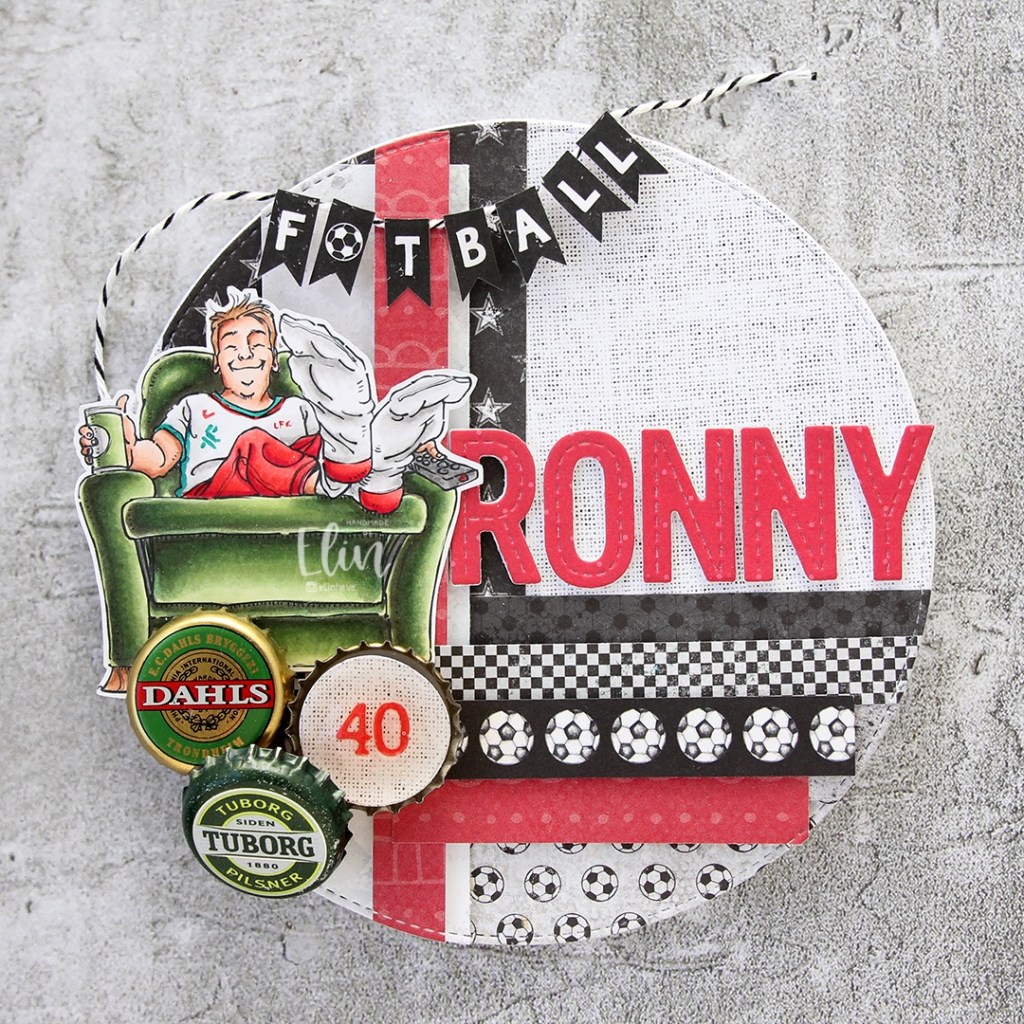
 I mounted my circles on foam tape, cut off the excess, then added a couple of pre cut stickers to finish off the card. I love these stickers!
 I colored up the scene using Copics, then used the largest die in the Slimline Double Stitched Rectangle STAX die set from My Favorite Things to add faux stitching to both sides. There’s no reason you can’t use slimline dies for an A2 sized card, and this worked out really well, the die was the perfect width for my image.
 I used a black glaze pen from Sakura to get some shine and dimension into the eyes of these cute critters (you can see it in real life when you tilt the card in the light, I promise), then sprinkled on Stampendous chunky white embossing enamel that I melted from the back of the panel.
 Using lots of foam tape, I adhered my panel to a top fold card base I created from Blueberry Sky cardstock from Papertrey Ink. This blue is gorgeous, and it’s perfect for the B90 Copic family.
 I white heat embossed a sentiment from the Christmas Greetings stamp set from Lili of the Valley onto a piece of Amarena Cherry cardstock from My Favorite Things. I cut the sentiment down to a strip and added it to the card using foam tape.
 To finish off the card I added a few die cut heart outlines. These are from the Wax Seals die set from Waffle Flower. There are two different sized hearts in the die set, I used both for this card and cut them from Amarena Cherry cardstock before adhering them to the card.
 Simple color palette for this one. Lots of colors used for the snow, that’s pretty much a given when I color snow.