Hi, everyone! Sunday (or Saturday, depending on the time zone you’re in) and I have some serious card making plans today. I went to see Chess (the musical) last night in Oslo, and it was soooo good. But today, there are no singing Soviet Chess players around, just a couple of penguins floating on a sheet of ice in the ocean.
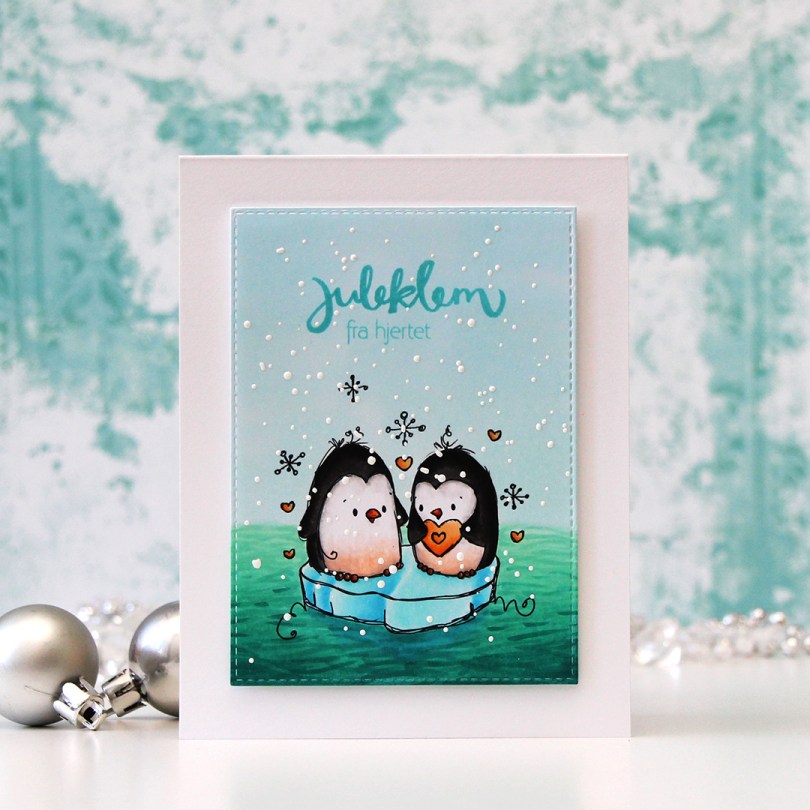
 This is the Penguin image from Rachelle Anne Miller. It comes with a sentiment; Let’s chill soon, friend! In some ways, it would have been the perfect sentiment for the times we’re in, but I wanted to make a Christmas card from my two little penguins, so I removed the sentiment and printed the image alone.
 I colored in the image using my Copics. I don’t think I’ve ever colored ocean before, and I was genuinely surprised by how easy it was. I even a little hint of blue to the ocean beneath the ice, giving the illusion of something more under water. 9/10 of an iceberg is under water, after all. It may seem weird that I chose yellow hearts for a Christmas card, but I have a very specific recipient in mind for this card, and she loves yellow 😉
 I die cut my panel using the third largest die in the Stitched Rectangles STAX 2 set from My Favorite Things and stamped a sentiment that I made from two different Norsk Stempelblad AS stamp sets using Simon Says Stamp Audrey Blue ink. I sprinkled on some chunky white embossing enamel from Stampendous and heated it from behind, melting the granules. The last thing to do was add lots of foam tape to the back and attach it to my white card base. Couldn’t get much simpler than this, really.
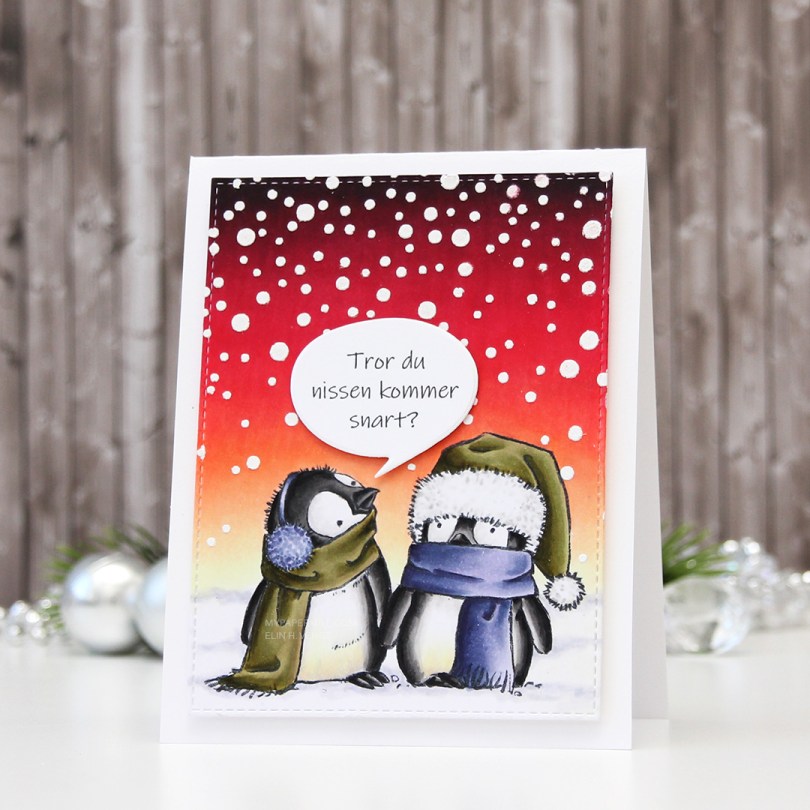
 Lots of blue and blue green Copics used on this image. Oh, and grays, quite a few of those, as well.

 I colored up these snowmen for Kathy Racoosin’s 30 day coloring challenge in June of last year, so it felt good to finally put them to use. Another thing I put to use? Those die cut squares. They were left over from
  I had 12 snowmen, but I needed room for a sentiment, so I stamped one from Norsk Stempelblad AS onto one of the die cut white squares using Papertrey Ink Enchanted Evening ink and glued the last snowman to the inside of the card instead.
 I used the largest die in the Stitched Rectangles Stax Set 1 from My Favorite Things on some Enchanted evening card stock, and glued it to my Stamper’s Select White card base before adding all the squares with 1 mm foam squares. I then used more 1 mm foam squares on the back of the snowmen. Dimension is life, as Laura Bassen says. I didn’t want this card to be too thick, though, so I stuck with the 1 mm. Added some snowflakes die cut with the Hero Arts Snowflake Confetti die, and my card was finished.
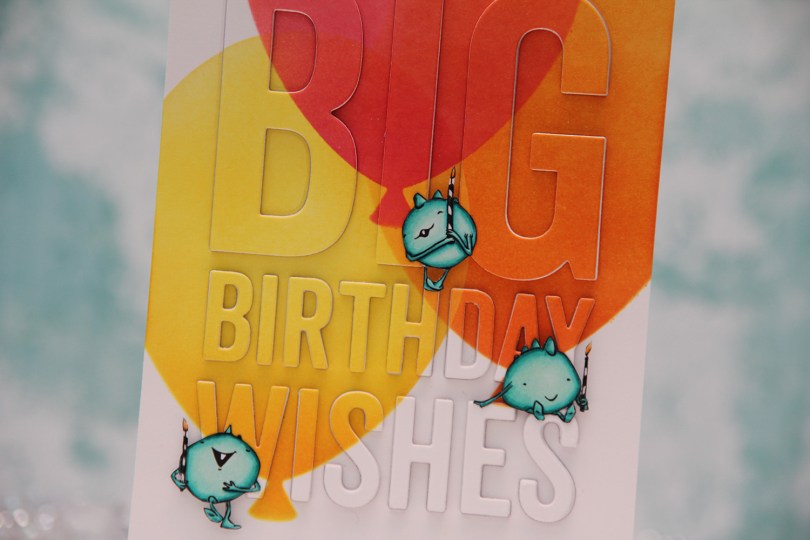

 I needed to make a quick card last night, and decided to color up three of the small monsters from the Cupcake Monster set from Mo Manning (I have
  When my little monsters were all colored in with my Copics, I pulled out the Big Balloon stencil from My Favorite Things along with four different colors of distress ink. I created three balloons that overlap. All the balloons are ink blended using two colors. The yellow one is Squeezed Lemonade with Spiced Marmalade toward the base of the balloon, the orange one is Spiced Marmalade with Worn Lipstick at the base, and the top one is Worn Lipstick with Picked Raspberry at the base.
 I die cut the Big Birthday Wishes die from My Favorite Things five times from Stamper’s Select White card stock from Papertrey Ink, as well as from the blended piece, which is also Stamper’s Select White. It’s my favorite white card stock, I haven’t found one that’s more white than this, and it’s also wonderfully sturdy at 110 lb. I did a layered inlay, then fussy cut my monsters and placed them strategically on my card. I love that the top one looks like he’s balancing on the top of the H, and the one on the right is leaning on the E while dangling his feet from the top of the S.
 This image was part of the Christmas release from Lili of the Valley that came out a few weeks ago, you can find the stamp


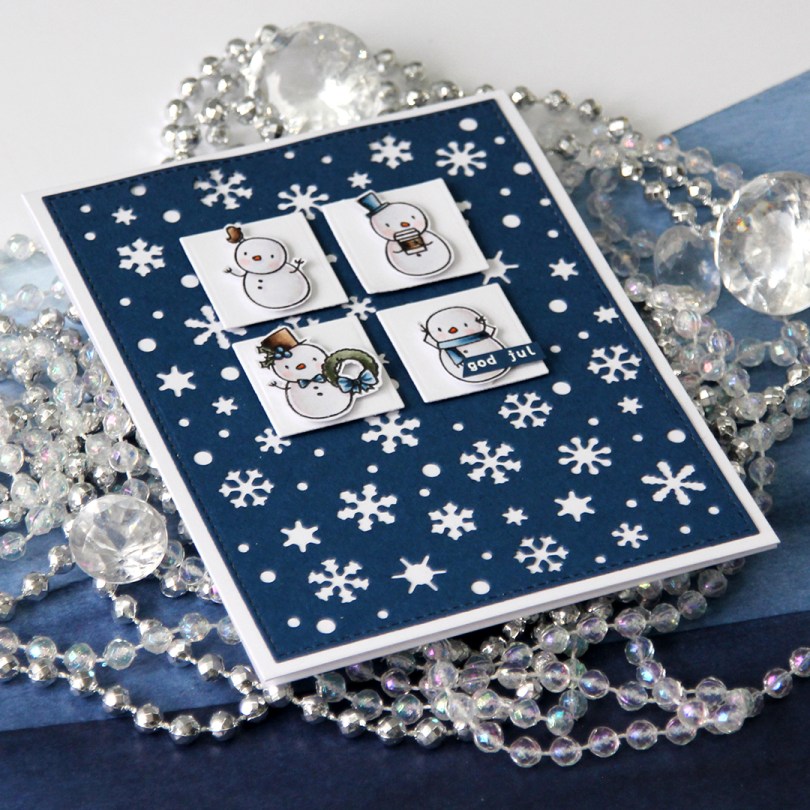

 I had loads of diecut squares left over from my previous card, they were the interior pieces of the stacked frames I used. Instead of letting them go to waste, I thought I’d put them to good use. I took four squares and mounted them to my blue snowflake panel using 1 mm foam squares. Believe it or not, but this was the part that took the longest. Getting them centered perfectly near the top with equal spacing between them all and equal distances to both sides and the top of the panel took…. well, it felt like forever. With this kind of design, though, you have to get it just right, or it’ll throw off the balance of the entire card. They’re equally distanced down to 1/32″, that’s about as good as it gets.
