
Hi, everyone! I’ve got another Christmas card to share today, this time featuring Letter to Santa from Rachelle Anne Miller.
 This card was a bit of an evolution. Things really didn’t go my way, but I was able to fix it all in the end. The piece of Papertrey Ink Stormy Sea card stock I was planning to use was a teeny tiny bit smaller than I needed to be (and I’m running seriously low on that particular color), so I used a die from Waffle Flower to cut it down a little, and it’s now 4-1/8 x 5-3/8″. I cut the center portion out to use for later, no one will ever know that there’s a whole in the center of it. I glued it to a top folding white card base, creating a nice 1/16″ border around the perimeter. Problem number 1 solved.
 Problem number 2: My hair was wet from showering when I started assembling this card, and there was a drop of water that fell on the bear’s head. Solution: Sprinkle on chunky white embossing powder from Stampendous and melt the powder with my heat gun…
 … which led me to problem number 3. My heat gun was too hot and I burned the panel. It’s not super visible in the photo, but it tuned the piece yellowish right underneath the pole. Solution: use Copics to color the snow under the bear in a similar color, making everything look intentional.
 My final struggle was figuring out where to put the sentiment from Norsk Stempelblad AS. I wanted it on the right side of the card, but it just wasn’t working, so I stamped and heat embossed it a second time with the fishtail end on the right and put it on foam tape on the left side of the front instead. I think it worked pretty well. I added a few snowdrift sprinkles from Little Things From Lucy’s Cards as my final touches.
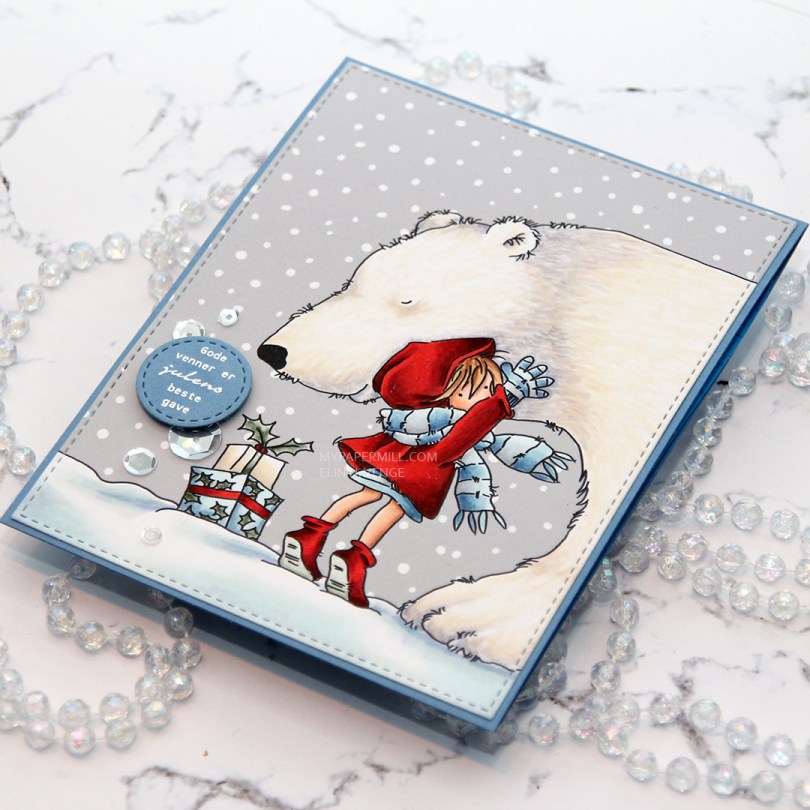
 I colored this image a while back, but only now had time to turn it into a card. I considered using a red card base for this, but really wanted the girl to pop, so I went with my trusty blue. This time I chose Blue Yonder card stock from My Favorite Things.
 I die cut the panel with the girl and the polar bear with the largest faux stitch rectangle die from My Favorite Things from their Stitched Rectangles STAX 2 set of dies.
 I used another faux stitch die to create the little circle for my sentiment, which is a stamp from Norsk Stempelblad AS. I stamped the sentiment in VersaMark ink and sprinkled on super fine detail embossing powder from Ranger before heating that until it melted.
 I mounted my little circle sentiment with foam tape and had planned to leave it at that, but I managed to spill a drop of coffee on the snow portion of my image and needed to cover that up. One single sequin would look silly, so I added a few more to make it look intentional. No one will ever know that there’s a coffee stain under that smallest one. The sequins are sparkling clear from Pretty Pink Posh.
 I use a crazy amount of markers to color snow…
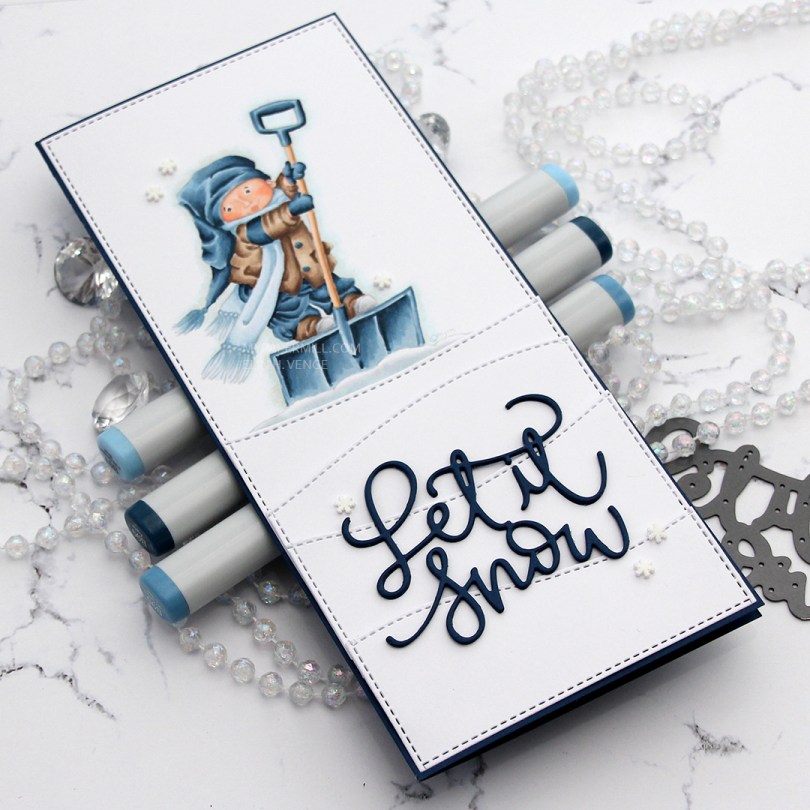
 I did no line coloring of the
  I adhered my panels with tape runner and 1 mm foam squares. Each panel has a little bit of dimension towards the top, while the rest is adhered using tape runner onto a slimline card base I created from After Midnight card stock from My Favorite Things. I used the piece that was left over to create my sentiment, which I die cut three times using a die from the Let it snow die set from Mama Elephant. My last finishing touch was a few snowflake sprinkles from Little Things from Lucy’s Cards.
 Limited color palette this time. I also used B90, which is a color I’ve made myself.
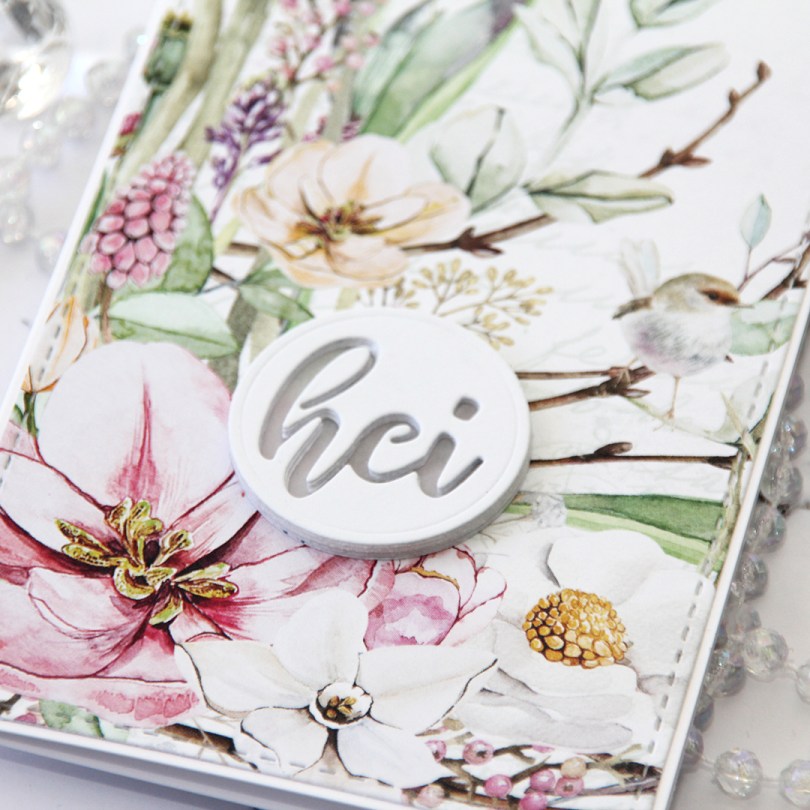
 This first one might not even technically be a proper slimline card. It’s about 7-3/4 x 3-3/4″. I’ve used beautiful patterned paper from P13 for both my cards. I wanted the paper to be the hero, so I didn’t do too much to it. The sheet I used for this card is
  I used a
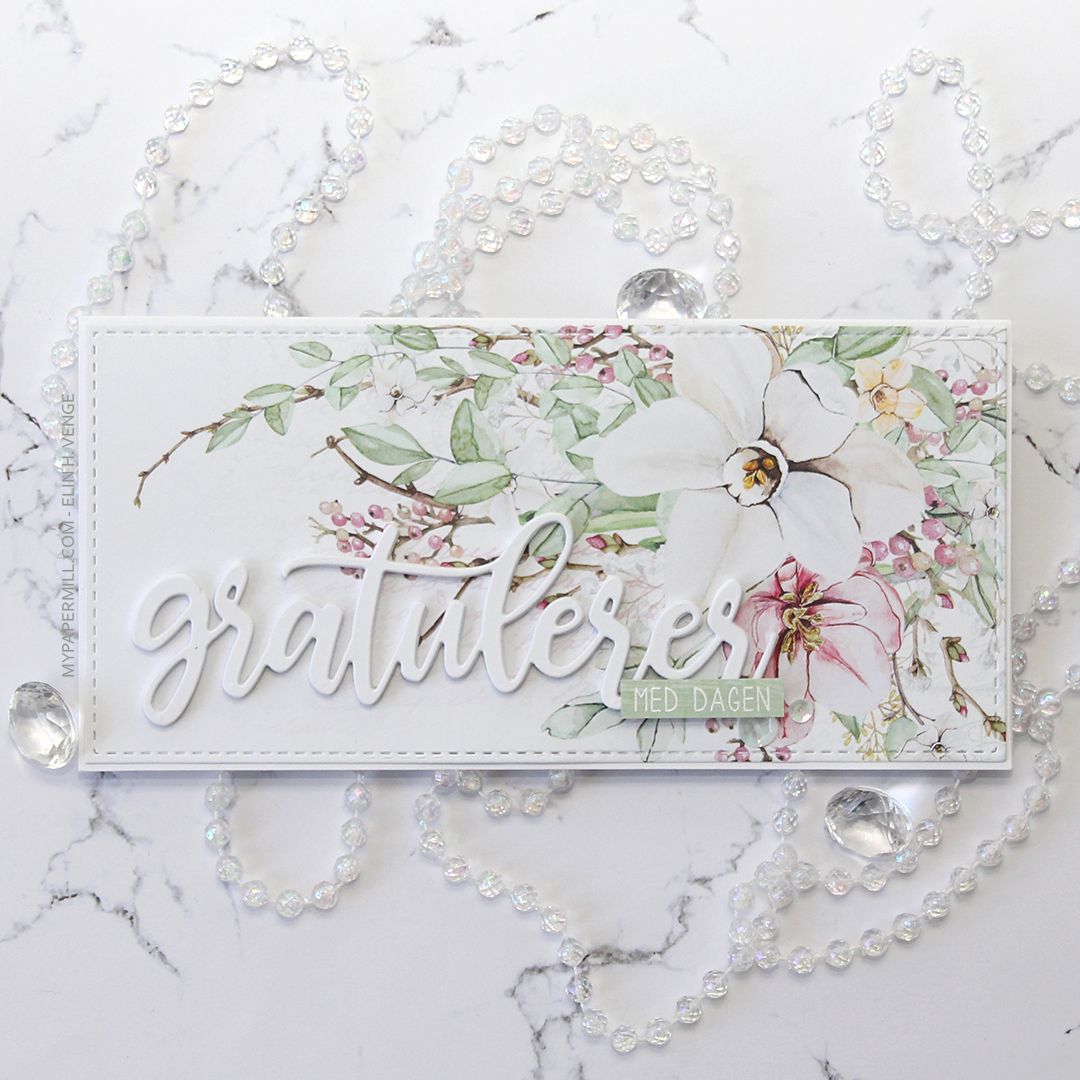
 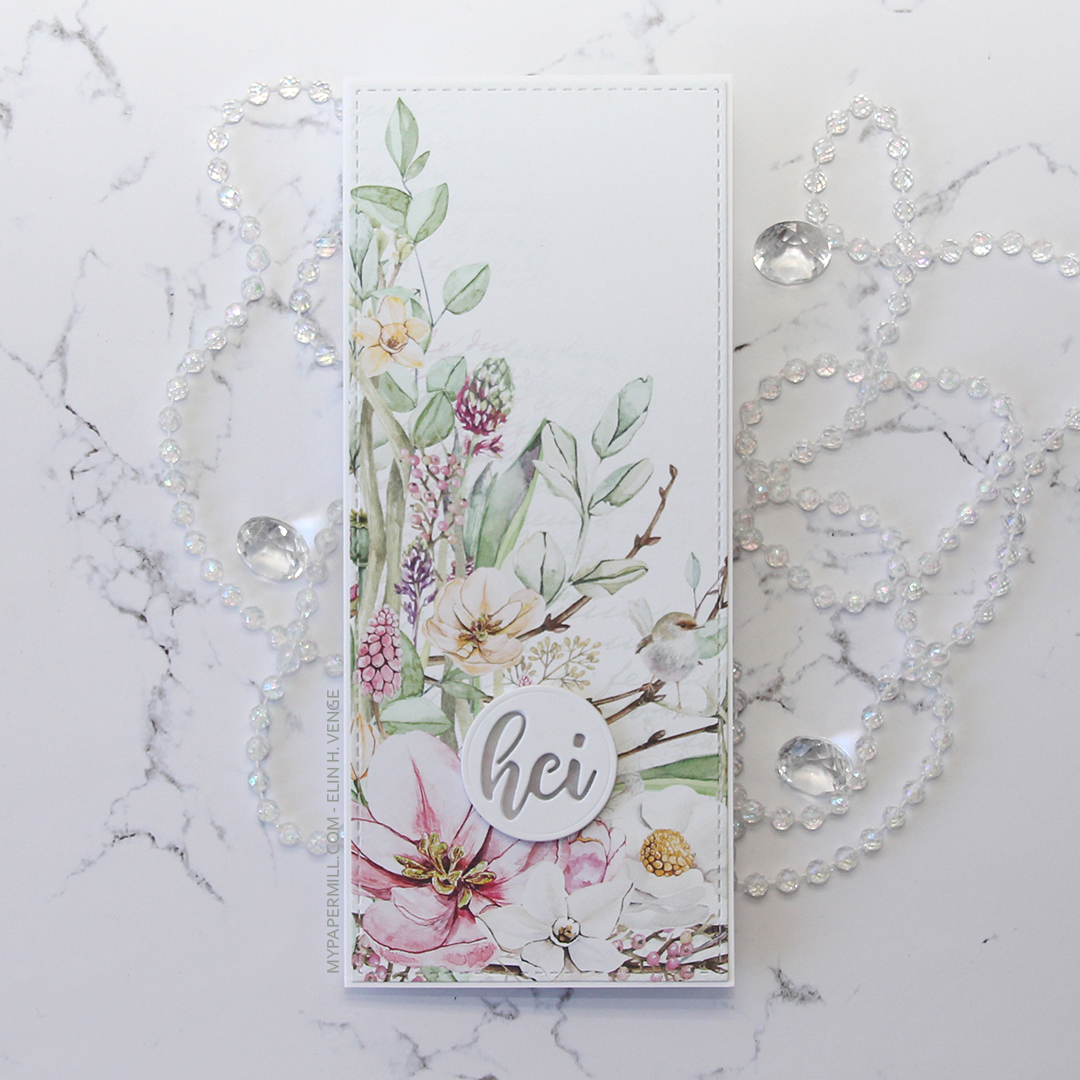 My second card uses a different part of that same sheet of patterned paper, as well as the same slimline die from Pinkfresh Studio. The sentiment is even die cut using a die from the same set as the sentiment on my first card.
 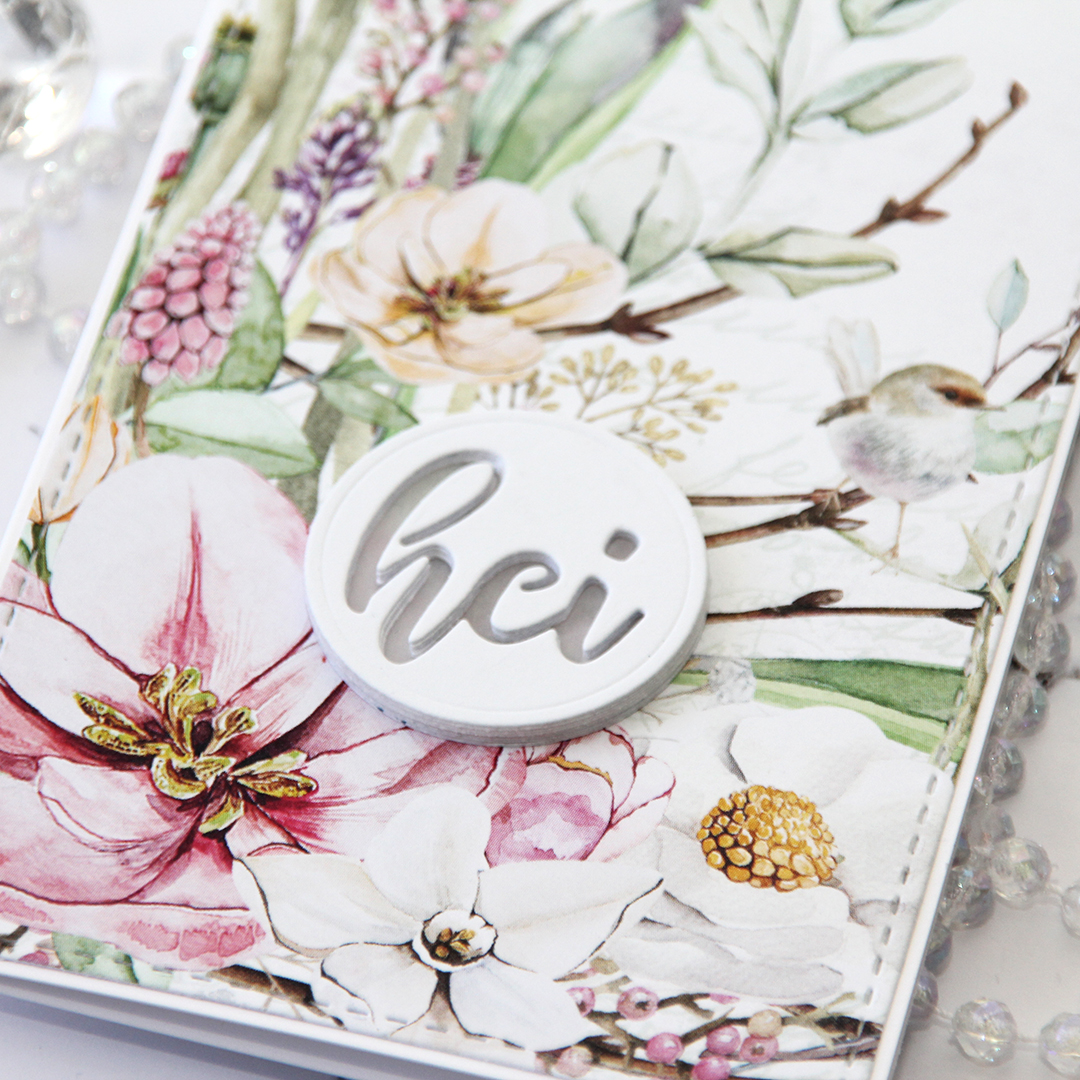 On this one I have four layers stacked on top of each other, then a vellum circle, then another four layers of the negative word die, making this sentiment really stand out as a statement on my card.
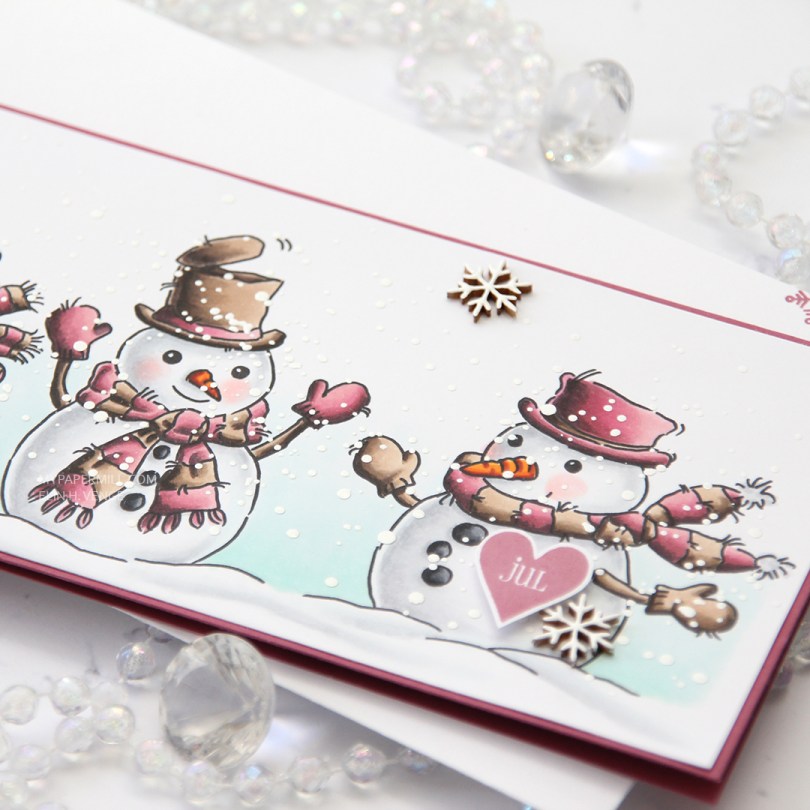
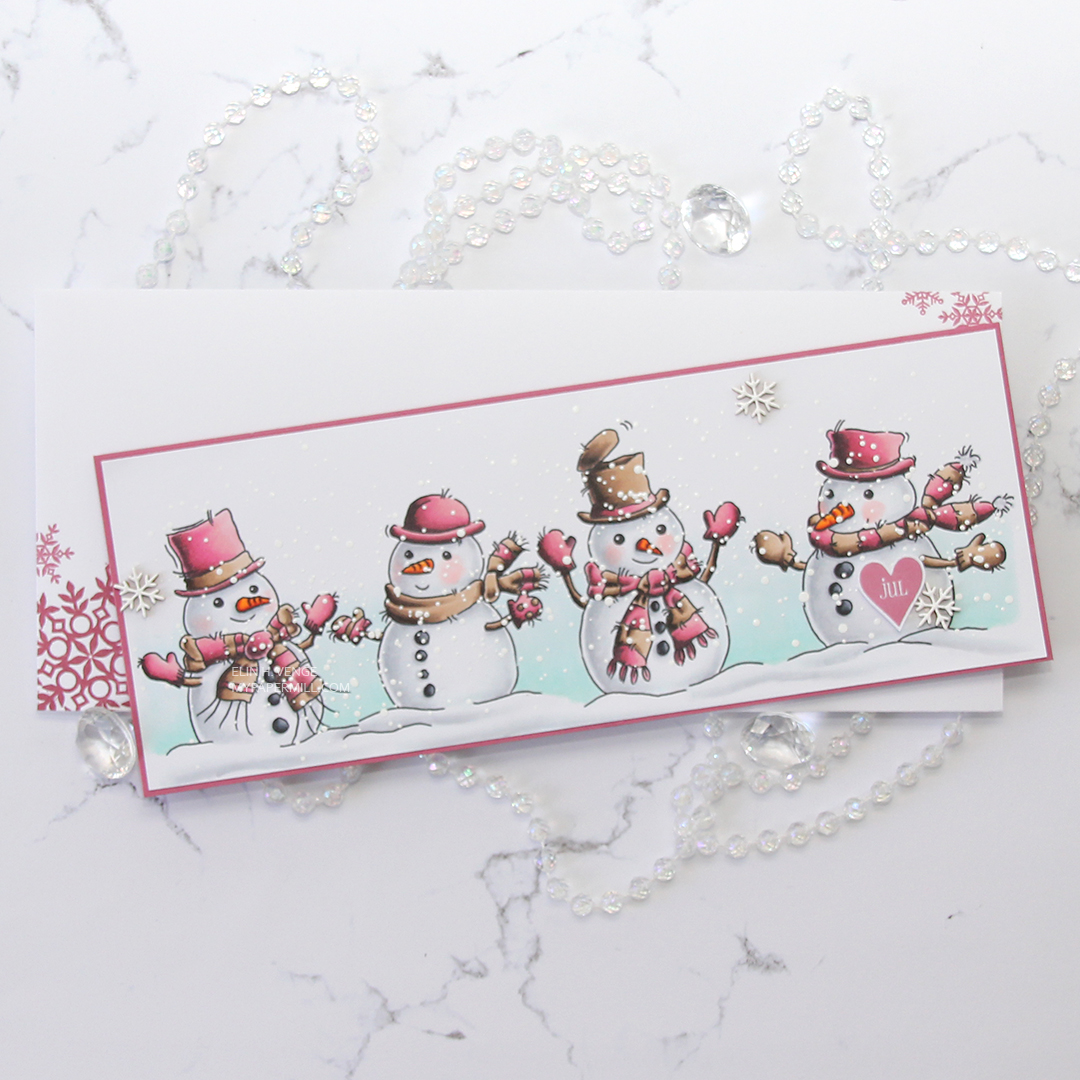 This color palette is definitely not the norm for me, but I was surprised at how much I like it. I think the secret was finding a pink combo I liked that wasn’t a screaming hot pink, and that also had a bit of contrast within it. Even better – my pink color combo matches the Autumn Rose color from Papertrey Ink, so I created my cardbase from a sheet of Autumn Rose cardstock and even stamped a few snowflakes from an old Simon Says Stamp stamp set (Holiday Envelope Sentiments) on the envelope using Autumn Rose ink. The envelope itself is a Deluxe white slimline envelope from My Favorite Things.
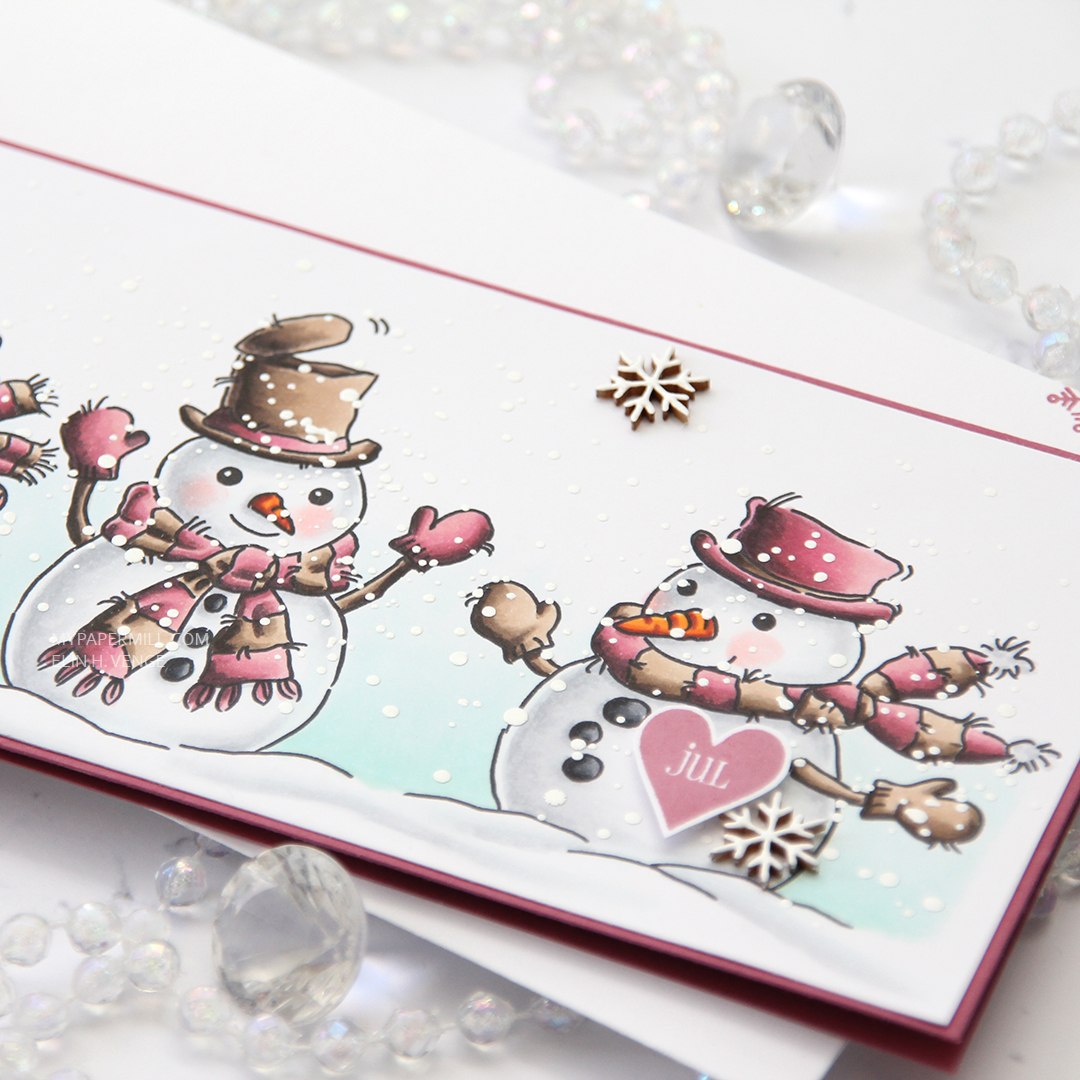 After coloring all my snowmen with Copics, I added a sprinkling of chunky white embossing enamel from Stampendous and heated my panel from the back until all the granules had melted. It warped quite a bit, so I ran the panel through my Gemini Jr without any dies, just sandwiching the panel between my cutting plates. That took care of the warping, and I could continue by gluing the panel of snowmen to the cardbase, before popping up a Norsk Stempelblad AS heart sentiment that I stamped using Autumn Rose ink. I also added a few Crafty Moly snowflakes that I covered in three layers of white embossing powder.
 RV99, R56, RV34 and RV32 – who would have guessed that it made such a pretty pink? Not me, that’s for sure, but I’m glad I stumbled upon this combo.
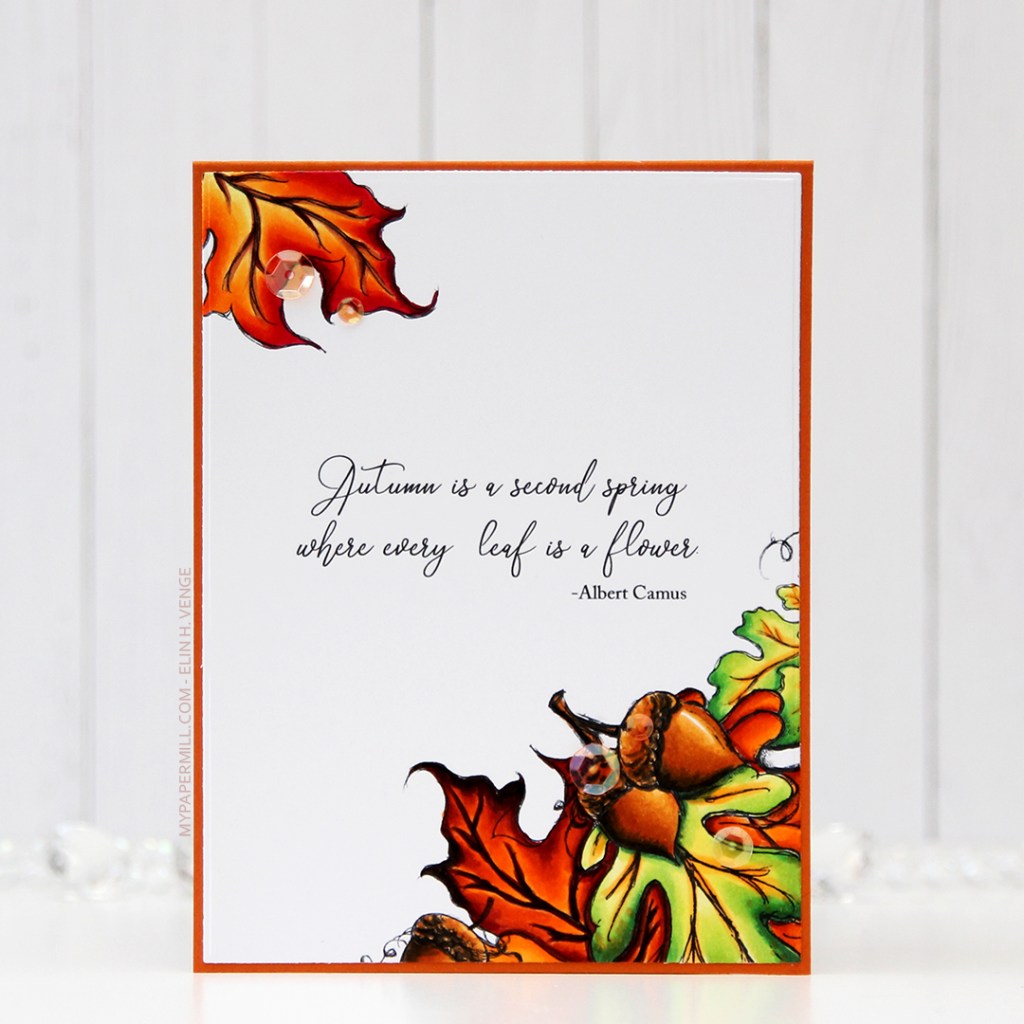 The stamp set comes with this quote, and many others. The quote comes with the name centered, but I wanted it right aligned, so I did some minor tweaking in Photoshop before I printed.
 I die cut my panel using a rectangle die from Waffle Flower and added it to a card base made from Canyon Clay cardstock from Papertrey Ink. This card is slightly smaller than my regular A2 cards, it measures 4 x 5-1/4″.
 I added a few orange sequins (and one clear) from the Candy Corn sequins mix from Little Things from Lucy’s Cards, and my card was complete.
 For something so simple, I used quite a few Copics.