Hi, crafty friends. Christmas is less than a month away, and if you haven’t started creating your holiday cards yet, you should probably start soon. Maybe this reindeer from the Christmas Friends stamp set from Lili of the Valley will inspire you to do just that.
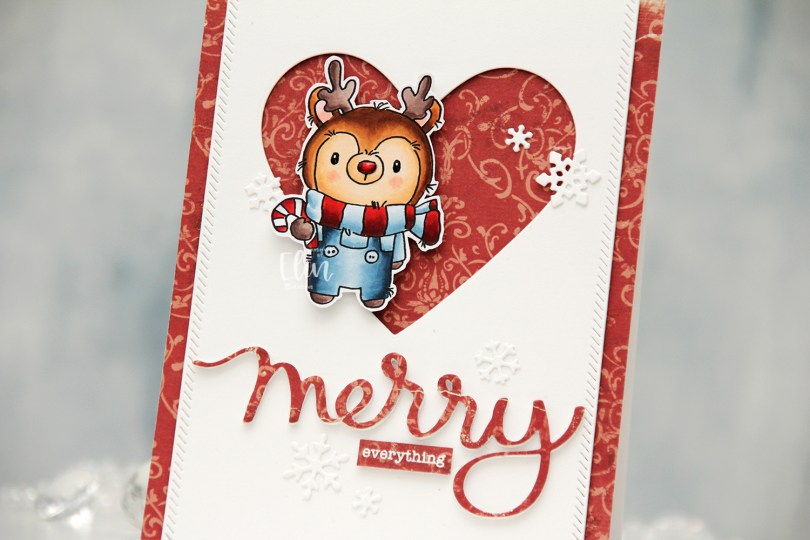
 I colored my reindeer with Copics, added black Glaze to his eyes for shine, a white dot on top with a Gelly Roll 05 once the black was dry and also a thick layer of Glossy Accents to his nose for dimension as well as shine. I fussy cut him leaving a white border and proceeded to work on the rest of my card.
 I covered a card base with the Julhälsningar sheet from the Vintage Winter collection from Maja Design. This has a little bit of pattern to it, but not so much that it’s too distracting. I created a window in a white panel using a heart die from Papirdesign, then used one of the dies in the Stitched Borders die set from Lawn Fawn to create a little bit of interest to the sides, before adhering the panel with foam tape to the center of the card front.
 Using the Merry Script die from Mama Elephant, I die cut three layers from white cardstock and one from the patterned paper to adhere on top. I stacked the four together and adhered my die cut to the card. I white heat embossed a sub sentiment from the Holiday messages stamp set from Mama Elephant onto a scrap piece of patterned paper and trimmed it down to a strip, before I added a few layers of cardstock behind it for dimension and adhered it below my die cut word.
 I mounted the reindeer on foam tape offset in the heart opening and added die cut snow flakes here and there. Some I created with the Snowflake Confetti Fancy die from Hero Arts, some are made with the Stitched Let It Snow Circle Frame die set from Memory Box, which includes a die that cuts three individual snowflakes (which is what I used).
 This card has a lot of texture and dimension, and the shine on Rudolph’s nose is the perfect detail to draw attention to him!
![]() Not a lot of Copics for this one.
Not a lot of Copics for this one.
