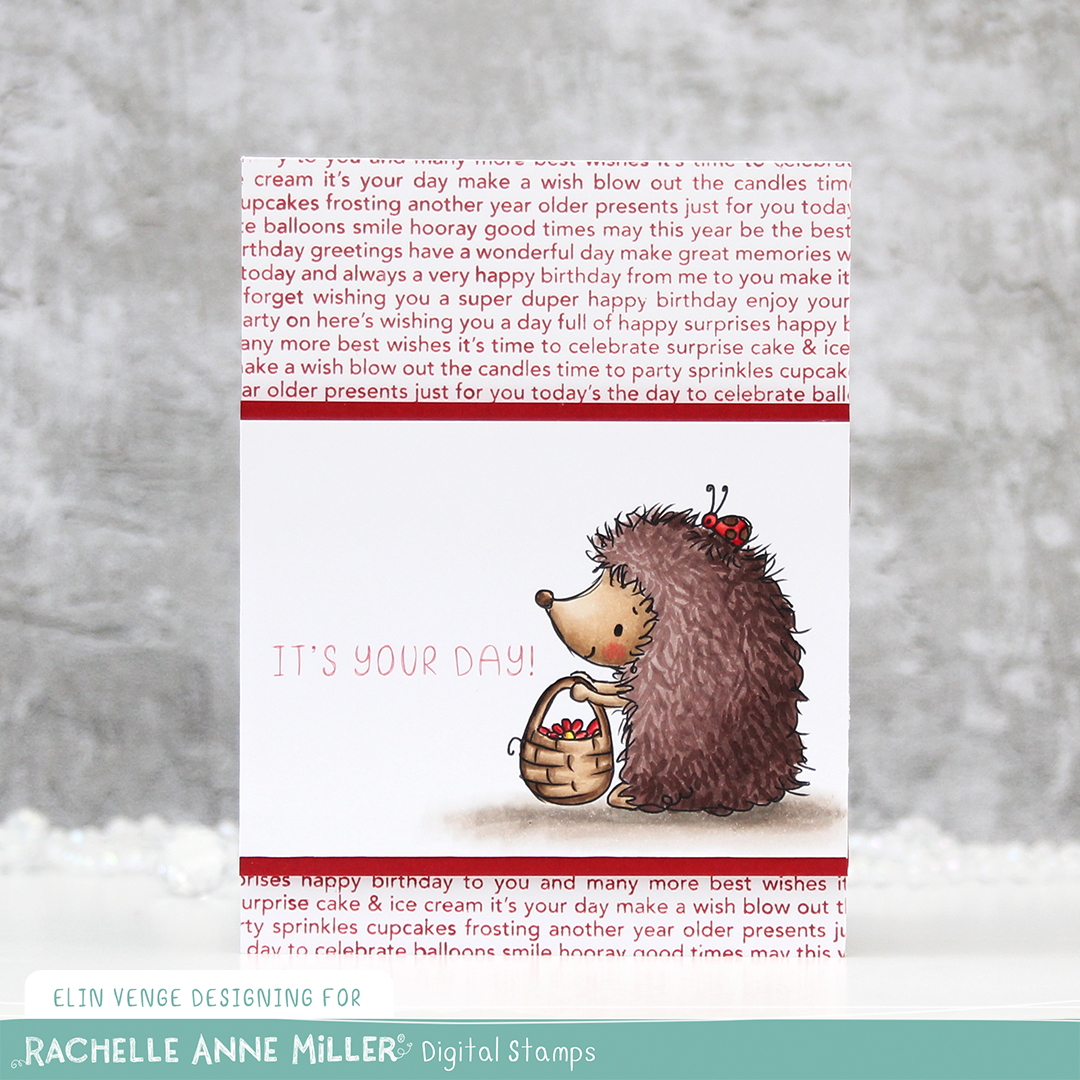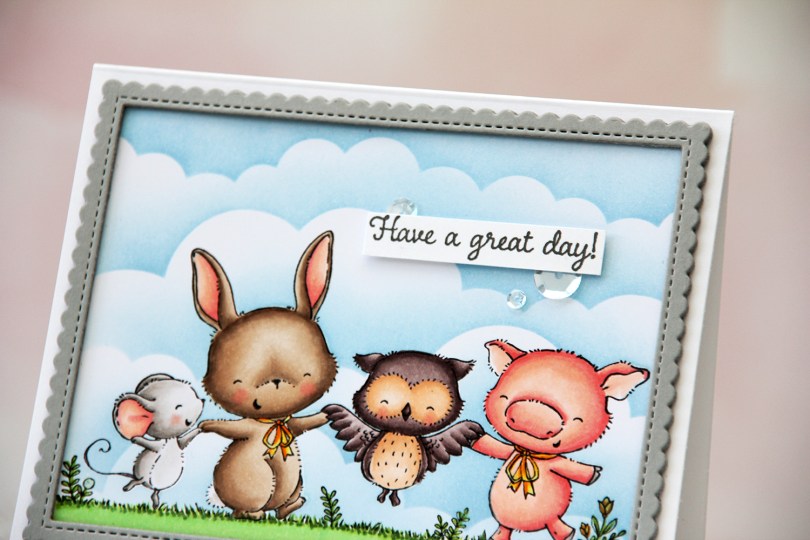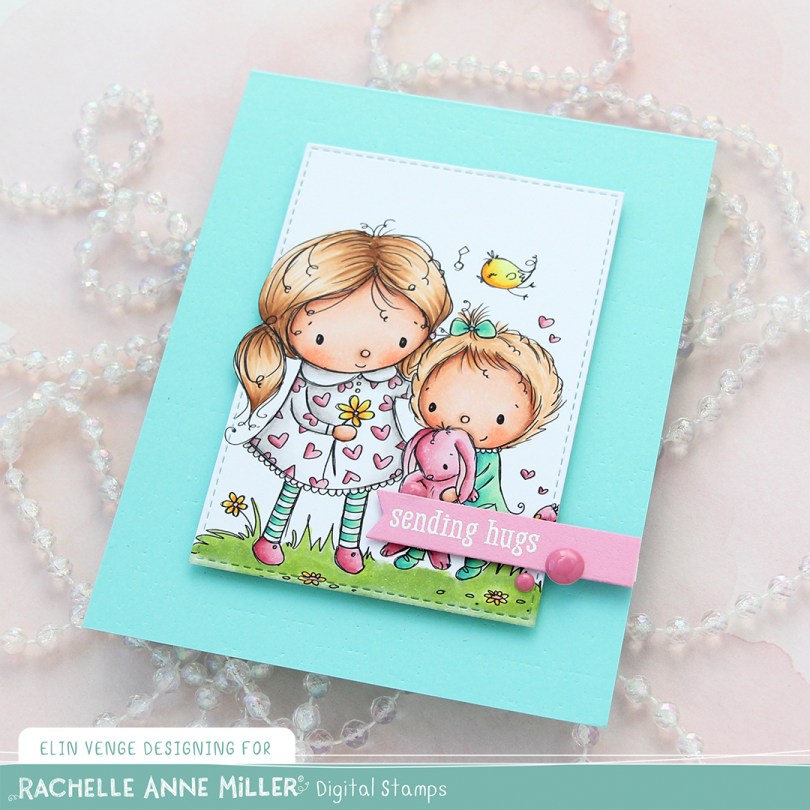
Hi! I have a super simple card to share today, featuring this adorable Sisters image from Rachelle Anne Miller.
 I printed the image onto X-Press It blending card, which is my go to paper for Copic coloring. It’s bright white and can handle a lot of layers without bleeding.
 Once my image was colored, I used a die in the A2 Stitched Rectangles STAX 1 set from My Favorite Things to turn it into a finished panel of 2 7/8 x 4 1/8″. I’d printed the image a little too big for my die, so I did some fussy cutting on the side of the big sister’s head before die cutting.
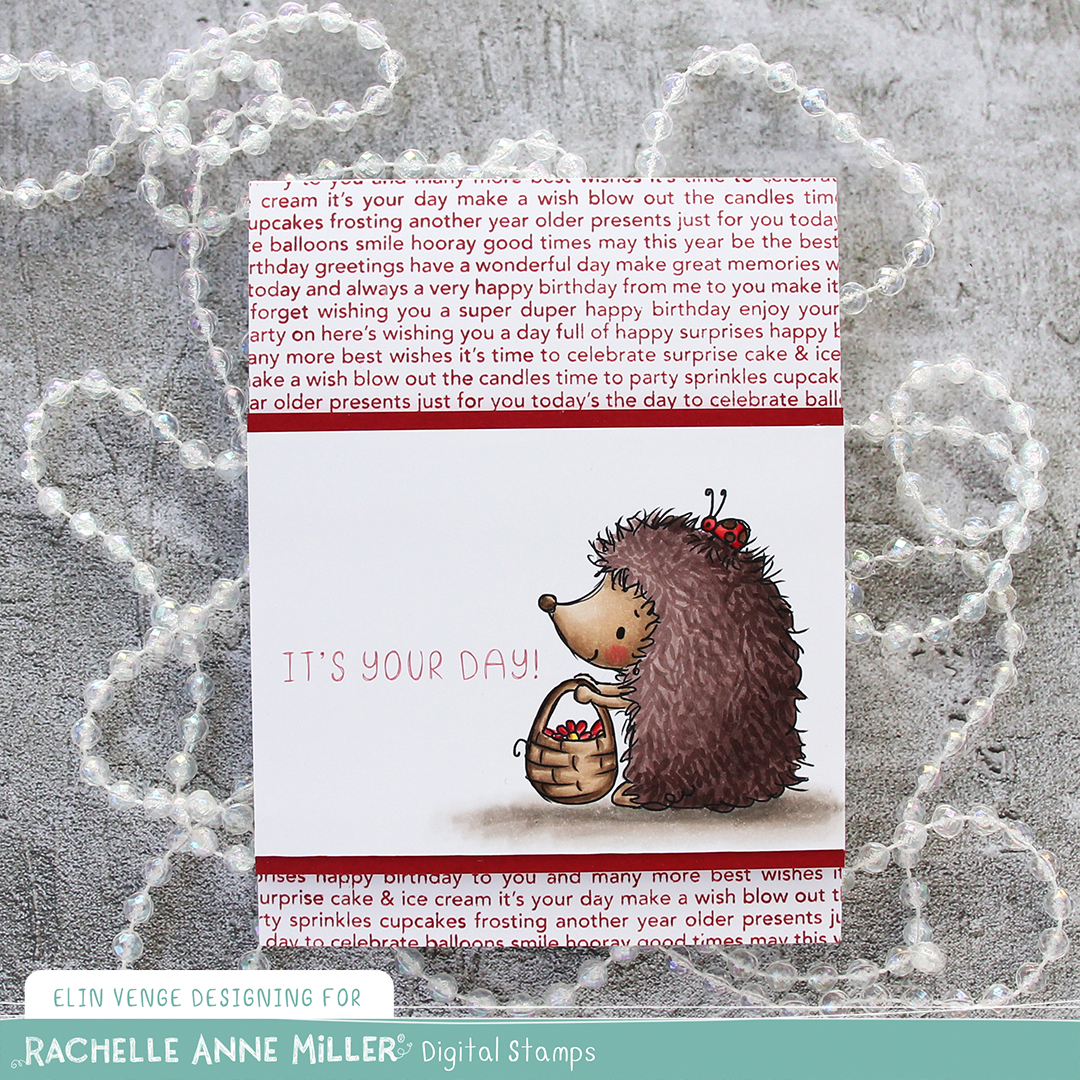
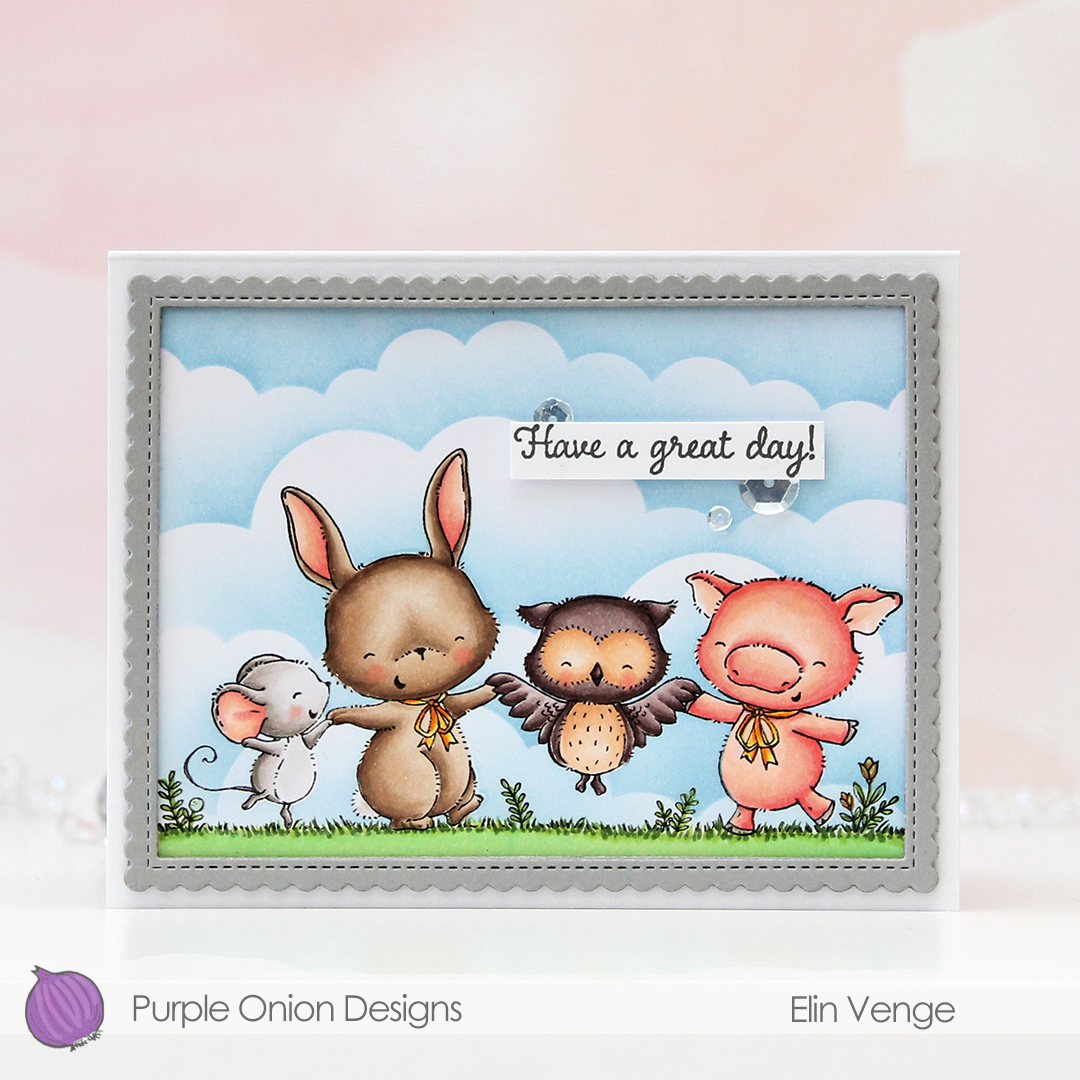
 I created a card base from Summer Splash Prestige cardstock from My Favorite Things and used an impression plate from Papertrey Ink to create some subtle texture in the background. I mounted my colored, die cut panel to the center of the card front using lots of foam tape.
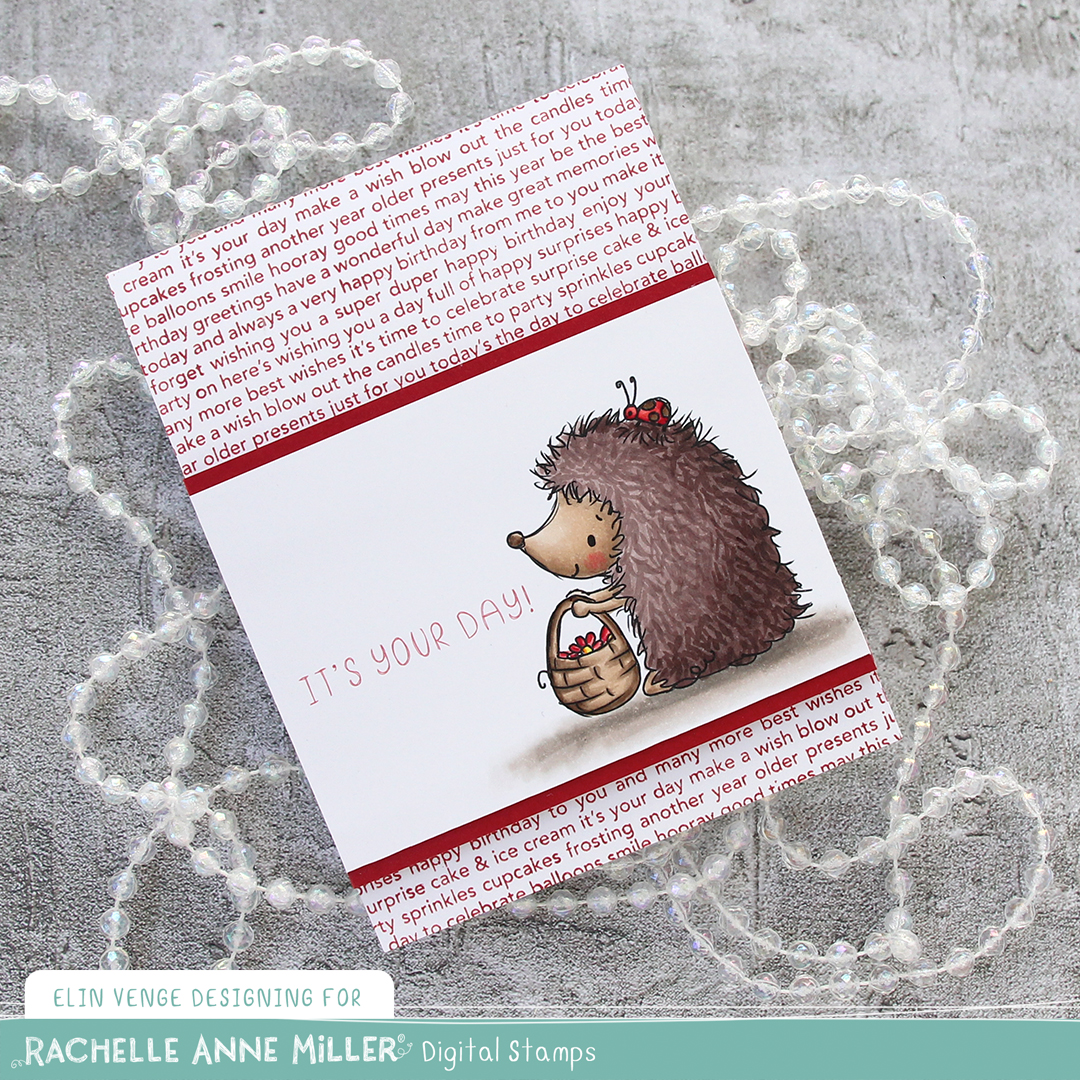
 Onto a piece of Cotton Candy Heavyweight cardstock from My Favorite Things, I stamped and white heat embossed a sentiment from the Monster Hugs stamp set from Simon Says Stamp and Concord & 9th, which is a collaboration set from 2018. It has a cute monster image and lots of great sentiments. I die cut my sentiment using the smallest of the dies in the Fishtail Flag Frames set from My Favorite Things and added it to the card using foam tape and 1 mm foam squares, to make it pop up slightly from the image.
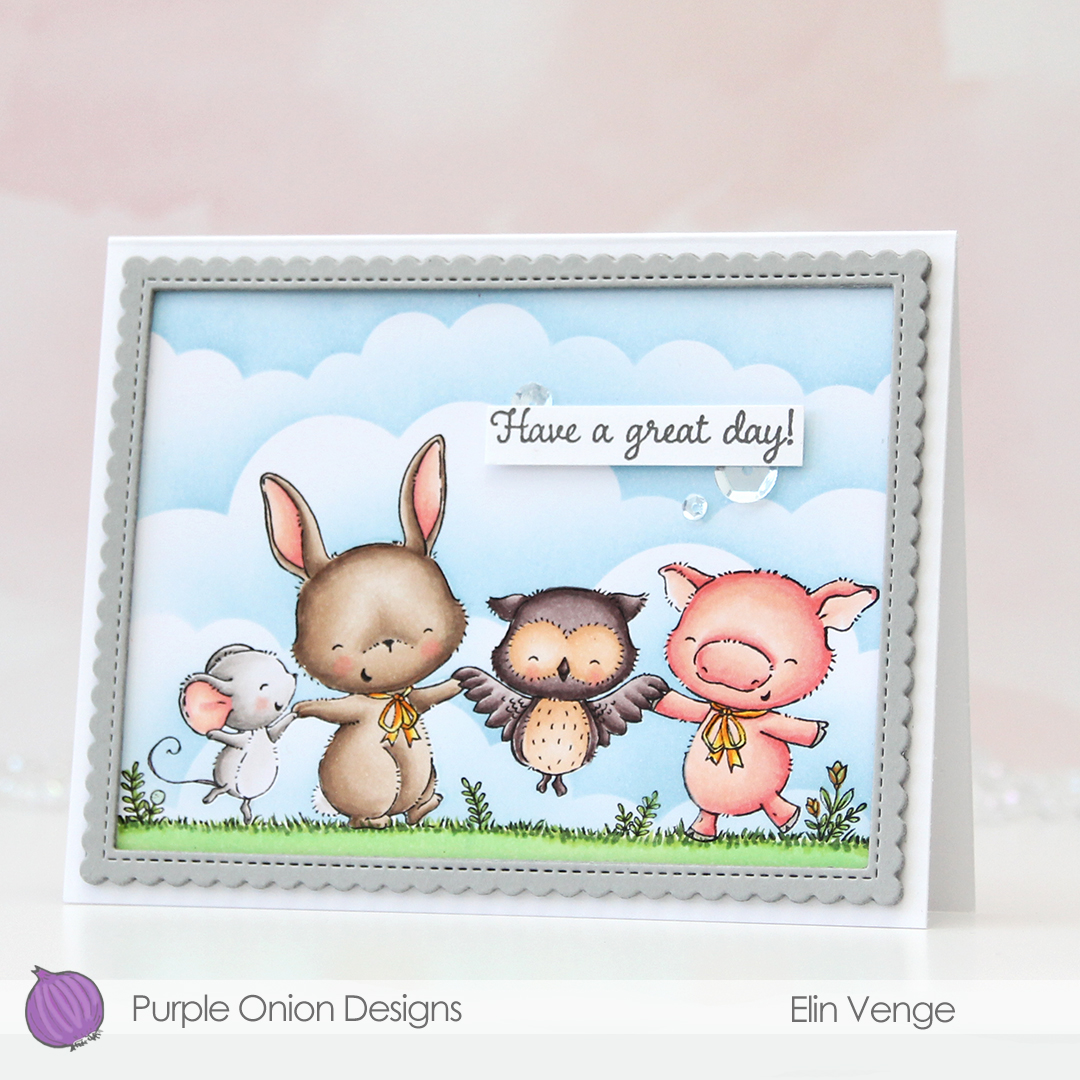
 I finished off the card by adding three pink enamel dots from Papirdesign.
 Fairly simple color palette. I even experimented a little with a new teal/green combo on the little sister, and I kind of like the color combination, so I might use it again one day soon!
 This
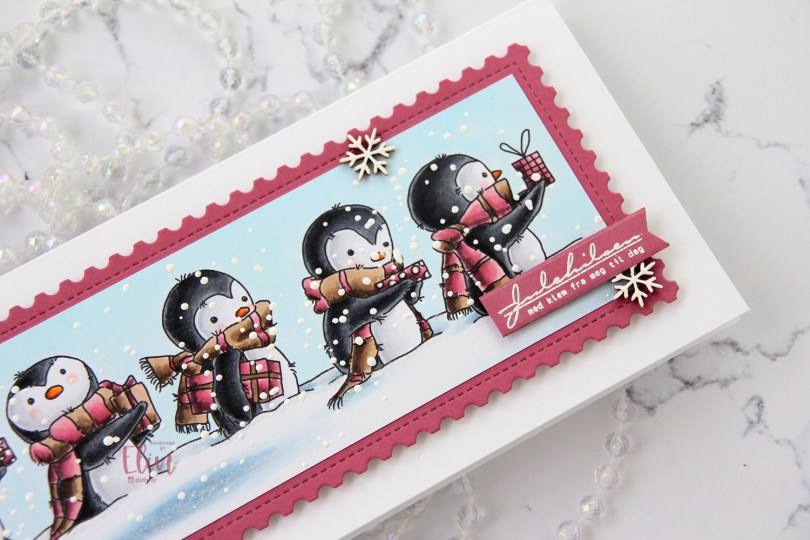
This  I colored my penguins with Copics, added glitter to parts of the ground, sprinkled on chunky white embossing enamel all over the image and melted the granules from the back of the paper. I die cut a piece of Autumn Rose card stock from Papertrey Ink using a die from Mama Elephant and adhered my colored piece directly on top, and then mounted that on foam tape onto a slimline card base I made from Stamper’s Select White cardstock from Papertrey Ink. I stamped and white heat embossed a Norsk Stempelblad AS sentiment onto more of that Autumn Rose cardstock, die cut that using a die from My Favorite Things and adhered it using 1 mm foam squares. I added a few veneer snowflakes from Crafty Moly to finish off the card.
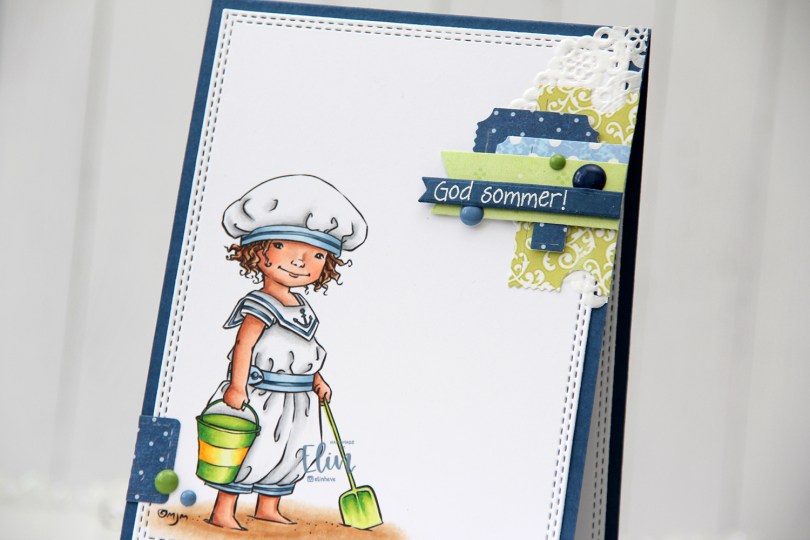
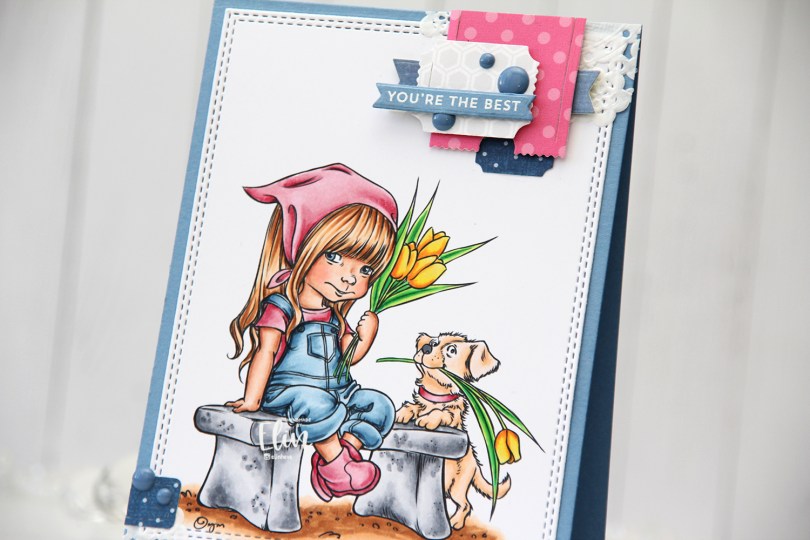
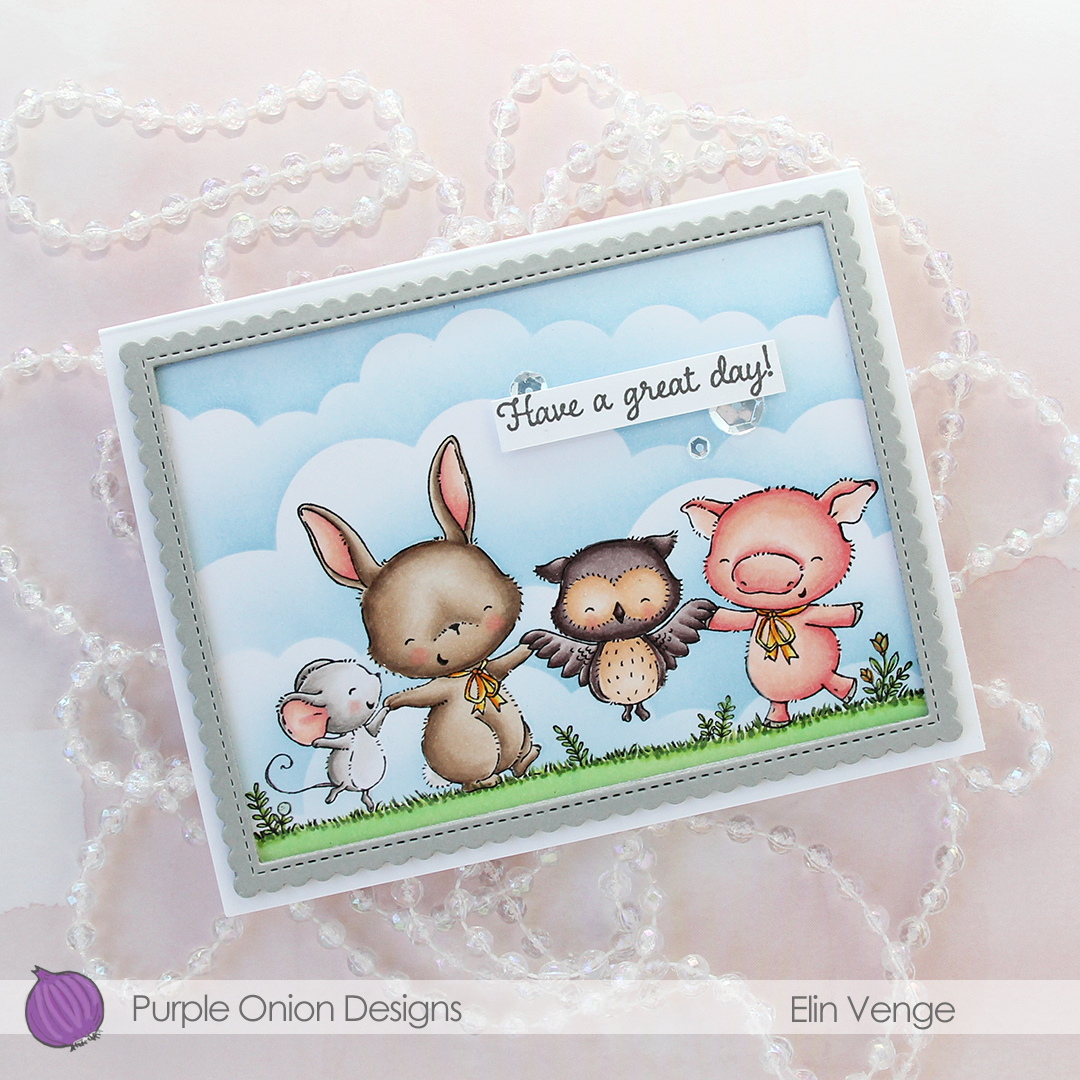
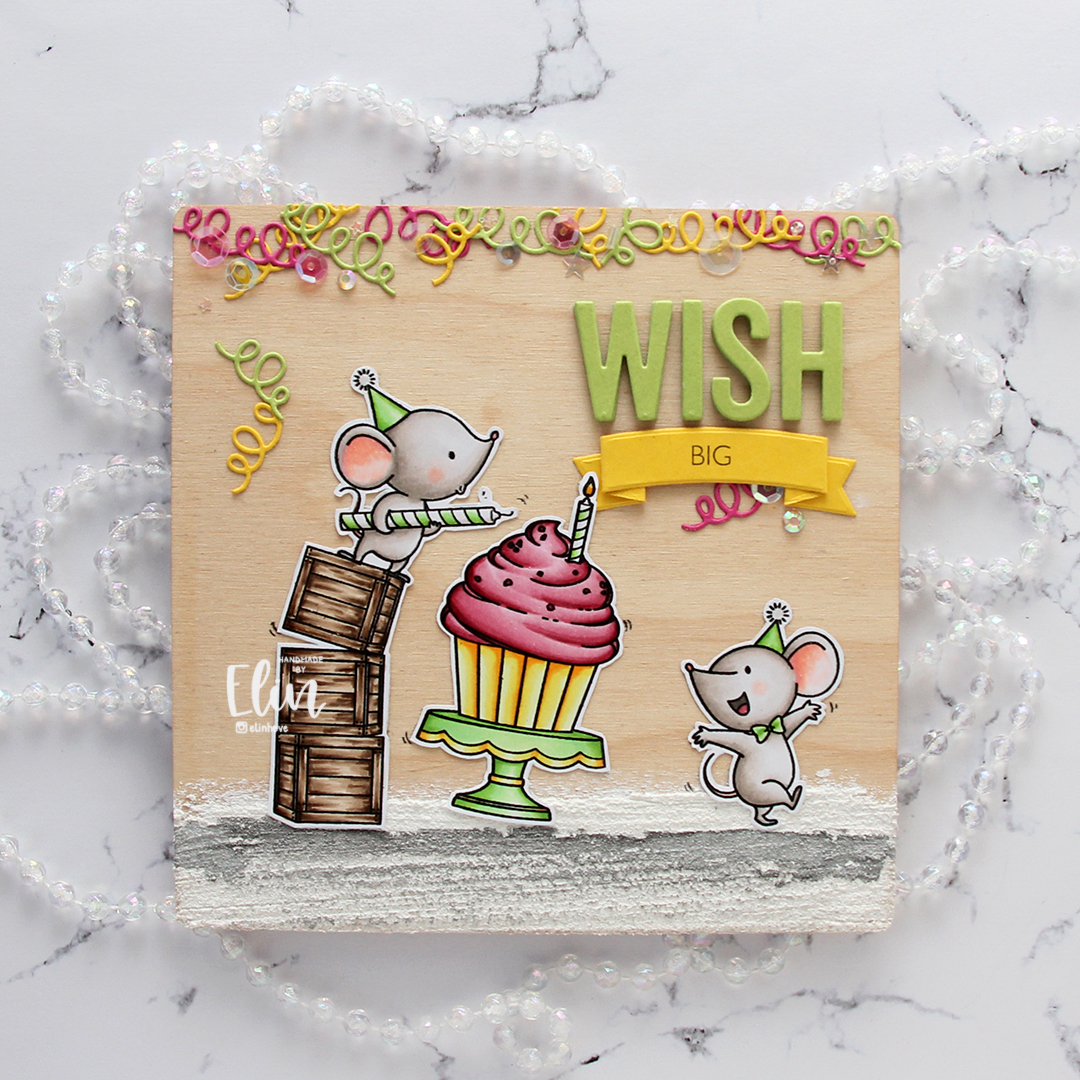
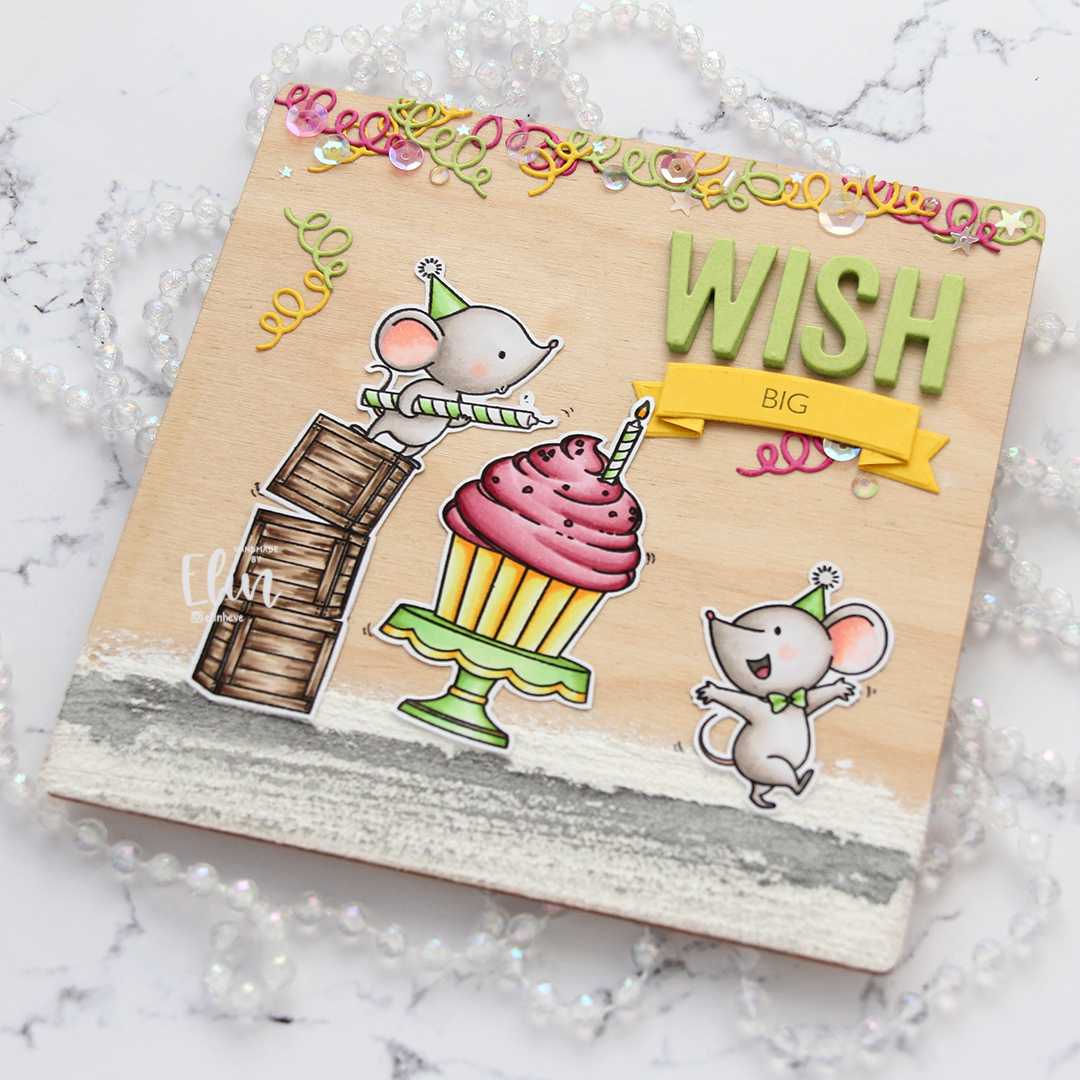
 Technically, I should have made this card at the beginning of the summer, but it’s a recent image from Mo and I couldn’t NOT make a summer card using it. The air is definitely getting cooler here, and I’m very well aware of the fact that summer officially ends in two weeks. I kind of want to go back to June and warmer temps, I don’t like the cold.
 Onto the card. I colored the image with Copics and used a double stitch rectangle die from My Favorite Things to turn it into a nice panel, before adhering it to a top fold card base I made out of Enchanted Evening cardstock from Papertrey Ink. I love their cardstocks.
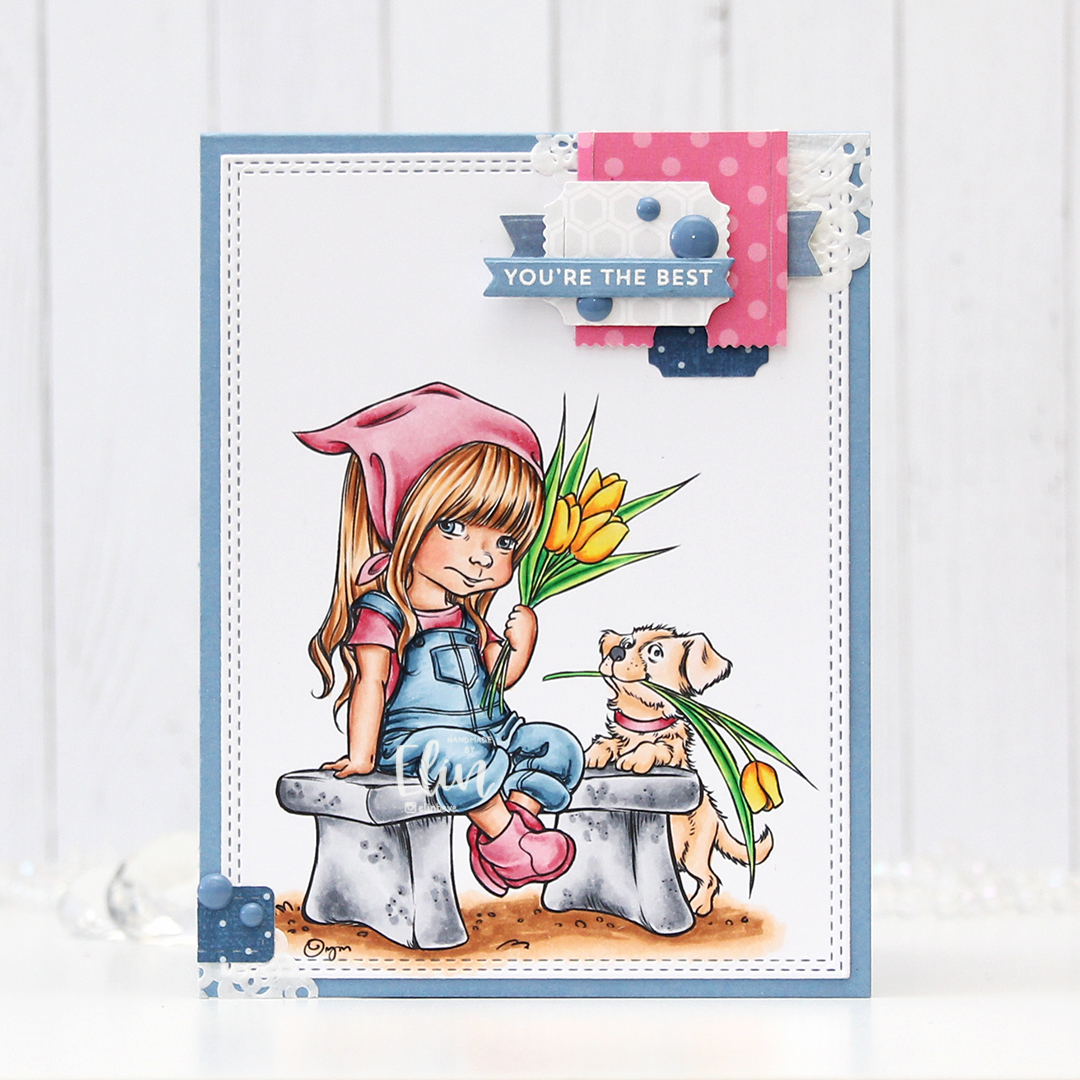
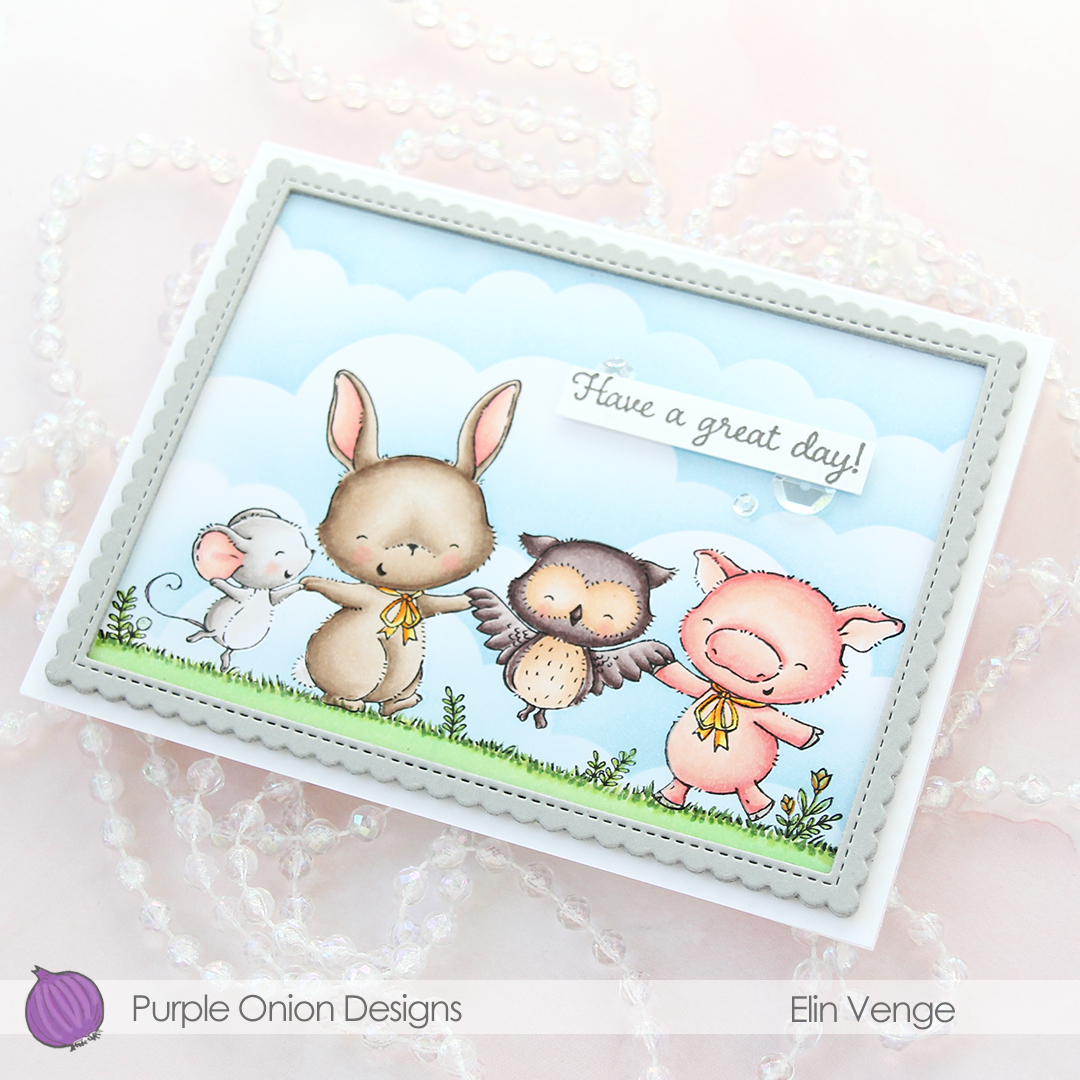
 When I don’t have a clear idea for a card, I turn to embellishment clusters of patterned paper scraps. These are so easy to put together and a great way to add SOMETHING when I’m out of ideas and my mojo’s low.
 I’ve sorted my die cut patterned paper scraps by color, so I pull out colors that will match my card and just start playing. I used patterned paper from 3ndypapir, Papirdesign, Kaisercraft and Imaginisce for this card, and the dies I used to cut them out are from XCut and My Favorite Things.
 I white heat embossed a sentiment from Norsk Stempelblad AS onto a scrap piece of Enchanted Evening cardstock and used one of the Itty Bitty Strips dies from My Favorite Things to diecut it, before using 1 mm foam squares to mount it onto my cluster. I added a few enamel dots from Papirdesign to finish my card.
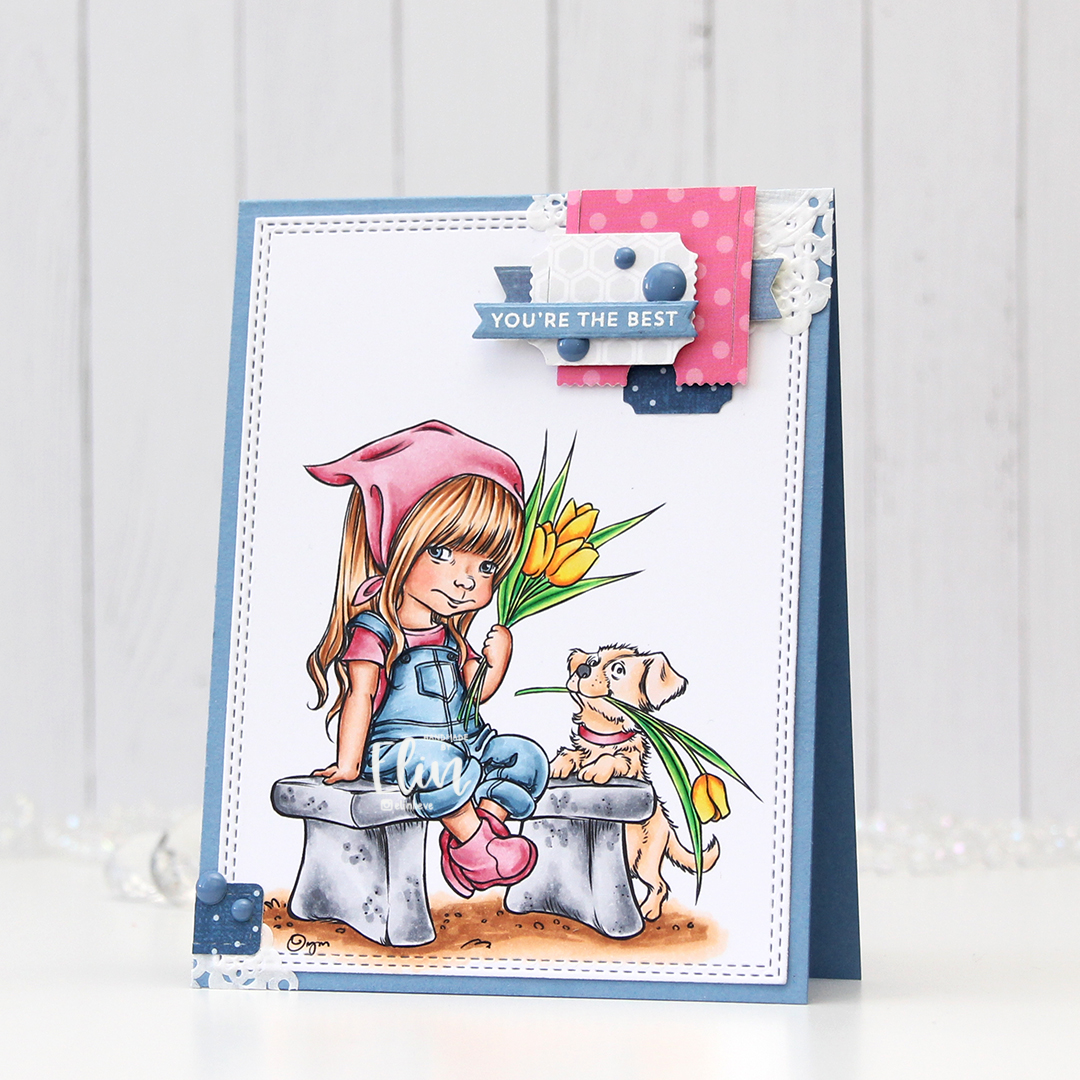
 Fairly limited color palette for this one.
 You can actually get the image I used for FREE if you spend $20 or more during Mo’s summer sale, which ends today, so you’d better be quick.