Hi! I’m sharing a card today that is near and dear to my heart. I shared the coloring of this Wishing mouse from Stacey Yacula and Purple Onion Designs back in July last year. It was the first Purple Onion Designs image that I ever colored. A little over a year later, and I’m lucky enough to be on the Purple Onion design team, all because of this one image.
 I colored the image using a very soft color palette with my Copics. I didn’t write the colors down, so unfortunately, I have no fancy graphic to show you at the end of this post. I wish I did, though, because I really like the colors I used for this.
 I used the largest of the A2 Stitched Rectangles STAX 2 dies to turn my colored piece into a nice panel with the faux stitch edge I love so much. I decided to adhere it directly to my top fold card base, that I made from Berry Sorbet cardstock from Papertrey Ink. The color matches the darkest parts of her dress very well.
 Onto a separate piece of Berry Sorbet, I stamped and white heat embossed part of a sentiment in the A Beautiful Day Sentiment Set from Purple Onion Designs, before cutting it down to a super small sentiment strip using a steel ruler and a craft knife. To me, it’s the best way to create sentiment strips, die cutting is more risky to me, this way, I know it’s straight.
 I die cut part the word wish using a die from Mama Elephant. The die actually die cuts the word wishes, but I cut off the tail end of the word so I was left with just wish. I die cut four more from Grapefruit cardstock from Concord & 9th, and added them behind the top die cut for dimension. This makes the word lighter (and it makes it match the lighter parts of the dress) from the sides. I did the same with the sentiment strips above, making the strip and the stacked die cut flush.
 I finished off the card by adding a few sparkling clear sequins from Pretty Pink Posh. I used my scissors to cut the largest sequin in half to tuck it behind the sentiment strip.
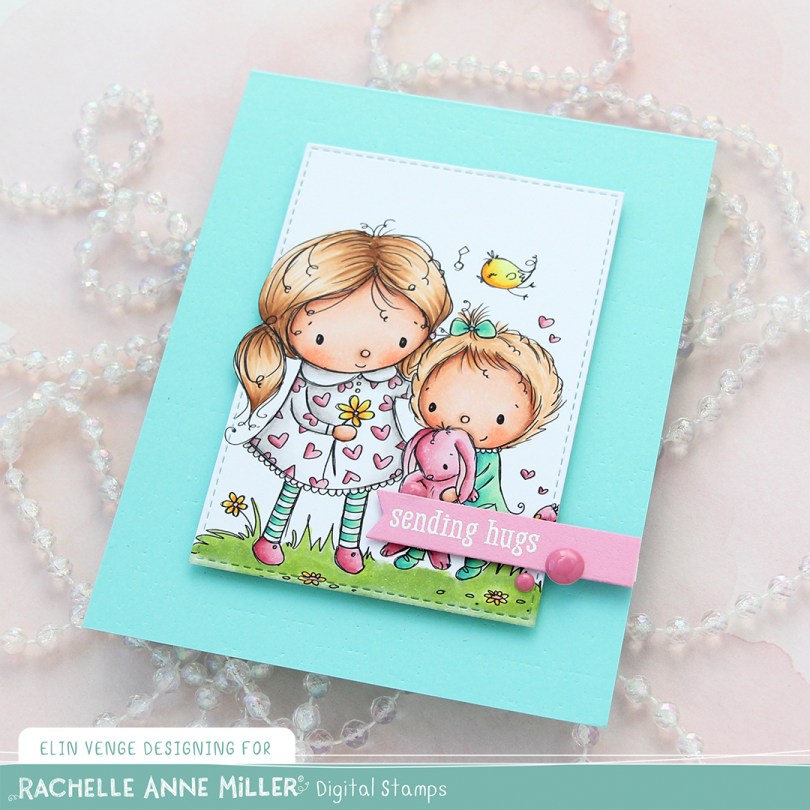
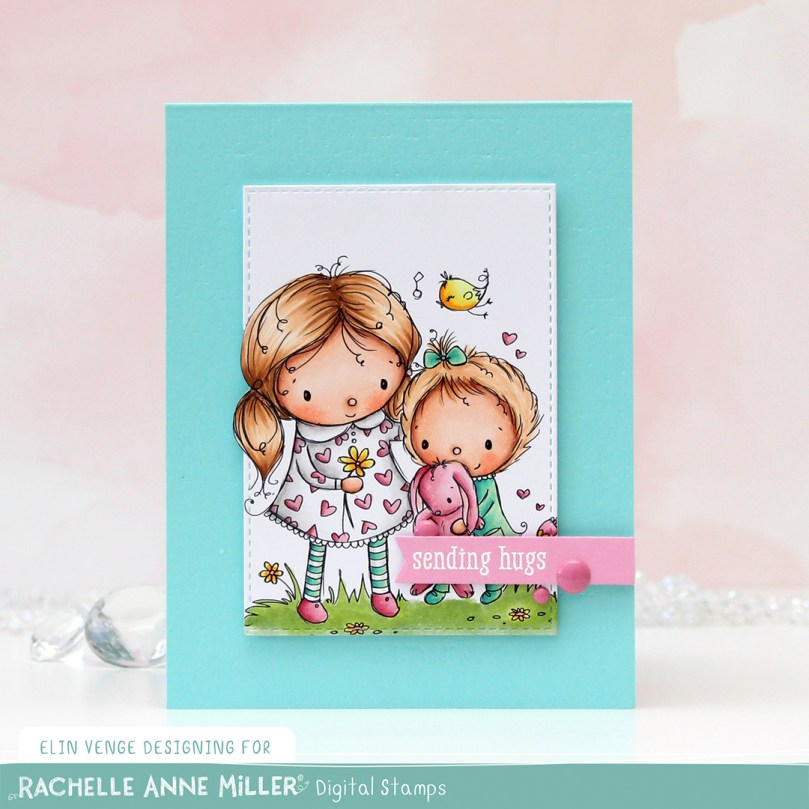 I printed the image onto X-Press It blending card, which is my go to paper for Copic coloring. It’s bright white and can handle a lot of layers without bleeding.
 Once my image was colored, I used a die in the A2 Stitched Rectangles STAX 1 set from My Favorite Things to turn it into a finished panel of 2 7/8 x 4 1/8″. I’d printed the image a little too big for my die, so I did some fussy cutting on the side of the big sister’s head before die cutting.
 I created a card base from Summer Splash Prestige cardstock from My Favorite Things and used an impression plate from Papertrey Ink to create some subtle texture in the background. I mounted my colored, die cut panel to the center of the card front using lots of foam tape.
 Onto a piece of Cotton Candy Heavyweight cardstock from My Favorite Things, I stamped and white heat embossed a sentiment from the Monster Hugs stamp set from Simon Says Stamp and Concord & 9th, which is a collaboration set from 2018. It has a cute monster image and lots of great sentiments. I die cut my sentiment using the smallest of the dies in the Fishtail Flag Frames set from My Favorite Things and added it to the card using foam tape and 1 mm foam squares, to make it pop up slightly from the image.
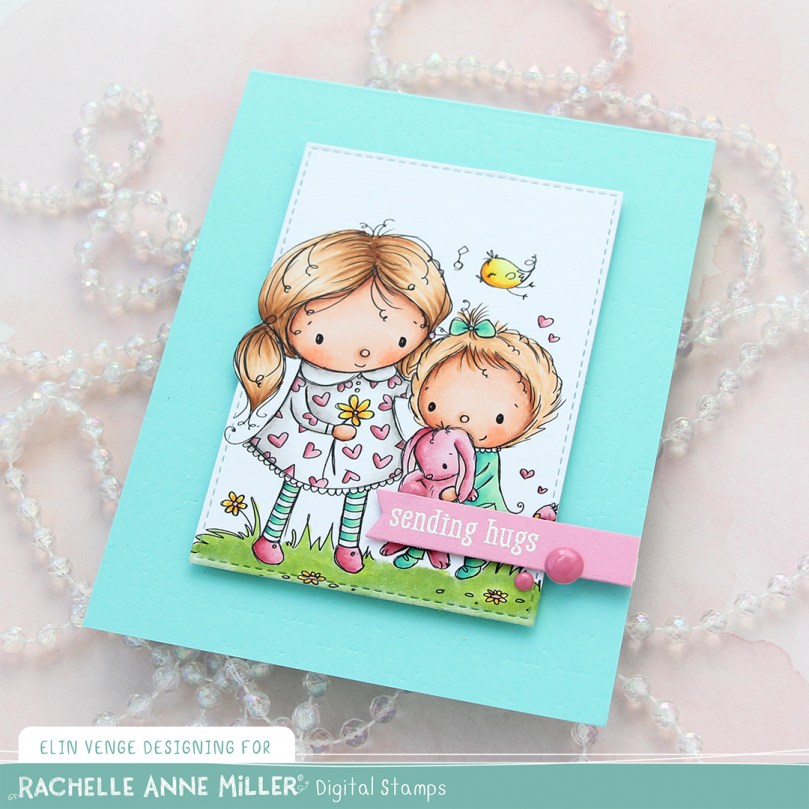 I finished off the card by adding three pink enamel dots from Papirdesign.
 Fairly simple color palette. I even experimented a little with a new teal/green combo on the little sister, and I kind of like the color combination, so I might use it again one day soon!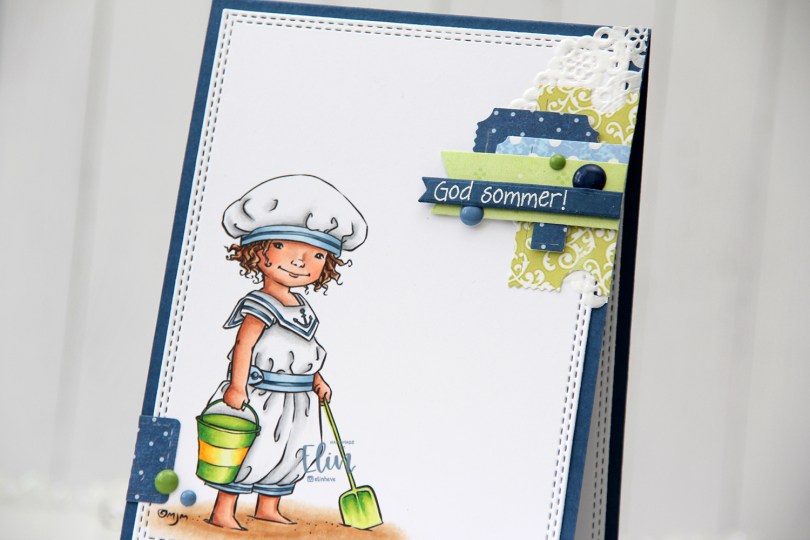
 Technically, I should have made this card at the beginning of the summer, but it’s a recent image from Mo and I couldn’t NOT make a summer card using it. The air is definitely getting cooler here, and I’m very well aware of the fact that summer officially ends in two weeks. I kind of want to go back to June and warmer temps, I don’t like the cold.
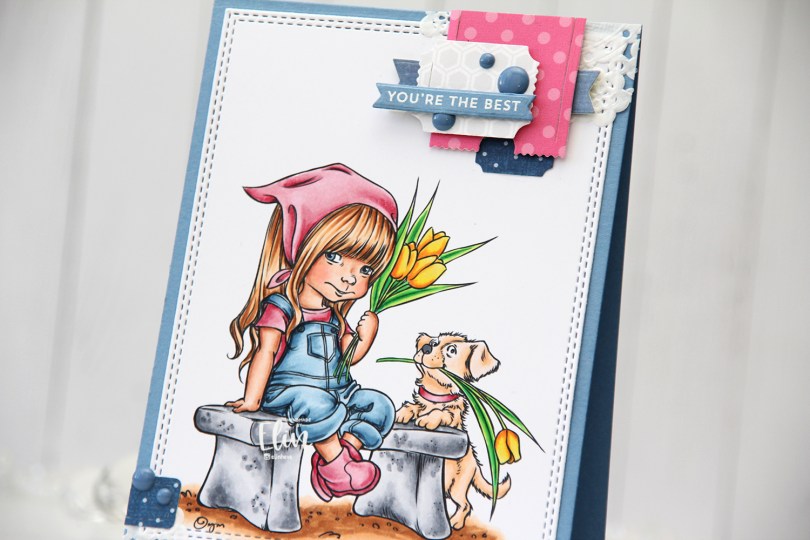
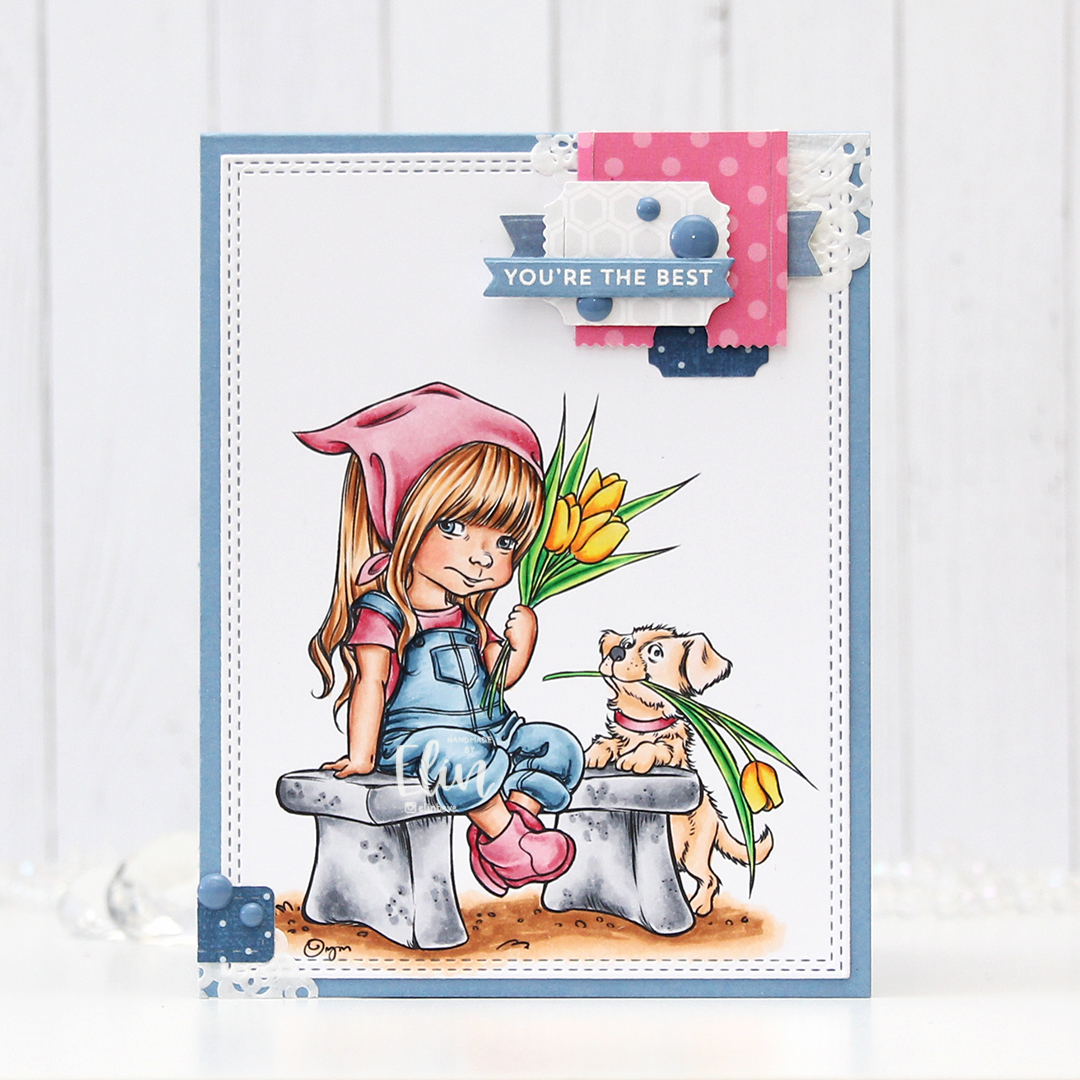
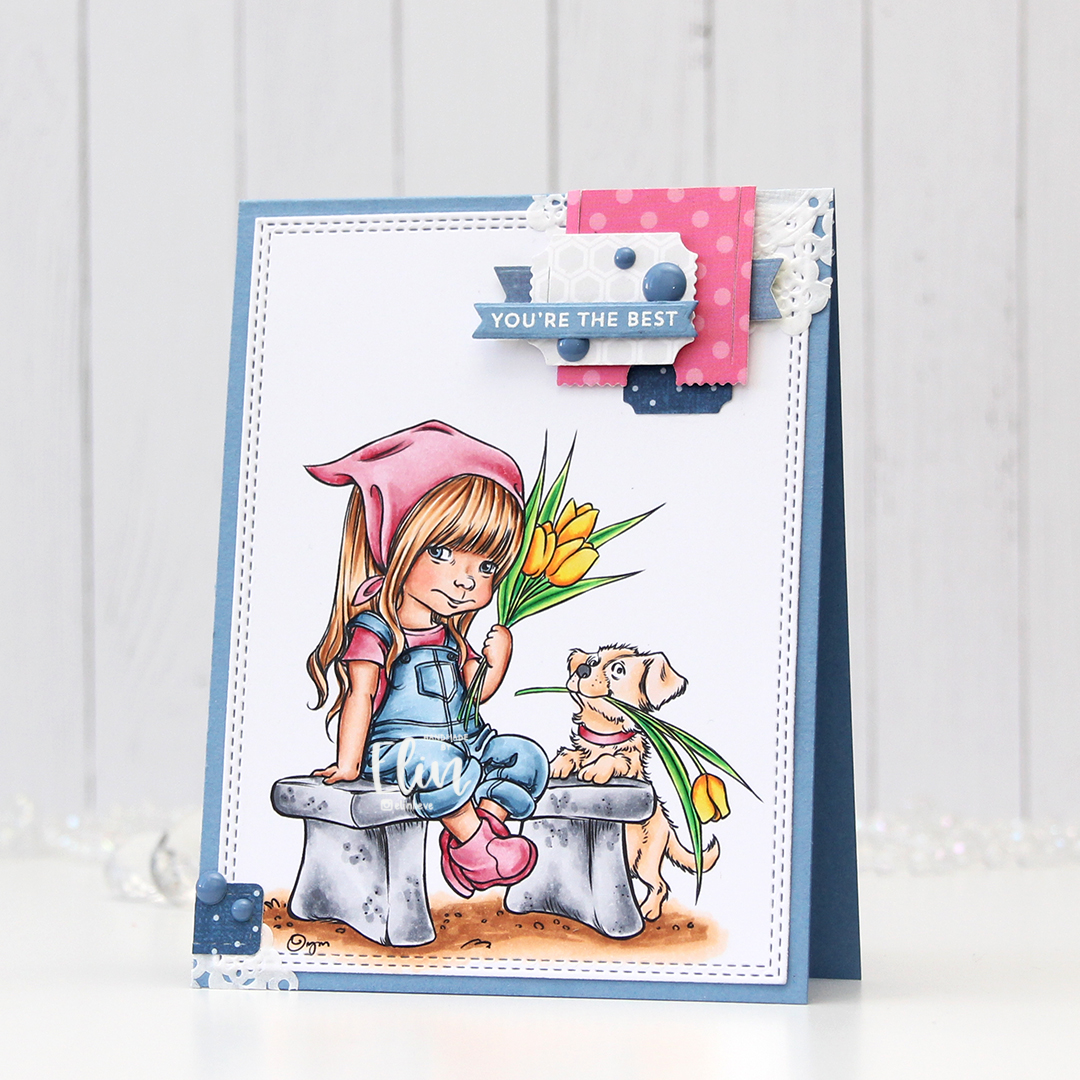
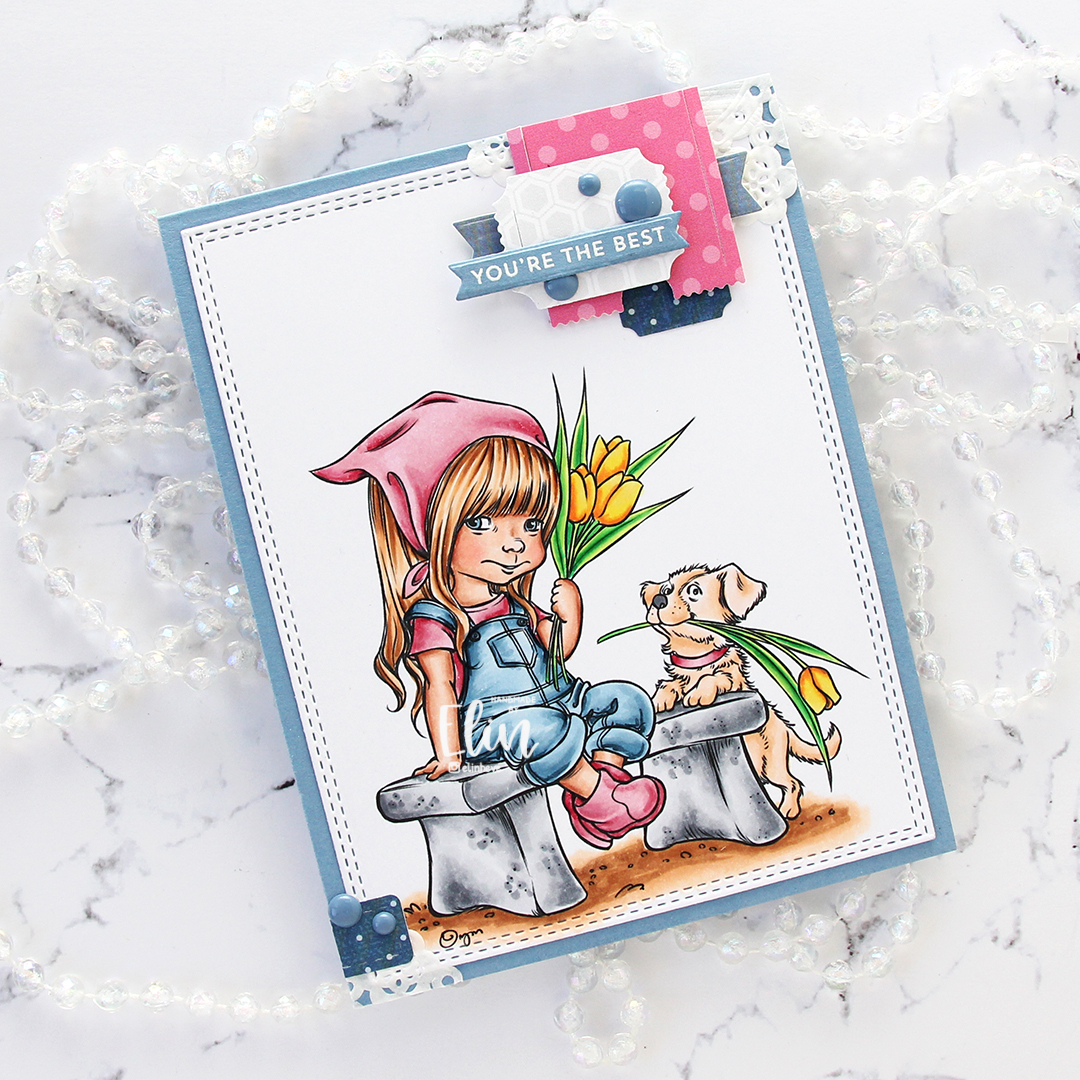
 Onto the card. I colored the image with Copics and used a double stitch rectangle die from My Favorite Things to turn it into a nice panel, before adhering it to a top fold card base I made out of Enchanted Evening cardstock from Papertrey Ink. I love their cardstocks.
 When I don’t have a clear idea for a card, I turn to embellishment clusters of patterned paper scraps. These are so easy to put together and a great way to add SOMETHING when I’m out of ideas and my mojo’s low.
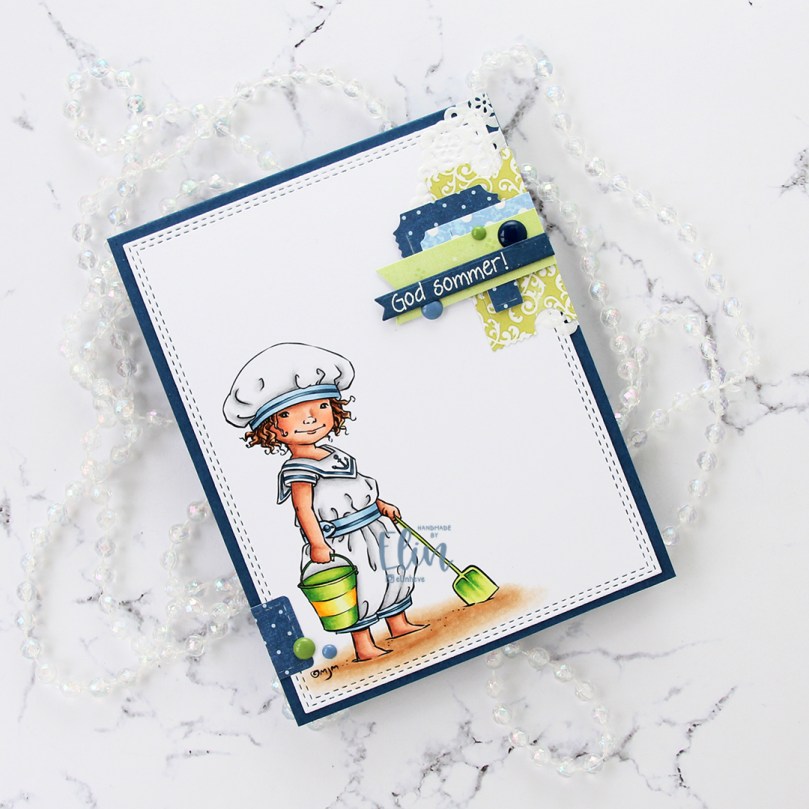 I’ve sorted my die cut patterned paper scraps by color, so I pull out colors that will match my card and just start playing. I used patterned paper from 3ndypapir, Papirdesign, Kaisercraft and Imaginisce for this card, and the dies I used to cut them out are from XCut and My Favorite Things.
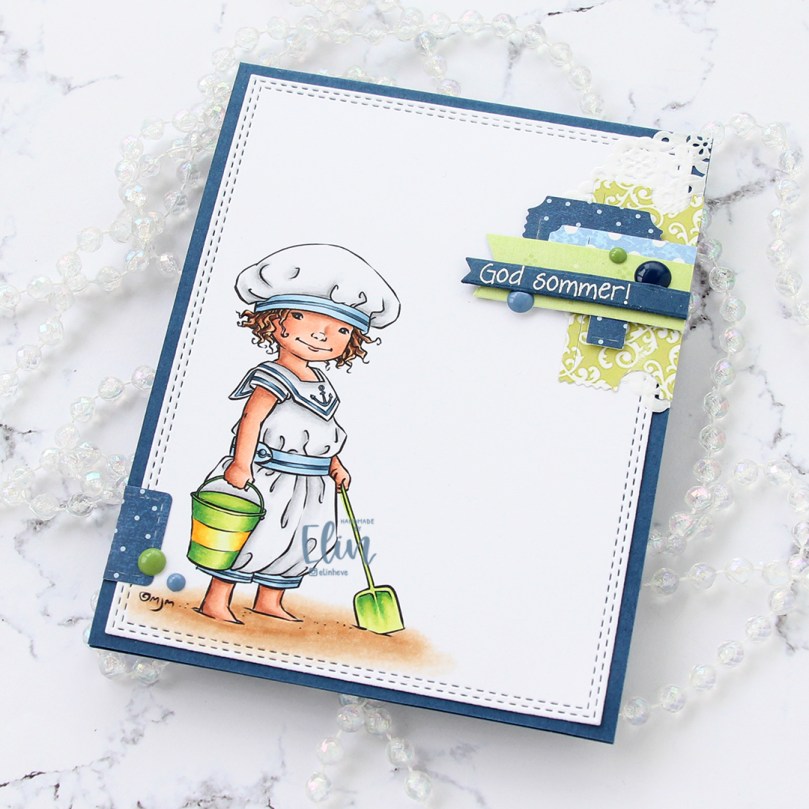 I white heat embossed a sentiment from Norsk Stempelblad AS onto a scrap piece of Enchanted Evening cardstock and used one of the Itty Bitty Strips dies from My Favorite Things to diecut it, before using 1 mm foam squares to mount it onto my cluster. I added a few enamel dots from Papirdesign to finish my card.
 Fairly limited color palette for this one.
 You can actually get the image I used for FREE if you spend $20 or more during Mo’s summer sale, which ends today, so you’d better be quick.