
Happy New Year! You know what happens when the year starts on a Wednesday, right? It’s Mo Manning time. And you know what happens when Christmas is nearly over?? I’m saying nearly because we technically have another 12 days to go, at least in my little corner of the globe. There’s a saying in Norwegian, though, about Christmas lasting till Easter. Me? I’m ready for summer!!
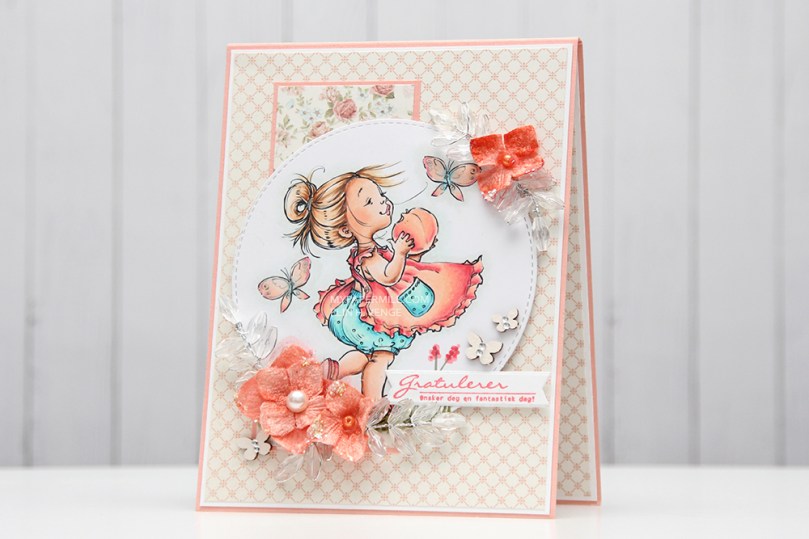 What’s more summery than peachy colors, flowers and butterflies? I colored up Peaches way back in early April, then managed to break my shoulder the following week, so this image and these patterned paper panels have been waiting patiently to be turned into a card. Better late than never, right?
 I’ve sort of gone back to my roots with this card. Layers (though not many), colored Bazzill card base, Pion Design patterned papers, flowers and those little clear acrylic branches are all things I used to use a lot, but rarely use any more. It’s fun to shake things up every once in a while, especially after making so many clean and simple Christmas cards.
 I don’t know what colors I used to color up my image, it’s been about eight months, after all. I may have written it down somewhere, but if I did, I don’t know where. I’m usually good at writing things down in a book, but I’m also known for some serious Post-it notes usage. I’m not sure where the Post-it went. Or even if there ever was a Post-it for this particular color combination on this particular image. What I do know is that it’s not in my book.
 I glued all my cardstock and patterned paper panels down using double sided tape. For the diecut image, I used foam tape, and lots of it. I was not shy. A roll of foam tape lasts forever, so I like to cover the entire back for even dimension with no sag. I think I bought ten rolls a couple of years ago. I’ve given one away and am halfway through my second roll, so I still have seven sitting in a cabinet in my craft room.
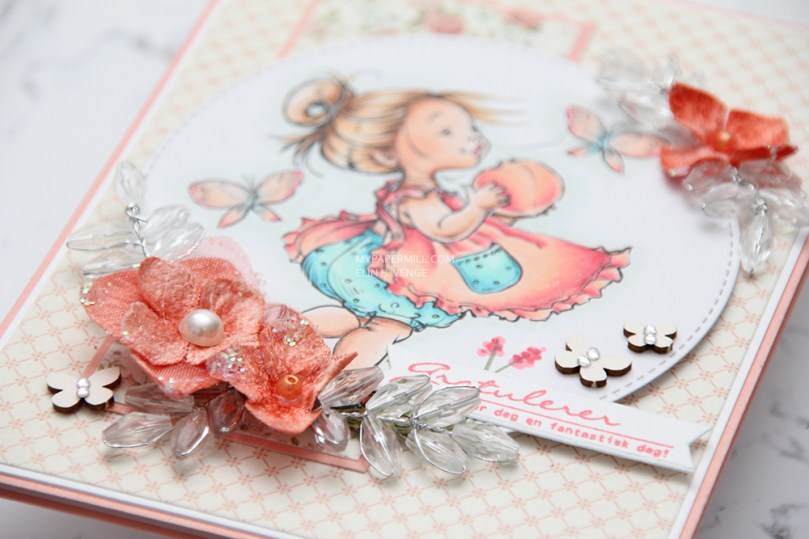 I used a hot glue gun to attach my flowers and those acrylic branches. I have a low temp hot glue gun that I love for things like this. It dries instantly and stays put. For the butterflies and the pearl in the center of the largest flower, I used connect glue from Gina K. It’s the best liquid glue out there, those butterflies aren’t going anywhere!
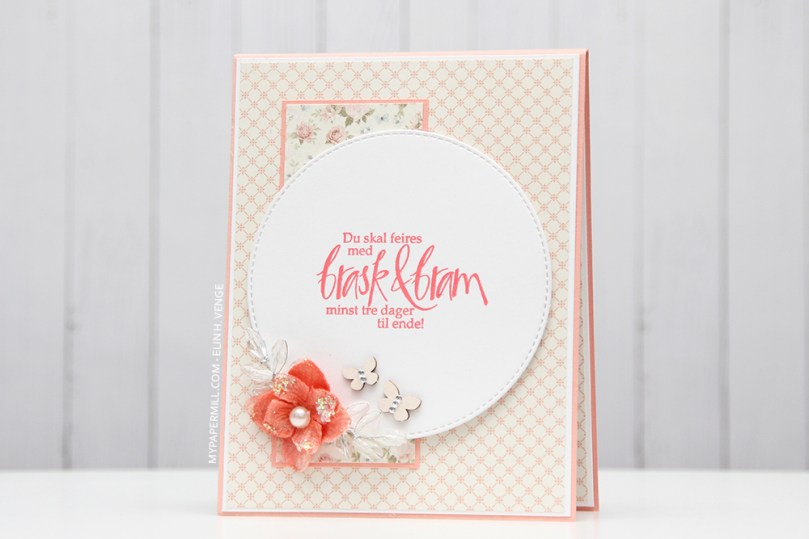 I used the same design on the insides and on the back of my card. There’s no dimension to the circles on the inside of the card, but I used foam tape on the back circle as well. A sentiment from Norsk Stempelblad AS stamped in a combination of VersaMark and two different colors of Distress Ink (Worn Lipstick and Abandoned Coral). Normally, I’m not a fan of distress ink used with clear stamps, they tend to bead up on the surface of the stamp, and the result you get isn’t the best. I didn’t have a peachy ink pad, however, and if you use VersaMark on the stamp and then distress ink right on top of that, you can reduce the beading and get a better stamping. Not perfect, but better than distress ink on its own. And much better than having to compromise and use black or brown or another color that wouldn’t go as well with the rest of the card.

 I’m still working through my Christmas images with no line coloring, and I adore this one, she’s so cute balancing those baubles!! Baubles are fun to color too, so all in all, this was a joy to make.
 I ran out of my favorite white cardstock while working on my Christmas cards, so I had to get creative with card bases and patterned paper before I got a new shipment! For this one I used Olive cardstock from Simon Says Stamp, it matches perfectly with the greens in the patterned paper from Maja Design and my coloring.
 I diecut the panel with my little elf using the larges of the faux stitch rectangle dies from My Favorite Things and glued it straight to a piece of Maja Design patterned paper the same size as my card base. I added a piece of a Doodlebug Design mini doily and a couple of banners made from patterned paper scraps. I diecut both banners with dies from the Fishtail Flag Frames set from My Favorite Things, stamped a Huldra designstudio sentiment on one of them and white heat embossed it. As a last finishing touch, I added a few crystal to draw the eye to the sentiment.
 The banner with the sentiment is mounted with 1 mm foam tape, everything else is glued flat, making this a card that will have no trouble going through the mail.
 I managed to include BG90 twice in my little Copic chart, maybe I shouldn’t make my charts when it’s way past bed time??

 I have a soft spot for Stacey Yacula’s images, and the Sweet Holiday Penguins set from My Favorite Things was perfect for a quick, simple Christmas card. I’m normally not one for scene cards, but I thought these two deserved better than to just float around, so I added a night sky and some subtle hints of snow on the ground.
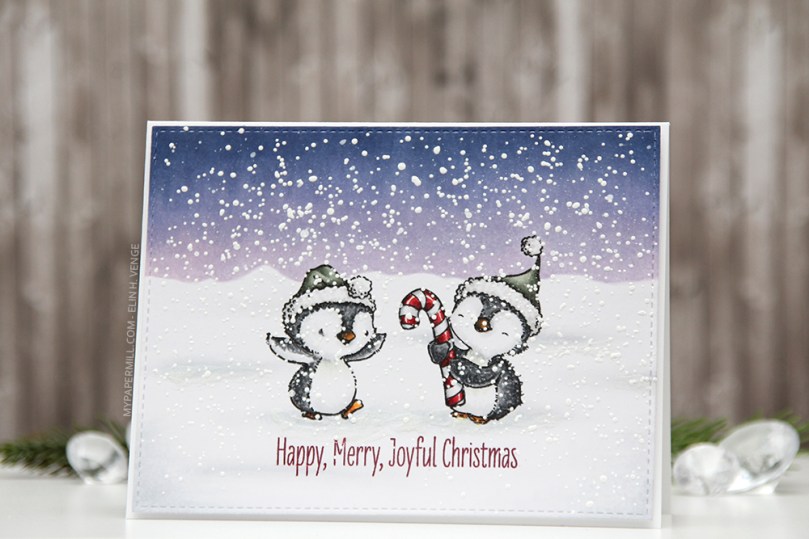 I colored my penguins during Kathy Racoosin’s 30 day challenge on Instagram, and asked my followers how to add snow. Someone suggested paint splatters and embossing powder, so that’s what I did. I used liquid watercolor from Hero Arts for the splatters, and lots and lots and lots of chunky white embossing enamel from Stampendous for the rest. It makes the card seem very wintry, and the embossing enamel adds a ton of texture to an otherwise very simple card.
 I could have made it a one layer wonder, but I like the faux stitch look you get with the stitched rectangle STAX sets from My Favorite Things, and I love the 1/16″ frame of pure white around it. I even mounted my panel on foam tape for that extra bit of dimension.
 Simple, yet dimensional from that foam tape, with lots of texture from the embossing enamel. Maybe I should start making scene cards more often?
 I can’t believe I’ve nearly used all the different gray families on one card, all I’m missing are the Ws.
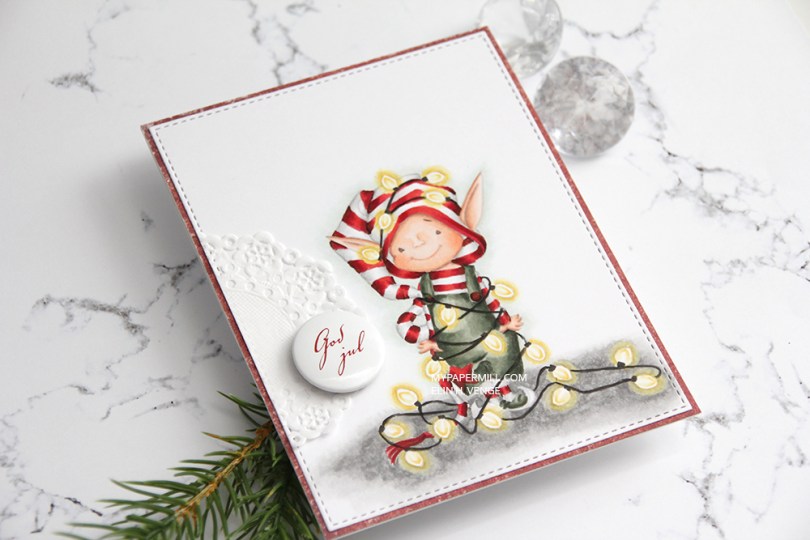
 I went for a no lines version, which is my preferred Copic technique, it makes the image come to life much more than a black lined version ever could.
 I die cut my colored piece with a faux stitch rectangle die from My Favorite Things. I added a red piece of Maja Design patterned paper to my card front and glued my elf panel on top, effectively creating a 1/16″ red frame around my image.
 I wanted to keep the focus on the cute little elf. The best way to do that is to keep it super simple and subtle. I added a piece of a Doodlebug Design mini doily before gluing on a Papirdesign button that says Merry Christmas in Norwegian. That’s it.
 This is a pretty mail friendly card, the only thing that adds a little bulk is that button, everything else is glued on without any dimension.
 I try being good at showing the Copics I used, but sometimes I forget. This time I didn’t.
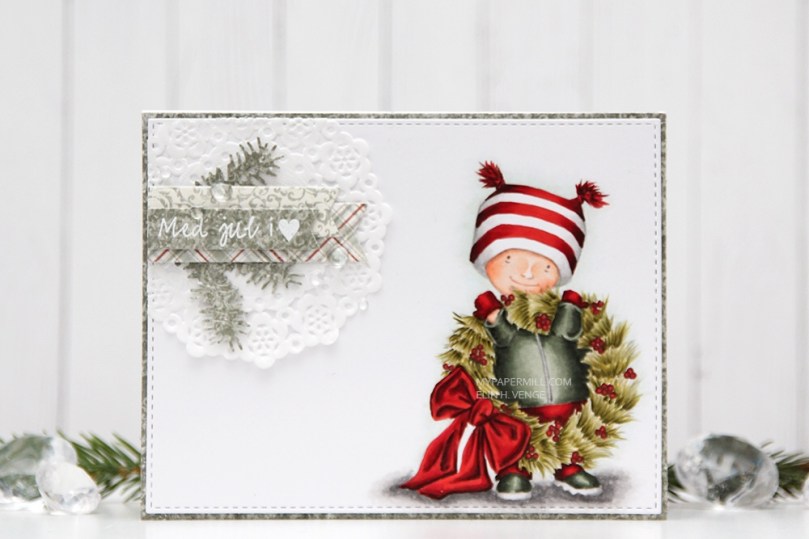 I used the largest of the dies from the Stitched Rectangles STAX 2 set from My Favorite Things to diecut the panel with my little guy, just for some subtle detail.
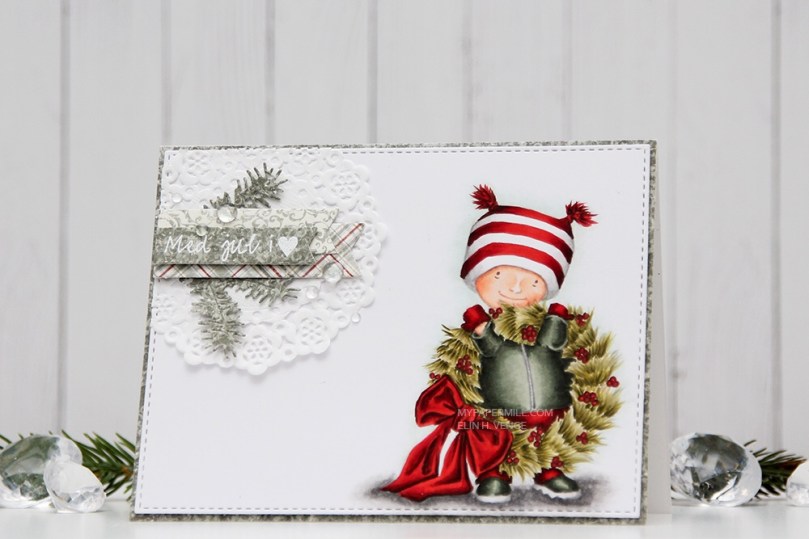 I covered the front of my card panel with a green piece of patterned paper and mounted my faux stitches colored panel with some low foam tape.
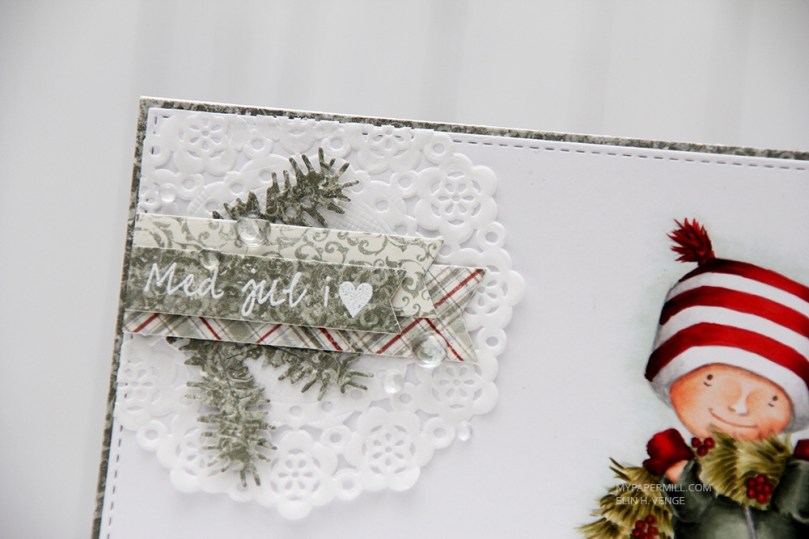 In the top left corner I made a very typical Elin cluster. I started with a Doodlebug Design mini doily for some softness, and made sure I didn’t glue it down completely. The little lift you get by not glueing it down is just enough. I diecut a few branches from that green patterned paper with a couple of CraftEmotions dies, a few banners with a die set from My Favorite Things and stamped a sentiment from Norsk Stempelblad AS that I white heat embossed. I finished with a few raindrops from Little Things from Lucy’s Cards.
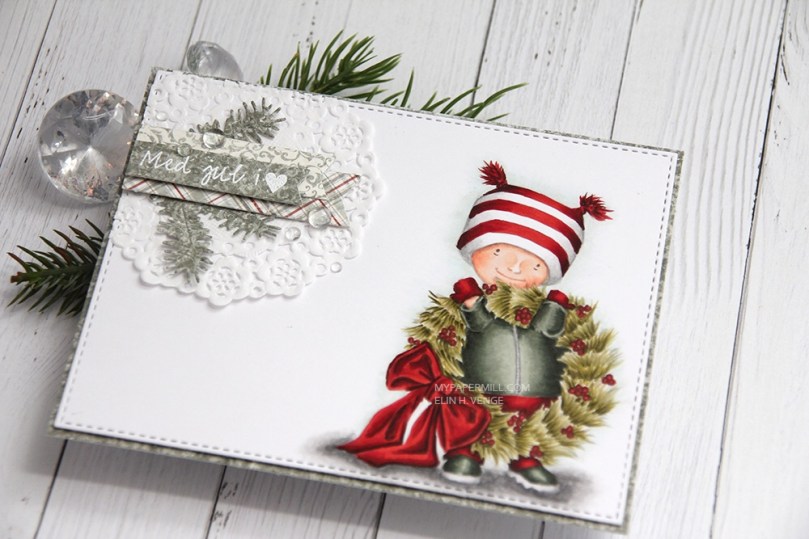 Mostly green and white, with a little hint of red. I’m not a huge fan of red for Christmas, but the combo of this deep brown based red and this grayish, blueish green works for me.


 I put together the floating presents and the image itself from Mo Manning’s
 I used a stitched rectangle die from My Favorite Things to cut out my panel, glued it to a Hawaiian Shores cardbase from Papertrey Ink and added a simple cluster with a sentiment. The cluster is made from a Doodlebug doily, a pink Maja Design monochrome banner, a scrap of yellow patterned paper from Papirdesign and a sentiment banner made using a scrap of patterned paper from Studio Light. I realized after I’d glued my banners on that I hadn’t cut my sentiment banner on the one end like I normally do, so my banners are a little longer than normal, but once I realized they were already glued down, and I was not about to start over. I added a few clear crystals from Little Cards by Lucy, and that’s my card for today.
 Lots of colors used on this one, even though it might not look like it.
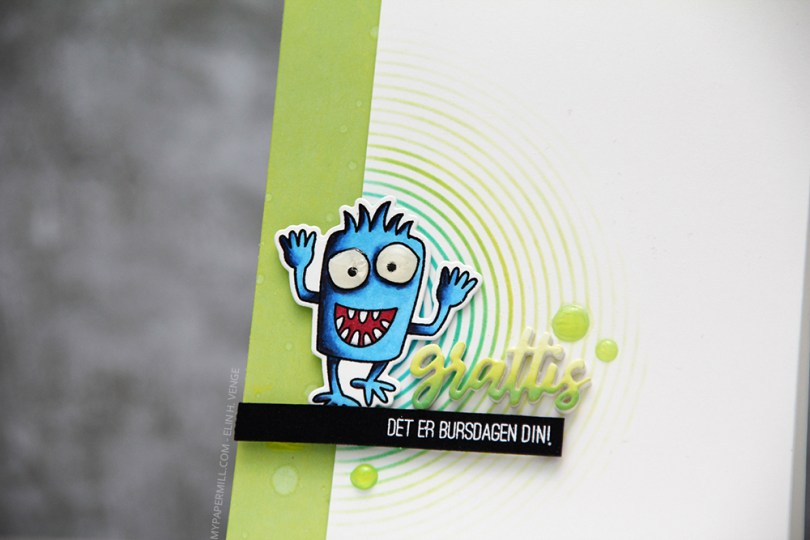
 Jeg stemplet et av monstrene fra
 Jeg svertet Distress Oxide-blekk i fargen
 Jeg stemplet en tekst fra
 Til slutt pyntet jeg enkelt ved å legge på noen dråper Nuvo Jewel Drops i fargen Key Lime rundt teksten. Jeg liker veldig godt å lage kort der alle elementene på kortet er samlet på ett sted. Da får man enkelt fokus på riktig sted, man får masse ledig plass som gjør at kortet får et rent og enkelt uttrykk, og man sprer ikke møkka, som jeg så fint pleier å si 😉

 Jeg har brukt mørkeblå kartong fra Papertrey Ink (fargen heter Enchanted Evening) som kortbasen min, og lagd et lag på lag-kort som jeg likevel syns er ganske maskulint.
 Jeg har blandet ark fra mange forskjellige serier fra flere produsenter på dette kortet. Her er Skolestart-serien til Papirdesign (arket med linjer i bakgrunnen og også det som ser ut som betong), Julehilsen fra samme produsent (trevirke), Kaffepause (det sennepsgule med sikksakk), også fra Papirdesign, Pipeline fra Fancy Pants (det blå mønsterarket) og til slutt Maja Design (bilen).
 Arkene er limt litt småstrukturer, men likevel hulter til bulter, både rett oppå hverandre og med 3D-puter i forskjellige høyder for dimensjon. Det krevde litt planlegging, for all pynten måtte være limt fast i den ene halvdelen av kortet for at det skulle kunne åpnes. Jeg valgte den høyre halvdelen, og venstresiden av diagonalen har dermed ingen mønsterark, annet enn linjearket helt bakerst. Jeg har også limt magneter under et par av mønsterarkene, så kortet skal kunne lukkes ordentlig.
 I tillegg til mønsterark brukte jeg noen andre elementer for å myke opp uttrykket litt. Jeg brukte en hullmønsterdie fra Papirdesign på en bit kartong og brukte biter av den her og der på kortet. Jeg stanset også ut en stor stjerne i kartong med en Spellbindersdie for å rydde opp litt, så ikke kortet så så rotete ut med alle mønsterarkbitene. Stjernen gjør også at bilen kommer bedre frem, og den er også en fin plass til å lime på glassrøret fra Tim Holtz med NSB-tekst stemplet inni med samme farge som kartongen.
 Jeg brukte også noen chipboardbiter fra Snip Art som jeg dyttet inn her og der og limte på plass, og også noen finérstjerner fra Studio Calico. En liten bit blå sytråd fra Mölnlycke myker opp enda litt mer, og jeg blandet blekkfargen med litt vann og sprutet over kortet for å få det enda litt mindre rigid.
 Siden kartongen er så mørk valgte jeg å bruke et mønsterark til skrivefelt inni kortet. Her stemplet jeg noen stjerner fra Stampers Anonymous med samme blekkfarge som jeg har brukt ellers, og den ene stjernen nede til høyre er andregenerasjonsstemplet for et litt dusere uttrykk. Jeg limte også på en bit av hullmønsteret mitt for en siste lille finish. Her syns også at arkene på kortets forside kun er limt på trekantpanelet til høyre.
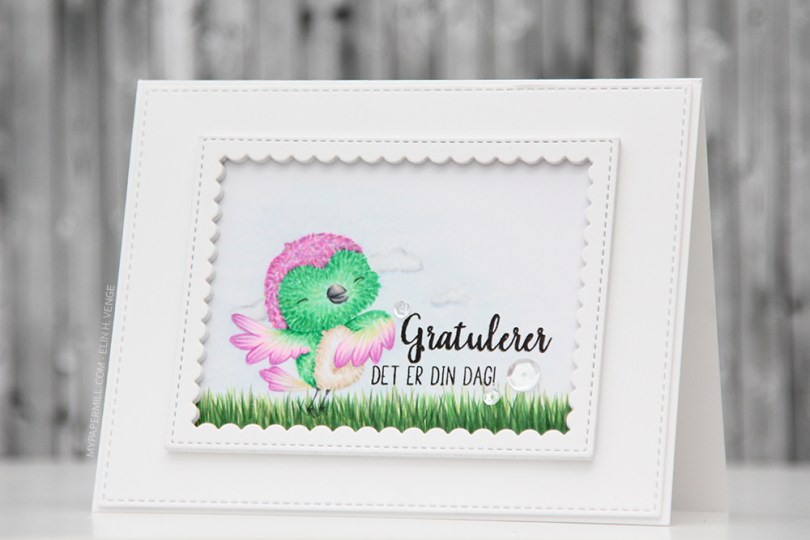
 Jeg stemplet fuglen min med en svak gråfarge, fargela med tusjene mine og lagde et par skyer på himmelen og litt gress for ham (eller henne?) å stå på.
 Jeg stemplet tekster fra
 Selve rammen har jeg satt på en hvit kartongbit som er stanset ut med den største dieen i Stitched Rectangles Set 2-settet til My Favorite Things, den har jeg igjen limt på kortbasen med lave 3D-puter. Størrelsen man får på dette panelet er akkurat stort nok til at man får 1/16″ kant rundt hele der kortbasen vises. Jeg liker ikke når kantene blir for store og grove, så 1/16″ er perfekt for meg. Til slutt limte jeg på noen paljetter fra Pretty Pink Posh for å trekke øynene til teksten.

 I printed my image in soft gray and colored her in with Copics, before using a die from My Favorite Things to turn her into a nice panel. I then made snow by sprinkling on chunky white embossing enamel and heating it from underneath the panel.
 I absolutely love the effect you get by adding this particular embossing powder.
 I just got my hands on this year’s Christmas collection from Maja Design, and couldn’t pass up the opportunity to use some of them on this very simple card. The one in the bakground is Let it snow, so is the vertical blue on the left (it’s the back), the darker blue is called Snowflakes. I’ve also used the Frost Monochrome paper for the sentiment, which is a Norsk Stempelblad AS sentiment that I white heat embossed and diecut with another MFT die. It’s a fishtail flag frame die, and you can just see the frame of it on the inside of the card at the bottom right.
 I glued my Ragged Angel to the patterned paper with lots of foam tape, and added some snowflake sprinkles from Little Things by Lucy’s Cards to finish it off.
 In addition to these colors (and yes, that really is B45 amongst all the 90s), I also used B90, which is a color I’ve made myself.

