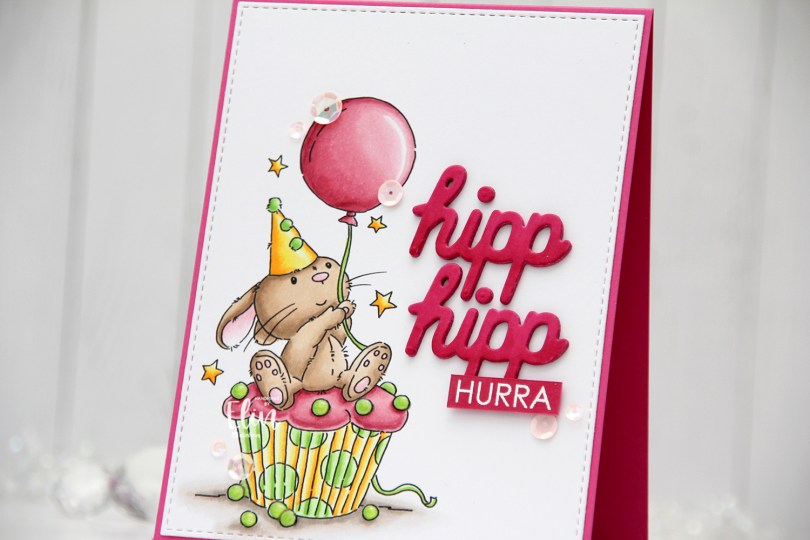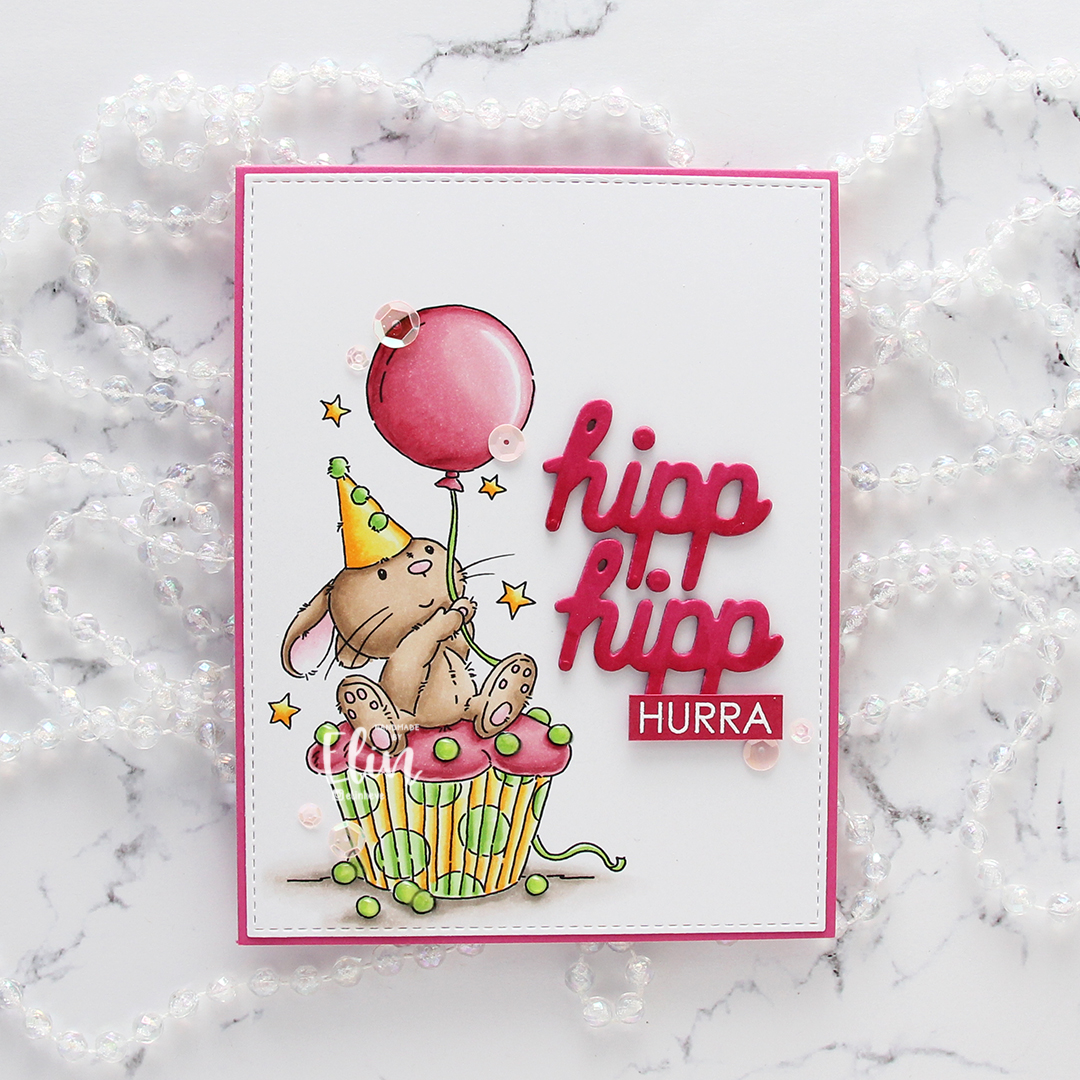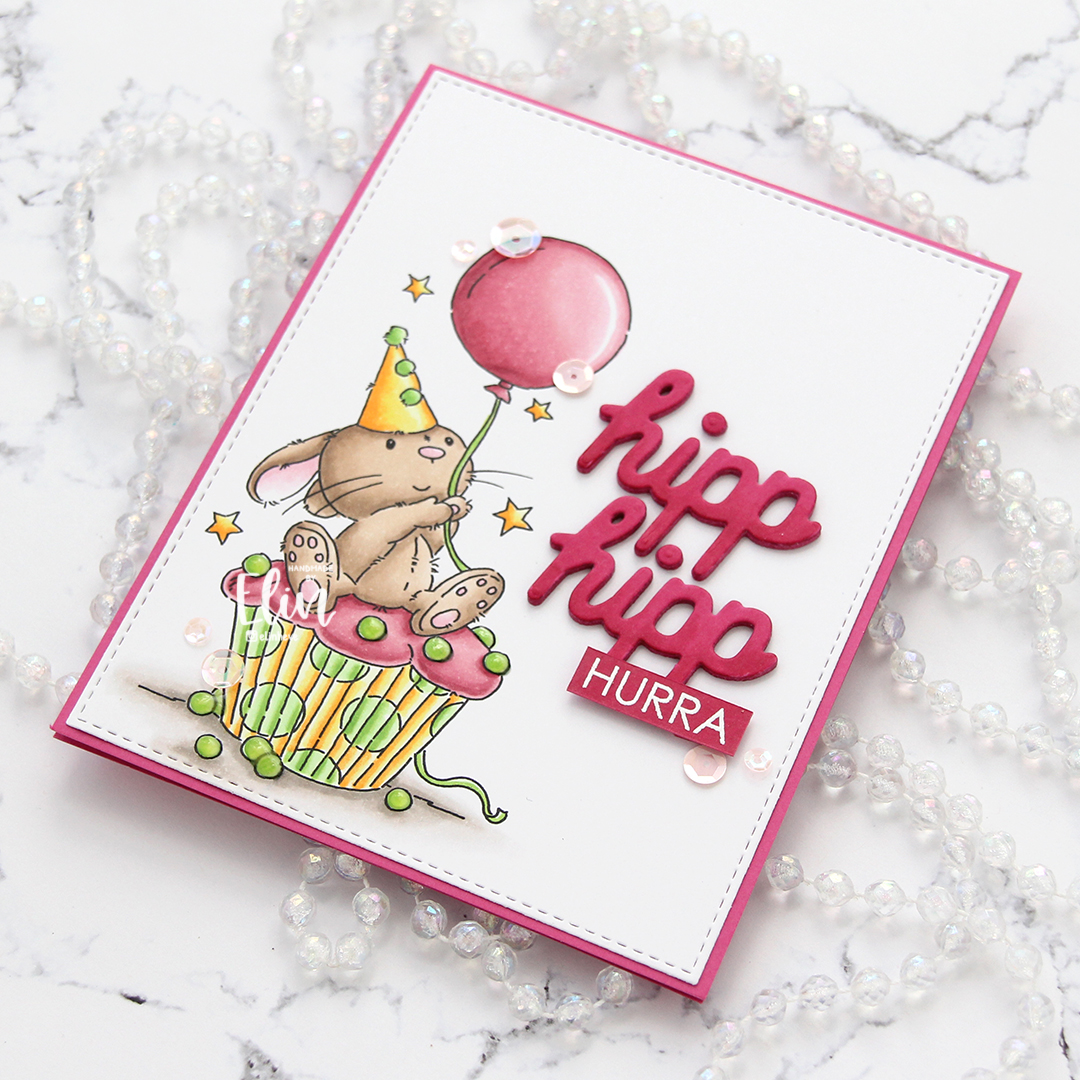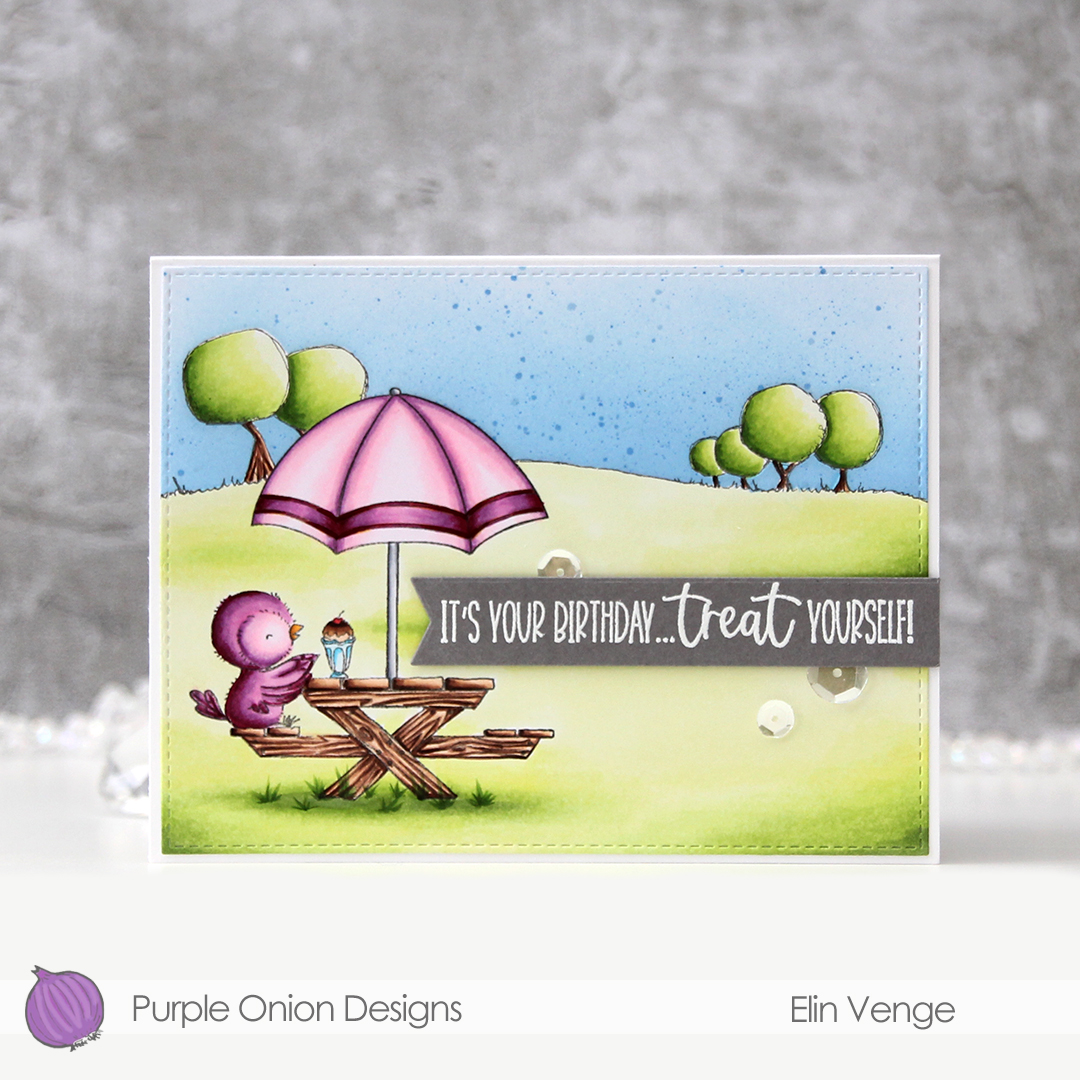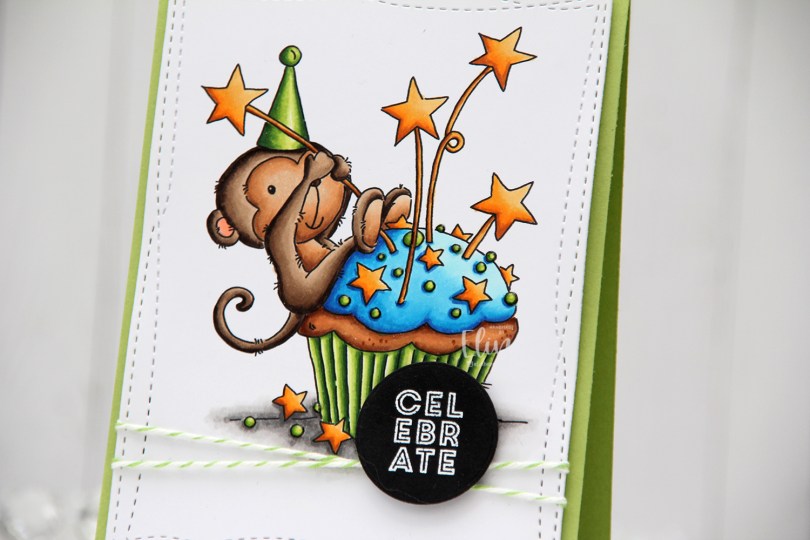
Hi, there! I have a fun birthday card to share with you today, with this awesome Cupcake Monkey from Lili of the Valley.
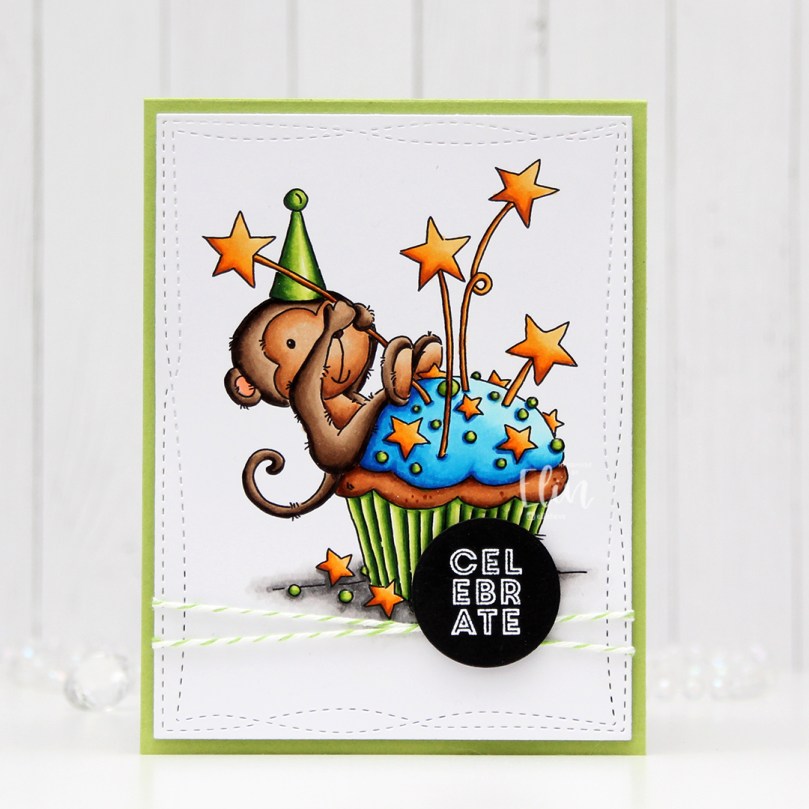 I love this image, and I went with bright, bold colors for my Copic coloring, before using the largest of the Wonky Stitched Rectangle STAX dies from My Favorite Things to create some interest to the edges of the panel.
 I wrapped some Green Apple twine around my panel twice and tied a knot, and adhered the panel to a card base I created from Sour Apple cardstock from My Favorite Things. The twine adds a little bit of dimension behind the panel, so I put some extra layers of cardstock and some foam tape behind it to make the layer even.
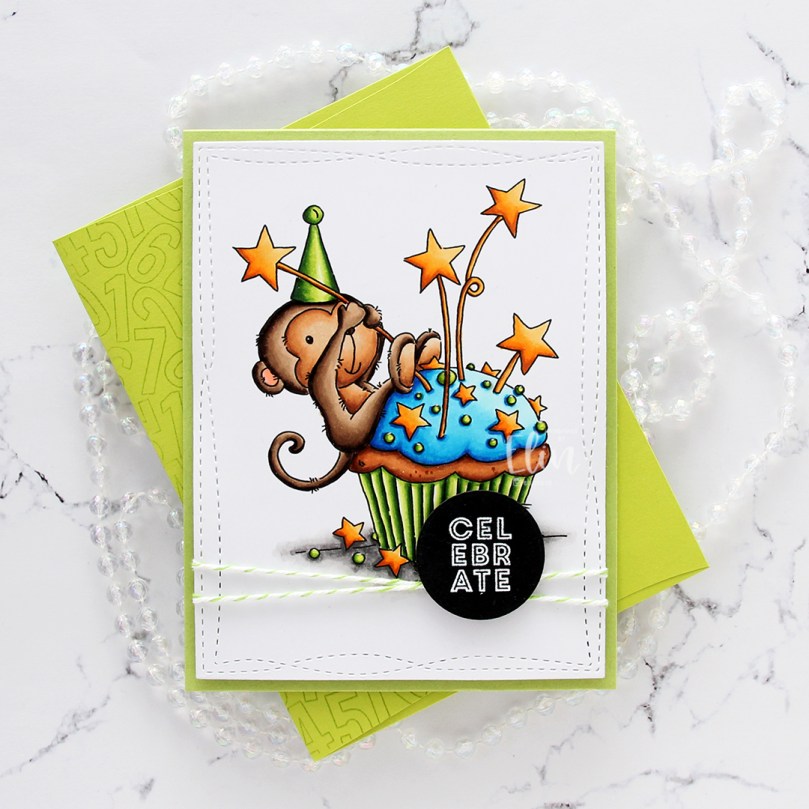 I stamped and white heat embossed a sentiment from the Mini messages stamp set from Mama Elephant on a scrap of black cardstock from Papertrey Ink and die cut it with a circle die from Lifestyle Crafts. I adhered the circle on top of the knot of my twine and put a double layer of foam tape behind it for extra dimension.
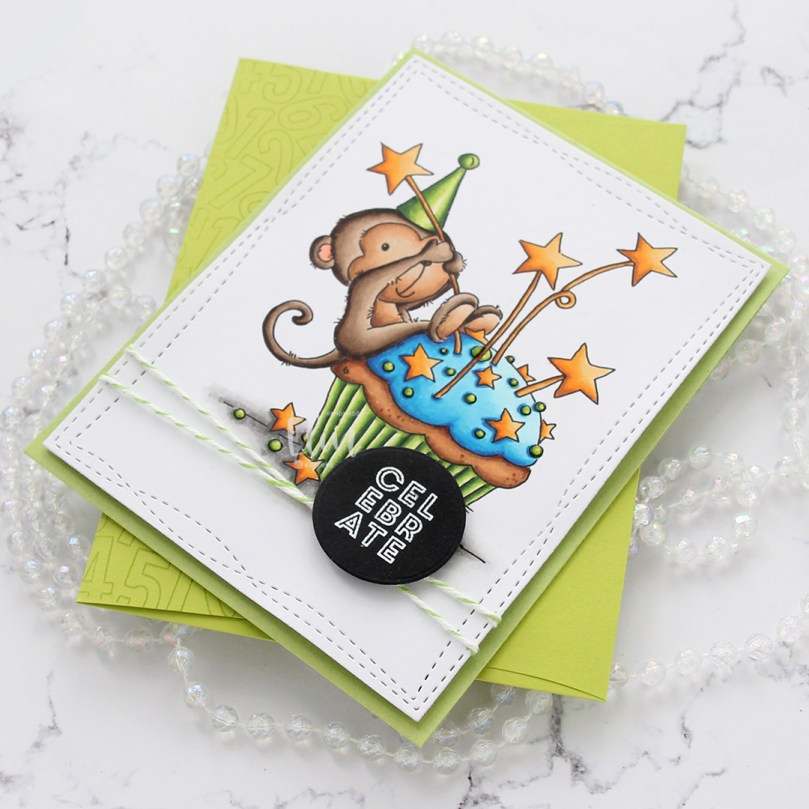 I added Nuvo Jewel Drops in the color Key Lime to the green sprinkles. It doesn’t show up very well in the photos, but it adds a little bit of shine and dimension in real life. Using Sour Apple ink from My Favorite Things, I stamped the Number Jumble background stamp from My Favorite Things to the flap of the envelope, which is a Limelight envelope from My Favorite Things.
 Bright, happy colors for this one. I hope you have a great weekend!

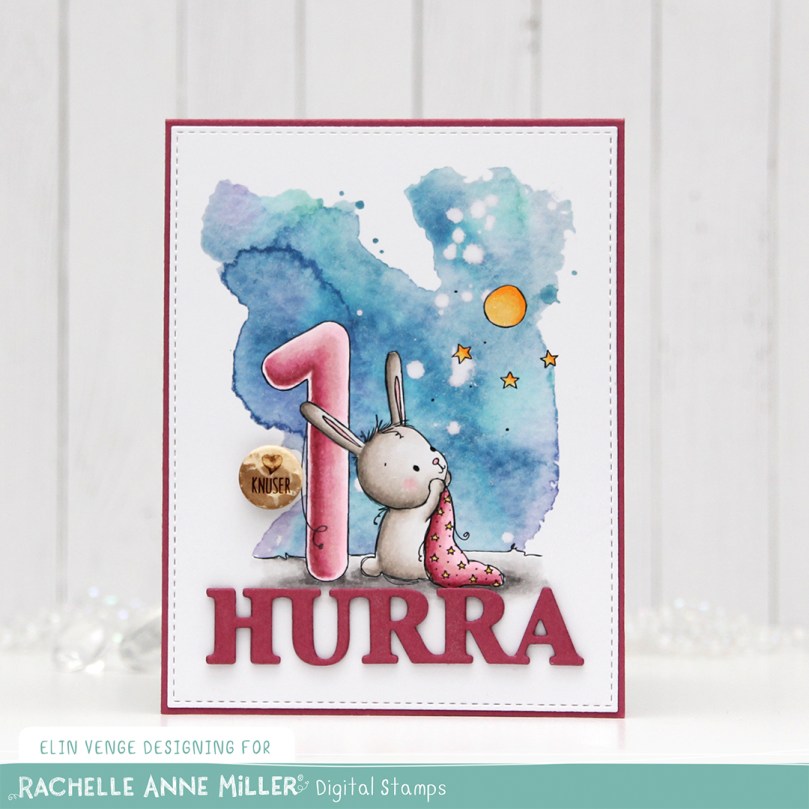 Isn’t this bunny looking up at the moon and the stars so adorable??? I decided to create a birthday card, and made it very simple with a digital watercolor background, a couple of die cuts and a button. You really don’t need much with images as great as this.
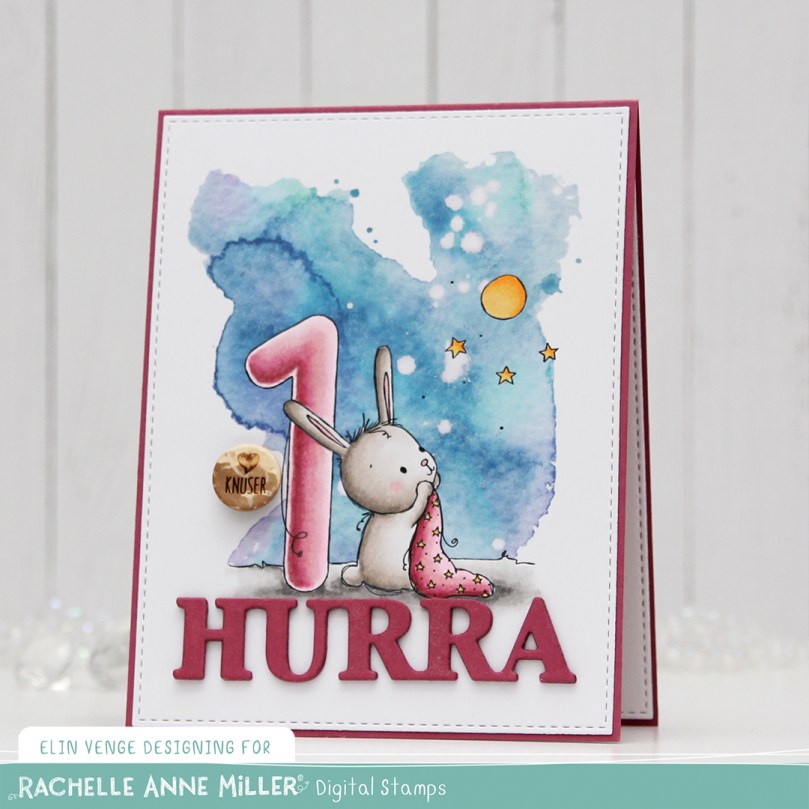 I colored the bunny and the number with my Copics, before using the largest of the A2 Stitched Rectangles STAX dies from My Favorite Things to create a faux stitch around the edge. From Autumn Rose cardstock from Papertrey Ink, I die cut the word HURRA four times using a die from Kort & Godt. I added my panel to a card base I created from Papertrey Ink Autumn Rose cardstock, added my stacked die cut below the image and used a paint brush with sheer sparkle shimmer spray to add some sparkle to the die cut letters, as well as the moon and the number itself. It doesn’t show up in photos very well, but is very sparkly in real life. I also added a Kort & Godt button that I had in my stash, and my card was finished.
 Not a lot of Copics for this one, it’s a simple image.
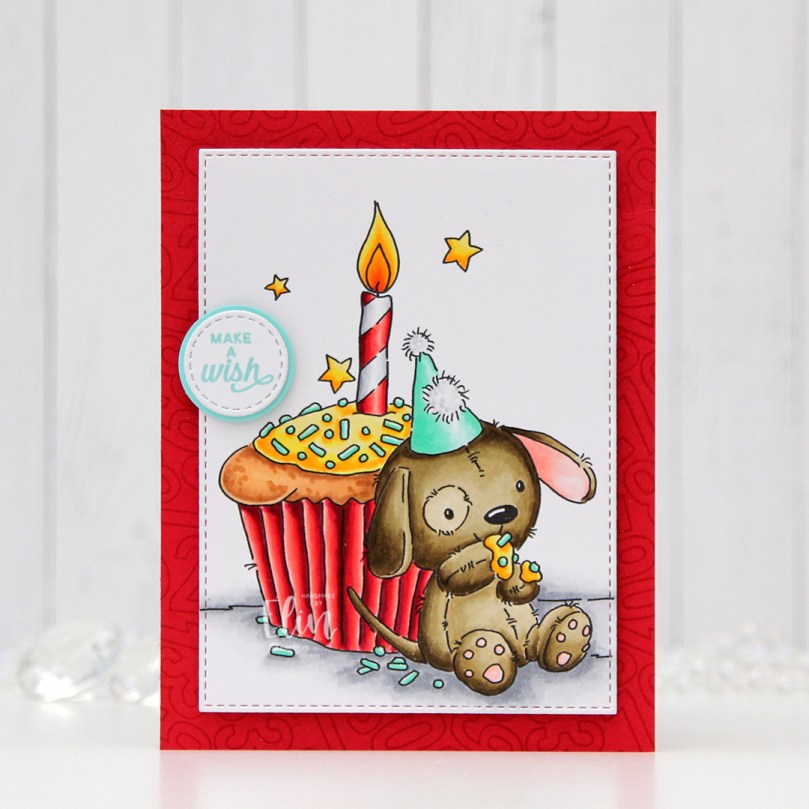 I colored the image with my Copics and used a die from the A2 Stitched Rectangles STAX 2 set from My Favorite Things to turn my colored piece into a panel with the nice faux stitching I love so much.
 Onto a piece of Pure Poppy cardstock from Papertrey Ink, I stamped the Number Jumble background stamp from MFT with Pure Poppy ink from Papertrey Ink for a tone on tone look. It just adds a little interest to the background without being too distracting. I mounted my colored piece on top using foam tape.
 I stamped a sentiment from the Mini Messages stamp set from Mama Elephant using Summer Splash ink from MFT and diecut that using a circle die with faux stitching, also from MFT. I adhered it to a 1″ circle I created from Summer Splash cardstock from My Favorite Things and adhered the circle to the card using a thin foam tape to finish my card.
 I created an envelope to match from some really old patterned paper from My Mind’s Eye that I had in my stash.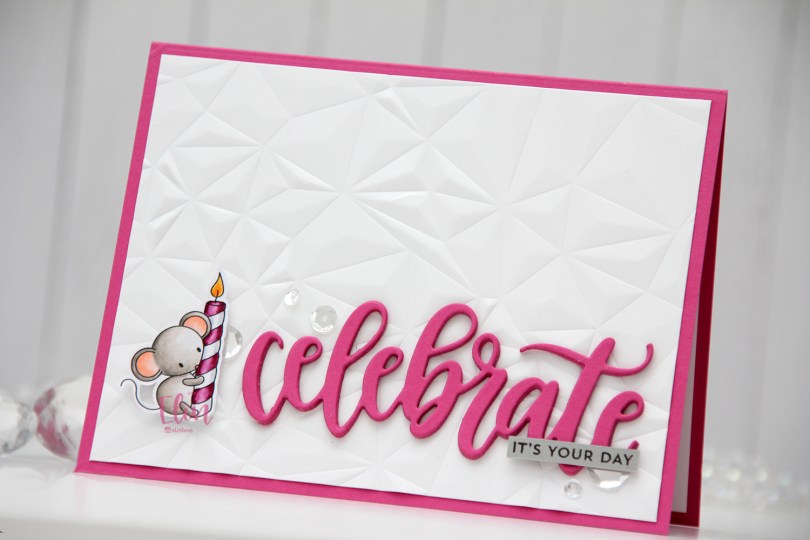
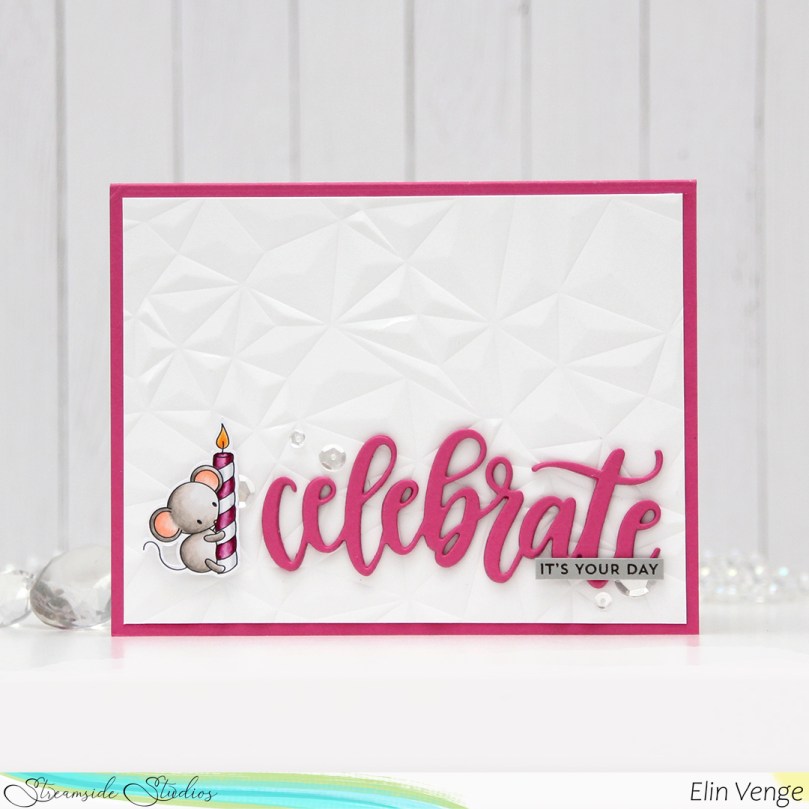 In this stamp set there are five mice in different poses, there’s a giant piece of cake, a few accessories and some sentiments. I decided to focus on the mouse with the birthday candle for my card today. I usually color larger images, but these small ones from Streamside Studios are perfect for playing with different layouts for my cards.
 I colored the mouse very simply with my Copics, and did some fussy cutting, leaving a white border around the image. I usually prefer cutting right up to the lines, but with the tail and the wick on the candle being thin, single lines, that wasn’t going to happen.
 I created a top fold landscape cardbase from Ripe Raspberry cardstock from My Favorite Things and used the Crystal Distortion embossing folder from Simon Says Stamp on a piece of Stamper’s Select White cardstock from Papertrey Ink to create a textured background for all my elements to sit on.
 I die cut the Celebrate die from My Favorite Things four times from the same Ripe Raspberry cardstock that I used for the cardbase, and stacked them for a dimensional look. I stamped a sentiment from the Itty Bitty Birthday set from My Favorite Things using Smokey Shadow ink from Papertrey Ink onto a piece of Cement Gray cardstock from My Favorite Things and trimmed it down to a strip that I glued to my die cut word.
 I popped up the mouse using foam tape, and added sequins from the Sparkling Clear sequin mix from Pretty Pink Posh to finish my card. Super simple.
 Not a lot of Copics for this tiny image.
 I wasn’t sure initially what colors to use on this, so I asked a friend for suggestions.
 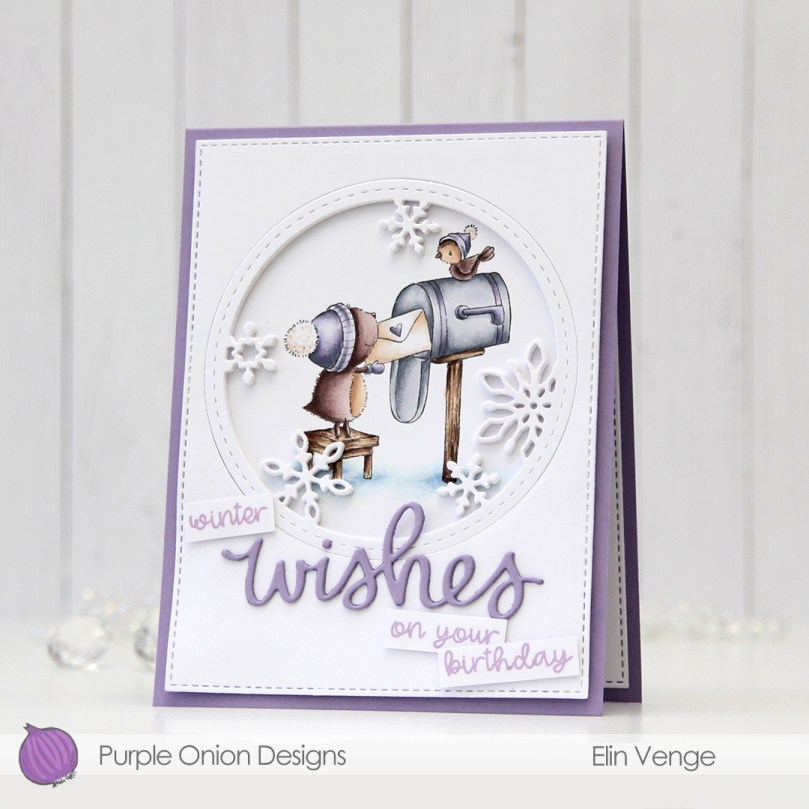 She suggested purple. She knows I don’t color a lot with purple. It’s not that I don’t like purple, I think purple’s pretty, it’s just soooo hard to photograph well, so I tend to avoid it for that reason. This time I didn’t, though. I listened to her and chose a V combo with my Copics I thought worked well.
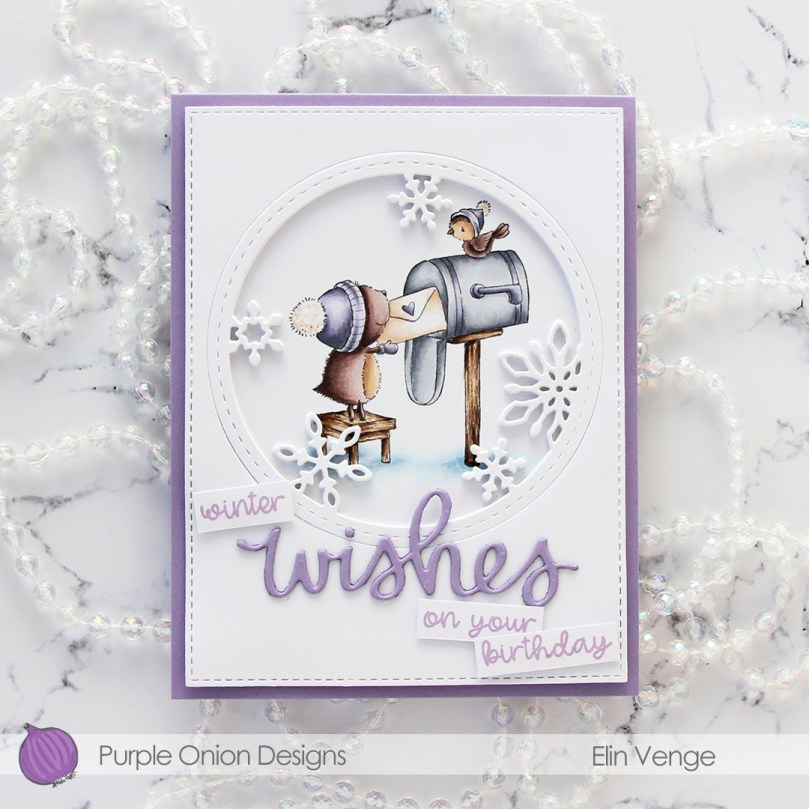 Once my coloring was complete, I die cut the Stitched Snowflake Circle Frame from Memory Box five times from white cardstock. I wanted to make a shaker card, and I find that stacking layers works better than foam tape. I eventually ditched my shaker idea, but still kept my stacked die cut window for a dimensional frame. I did layering of cardstock to the outside of the frame too, making the entire white front panel flush. I added more stitching detail using the largest die in the A2 Stitched Rectangles STAX 2 set from My Favorite Things and adhered all my layers onto a card base I created from Winter Wisteria cardstock from Papertrey Ink.
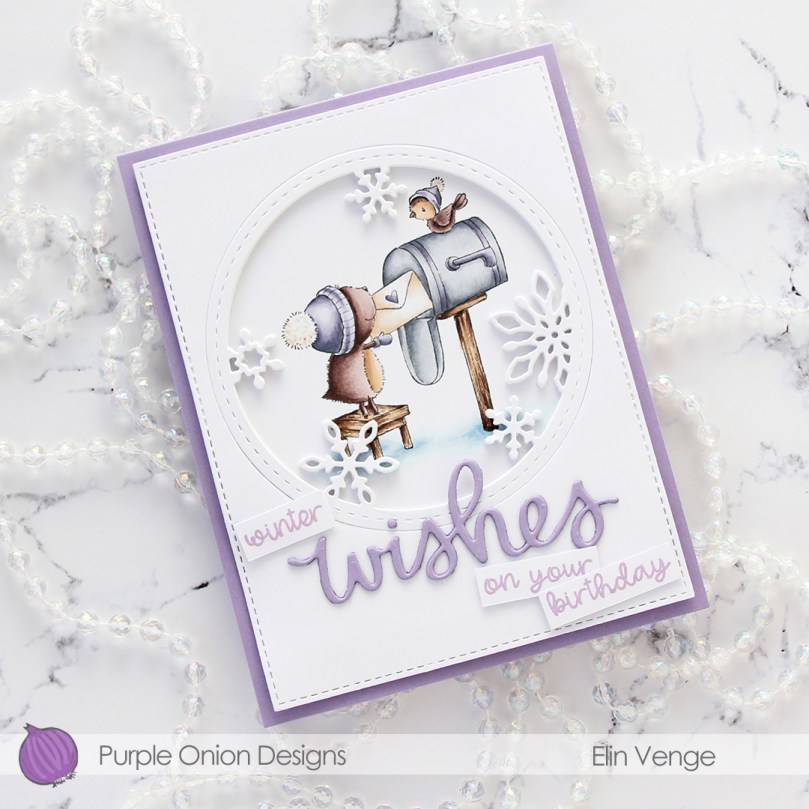 For my sentiment I die cut the wishes die from Mama Elephant twice from the same purple cardstock I used for my base, before stamping a sentiment from the
  Very muted color palette for this one, but wintery cards tend to be somewhat muted.
 I bought a 36 tube set of Mijello Mission Gold watercolors last September, and they’ve been sitting in their palette scaring me, but I’ve recently started dabbling a little bit. Images like this with big open areas are great for practice, and this is my third proper watercolor piece. Yes, I’m keeping track, haha. The previous two attempts were both noline. One was a background, and the other a digital stamp. My printer ink doesn’t play well (or at all, really) with water, so I had to opt for the noline look to prevent visible bleeding. I dove right into the deep end, hoping I could pull it off.
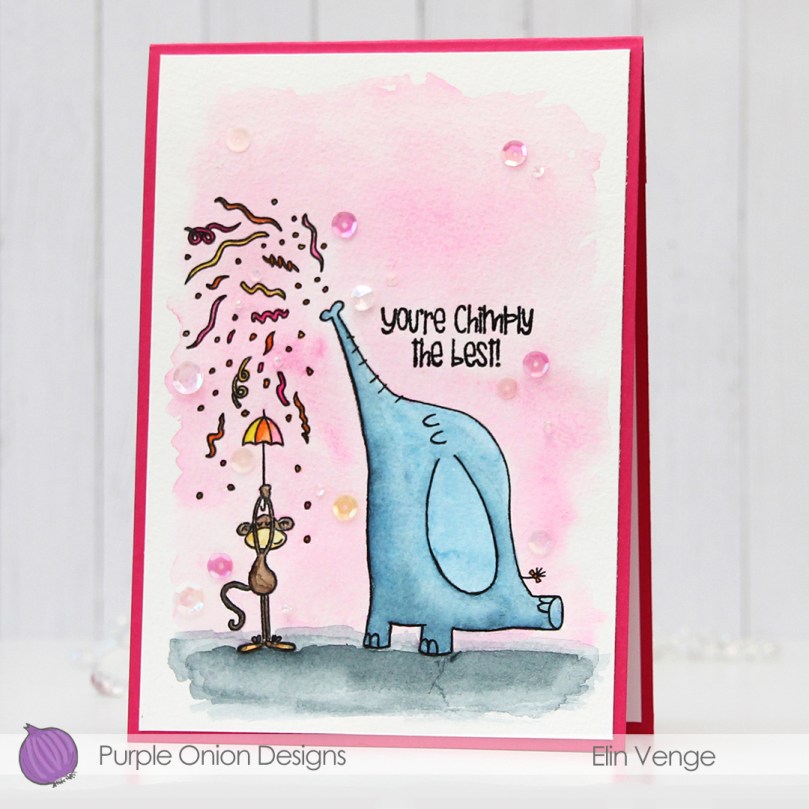 I stamped the image onto Fabriano Artistico Extra White watercolor paper using VersaFine Onyx Black ink. I’ve created a birthday card with these two once before (blog post
  For my last card with this image, I used my Copic BV20 series for a purply gray elephant. This time, I went for a bluer version to get a nice contrast. I actually decided to mute my pink a little before painting with it. The Bright Opera color from Mijello is a super bright pink, and I added a tiny bit of Hooker’s Green to dull it a little, it was just too bright a pink straight from the palette for what I wanted.
 Once I’d painted my scene, I went back over with a black pen to trace the lines of the image. I would have restamped if I could, but I stamped the image weeks before I painted it and removed the stamp from my MISTI in the meantime. Black pen to the rescue. I just wanted crisp black lines. I stamped a sentiment from the stamp set using VersaFine Onyx Black ink and heat embossed that using clear embossing powder.
 I cut down my colored panel slightly and adhered it to an A7 top fold card base I created from two pieces of Poppin’ Pink cardstock from Papertrey Ink. To finish the card I adhered sequins, beads, confetti and other various little bits from the Sweet Shop mix from Little Things from Lucy’s Cards. I don’t usually put this many sequins on my cards and scatter them like this, but I wanted to really keep the party vibe from these two going across the entire card front.
 I actually colored this in May last year. I keep my colored image in stamp storage sleeves from Tim Holtz. They’re super sturdy and you can put a lot of colored images in one pocket. They come five in a pack, which is perfect for me, that way I can dedicate each sleeve to one design team, since I’m currently on five design teams. Sometimes, I just want to color without having to turn it into a card right away, and sometimes I just want to make a card, but don’t feel like coloring, or simply don’t have time to do both. Compartmental crafting for the win.
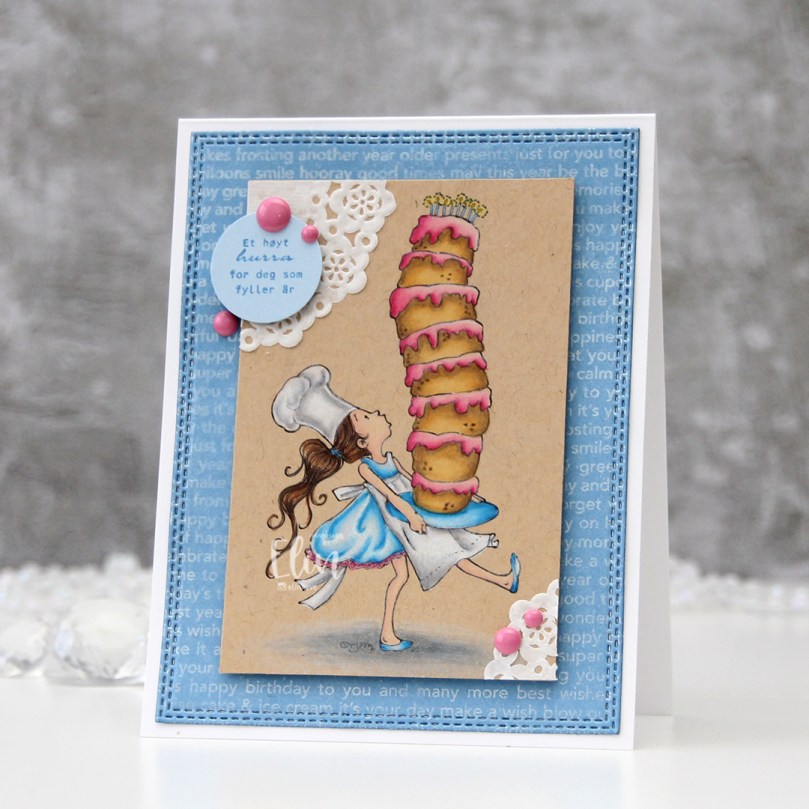 I mounted my colored panel using foam tape and adhered it to the center of the card. I felt like it was missing something and needed a little bit extra. Mini paper doilies from Doodlebug Design to the rescue. I love these mini doilies, I use them often. And you don’t need the whole doily, either, I just used two small pieces for this card, and there are 75 doilies in one pack, they last forever. Onto a piece of Blue Breeze cardstock from MFT I stamped a Norsk Stempelblad AS sentiment using Blueberry Sky ink from Papertrey Ink. I cut it down to a 1″ circle using a circle punch from EK Success, added it to my card using foam tape and finished the card with a few pink enamel dots from Papirdesign.
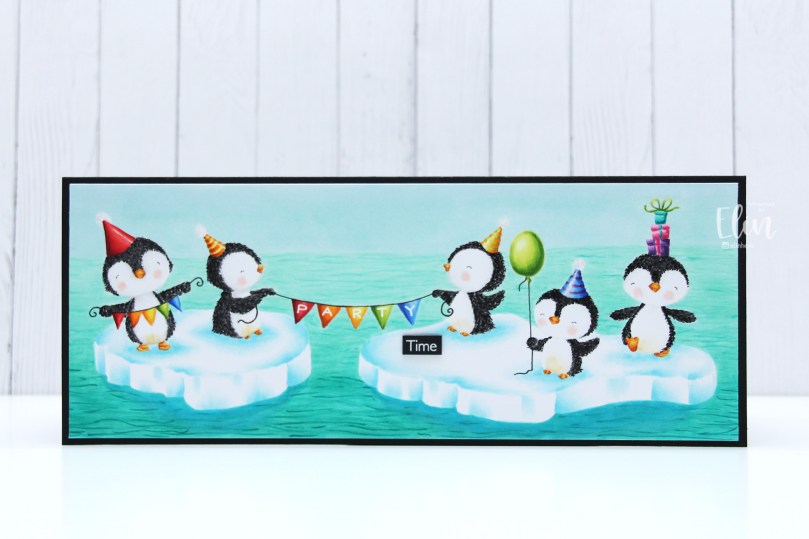 I drew some sheets of ice with a pencil after I’d stamped my penguins, and made an ocean scene. The stamp with the two penguins holding the party banner is too wide for a regular portrait A2 card, and I wanted to include some more penguins in my scene as well. Slimline to the rescue. I thought it’d be fun to have the penguins on two separate icebergs instead of just the one.
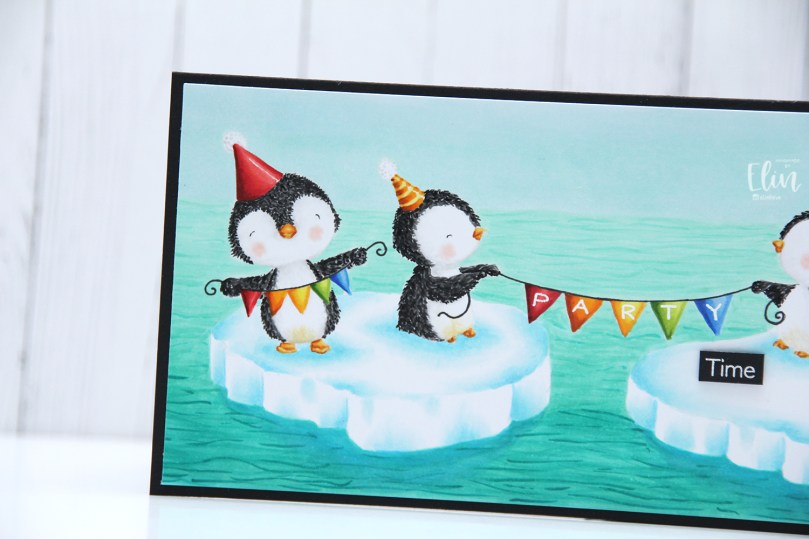 I started by coloring the sky, then the ocean. This was probably what took the longest, it’s a big ocean, and while it’s not difficult to color, it takes time to build up layers. Next up were the icebergs, then the penguins, then finally all their accessories. I love Stacey Yacula’s style, it lends itself to create very textured critters, so that’s what I opted for.
 When the entire scene was colored in I white heat embossed a sentiment from one of the stamp sets I used onto black cardstock and put two additional pieces behind it for a little dimension. I also heat embossed the word PARTY from the same stamp set. The letters are sized and spaced perfectly to fit across that bunting. It’s perfect. I mounted my colored panel onto a black cardbase to frame my cute penguins. Very simple.
 Lots and lots of Copics for this one. I used a lot for the ocean, the icebergs and the penguins, and that little rainbow of accessories make up the rest of this very colorful palette.