This is my second post today, if you’re looking for my Mo Manning entry, you’ll find it here.
I’ve been following Kathy Racoosin’s 30 day coloring challenge on Instagram this past month, and these monsters were the first ones I colored up, all the way back on day 1. I wasn’t sure if I was going to participate, the previous 30 day coloring challenge ran from March 1, that short of a break seemed too short for me, but I decided to go for it anyway. I’m glad I did, but I need a break from all the coloring now!
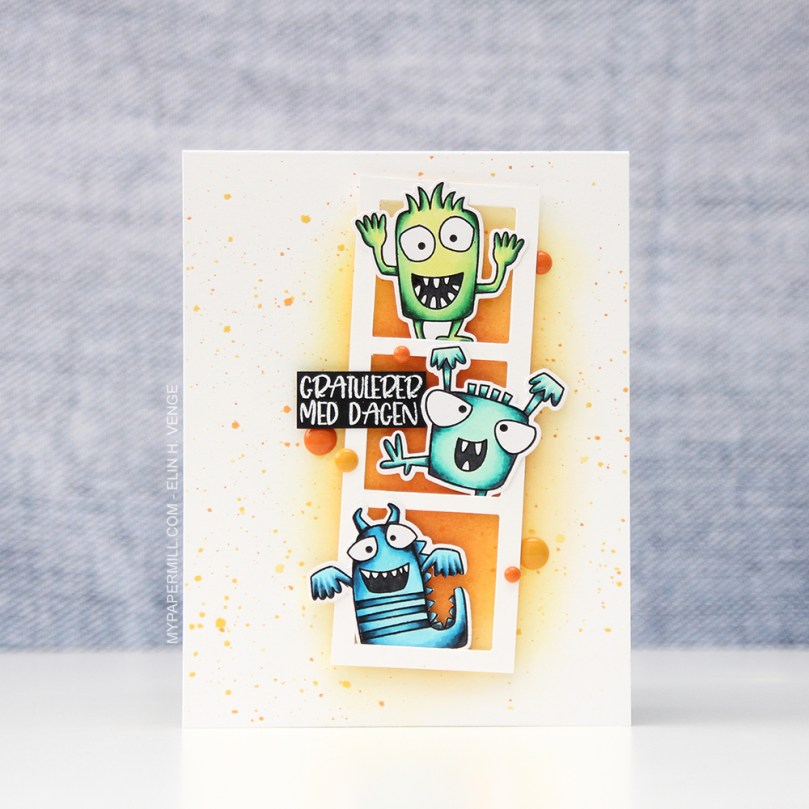 This card was a bit of an evolution. You might even call it remotely controlled cardmaking. I’ve been coloring so much lately, but not made a lot of cards, so I was really unsure of what to do when I sat down to create this. Lisabeth Vefall came to my rescue, and via Instagram messages “we” created this card together. She found this cute little card that Christine Comploj had made, and despite the sketches I’d done, I really wanted to give that design a go. Hers is a baby card, and so cute, right?
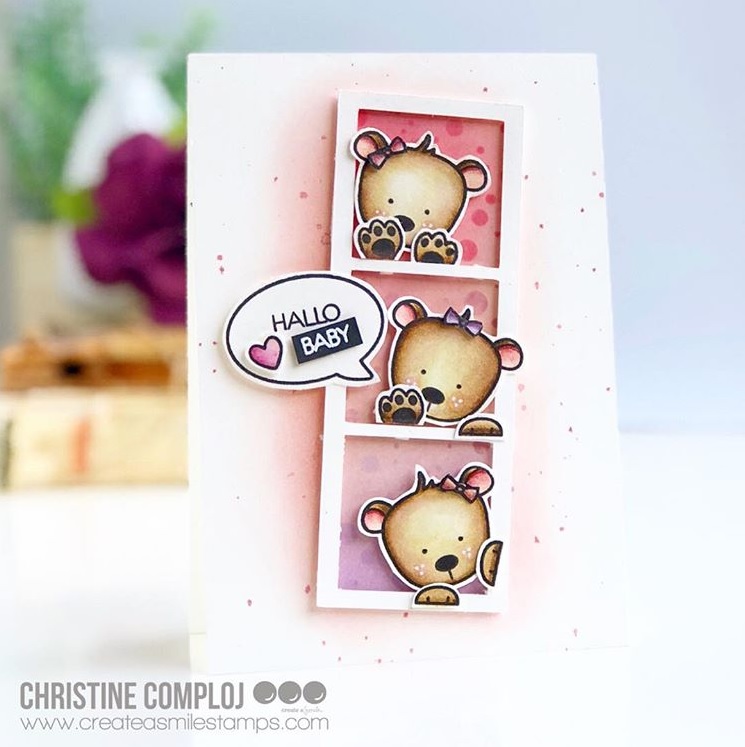
I love Christine’s style and follow her on Instagram. You should, too! 😉
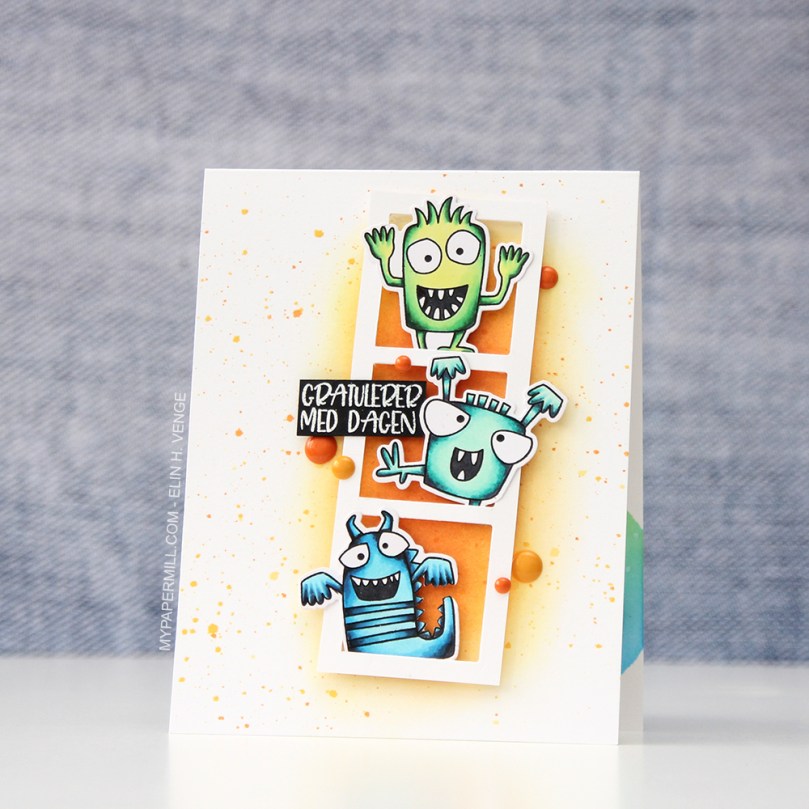 The first decision was to diecut those monsters from My Favorite Things. I usually like fussy cutting, but Liz decided that diecutting was the way to go with this one. She pretty much ran the show, I just did as she asked. I made my little frame and decided where it needed to go before going in with orange and yellow inks on the cardbase.
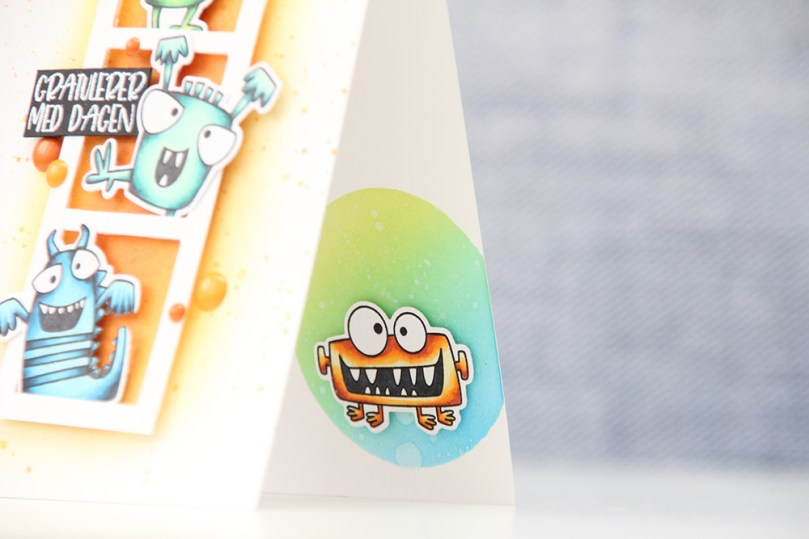 I had four monsters, so Liz urged me to put the last one on an ink blended circle on the inside. I asked her if she wanted paint splatters on the inside too, before I removed my circle mask. She wanted water splatters, so I added water splatters. I had a great time being remote controlled by her!
 The sentiment (by Mathia Design) was a story in an of itself. By the time I got that far, I was super tired, so I struggled to decide where to put it. My “remote control” had also run out of batteries at that point, so I needed to sleep on it. This morning, it was a lot easier to decide. I added a few enamel dots close to the frame, and that finishes off my card. Or our card, I should say, I probably wouldn’t have gotten this done if it weren’t for Liz helping out!
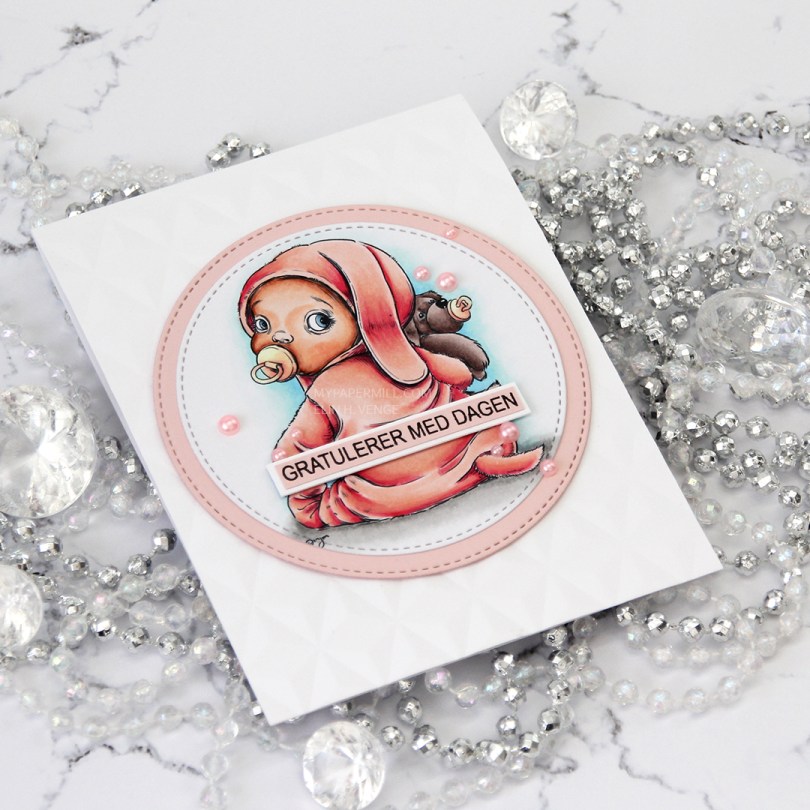
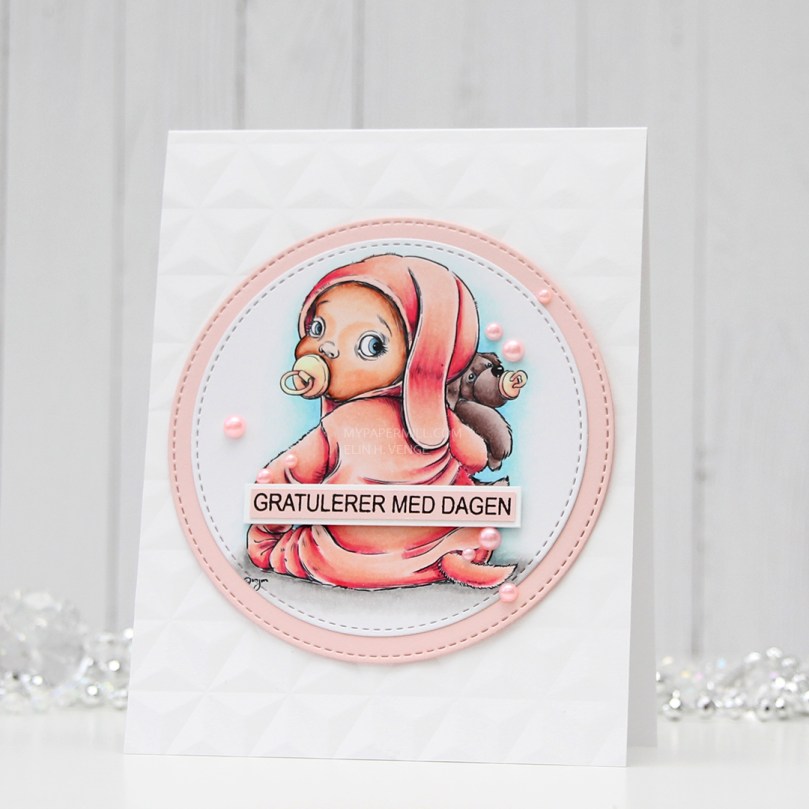 For this card i used Jessie, an image I colored during Kathy Racoosin’s 30 day challenge back in March. I haven’t really done any coloring since the last challenge ended in early May, but I still have images to use and I’ve even made quite a few cards lately with no coloring whatsoever.
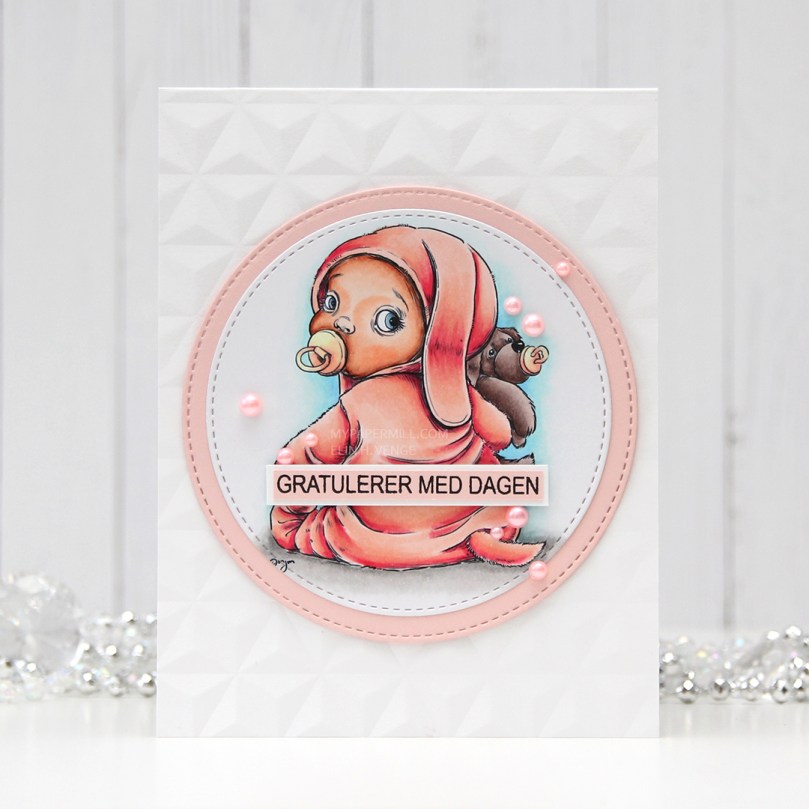 I used a stitched circle die from My Favorite Things to diecut the image, used a bigger die to cut from Sweet Blush cardstock from Papertrey Ink and glued the two circles together. I used an embossing folder from We R Memory Keepers to create texture to my background by running it through my Gemini Junior. I love that little machine.
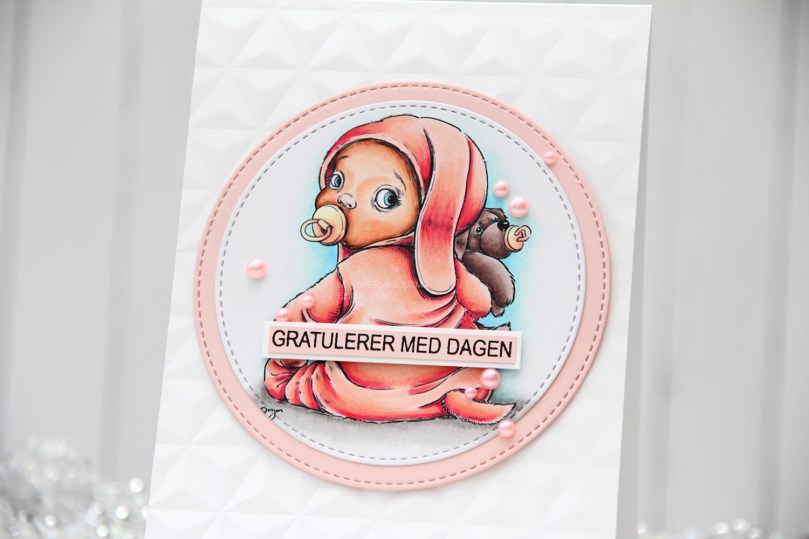 I used foam squares without too much dimension on the back of my circles, added them to the center of my card and added a stamped Mathia design sentiment with more foam squares. I finished off the card with a few pink pearls from Little Things from Lucy’s Cards.
 I really like the peachy pink combo I used for this one and colored many images around the same time using that same combo.
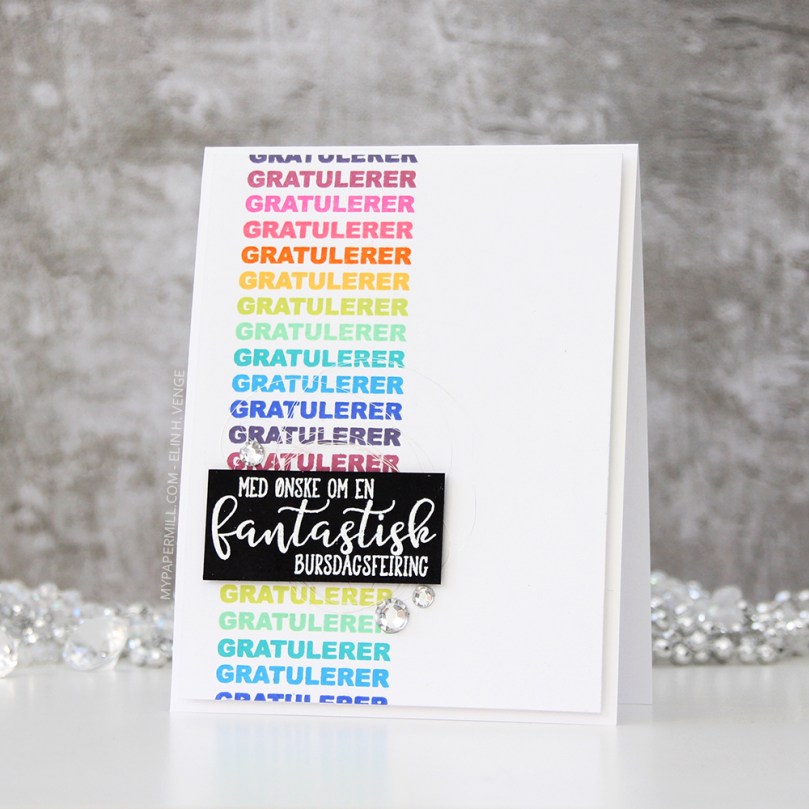 This time I used a
 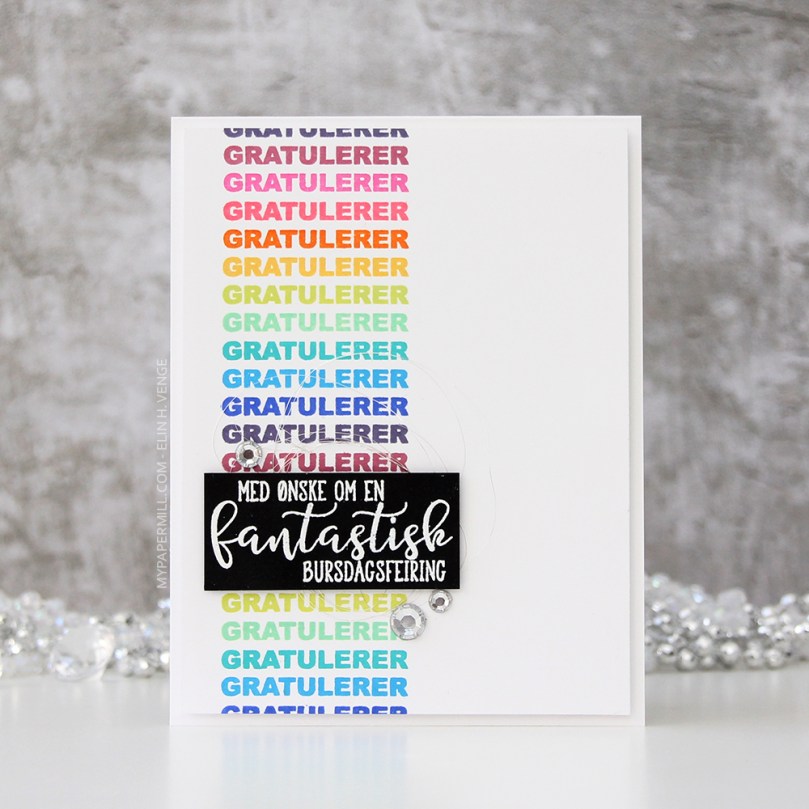 I stamped and white heat embossed a sentiment from another
 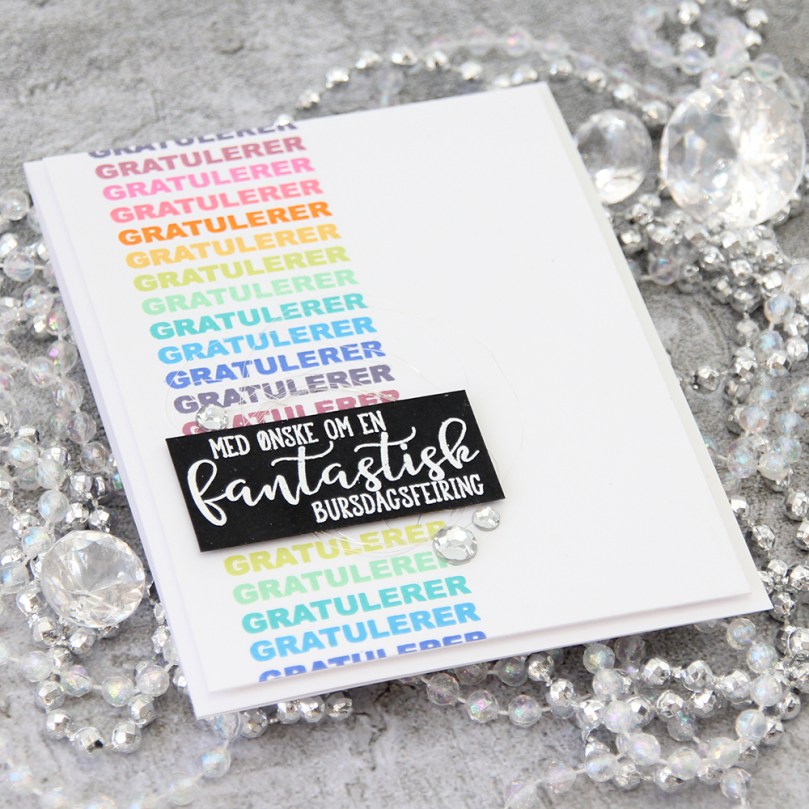 Behind the black cardstock piece I put a nest of angel hair. It’s a very very thin thread, and it has actual silver in it. I buy mine at the flower shop, one bag will last a looooong time. I finished off my card with some crystals of unknown origin. I know the brands of most of the stuff in my craft room, but these are a mystery.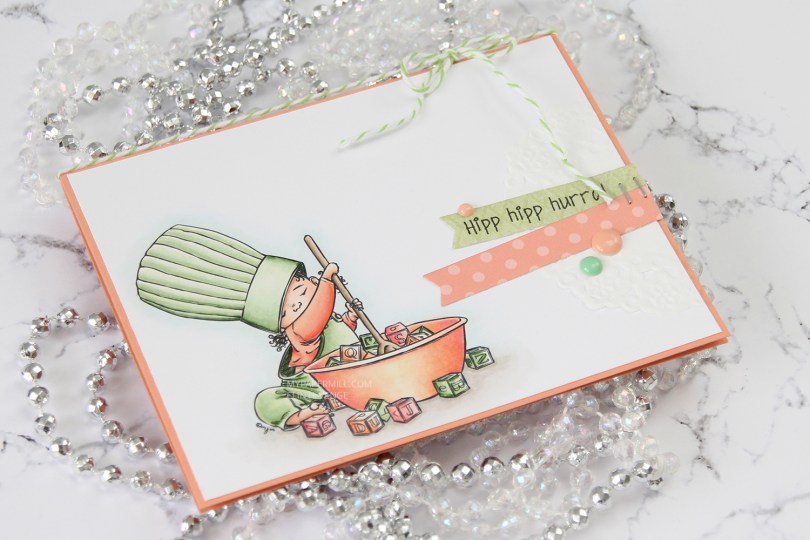
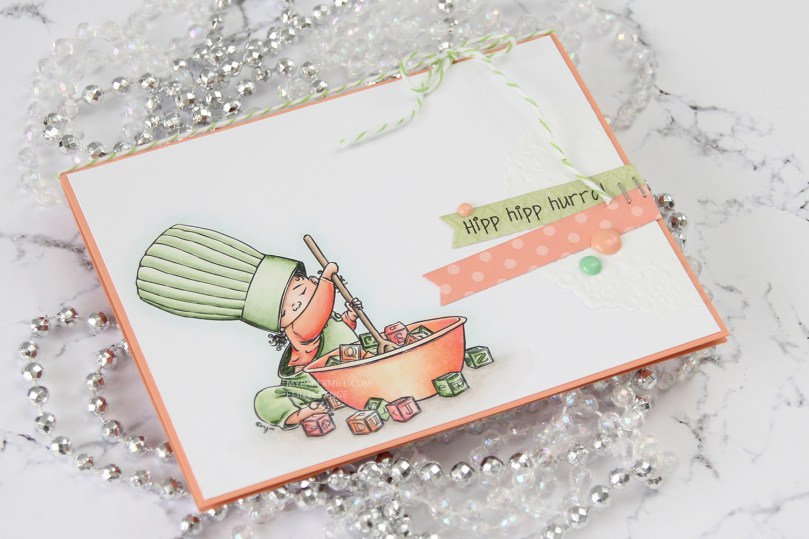 I printed my image onto X-Press It blending card towards the bottom left corner of a quarter sheet. I colored it in with my Copics, before trimming it down to 5 3/8 x 4 1/8″. I wanted the Melon Berry cardbase from Papertrey Ink to show around the edges, and this size panel creates the perfect 1/16″ border on all four sides.
 If you’ve seen a card or two from me previously, you’ll no doubt know that I’m a fan of adding clusters on my cards. They vary in size and some are simpler than others, but they tend to have three things in common: a piece of a paper doily, fishtail banners and enamel dots or sequins. I also usually put my elements on straight, but this time I went for a less rigid look. I went through my patterned paper scraps and found a green piece from the Vintage Garden collection by Pion Design and diecut it using a fishtail flag frame die from My Favorite Things. I thought I’d have to go for just a piece of cardstock for the other banner, but then I remembered that I have a paper pack from Sunny Studio with pastel colors, and one of them fit perfectly.
 I stamped a Norsk Stempelblad AS sentiment onto the green banner using My Favorite Things Extreme Black ink and stapled the two banners together before gluing them onto the card. I added a string of Green Apple divine twine to the top of the card and a few My Mind’s Eye enamel dots to finish it off. In real life, the green dot looks closer to the greens I used in my image. Photos sometimes lie.

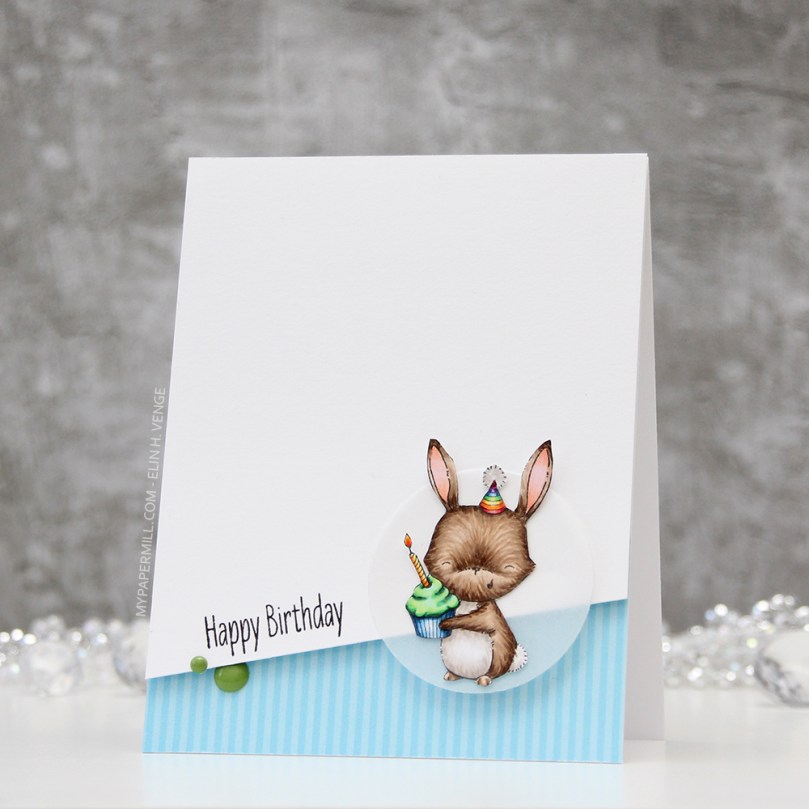 I colored up this image from the Sending Sweet Celebration Wishes for day 8 of the last round of Kathy Racoosin’s 30 day coloring challenge on Instagram. I’m not usually good at turning images from that challenge into cards, but I’m trying to be better. I decided to fussy cut this one and put him on a vellum circle.
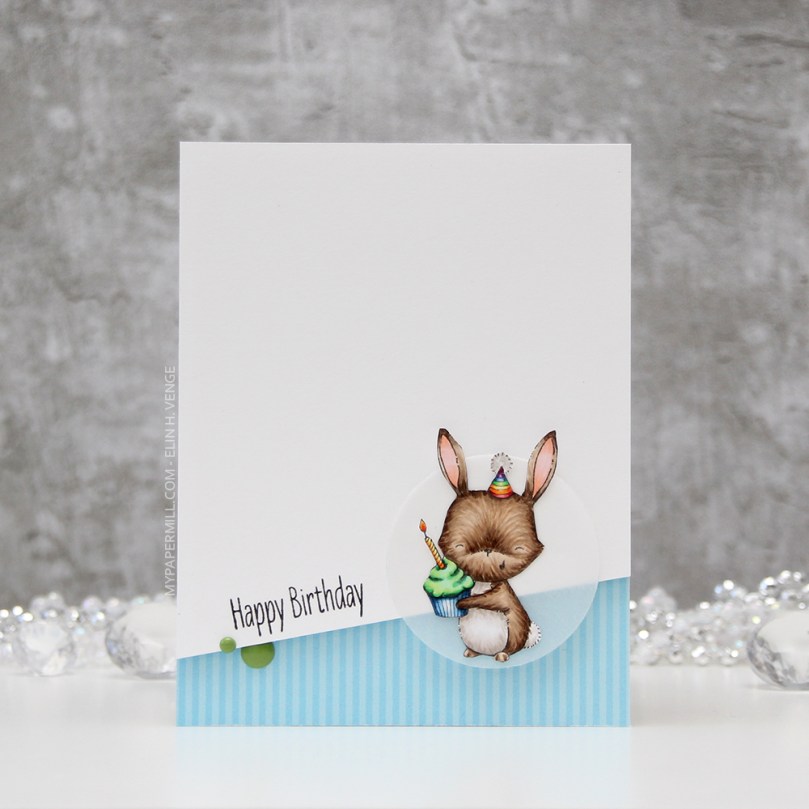 I followed a sketch from MFT and glued a piece of patterned paper from Sunny Studio onto my cardbase, before cutting a white cardstock piece from Papertrey Ink on an angle and adding lots of foam adhesive on the back. I am not shy with my foam adhesive, I tend to cover the entire back, which I did this time as well. I stamped a sentiment from the same stamp set in VersaFine Onyx Black ink. I like the color and the crispness of this ink, but am no fan of that hinged lid, it’s a pain to work with.
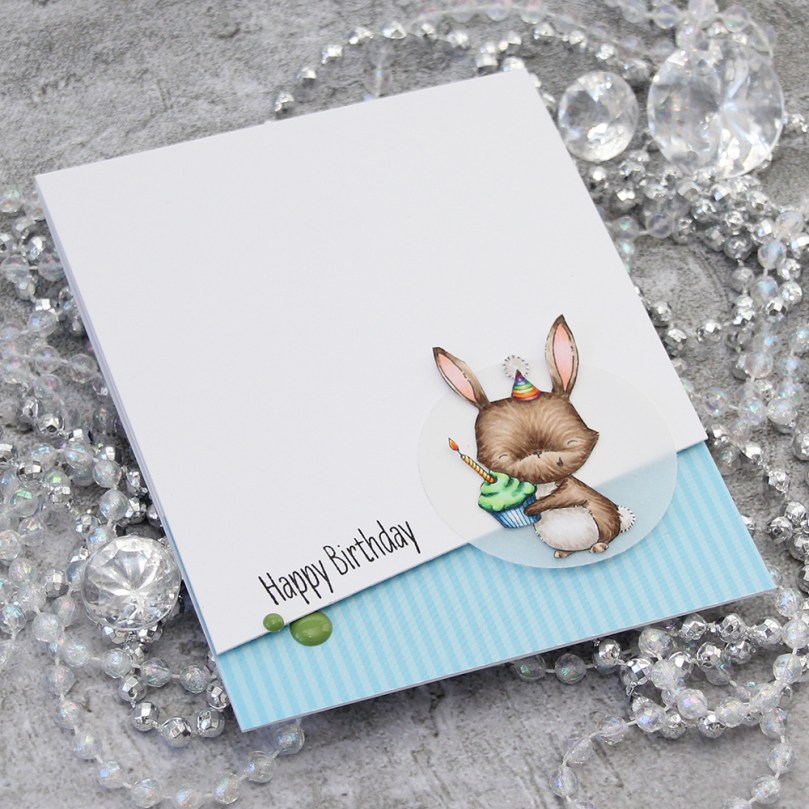 I glued my vellum circle to the white cardstock (I put my liquid glue strategically behind the bunny) and added a couple of Papirdesign enamel dots for a finishing touch.
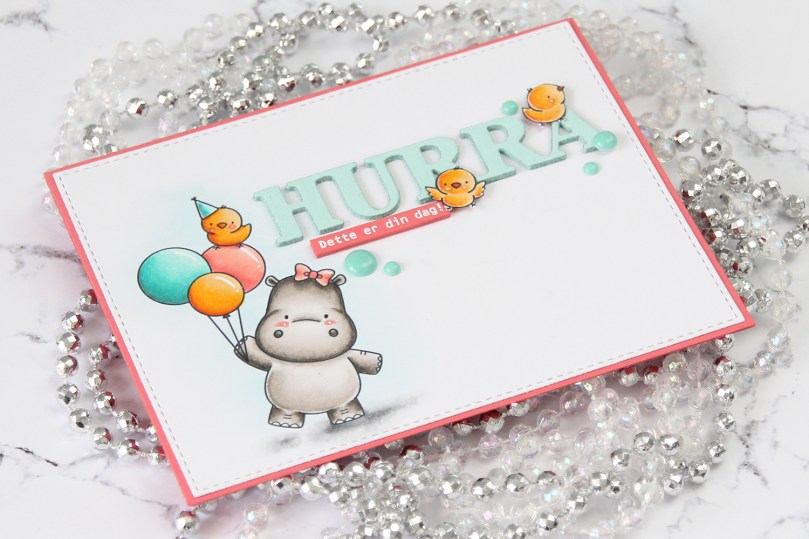
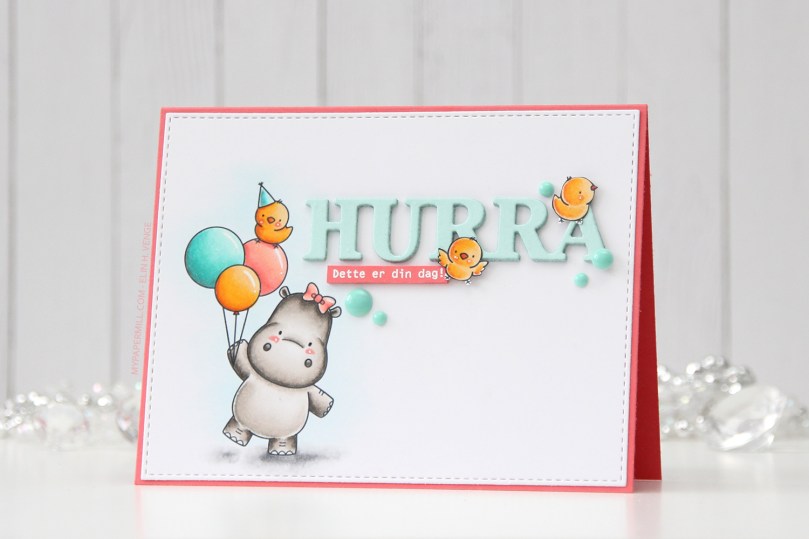 I did what I usually do by diecutting the panel with the hippo using the largest of the stitched rectangle dies from MFT. This is the one die I use more than any other, and it gives such a nice look with that faux stitching around the edge and the 1/16″ border of the cardbase (in this case Berry Sorbet cardstock from Papertrey Ink) showing.
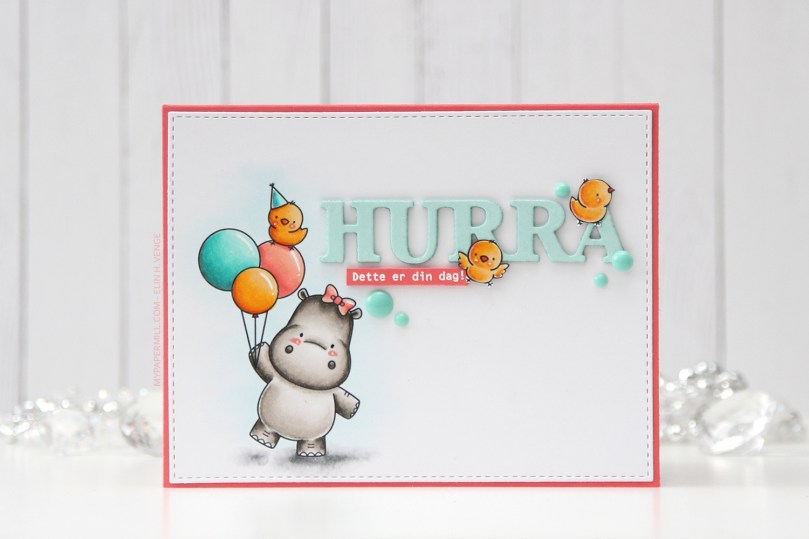 I diecut a word die from Kort & Godt four times from Aqua Mist cardstock and glued them all together for a stacked look. There was just enough space above the head of that hippo for the word to fit nicely. I stamped and white heat embossed a Norsk Stempelblad AS sentiment on a piece of that Berry Sorbet cardstock and added three more layers behind that, so it’s flush with the word above.
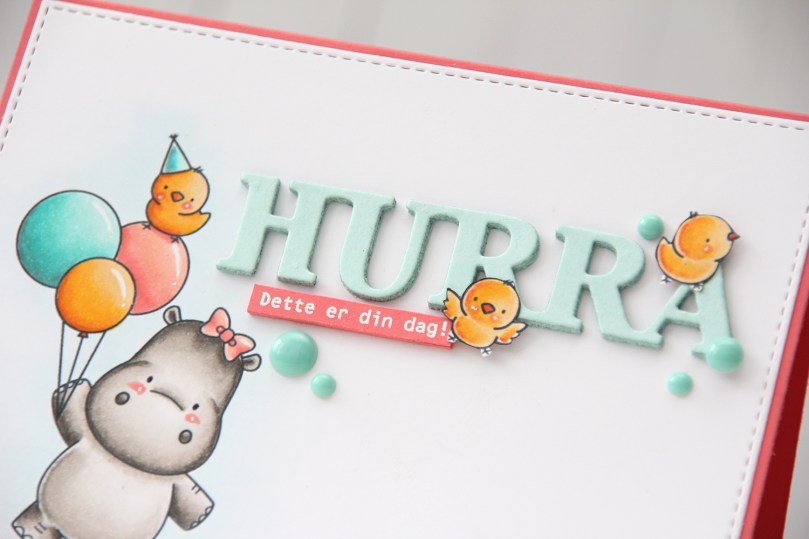 The small birds were also colored way back in 2018 for that same challenge as the hippo with the balloons. They didn’t have cheeks colored in, so I just went in with a couple of red markers and then a white pen on top to make them look like the first bird. I fussy cut both and added them to my sentiment to form a visual triangle. A few enamel dots from My Mind’s Eye finishes the card nicely. I usually know exactly where to put my enamel dots (or sequins or other small embellishments), but I was really stuck on this one and couldn’t find a good placement until
  Last, but not least, the Copics I used for this card.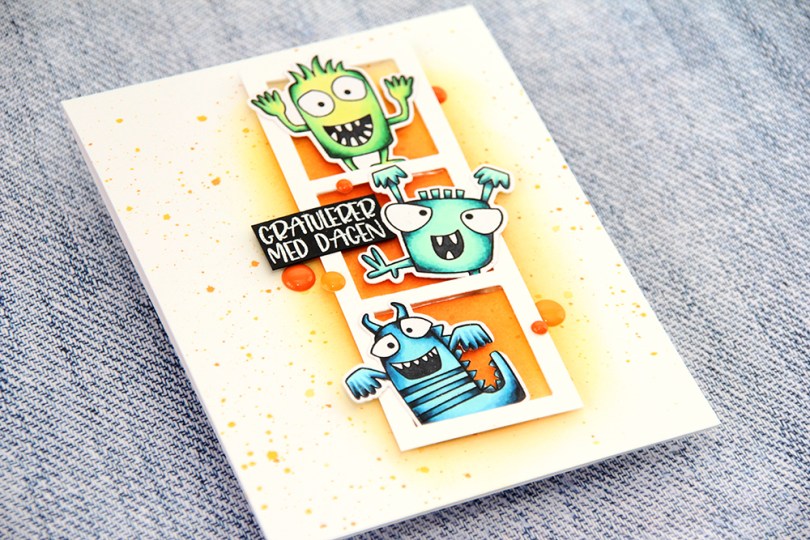

 I printed
  Once I’d finished coloring, I went back in with a 0.03 black Copic multiliner to bring back the original linework that was covered in layers of pencil, before stamping a sentiment (Enjoy every second of your day) from Mathia design in VersaFine Onyx Black ink. And that finishes my card. A one layer card, even, I don’t make many of those, but I really wanted that image to shine.
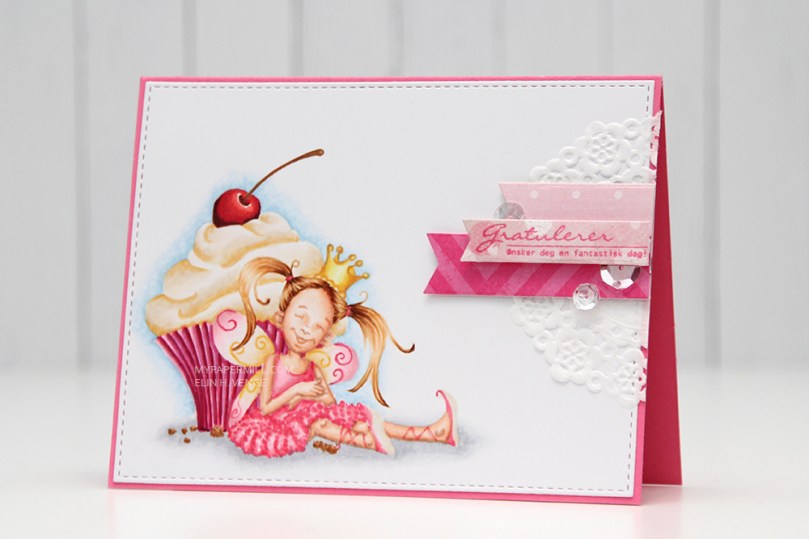 This is one of Mo’s birthday fairies. Her name is Dee, and you can find it in the store
  I diecut my panel using the largest of the faux stitch rectangle dies from My Favorite Things. I think it’s the perfect size as it creates a 1/16″ border when I add it to my cardbase. The color scheme might not be typical of me, but the layout definitely is. I added half a mini paper doily from Doodlebug Design, diecut some scraps of pink patterned paper to go with my image using another favorite MFT die set (Fishtail Flag Frames) and stamped a Norsk Stempelblad AS birthday sentiment using Papertrey Ink Hibiscus Burst ink. The ink matches the cardstock, which is also Hibiscus Burst from Papertrey Ink.
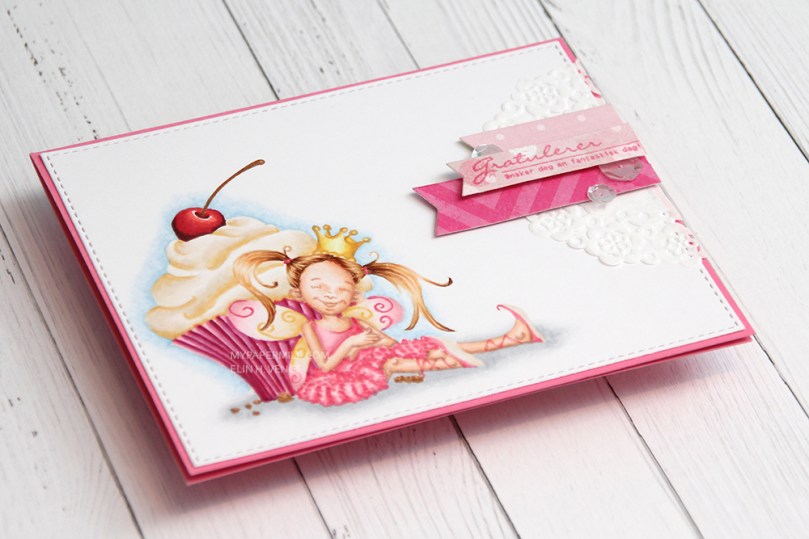 I added my banners using foam tape and embellished very simply with some sequins from Pretty Pink Posh. I even used my scissors on one to cut a little bit off and tucked it underneath that sentiment banner. Laura Bassen would be proud, haha.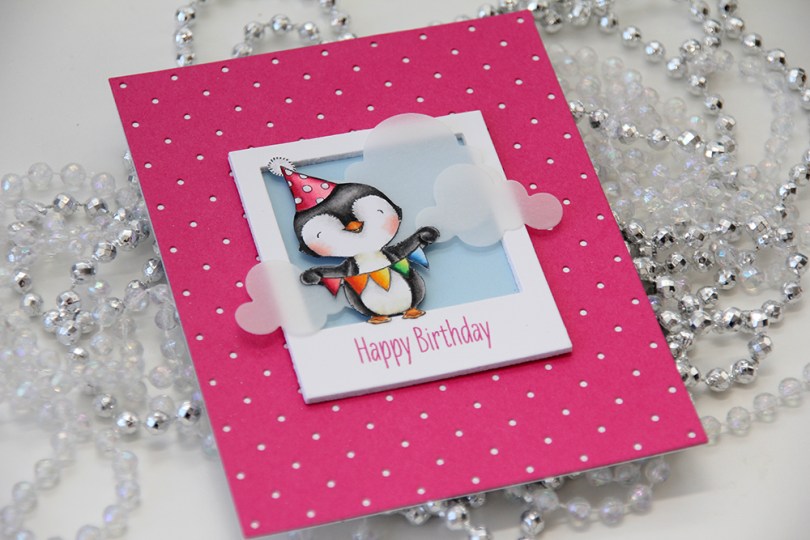
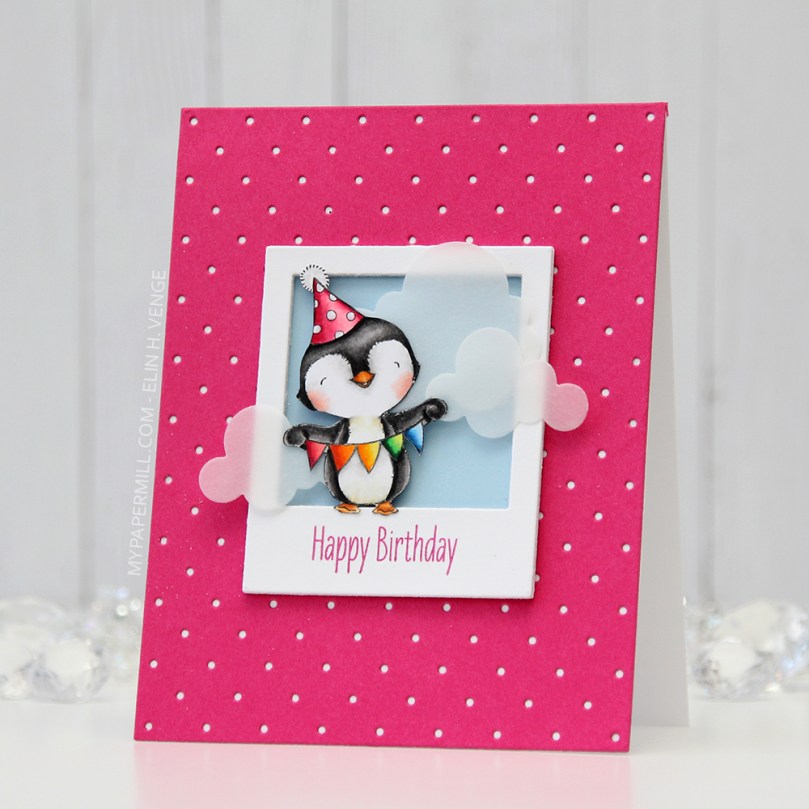 I love every image Stacey Yacula designs. This little penguin, from the
 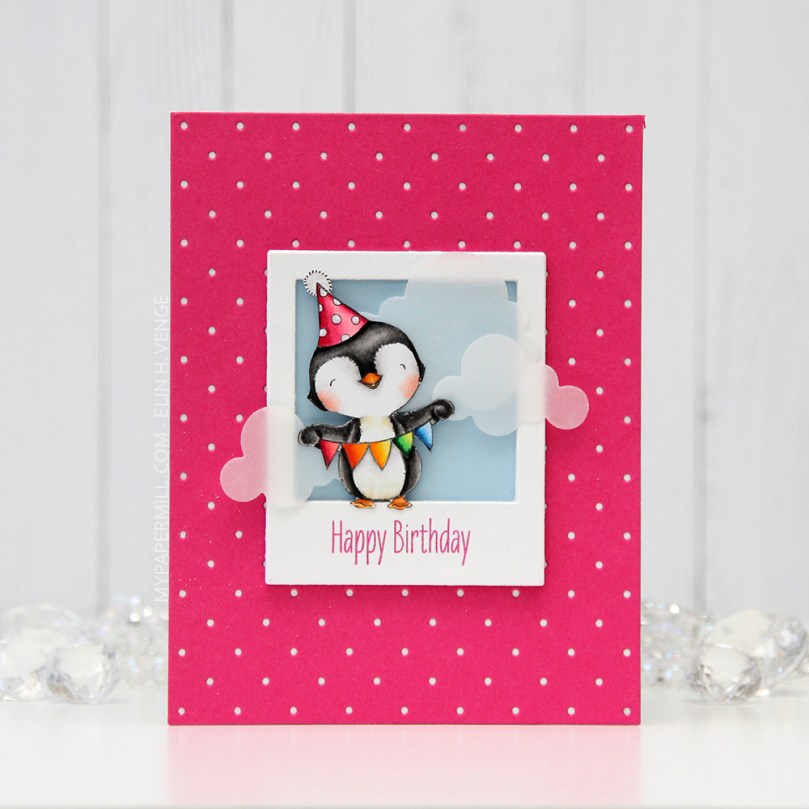 I created a polaroid frame by diecutting the
 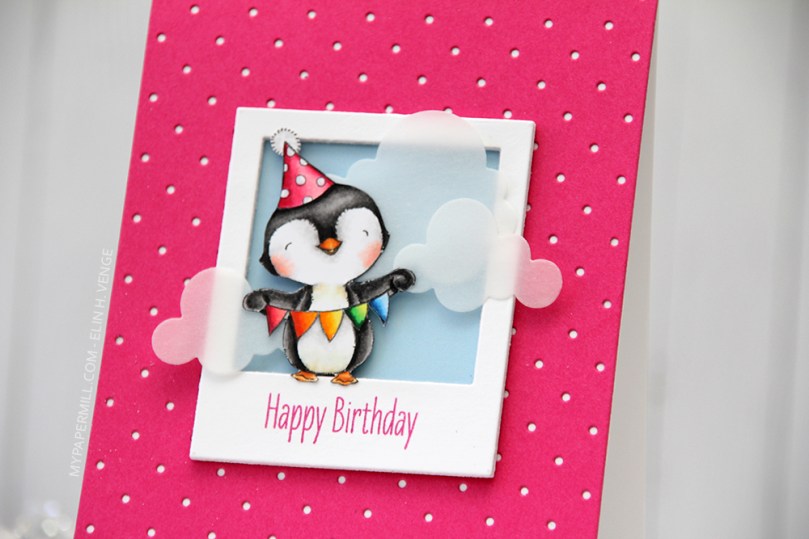 I wanted a little bit of interest to my background and diecut a piece of Raspberry Fizz cardstock from Papertrey Ink with the
 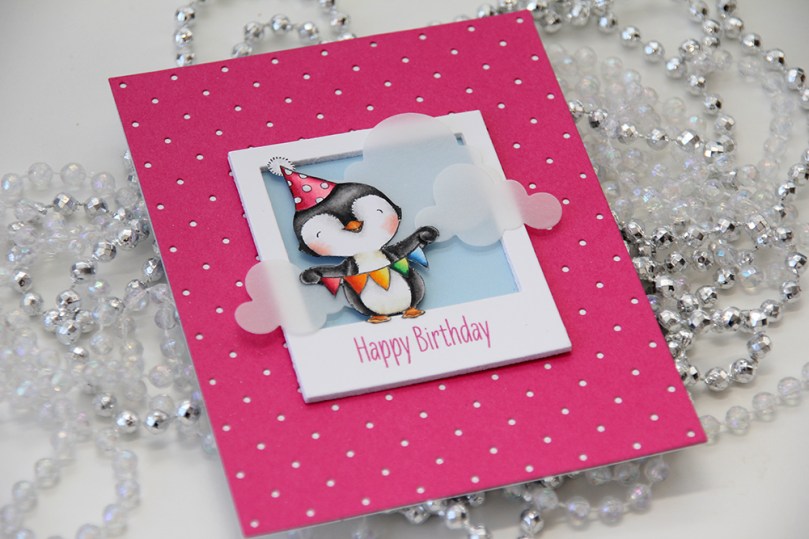 I glued my polaroid frame in the center of the card and added a few strategically placed vellum clouds. Because they hang off the edge of the frame, they break up the rigid rectangular look a little bit.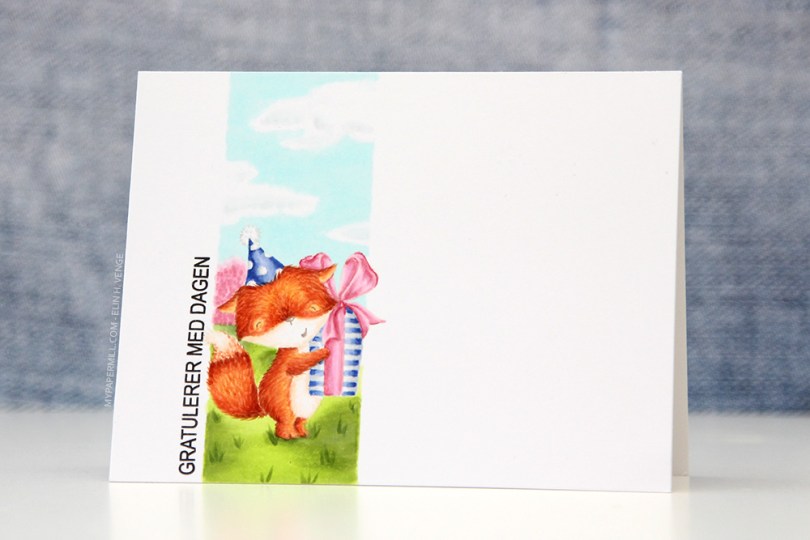
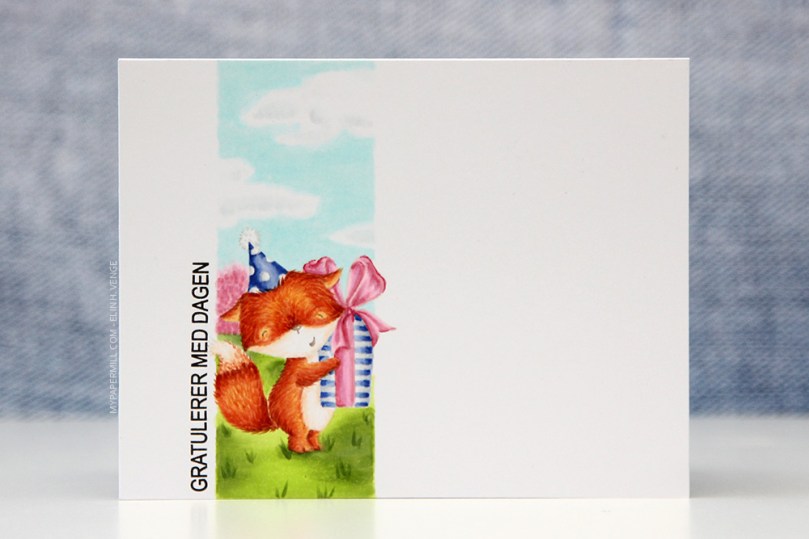 Jeg startet med å stemple den søte reven fra
  Jeg stemplet en
  Papirmølla