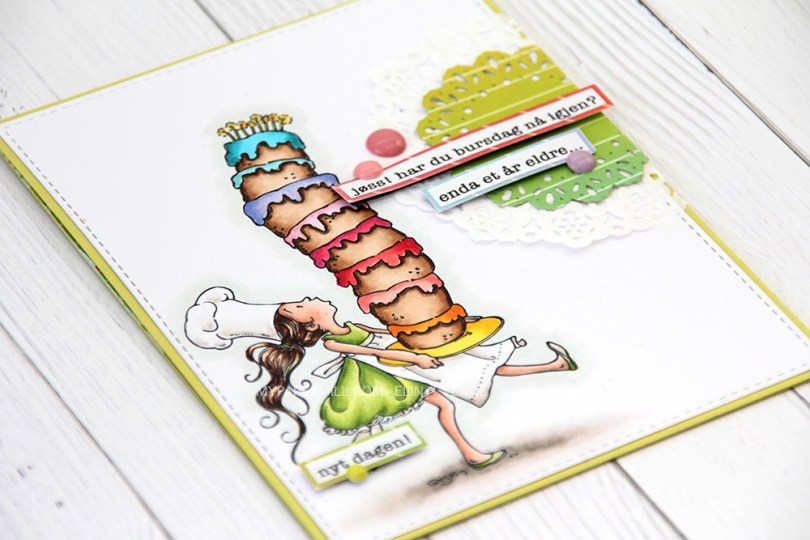
Hi, everyone! I’m currently in the mountains on Easter vacation, but I still have a card for you. It’s a colorful birthday card this time, featuring Tall Cake. I know I’ve used this image a lot, but it’s a favorite of mine. I teamed it up with a doily, some pieces of Lawn Fawn patterned paper, a few sentiment strips and some enamel dots. And that’s pretty much it. Simple, right?
 I wanted a very colorful cake, but had a hard time deciding what color her dress should be (and subsequently what color cardbase I needed). I went with a really bright green. It really is super bright. A Granny Smith apple is pale in comparison, this green is so vivid!
  I recently spent a crafty weekend with some really good crafty friends. I borrowed a die from one of them and a few sentiment strips from another.
 I wanted to use enamel dots that matched the colors of the patterned paper matted behind the sentiment strips. The purple one matches better in real life, purple is a color that’s really hard to get right in photographs.


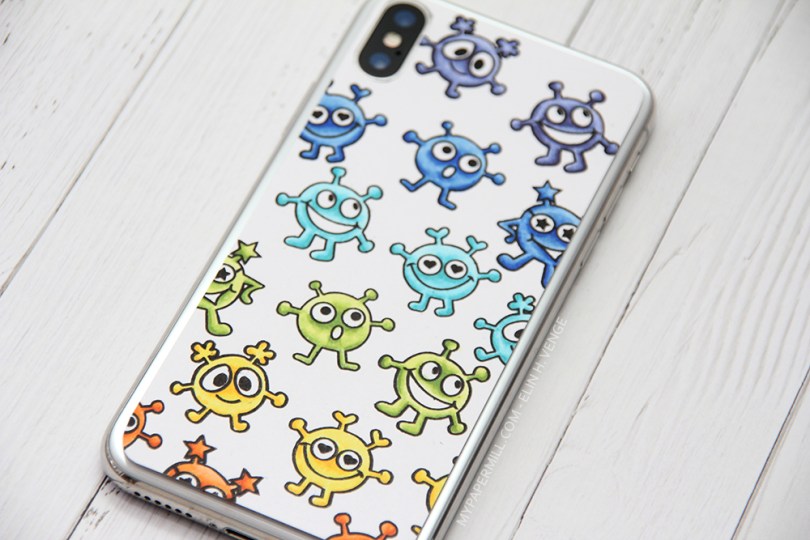


 I recently purchased a new glass film set for my phone. The set comes with a front film and a back film. I got a crack in my previous front film and needed to replace it, thus the new set. The old back film is still perfectly fine, so I don’t have the need to replace that (at least not yet). I realized that the new back film was perfect to use as a template for whatever design I wanted. I get the nice rounded corners and the hole for the camera is in the right spot.
 I’m longing for summer and warmer weather, so I decided that
  I have a clear silicone back cover that I put on top, and voilà – my phone is suddenly one of a kind. I guess I should get that front film on there. Even though I bought the new set a few weeks ago, both pieces are still in the packaging. There’s not exactly much protection on my phone when they’re not attached, I need to get to it!
 My card today features Cadi. She’s one of the fairies in the
  I stamped the polka dot turnabout stamp from Concord & 9th on my white background using VersaMark ink, before brushing Perfect Pearls pigment powder over. The result is a subtle shimmer on the polka dots. So subtle, in fact, that it’s hard to pick up in the photo.
 I glued my white background onto a cardbase I made from Melon Berry cardstock from Papertrey Ink and popped up my image using foam tape, before adding a white heat embossed sentiment from Huldra designstudio and a few Pretty Pink Posh sequins to finish my card.
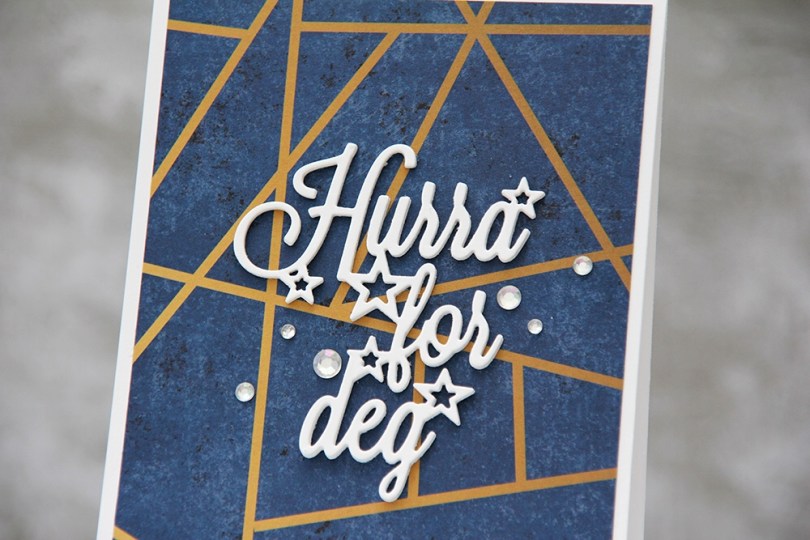
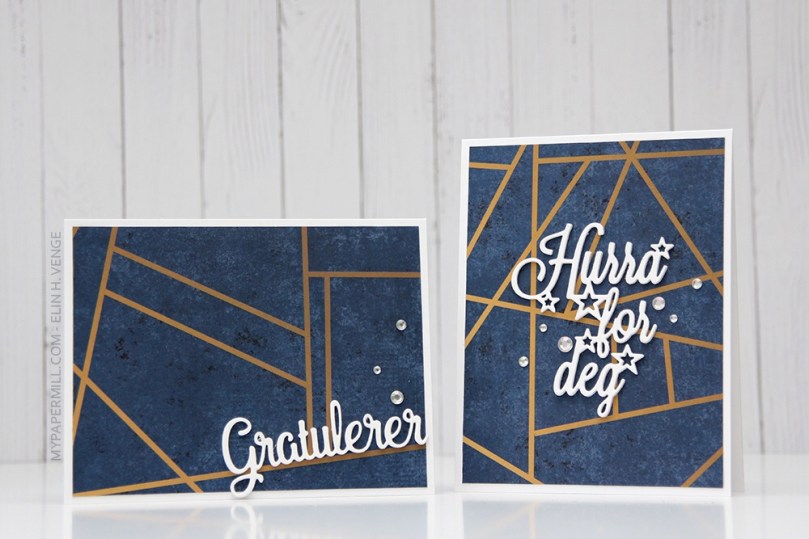 Jeg falt pladask for baksiden av Hipsterarket fra Ungdommelig-kolleksjonen da det kom i posten, så jeg visste jeg ville gjøre noe med det. Jeg digger det grafiske utseendet.
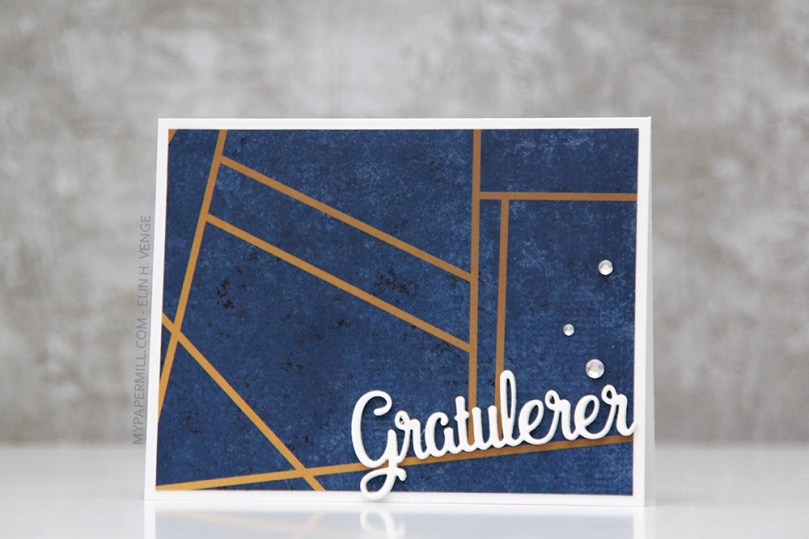 Først ut ble et liggende A2-kort. Jeg limte mønsterarket rett på kortbasen, stanset ut en gratulererdie fire ganger i hvit kartong og limte oppå hverandre. Jeg valgte å sette teksten på den ene linjen som allerede var i mønsterarket. Til slutt pyntet jeg med noen krystaller. Enkelt, ikke sant?
 Kort nummer 2 lagde jeg i stående format. Her syns jeg ikke den ferdige diecuten passet til å ha på linjene i mønsterarket, så jeg limte den ca midt på og så rett jeg klarte før jeg pyntet med krystaller.
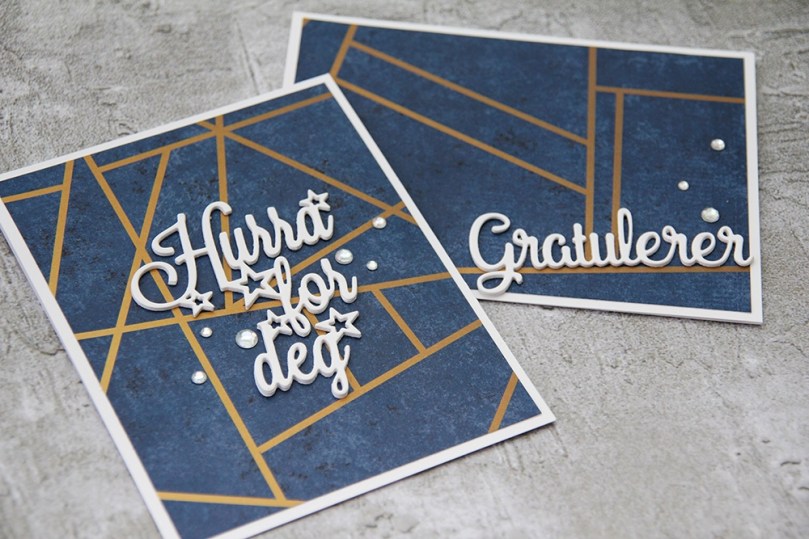 Kort som dette er enkle å lage, og hvis du bruker spraylim for å feste alle lagene med diecuts sammen går det også ganske kjapt, fordi du slipper å fikle med flytende lim for å få dimensjon på teksten.
 I colored my image years ago, so I have no idea which Copics I used. I added more contrast to the image at some point last year, but that doesn’t mean I remember any more. My memory’s pretty good, but not THAT good!
 I rummaged through my blue scraps of patterned paper for this card. The dark blue one is from the Muligheter collection by Papirdesign, and the paler blue is from the Denim & Friends collection by Maja Design.
 I chose stitched STAX sets from My Favorite Things (Stitched Rectangles STAX Set 2 and Stitched Circle STAX) to diecut all the panels on my card except for the blue circle I used as a mat for my sentiment, I used a Spellbinders die for that, it was the only “oddly” sized circle die I found in my stash, and it fit perfectly around my other circle with a 1/16″ border, which I happen to think is the perfect border size!
 I glued my matted sentiment circle to the card using foam tape, and decided to add a few dark blue Papirdesign enamel dots to add more circular elements.
 For once I decided to put something on the back. I don’t usually do that on my simple cards, but I really wanted to use that pale blue diecut strip I’d made, and I really love that Norsk Stempelblad AS sentiment (What? Aren’t you older?) that I stamped in Papertrey Ink Enchanted Evening ink.
 I colored her up on X-Press It blending card with my Copics. It’s been a while, so I don’t recall which Copics I used, but I’m guessing I chose the R80s for the pink and the E40s for the brown.
 I decided to diecut my colored piece using one of the rectangle dies from My Favorite Things with faux stitching. I also ran a white cardstock panel through a We R Memory Keepers embossing folder to give some interest to the background. I glued the dry embossed piece to the pink (Hibiscus Burst cardstock from Papertrey Ink) cardbase, and added my stitched rectangle on top of that with some dimensional adhesive.
 I needed a sentiment that matched my image, so I decided to go with a belated birthday greeting from a Huldra designstudio stamp set. I heat embossed the sentiment on some pink cardstock and diecut it into a banner using a die from My Favorite Things. I added another fishtail banner behind it in brown and popped them both up from the image with some dimensional adhesive.
 Here you can see the dimension, with the stitched rectangle popped up from the background, and the banners popped up from the stitched rectangle. I decided to add a few Papirdesign enamel dots as a finishing touch.
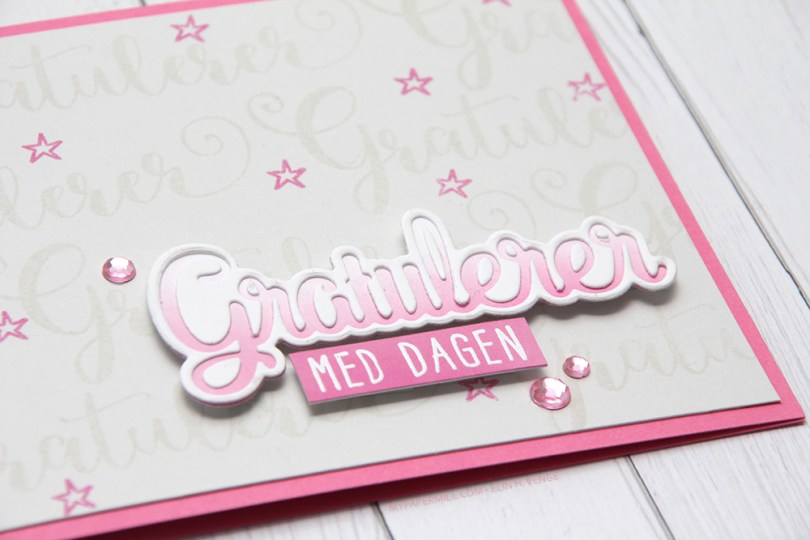
 Jeg stemplet ordet Gratulerer fra
  Jeg stemplet stjerner fra den samme stempelplaten med Distress Oxide i fargen Picked Raspberry. Egentlig er stjernestempelet en rad med tre stjerner, men jeg har klippet det fra hverandre for kun å bruke én av stjernene på bakgrunnen min.
 MED DAGEN er embosset i hvitt på et stykke kartong som først er farget med den samme rosa Distress Oxide-fargen. Den lille stripen er limt på den grå bakgrunnen med 3D-teip. Ordet
 This card is large, it’s nearly 8 inches wide. Not what I normally do, but I really wanted to use all the birds.
 I stamped a Norsk Stempelblad AS sentiment in blue ink. I actually double stamped to get the right color. I used Salty Ocean Distress Oxide ink for my first stamping, and then Papertrey Ink Blueberry Sky on top. The combination matches the coloring of the images well, but looking at the photos, I’m thinking there’s a possibilty I should have gone with Enchanted Evening, which is the same color as the blue cardstock I used for my cardbase.
 The colors I used for my image. I actually used R39 to deepen my blues, it worked really well for that.