
Hi, everyone! I know Christmas is far away, but somehow, I have another Christmas card to share anyway, featuring the adorable Jolly snowman from Purple Onion Designs. I love how happy he is looking up at the sky, and my initial plan was to turn him into a wintery birthday card, but plans change…
 I didn’t have any birthday sentiment dies that fit my slimline plan, but this Stacked Merry die from My Favorite Things was perfect. I die cut four from white card stock and stacked them for a dimensional look, before adding embossing powder on top and heat embossing for a shine that matches the embossed snow in the background. I stamped “& bright” from the Holiday Messages sentiment set onto Blue Yonder card stock from My Favorite Things and white heat embossed. I added my colored piece with the sentiment onto a card base made from that same Blue Yonder card stock and added a few snowflake sprinkles from Little Things from Lucy’s Cards close to the snowman and the sentiment, finishing off the card with a trail of snowflakes.
 I used quite a few colors for this very simple image. Building color to create contrast is key when doing no line coloring, and the first 7 markers in this graphic were all used for the snow. It might be difficult to tell from the photo, but the orange combo I used for carrot is different than the combo I used for the scarf and pocket, which isn’t as bright a combo in real life.
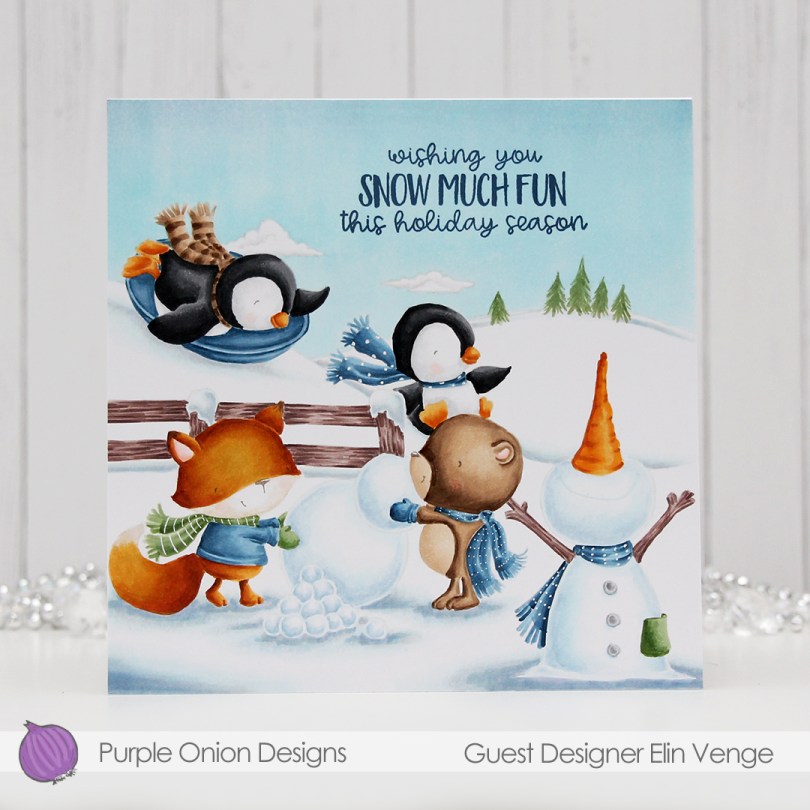

 I love the no line look, and it’s really no more difficult than coloring with lines. In a way, it’s actually easier, because no one can tell if you went outside the lines a bit! I used a white gelly roll pen to add back in some details in the various scarves.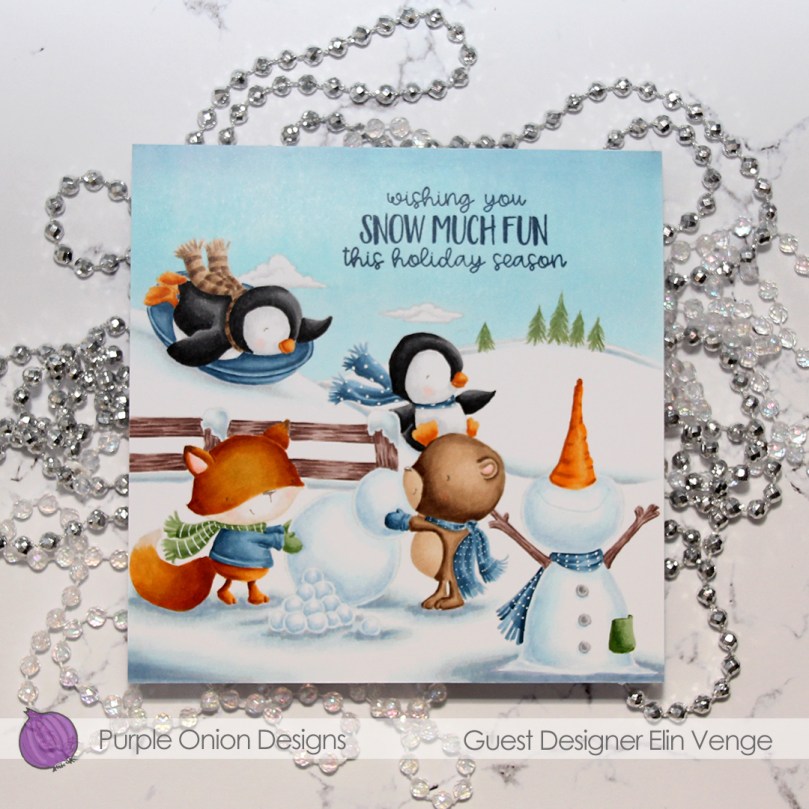


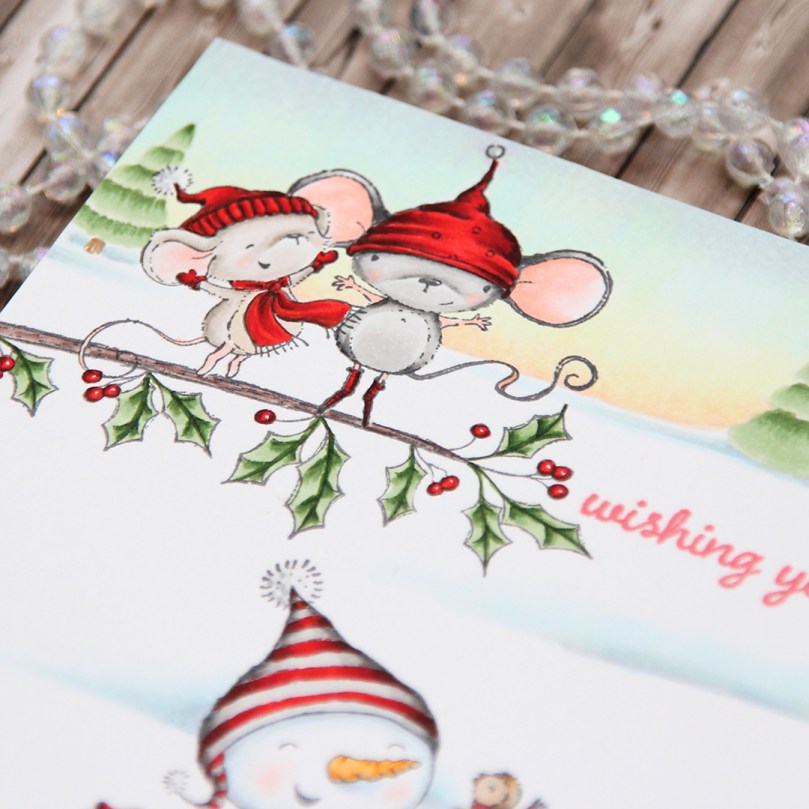 Here are the
  Here’s
  I stamped a sentiment from the
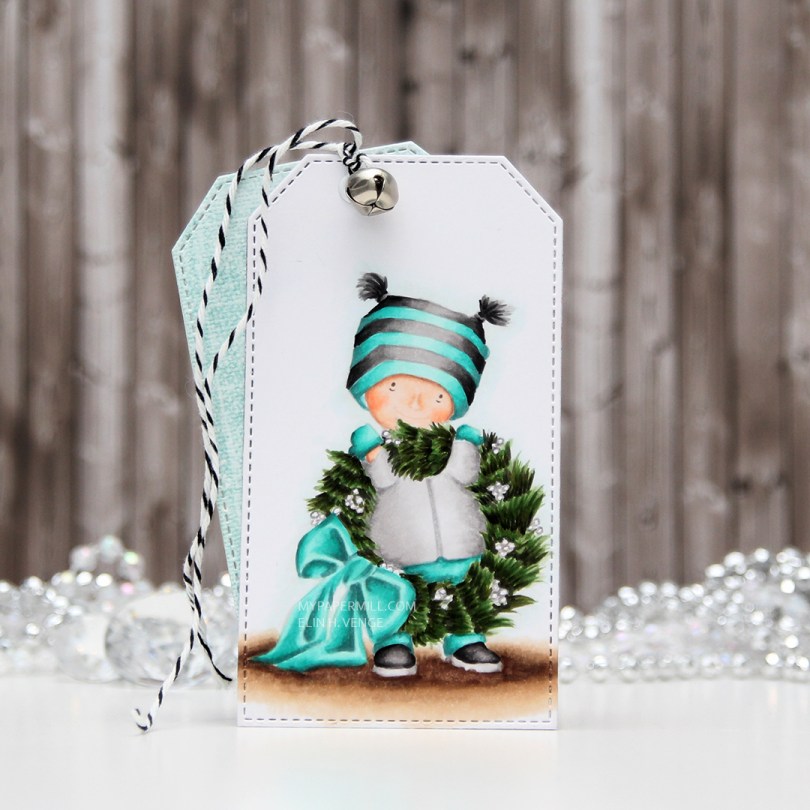
 I decided to go for a teal and gray color combo today, and white berries on the wreath instead of red ones. I just used a gray colored pencil to trace around the outline of the berries, everything else is noline colored using Copics. I used a stitched tag die from My Favorite Things to create the actual tag.
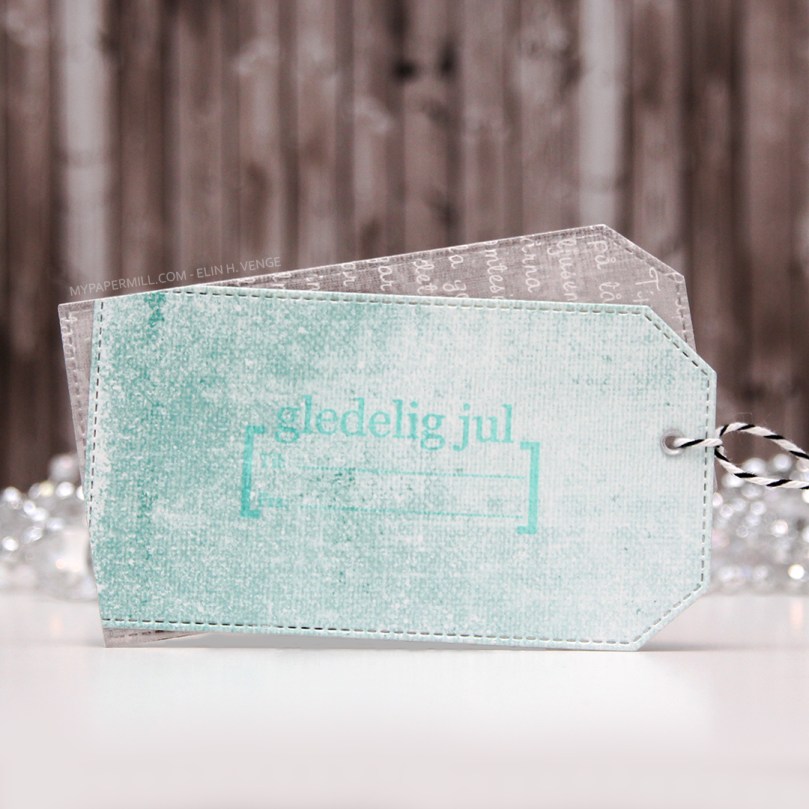 I diecut a couple of pieces of scraps of patterned paper using the same die. I chose Julbukett from the Fröjdefull Jul collection from Maja Design and Good Cheer from the Christmas Magic collection from Fancy Pants Designs, which happens to be a collection from 2009, I have a lot of patterned paper. I stamped a to/from stamp from Norsk Stempelblad AS using Hawaiian Shores ink from Papertrey Ink straight onto the patterned paper. I made a hole at the top, added an eyelet, some twine and a bell, and my tag was done.
 I used Anyu and Nanook Igloo for my card today. They’re part of the
 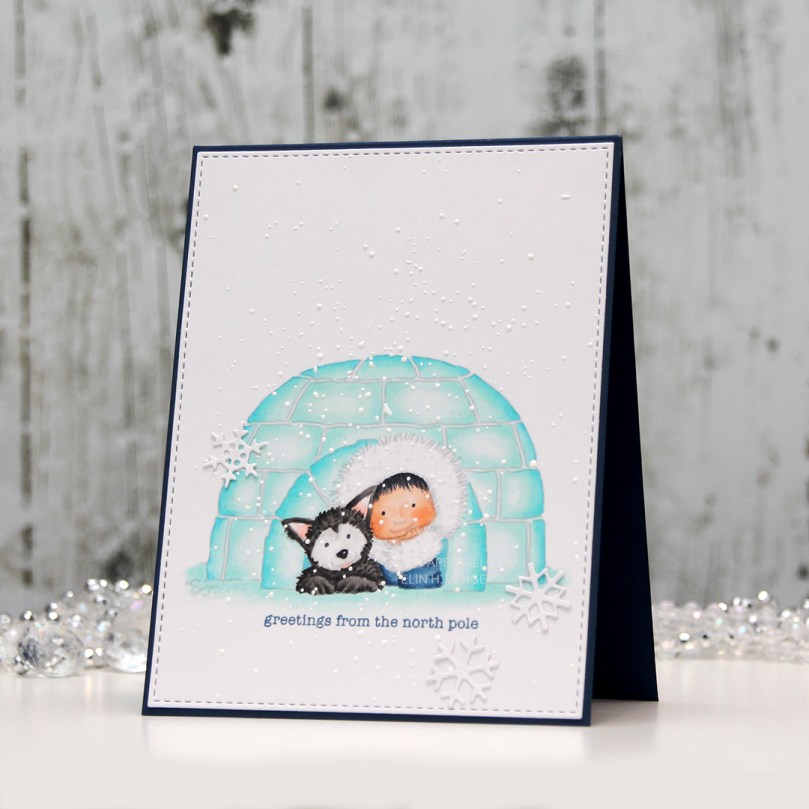 I used my trusty faux stitch rectangle die from My Favorite Things to turn my colored piece into a panel before stamping the perfect sentiment from Mama Elephant’s Holiday Messages stamp set using Enchanted Evening ink. I wanted to pick up the blue from the little girl’s coat, and this is such a pretty blue. I sprinkled on chunky white embossing powder and heated the panel from the back to create my snowy look, before adhering my panel onto a cardbase I made from After Midnight cardstock from My Favorite Things. I added a few snowflakes that I diecut using an old Marianne Design die that I absolutely love, and my card was finished.
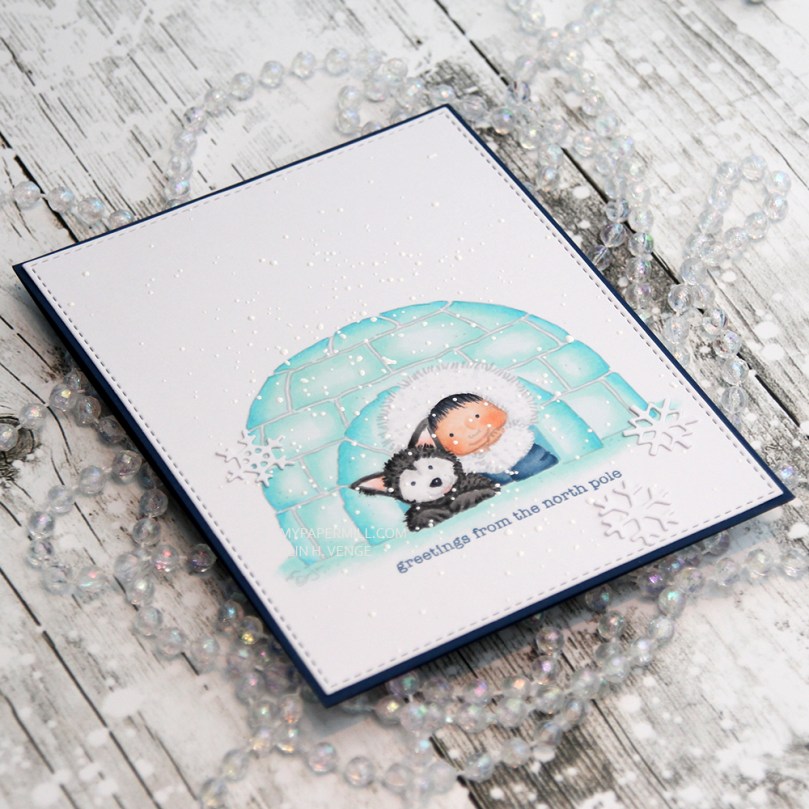 Here you can see the effect of the chunky white embossing enamel. It’s nice and thick and adds a bit of texture to the card, it kind of feels like braille when you touch it, it’s really cool, not to mention quicker than drawing on snowflakes with a white pen, also with the added bonus of it being more random than you’re able to achieve on your own.
 No surprise that I used mostly cool tones for this card, except for the skin colors and the ears and tongue of the dog.

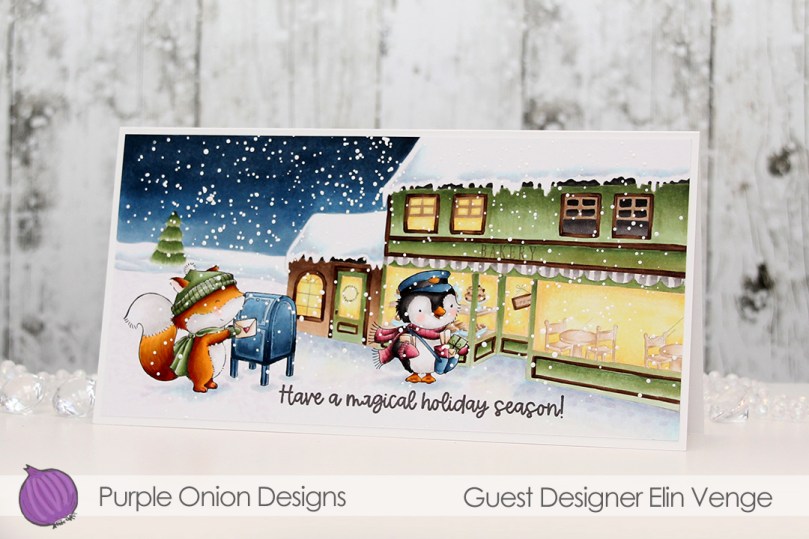 Whenever I have background elements, I pretty much always start with those, and today was no different. I colored in the snow first, both on the roofs and on the ground, before coloring the sky and then the building.
 After I’d also colored in the fox, the mailbox and the penguin, I added a sentiment from the
  Plenty of colors used, but there are a lot of images in this one.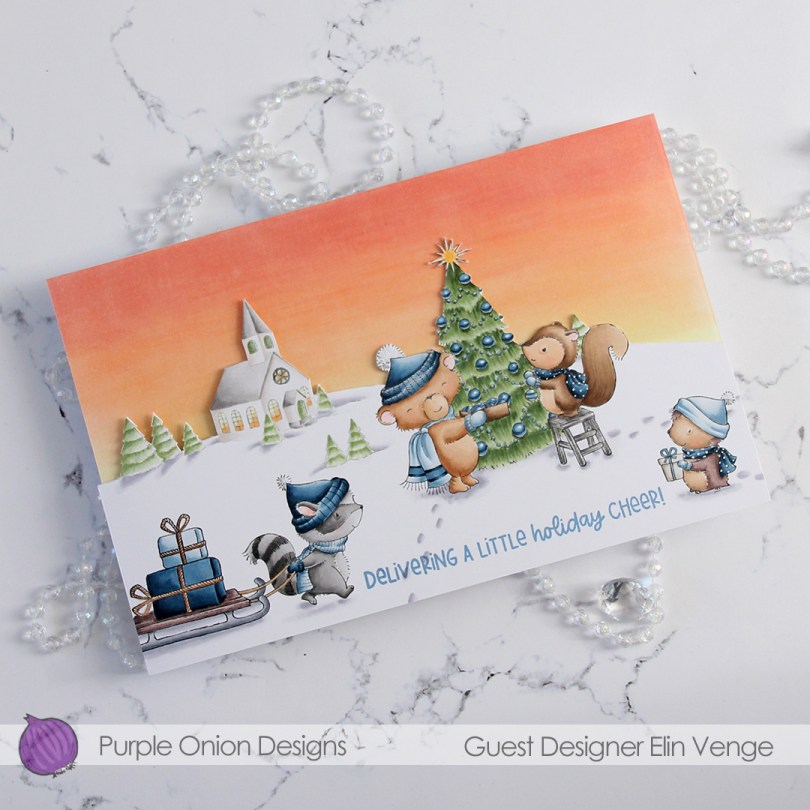
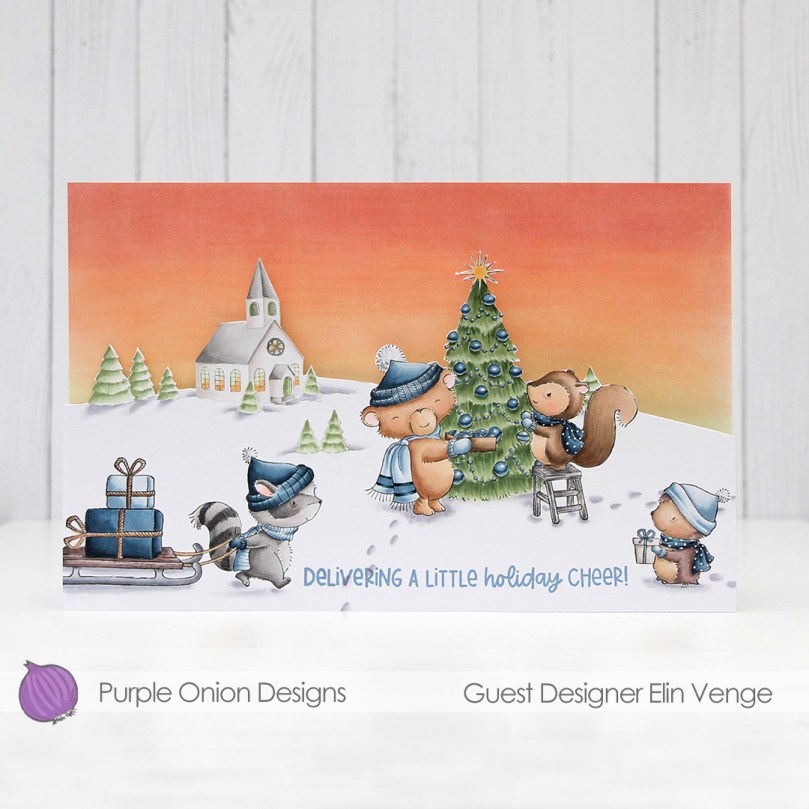 I wanted to create a scene with a couple of the cute critters (
 When you open the card, the sky’s still there, but below it are the
  I also stamped a sentiment from the new
 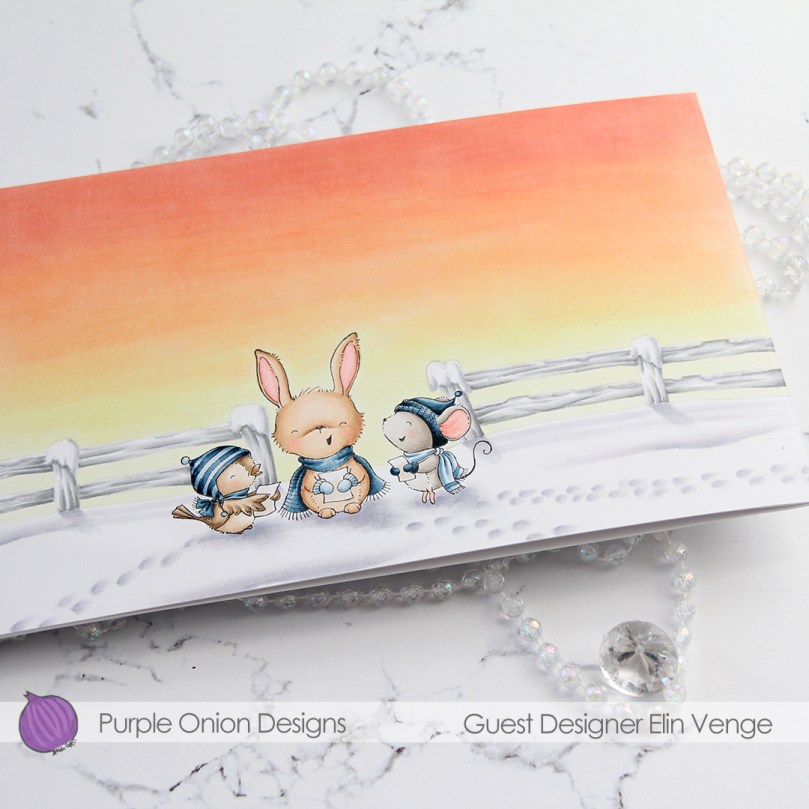 In this photo, you can see that there’s another layer of the card behind this panel with the singing critters.

 I used the slimline starter die from My Favorite Things to die cut a panel of Blue Breeze cardstock for my card front. I stamped the
  I didn’t want to add my colored pieces directly to the blue underneath. I decided to add a mat behind each of the images, and I cut them down to be slightly larger than the images themselves. We’re talking super thin frames, I think they wound up being about 1/32″ all around. They might be small, but it was enough that I didn’t have room for a sentiment between my images, so I cut apart the Ho ho ho sentiment from the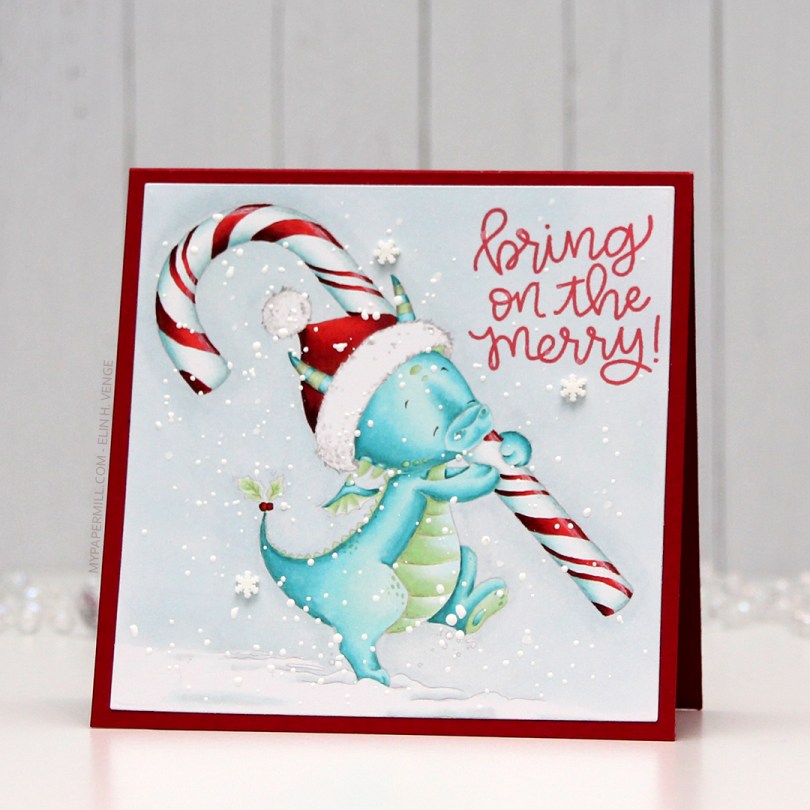
 I love no line coloring, and this guy with the candy cane was so much fun to color up. I added snow flurries to the background with a gelly roll pen when I did my coloring, and once I’d die cut my colored piece I wanted even more snow, so I sprinkled on embossing enamel, as well, and melted that.
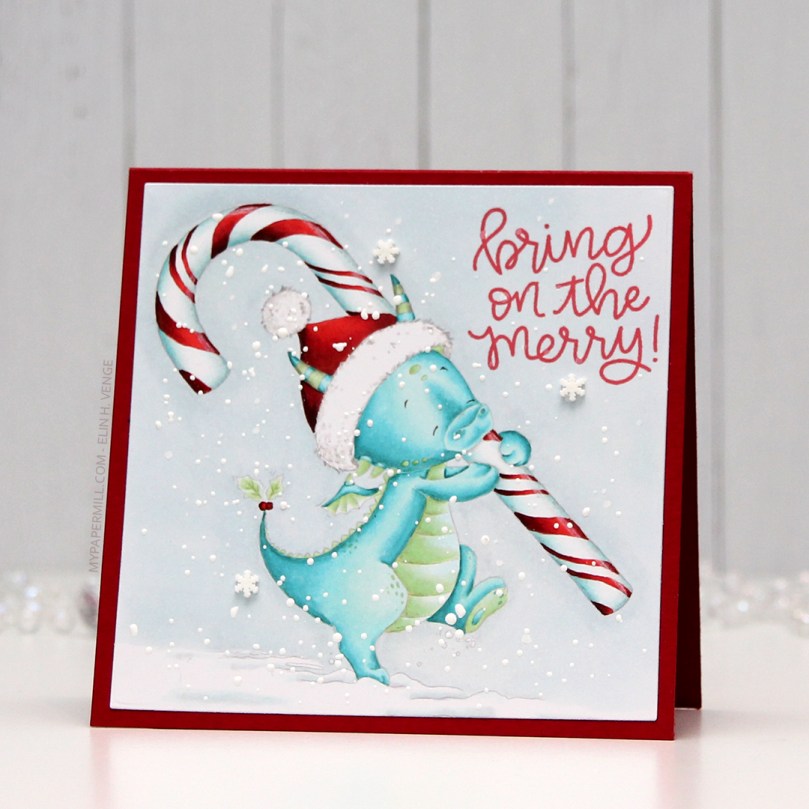 I even added a few snowdrift sprinkles from Little Things from Lucy’s Cards once my card was assembled. I love this look of snow on Christmas cards.
 The sentiment is from the Scripty Xmas stamp set from Mama Elephant, stamped in Lady Bug ink from Memento. I added my panel onto a 4 1/4 x 4 1/4″ top folding card base I made from Electric Red card stock from My Favorite Things.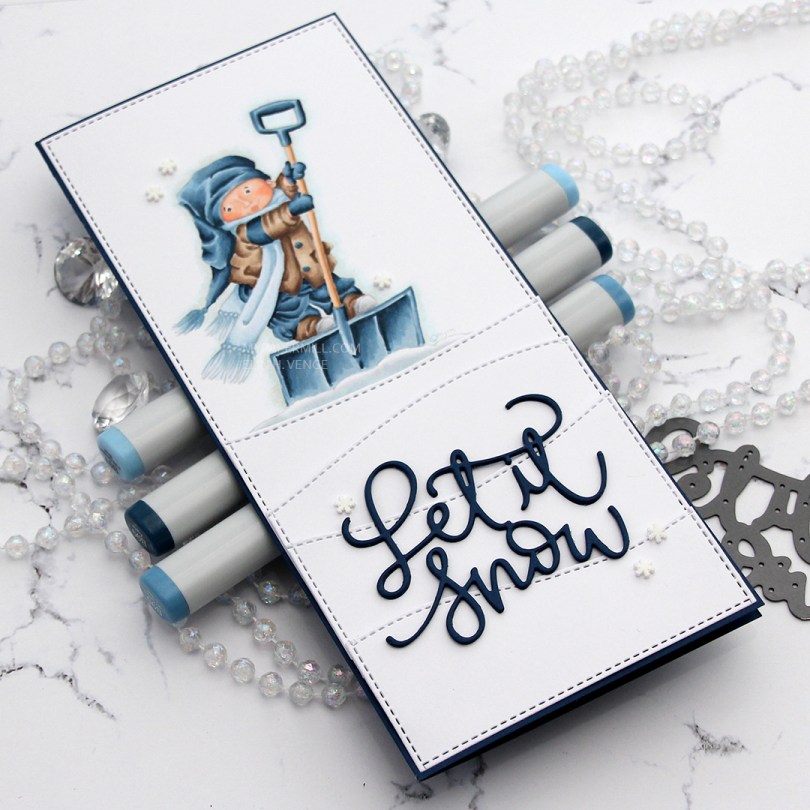
 I did no line coloring of the
 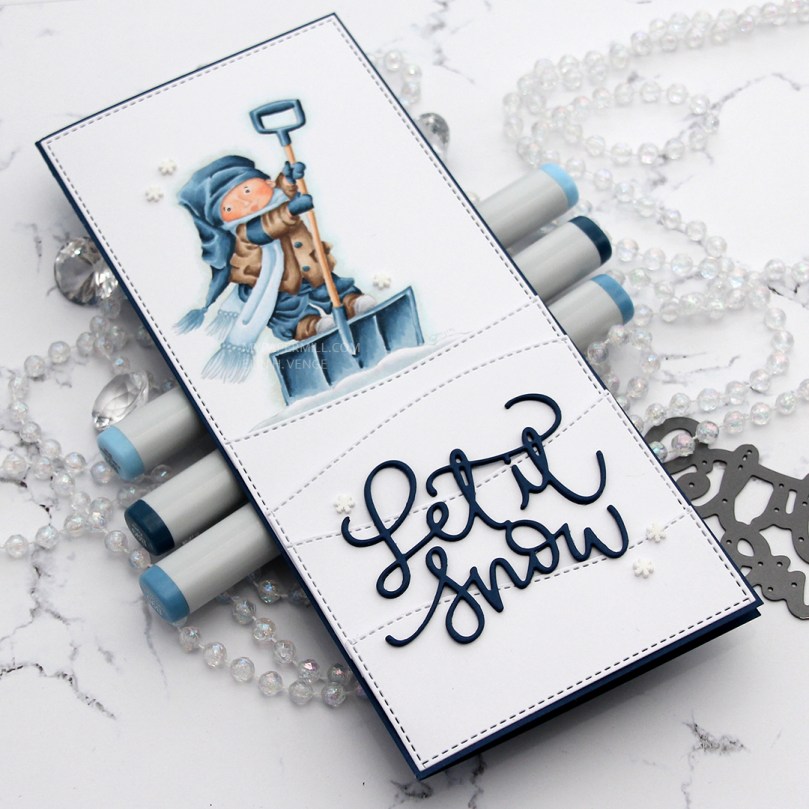 I adhered my panels with tape runner and 1 mm foam squares. Each panel has a little bit of dimension towards the top, while the rest is adhered using tape runner onto a slimline card base I created from After Midnight card stock from My Favorite Things. I used the piece that was left over to create my sentiment, which I die cut three times using a die from the Let it snow die set from Mama Elephant. My last finishing touch was a few snowflake sprinkles from Little Things from Lucy’s Cards.
 Limited color palette this time. I also used B90, which is a color I’ve made myself.
