
Hi, everyone! Another Wednesday already. Man, the weeks fly by so quickly. I’ve got another Mo Manning cutie to share today.
 This is one of Mo’s birthday fairies. Her name is Dee, and you can find it in the store here. I actually have a red rubber version from Penny Black of this image that I actually used for this card. I stamped it in fadeout ink from Inkon3 and went to town with no line coloring. When doing no line coloring I usually stamp (or print) the facial features in a darker ink than the rest of the image, but I forgot on this one, and had to draw everything back in once my coloring was done. I used a Prismacolor pencil and held my breath as I added those details back in.
 I diecut my panel using the largest of the faux stitch rectangle dies from My Favorite Things. I think it’s the perfect size as it creates a 1/16″ border when I add it to my cardbase. The color scheme might not be typical of me, but the layout definitely is. I added half a mini paper doily from Doodlebug Design, diecut some scraps of pink patterned paper to go with my image using another favorite MFT die set (Fishtail Flag Frames) and stamped a Norsk Stempelblad AS birthday sentiment using Papertrey Ink Hibiscus Burst ink. The ink matches the cardstock, which is also Hibiscus Burst from Papertrey Ink.
 I added my banners using foam tape and embellished very simply with some sequins from Pretty Pink Posh. I even used my scissors on one to cut a little bit off and tucked it underneath that sentiment banner. Laura Bassen would be proud, haha.
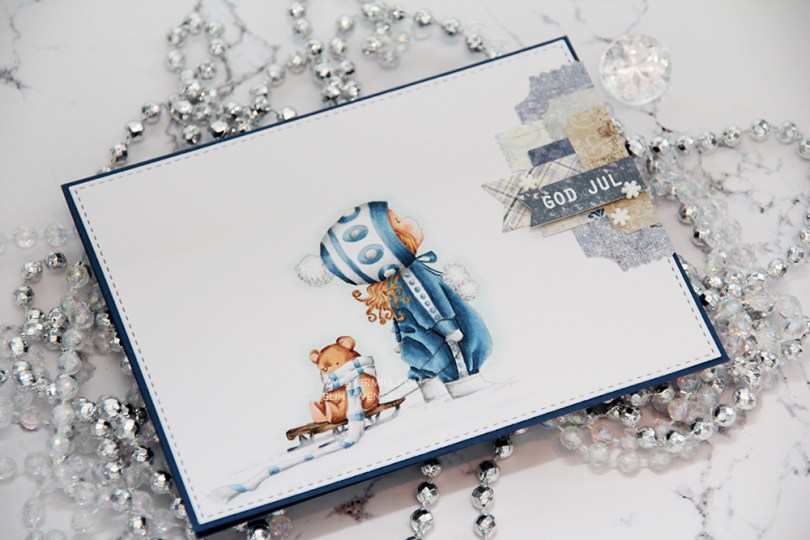
 I had to use my favorite color combination for Christmas on this one. Blue, grey and brown. I made my greys very light, so they look more white than grey, and I have to admit I kind of love the look! I printed the image with 15 % opacity and did no line coloring. I love no line coloring!
 This card is very “me”. The cardbase is made from Papertrey Ink Enchanted Evening cardstock, I used a die from My Favorite Things to add the faux stitching detail on the main panel, and I added a little cluster of diecut patterned paper scraps. I stamped and heat embossed a Norsk Stempelblad AS sentiment on one of the patterned paper pieces and added three snowdrift sprinkles from Little Things from Lucy’s Card as my finishing touch.
 Clean and simple with cluster, these cards come together so easily once the image is colored.
 I used quite a few colors for this simple image. Lots of different earth tones for different parts of the image, and two grey families.
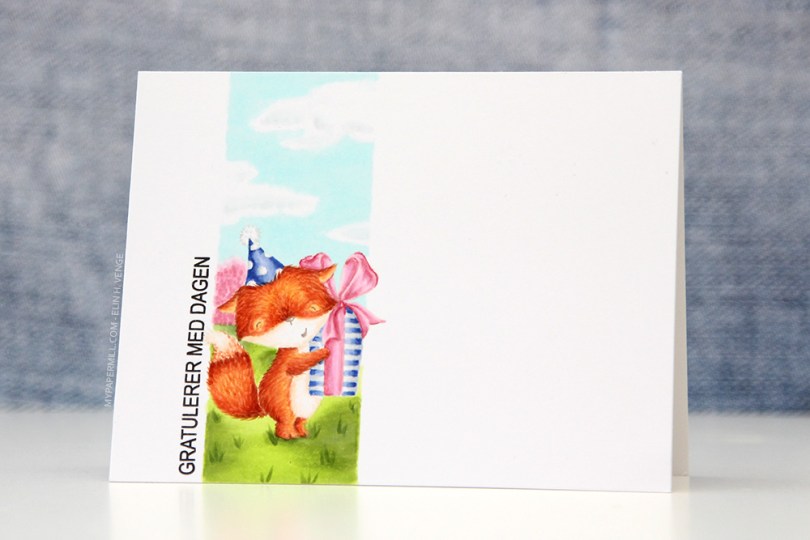
 Jeg startet med å stemple den søte reven fra
  Jeg stemplet en
 I turned my image into a card last night by stamping a sentiment, diecutting the entire panel with a faux stitch rectangle die, adding that to my card front and embellishing very sparingly with three clear crystals from the Ice Water mix from Little Things from Lucy’s Cards. That’s it.
 The sentiment is from the B04 stamp set from Norsk Stempelblad AS. I love the stamps Åshild has designed and am so glad I have so many different sets from them. I used Enchanted Evening ink from Papertrey Ink. It’s a beautiful dark blue color.
 Cards don’t get much simpler than this. And cards like this are so fun to make, too.
 Would you believe I used 10 (yes, ten) different colors for the fur?? Am I crazy?
 I’m still working through my Christmas images with no line coloring, and I adore this one, she’s so cute balancing those baubles!! Baubles are fun to color too, so all in all, this was a joy to make.
 I ran out of my favorite white cardstock while working on my Christmas cards, so I had to get creative with card bases and patterned paper before I got a new shipment! For this one I used Olive cardstock from Simon Says Stamp, it matches perfectly with the greens in the patterned paper from Maja Design and my coloring.
 I diecut the panel with my little elf using the larges of the faux stitch rectangle dies from My Favorite Things and glued it straight to a piece of Maja Design patterned paper the same size as my card base. I added a piece of a Doodlebug Design mini doily and a couple of banners made from patterned paper scraps. I diecut both banners with dies from the Fishtail Flag Frames set from My Favorite Things, stamped a Huldra designstudio sentiment on one of them and white heat embossed it. As a last finishing touch, I added a few crystal to draw the eye to the sentiment.
 The banner with the sentiment is mounted with 1 mm foam tape, everything else is glued flat, making this a card that will have no trouble going through the mail.
 I managed to include BG90 twice in my little Copic chart, maybe I shouldn’t make my charts when it’s way past bed time??
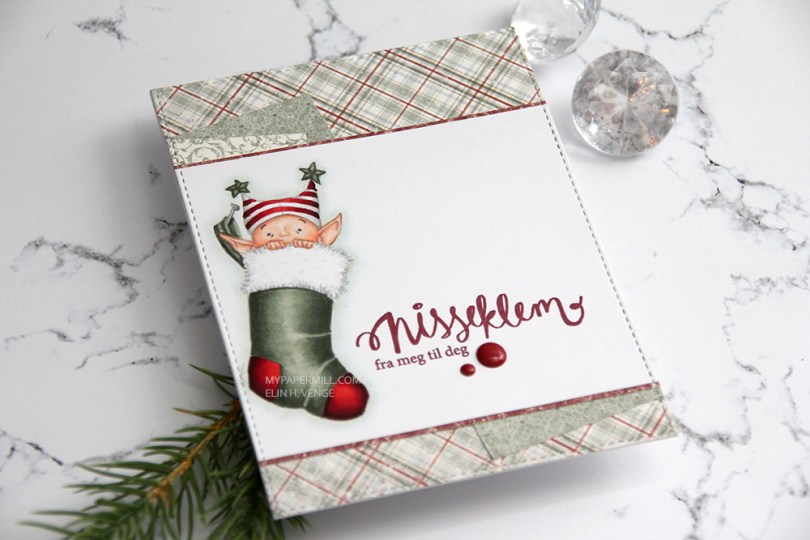
 I love coloring Mo’s images using the no line technique, and this one was no exception. I don’t remember what my initial plan was, but I printed the image in the top left corner of a 4 1/4 x 5 1/2″ panel, something I pretty much always do with my images. This time I struggled to come up with a card design that worked, so I wound up chopping off everything below the stocking, so I could use it along with pieces of patterned paper on the front of my card.
 I try using scraps for my cards, and the plaid patterned paper scrap from Maja Design was exactly 4 1/8″ long. I placed it carefully in the largest of the faux stitch rectangle dies from My Favorite Things for a nicely finished edge, and did the same for all the other pieces of paper, creating a seamless seam along all the edges.
 I stamped a sentiment from the B04 stamp set from Norsk Stempelblad AS using Papertrey Ink Scarlet Jewel ink and added a couple of Papirdesign enamel dots as a finishing touch.
 I mailed my card along with a small Christmas present for my secret Santa contribution at Copic Norge. I used another Norsk Stempelblad AS stamp set to stamp GOD JUL on the gift tag. Very simple.
 You’d think I’d use very few colors on such a small image, but no 😉 Considering 7 of these are for the skin alone, it’s no wonder I always use lots of markers!
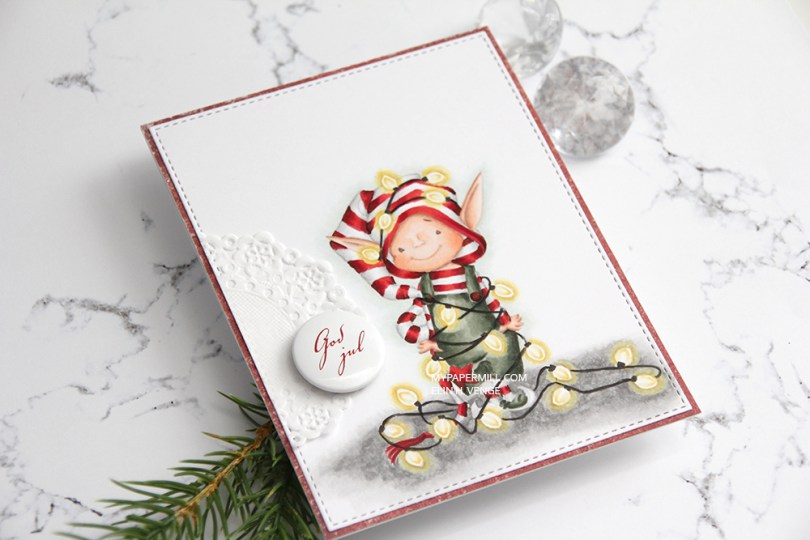
 I went for a no lines version, which is my preferred Copic technique, it makes the image come to life much more than a black lined version ever could.
 I die cut my colored piece with a faux stitch rectangle die from My Favorite Things. I added a red piece of Maja Design patterned paper to my card front and glued my elf panel on top, effectively creating a 1/16″ red frame around my image.
 I wanted to keep the focus on the cute little elf. The best way to do that is to keep it super simple and subtle. I added a piece of a Doodlebug Design mini doily before gluing on a Papirdesign button that says Merry Christmas in Norwegian. That’s it.
 This is a pretty mail friendly card, the only thing that adds a little bulk is that button, everything else is glued on without any dimension.
 I try being good at showing the Copics I used, but sometimes I forget. This time I didn’t.
 I used the largest of the dies from the Stitched Rectangles STAX 2 set from My Favorite Things to diecut the panel with my little guy, just for some subtle detail.
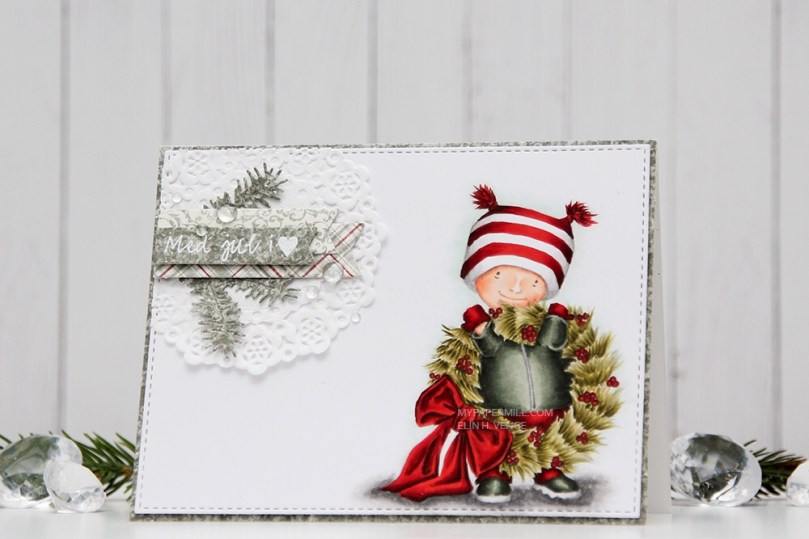 I covered the front of my card panel with a green piece of patterned paper and mounted my faux stitches colored panel with some low foam tape.
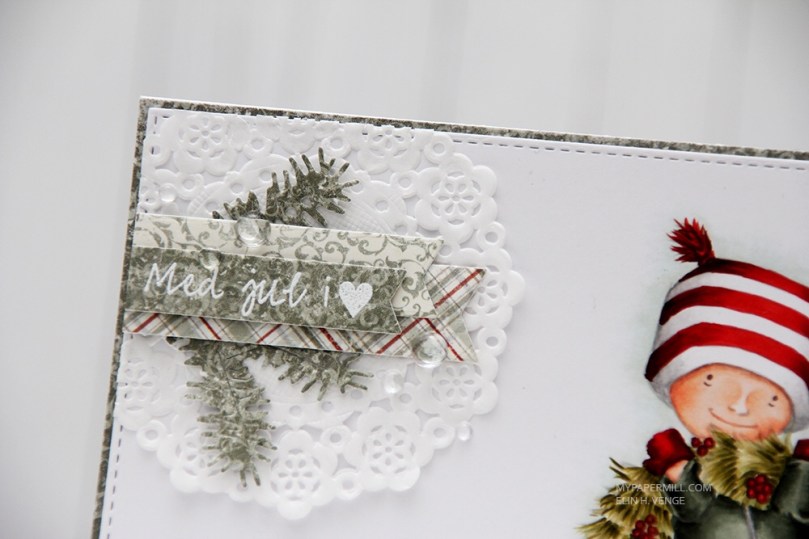 In the top left corner I made a very typical Elin cluster. I started with a Doodlebug Design mini doily for some softness, and made sure I didn’t glue it down completely. The little lift you get by not glueing it down is just enough. I diecut a few branches from that green patterned paper with a couple of CraftEmotions dies, a few banners with a die set from My Favorite Things and stamped a sentiment from Norsk Stempelblad AS that I white heat embossed. I finished with a few raindrops from Little Things from Lucy’s Cards.
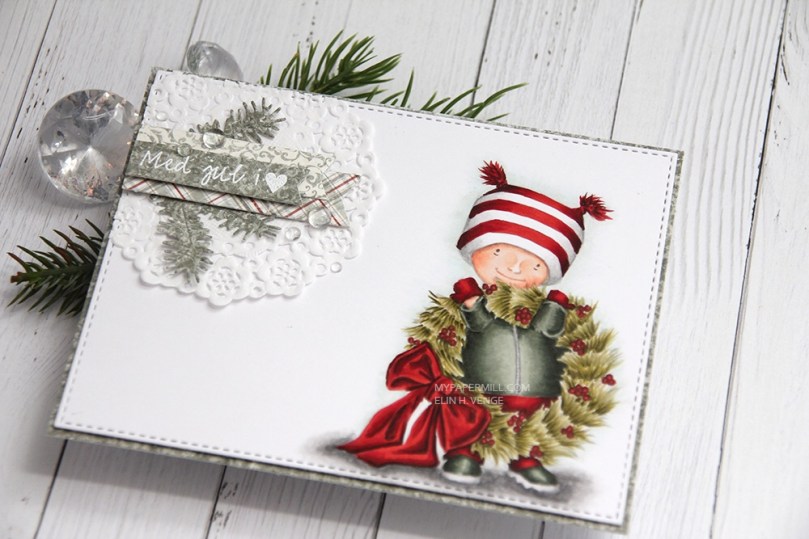 Mostly green and white, with a little hint of red. I’m not a huge fan of red for Christmas, but the combo of this deep brown based red and this grayish, blueish green works for me.
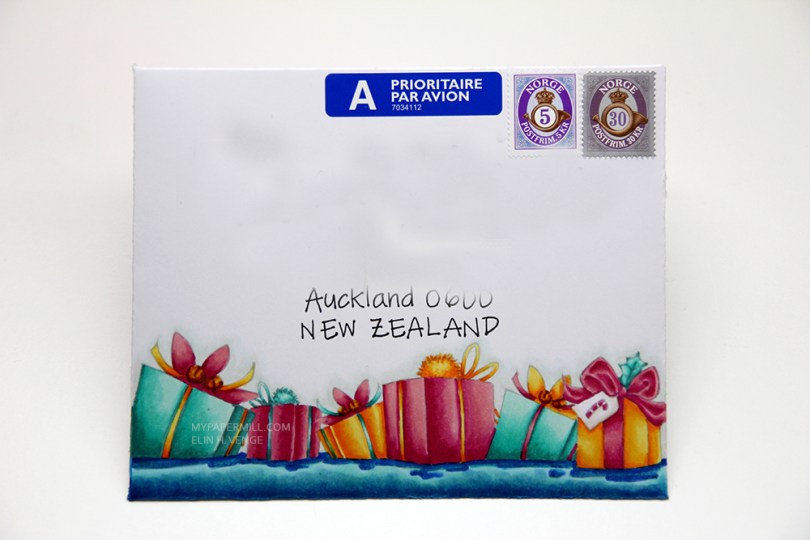
 I resized, flipped and merged the presents from
  Another look with the card next to it. I like how it all matches, not that I tend to do that with my Christmas cards!
 I put together the floating presents and the image itself from Mo Manning’s
  I used a stitched rectangle die from My Favorite Things to cut out my panel, glued it to a Hawaiian Shores cardbase from Papertrey Ink and added a simple cluster with a sentiment. The cluster is made from a Doodlebug doily, a pink Maja Design monochrome banner, a scrap of yellow patterned paper from Papirdesign and a sentiment banner made using a scrap of patterned paper from Studio Light. I realized after I’d glued my banners on that I hadn’t cut my sentiment banner on the one end like I normally do, so my banners are a little longer than normal, but once I realized they were already glued down, and I was not about to start over. I added a few clear crystals from Little Cards by Lucy, and that’s my card for today.
 Lots of colors used on this one, even though it might not look like it.