
Hi, crafty friends. I’m back today with a simple card featuring Hot Air Balloon from Rachelle Anne Miller. I’ve used this image before, but this time, I flipped it. The little girl faces left in the original image, and one of the advantages of digital stamps is that it’s easy to create a mirrored image.
 I printed my image on X-Press It blending card and colored it with Copics. I chose a soft blue green for the balloon itself, and vibrant colors for the florals to make them pop. Using the largest die in the Blueprints 27 die set from My Favorite Things, I turned my image into a panel with a nice scalloped border with faux stitching, put lots of foam tape on the back and mounted it to a card base I covered with a quarter sheet of Wildberry cardstock from Concord & 9th.
 I die cut hello from the Blooming Delight die set from Altenew four times from white cardstock and once from Wildberry cardstock, stacked all the layers together and adhered my sentiment, before finishing with a few opal gems from Spellbinders.

Quite a few Copics for this one.
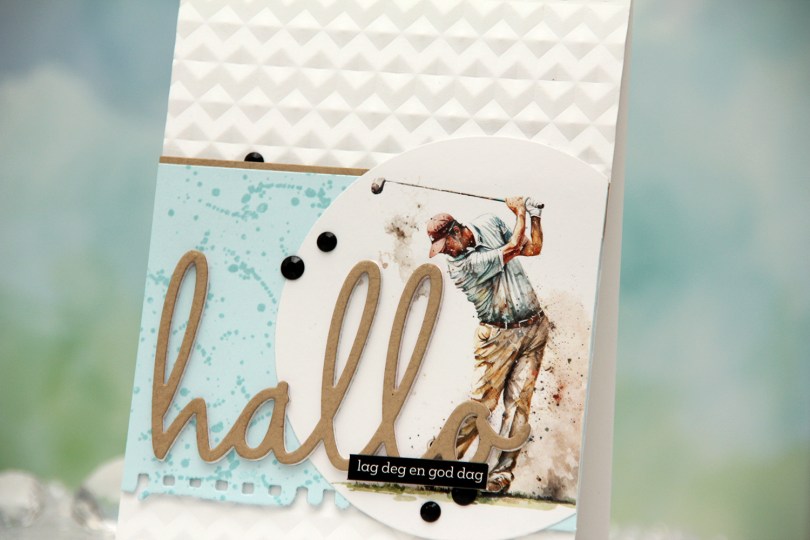
 I die cut my golfer using a basic circle die and decided to use the colors in the image for the elements of my card. This is always a good idea if you want a cohesive design. I die cut a torn paper edge from Powder cardstock from Concord & 9th, before stamping a small background stamp repeatedly across the panel using Powder ink. The image has spatters on it, and I figured this would mimic that. The tone on tone stamping creates a little bit of interest to the blue cardstock without being too distracting. I adhered a strip of Wheat cardstock, also from C9, to the top of the blue panel to give it a more defined edge against the white card base, before adding a couple of layers of cardstock behind it for dimension. I adhered it to a top fold card base I dry embossed using the Angled Mosaic embossing folder from Altenew. This creates a bit of textures and adds interest without distracting.
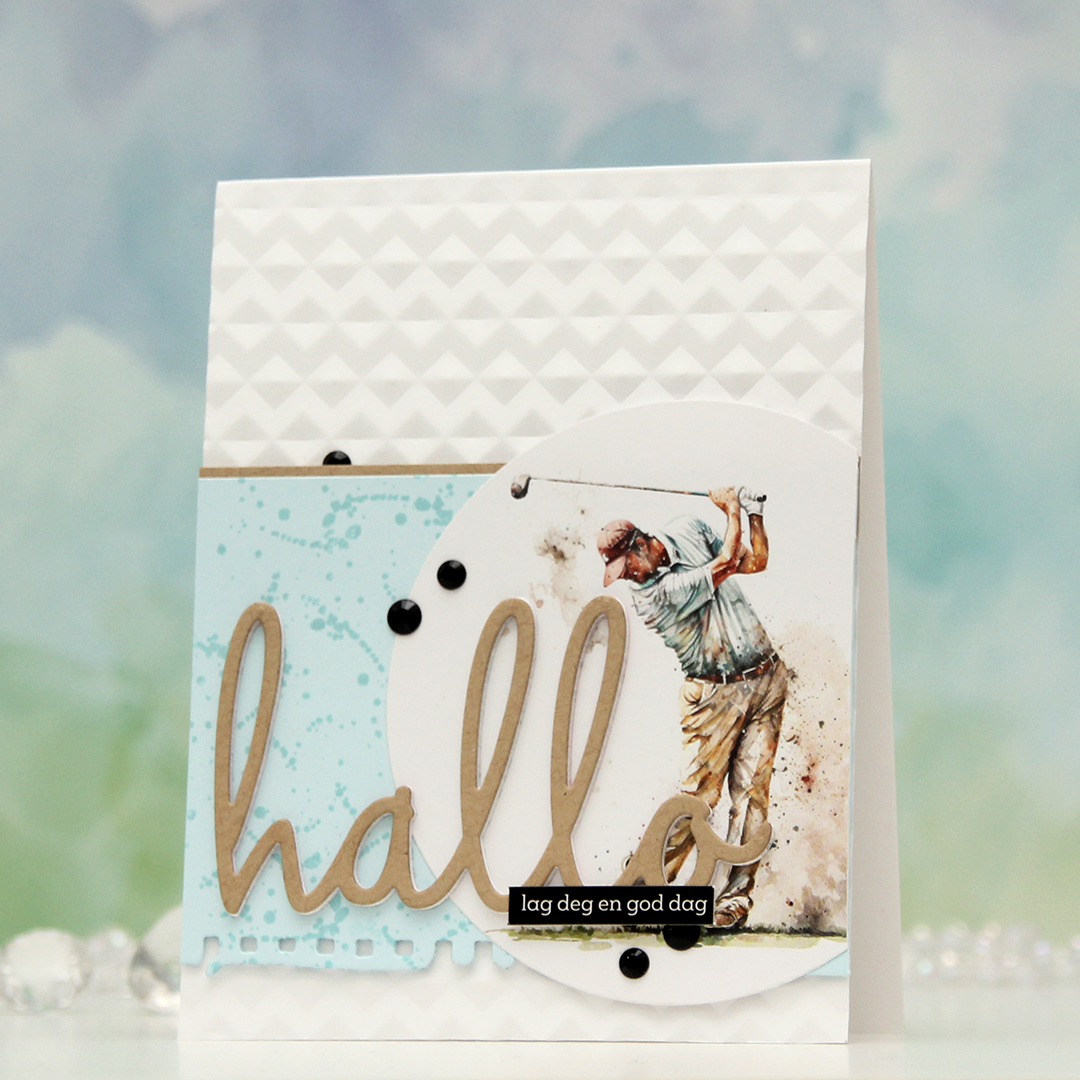 I glued my circle onto the blue cardstock, lopped off the excess and adhered a stacked die cut word on top. I die cut three layers from white cardstock and one from Wheat cardstock. To finish off the card, I added a black sentiment sticker strip and a few black crystals in different sizes.
 I colored the image with my Copics before cutting out a couple of quick masks for the deer and bunny. I ink blended a soft blue circle behind them, using the Watercolor Circle stencil from My Favorite Things and ink (Harbor ink from Concord and 9th) that was left on my light blue blender brush from my last project. Using a die in the Additional A2 Layers die set from Waffle Flower, I cut my panel down, added four layers of cardstock behind it for dimension and put it aside while I worked on the rest of my card.
 To a top fold white card base, I adhered a piece of patterned paper from the Watercolor Wash 6×6 paper pad from My Favorite Things and added my stacked panel in the center. Using a die from the Sweet Sentiments die set from Altenew, I die cut for you twice from white cardstock and once from the patterned paper. I stacked the die cuts and glued my sentiment right above the deer. The green patterned paper is very soft, but by stacking the die cuts, the sentiment still stands out a little. I added a bit of black Glaze pen to the eyes and finished off the card with pearls from the Fresh Mint mix from Little Things from Lucy’s Cards.
 Limited color palette for this one, it came together fairly quickly.
 I colored up my image with Copics, before stamping on top of the black lines with Obsidian ink from Altenew to darken up the lines even further. I fussy cut the image, leaving a bit of white trim around the edges, then put it aside while I worked on the rest of my card. Using the Snow Drifts Cover-Up die from My Favorite Things, I die cut three segments of the die from three shades of blue cardstock (Cornflower, Lazy Day and Blue Breeze, all from My Favorite Things). Even though it’s a snow die, it totally works for waves, I think. I inked up the top of each die cut using matching inks (Cornflower and Lazy Day from MFT for the darkest and middle color cardstock, Harbor ink from Concord & 9th for the lightest). I added ink splatter to all three using Cornflower ink and also Concord & 9th White. I adhered them to a scrap of cardstock to make them work as one die cut instead of three separate ones.
 I used the Ray of Light stencil from My Favorite Things to ink blend yellow ink onto a piece of Stamper’s Select White cardstock from Papertrey Ink. I used Harvest Gold ink from Papertrey Ink, and added a little bit of Sunshine ink from Simon Says Stamp near the top for a little more intensity. I then used what I had left on my ink blending brush to cover the entire thing, I didn’t want the background to be stark white, and this worked beautifully. I added ink splatter once again using the Sunshins ink, cut the panel down and stamped a sentiment from the
  I used a very limited color palette for this one.
 I used the panda peeking out from behind a fence or a wall or whatever you’d like it to be, as well as the bamboo. I used the bamboo multiple times to create a “wall” of bamboo behind my panda. I created mirrored versions so they wouldn’t all look the same, and I made sure to make them different heights. I erased the bottom of the bamboo so they’d end at the horizontal lines going out from the paws of the panda. Once I printed my image, I used a 0.35 Copic multiliner to extend the horizontal lines, making it look like a wall. I colored in my image, making sure to use a couple of green combos for the bamboo leaves for a little bit of variety.
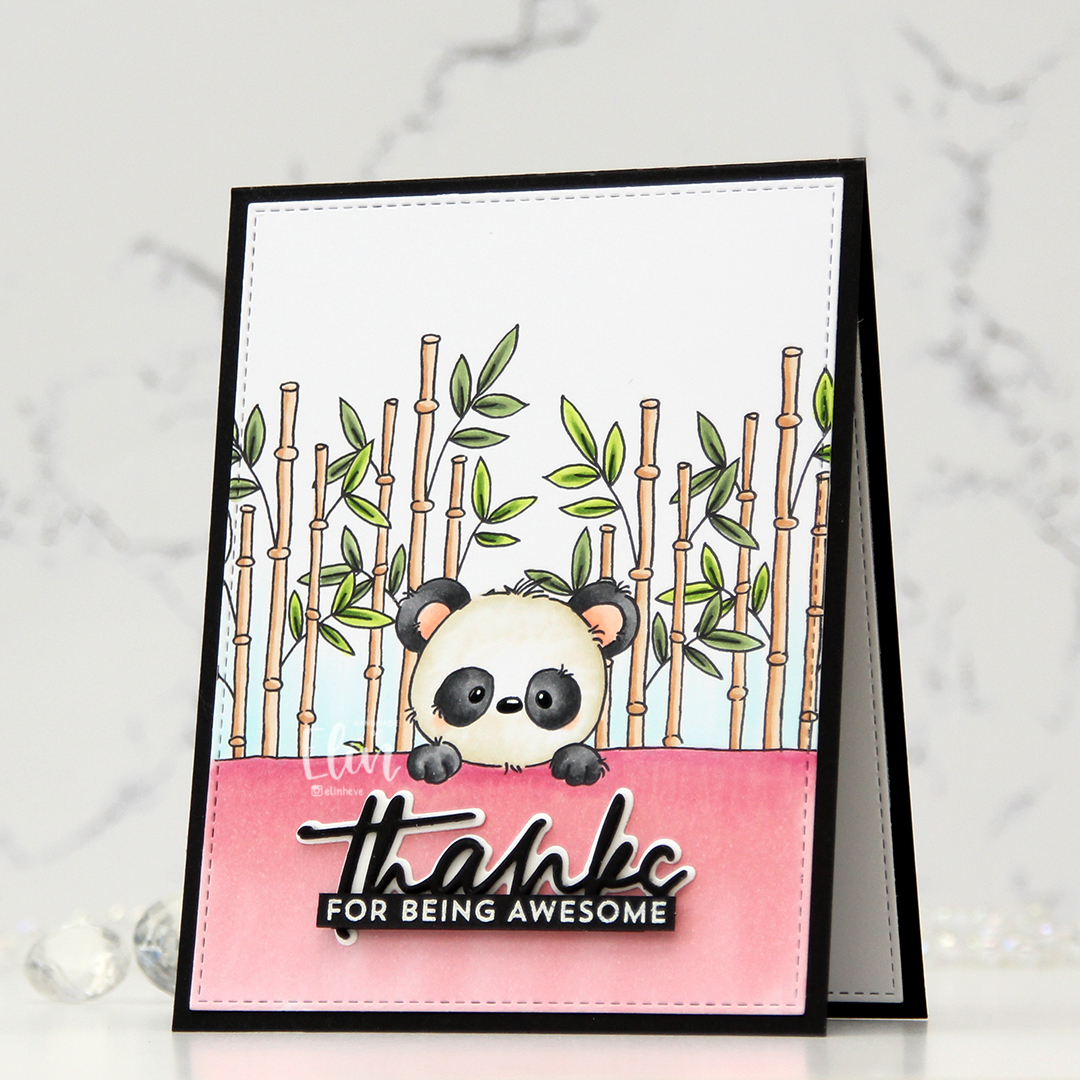 I used the largest die in the A2 Stitched Rectangle STAX Set 2 die set from My Favorite Things to create a nice faux stitch border around the edge, before adhering it to a black card base I created from True Black cardstock from Papertrey Ink. With my pink wall, I felt like I had to make a baby card, but I didn’t want to, so I opted for the black. I used the Sweet Sentiments die set from Altenew to die cut my thanks word. I stacked three black die cuts for dimension and die cut the shadow from Stamper’s Select White cardstock, also from Papertrey Ink. I rarely use shadow dies, but I knew I was going to white heat emboss the rest of the sentiment, so I figured it would work. I also tend to pop up my sentiments, but actually adhered this one flat down onto the card. It still has dimension because of the stacking. I stamped and white heat embossed a sentiment from the Bitty Thanks & Gratitude stamp set from My Favorite Things, cut it down to a strip and adhered it on top of my stacked die cut. I put an extra strip behind it for a little bit of strength. I also added a black glaze pen to the eyes and nose, before going in with a white Gelly Roll 05 on top once the black was dry. This adds some shine to my little panda. I decided not to add any embellishments to this card, which is really rare for me.
 Not a ton of colors used for this one. I used E81 and the blender with the tip to tip technique to color the “white” fur.
 I colored my raccoon with Copics, deciding to go with a triadic color combo of primary colors for his paints and accessories. I obviously used green for the grass, but the rest of this is all red, blue and yellow. I used the second largest die in the Watercolor Rectangle STAX die set from My Favorite Things to give it a playful, loose look on the edges, then used the Say Anything stencil, also from My Favorite Things, to ink blend a speech bubble using Harvest Gold ink from Papertrey Ink.
 In the speech bubble, I stamped a couple of sentiments from the Mini Messages & More stamp set from My Favorite Things, using Obsidian ink from Altenew. I took the various ink splatter stamps in the same stamp set and stamped in various colors across my panel, to amp up the crafty feel of the card. I used Watermelon, Harbor and Dove inks from Concord & 9th, as well as more of the Papertrey Ink Harvest Gold color that I used for the ink blending. Onto a card base I created from Cement Gray cardstock from My Favorite Things, I added some strips of cardstock to break the lines in my design. I used Watermelon cardstock from Concord & 9th, Blue Breeze from My Favorite Things and Harvest Gold from Papertrey Ink. I added my panel in the center using foam tape, and finished off with a few sequins from the Starry Night mix from Little Things from Lucy’s Cards. I actually also used a black glaze pen to create shine and a tiny bit of dimension to the eyes. On the raccoon, I also used a dot of white Gelly Roll 05 to each of the eyes once the black was dry.
 I used a fairly small amount of Copics for this one.
 I stamped and masked
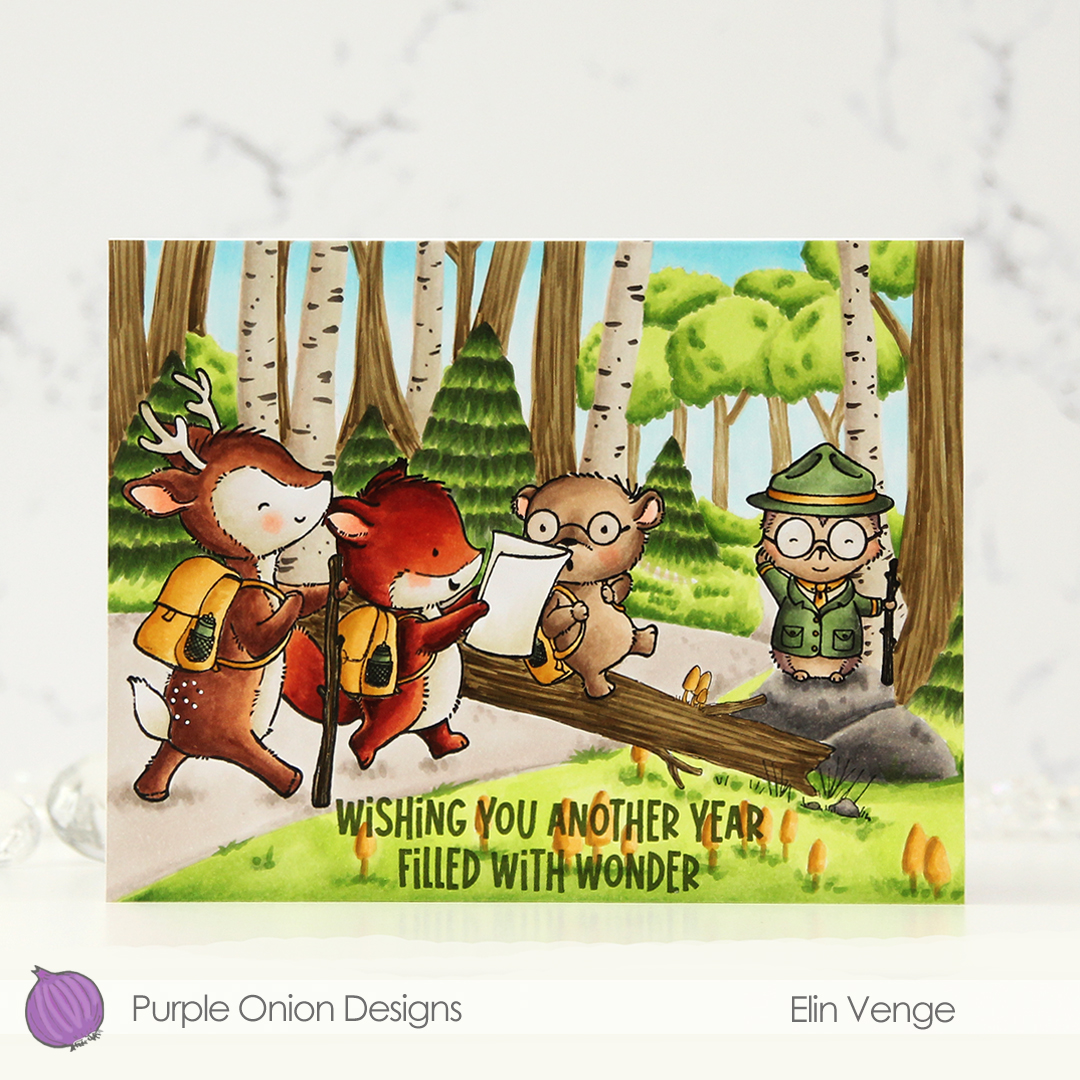
  Once all my coloring was complete, I stamped on top of my critters, this time using Obsidian ink from Altenew. This is a very crisp pigment ink, and it makes the critters really stand out, but it’s not Copic friendly, so all the coloring needs to be complete when doing this. To finish off, I stamped a sentiment from
  Lots of Copics for this one.
 I printed my image on a quarter sheet of X-Press It blending card and colored it in. I stamped the word friend from the Mini Messages stamp set from Mama Elephant using Obsidian ink from Altenew. The sentiment actually says hello friend across two lines, but I masked off the top row so I’d have friend isolated. I adhered my panel to a top fold card base and used a black glaze pen to add some shine and a tiny bit of dimension to the eyes of the bunnies, the girl and the cute little bird.
 Onto a scrap piece of X-Press It, I scribbled RV34 across a section large enough to die cut from. The Sweet Sentiments die set from Altenew is such a great one, I love that these dies create small words that don’t take up too much real estate on a card. I backed my colored die cut with two white ones for a little bit of dimension and added it at somewhat of an angle right above the stamped part of the sentiment. This also served to cover up a booboo. Somehow, I was able to spill a tiny little drop of juice from a peach (note to self – don’t eat in the craft room), and the sentiment covers it nicely. I finished off the card with a triangle formation of sequins from the Starry Night mix from Little Things from Lucy’s Cards.
 Simple, subtle color palette for this one.
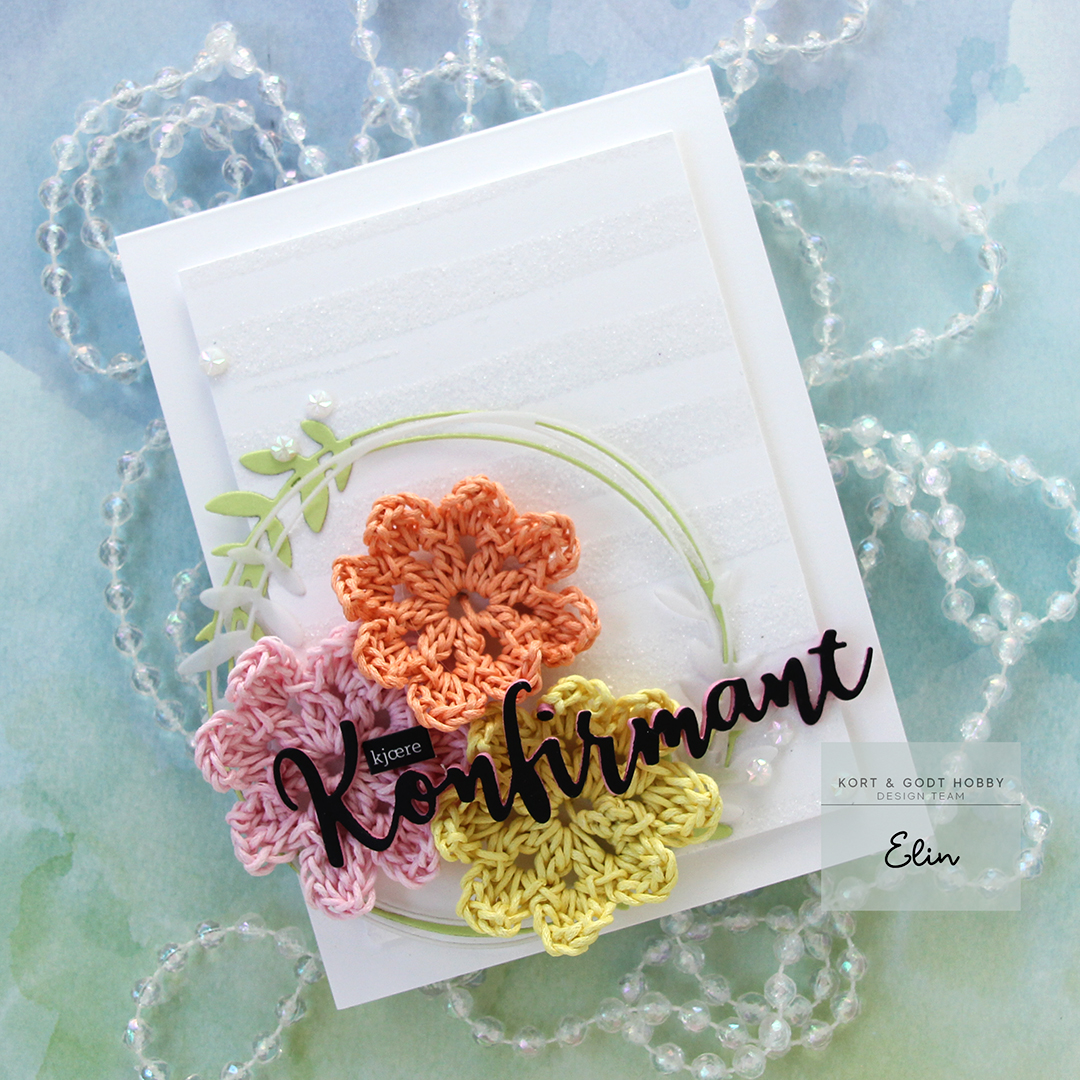
 This card started out with me playing with the cotton thread from Kort & Godt. I wanted to something with it besides tying it in bows, and crocheting came to mind. I crocheted three flowers in different colors, and that was my starting point. I created a subtle background using the Watercolor Stripes stencil from Altenew with VersaMark ink, Sticky embossing powder and Distress Glitter in the Rock Candy color. This gives a soft tone on tone sparkle on the white cardstock and doesn’t distract too much from the flowers. I thread the flowers through to the back of the panel, used some tape to hold the thread down on the back and mounted it using foam tape onto a top fold white card base.
 I die cut the leaf circle die twice; once from vellum (I used Heavyweight translucent vellum from My Favorite Things), and once from Sprout cardstock from Concord & 9th. I offset them a bit, and used small amounts of liquid glue to adhere them to the card. I also die cut Konfirmant a few times from pink cardstock and adhered them together for a stacked, dimensional look. Once I added my die cut to the card, however, it got lost, so I die cut a layer from black cardstock from Papertrey Ink and glued that on top. That did the trick. I used a sentiment sticker to complete the sentiment and added some faceted pearls as a finishing touch.
 This was a fun way to use the cotton thread, and I still have heaps more!
 I created a fun water scene with
 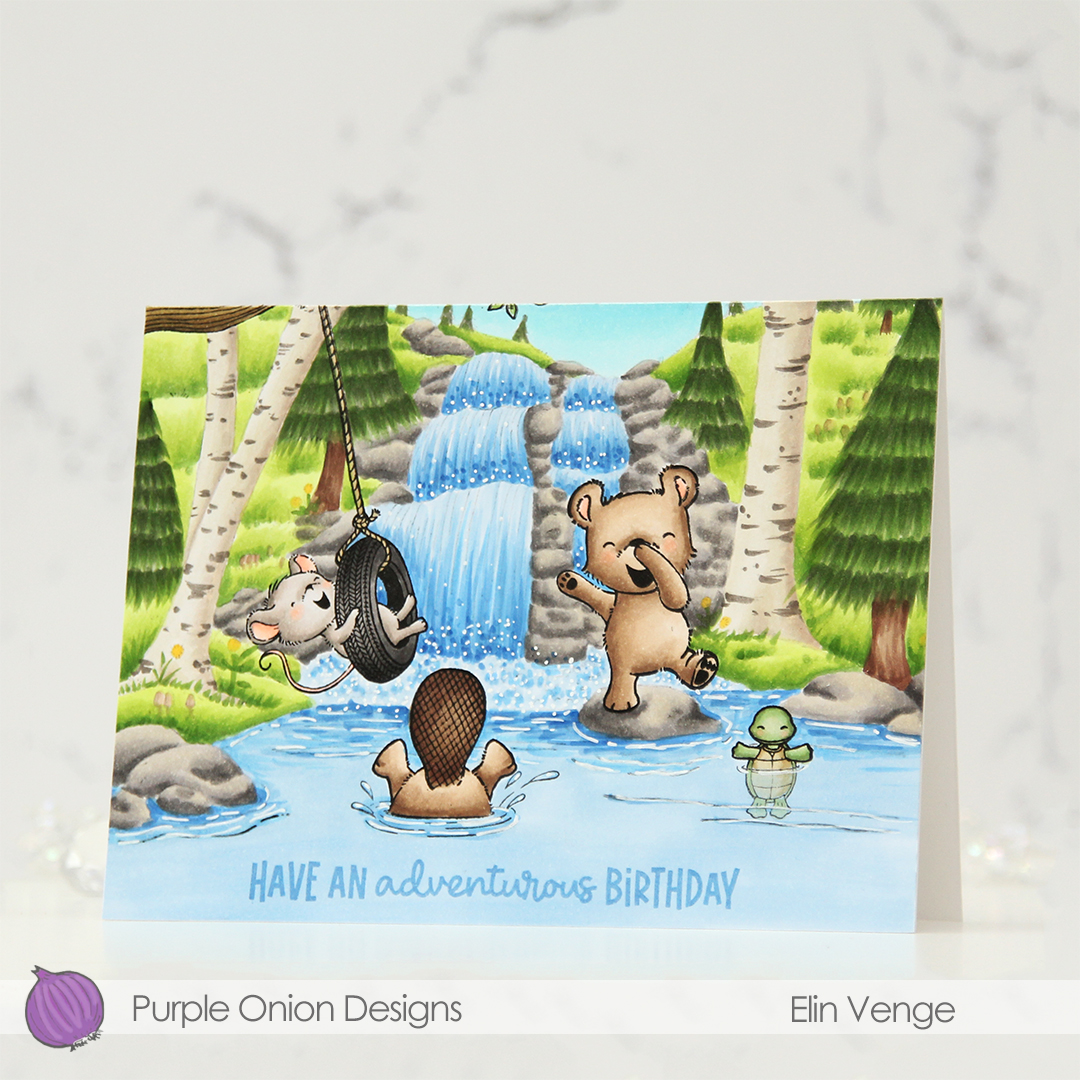 I stamped a sentiment from the coordinating
  Considering I colored the entire card front on this card, I don’t think I used too many markers.
 Papirmølla