
Hi, there. I have a super simple birthday card to share today, featuring the Turtley Awesome digital stamp set from Streamside Studios. This card is actually part of an Instagram hop, so if you head over to Instagram and hop along, you’re in with a chance to win some prizes. Who doesn’t like prizes, right?
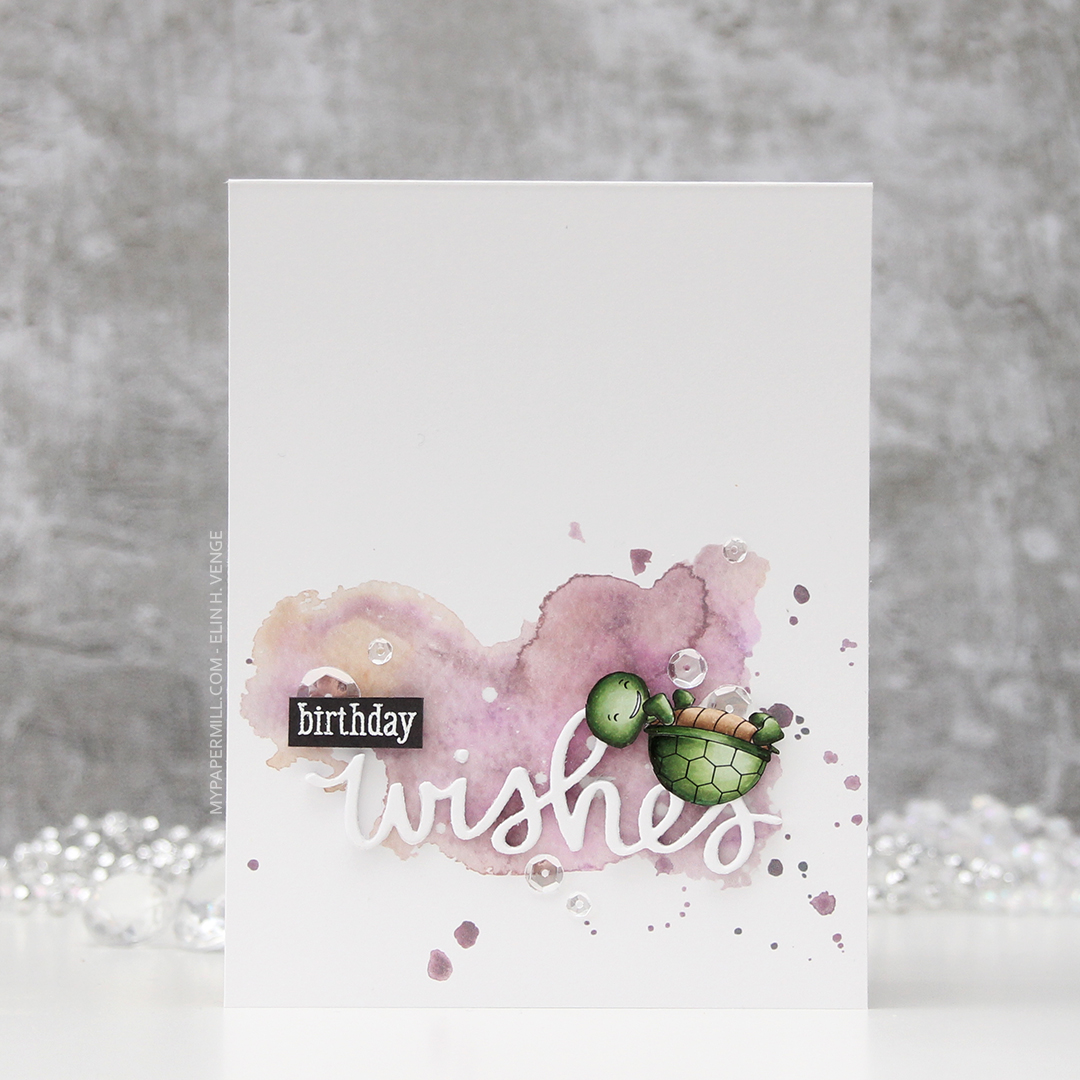
I colored two of the tortoises (the other one’s on the inside of the card) and fussy cut both. I printed one of the watercolor splashes from Lili of the Valley at 50 % opacity straight onto the card base. I love the watercolor look, but hate getting inky fingers, and this way, there’s no drying time, and I can use my nice white cardstock and not have to rely on the more yellow watercolor paper.
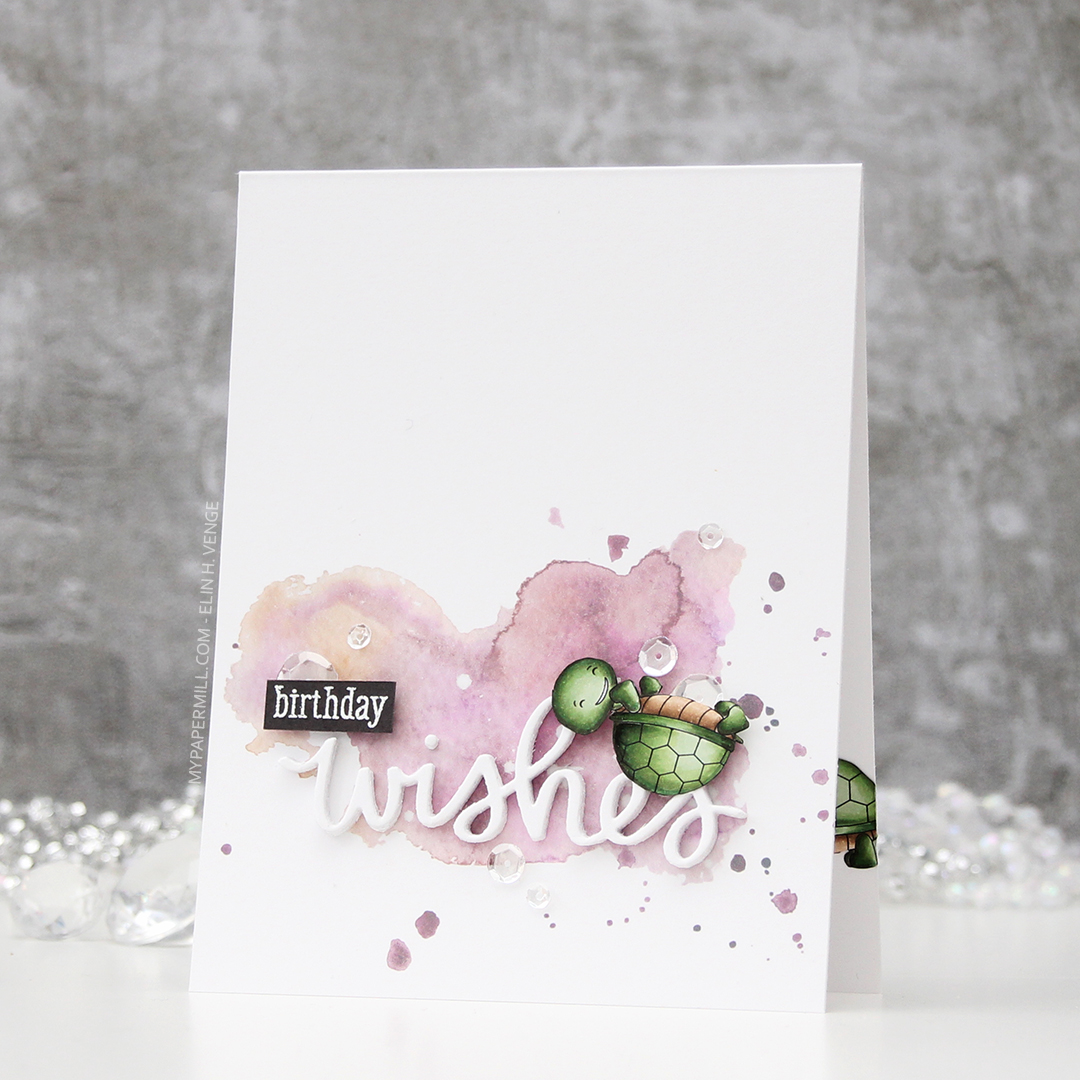
Here you can see a little of the tortoise I glued to the inside of the card. On the front, I added a stacked wishes sentiment (die from Mama Elephant). It’s six die cuts thick for some real dimension.
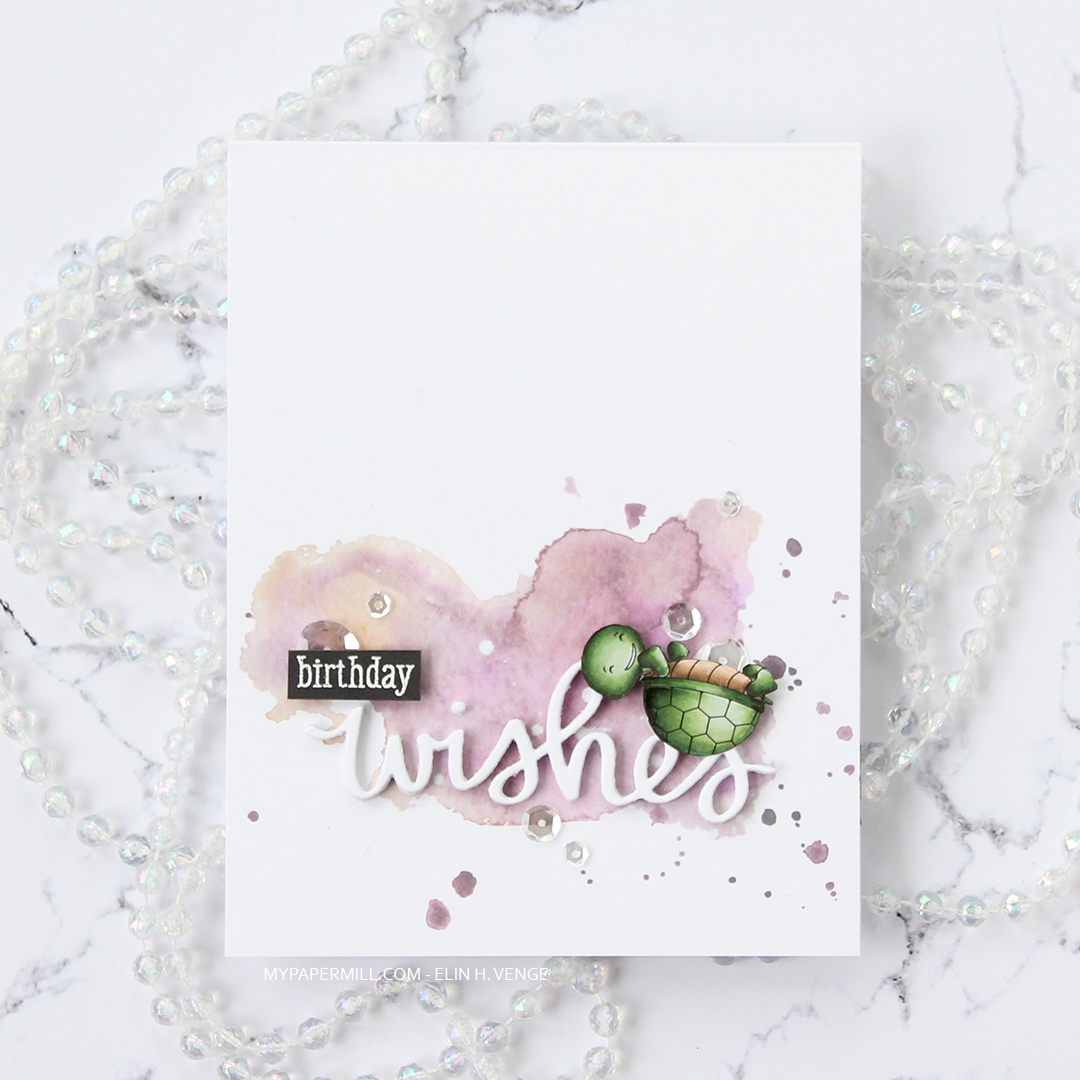
I stamped and white heat embossed part of a birthday sentiment from a Simon Says Stamp/Concord and 9th Stamptember collaboration set onto a piece of Smokey Shadow card stock from Papertrey Ink, mounted it on foam tape and adhered it above the w.

To finish off the card, I added some sparkling clear sequins from Pretty Pink Posh. It’s a great mix of sequins in four different sizes, I really love using them on my cards.


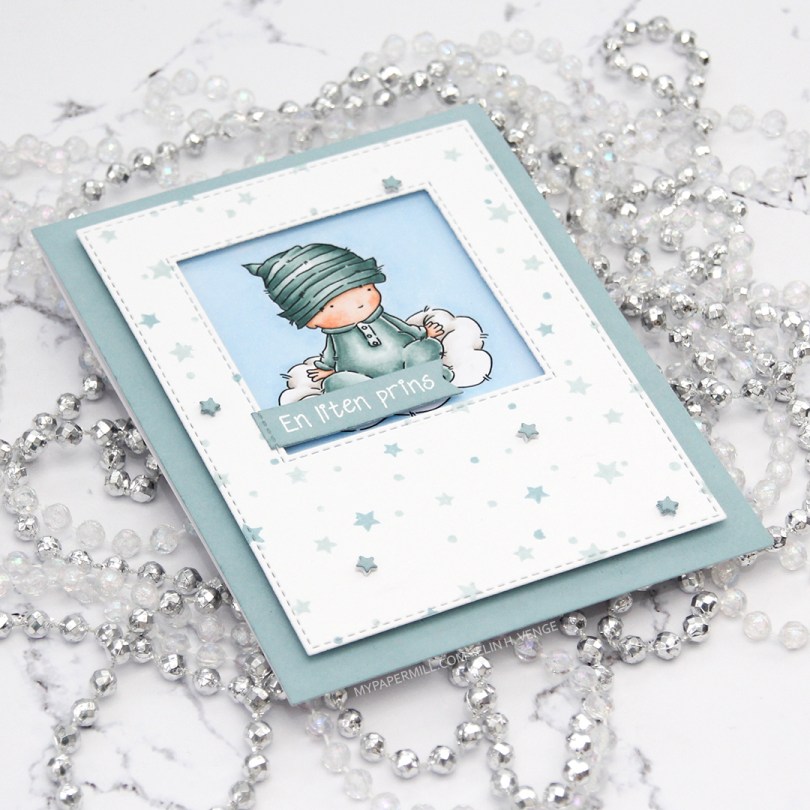
 I had the beginnings of a plan before I started coloring this cutie, and knew that I wanted a window of sorts for the image to be sitting in. I traced a square die onto my panel before I started coloring, so I knew how large of an area I needed to fill in beyond the baby and the cloud.
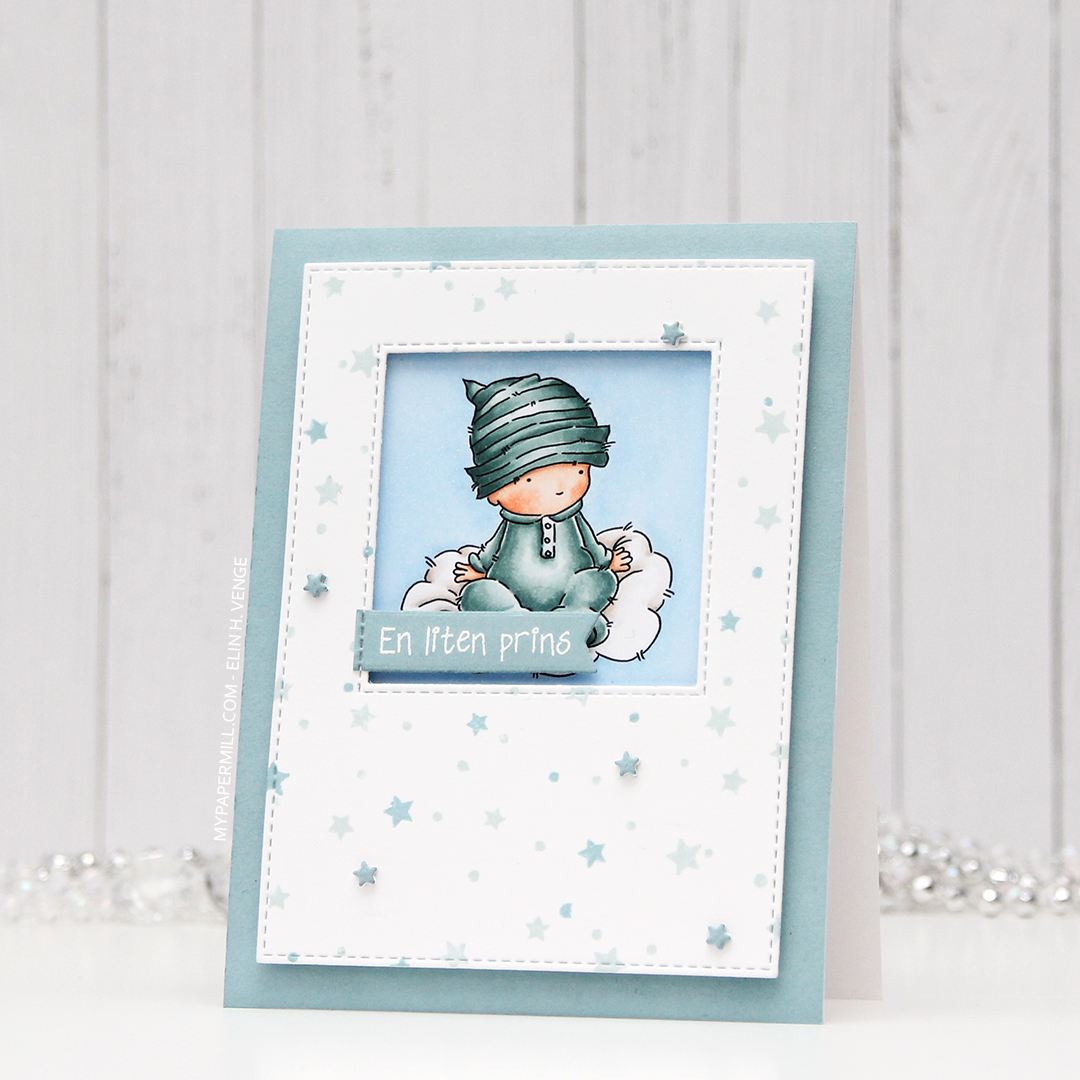 Using the Star turnabout stamp from Concord & 9th along with Misty Morning and Cloudy Sky Ink from Altenew, I was able to create a quick panel of scattered stars in colors that matched my colored image. Using dies from two die sets from My Favorite Things, I turned my panel into one with a window and nice faux stitching along the edges. I really like the look of the faux stitch lines that many of the MFT dies have. Other companies have faux stitching dies too, but there’s something about the length of the stitches, the distance between them and the adjacency to the edge of the MFT ones that make them a favorite of mine. I put foam tape on the back of my stamped star panel, making sure to center my image in the window.
 I didn’t have any card stock colors that fit my stamping and coloring perfectly, so I went direct to paper using the Cloudy Sky ink from Altenew onto a quarter piece of white lettersize card stock. I adhered that to a white top folding card base made out of Stamper’s Select White card stock from Papertrey Ink, which is the same card stock that I use throughout (except for the colored image, which is on X-Press It blending card, the only paper I use for Copic coloring). Using another die set from MFT, I die cut tiny little stars and stacked some scattered around on the stamped star panel. I stamped and white heat embossed a Norsk Stempelblad AS sentiment onto a scrap piece of my dyed card stock, before using a couple of additional dies from MFT to turn it into a banner. I love my MFT dies!
 Limited color palette. For the sky, in addition to B21, I used B20, which is a color I’ve made myself. I also used BG71, another color I’ve made, for the clothing on the baby.
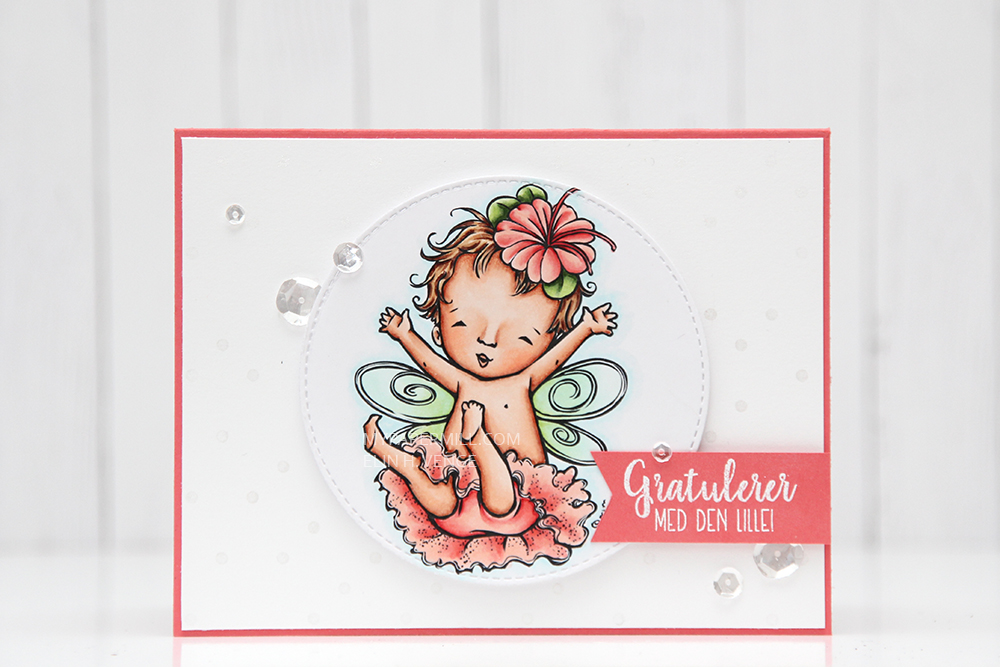 My card today features Cadi. She’s one of the fairies in the
 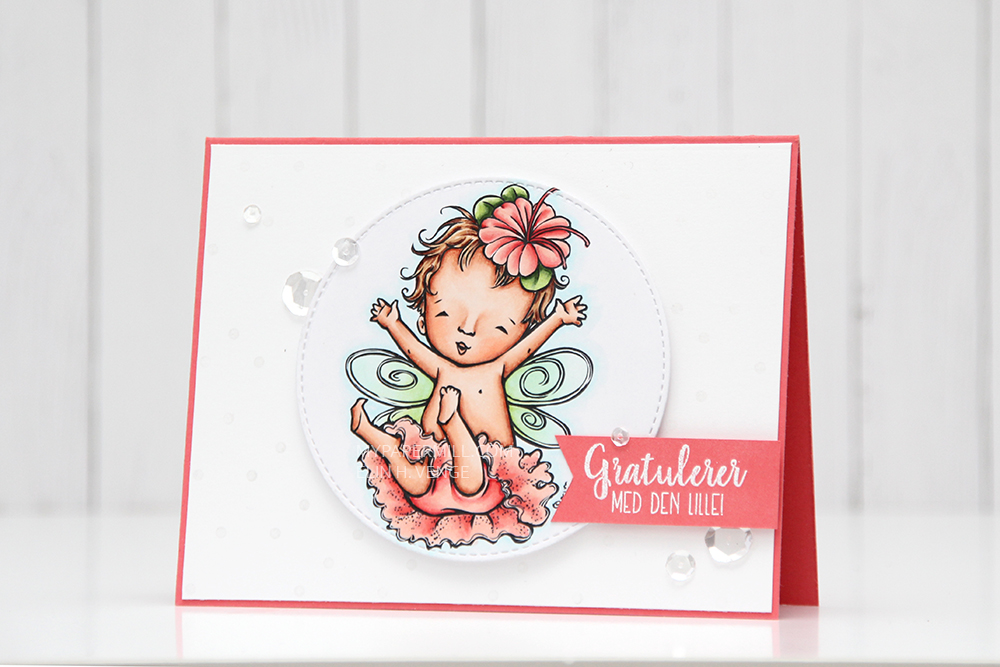 I stamped the polka dot turnabout stamp from Concord & 9th on my white background using VersaMark ink, before brushing Perfect Pearls pigment powder over. The result is a subtle shimmer on the polka dots. So subtle, in fact, that it’s hard to pick up in the photo.
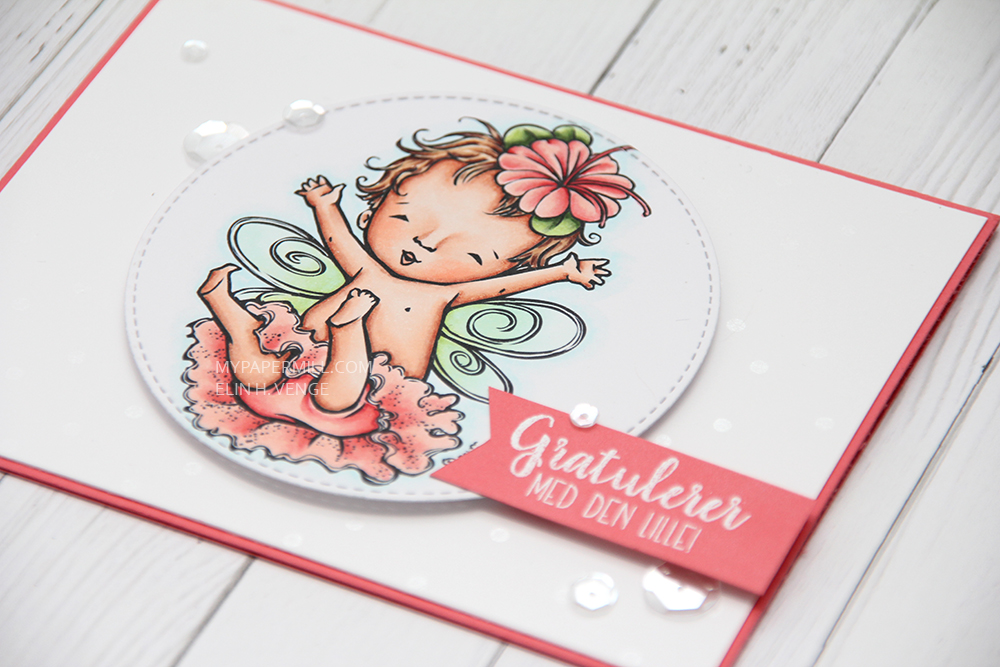 I glued my white background onto a cardbase I made from Melon Berry cardstock from Papertrey Ink and popped up my image using foam tape, before adding a white heat embossed sentiment from Huldra designstudio and a few Pretty Pink Posh sequins to finish my card.

 This time I chose
 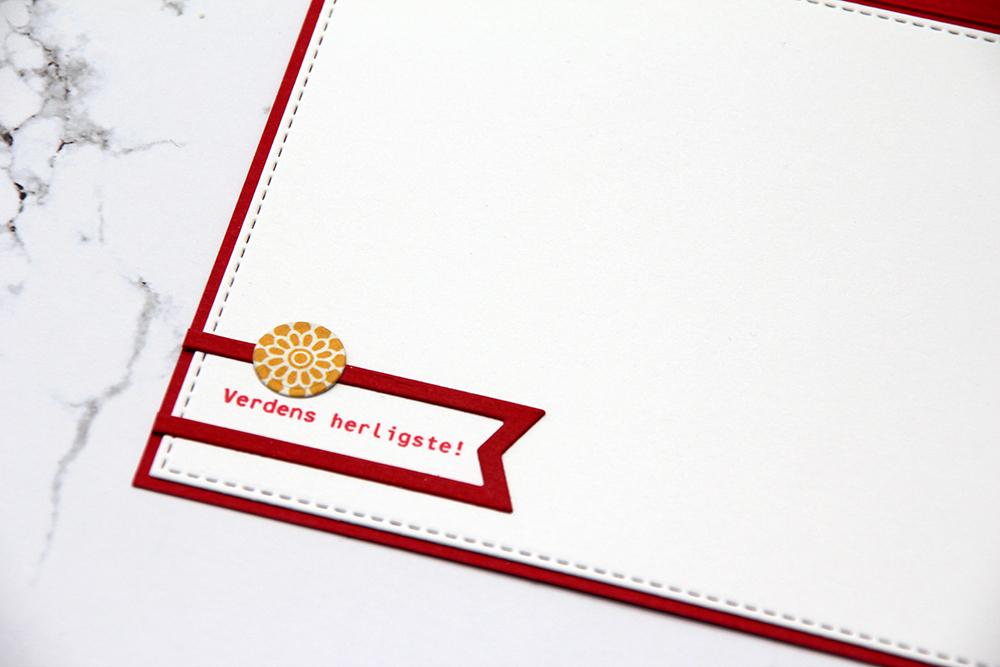 I wanted to embellish the inside, too, but make it very simple. I took the diecut frame left from the banner on the front and glued it to my white cardstock before stamping a sentiment in red. I diecut a small yellow patterned paper circle for an extra bit of detail, and that’s it.
