Hei og hopp! Ny uke med nye muligheter, og julen varer helt til påske, gjør den ikke det? Jeg later hvertfall som om det faktisk er tilfellet, med tre julekort med Huldra-stempler. Jeg har planer om å lage minimum tre julekort hver måned i år for å slippe stresset i november/desember, så jeg håper mine tilsynelatende enkle julekort kan inspirere andre til å lage julekort litt tidligere i år.

Det er ingen hemmelighet at jeg er svak for blå jul, så jeg starter med dette kortet. Her har jeg fargelagt julehunden og julekatten fra Julekatt og julehund-platen med Copics, før jeg har klippet begge ut. Snøfnuggene kommer fra Vinterdyr-platen og er embosset i sølv. På de utstansede bokstavene har jeg stemplet lyslenken fra Julebil-platen og embosset dem i sølv.

Jeg har laget snøbanker med diecuts satt på lave 3D-puter. Dyrene mine er også satt på lave 3D-puter, og bokstavene er tre lag høye, med snøbankene tilpasset så L-en og G-en skulle få plass.
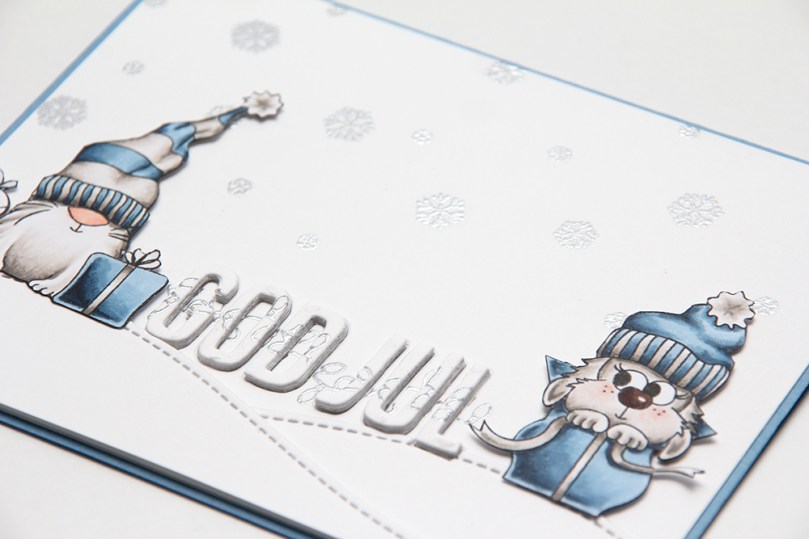 Her vises dimensjonen litt bedre.
 Neste kort ut er et rødt et. Jeg er vanligvis ikke overbegeistret for rød jul, men når jeg kan gjøre den om til en dyp rød og kombinere den med grått syns jeg det duger. Her har jeg brukt en dyp rød kortbase, og jeg har brukt en die til å stanse ut en sirkel med snøfnugg i hvit kartong. Motivet jeg har brukt kommer fra Juleramp-platen, og jeg har klippet henne ut med en tynn hvit kant rundt hele motivet. Det gjør at hun får litt kontrast til bakgrunnen på kortet, den hadde ikke vært like tydelig om jeg hadde klippet helt inntil kanten på motivet, siden jeg også har brukt rødt til å fargelegge henne med.
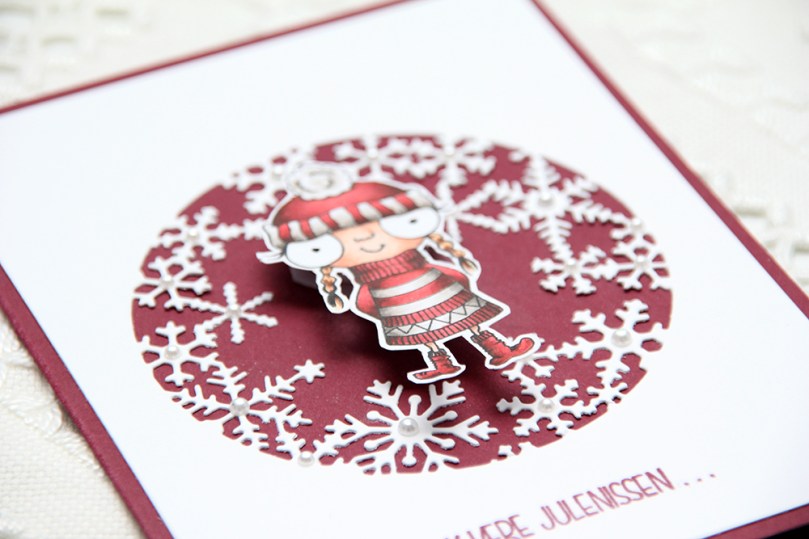 Med det hvite panelet limt rett på basen ville jeg ha dimensjon på en litt annen måte, så jeg klippet ned en stor action wobbler så mye jeg klarte og limte rampejenta på den. Det gjør at kortet får plass i en vanlig konvolutt, men wobbleren gjør at jenta spretter opp så fort kortet tas ut. Jeg limte på noen perler i midten av snøfnuggene for å pynte opp litt.
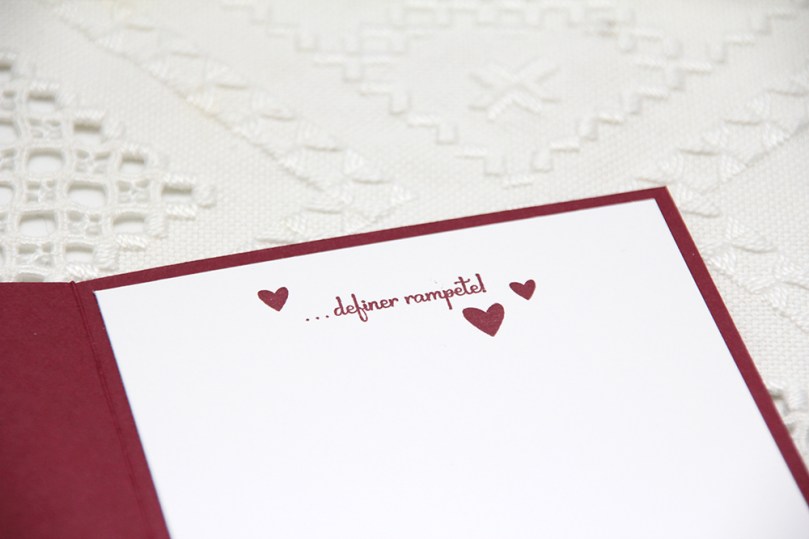 Med rampejenta på utsiden med teksten Kjære julenissen… måtte jeg nesten finne på noe inni også. Jeg stemplet …definer rampete med samme blekkfarge som kartongen jeg har brukt til kortbasen. Hjertene kommer fra Julekatt og julehund-platen.
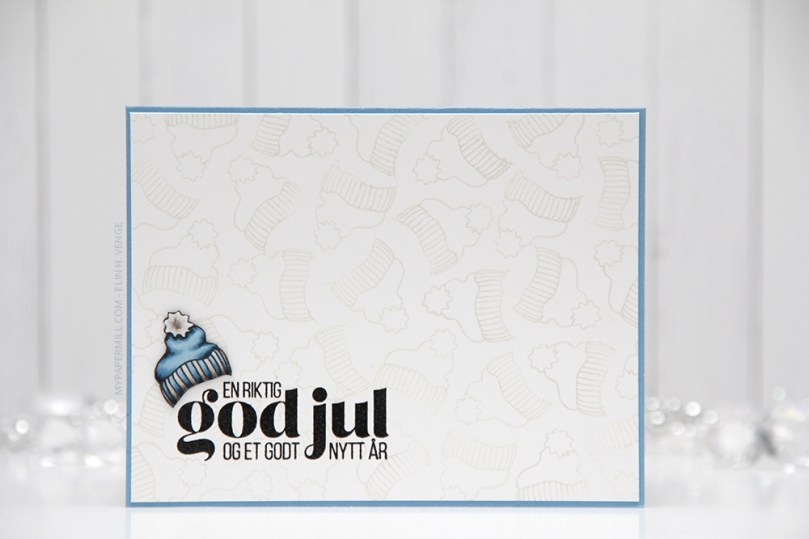 Det siste kortet ut er av slaget som ser veeeldig enkelt ut. Og det er det forsåvidt også, men det er mer tidkrevende enn man kanskje først skulle anta. Her har jeg nemlig først stemplet lua fra julehunden over et helt panel hvit kartong med lysegrått blekk. Det tar tid å maskere stempelet, legge på blekk, fjerne masken og stemple så mange luer, men jeg ble kjempefornøyd med resultatet, så det kan fint hende jeg gjør dette senere en gang også.
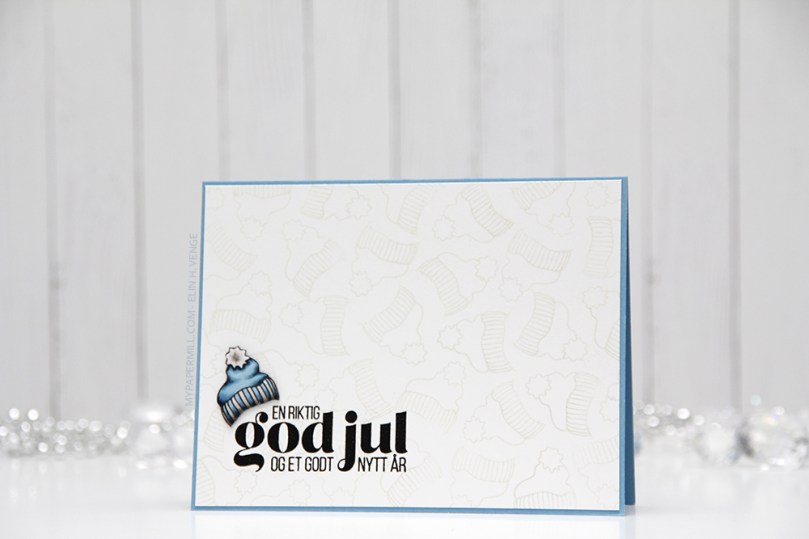 Jeg stemplet en tekst fra Julebil-platen med VersaFine Onyx Black og embosset med klart embossingpulver.
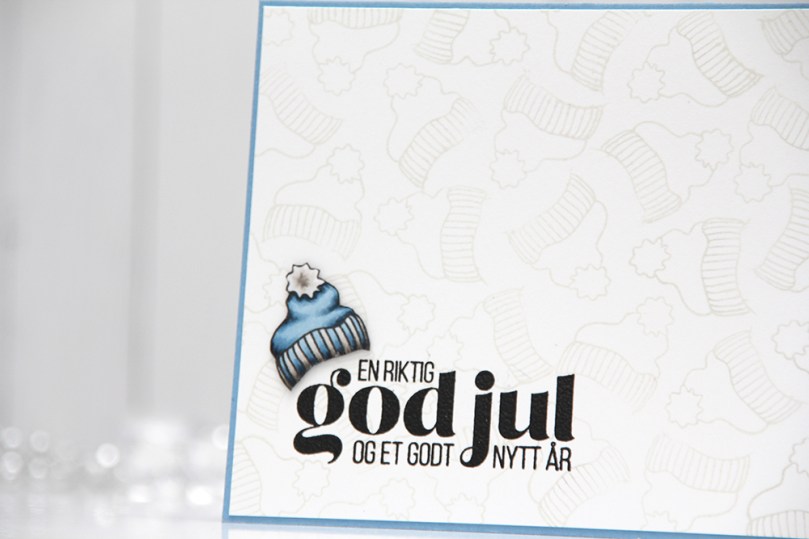
Den samme lua som jeg brukte på bakgrunnen fargela jeg, klippet ut og satte på lave 3D-puter, så den fungerer som en lue på snei på teksten.
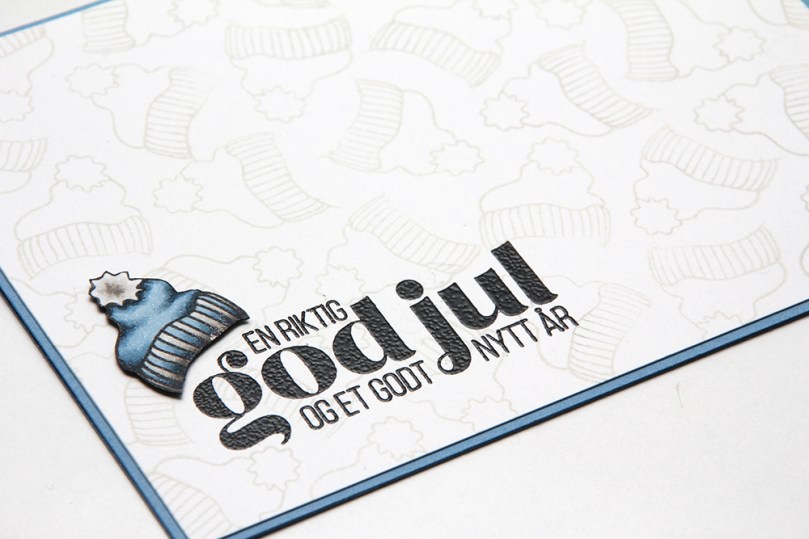 Jeg la på et tykt strøk med glitterpensel på lua for å pynte opp bittelitt. Her syns det også veldig godt at teksten er embosset.

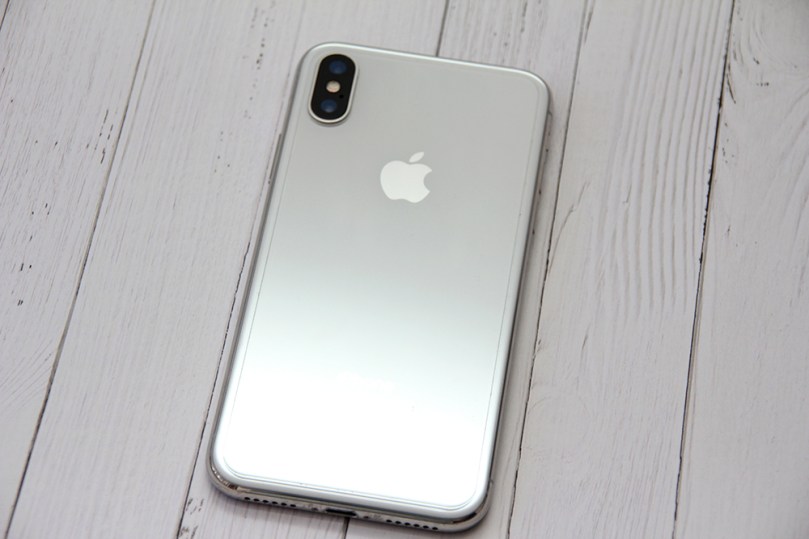 I recently purchased a new glass film set for my phone. The set comes with a front film and a back film. I got a crack in my previous front film and needed to replace it, thus the new set. The old back film is still perfectly fine, so I don’t have the need to replace that (at least not yet). I realized that the new back film was perfect to use as a template for whatever design I wanted. I get the nice rounded corners and the hole for the camera is in the right spot.
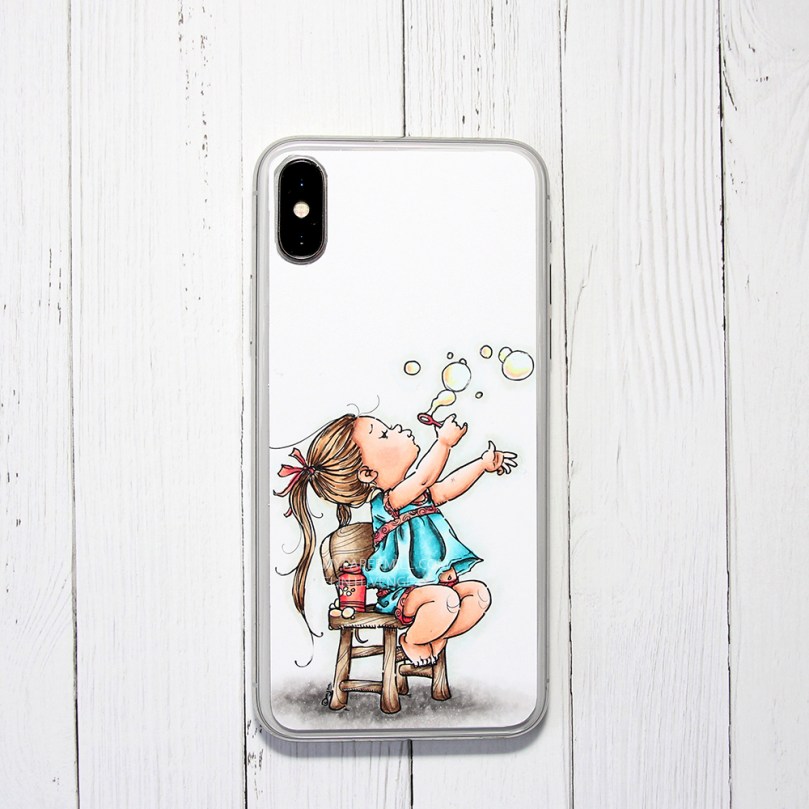 I’m longing for summer and warmer weather, so I decided that Bubbles Girl was the perfect image for the back of my phone. I printed her out in a size I thought would fit well, traced my back film around the image and started coloring. When my coloring was done, I cut it down to size, put a couple of glue dots on the back and attached it to the back of my phone.
 I have a clear silicone back cover that I put on top, and voilà – my phone is suddenly one of a kind. I guess I should get that front film on there. Even though I bought the new set a few weeks ago, both pieces are still in the packaging. There’s not exactly much protection on my phone when they’re not attached, I need to get to it!
 My card today features Cadi. She’s one of the fairies in the
 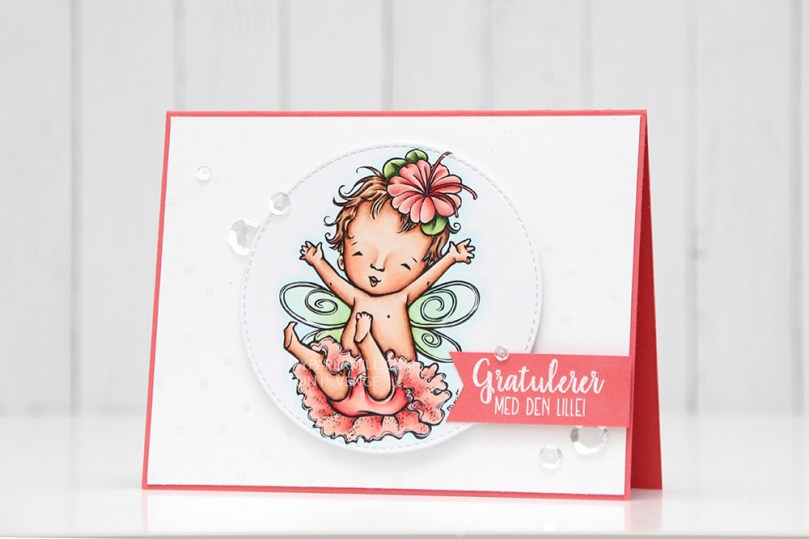 I stamped the polka dot turnabout stamp from Concord & 9th on my white background using VersaMark ink, before brushing Perfect Pearls pigment powder over. The result is a subtle shimmer on the polka dots. So subtle, in fact, that it’s hard to pick up in the photo.
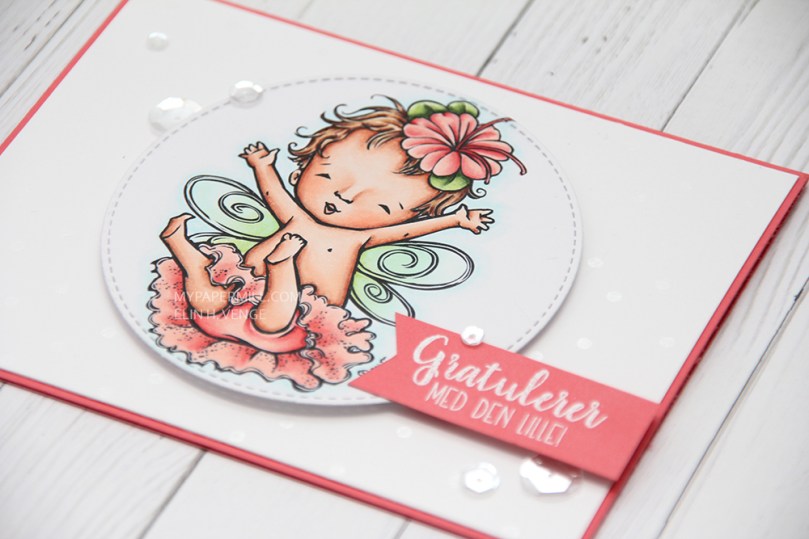 I glued my white background onto a cardbase I made from Melon Berry cardstock from Papertrey Ink and popped up my image using foam tape, before adding a white heat embossed sentiment from Huldra designstudio and a few Pretty Pink Posh sequins to finish my card.

 I colored my image years ago, so I have no idea which Copics I used. I added more contrast to the image at some point last year, but that doesn’t mean I remember any more. My memory’s pretty good, but not THAT good!
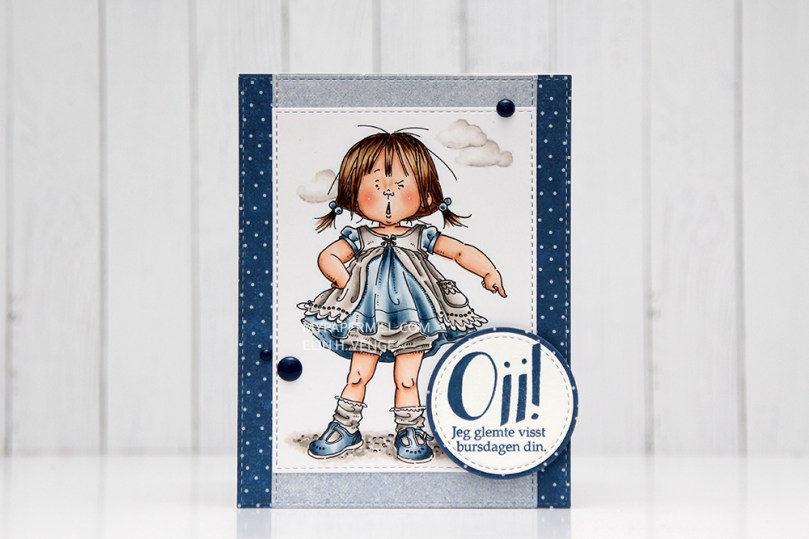 I rummaged through my blue scraps of patterned paper for this card. The dark blue one is from the Muligheter collection by Papirdesign, and the paler blue is from the Denim & Friends collection by Maja Design.
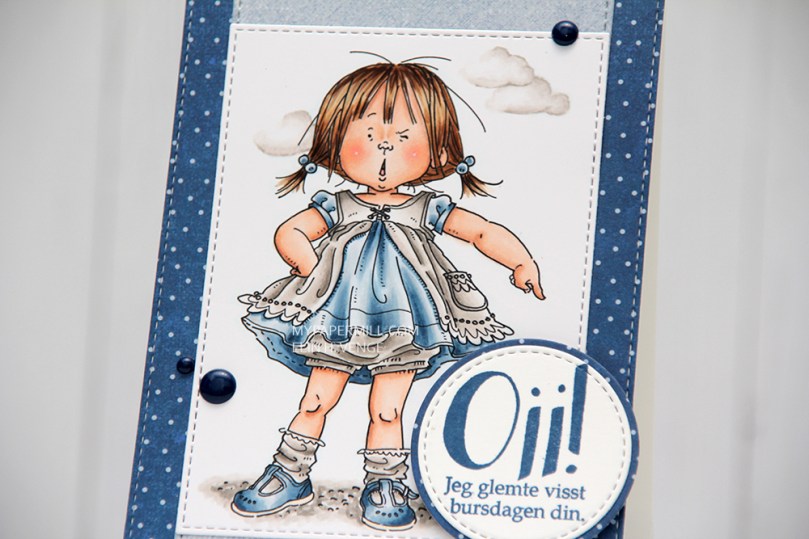 I chose stitched STAX sets from My Favorite Things (Stitched Rectangles STAX Set 2 and Stitched Circle STAX) to diecut all the panels on my card except for the blue circle I used as a mat for my sentiment, I used a Spellbinders die for that, it was the only “oddly” sized circle die I found in my stash, and it fit perfectly around my other circle with a 1/16″ border, which I happen to think is the perfect border size!
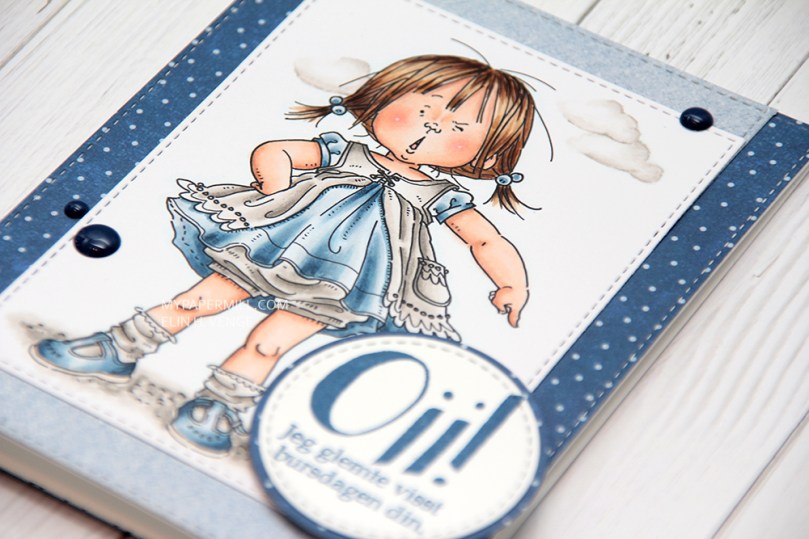 I glued my matted sentiment circle to the card using foam tape, and decided to add a few dark blue Papirdesign enamel dots to add more circular elements.
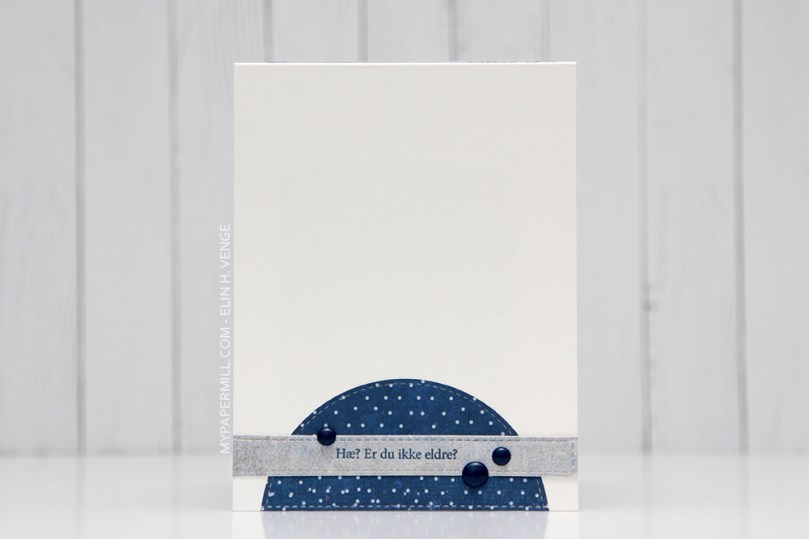 For once I decided to put something on the back. I don’t usually do that on my simple cards, but I really wanted to use that pale blue diecut strip I’d made, and I really love that Norsk Stempelblad AS sentiment (What? Aren’t you older?) that I stamped in Papertrey Ink Enchanted Evening ink.
 I colored her up on X-Press It blending card with my Copics. It’s been a while, so I don’t recall which Copics I used, but I’m guessing I chose the R80s for the pink and the E40s for the brown.
 I decided to diecut my colored piece using one of the rectangle dies from My Favorite Things with faux stitching. I also ran a white cardstock panel through a We R Memory Keepers embossing folder to give some interest to the background. I glued the dry embossed piece to the pink (Hibiscus Burst cardstock from Papertrey Ink) cardbase, and added my stitched rectangle on top of that with some dimensional adhesive.
 I needed a sentiment that matched my image, so I decided to go with a belated birthday greeting from a Huldra designstudio stamp set. I heat embossed the sentiment on some pink cardstock and diecut it into a banner using a die from My Favorite Things. I added another fishtail banner behind it in brown and popped them both up from the image with some dimensional adhesive.
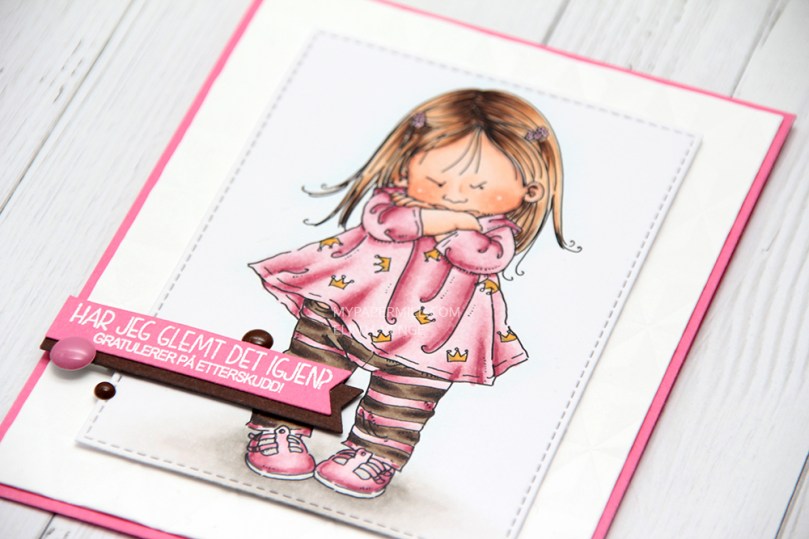 Here you can see the dimension, with the stitched rectangle popped up from the background, and the banners popped up from the stitched rectangle. I decided to add a few Papirdesign enamel dots as a finishing touch.
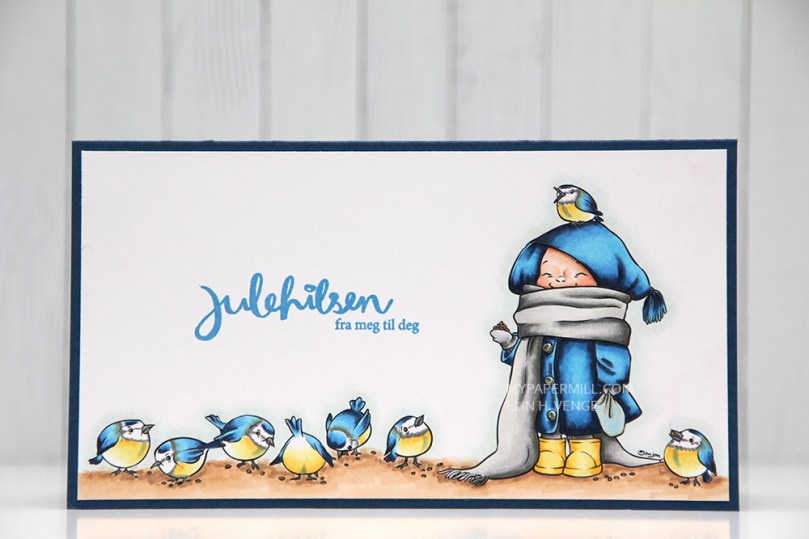 This card is large, it’s nearly 8 inches wide. Not what I normally do, but I really wanted to use all the birds.
 I stamped a Norsk Stempelblad AS sentiment in blue ink. I actually double stamped to get the right color. I used Salty Ocean Distress Oxide ink for my first stamping, and then Papertrey Ink Blueberry Sky on top. The combination matches the coloring of the images well, but looking at the photos, I’m thinking there’s a possibilty I should have gone with Enchanted Evening, which is the same color as the blue cardstock I used for my cardbase.
 The colors I used for my image. I actually used R39 to deepen my blues, it worked really well for that.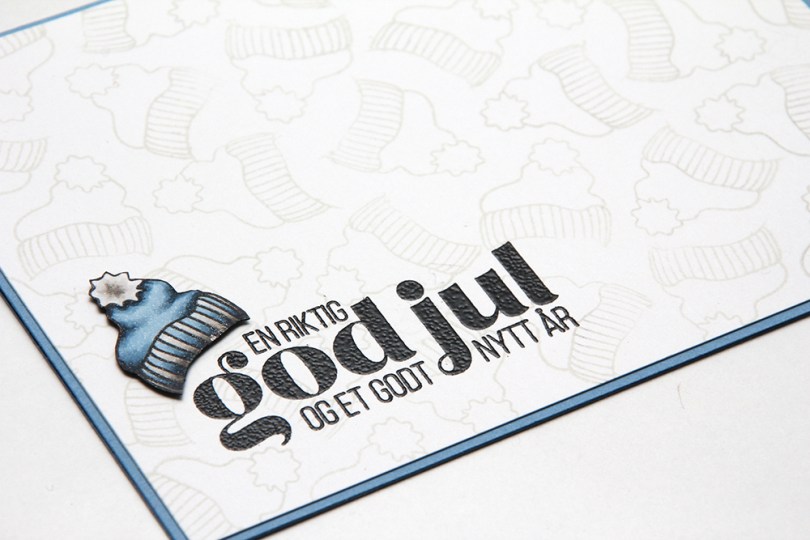

 I’ve colored up
 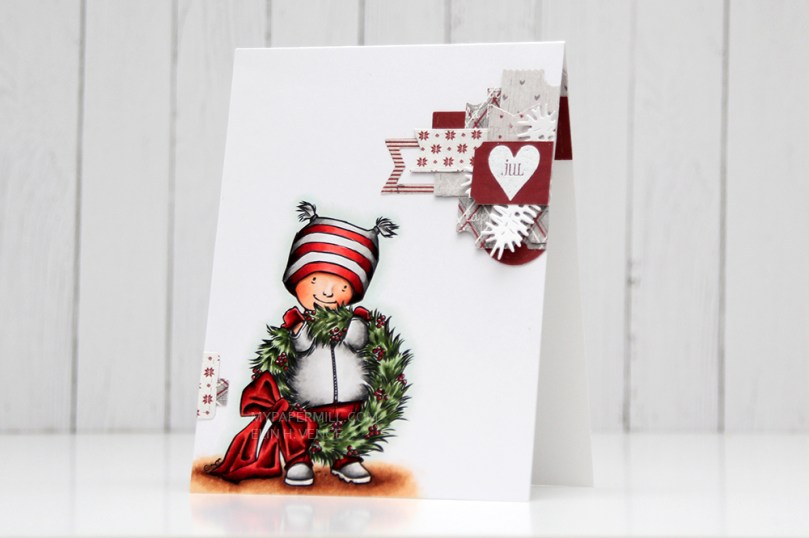 I diecut some scraps of Maja Design patterned paper from different Christmas collections and added them in a cluster in the top right corner. I’ve got Fröjdefull Jul, Home for the Holidays, and red monochromes from the Joyous Winterdays collection all in a neat little cluster, diecut with dies from Docrafts, Craft Emotions, and My Favorite Things.
 I white heat embossed a Norsk Stempelblad AS heart on one of the diecut pieces, and that’s my card for today.
 I’ll try to be better at including the colors I’ve used, so here they are.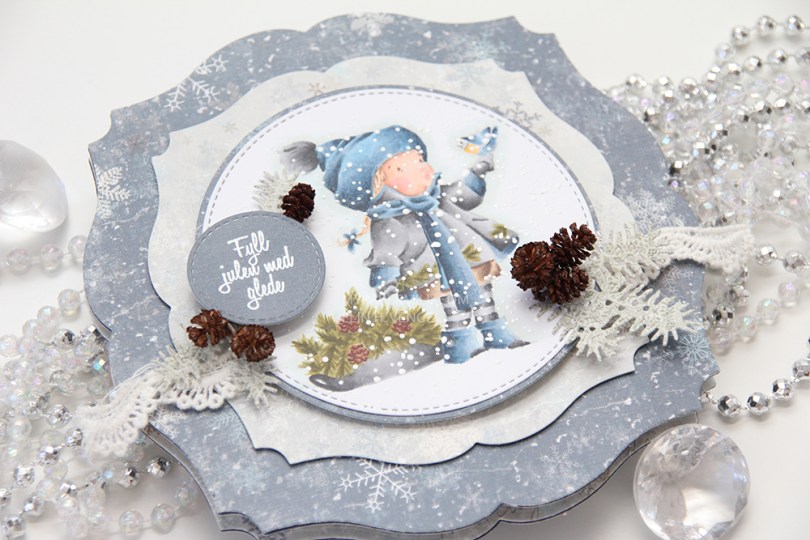
 I printed my image with a low opacity setting in Photoshop and did no line coloring with my Copics. I added chunky white embossing enamel for that wintery, snowy feel.
 The card itself is made by diecutting Maja Design patterned papers from last year’s Christmas collection, using a set of dies from GoKreate. The sentiment from Norsk Stempeblad AS is heat embossed, and I added tiny little cones I’ve picked myself.
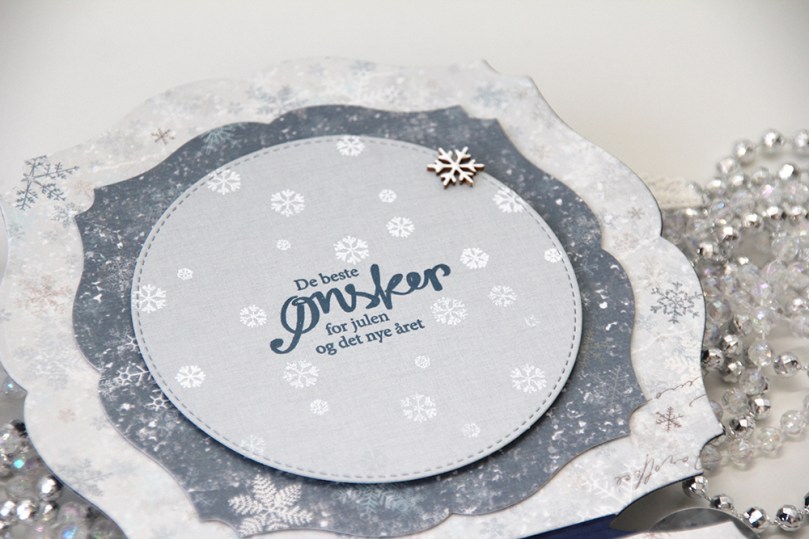 The insde has the same patterned papers, another Norsk Stempelblad AS sentiment stamped in Papertrey Ink Enchanted Evening ink, as well as some heat embossed Huldra designstudio snowflakes, and a Crafty Moly veneer snowflake that I also heat embossed.
 I did the same thing for the back of the card. Sentiment, heat embossed snowflakes and veneer snowflakes for that extra little bit of dimension.
 Jeg hadde basisoppsettet relativt klart i hodet da jeg startet. Jeg fant frem det som for det meste var rester av ark fra Summertime-kolleksjonen til Maja Design og et motiv fra Art Impressions.
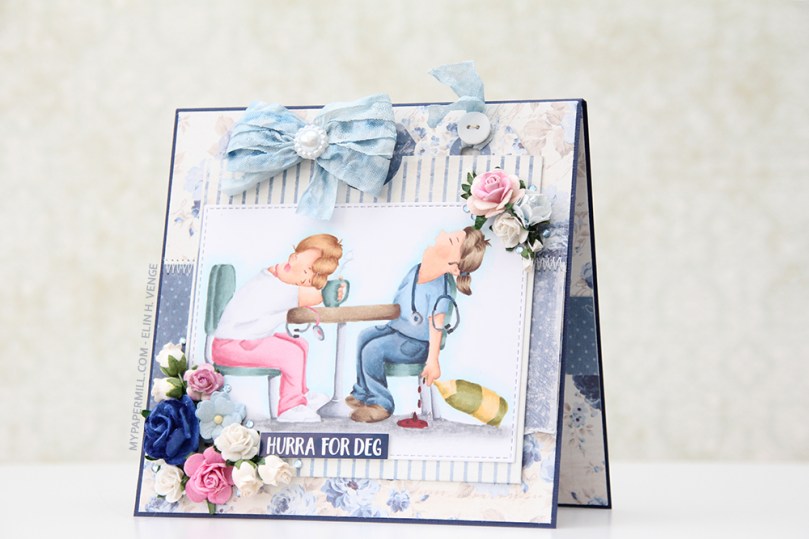 Jeg lagde kortet som et 6×6″-kort med bretten på toppen (det er egentlig 6 x 5 7/8″ for å få plass til rygg på 1/4″), noe jeg ofte gjør med disse lag på lag-kortene mine med fargelagte motiver. Jeg lagde en lomme med plass til et par tager, og motivet var så stort at det dekket mesteparten av lommen.
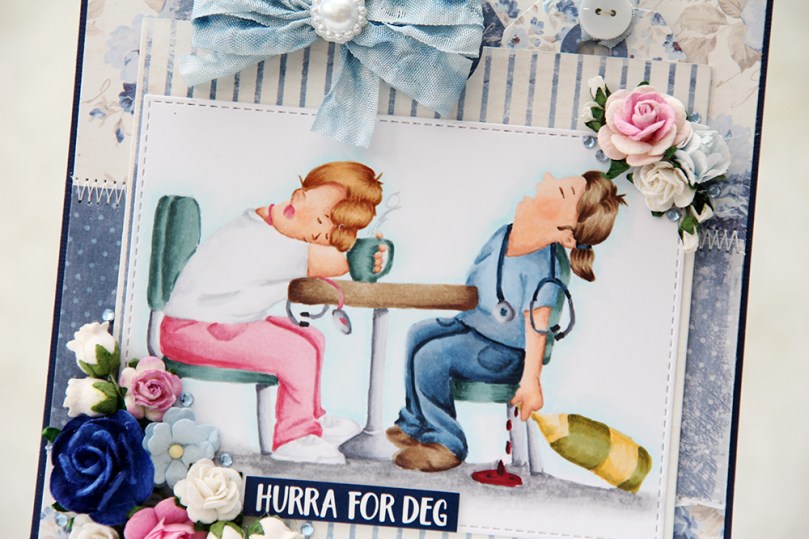 Motivet i seg selv er stemplet for å fargelegges med no lines-teknikk. Jeg maskerte bort noe av motivet. Sykepleieren til høyre holder nemlig egentlig i et krus. Jeg maskerte bort kruset og tegnet inn en vinflaske istedenfor, jeg skulle jo ha med vin på kortet. Selve motivet er fargelagt med Copics, og jeg har stanset ut det hele med en rektangeldie med juksesøm fra My Favorite Things. Det mørkeblå mønsterarket har også søm, nærmere bestemt sikksakksøm sydd på symaskinen øverst, og en rett søm nederst, så jeg kunne rive litt i mønsterarket og brette det litt bakover for bittelitt ekstra interesse.
 Jeg har pyntet med blomster fra Wild Orchid Crafts, Kort & Godt og North Star Design, samt noen blå diamanter, også fra Kort & Godt og et blått klistremerke fra Papirdesign som det står hurra for deg på.
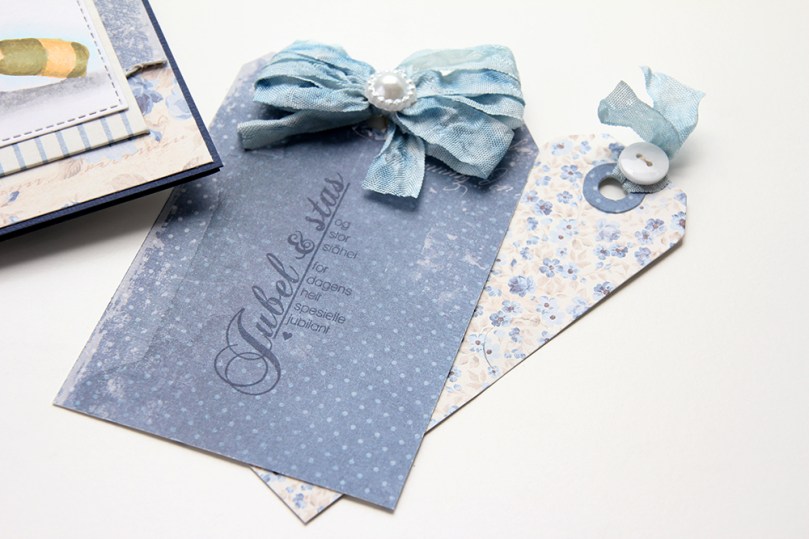 Tagene nedi lommen er stanset ut med dies fra Sizzix. På den mørkeblå har jeg stemplet et stempel fra Norsk Stempelblad AS med Enchanted Evening blekk fra Papertrey Ink. Den blomstrede tagen har en halvsirkel stanset ut på hver side, så det går an å træ en sammenbrettet pengeseddel inn på tagen. Bestiller skulle nemlig gi bort penger til jubilanten.
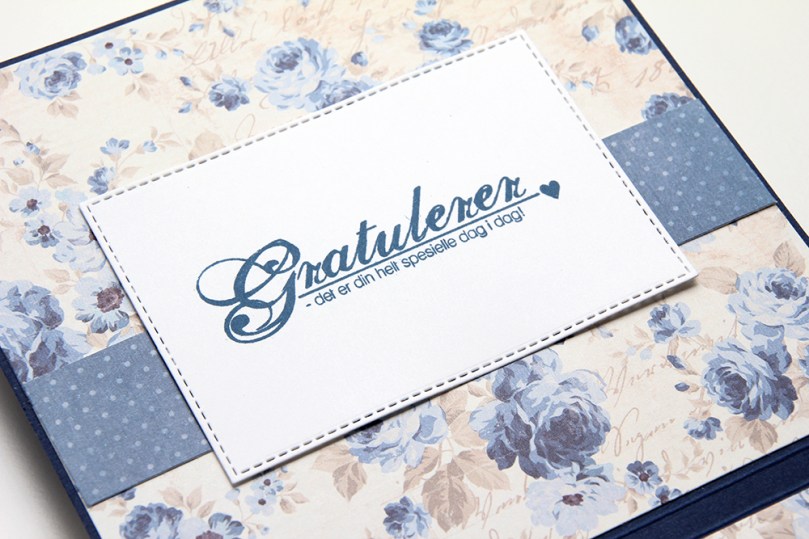 Innsiden er ganske enkel. Jeg hadde ikke mye igjen av det mørkeblå mønsterarket, så det ble en tynn stripe bak tekstpanelet. Stempelet her kommer også fra Norsk Stempelblad AS, stemplet med samme blekkfarge som på tagen. Den andre innsiden har et helt likt panel med masse skriveplass.
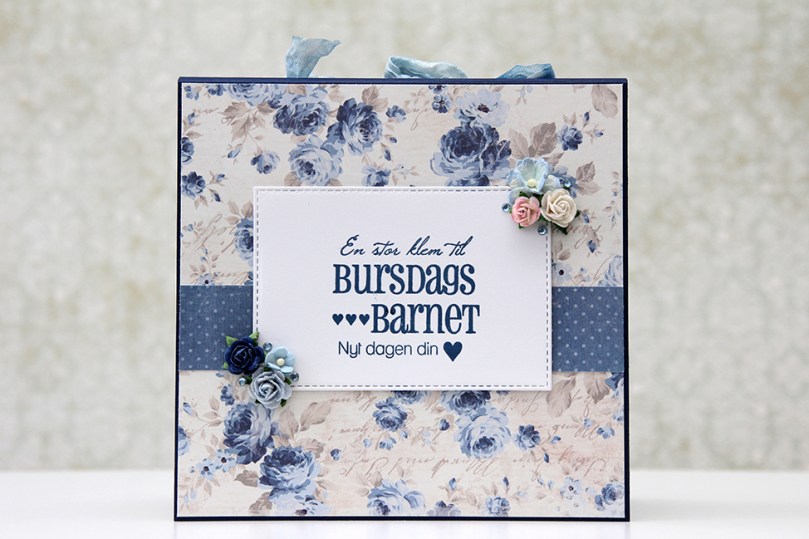 Enda et tekststempel fra Norsk Stempelblad AS er brukt på baksiden, med litt flere blomster.
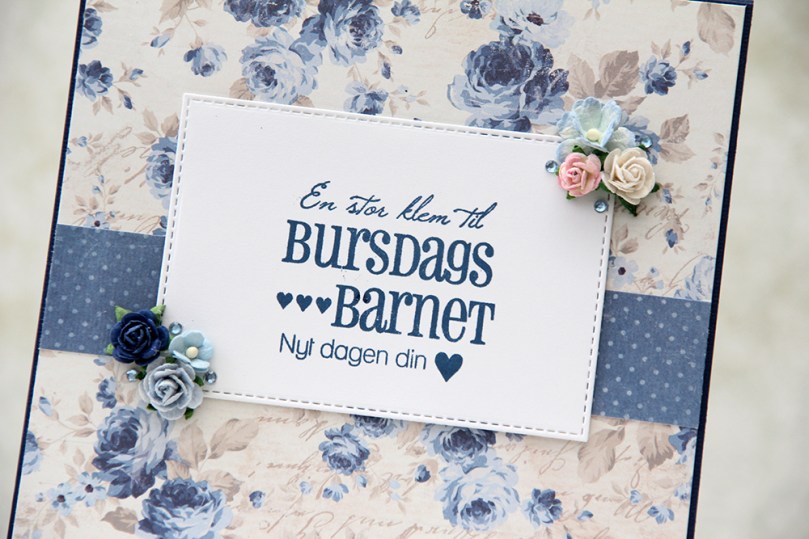 For å ta igjen noe fra forsiden har jeg fått med meg en rosa blomst og flere blå diamanter også her. Fortsatt var det lite igjen av det mørke mønsterarket, så det ble ikke mer enn en liten strimmel her heller. Det gjør ingenting, det blomstrete mønsterarket er så fint at det fortjener å få litt fokus.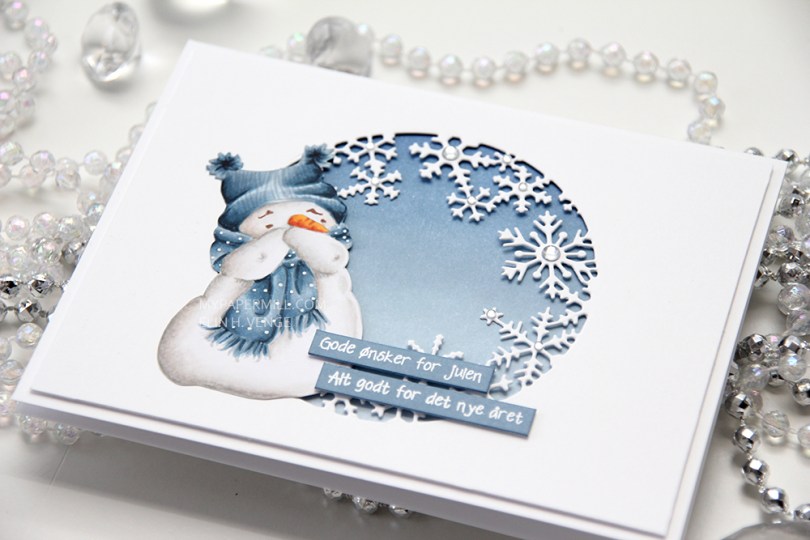
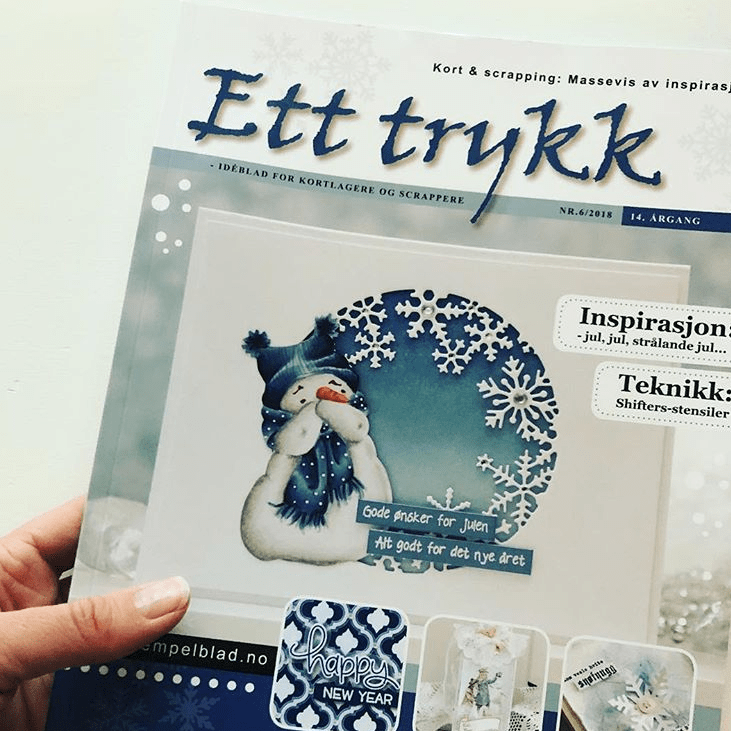 This card is actually published in the
 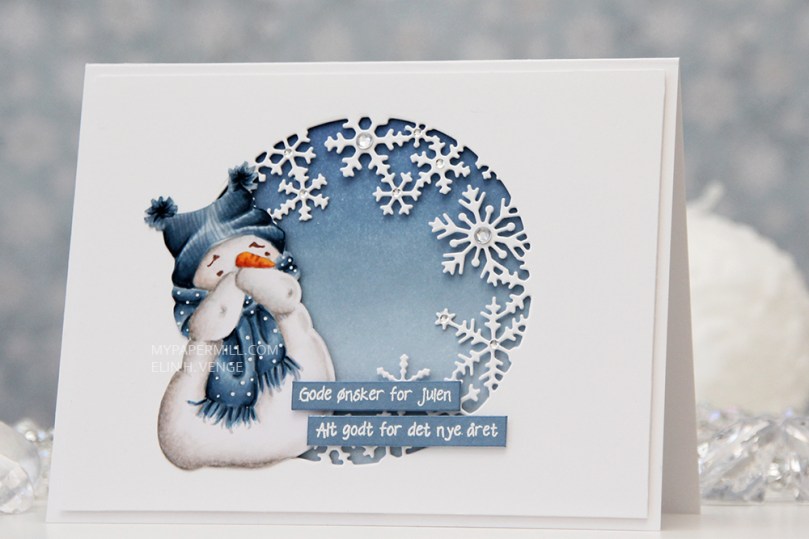 I made the cardbase with some Stamper’s Select White cardstock from Papertrey Ink. It’s my favorite white cardstock, nice and thick and bright white. I cut another panel of the same cardstock slightly smaller and diecut a window using a Hero Arts die. I ink blended my cardbase using three colors of blue dye ink; Papertrey Ink Spring Rain, and Stormy Sky and Faded Jeans Distress Ink from Ranger.
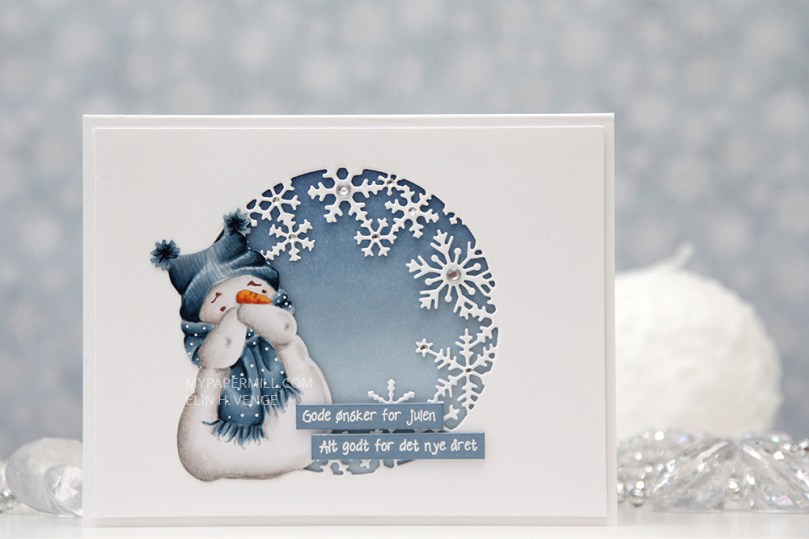 I colored my snowman on X-Press It blending card using Copics (W4, W3, W1, W0, W00, C2, C1, C00, E000, B0000 for snow, B99, B97, B95, B93, B91 for the blue, and YR18, YR12, and Y35 for the carrot), before fussy cutting him and adding him to the left side of my diecut snowflake window.
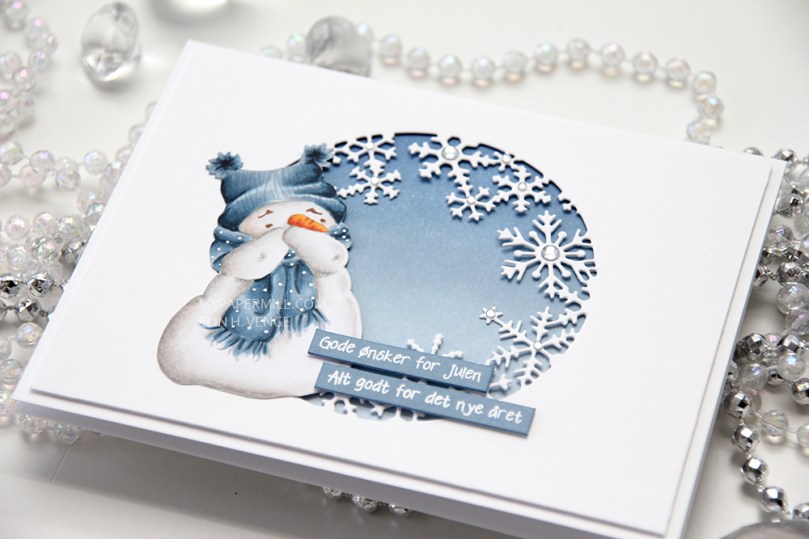 I ink blended a couple of strips of cardstock to make it match my blue background inside the circle. When the ink was dry I added a couple of
  Papirmølla