Hi! I’m sharing another red Christmas card today. I’ve been sharing a lot of red Christmas cards recently, I’m hoping to go back to normal colors soon 😉 I created a shaker card, focusing on the Snow Folk image from the Christmas 2021 release from Lili of the Valley. This digi set actually comes with two images. There’s one with a frame and a few additional stars and extra greenery and this pared back version that I used.

I printed the image on a 4 1/4 x 4 1/4″ piece of X-Press It blending card and colored in my scene using Copics. I don’t always color the sky behind my images, but for this one I knew I wanted to create a framed shaker card, and I colored the sky with a single marker, making sure it was nice and juicy before starting.
 Using a couple of dies in a set of nesting squares from Lifestyle Crafts, I created a frame to go around my image. I taped the two squares together, so I could run them through my die cutting machine several times and be sure that the size of the frame would be the same with each pass through the machine. I die cut 8 of these frames, I wanted a very dimensional shaker card. I stacked 7 of them, glued them to my colored piece, added lots of sequins from the Icicle sequin mix from Hero Arts and glued the last die cut frame on top.
 That’s when I ran into trouble. I wasn’t able to glue the frame onto the acetate so that it lined up with the others. I’d adhered it with score tape, so there was no way to remove it without ruining it. My solution was to die cut a new, larger frame with a slightly smaller window. I went one die larger for the outside and one die smaller for the inside for this frame, and adhered it directly onto the ones that were already there. It was a happy accident, because I’m really happy with the chunkier frame.
 I added the shaker to a 5 1/2 x 5 1/2″ card base I created from Wild Cherry cardstock from My Favorite Things, before stamping and white heat embossing a se23ntiment from Norsk Stempelblad AS to a separate piece of the same color cardstock, which I then die cut using a die from the Gemini Extra Deep Loving Tags die set from Crafter’s Companion. I adhered it directly to the inside top right corner of my shaker frame, and my card was finished.
 Not a whole lot of colors for this card, in spite of all those stripes on the snowmen’s accessories.
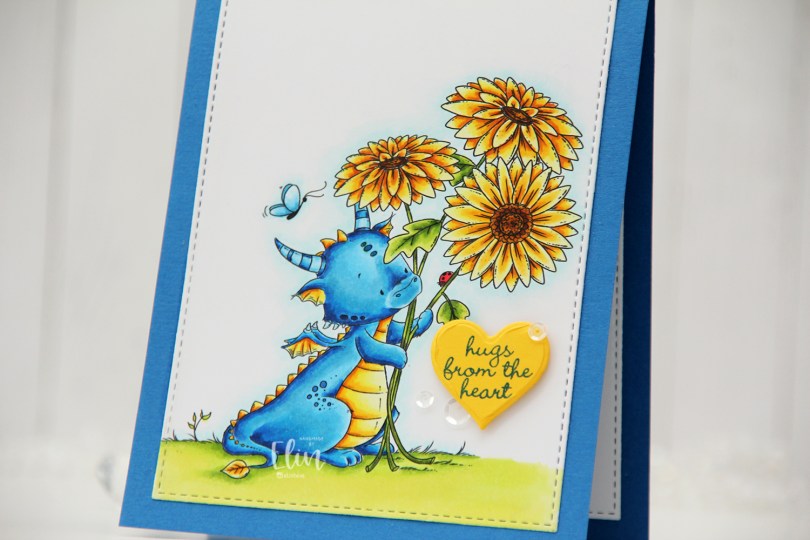
 It’s no secret that I’m a fan of Lee’s Dragons, and this one holding sunflowers was begging for a blue/yellow combo. Once I’d colored the image with Copics, I used the second largest die in the A2 Stitched Rectangles STAX 1 die set from My Favorite Things to give the panel a nice finishing edge. I adhered it to a card base I created from Cornflower cardstock, also from MFT.
 I die cut a heart from Bright Buttercup cardstock from Papertrey Ink and stamped a sentiment from an Inky Wings stamp set in the center using Cornflower ink from My Favorite Things. I added the heart using foam tape and then a few sequins from the White Orchid Sequin Mix from Little Things from Lucy’s Cards to finish off this simple card.

 I stamped the flowers in fadeout ink from Inkon3, before coloring them in with Copics and fussy cutting up to the line.
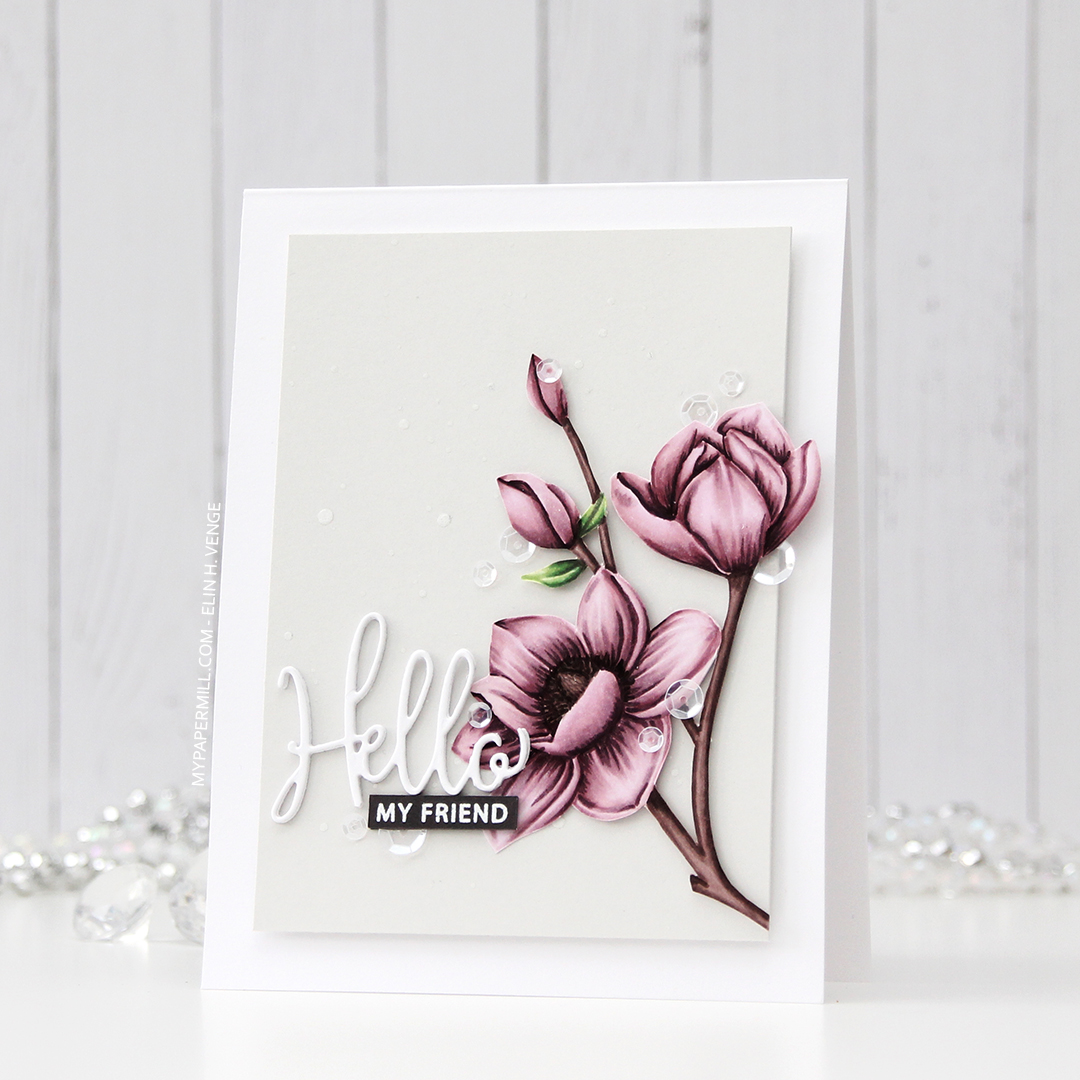
 I die cut Hello three times from white card stock and stacked the die cuts for dimension. The die is from a die set that came with my Gemini when I bought it two years ago, and this is the first time I used it. It has a swirl going down at the bottom of the H that connects to the o, but I chopped that off.
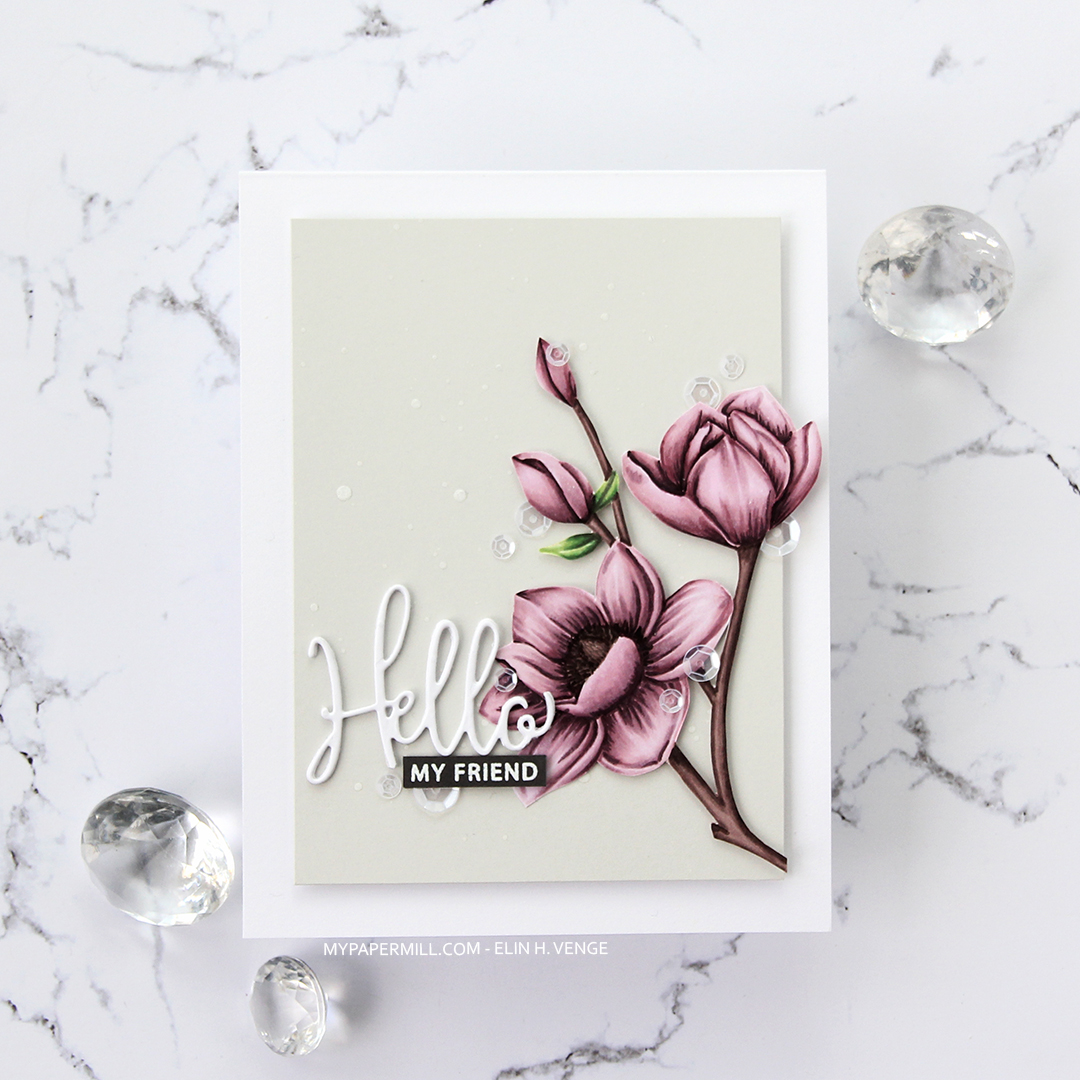
 I added sequins from the White Orchid Sequin mix from Little Things from Lucy’s cards on or near the flowers and the sentiment, and my card was complete.

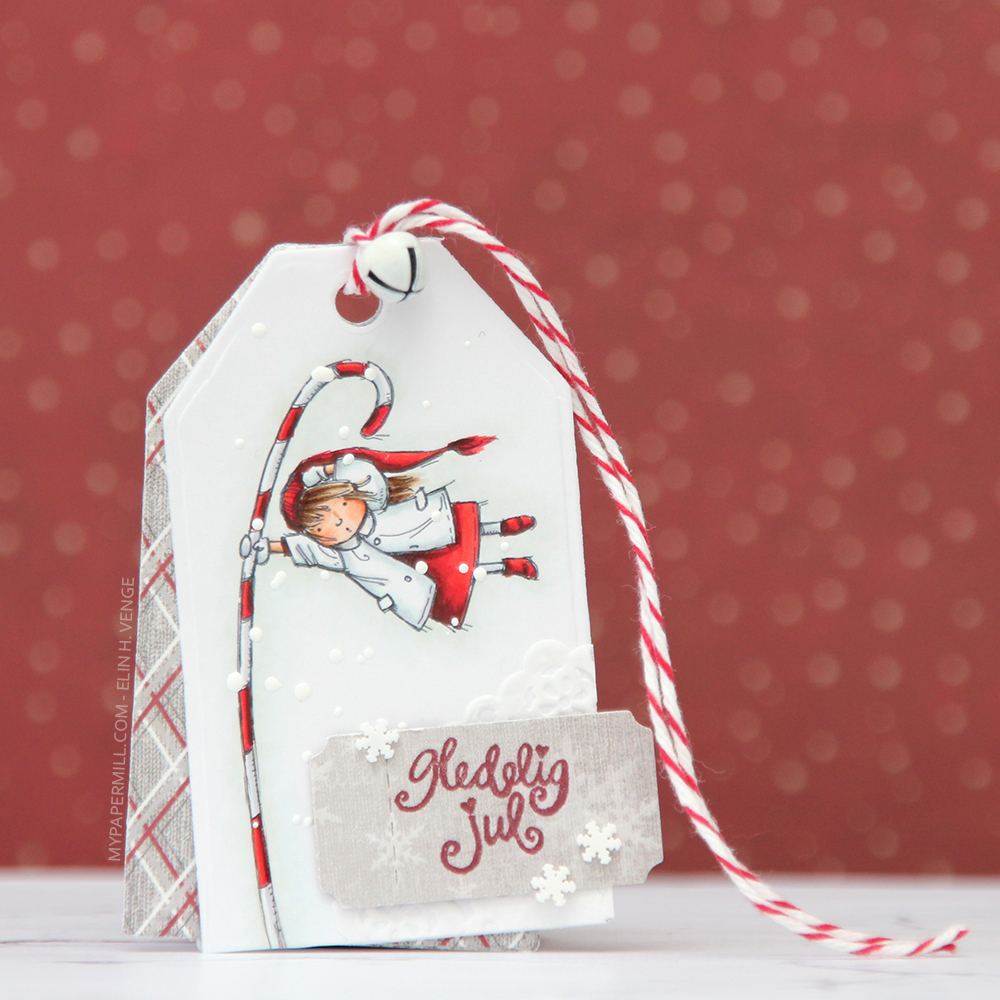 I’ve made a tag for a Christmas present with the adorable
 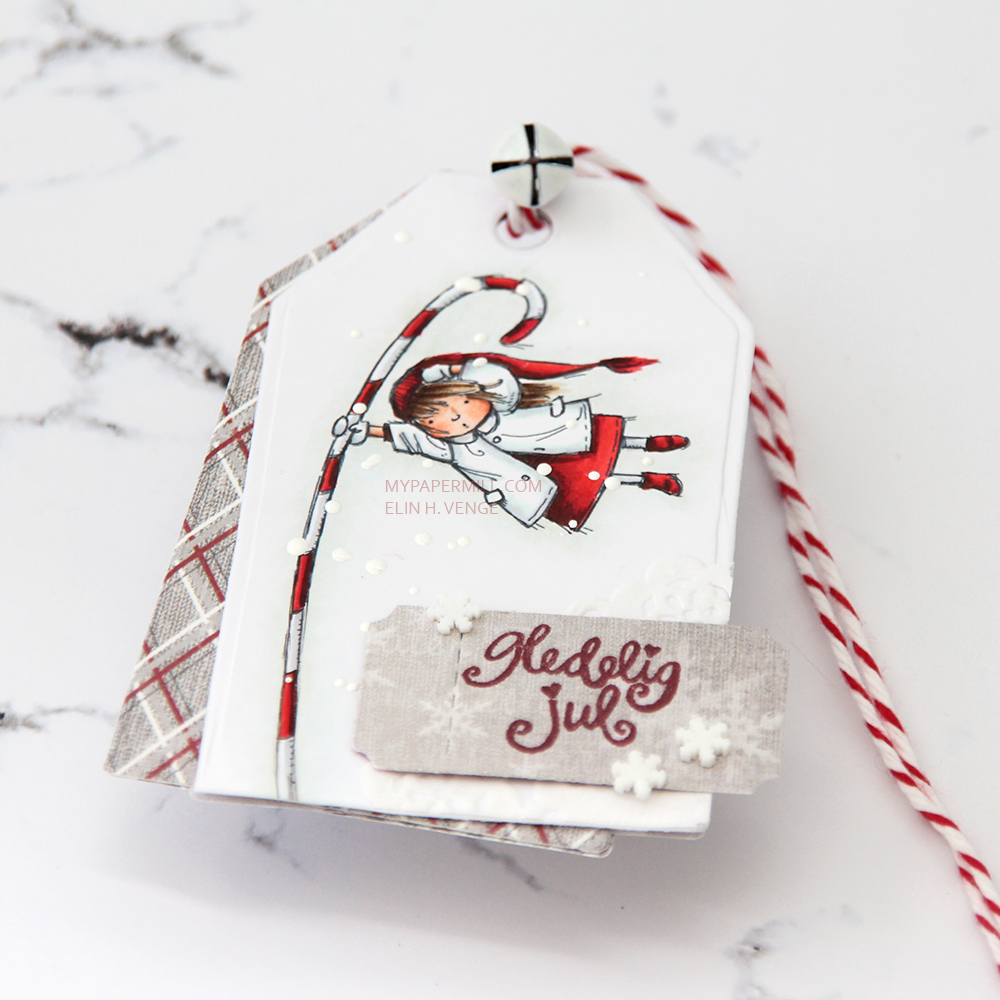 I added snow with chunky white embossing powder, glued on the corner of a small paper doily and a diecut ticket stub from patterned paper on top of that with some 1 mm foam tape. I stamped a tiny Norsk Stempelblad AS sentiment with Scarlet Jewel ink from Papertrey Ink and decided to also add a few snowdrift sprinkles by Little Things from Lucy’s Cards. I love these tiny white clay snowflakes.
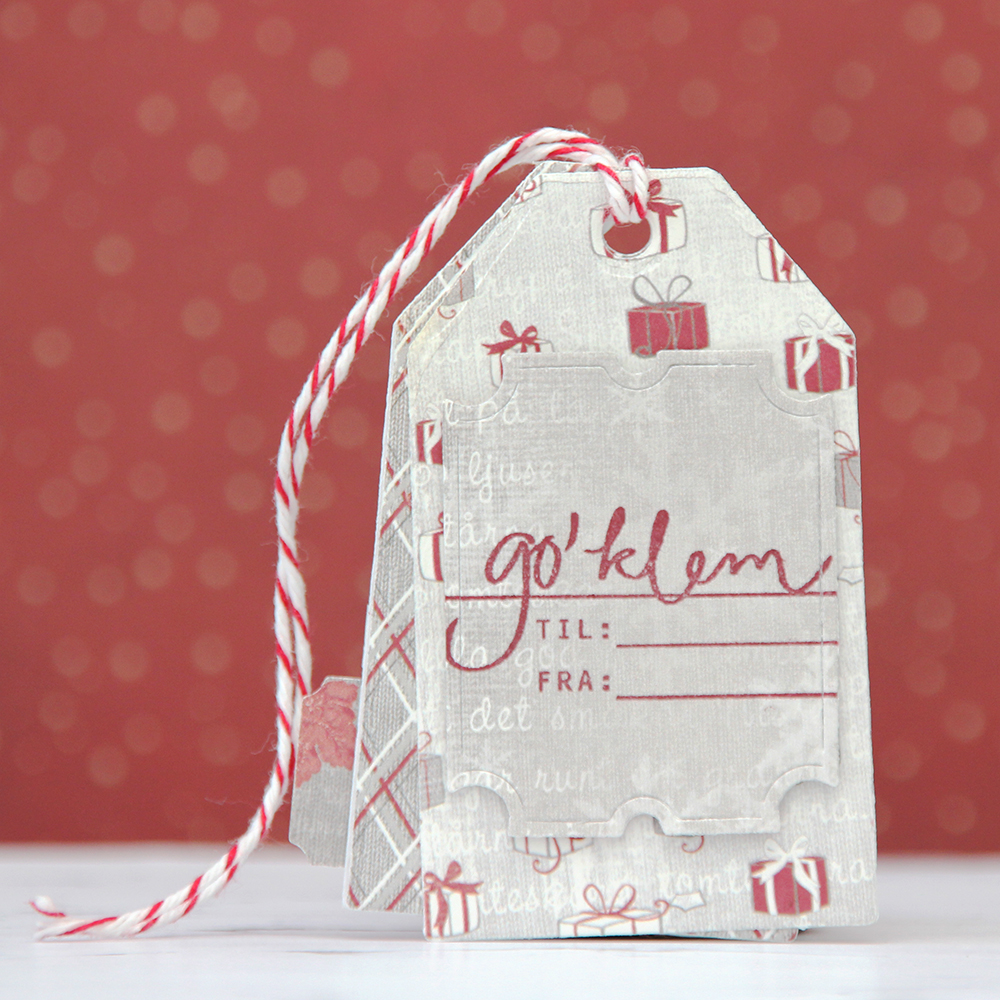 Gift tags, by nature, need space for names. I stamped another Norsk Stempelblad AS stamp on another patterned paper ticket stub and mounted it to the back my tag using more of that 1 mm foam tape.